
Macrame crafts are popping up everywhere, from stylish cafés to cozy living rooms, and all across your social media feed.
These knotted designs bring warmth to any space and make thoughtful, handmade gifts as well.
In this guide, you’ll learn all the basics to get started. I’ll show you the tools you need, and we’ll walk through your very first project step by step.
From my personal experience with crafting, I was initially confused and frustrated, but I’ve learned the easier way, so you won’t have to struggle like I did.
Perhaps you’re seeking a relaxing hobby, or you’d like to create something beautiful for your home.
Either way, this guide will help you get started on the right foot. I’ll keep things simple, with clear steps that really work.
What Is Macrame?
Macrame is the craft of tying cord into patterns to create beautiful designs.
It began many centuries ago, when sailors would pass the time during long sea trips by knotting ropes into decorative shapes.
The word “macrame” originates from Arabic, meaning “fringe” or “ornamental fringe,” which makes perfect sense once you see the finished pieces.
Today, most people use soft cotton cord, but you can also try jute, hemp, or even synthetic fibers. What matters most is that the cord holds knots well.
Macrame can be used to create wall hangings, plant holders, jewelry, bags, and even curtains.
The best part is that you only need your hands and some cord; no fancy tools are required.
Tools and Materials You’ll Need
Starting macrame doesn’t break the bank. The following is your shopping list:
- Cotton macrame cord (3mm or 4mm width)
- Sharp scissors
- Measuring tape
- Comb or brush for fringing
- Wooden dowel or metal ring
- Clips to hold your work
- Good lighting for your workspace
DIY Macrame Crafts: Step-by-Step Guide
Let’s make your first macrame wall hanging. This project teaches basic knots. You’ll create something beautiful for your wall:
1. Prepare Your Cords and Initial Loop
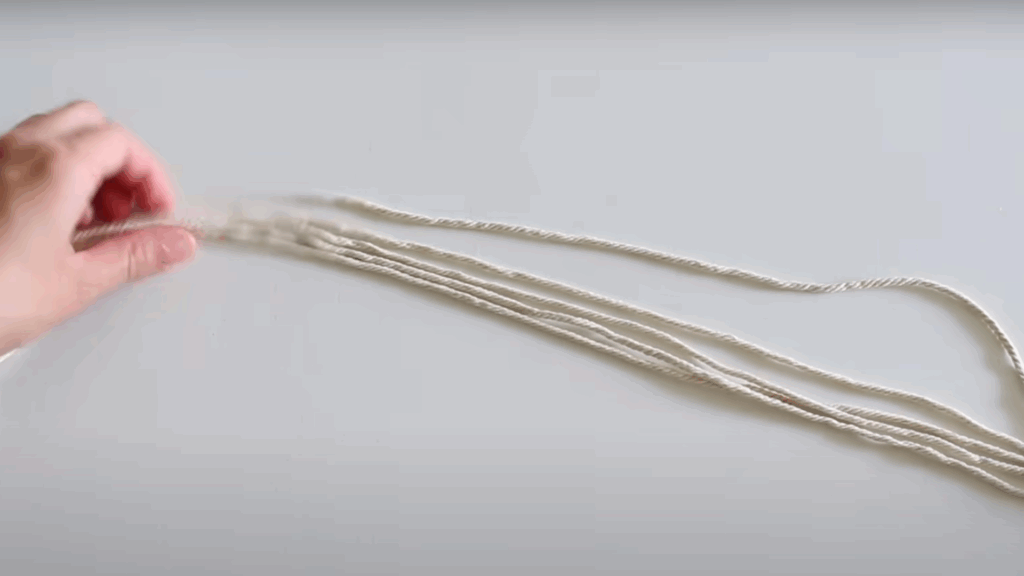
Start by cutting eight cords, each 25 feet long. This gives you enough length to create knots without running short.
Fold each cord in half to end up with 16 working strands, each approximately 12.5 feet long.
Find the center of your dowel and mark it lightly with a pencil to help keep your project balanced. It’s best to work on a flat surface, such as a table or board.
Ensure the area is well-lit to avoid eye strain and keep your knots neat as you work.
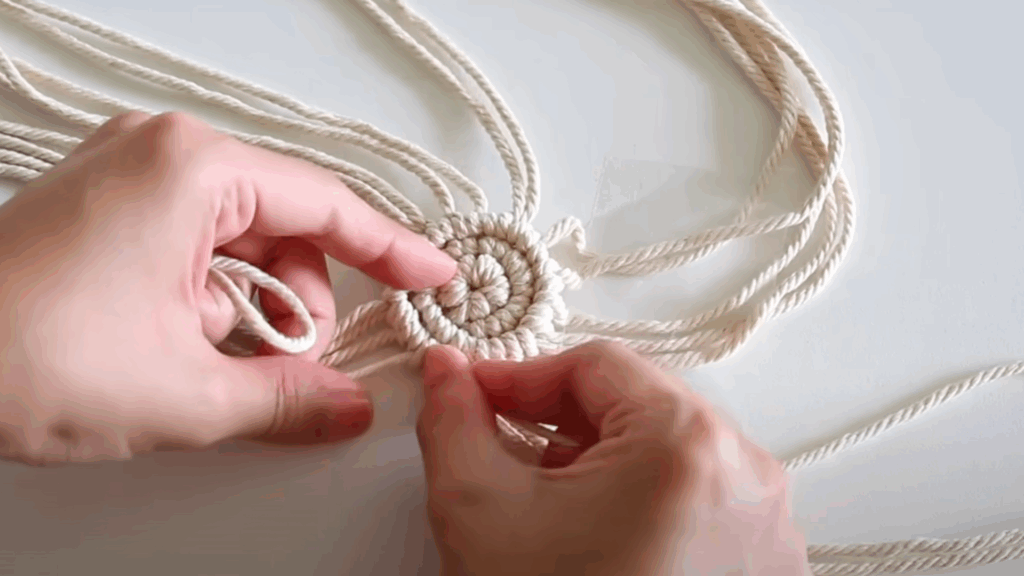
2. Attach Cords Using a Cow Hitch Knot
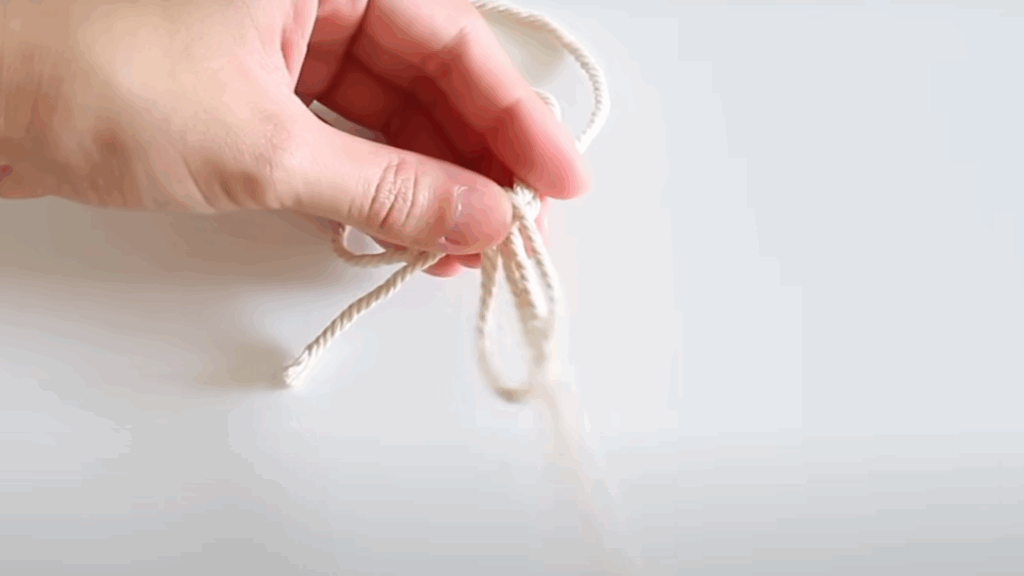
To attach the cords to your dowel, use a simple knot called the cow hitch.
Take one folded cord and place its loop over the dowel from front to back. Then pull the two loose ends through the loop and tighten it gently.
Repeat this step for all eight cords, spacing them about one inch apart. Don’t pull them too tight yet; it’s easier to adjust the spacing as you go.
Keeping the cords loose at this stage helps make later steps much smoother.
3. Begin Knotting with a Double Half Hitch Knot
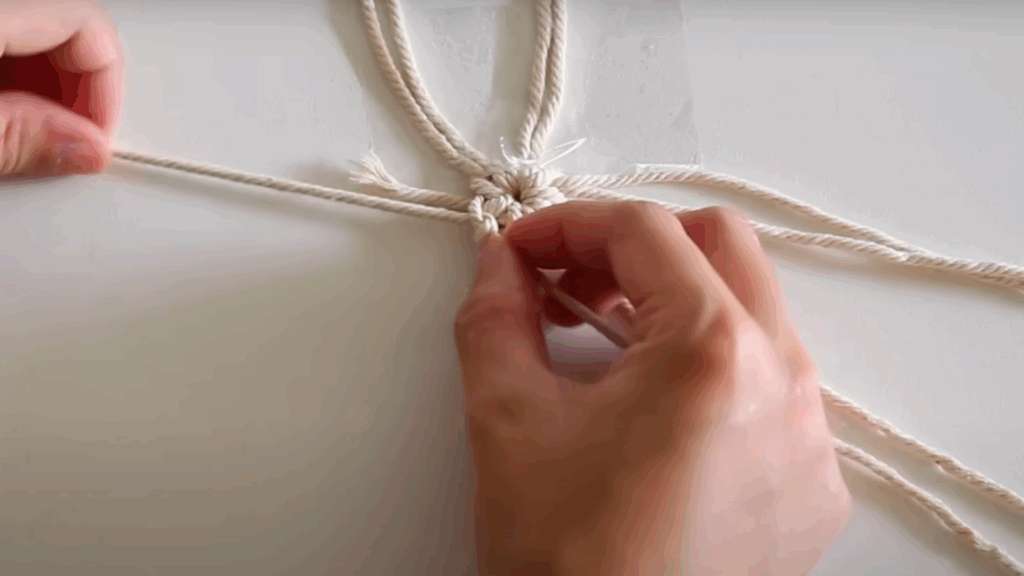
This knot forms neat horizontal lines, adding structure to your piece.
Start with the cord farthest to the left, which is your holding cord, and it should stay straight and tight.
Take the next cord, pass it over the holding cord, then under and through the loop it creates.
Pull snug. Repeat this step twice, using the same cord to make the double half hitch.
Move on to the next cord and repeat the process. Continue this across the row to form a strong first line of knots.
4. Adding New Cords for Expansion
To make your wall hanging wider and fuller, you’ll need more cords. Cut four extra cords, each 20 feet long, and fold them in half.
Use the same cow hitch method to attach these new cords between your existing ones. This brings your total to 24 working strands.
Spread them out evenly across the dowel to maintain a balanced design. As you add cords, your hanging begins to look much richer and better shaped.
These extra cords give you more room for creative patterns and knots.
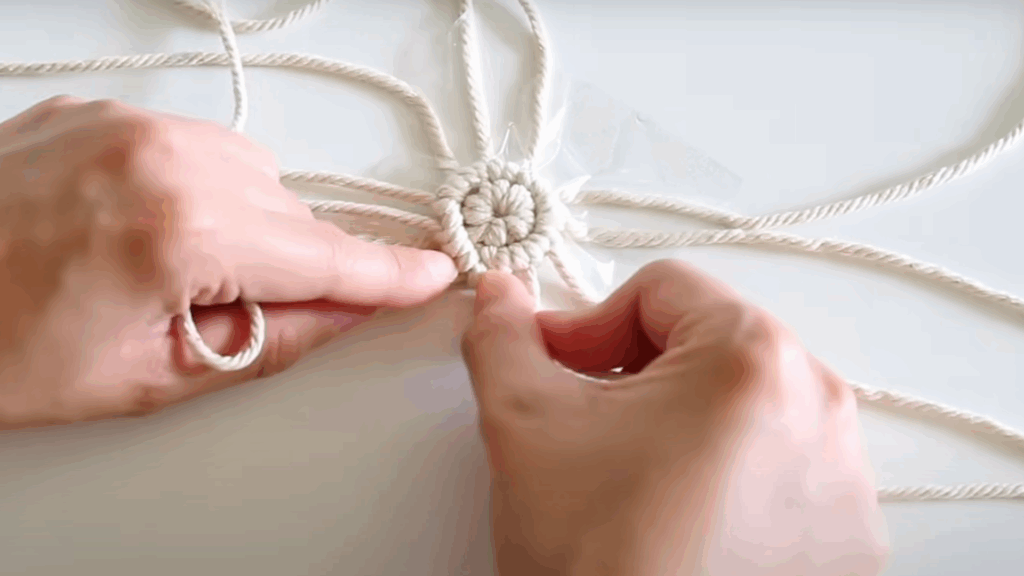
5. Progressing to Smaller Cords for Each Round
As you keep knotting, each new row will use fewer cords. This helps shape the piece into a neat triangle.
Start your second row using the same double half-hitch technique. Try to maintain even tension so that your lines stay straight.
For the third row, skip the first and last cords. This narrows the pattern and makes your triangle clearer.
Continue the pattern by using fewer cords with each subsequent row. Watch as your wall hanging slowly takes shape into a beautiful, pointed form.
6. Finishing Touches
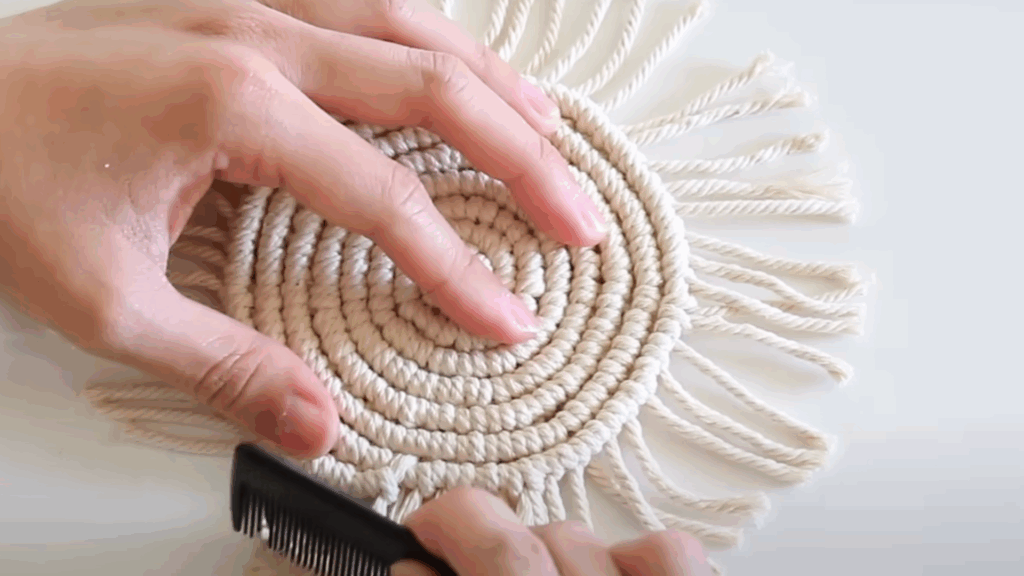
Now it’s time to finish and clean up your design. Trim the ends of all cords to the same length using sharp scissors.
This gives the bottom edge a clean, even look. Leave about six inches of cord to form a soft fringe.
Then gently comb out each strand with a fine-tooth comb or brush. This will separate the fibers, creating a fluffy, polished look. Take your time during this step.
A carefully trimmed and combed fringe makes your wall hanging look finished and professional.
To see the steps in action, watch this helpful video from @createwithjenn
Community Discussions Surrounding Macrame Crafts
The macrame community is one of the friendliest and helpful groups you’ll find. People love to share tips, answer questions, and cheer each other on as they learn and grow.
You’ll find tons of support online through platforms like Instagram, Pinterest, and Facebook groups.
Just search for “macrame beginners” or “macrame community” to get started.
Don’t worry if your first project isn’t perfect. Many people share their mistakes, which helps everyone improve faster.
If you like meeting in person, local craft stores often host macrame circles.
For visual learners, YouTube offers thousands of videos; start with the basics before moving on to more advanced projects.
Common Mistakes to Avoid
The following are all the things you shouldn’t do when crafting your macrame object:
- Using the wrong type of cord
- Pulling knots too tightly
- Not measuring cords properly
- Rushing through the project
- Comparing your work to others
Conclusion
You’re ready to begin your macrame journey, and there’s no better way to start than with a simple wall hanging.
Don’t stress about making it perfect; focus on learning each step as you go.
Macrame has a calming rhythm that helps clear your mind. The slow, steady knotting gives your hands something to do while your worries begin to fade.
Finishing your first piece feels amazing. You’ll feel proud knowing you turned plain cord into something beautiful with your own hands.
Consider joining a local craft group as well. Learning with others keeps you motivated and helps you build friendships through creativity.
Start small and grow your skills over time. Soon, you’ll be making pieces so nice, friends will ask you for one.
Share your first project in the comments. I’d love to see it and help if you have questions!
Frequently Asked Questions
How Long Does It Take to Learn Macrame?
You can learn basic knots in 2–3 hours. A simple wall hanging may take a weekend, while advanced projects require more time and steady practice to complete.
What Type of Cord Works Best for Beginners?
Natural cotton cord, available in 3mm or 4mm thickness, is ideal. It’s soft on hands, easy to work with, and holds knots well, making it perfect for learning basic patterns.
Can Children Learn Macrame Safely?
Yes, kids aged 8 and up can safely learn simple knots. Just be sure to supervise scissor use and choose soft, safe cords suited for small hands.
How Much Does It Cost to Start Macrame?
You can begin with $20–30. This includes basic supplies such as cord, scissors, and a dowel, and is sufficient for several beginner-friendly projects to get started.
Where Can I Buy Quality Macrame Supplies?
Check craft stores, online marketplaces, and fiber art shops. Many beginners start with Amazon kits that include a cord, tools, and instructions in one easy package.