
Stained wood furniture looks tired after years of use. Those dark finishes feel heavy and outdated. Homeowners stare at old cabinets and wonder if there’s hope.
But stripping stain sounds like a nightmare. The chemicals, the sanding, the mess. Hours of work just to start over.
Painting over stained wood is totally possible. With the right prep work, anyone can transform that dated wood into something fresh. No harsh stripping required.
This guide covers everything needed to paint over a stain successfully. From surface prep to paint selection, readers will learn the exact steps. Time to give that old wood new life.
Why Homeowners Choose to Paint Over Stained Wood?
People often want to paint over stained wood to refresh and modernize the look of their furniture, cabinets, or trim without completely replacing them.
Stained wood, especially darker finishes, can make interiors feel dated or heavy. Painting offers an easy and affordable way to brighten up spaces and match current décor trends.
It also allows homeowners to personalize older or mismatched pieces to fit their preferred aesthetic.
In addition to visual appeal, painting over stained wood can help cover imperfections like scratches, water stains, or discoloration that accumulate over time.
Overall, painting over stained wood is a practical and creative way to achieve a fresh, updated look with minimal cost and effort.
Tools and Materials You’ll Need
| Tools | Materials |
|---|---|
| Cleaning Supplies | Mild detergent, degreaser, sponge, clean cloth |
| Sanding Tools | Sandpaper (120–150 grit), sanding block, tack cloth |
| Priming Supplies | Stain-blocking primer (shellac-based or oil-based), paintbrush or roller |
| Painting Tools | Paint (latex or oil-based), paintbrush, roller, painter’s tape, tray |
| Safety Gear | Gloves, mask, safety goggles, drop cloth |
Step-by-Step Process for Painting Over Stained Wood
From cleaning and sanding to priming and painting, follow these steps to ensure strong adhesion and a smooth, durable finish over stained wood.
Step 1: Clean the Surface
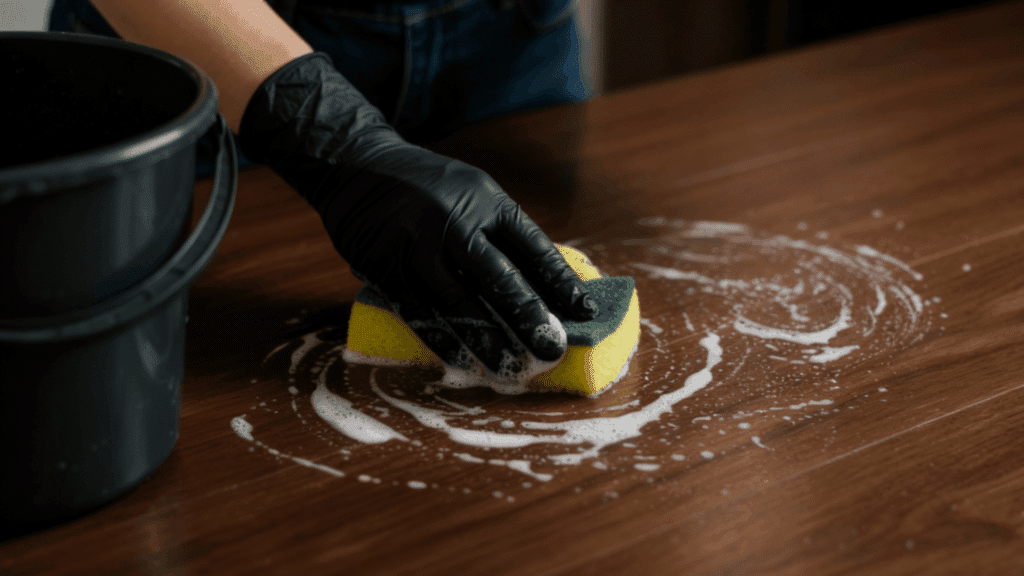
Begin by thoroughly cleaning the stained wood to remove dirt, grease, dust, and grime that prevent paint adhesion.
Use a degreasing cleaner like TSP (trisodium phosphate) or a mild dish soap solution with warm water. Scrub all surfaces with a sponge or cloth, paying special attention to kitchen cabinets.
Rinse completely with clean water to remove all cleaning residue, as leftover chemicals can interfere with primer bonding
Step 2: Lightly Sand the Wood
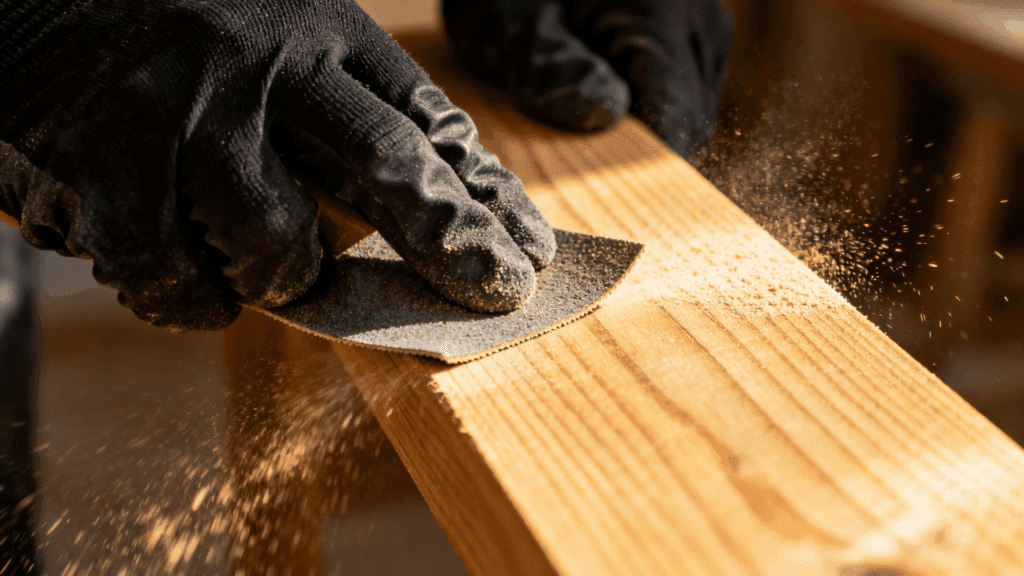
Sand the entire surface using 150-220 grit sandpaper to roughen the glossy stain finish, creating texture for primer adhesion. You don’t need to remove all the stain, just scuff the surface.
Sand in the direction of the wood grain using moderate pressure. For intricate details or moldings, use sanding sponges that conform to curves.
This crucial step ensures your primer grips properly, rather than sliding off the slick, stained surface
Step 3: Wipe and Dry
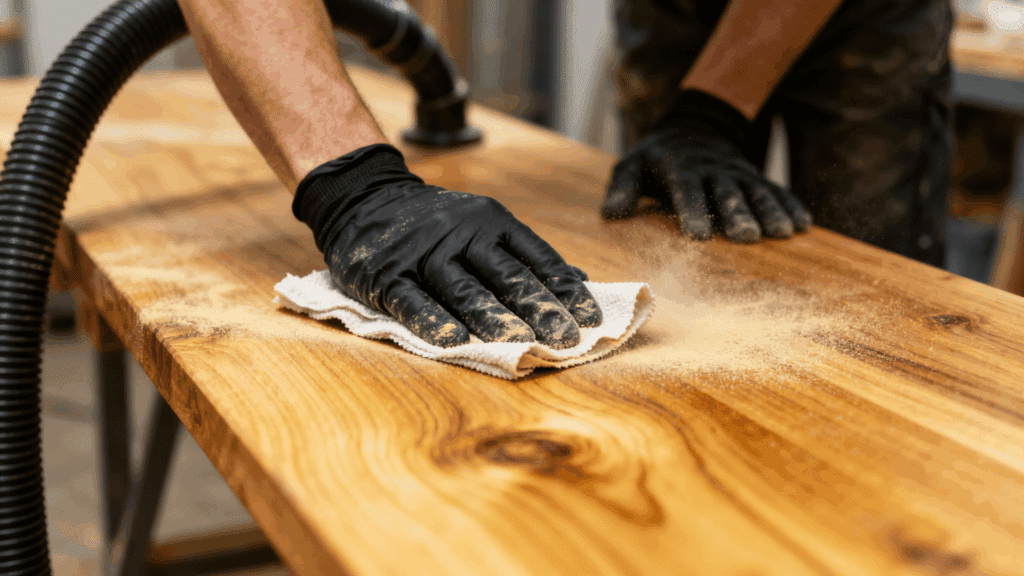
Remove all sanding dust using a tack cloth or slightly damp microfiber cloth, wiping methodically across all surfaces. Sanding dust trapped under primer creates rough, bumpy finishes.
For best results, vacuum the area first, then wipe down surfaces. Allow the wood to dry completely for at least 30 minutes to an hour before applying primer.
Any moisture trapped under primer can cause bubbling, peeling, or poor adhesion, compromising your entire project.
Step 4: Apply Primer
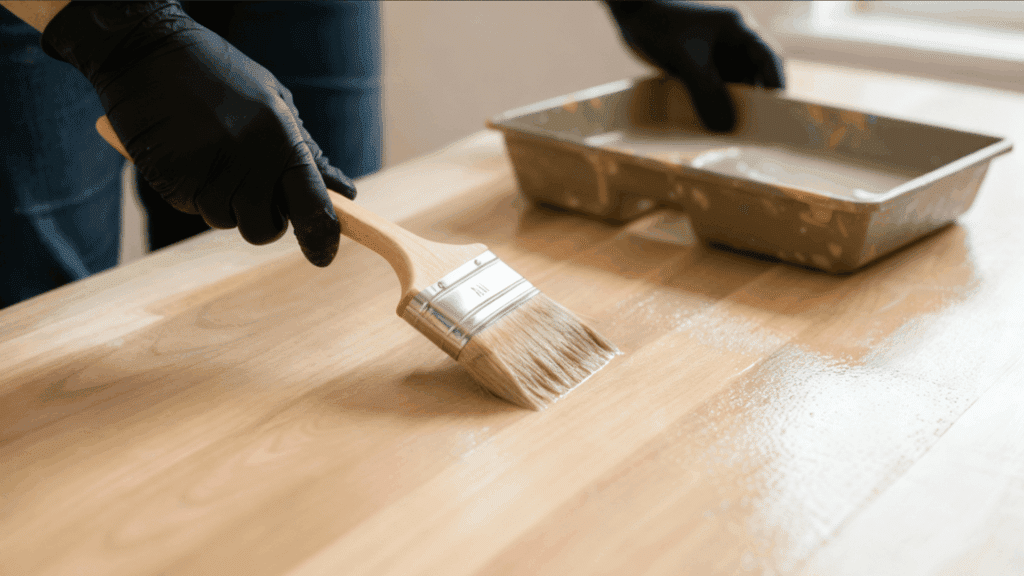
Apply a high-quality stain-blocking primer designed specifically for covering stained wood, preventing tannin bleed-through.
Use a brush for edges and detailed areas, then a roller for flat surfaces, ensuring even coverage. Apply thin, uniform coats rather than one thick application to prevent drips.
Allow the primer to dry completely according to the manufacturer’s instructions, typically 1-4 hours. Inspect for any stain bleeding through; apply a second primer coat if necessary.
Step 5: Paint the Surface
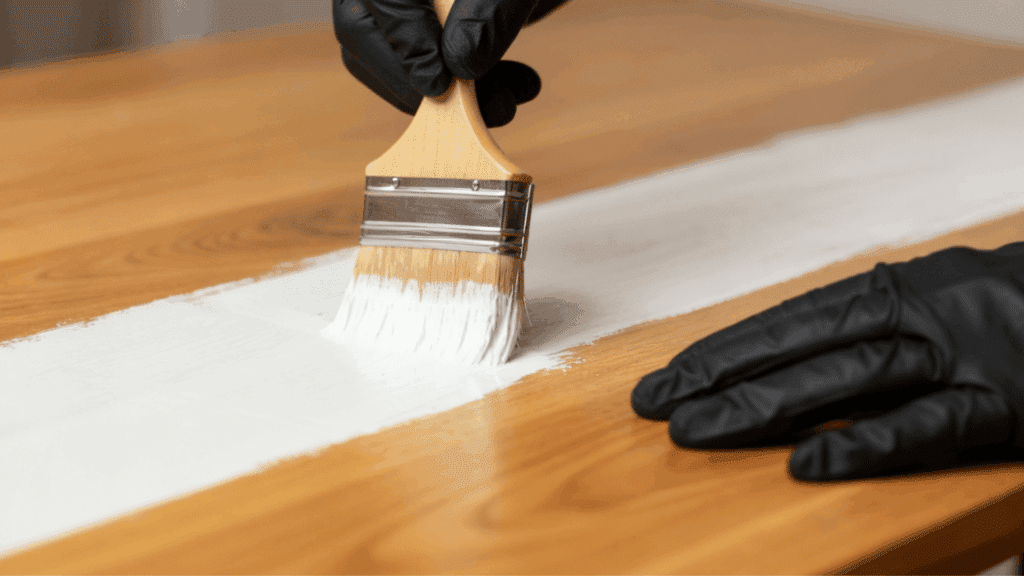
Once the primer is completely dry, apply your chosen paint using quality brushes and rollers for smooth application.
Use long, even strokes in the direction of the wood grain, maintaining a wet edge to avoid lap marks. Apply thin coats rather than thick layers. Typically, two to three coats provide durability.
Allow each coat to dry thoroughly per the manufacturer’s recommendations before applying the next. Lightly sand between coats with fine-grit sandpaper for ultra-smooth professional finishes
Step 6: Final Look

Missed spots, drips, or imperfections requiring touch-ups. Consider applying a protective topcoat or sealer, especially on high-traffic surfaces like cabinets or furniture, for easy cleaning.
Remove painter’s tape carefully at a 45-degree angle while the paint is slightly tacky to prevent peeling.
Your stained wood now features a fresh, updated appearance with proper adhesion, ensuring long-lasting, beautiful results worth your preparation efforts.
Common Mistakes to Avoid
Even with the right materials, a few common errors can ruin your paint job. Avoid these mistakes to ensure your finish looks smooth, professional, and long-lasting.
- Skipping Surface Preparation: Failing to clean or sand the surface prevents the paint from adhering properly, leading to peeling or uneven coverage.
- Painting over Glossy Finishes: Glossy stained surfaces need light sanding or a deglosser; otherwise, the paint won’t stick well.
- Applying Thick Coats: Using heavy paint layers can cause drips, bubbles, and longer drying times. Thin, even coats work best.
- Ignoring Drying Times: Rushing between primer and paint coats can trap moisture, resulting in cracking or poor adhesion later.
Community Discussion: What Worked and What Didn’t?
Painting over stained wood isn’t always straightforward. Share your wins, mistakes, and lessons to help others achieve smoother, longer-lasting results.
If the stain is completely dry, you can prime it with oil-based primer or shellac and then paint it. priming is a necessary step on this one.
Another user said;
You would need to scuff it up a bit, but painting over the stain works well.
A second commentator strongly recommended.
It would be best to use a solvent-based primer; most latex primers don’t adhere well to poly/varnish. It usually takes 1 coat of primer and 2 coats of finish [latex or oil] to completely cover the stain/poly.
Conclusion
So, can you paint over stained wood? Absolutely, and now you have the knowledge and techniques to do it successfully.
While the process requires more effort than painting raw wood, the potential makes it well worth the effort.
Remember that shortcuts in preparation often lead to peeling, chipping, or bleed-through down the road, so investing time up front saves frustration later.
Gather your supplies, follow the preparation steps we’ve outlined, and start your painting project today. You’ll be amazed at the dramatic difference a little paint can make!