
A few years ago, I wanted something special in my garden, something that would add height, charm, and support for my climbing plants. That’s when I discovered how easy it is to make a DIY arch trellis.
Whether you’re growing roses, cucumbers, or morning glories, an arch trellis can add both beauty and function to your outdoor space.
You don’t need to be a pro builder or spend a lot of money. With a little time and the right tools, you can make your own trellis that lasts for years.
In this guide, I’ll walk you through every step, from picking your materials to installing your arch in the garden. By the end, you’ll have a garden feature you can be proud of, and your plants will love it too.
What Is a Garden Arch Trellis?
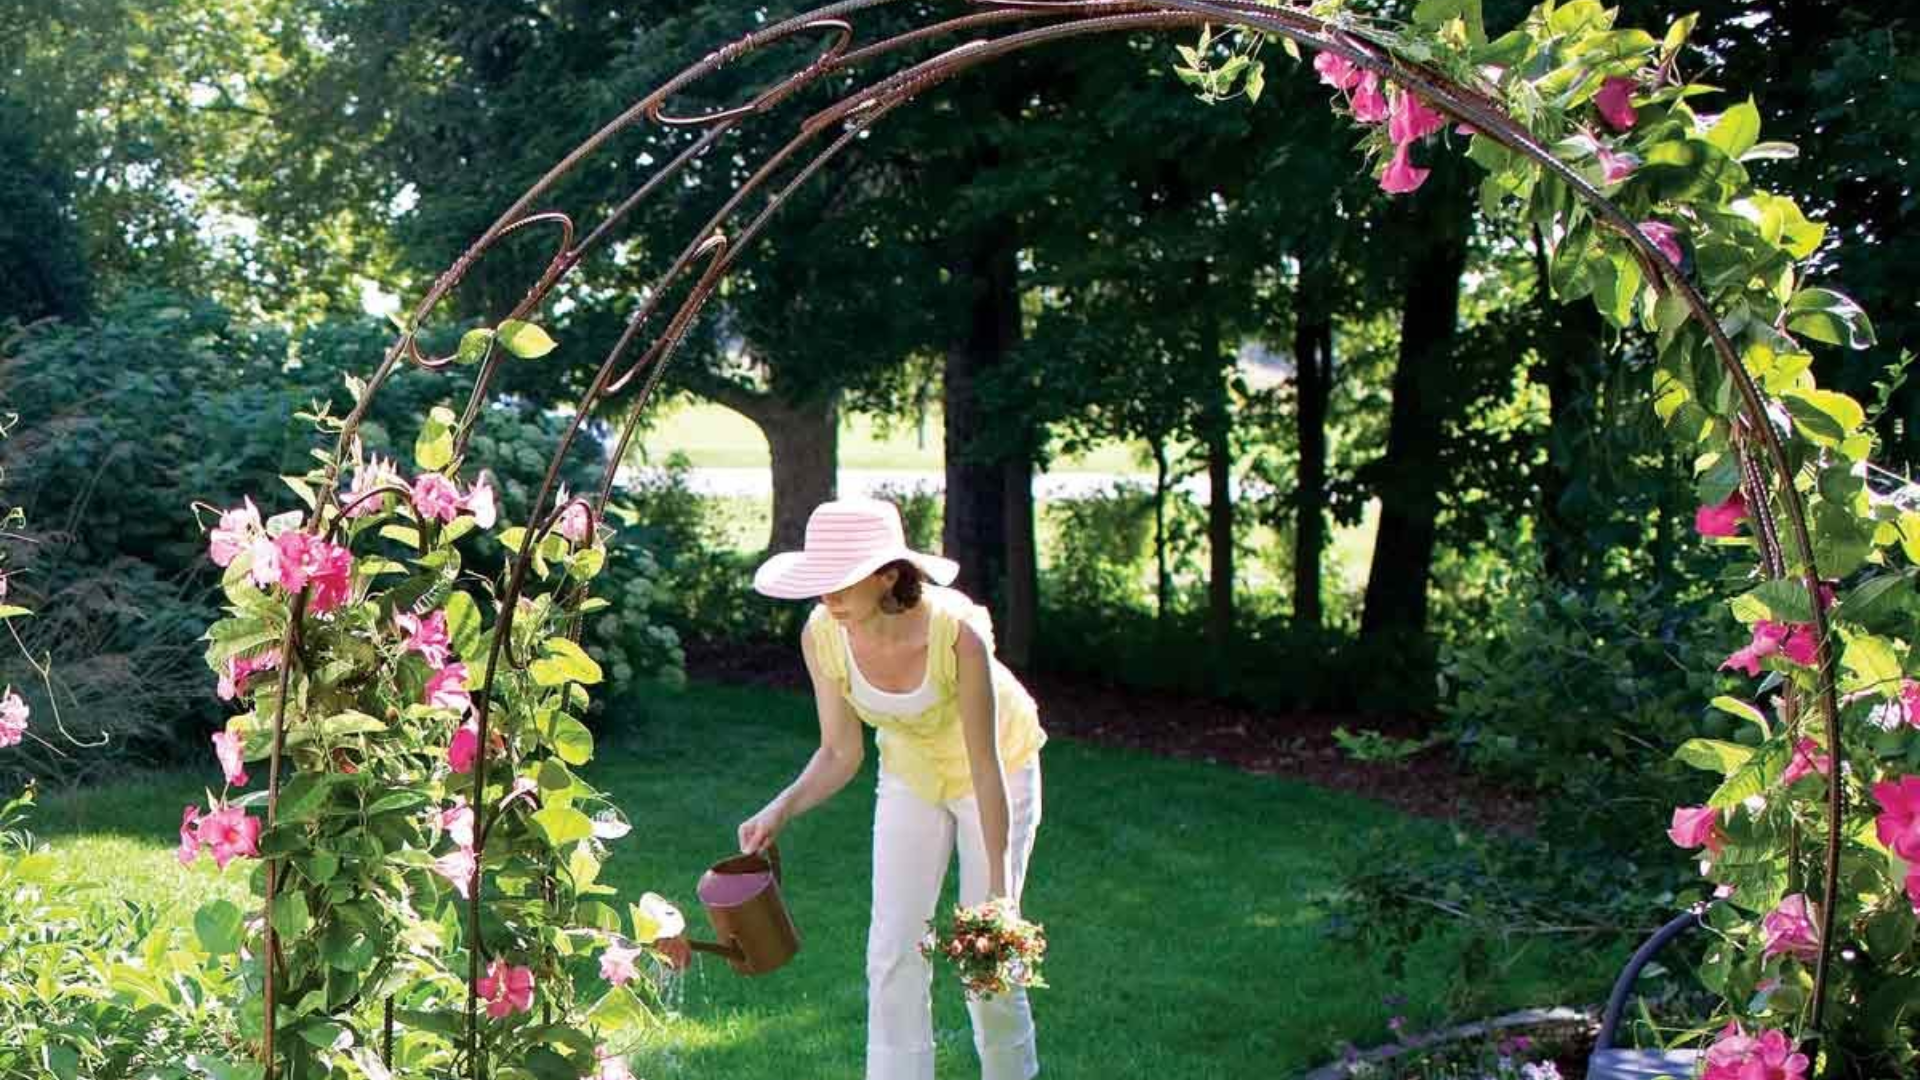
A garden arch trellis is a curved framework designed to support the upward growth of climbing plants like beans, cucumbers, peas, tomatoes, roses, and flowering vines.
It’s not only practical, it adds vertical beauty and structure to your outdoor space. Whether placed at a garden entrance, over a pathway, or between raised beds, it creates a natural tunnel or canopy that’s both charming and productive.
You can build an arch trellis from a variety of materials such as wood, metal, PVC pipe, or galvanized cattle panels. Cattle panels are especially popular for DIY garden trellises because they are strong, affordable, and easy to shape into an arch.
These trellises help improve air circulation around plants, make harvesting easier, and reduce pests and diseases by keeping produce off the ground.
Beyond functionality, a garden arch trellis brings a cozy, romantic feeling to any garden. Covered with flowering vines or hanging vegetables, it transforms even a simple backyard into a lush, inviting retreat.
Whether you’re looking to maximize space or create a picturesque garden nook, a garden arch trellis is a simple and stylish solution.
How to Build a DIY Arch Trellis
Want to grow climbing plants, save space, and make your garden look beautiful? A cattle panel arch trellis is one of the easiest and most affordable ways to do it.
Tools and Materials You’ll Need
- Cattle panel (1 piece, 16–18 feet long) – The main structure of the arch. Costs around $20–25.
- T-posts (2 pieces, 6 feet each) – Hold the arch in place.
- Zip ties (8–12 pieces) – Fasten the panel to the posts. Cheap and easy to replace.
- Post driver or hammer – Used to secure the T-posts into the ground.
- Gloves and safety glasses – To protect your hands and eyes while working.
- Measuring tape (optional) – For spacing and alignment.
Step 1: Drive the First T-Post into the Ground
Place the first T-post at your desired starting point. The notches should face toward the inside of the arch. Use a post driver or hammer to sink the T-post into the ground until it’s firm and stable.
If you’re working next to a raised bed, leave a little room between the post and the bed so you have space to plant.
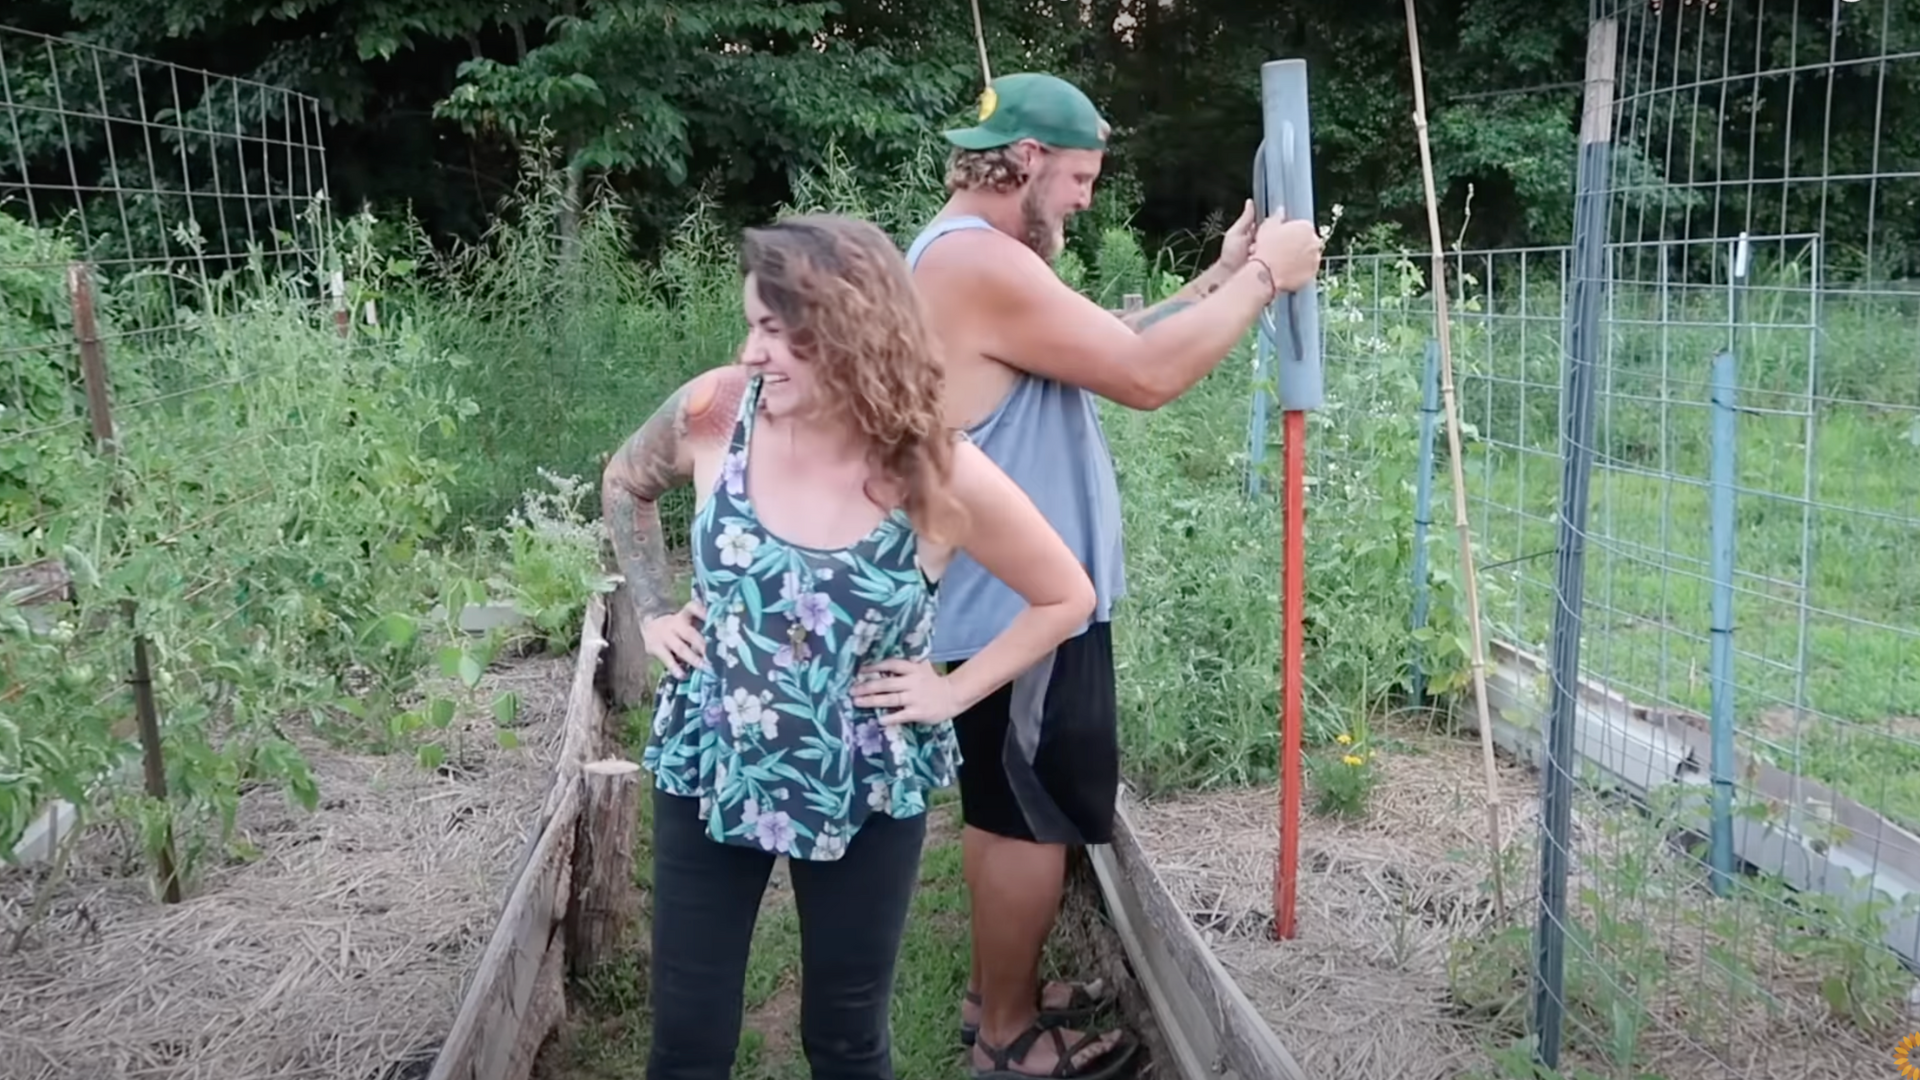
Step 2: Bend the Cattle Panel Into an Arch Shape
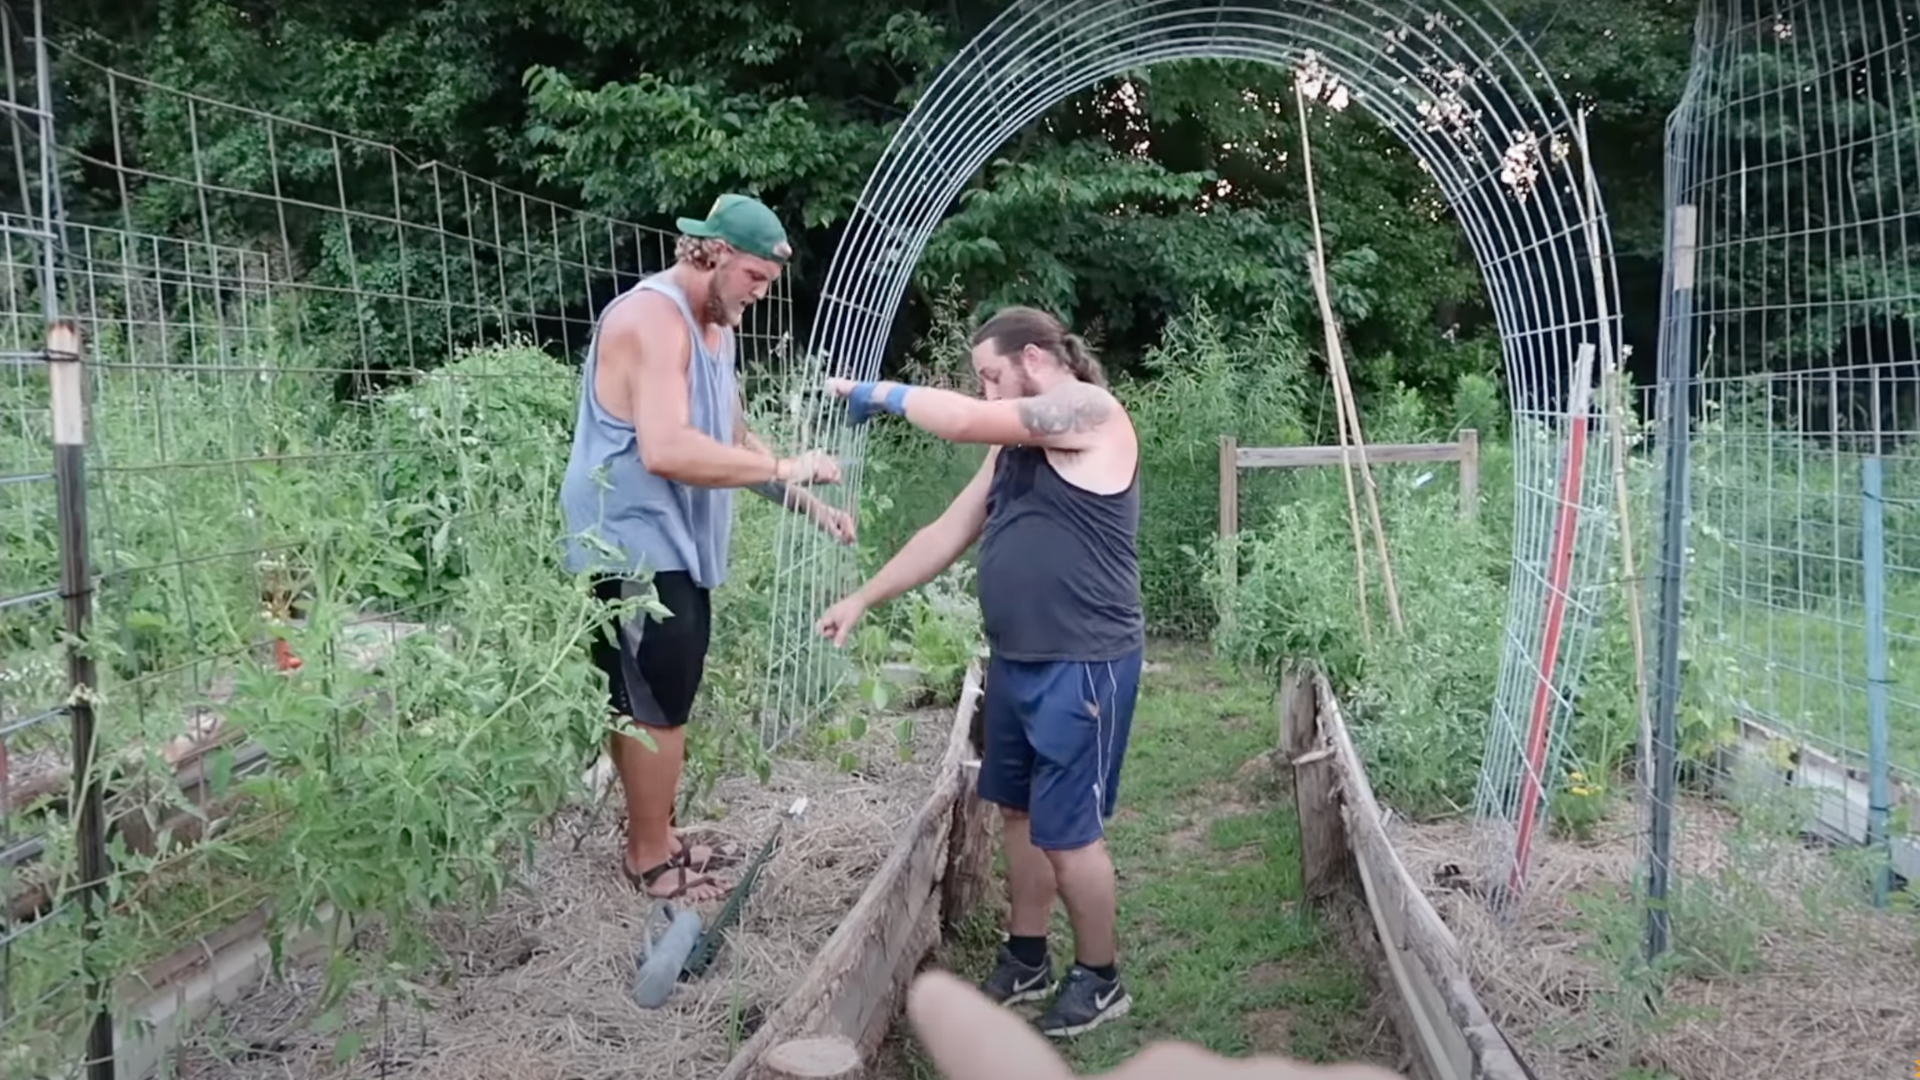
This is a two-person job. Stand on opposite sides of the panel and gently bend it into an arch shape. Position one end against the first T-post you already installed.
Hold it in place while the second person gets ready to secure the other end.
Step 3: Set the Second T-Post and Secure the Arch

While one person holds the panel steady, the other drives the second T-post into the ground, directly across from the first one. Make sure it’s aligned and balanced.
Once both posts are in, zip-tie the cattle panel to the posts at the top and sides to hold it firmly in place. You’ll usually need about 4–6 zip ties per post.
Step 4: Adjust and Tighten
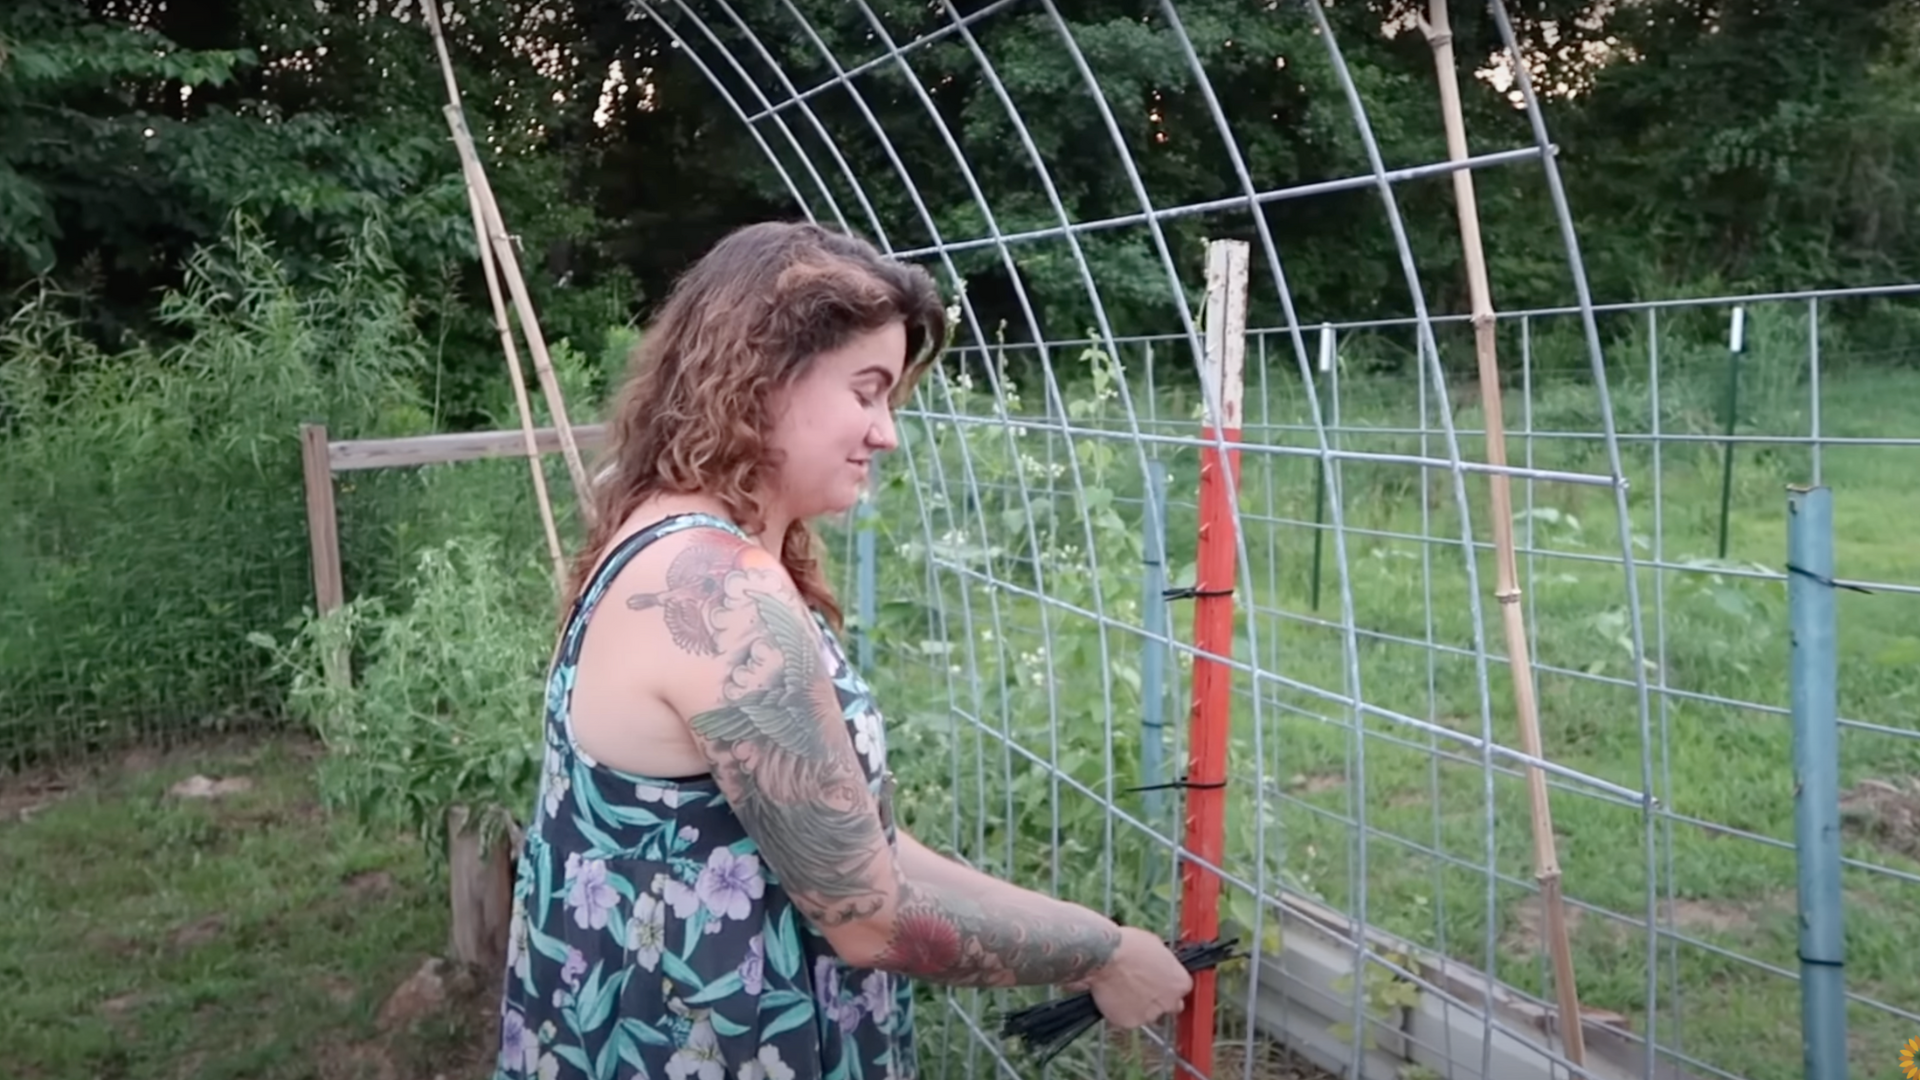
Now that your arch is in place, double-check that it’s standing evenly and straight. Adjust the zip ties if needed. Make sure the panel is tight against the posts and doesn’t wobble.
If you’re planning to grow heavy plants like melons or squash, a tighter fit offers better support.
Step 5: Plant Your Vines or Crops
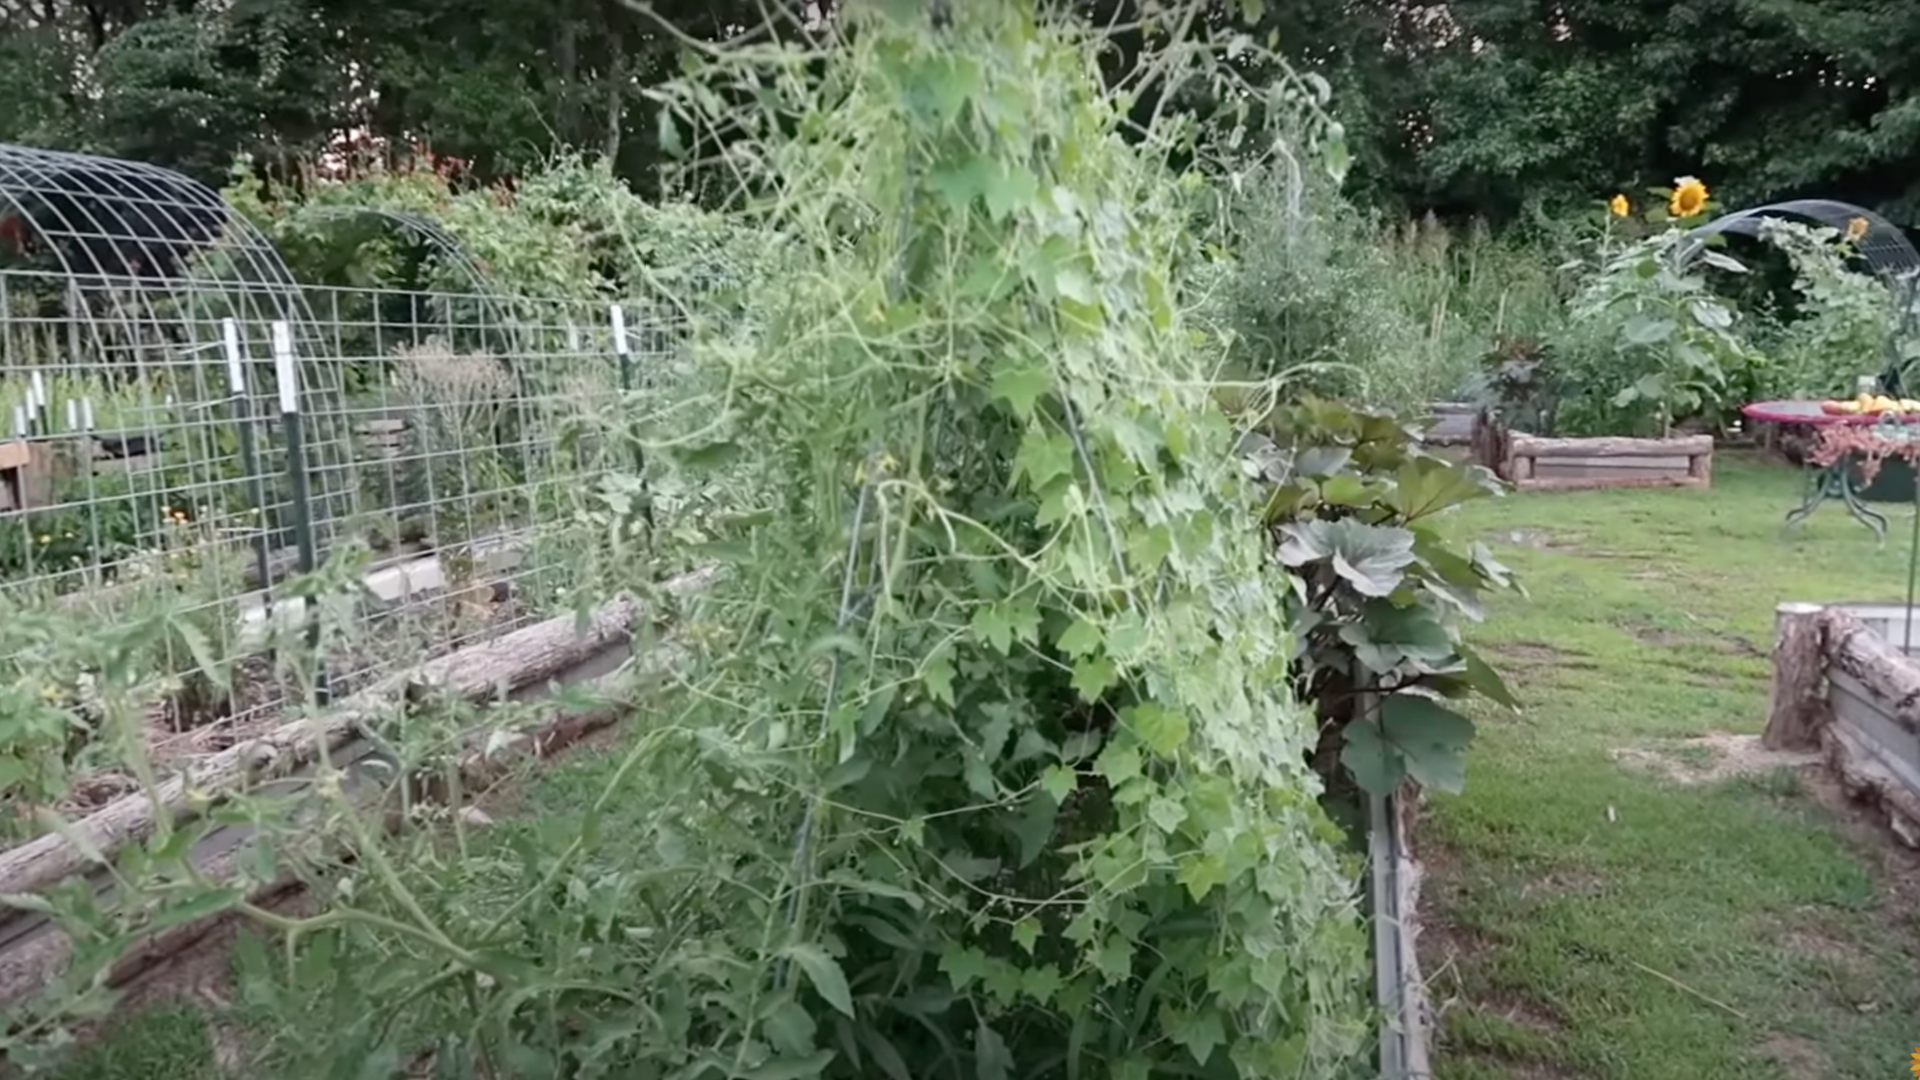
Your trellis is ready to use. Plant your climbing vegetables or flowers near the base of each T-post. Over time, they’ll grow up and over the arch.
Popular options include cucumbers, pole beans, peas, melons, and flowering vines like morning glories.
For a visual guide, you can refer to this tutorial on how to build an arch trellis by @RootsandRefugeFarm on YouTube.
Benefits of Building Your Own Arch Trellis
Making your own garden arch trellis is a smart and rewarding project. It supports healthy plant growth, saves money, and adds beauty to your space. Plus, you can customize it to fit your garden perfectly.
- Supports Plant Growth: Climbing plants need support to grow tall. An arch helps them spread out and stay healthy.
- Adds Garden Charm: A trellis makes your garden look more stylish and put-together.
- Easy and Affordable: Building one yourself costs less than buying a pre-made arch.
- Custom Size: You can make it the perfect size to fit your space and plants.
- Improves Airflow: Lifting plants off the ground helps air move around them, which keeps leaves dry and reduces disease.
- Simplifies Harvesting: Vegetables like beans or cucumbers are easier to pick when they hang from above.
- Saves Space: Vertical gardening frees up space in small garden beds, letting you grow more.
- Strong and Durable: When built with cattle panels or sturdy materials, your trellis will last for many seasons.
Types of Plants Grown on Arch Trellises

Many plants thrive on an arch trellis, making it a smart choice for both beauty and function in the garden.
Cucumbers are a top pick because they grow fast and climb easily, and keeping them off the ground helps prevent rot and pests.
Pole beans also love to climb and will keep producing all season long. Melons, especially smaller varieties, do well on a sturdy arch, though larger fruits may need slings or nets for support.
Peas are lightweight, grow quickly, and are easy to harvest when trained on a trellis. For added color, many gardeners grow flowering vines like Clematis or Morning Glory to brighten up walkways and garden entries.
Even vining tomatoes, the indeterminate types, can be trained on an arch trellis, making it easier to save space while growing healthy, tall plants.
Common Mistakes to Avoid When Building an Arch Trellis
Avoiding simple mistakes can make your DIY arch trellis safer, sturdier, and longer-lasting.
- Not anchoring posts deep enough – Shallow posts can make the arch wobbly or fall over in strong wind.
- Using weak or untreated wood – Treated or weather-resistant wood helps prevent rot and insect damage.
- Making the arch too narrow – Crowded plants won’t grow well; always leave space for vines to spread.
- Forgetting to measure plant height and space – Some vines grow very tall and wide, so plan ahead.
- Skipping the level check – Uneven arches may lean or twist over time, so check alignment while building.
- Using cheap or light-duty ties – Weak zip ties or fasteners can snap under plant weight or weather.
- Ignoring local weather conditions – In high wind or heavy snow areas, reinforce your structure to withstand pressure.
- Building too close to other structures – Leave room around your trellis for airflow and maintenance.
Conclusion
Building your own DIY arch trellis is one of those garden projects that gives back all season long. It lifts up your plants, brings structure to your space, and shows off your creativity.
When I finished mine, I couldn’t wait to see the first vines climbing up, and it was even better than I imagined.
You don’t need fancy skills or tools, just a little time, some good materials, and a plan. Whether you’re making a simple PVC arch or a strong wooden frame, the end result will be something you can enjoy for years.
So why wait? Start your arch trellis this weekend and create something beautiful for your garden.
And if you need help picking materials or deciding on a design, I’m happy to answer your questions.