
Want to build your entertainment center but don’t know where to start?This guide will help.
Inside, you’ll find everything from planning tipsto tools, materials, and step-by-step instructions. If you’re looking for clear help and not confusing jargon, you’re in the right place.
I’ll walk you through measuring your space, choosing your style, gathering your supplies, and actually buildingit, all in a way that feels doable.
You won’t just save money, you’ll also get to customize the look, make it fit your home, and feel proud every time you sit down to watch a show.
You can trust this guide to be straightforwardand honest. No fluff. No skipped steps. Just what works.
Here’s what you’ll learn:
- How to plan and design
- What tools and materials to use
- How to build it from start to finish
What Is a DIY Entertainment Center?

When I first heard the term “DIY entertainment center,” I pictured something way more complicated than it really is. But here’s the truth: It’sjust a media unit you build yourself.
That means instead of buying a ready-made TV stand or shelf system, you design and build one that fits your space and your stuff. You’re not trying to win an award. You’re just making something practical, personal, and useful.
Think about what you need. A place for your TV? Sure. But maybe you also want:
- Shelves for books, baskets, or speakers
- Cabinets to hide the mess
- A place to tuck away those tangled cords
You decide what goes in. You choose how it looks. That’s the beauty of it. This isn’t about perfection.It’s about building something with your own hands, something that fits your home just right.
And trust me, once it’s done, you’ll be glad you made it yourself.
Planning Your DIY Entertainment Center
Before you cut a single board, you need a plan. I’ve made that mistake, jumping in without thinking it through. Let’s not do that here.
Assessing Your Space
Start by grabbing a tape measure. Itmeasures your wall right now.You need to know how wide, tall, and deep your space is. But don’t stop there.
Look at where the outlets are. Notice windows, vents, or anything that might get in the way. Think about how people walk through the room, too. It’s not just about size, it’s about how it fits.
Determining Your Needs
Now, let’s figure out what you actually need. Do you have a soundbar? Game consoles? Lots of DVDs? Write it down.
Think about what you use every day, not just what looks good. Do you want to hide cords? Do you needspace for baskets or books? Make a list before moving on.
Choosing a Design Style
This part is fun. Do you like clean lines or cozy vibes?I lean toward farmhouse style, but you might love modern or rustic.
Don’t follow trends if they don’t match your home. Look at photos. Trust your gut. Your entertainment center should feel like it belongs.
Budgeting
The real talk: Set a budget before you buy anything. Lumber costs can sneak up fast, and the same goes forhardware.
I like to sketch a simple layout, then list what I’ll need, boards, screws, paint, whatever, andcheck prices. A solid plan keeps your wallet safe.
It just has to be honest. Take your time. You’ll thank yourself when the sawdust starts flying.
Essential Tools and Materials

Let’s talk about what you actually need, not everything in the store, justthe basics that’ll get the job done.
- Circular saw (for big, straight cuts)
- Miter saw (for angled cuts)
- Jigsaw (for curves or tight spaces)
- Drill
- Screwdriver
- Pocket hole jig
- Sander
- Paintbrushes or rollers
- Gloves and goggles
- Dust mask
- Plywood (for the main body)
- MDF (for shelves)
- Hardwood (for strength or looks)
- Screws and nails
- Brackets
- Paint (for color)
- Stain (to show wood grain)
- Sealant (to protect the finish)
- Hinges (for doors)
- Drawer slides (if adding drawers)
- Handles (for easy opening)
- LED lights (optional upgrade)
- Cable management kit (to hide wires)
Step-by-Step Guide to Building aCustom DIY Entertainment Center
Learn how to build a custom DIY entertainment center from scratch with this clear, step-by-step guide. From planning and tools to final assembly, every stage is covered in simple terms.
Step 1: Plan the Layout
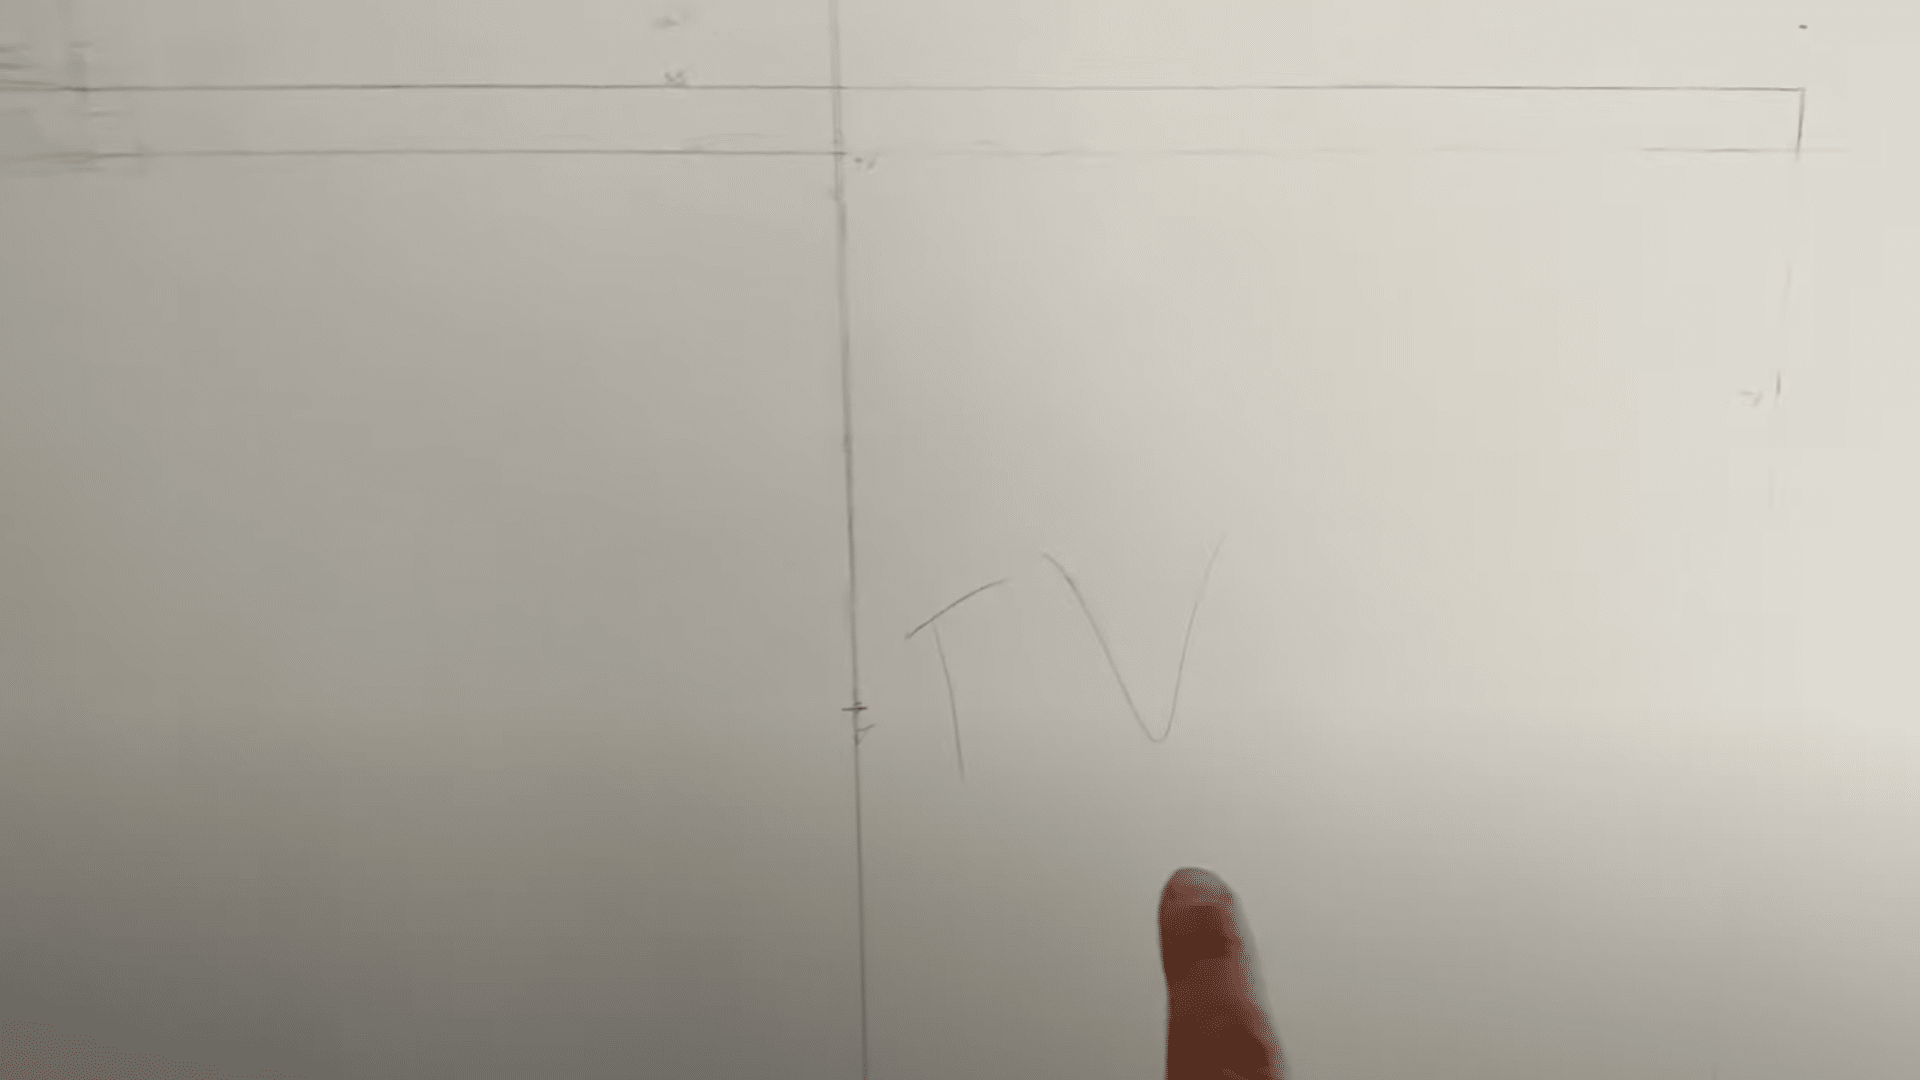
Begin by visiting the space and mapping out the full design using painter’s tape. Mark the TV placement, shelving units, and base dimensions.
Accurate measurements help ensure symmetry and clean lines. After defining the layout, create a detailed material list before heading to the hardware store. Pre-planning helps avoid delays during the build.
Step 2: Build the Face Frame and Base

Construct the face frame using one-by boards with natural saw marks, then sand them down to a smooth finish and soften the sharp edges.
Use pocket screws and wood glue for assembly, then let the frame dry overnight. For the base platform, rip 2×6 boards to five-inch widths. This base, once assembled, sits under the main cabinet and stays hidden behind baseboards and trim.
Step 3: Construct the Lower Cabinet Box

Build the lower cabinet box and position it on the base platform. Integrate a PVC chase system for cable management, allowing wires to run from the TV to the base cabinet.
Cut into the drywall as needed to make room. Attach quarter-inch UV-protected plywood to the back, making cutouts for any outlets. These preparations keep the final setup clean and functional.
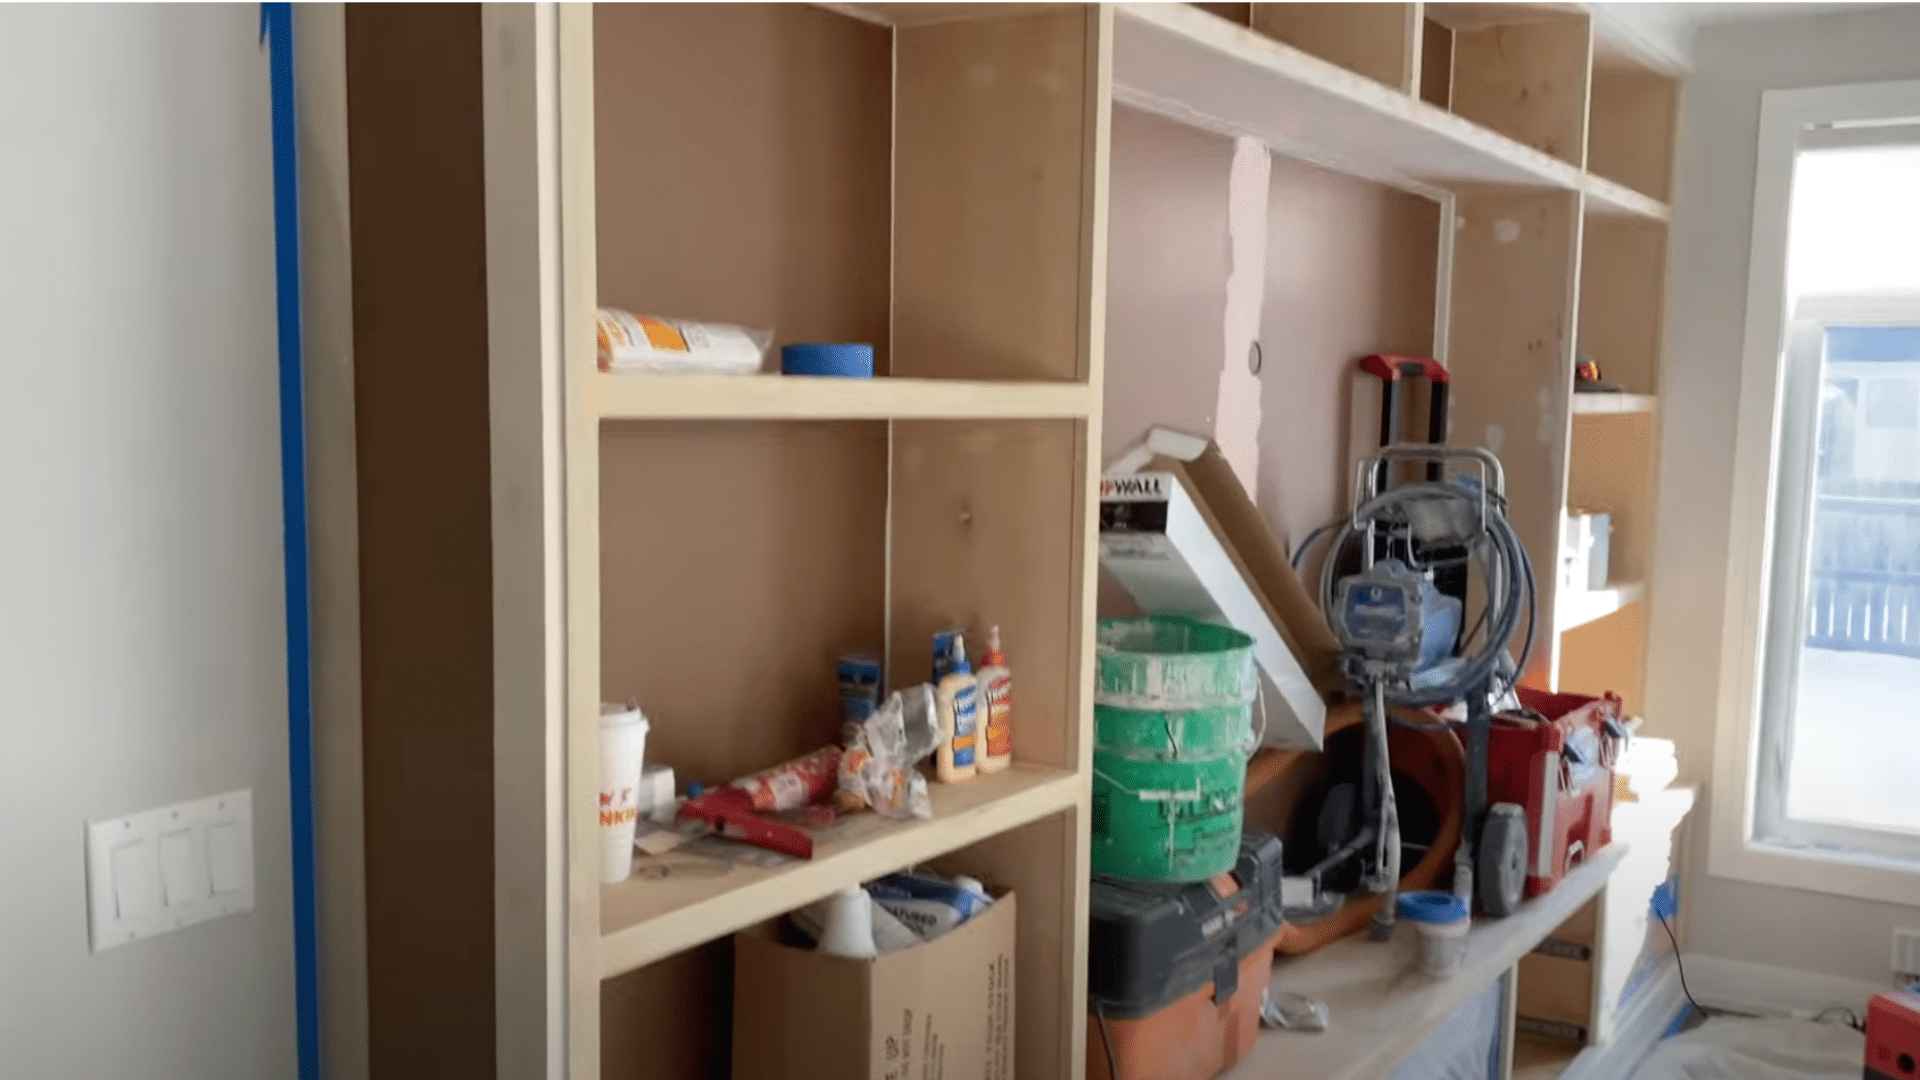
Step 4: Add the Upper Cabinets and Crown Layout

Frame the upper cabinet sections using the same measurements laid out in the planning phase. Begin with one side, typically the right, and use it as a guide for the remaining sections.
Mark the crown molding layout to align with the room’s existing trim. Complete the center and opposite sides to create a balanced, cohesive design that begins to resemble a true built-in unit.
Step 5: Make the Shaker-Style Doors
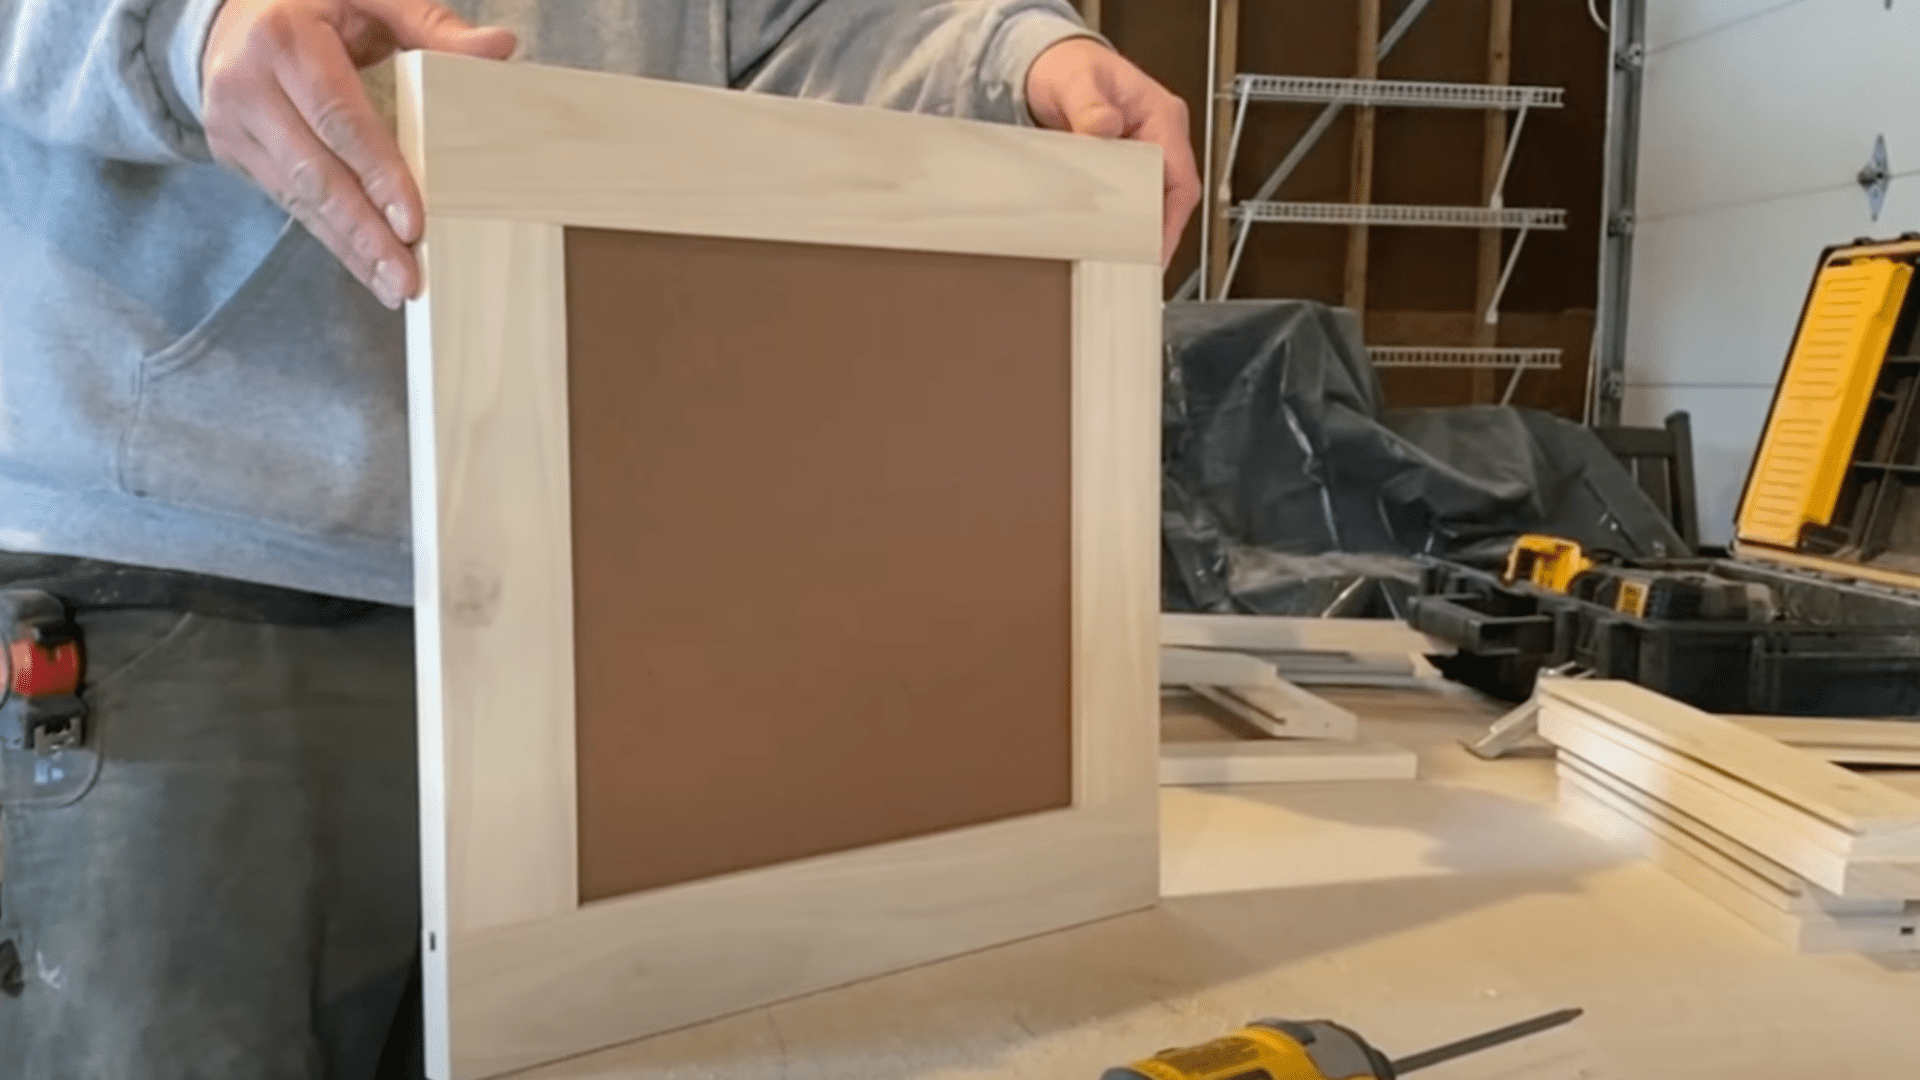
Shaker-style doors are simple and cost-effective to build. Use poplar 1x3s to create frames, cutting grooves on a table saw to hold quarter-inch plywood panels.
Assemble the doors using pocket holes and glue. Fill any gaps with putty, allow them to dry overnight, and sand the surfaces smooth. This method delivers a consistent style across all doors while reducing costs.
Step 6: Assemble and Install On-Site
Transport all the components to the installation site. Build the final cabinet section on location, then secure each piece base, top, doors, and crown molding in its proper place.
Final adjustments and cleanup help blend the entertainment center seamlessly into the room, making it appear custom-fitted from day one.
This DIY entertainment center project takes effort, patience, and precision. Each step builds upon the previous one, resulting in a professional-looking installation.
Whether following this plan exactly or adapting it for a different space, this guide serves as a reliable foundation for crafting a centerpiece worth showing off.
For a closer look at each step in action, check out this hands-on video from @DannyRickRick, it’s like building it together, one frame at a time.
Entertainment Center: Design Inspirations and Variations
This is where things get fun. Once you know your space and what you need, it’s time to figure out the look. There’s no one right way to build an entertainment center.
1. Built-In vs. Freestanding Units

I’ve built both. If you want something that feels like it’s part of the house, opt fora built-in. It blends seamlessly into the wall, givinga clean, finished look.
However, if you’re renting or plan to rearrange your room later, a freestanding unit is more sensible. You can move it. Reuse it. It’s flexible.
2. Incorporating Fireplace Inserts

Now this one surprised me. Adding a small electric fireplace insert made the room feel cozier and more inviting, almost like a cabin getaway.
It’s easier than it sounds; just be sure to plan for adequate ventilation, easy access to plugs, and sufficient space around it for safety and style.
3. Using Reclaimed Wood for a Rustic Look

Reclaimed wood adds warmth and history. I used old barn wood once, and every scratch told a story.
It’s not perfect, but that’s what makes it special. Just check for nails before cutting. A quick sanding also helps smooth out the rough spots without losing the charm.
4. Floating Entertainment Centers

If your space is tight, try a floating unit. Mount it to the wall and leave the floor open. It makes the room feel bigger and cleaner, and it’s easier to vacuum underneath. You can even run LED strip lights underneath for a soft glow at night.
5. Combining Open Shelves with Closed Storage

This is what I usually do now. Open shelvesfor books or decor, and closed cabinetsto hide the mess. Best of both worlds.
You don’t have to copy anyone. Take bits and pieces from each idea, mix it up, and makeit yours. That’s the real beauty of DIY.
Tips for aSuccessful DIY Build
I’ve messed up enough projects to know that the little things matter.It’s not just about the big cuts or fancy finishes. It’s about slowing down and doing the basics right.
- Double-Check Your Measurements: Measure twice, andmaybe even three times. I’ve cut boards an inch short before, and it’s not fun having to start over. Take your time, use a pencil, and double-checkbefore that saw turns on.
- Pre-Drill Your Holes: This step takes a few extra minutes, but it’s worth it. Pre-drillingkeeps the wood from cracking, especially near the edges. It also helps screws go in straighter. Neater too.
- Use Quality Materials: I’ve used the cheap stuff. And I’ve regretted it. Spend a little moreon solid wood, strong screws, and good hardware. It holds up better and looks nicer. You’ll thank yourself later.
- Plan for Ventilation: Your electronics need to breathe. Ensure you leave space behind the TV or inside cabinets for proper airflow. Heat builds up quickly, and it can damageyour gear. A few vents or open backs do the trick.
- Think About Cables Early: Wires have a tendency to become tangled. Trust me. Before you build, decide where the cords will go. Drill holes where needed. Add clips or trays to guide them. Your future self will love the clean look.
Good builds come from good habits. You don’t need to be perfect, just thoughtful. Take your time, do it right, and enjoy the process.
Common Mistakes to Avoid
Let me be honest: I’ve made all of these. You might make one or two, too, and that’s okay. But if I can help you avoida few headaches, I will. Here are some mistakes I wish I had avoided sooner.
- Ignoring Wall Studs: This one’s big. If you’re mounting anything, especially a heavy unit, find the studs. Drywall alone won’t hold up over time. I’ve had shelves pull loose because I rushed. Use a stud finder or knock and listen.
- Overlooking Weight Distribution: Not all shelves can hold the same weight. I learned this the hard way—when mine sagged in the middle. Spread out your heavy stuff. Use thicker boards or extra supportif needed.
- Skipping the Finish: I get it, you’re tired and want it done. But stopping before paint or stain? That’s a mistake. A good finish doesn’t just make it look better. It protects the woodfrom scratches, spills, and wear.
- Neglecting Functionality: It’s easy to get caught up in the look. I’ve built things that were pretty but awkward to use. Always ask yourself: How will I use this every day? Ensure doors open in the correct direction. Leave space for cords.
Mistakes happen. However, a little planning goes a long way. And hey, every project teaches you something. That’s part of the fun.
Conclusion
Building your entertainment center isn’t just about saving money. It’s about creating something that suits your space, style, and needs.
You get to choose the design, the size, and the finish. And in the end, you’ve got a piece of furniture you built with your own hands, that’s something to be proud of.
I hope this guide gave you the confidence to get started. Whether it’s your first project or your fifth, every build teaches you something new.
Do you have a project to share? I’d love to see it. Please post a photo or story in the comments. Your ideas might also help someone else.
If you have questions or need a second opinion, don’t be shy. Leave a comment below.