
I enjoy working on small DIY furniture projects, and building a DIY end table is one of the easiest ways to start.
A DIY end table is a small table you place next to your sofa or bed to hold items like a lamp, books, or your phone. It’s simple, useful, and fits well in almost any room.
When I started making my own tables, I noticed how much money I could save compared to buying one from a store.
You also get full control over the design, size, and color, so it fits your space perfectly. You can even use scrap wood or basic materials you already have at home.
In this guide, you will find DIY end table ideas with easy steps for each one.
I will also share basic tools, simple tips, and common mistakes to avoid so you can build your table with confidence.
What Is an End Table?
An end table is a small table placed next to a sofa, chair, or bed. It gives you a spot to keep everyday items like a lamp, phone, books, or a cup of tea within easy reach.
Most end tables are about the same height as the arm of a sofa, so they feel easy to use while sitting.
They come in many shapes, like square, round, or narrow designs, to fit different spaces. Some also include drawers or shelves for extra storage.
People use end tables to make a room more useful and tidy without taking up much space.
You can place one on either side of a couch or next to a bed to keep things close and organized.
DIY End Table Ideas You Can Make at Home
These are easy DIY end table ideas you can make at home using simple tools and low-cost materials. These projects help you add style, storage, and function to your space.
1. Simple Wooden End Table
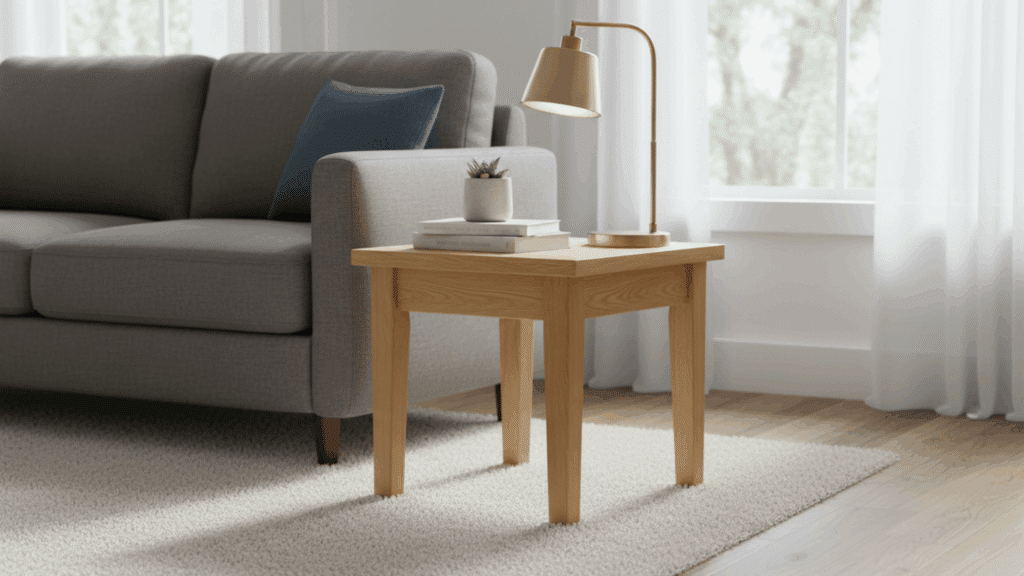
A simple wooden end table is a great beginner project with basic cuts and a clean frame, making it easy to build and useful in any room.
You need wooden boards like pine or plywood, screws, glue, sandpaper, a drill, a saw, and measuring tape. You can paint or stain it, add a shelf, or adjust the size.
Always wear safety glasses, keep your hands away from blades, use a stable surface, and sand edges well.
2. Crate End Table
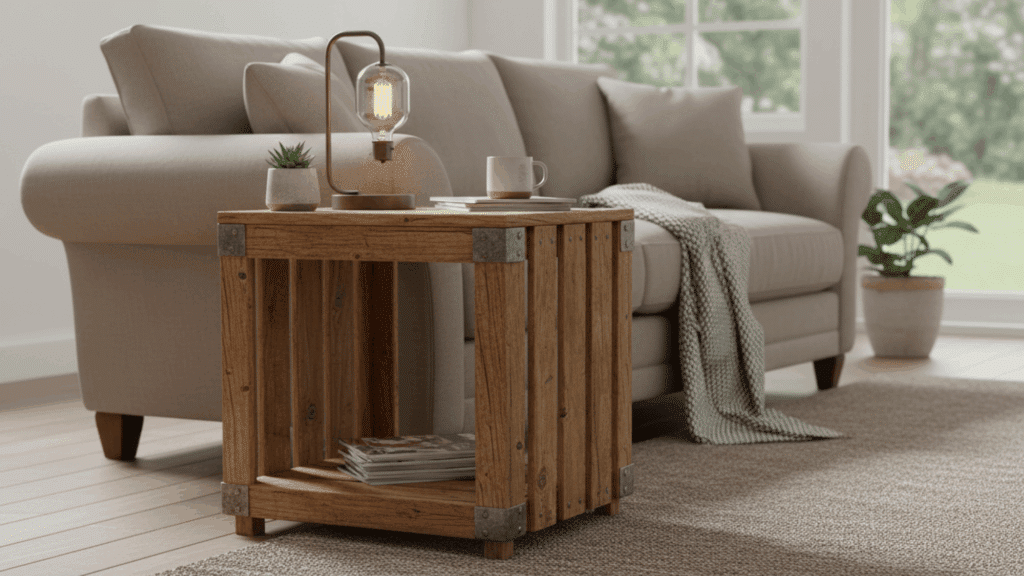
A crate end table is an easy DIY project that uses ready-made wooden crates, making it quick to build with minimal effort.
You will need wooden crates, screws or nails, wood glue, sandpaper, and a drill.
You can stack crates in different styles, paint or stain them, or add wheels for movement.
Make sure to sand rough edges, secure the crates tightly, work on a flat surface, and wear safety gloves to protect your hands.
3. Rustic Farmhouse End Table
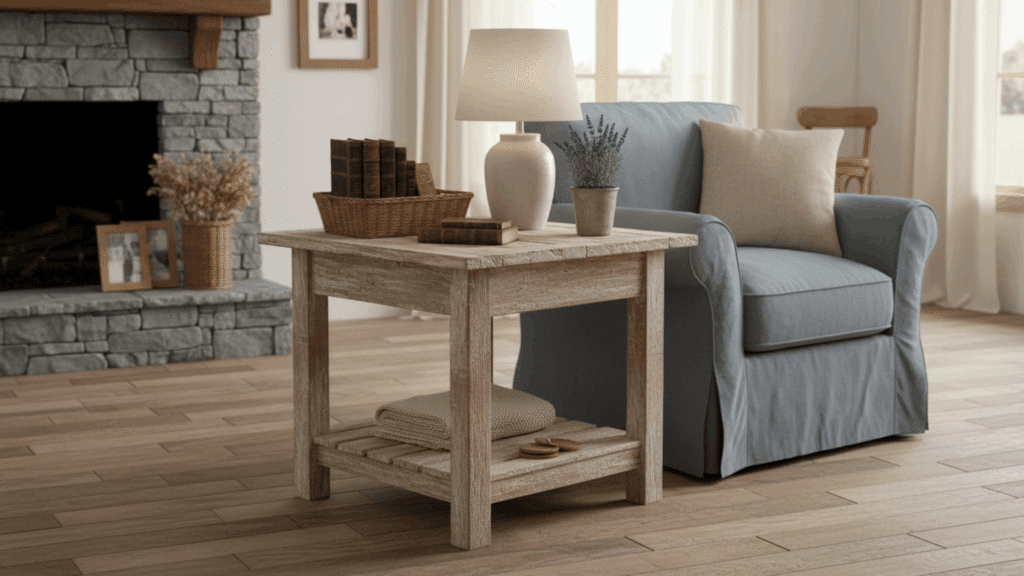
A rustic farmhouse end table gives a warm and simple look using solid wood and a slightly rough finish.
This style often uses basic joinery and natural textures, making it a good choice for a classic setup.
You will need wooden boards, screws, wood glue, sandpaper, a drill, and wood stain or paint. You can distress the wood, add a lower shelf, or change the finish color.
Always sand edges well, secure joints tightly, work on a stable surface, and wear safety gear while cutting or drilling.
4. Pallet End Table
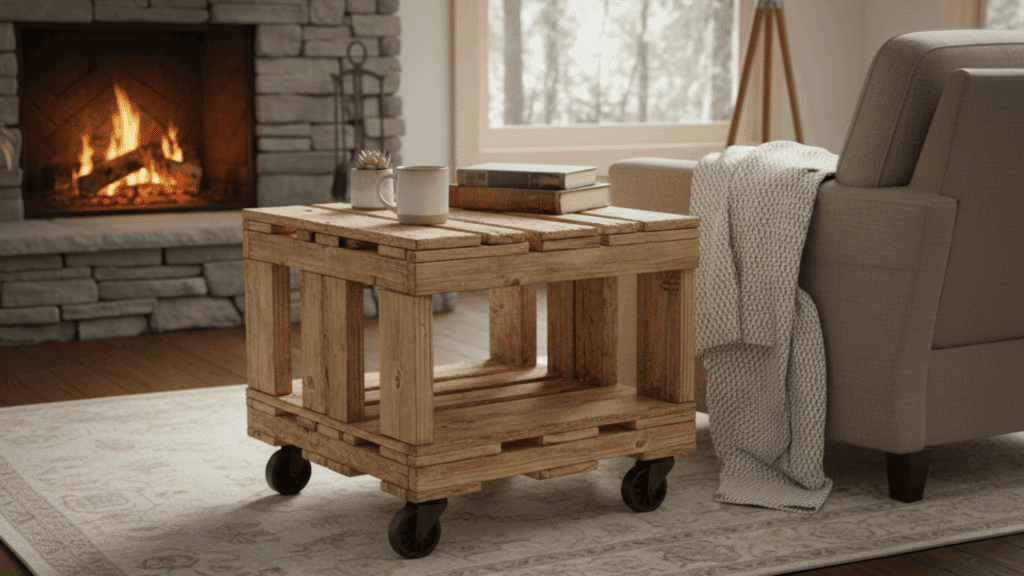
A pallet end table is a budget-friendly DIY option made from reused wooden pallets, giving it a simple and raw look that fits many spaces.
You will need wooden pallets, screws, wood glue, sandpaper, a saw, a drill, and measuring tape.
You can cut pallets into smaller sections, paint or stain them, or add wheels for easy movement.
Always check pallets for nails, sand rough edges well, use clean wood, and work on a stable surface while cutting and assembling.
5. Modern Minimal End Table
A modern minimal end table features a clean design with straight lines and a simple frame, making it perfect for small and neat spaces.
You will need wooden boards or MDF, screws, wood glue, sandpaper, a drill, a saw, and measuring tape.
You can paint it in neutral colors, keep a smooth finish, or adjust the size for your space.
Always measure carefully, sand edges well, secure joints tightly, and work on a flat, stable surface while cutting and assembling.
6. Hairpin Leg End Table
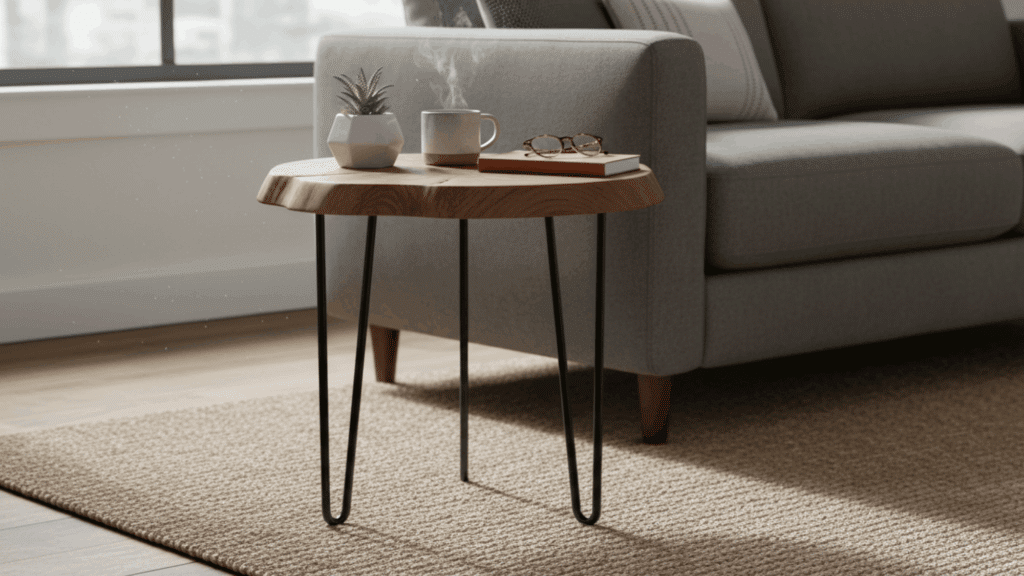
A hairpin leg end table is a simple DIY project that combines a wooden top with metal legs for a clean and modern look. It is quick to build and works well in small spaces.
You will need a wooden board, hairpin legs, screws, a drill, sandpaper, and wood finish. You can stain or paint the top, choose different leg heights, or round the edges.
Always secure the legs tightly, sand the surface well, and work on a stable surface while assembling.
7. Round End Table
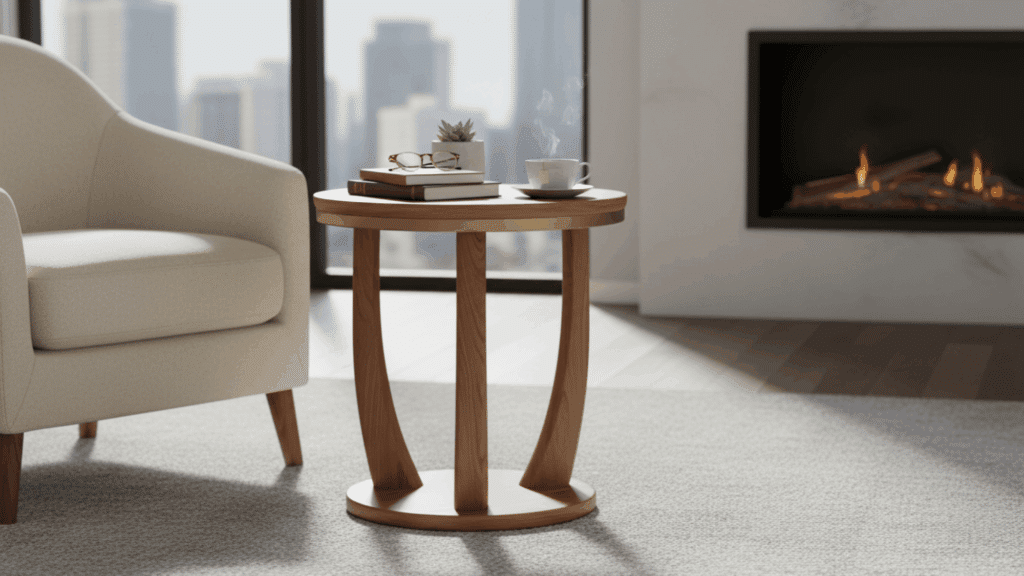
A round end table adds a soft and smooth look to your space and works well in small or tight areas due to its curved edges.
It is built by cutting a circular top and attaching a stable base.
You will need wooden boards, a jigsaw, screws, wood glue, sandpaper, a drill, and measuring tools. You can paint or stain it, adjust the size, or try different base styles.
Always cut carefully, sand edges smooth, secure joints tightly, and work on a stable surface.
8. Floating End Table
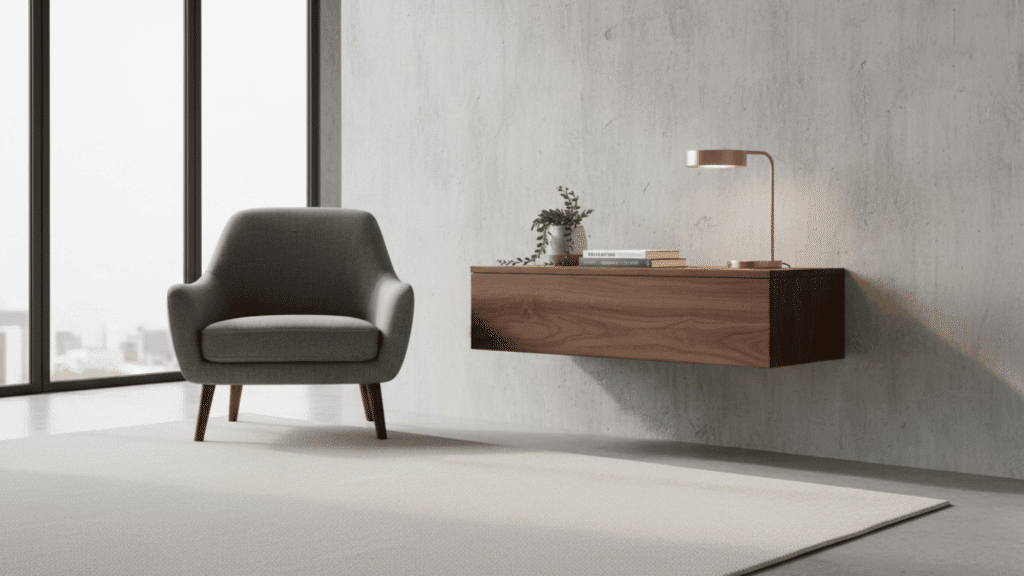
A floating end table is a wall-mounted design that saves floor space and works well in small rooms or beside beds. It has a simple structure and gives a clean look.
You will need wooden boards, wall brackets, screws, a drill, a level, sandpaper, and measuring tools.
You can paint or stain it, add a small drawer, or adjust the size.
Always use strong wall anchors, check level alignment, secure brackets tightly, and work carefully while drilling into the wall.
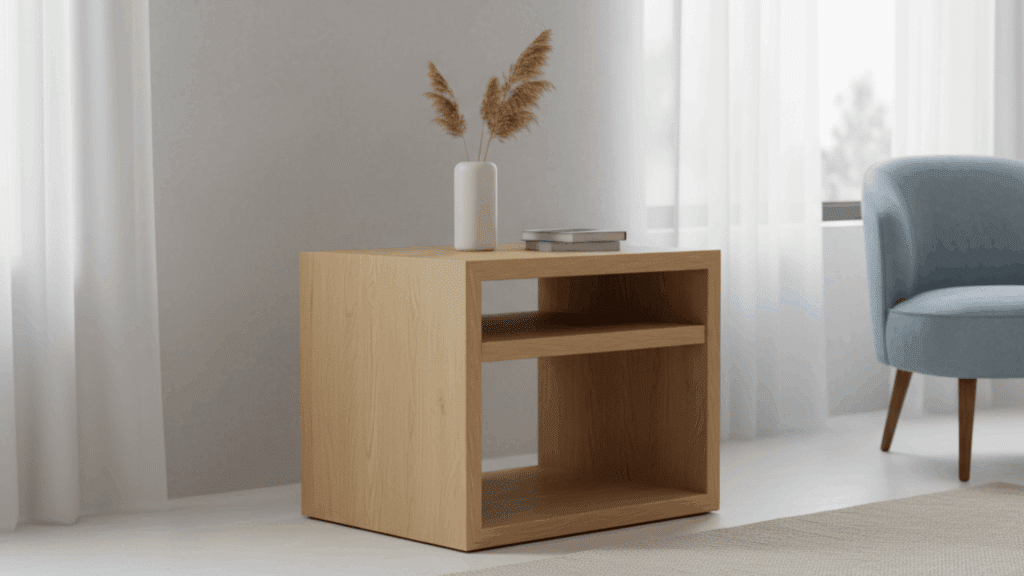
9. Storage End Table
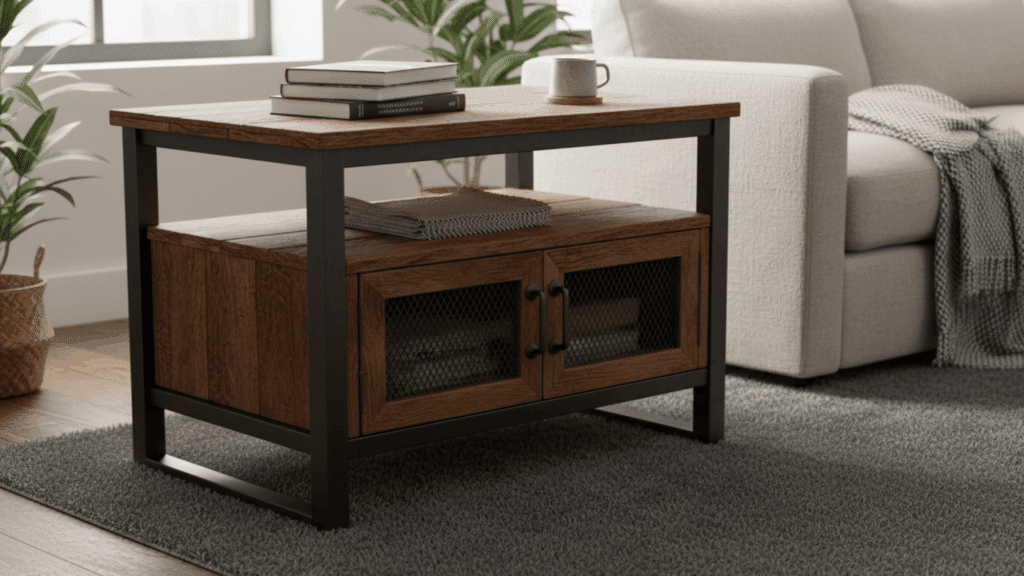
A storage end table is a practical DIY option that gives you both a surface and extra space to store items like books, remotes, or small essentials.
It usually has a box-style design with a shelf or hidden compartment.
You will need wooden boards, screws, wood glue, hinges (for lids), sandpaper, a drill, and measuring tools.
You can add drawers, paint or stain it, or adjust storage space. Always secure joints well, align parts properly, sand edges smooth, and work on a stable surface.
10. Ladder Style End Table
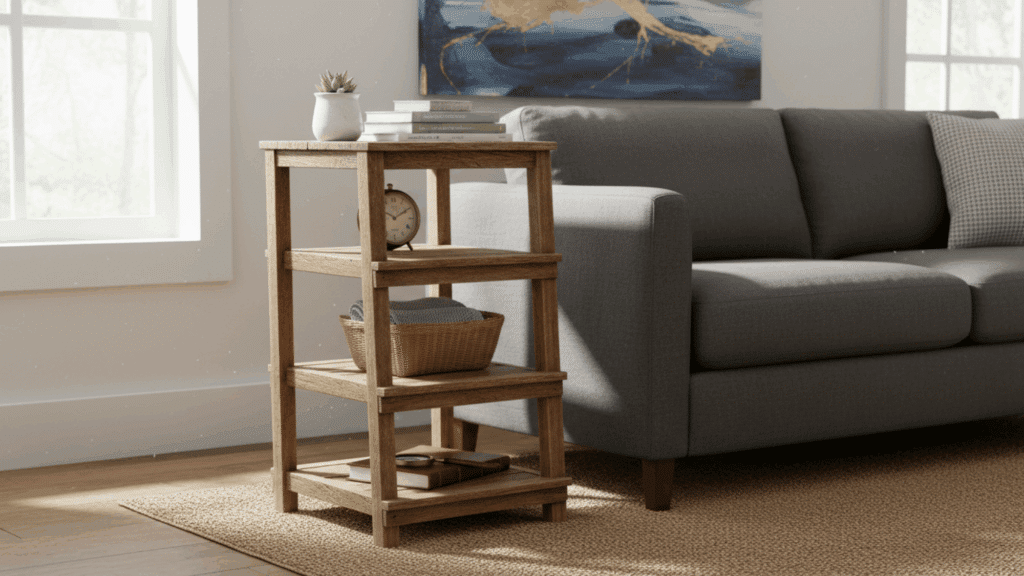
A ladder-style end table features a tiered design with open shelves, making it useful for both display and storage in small spaces.
It has a simple frame that leans slightly or stands straight, giving easy access to items.
You will need wooden boards, screws, wood glue, sandpaper, a drill, a saw, and measuring tools. You can paint or stain it, adjust shelf spacing, or change the height.
Always secure the frame tightly, check the balance, sand the edges smooth, and work on a stable surface while building.
11. Concrete Top End Table
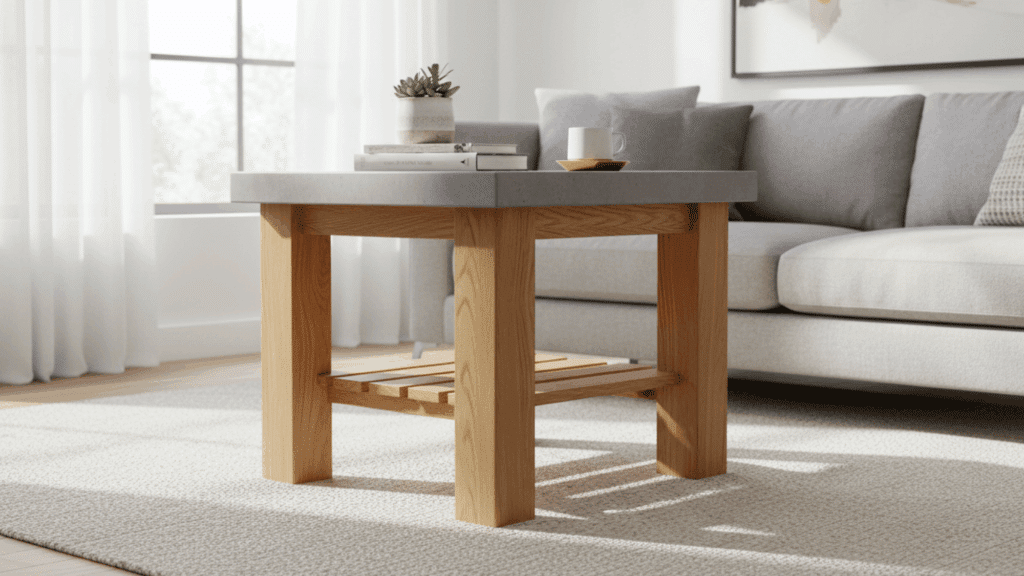
A concrete top end table gives a strong and modern look by combining a solid concrete surface with a simple base.
It is durable and works well for indoor or outdoor use.
You will need cement mix, water, a mold, wooden boards or a metal base, screws, sandpaper, and a drill. You can change the mold shape, polish the surface, or add color to the mix.
Always wear gloves and a mask, mix properly, let it cure fully, and handle with care due to the weight.
12. Tree Stump End Table
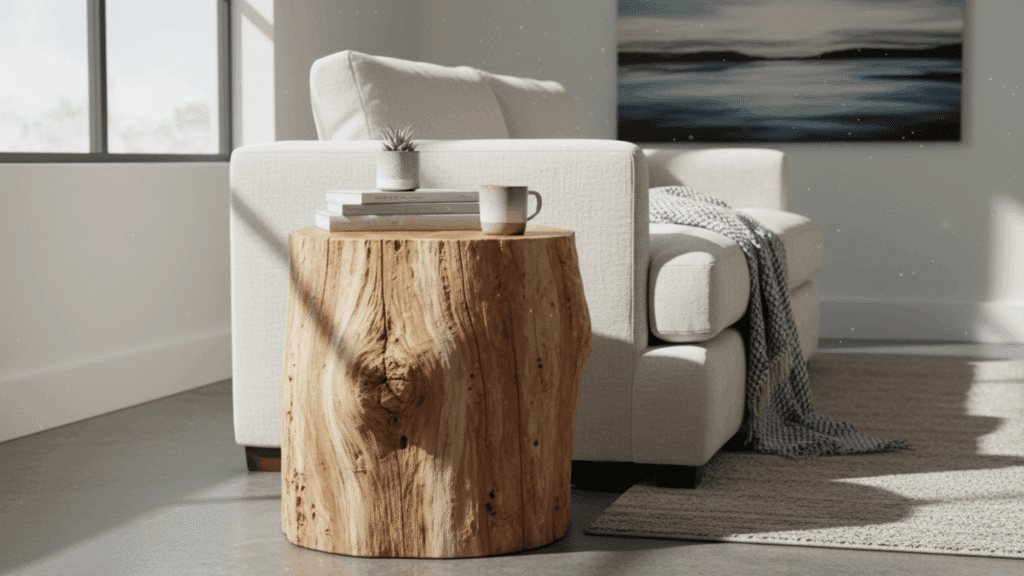
A tree stump end table uses a solid piece of natural wood to create a simple and sturdy table with a raw look. It works well in many spaces and requires minimal building.
You will need a tree stump, sandpaper, wood sealer, a saw (if trimming), and optional legs. You can keep the natural finish, paint it, or add wheels or legs.
Always dry the wood properly, sand the surface smooth, check for cracks, and handle tools carefully while cutting or shaping.
13. Metal Frame End Table
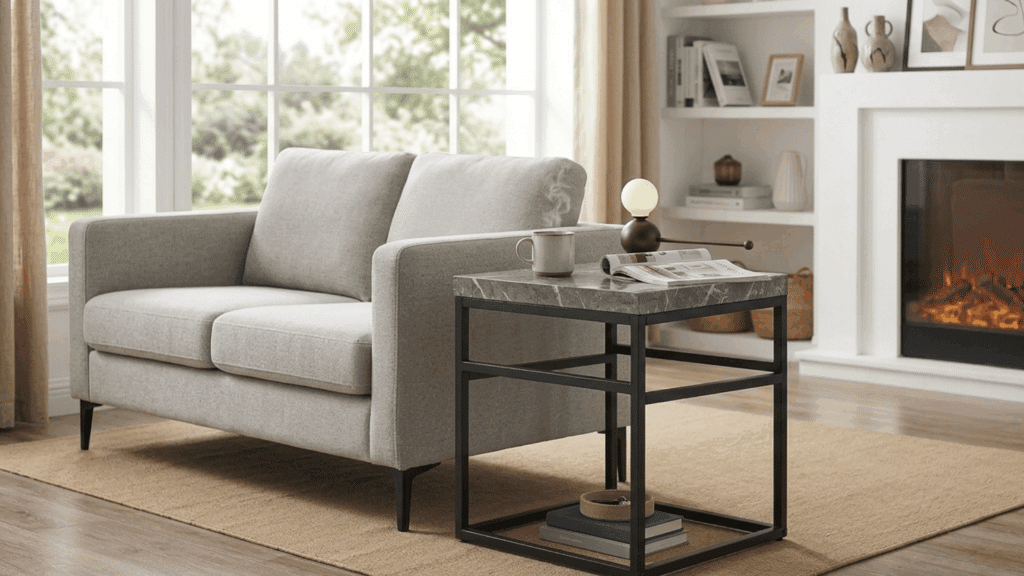
A metal frame end table combines a strong metal base with a wooden or glass top, giving a clean and sturdy structure that works well in many spaces.
It is durable and supports heavier items easily. You will need metal bars or a pre-made frame, a wooden or glass top, screws, a drill, sandpaper, and paint or finish.
You can change the frame style, paint the metal, or adjust the top size.
Always smooth, sharp edges, secure joints tightly, wear gloves, and work carefully while cutting or assembling.
14. Foldable End Table
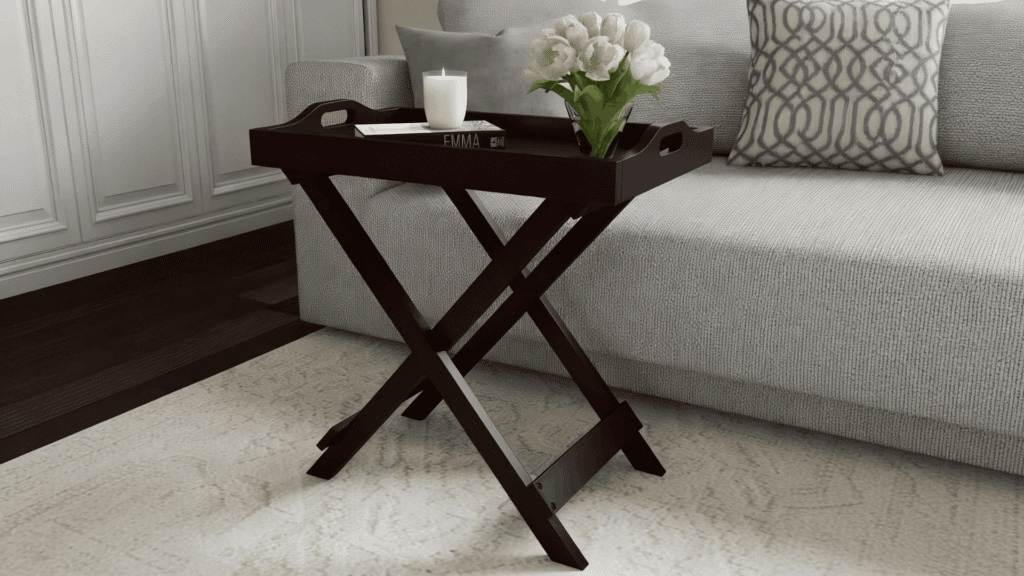
A foldable end table is a space-saving DIY option that can be opened when needed and folded away when not in use, making it ideal for small rooms.
It has a simple design with hinges that allow easy movement.
You will need wooden boards, hinges, screws, a drill, sandpaper, and measuring tools.
You can adjust the size, paint or stain it, or add a locking feature. Always install hinges properly, check stability, sand edges smooth, and work on a flat surface while assembling.
15. Painted Accent End Table
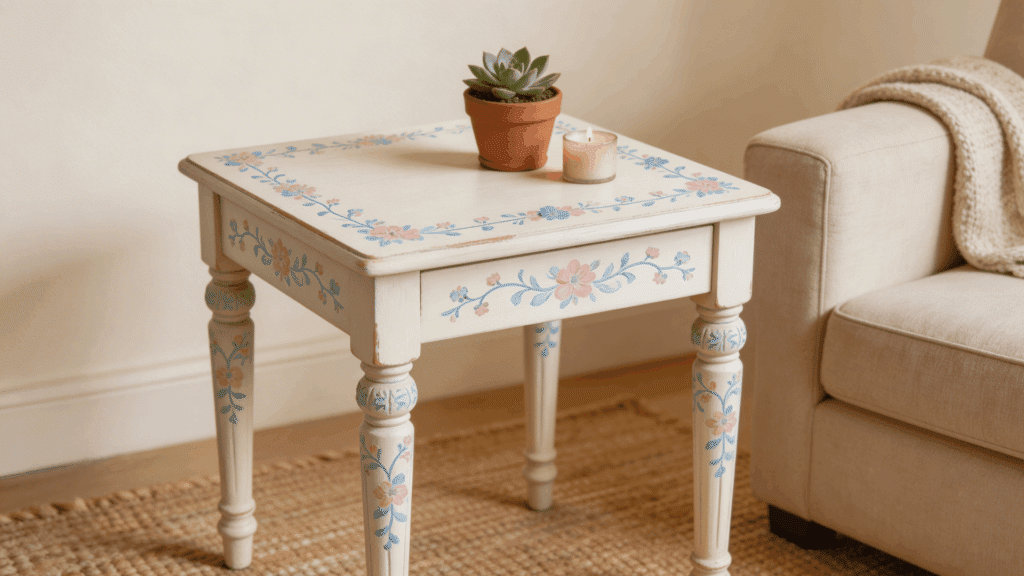
A painted accent end table is a simple DIY project that focuses on adding color and style to a basic table, making it stand out in any room.
It can refresh old furniture or enhance a new build with a fresh look.
You will need a wooden table or boards, paint, primer, brushes or rollers, sandpaper, and a drill if building from scratch.
You can try bold colors, patterns, or two-tone finishes. Always sand the surface well, use primer for better paint hold, work in a ventilated area, and let it dry fully.
Best Wood Types for DIY End Tables
Choosing the right wood type plays a big role in how strong, durable, and long-lasting your DIY end table will be. It also affects the final look, so picking the right option helps your table match your space better.
- Pine: Easy to work with and affordable, great for beginners
- Oak: Strong and durable, ideal for long-lasting tables
- Plywood: Budget-friendly and stable, good for simple designs
- Reclaimed Wood: An eco-friendly option that adds a natural and reused look
How to Build a DIY End Table?
Follow this simple process to build a clean and sturdy DIY end table from start to finish. Each step helps keep the cuts accurate and the final assembly smooth and well-fitted.
Materials Used
The following materials are required to build a strong and well-finished DIY end table. Make sure to gather everything in advance to keep the process smooth and organized.
- Wood beam or solid wood stock
- Thin plywood sheets
- Wood glue
- Wooden dowels or pins
- Nails
- Clamps
- Tape
- Wood finish or protective coating
- Drawer slides
- Fasteners or screws
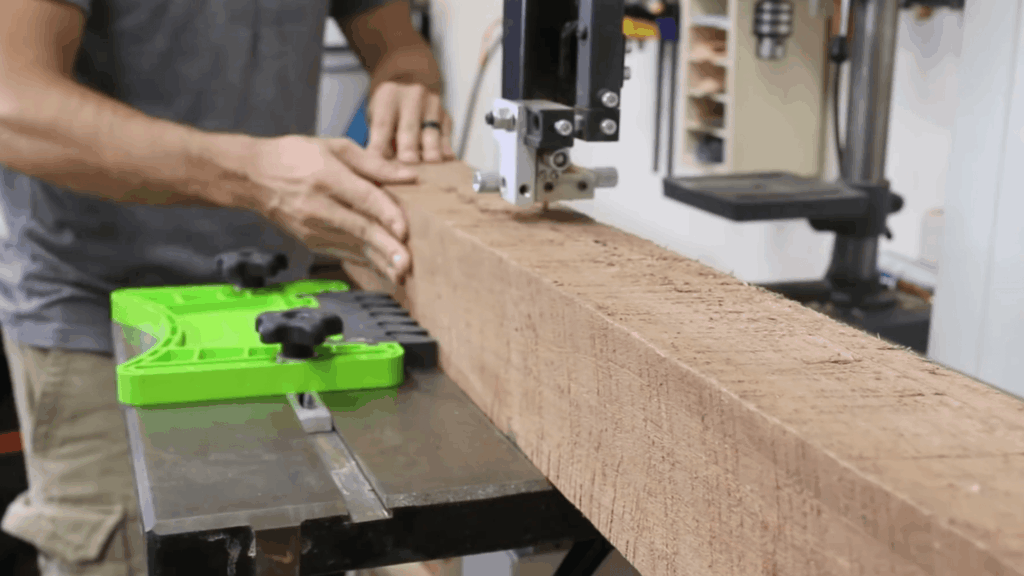
Step 1: Cut and Flatten Wood
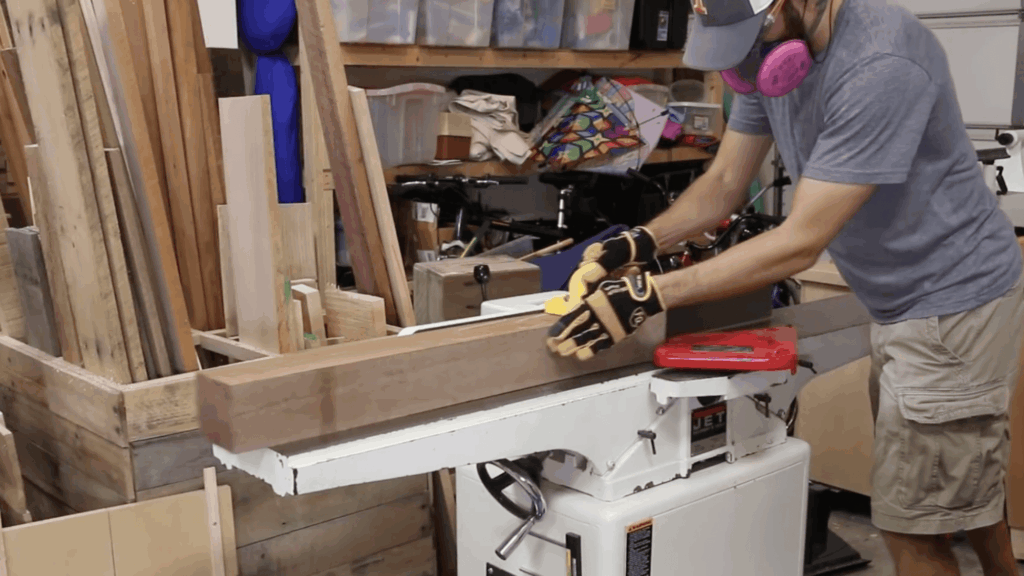
Cut the large wood beam into smaller, manageable pieces for easier handling during the build.
Use a jointer to flatten one side of each piece to create a smooth surface. Then rotate the wood and flatten the adjacent side to form two flat reference faces.
These surfaces help make accurate cuts later.
Preparing the wood now gives better alignment, cleaner edges, and a more precise fit during assembly.
You can either cut the wood yourself using suitable machines or get it pre-cut from a workshop, depending on what works best for your setup.
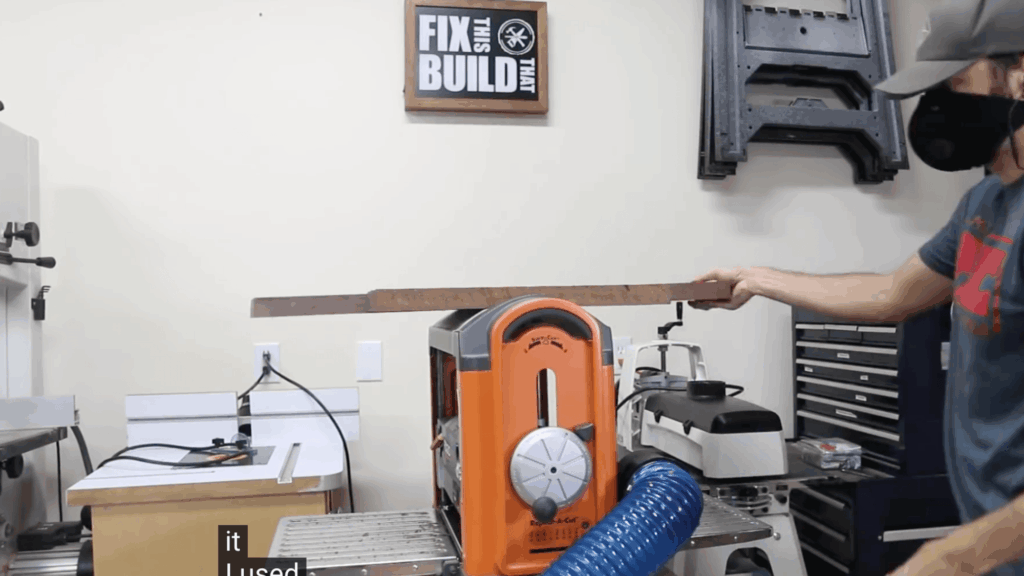
Step 2: Resaw and Smooth Boards
Use a bandsaw to resaw the prepared wood pieces into thinner boards, keeping the flat sides against the fence and table for better control.
This step helps create matching boards with similar grain and color.
After resawing, smooth the boards using a drum sander or planer to make them flat and even.
Once smooth, trim each board to the required width and length. Proper sizing and smoothing ensure clean cuts and easier assembly in the next steps.
Step 3: Glue Panels Together
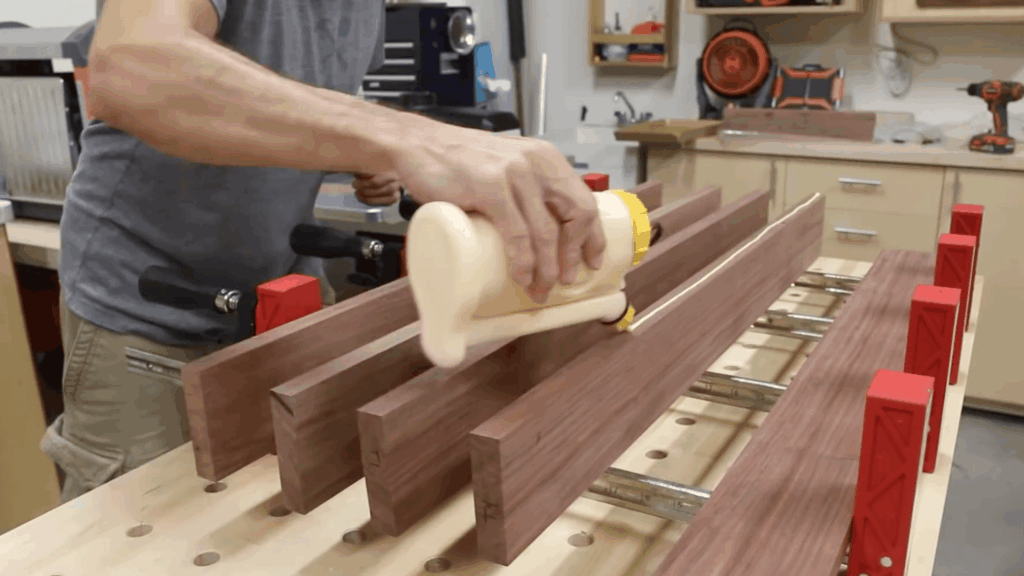
Apply wood glue evenly along the edges of the boards and clamp them together to form larger panels for the table box.
Make sure the boards are aligned properly before tightening the clamps. Repeat the process to create a smaller panel for the bottom section.
Allow the glue to dry completely according to the recommended time.
Once dry, remove the clamps and scrape off any excess glue from the surface to keep the panels smooth and clean for the next steps.
Step 4: Cut Panels and Prep Edges
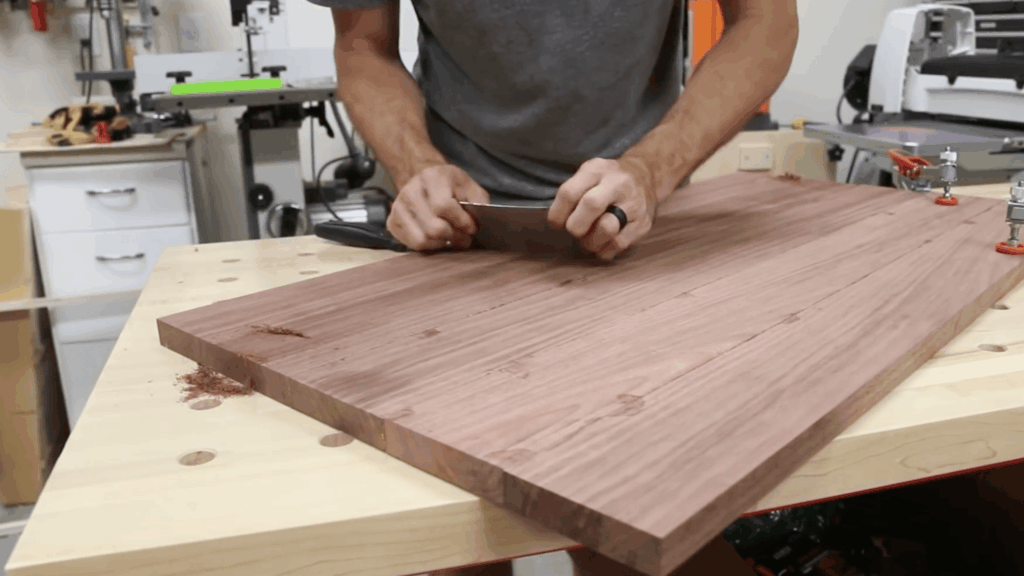
Run the glued panels through a sander or planer again to ensure they are flat and even on all surfaces. This step helps improve accuracy for the next cuts.
Once flattened, measure and mark the panels carefully based on the required dimensions.
Cut the large panel into separate pieces for the top and sides of the table.
Then trim the bottom panel to size as well. Clean, accurate cuts at this stage make the assembly process easier and more precise later.
Step 5: Cut 45° Miter Joints
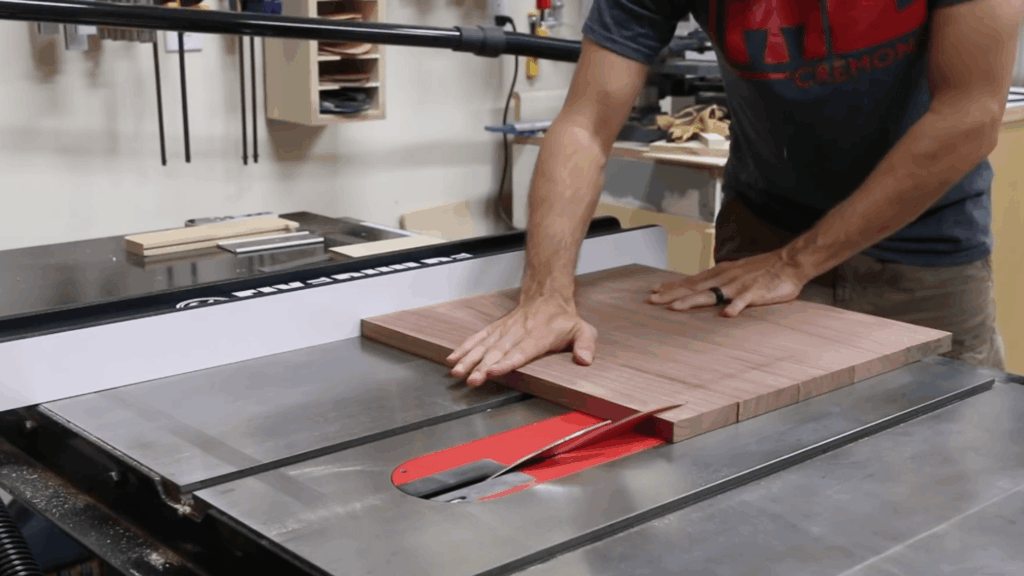
Set the table saw blade to a 45-degree angle to create miter cuts on the panel edges.
Carefully guide each piece along the fence, keeping one straight reference side against it for accuracy. Cut bevels on all required edges to form clean corner joints for the table box.
Flip the boards as needed to match the angles on opposite sides.
Accurate miter cuts are important because they help the corners fit tightly together during assembly and improve the final appearance.
Step 6: Assemble Table Box
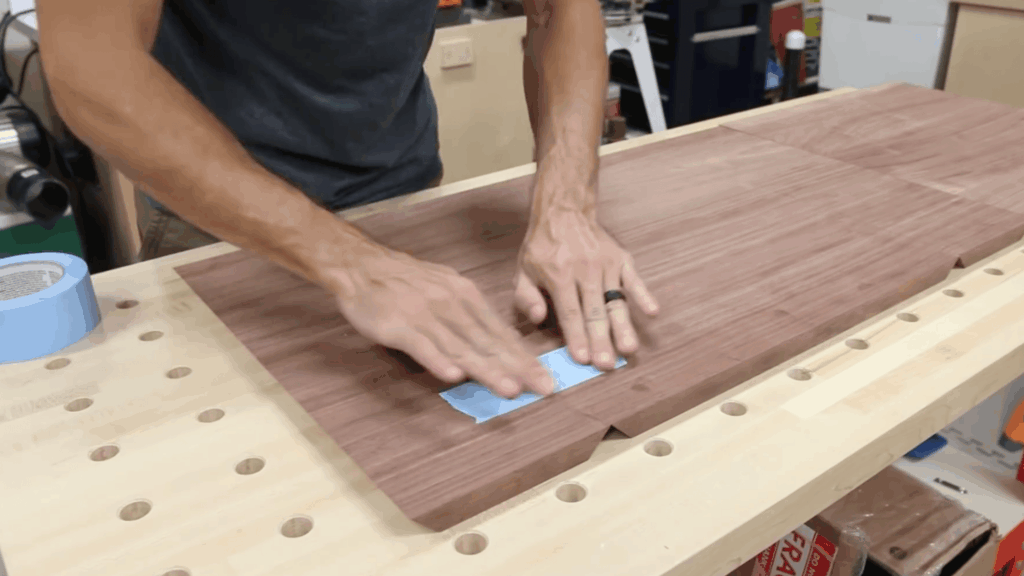
Align the angled pieces on a flat surface and use tape along the edges to hold them in position.
Carefully flip the assembly over and apply wood glue along each joint.
Fold the panels together to form the box shape, making sure all corners meet evenly. Secure the structure using a band clamp or straps to apply even pressure across all joints.
Keep the assembly raised slightly off the surface to prevent sticking while the glue dries properly and sets firmly.
Step 7: Make and Shape Legs
Cut leg blanks from thick wood stock and bring them to the desired thickness using a planer. Mark the shape of each leg, then cut them to a rough size.
Create tapered sides by removing excess material using a table saw or bandsaw.
After shaping, smooth the surfaces and edges.
Prepare angled cuts at the top and bottom of each leg to match the design and ensure proper fit during assembly with the table base and stretcher pieces.
Step 8: Join Base with Dowels
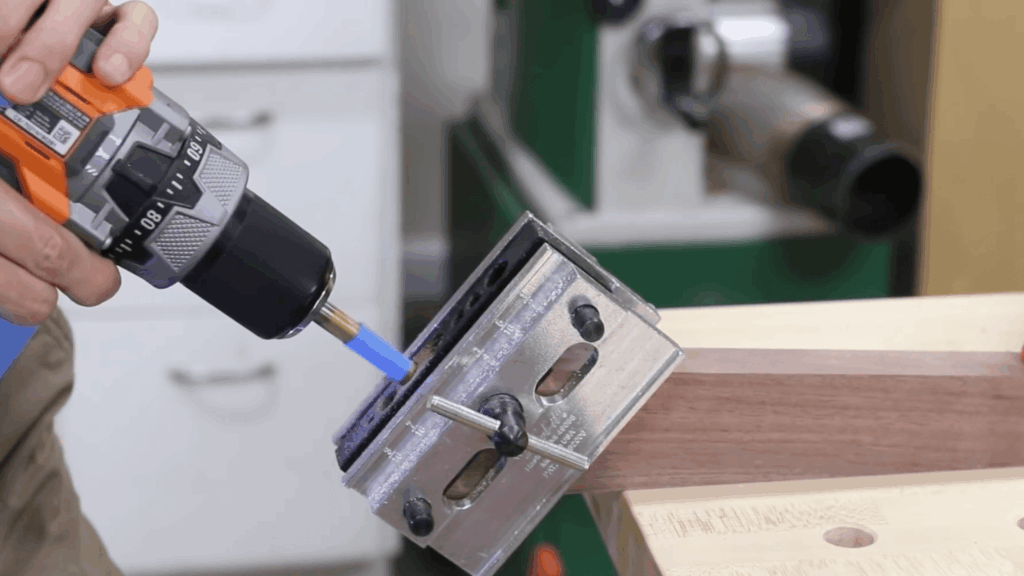
Mark the positions for wooden pin holes on each joint to ensure proper alignment. Use a self-centering jig to drill accurate holes into the legs and connecting pieces.
Apply wood glue inside each hole and along the joint surfaces.
Insert the wooden pins and carefully press the parts together, making sure everything lines up correctly.
Use clamps to hold the base assembly tightly in place. Allow the glue to dry fully before removing the clamps and moving on to the next step.
Step 9: Build Drawer and Front
Cut plywood pieces to form the sides, front, and back of the drawer, then assemble them using wood glue and nails. Reinforce the joints by adding wooden pins for extra strength.
Attach a thin plywood sheet as the bottom using glue and nails.
For the drawer front, glue solid wood pieces together and cut them to size.
Shape a simple handle by cutting angled edges and removing material in between. Sand all surfaces smooth before installation.
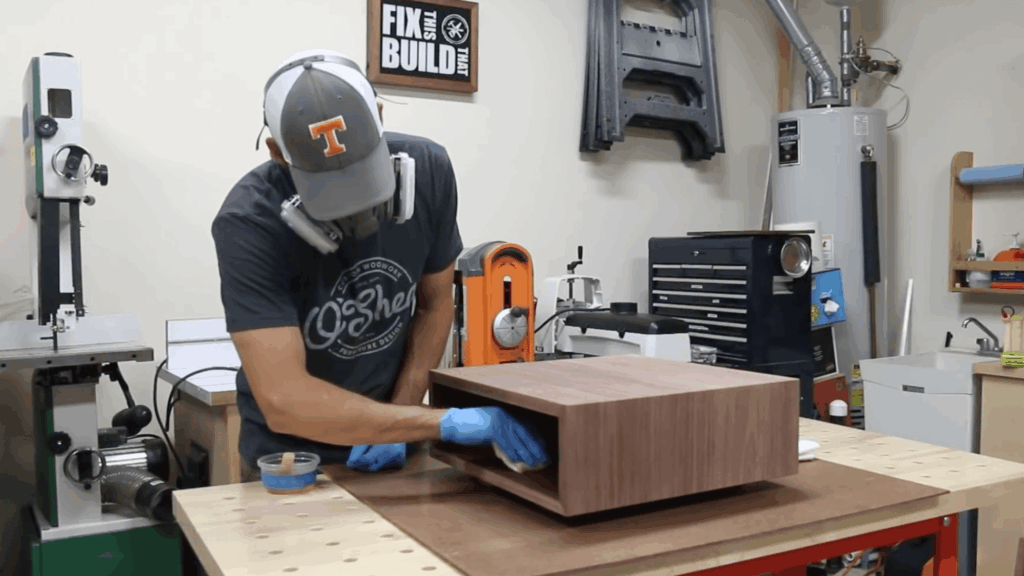
Step 10: Finish and Final Assembly
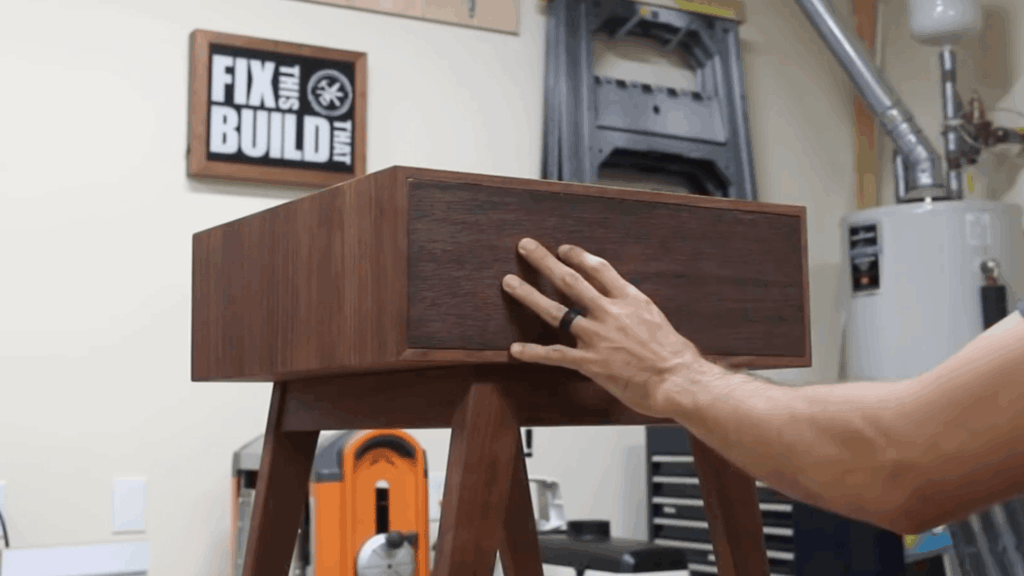
Apply a protective finish evenly to all parts, including the box, base, and drawer front, and allow it to dry fully. Install the drawer slides inside the table and attach the drawer securely.
Position the drawer front carefully, using spacers to keep even gaps on all sides, then fix it from the inside.
Finally, attach the tabletop to the base using suitable fasteners. Check alignment and make small adjustments to ensure smooth movement and a stable final assembly.
This tutorial is based on a helpful video by Fix This Build That. You can check out the original video on their YouTube channel here or watch it below.
Tips to Make Your DIY End Table Strong and Long-Lasting
These simple tips help your table stay strong, safe, and last longer. Follow them during building to avoid common issues and improve durability.
- Use Proper Wood Thickness: Choose wood thick enough to support the weight without bending or breaking. Thin boards can weaken the table and reduce its durability.
- Secure Joints Well: Make sure all joints are tight using screws, glue, or both for better strength. Loose joints can cause the table to wobble or become unstable with use.
- Sand Edges Properly: Smooth all edges and surfaces to remove rough spots and prevent damage. This also helps the finish stick better and improves the overall look.
- Apply Finish or Seal: Use paint, stain, or sealant to protect the wood from moisture and wear. A good finish helps your table last longer and stay in good condition.
How Much Does It Cost to Build a DIY End Table?
Below is a quick breakdown to help you understand the cost and plan your DIY end table project within your budget.
| Factor | Details |
| Basic Cost Range | Most DIY end tables cost between $20 to $100, depending on the materials used |
| Cost vs Store-Bought Tables | DIY tables are usually cheaper than store options, which can cost more |
| Ways to Save Money | Use scrap wood, reuse materials, and choose simple designs to cut costs |
Common Mistakes to Avoid While Building a DIY End Table
These common mistakes can affect the strength, look, and overall life of your DIY end table, so it’s best to avoid them from the start.
- Wrong Measurements: Incorrect measurements can lead to poor fitting and an uneven table structure. Always measure twice before cutting to avoid mistakes.
- Weak Joints: Loose or weak joints can make the table unstable over time. Use screws and glue together for better strength and support.
- Skipping Sanding: Rough edges can cause splinters and affect the final look. Sanding helps smooth the surface and improve finish quality.
- Using Low-Quality Materials: Cheap materials can reduce the table’s strength and lifespan. Always choose good-quality wood and hardware for better results.
DIY End Table vs Store-Bought Table
This comparison helps you understand the key differences between the two options. It makes it easier to choose based on your budget, time, and needs.
| Factor | DIY End Table | Store-Bought Table |
| Cost | Usually cheaper depending on the materials used | Often more expensive due to brand and finish |
| Customization | Full control over size, color, and design | Limited to available styles |
| Time Required | Takes time to build and assemble | Ready to use immediately |
| Durability | Depends on the build quality and materials used | Consistent quality but may vary by brand |
Conclusion
Building a DIY end table is a simple and useful project that helps save money and lets you create something that fits your space well.
I have tried a few of these myself, and even basic designs can turn out strong and practical with the right steps.
You also get full control over size, design, and finish, which makes the table more personal. If you are starting out, pick a simple option like a wooden or crate table.
These are easy to build and help you learn the basics without stress. As you get better, you can move to more detailed styles.
From the DIY end table ideas above, choose one that fits your needs and start building step by step.
Try one today and see how easy it can be.