
Are you tired of looking at your scratched and worn-out hardwood floors but not sure where to begin? You’re not alone, and that’s exactly why this guide is here.
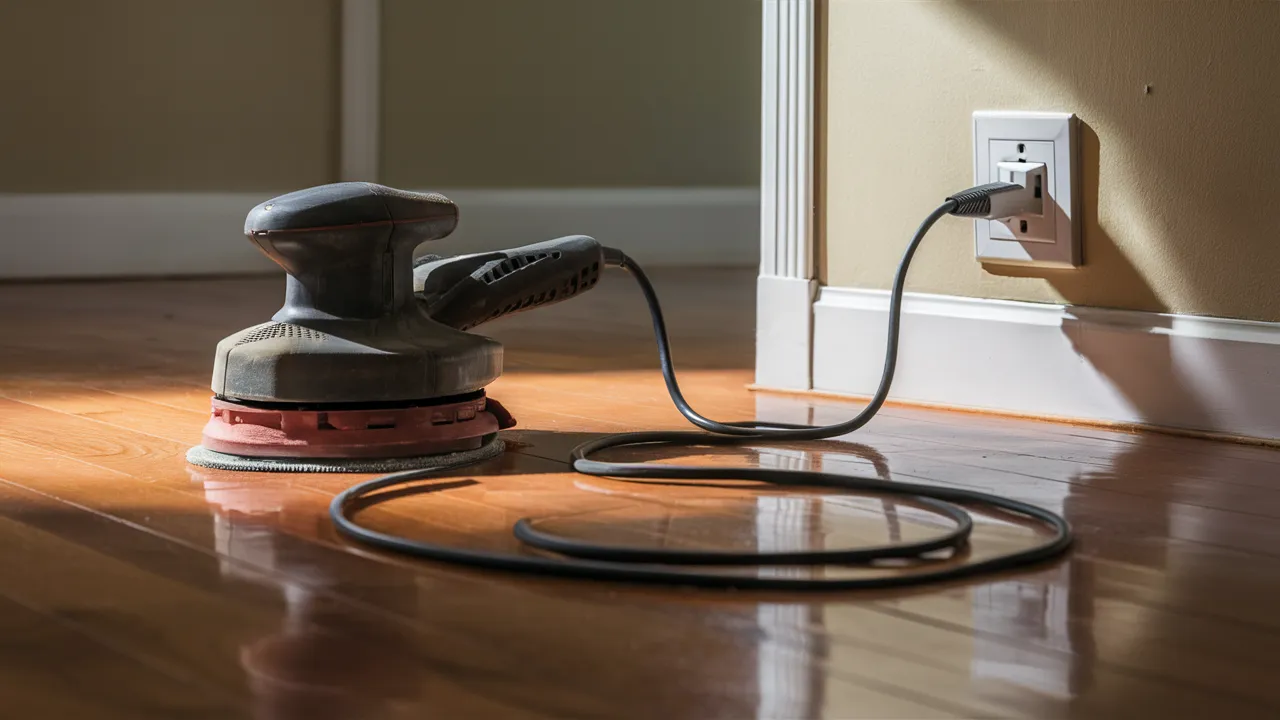
I’ll walk you through how to sand your floors using an orbital sander. This tool is easy to use and much simpler to handle than bigger machines like drum or belt sanders.
An orbital sander is great for small rooms or when you want to freshen up the surface without removing too much wood.
It’s safer for beginners and doesn’t dig deep into the floor like more powerful sanders might.
This guide will teach you what tools and supplies you need, how to complete each step of the sanding process, and which common mistakes to avoid.
By the time you’re done reading, you’ll feel ready to tackle the job and get great-looking results, without the confusion or stress. Let’s get started.
Tools and Materials You’ll Need
Before you start, gather everything you’ll need. Having it all ready makes things go smoother.
- Orbital floor sander (rent from most hardware stores)
- Sandpaper discs (36, 60, 80, and 100 grit)
- Dust mask or respirator
- Safety glasses
- Hearing protection
- Work gloves
- Vacuum (preferably a shop vac)
- Tack cloths or microfiber cloths
- Plastic sheeting (to cover doorways)
- Masking tape
- Extension cord
Optional but helpful:
- Edge sander (for tight corners)
- Moisture meter (to check floor dryness)
- Knee pads (for comfort)
How to Sand Hardwood Floors with Orbital Sanders
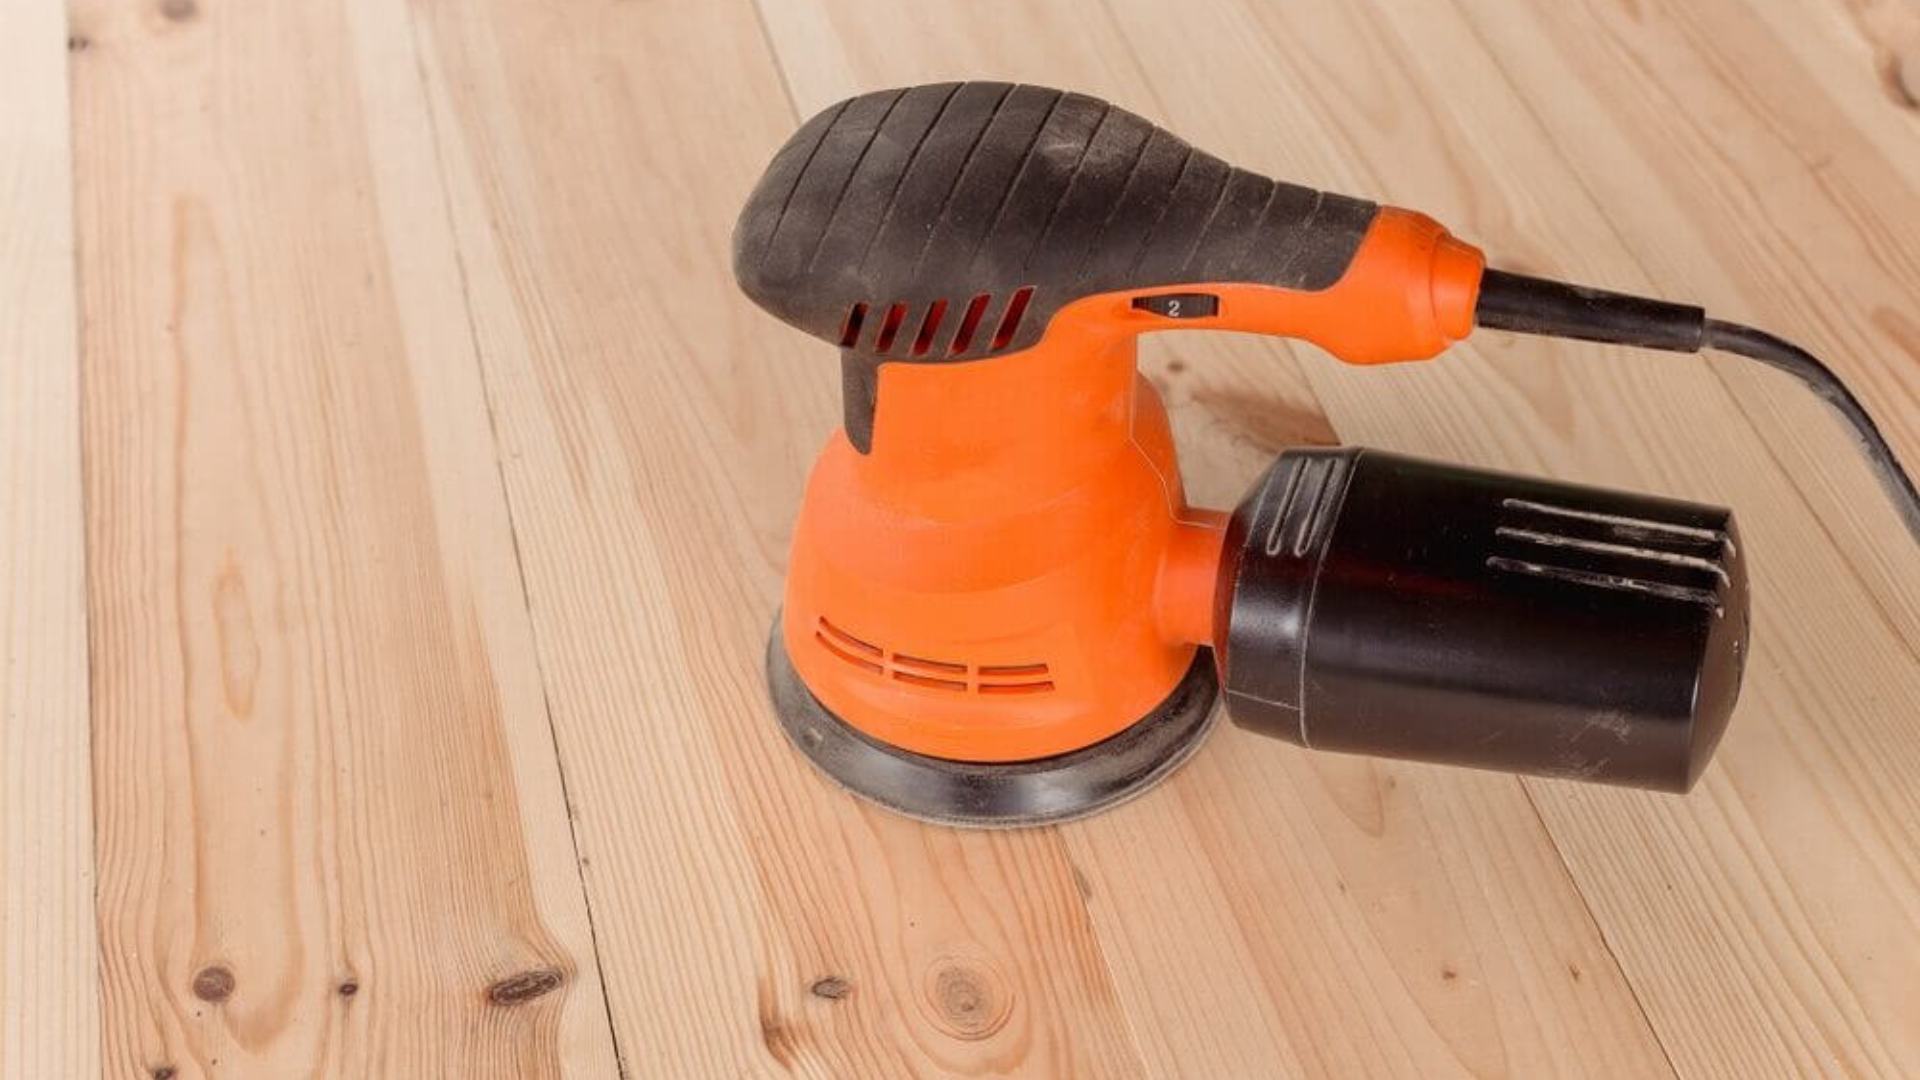
Using an orbital sander is simpler than it sounds. It’s lightweight, gentle on your floors, and easy to move. That said, it still requires focus and the right steps. Follow each one carefully.
1. Choose The Right Sandpaper Grit
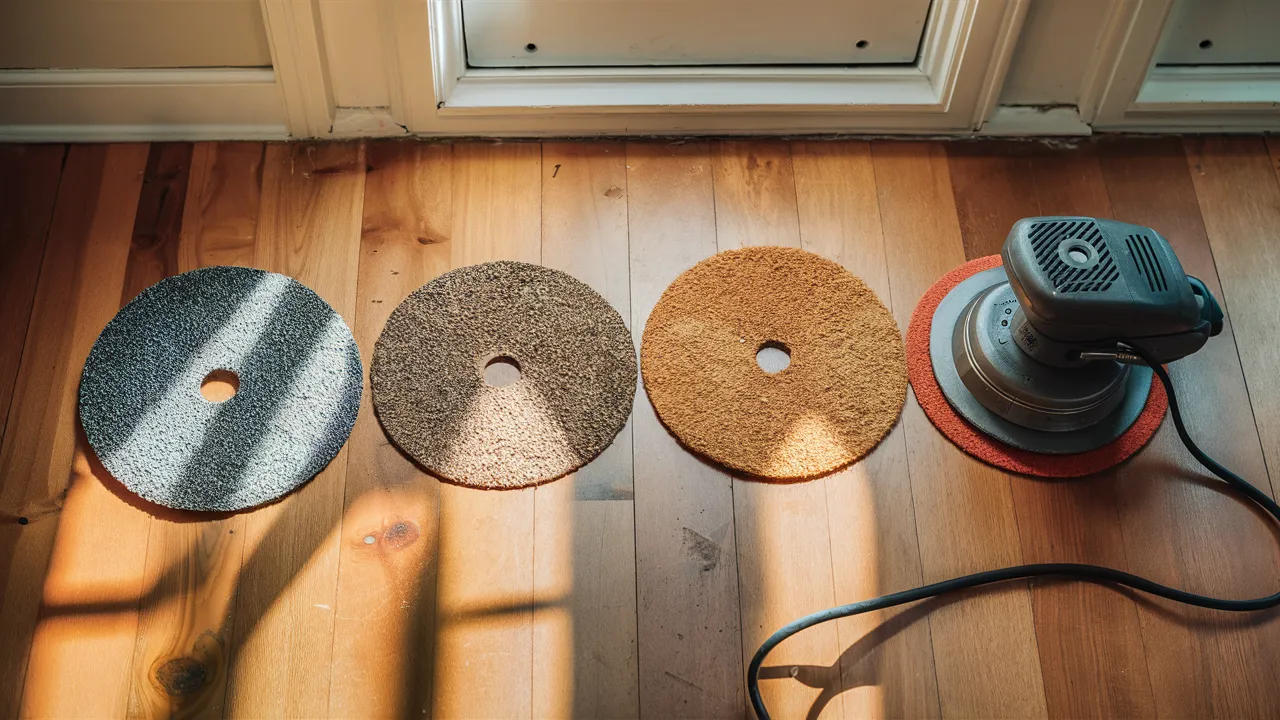
Look closely at your floor before choosing your starting grit. If the finish is thick or the floor has deep scratches, begin with 36-grit to remove the top layer.
If the damage is light or you’re just smoothing things out, 60-grit might be enough.
Always follow the sanding steps in order: 36, 60, 80, and 100. Each grit prepares the floor for the next one by removing the scratches from the previous round.
Skipping steps might seem faster, but it often results in uneven spots or visible lines that ruin the final appearance of your floor.
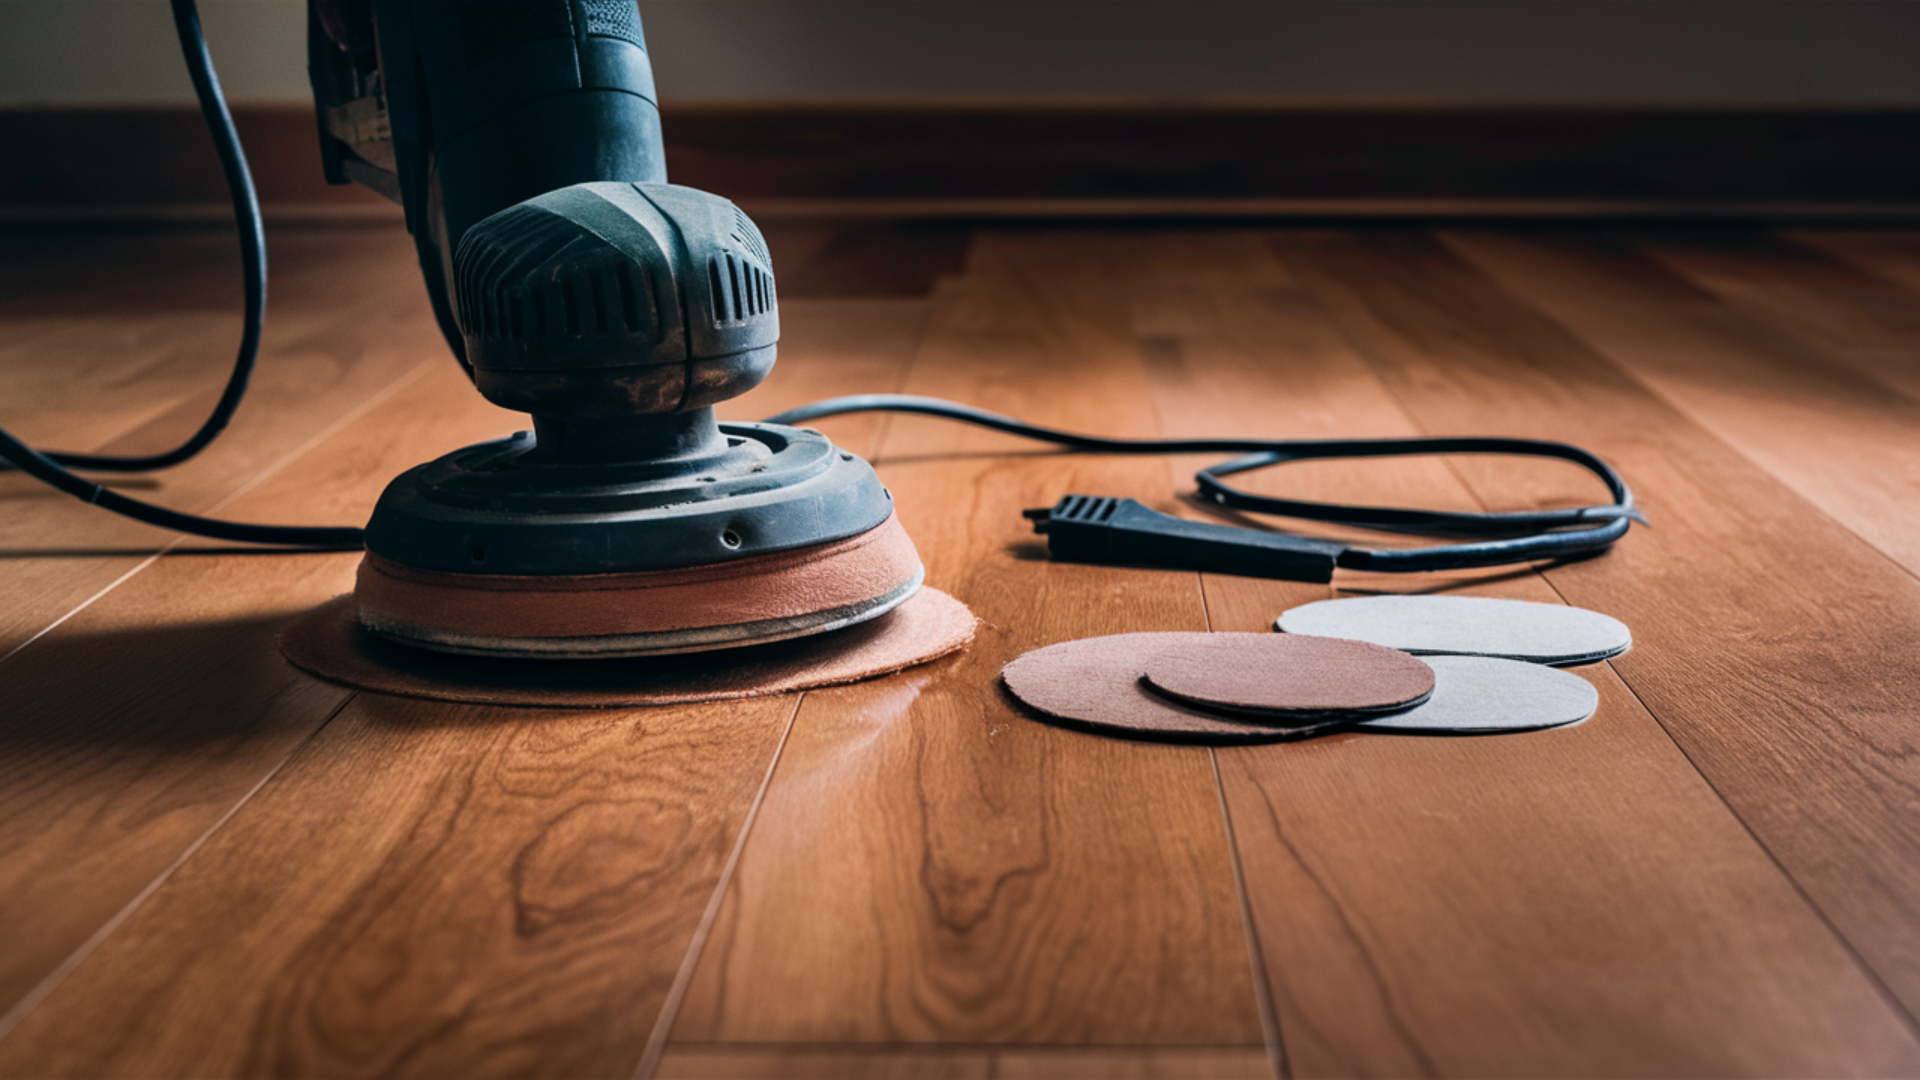
2. Attach Sandpaper Disc
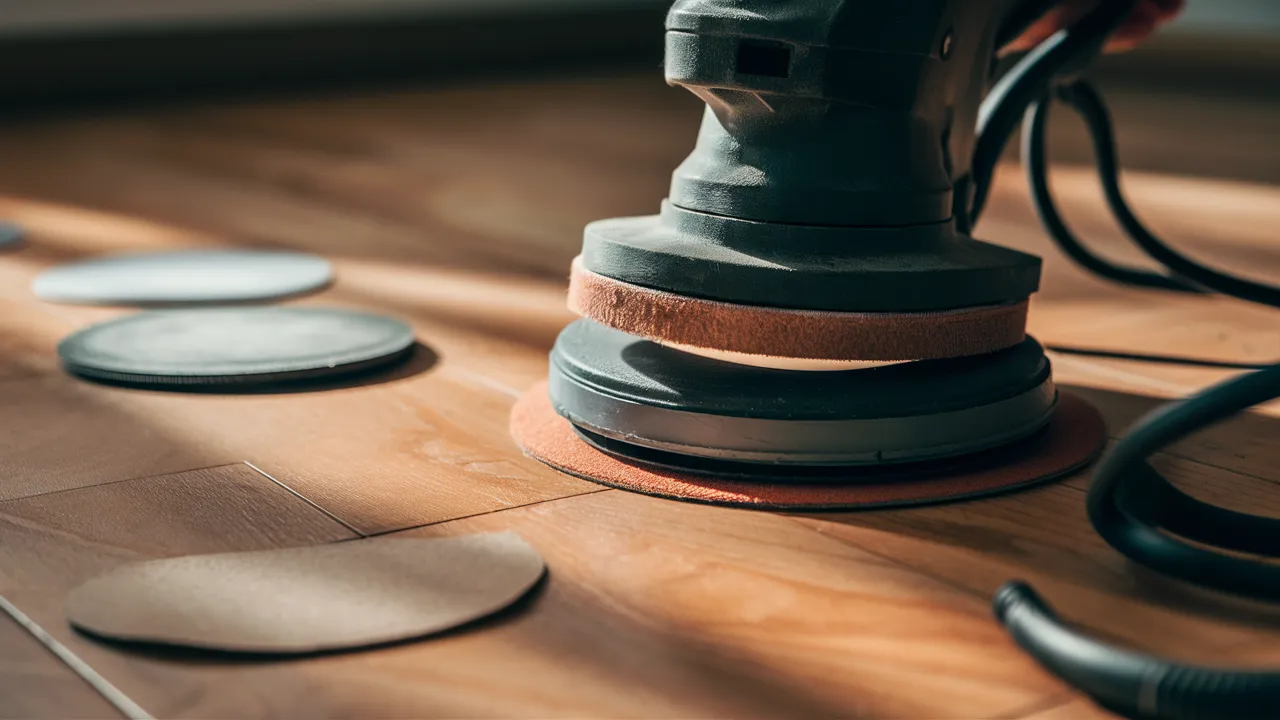
Unplug your orbital sander before using it. Then, place the sandpaper disc onto the pad, making sure it’s centered and flat.
Some sanders have a peel-and-stick surface, while others have hook-and-loop fasteners. Press it down firmly so it doesn’t slide while you’re working.
If the disc is off-center, the machine can shake or sand unevenly, making it harder to control and ruining the floor.
Take your time with this step. A properly placed disc makes your sanding smoother and more even from the start.
3. Wear Safety Gear
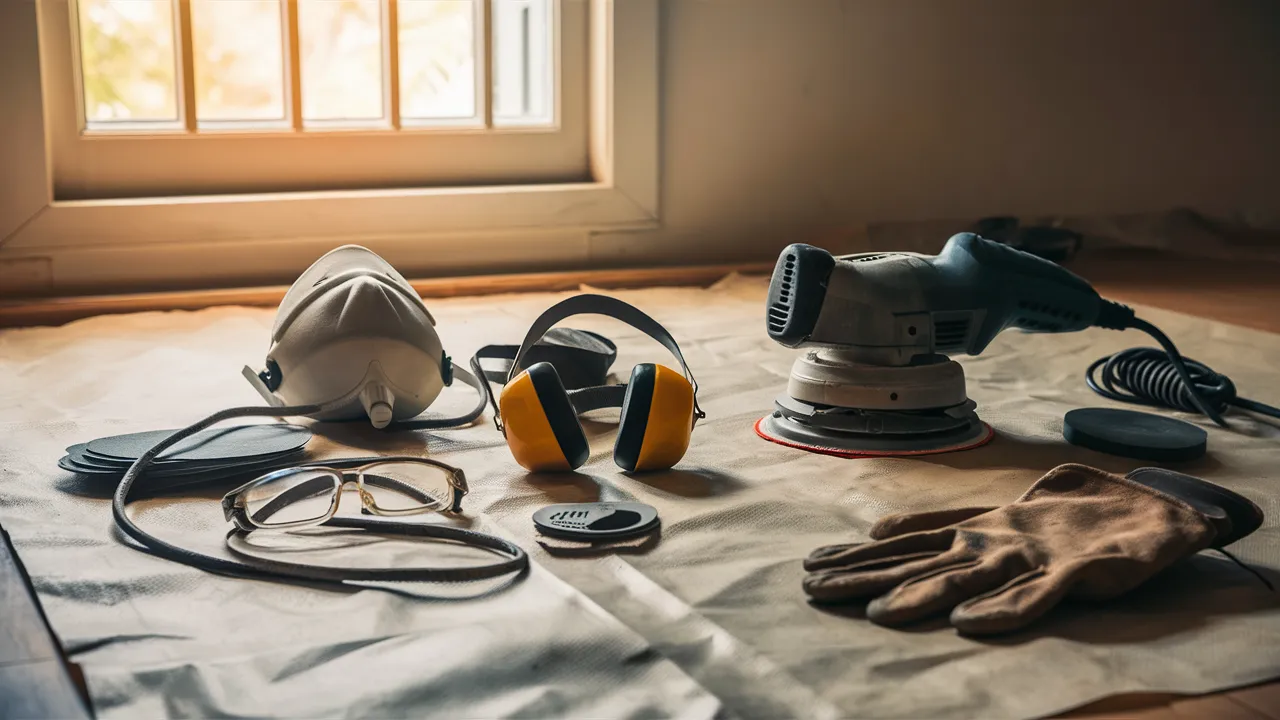
Even if sanding seems like a small job, it still creates a lot of dust and noise. That’s why wearing safety gear is important.
Put on a dust mask or respirator to protect your lungs. Wear safety glasses to shield your eyes from flying dust.
Use ear protection because orbital sanders can get loud, especially in small rooms. Gloves are optional, but they help with grip and comfort.
Safety gear might feel annoying at first, but it helps you avoid bigger health problems later on. Being safe also lets you focus better on the task.
4. Secure The Workplace
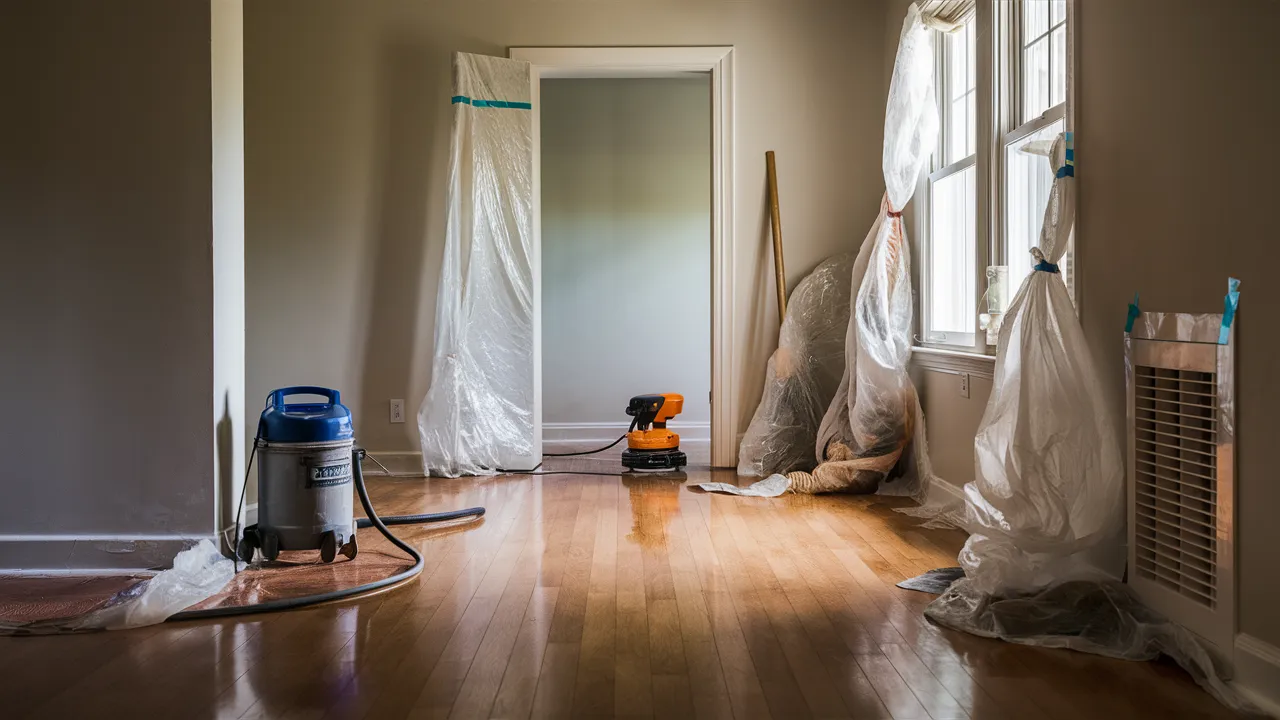
Before sanding, make sure your work area is safe and easy to move around in. Start by removing all furniture, rugs, and decorations.
Then use plastic sheeting and tape to seal off doors and vents. This helps stop dust from spreading through your home.
Open a window slightly to let in fresh air. Next, vacuum the floor to remove dirt and small stones. Even little pieces can scratch the wood or mess up your sanding.
A clean, open space makes the job easier and safer and helps you get better results from start to finish.
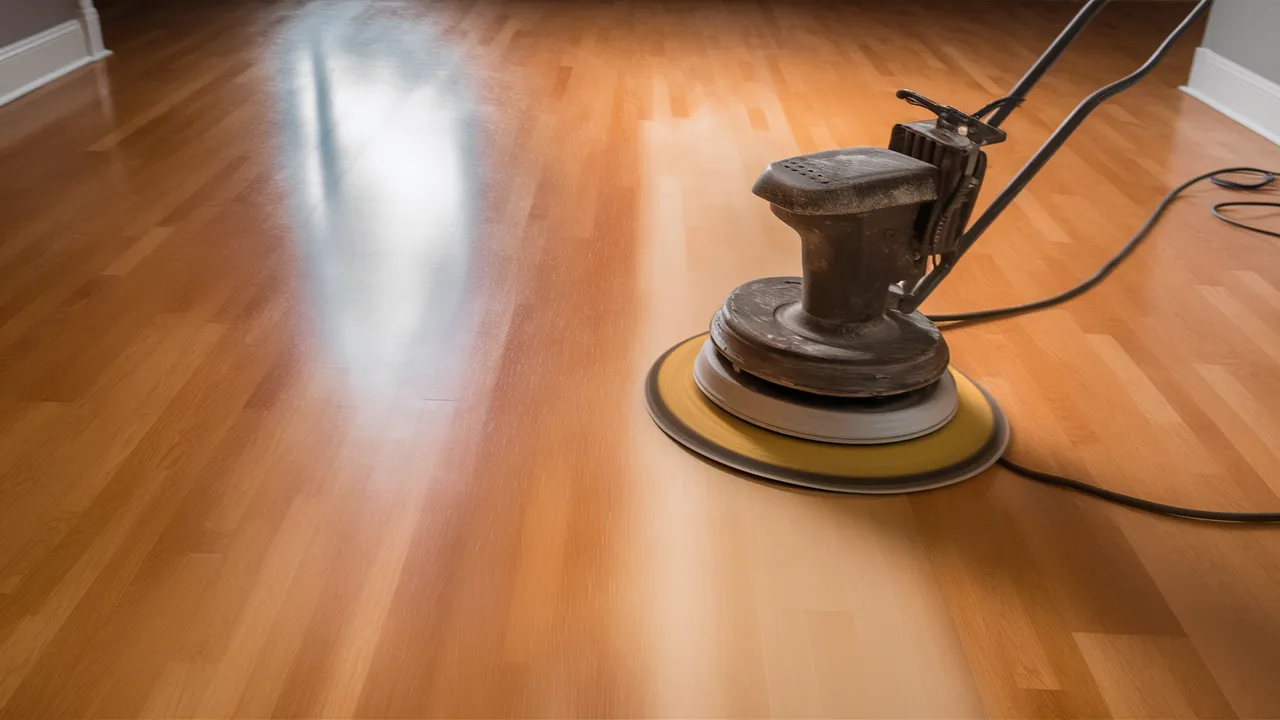
5. Start the Sander Before Contacting the Surface
Before the sander touches the floor, make sure it’s running at full speed. Plug in the machine, hold it firmly with both hands, and tilt it slightly so the pad isn’t touching the ground.
Turn it on and let it spin up completely. Once it’s steady, lower it gently onto the floor. This helps prevent sudden jumps or deep scratches.
Never start the sander while it’s already touching the surface, or you could gouge the wood.
Starting smoothly gives you more control and helps the machine glide evenly across the floor without damaging the finish.
6. Sand with Light and Even Pressure
As you sand, let the machine do the heavy lifting. Keep your hands steady, and don’t press down.
Too much pressure wears the wood unevenly and can make the sander harder to control.
Move the sander in small circles or straight lines. Stay relaxed, and go slowly. Try to keep a steady rhythm so that your passes stay even.
If you go too fast, you might miss spots. If you go too slow, you could dig in too deep.
The goal is smooth, balanced pressure that makes the surface even without creating dips or rough patches.
7. Keep The Sander Moving
Never leave the sander in one place while it’s spinning. That can leave deep marks or uneven spots on the floor. Always keep it moving, even at a slow, steady pace.
Move in straight rows that slightly overlap each other. It helps to picture mowing a lawn, you’re aiming for full coverage without going over the same area too many times.
Watch out for tight spaces like corners and baseboards.
You’ll likely need a different tool for those. A constant, gentle motion gives the best result and keeps your floor safe from damage.
8. Change The Grits Gradually
When you’re done with one grit, stop and clean the floor before starting the next. Leftover dust can scratch the floor during the next pass.
Always move through the grit levels in order, starting with the roughest and ending with the finest.
For most jobs, that means 36, 60, 80, and finally 100-grit. Each pass smooths out the scratches left by the one before it.
Don’t rush the process or skip a step. Although it may seem like it saves time, it creates more work later. Take your time and stay consistent for the best finish.
9. Clean The Surface Thoroughly
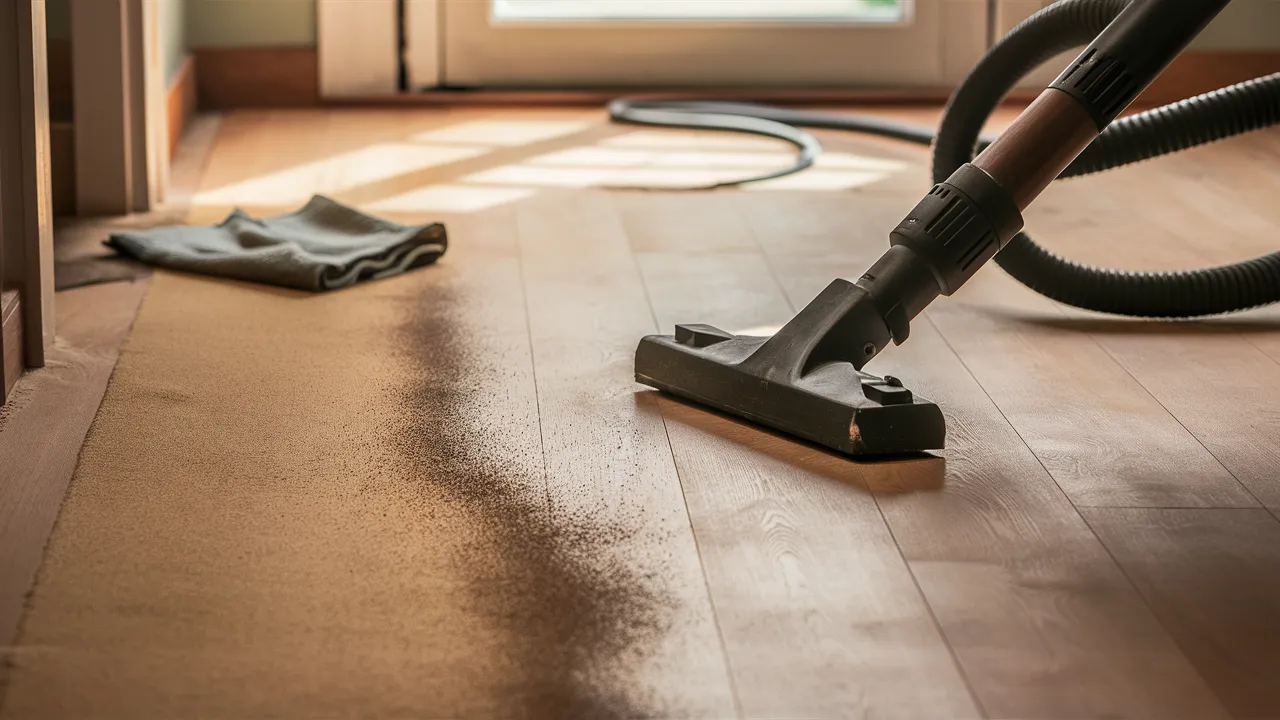
Once you’ve finished all your sanding passes, it’s time to clean. Start by using a shop vacuum to pick up all the dust from the floor, especially near corners and baseboards.
Go slowly to avoid missing anything. After vacuuming, wipe the floor with a tack cloth or a slightly damp microfiber cloth. This helps grab fine dust that the vacuum may have missed.
Don’t leave any dust behind; if you do, your finish may look cloudy or feel rough. A clean surface is the last step before staining or sealing, so do it right.
Safety Tips
Before you start sanding, always take a few safety steps to keep things safe and stress-free:
- Wear a dust mask or respirator: Fine wood dust can be harmful to your lungs, so make sure to protect your breathing.
- Use ear protection: Orbital sanders are loud! Always wear earplugs or earmuffs to protect your hearing.
- Put on safety glasses: Flying dust or small particles can easily irritate your eyes.
- Keep cords out of the way: Check where the power cord is at all times so you don’t trip or accidentally step on it.
- Work in a well-ventilated space: If working indoors, open windows or use a fan to keep fresh air moving.
These small steps can help you stay focused and safe while getting the job done right.
Conclusion
Sanding hardwood floors with an orbital sander is something most people can handle on their own.
You don’t need to be a pro to do it right; you need to take your time and follow the steps carefully. It’s not a fast job, but if you’re patient and stay focused, you can get great results.
Start by picking the right sandpaper grit. Keep your hands steady while sanding, and clean the surface well between each step. These small things make a big difference.
An orbital sander is easier to use than other types and much safer for beginners. It won’t tear up your floor like a drum sander might if used the wrong way.
If you’ve followed the process step by step, you’re already doing better than most. Your floor should look smoother and more even.
Do you have any tips or questions? Feel free to share them in the comments. Let’s help each other out and make every floor project a success.