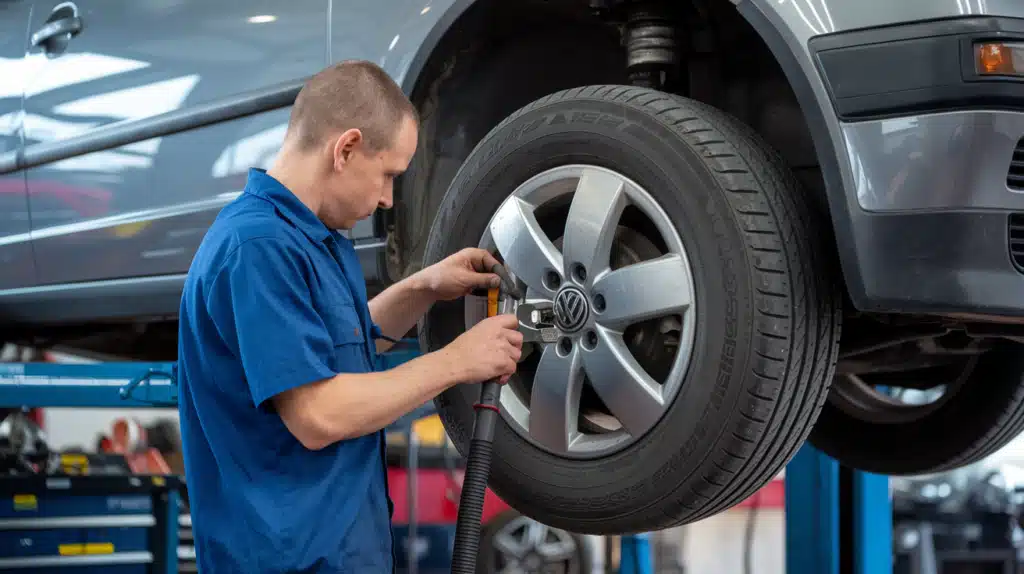
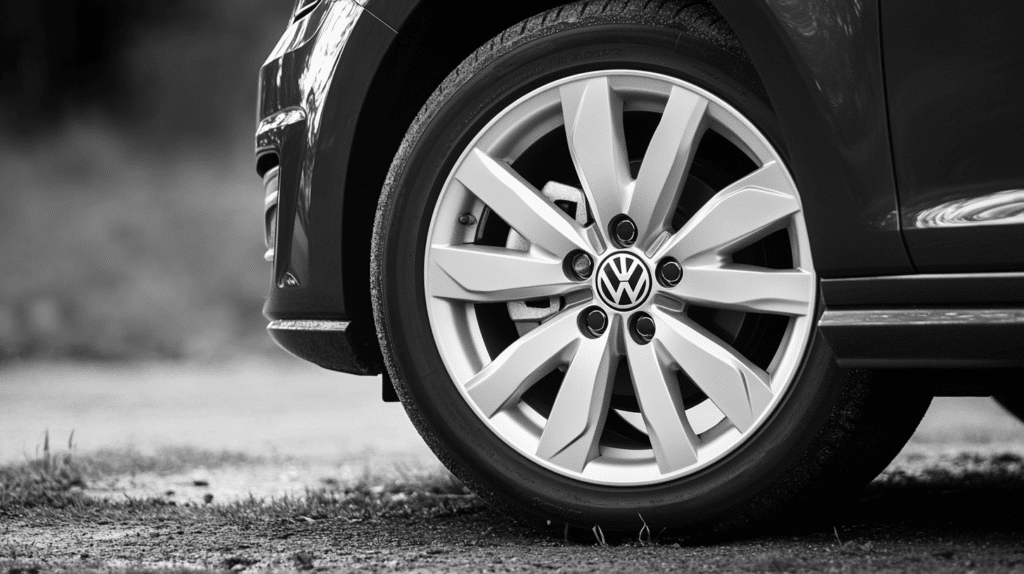
Do you want your VW Golf to fit those perfect wheels?
Many VW Golf owners struggle to find the right wheels because they don’t understand bolt patterns. Wrong measurements lead to wasted money and time on incompatible wheels. Some even damage their cars, trying to force-fit incorrect wheels.
Here’s the good news: You can learn the exact bolt pattern measurements for your VW Golf in minutes. This guide briefly breaks down everything about VW Golf wheel bolt patterns.
We’ll show you how to measure correctly, which patterns match your model year, and what wheels will fit your car.
No complicated math or technical terms – just clear, useful information to help you choose the right wheels.
What is the Bolt Pattern for a VW Golf?
The VW Golf uses a 5×112 bolt pattern setup. This means the wheel has 5 lug holes set in a circle with a 112-millimeter diameter. This measurement stays the same across most Golf models made after 1974.
The main parts of a VW Golf bolt pattern consist of several key components. The wheel uses 5 lug nuts that hold it securely to your car. The bolt circle measures 112mm in diameter, which shows the distance across the circle made by the lug holes.
The center bore measures 57.1mm, creating the hole in the middle of the wheel that fits over the hub.
Importance of Choosing the Correct Bolt Pattern
Selecting the right bolt pattern matters for several vital reasons. Safety comes first – wheels with wrong patterns can loosen while driving. The fit must be exact, as incorrect patterns prevent wheels from mounting correctly on your car. You’ll also save money by avoiding the purchase of wheels that won’t work with your Golf.
Each component must match precisely to work properly. A difference of just a few millimeters can create unsafe driving conditions. Remember to check your specific model year, as some older Golfs might use different patterns.
Understanding VW Golf Bolt Patterns and Their Compatibility
Factors Influencing Compatibility with Aftermarket Wheels
Wheel Offset: Your VW Golf needs a positive offset between 35mm to 45mm for proper wheel fit. Less offset makes wheels stick out from the body, while more offset pushes them too close to suspension parts, affecting both looks and function.
Center Bore: The Golf requires a 57.1mm center bore size to match the hub exactly. Wheels with larger bores need hub-centric rings, but getting the right size from the start prevents vibration and keeps wheels centered.
Lug Nut Specifications: Golf models use conical seat lug nuts with a 60-degree taper for secure wheel mounting. Using different styles prevents proper seating, which leads to loose wheels and safety issues.
Thread Requirements: The M14x1.5 thread pattern is standard for Golf wheel installations. Both thread size and length must match your model’s specs exactly, as variations create dangerous fitting problems.
List of the Correct Bolt Patterns for Different VW Golf Models

Early Models: Mk1 to Mk3
1. MK1 Golf (1974-1983): The original pattern was 4x100mm, with a center bore of 57.1mm. The lug nut size for this model was M12x1.5.
2. MK2 Golf (1983-1992): The standard pattern remained 4x100mm, while some GTI models adopted the 5x100mm pattern. The center bore continued to be 57.1mm.
3. MK3 Golf (1992-1998): Base models retained the 4x100mm pattern, while VR6 and some GTI trims introduced the 5x100mm pattern. This generation marked the first use of dual patterns based on trim levels.
Transition to Modern Standards: Mk4 to Mk8
Starting with the Mk4 Golf in 1997, Volkswagen standardized its bolt patterns. The company switched to a 5x112mm pattern, which became the standard across most VW models. This change simplified wheel fitment and parts inventory.
The Mk5 through Mk8 models all use this same pattern, making wheel swaps easier between newer Golfs. The center bore stayed at 57.1mm, keeping one constant measurement through the changes.
Common Patterns Across Golf Trims and Editions
| Golf Generation | Standard Pattern | Center Bore | Special Editions |
|---|---|---|---|
| Mk1 (1974-1983) | 4x100mm | 57.1mm | None |
| Mk2 (1983-1992) | 4x100mm | 57.1mm | GTI: 5x100mm |
| Mk3 (1992-1998) | 4x100mm | 57.1mm | VR6/GTI: 5x100mm |
| Mk4 (1997-2003) | 5x112mm | 57.1mm | All trims same |
| Mk5 (2003-2008) | 5x112mm | 57.1mm | All trims same |
| Mk6 (2008-2012) | 5x112mm | 57.1mm | All trims same |
| Mk7 (2012-2019) | 5x112mm | 57.1mm | All trims same |
| Mk8 (2019+) | 5x112mm | 57.1mm | All trims same |
How to Identify the Correct Bolt Pattern for a Specific VW Golf Model
Steps to Measure Bolt Patterns Accurately
1. Check the Vehicle Manual First
Your Golf’s manual contains key wheel information. Open the wheel specifications section to find bolt pattern details. Note these measurements in a safe place for reference. This method takes just minutes and gives you exact factory specifications.
2. Direct Measurement Method
Start by parking on flat ground. Take off one wheel if you can do this safely. Get a proper measurement tool like calipers or a metal ruler. Find the center point of one bolt hole.
Measure straight across to the opposite hole’s center point. For 5-lug wheels, measure to the farthest hole across.
3. Use a Bolt Pattern Gauge
A bolt pattern gauge offers quick, exact readings. Put the indicator flat against your wheel. Match the gauge pins to your wheel’s bolt holes. Look at the gauge display for your pattern size. This tool removes the guesswork from measuring.
4. Verify Center Bore Size
The center bore must fit correctly for safety, And calipers must be used to measure the center hole width. Write down both the wheel’s center size and the car’s hub size. Compare these numbers – they must match for proper fit. Even small size differences can make wheels unsafe.
Common Mistakes to Avoid During Installation
- Using improper torque leads to wheel failure. Many owners skip torque wrenches and guess the tightness. This causes warped rotors and loose wheels. Use a torque wrench and follow your car’s specs.
- The wrong tightening order creates uneven stress. Some people tighten lug nuts in a circle. This causes wheel wobble and brake issues. Always use a star pattern when tightening. Go around at least three times to reach final torque.
- Failing to clean contact points blocks proper seating. Dirt, rust, or old wheel weights prevent wheels from sitting flat. Clean both hub and wheel surfaces before installation. Check for damage on mounting points.
- Skipping the retorque step risks safety. New installations need checking after first use. Drive 50-100 miles, then check and adjust torque levels. Many forget this step and face problems later.
- Installing the wrong lug nuts compromises fit. Some owners reuse old nuts or buy incorrect types. Each wheel design needs specific lug nuts: match thread size, seat type, and length to your wheel specs.
- Missing hub-centric rings when needed causes vibration. Some aftermarket wheels need these rings. They center the wheel on the hub. Without them, the wheel sits off-center and shakes at speed.
Comparisons Between VW Golf’s and Other Brands’ Bolt Patterns with Prices
Key Differences in Bolt Patterns with Similar Cars
| Car Brand/Model | Bolt Pattern | Center Bore | Notes | Price Range |
|---|---|---|---|---|
| VW Golf (Modern) | 5x112mm | 57.1mm | Standard VW pattern | Base wheels: $120-200 |
| Audi A3 | 5x112mm | 57.1mm | Direct fit with Golf | $150-250 |
| Mercedes A-Class | 5x112mm | 66.6mm | Needs hub rings | $180-300 |
| BMW 1 Series | 5x120mm | 72.6mm | Not compatible | $200-350 |
| Ford Focus | 5x108mm | 63.4mm | Not compatible | $100-180 |
| Honda Civic | 5×114.3mm | 64.1mm | Not compatible | $110-190 |
| Skoda Octavia | 5x112mm | 57.1mm | Direct fit with Golf | $130-220 |
| Seat Leon | 5x112mm | 57.1mm | Direct fit with Golf | $125-210 |
Cost Analysis of Compatible Aftermarket Wheels
Basic aftermarket wheels for the VW Golf start at around $120 per wheel. These usually come from lesser-known brands but meet safety standards. Mid-range options from known manufacturers cost between $200-300 per wheel, offering better build quality and finish options.
Brand-name wheels made specifically for VW cost more, typically $250-400 per wheel. These wheels often include features like proper weight ratings and tested fitment. Many also come with hub-centric designs that fit without extra parts.
Wheels that need hub rings for fitting add $20-40 to total costs. While cheaper non-VW wheels might seem good at first, extra parts and professional mounting can make them more expensive overall. The safest choice remains wheels designed for the Golf’s exact specifications.
Top-tier forged wheels can reach $500-1000 per wheel. While expensive, these wheels often weigh less and last longer than cheaper options. They also hold value better for resale.
How to Maintain Bolt Patterns on Your VW Golf

Preventing Rust and Corrosion
1. Clean the Wheel Hub
Wipe the hubs monthly with a clean cloth to keep them from dirt and debris. After winter drives, remove any accumulated dirt and salt to prevent corrosion. Use a wire brush to tackle stubborn buildup effectively.
2. Check Bolt Condition
Inspect bolts for signs of wear during every oil change. Clean the threads with a wire brush to ensure smooth operation, and replace any rusted or damaged bolts to maintain safety.
3. Apply Protection
Apply a thin coat of anti-seize on the bolt threads and hub surfaces to prevent rust and corrosion. Reapply this protection each time a wheel is removed for maintenance.
4. Store Seasonal Wheels
Store wheels in a dry environment to prevent moisture damage. Stand them upright off the ground and cover the bolt holes to protect them from dust and debris during storage.
Regular Inspection and Torque Adjustments
Keep your VW Golf’s wheel bolts in top condition with regular maintenance. Here’s a quick breakdown:
1. Inspection Schedule: Check bolts every 3,000 miles or 3 months. Prevent loose bolts (noise, wheel damage) or overtightened bolts (brake rotor damage).
2. Preparation: Clean bolts and wheel hubs thoroughly to avoid false tightness readings. Use a clean cloth and appropriate cleaning solution.
3. Tools and Technique: Use a torque wrench, not regular wrenches or impact guns. Set torque to your VW’s specification (typically 85-120 Nm; check the manual). Tighten bolts in a star pattern for even pressure distribution.
4. Warning Signs: Listen for clicking sounds when turning. Feel for vibrations in the steering wheel or seat.
Proper bolt maintenance ensures safety and smooth performance. Don’t overlook this essential step!
Conclusion
Choosing and maintaining the right bolt pattern matters for your VW Golf’s safety. A proper fit keeps your wheels secure and your drives smooth.
While modern Golfs use standard 5x112mm patterns, older models need specific attention to detail.
Remember the basics: clean your wheel hubs often, check bolt tightness regularly, and store spare wheels properly. These simple steps prevent most wheel-related problems.
Taking care of bolt patterns isn’t just about following rules—it’s about protecting your car and everyone who rides in it.
Keep this guide handy when you work on your Golf’s wheels. The right knowledge helps you make smart choices about wheel fitment and maintenance.
Your Golf will thank you with years of reliable service.

