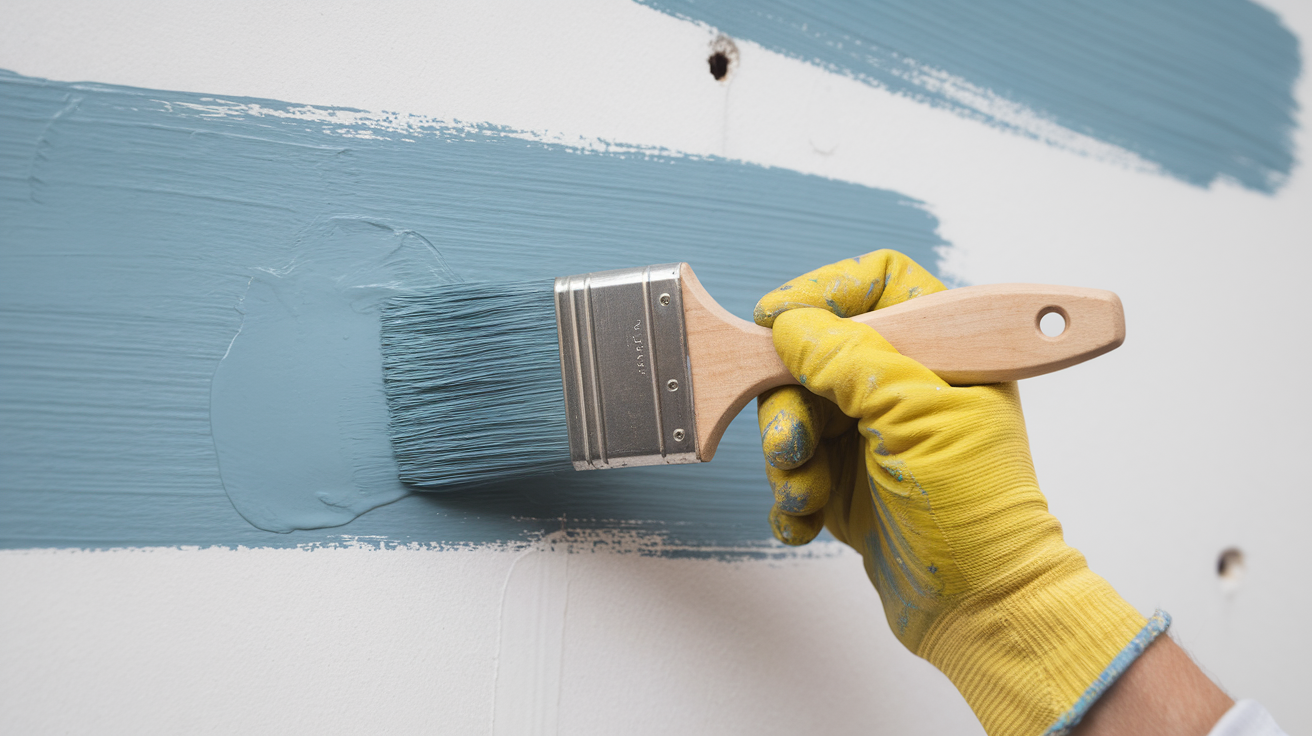
Ever looked at a half-painted wall and wondered how long you should wait between coats? You’re not alone. While painting may seem straightforward, the timing between coats is crucial to a smooth finish.
If you skip the right waiting period, you could end up with a messy, uneven finish that makes your project look worse.
Understanding paint drying times is key, whether you’re a beginner or an experienced painter.
In this guide, I’ll cover everything you need to know:
- When to apply the next coat
- How temperature affects drying
- How to speed up drying
By the end of this article, you’ll know how to time your coats for the perfect, smooth finish.
Why Does Waiting Between Paint Coats Matter?
Rushing between paint coats can lead to frustrating results, like peeling or uneven surfaces. Just like you wouldn’t frost a hot cake, you shouldn’t paint over a wet surface.
Let’s see what can go wrong when you’re impatient:
- Paint layers that don’t bond properly, leading to an uneven, bumpy finish.
- Bubbling that looks like skin imperfections on your walls.
- Peeling paint is embarrassing when guests visit.
I once applied a second coat too quickly, hoping to finish faster. The result? A wall covered in bumps and patches that wouldn’t stick. It cost me extra time and money to fix.
Patience is key. Waiting the right amount of time between coats prevents costly mistakes and gives your project a smoother, longer-lasting finish.
Keep an eye on the weather too, as humidity and temperature affect drying times.
Understanding Paint Types
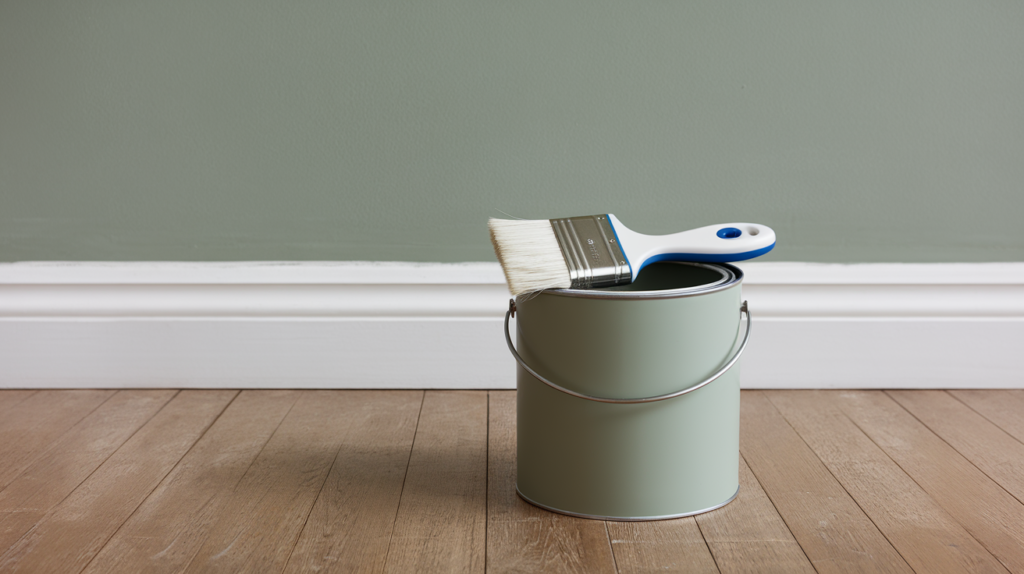
Not all paints are created equal. Each type has its own personality and drying time. Let me break down the three main paint types to help you choose the right one for your project.
1. Latex Paint
Latex paint is the most common choice for home projects. It’s water-based, making cleanup easy.
It dries faster than oil-based paints, usually within 1-2 hours between coats. This makes it perfect for DIY projects where you want to finish quickly.
2. Oil-Based Paint
Oil-based paints take longer to dry but provide a smoother finish. You’ll need to wait about 24 hours between coats.
They’re known for their durability, but rushing oil paint can lead to mistakes. These paints require patience, proper ventilation, and care.
3. Acrylic Paint
Acrylic paint is a good middle ground. It’s quick-drying like latex but offers a richer finish, working on multiple surfaces.
Acrylics dry in about 1-2 hours and are more flexible than oil, but they can be less forgiving than latex.
Always check the manufacturer’s instructions. Temperature and humidity can change everything. A 70-degree room might dry paint differently than a humid basement.
Ideal Conditions for a Perfect Paint Job
Painting isn’t just about slapping color on walls. It’s a science of perfect environmental conditions. Let me walk you through the sweet spot that turns good painting into great painting.
1. Temperature
Not too hot, not too cold. Painters dream of that just-right temperature. I’ve learned the hard way that extreme temperatures are paint’s worst enemy. Aim for 70-75 degrees Fahrenheit.
When it’s too cold, paint thickens and dries slowly. Too hot? It dries too quickly, creating uneven layers and potential cracking.
2. Humidity
Moisture is tricky. High humidity is like kryptonite for paint. Ideal humidity sits between 40% and 50%. Think of it like Goldilocks again, not too wet, not too dry.
In humid rooms like bathrooms or basements, you’ll need extra drying time. I once painted a bathroom during a rainy week and watched my perfect paint job turn into a sticky mess.
3. Ventilation
Good airflow is your secret weapon. Open windows, use fans, create cross-current magic.
Proper ventilation helps paint dry evenly and removes those strong chemical odors. Point fans away from wet walls to prevent dust and debris from sticking to your fresh paint.
Quick warning: Avoid painting on extremely windy days. Dust and debris become paint’s unexpected roommates.
Understanding Different Surface Types for Painting
Not all surfaces are the same. Each material behaves differently when it comes to painting. It’s like choosing the right shoes for different activities; what works for running won’t work for swimming.
1. Wood
Wood is like a sponge waiting to drink up paint. Primer is your best friend here. I learned this lesson after my first DIY furniture project turned into a blotchy nightmare.
Wooden surfaces absorb paint differently depending on their age, type, and previous treatments. Softwoods like pine need more preparation than hardwoods like oak.
2. Walls
Drywall and plaster are relatively straightforward. Smooth walls are a painter’s dream. New walls might need a light sanding and primer.
Older walls with previous paint layers require more careful preparation. Watch out for patches, cracks, or uneven surfaces that can mess up your final finish.
3. Metal
Metal demands respect. Rust, previous coatings, and surface texture matter big time. Special metal primers are non-negotiable.
I once skipped priming a metal door and watched the paint bubble and peel within weeks.
Different metals – steel, aluminum, copper – react differently to paint.
4. Masonry
Brick, concrete, and stone are tough customers. These surfaces are porous and need special attention. Moisture is the biggest enemy here. Always use masonry-specific primers.
Concrete walls in basements or exterior surfaces require extra care to prevent future peeling or chipping.
Paint Application Tools: Sprayer vs. Brush vs. Roller
Choosing the right painting tool is like selecting the perfect kitchen knife. Each has its moment to shine. Let me break down the pros and cons of these painting champions.
1. Brushes
Brushes are perfect for detailed work. When I need to paint window frames, trim, or create crisp edges, they’re my go-to. They’re ideal for:
- Tight corners
- Detailed surfaces
- Small touch-ups
The downside? They’re slower and can leave visible brush strokes if not used correctly
2. Rollers
Rollers are great for covering large, flat surfaces. They work faster than brushes and provide a more even finish. The nap length matters:
- Smooth surfaces: Short nap
- Textured walls: Longer nap
- Exterior surfaces: Extra-thick nap
Avoid overloading the roller with paint to prevent drips and uneven coverage.
3. Sprayers
Sprayers are fast and efficient, offering quick coverage with minimal effort. They’re a favorite for large projects because of:
- Fast application
- Even coating
- Less physical strain
However, they require more prep and cleanup. Masking everything properly takes time, and overspray can be tricky to manage.
Signs Your First Coat Is Fully Dry
Waiting for paint to dry can feel like forever, but there are simple ways to check if your first coat is ready for the second.
- Touch Test: Gently press your finger against the wall. If it feels dry and smooth, you’re ready for the next coat. If your finger leaves a mark, wait longer.
- Tackiness Check: Run your hand over the surface. If it feels sticky or leaves residue on your finger, the paint isn’t fully dry yet. Wait until it’s hard and smooth.
- Painter’s Tape Test: Press painter’s tape lightly on the surface. If it comes off cleanly without lifting any paint, it’s dry. If it pulls paint, give it more time.
Quick warning signs:
- Sticky or soft surfaces
- Paint lifting with tape
- Visible fingerprint
How to Speed Up Drying?
Want to fast-track your paint job without compromising quality? I’ve got tricks that won’t turn your walls into a disaster zone. Let’s see how to help paint dry faster, without cutting corners.
- Open windows to create cross-ventilation
- Use fans strategically – point away from wet walls
- Run a dehumidifier to reduce moisture
- Turn on the air conditioning during humid days
- Apply thin, even paint coats
- Choose quick-dry paint formulas
- Keep the room temperature around 70-75 degrees
- Remove heavy curtains or furniture blocking airflow
- Use a small space heater carefully, but not too close to walls
- Check humidity levels, aiming for 40-50%
Conclusion
Waiting between paint coats feels like watching paint dry, because you literally are. I get it.
The temptation to rush is strong. But those extra minutes are your secret weapon for beautiful walls. Every brush stroke, every moment of patience, turns your space.
Professional-looking results aren’t about talent, they’re about technique.
From understanding paint types to mastering drying conditions, you now have the insider knowledge most DIY painters dream about.
Remember that painting is part science, part art. Your walls are a canvas waiting to be changed. Those few extra minutes between coats?
They’re the difference between an “okay” job and a “wow, did a pro do this?” finish.
Take your time. Your walls will thank you.