
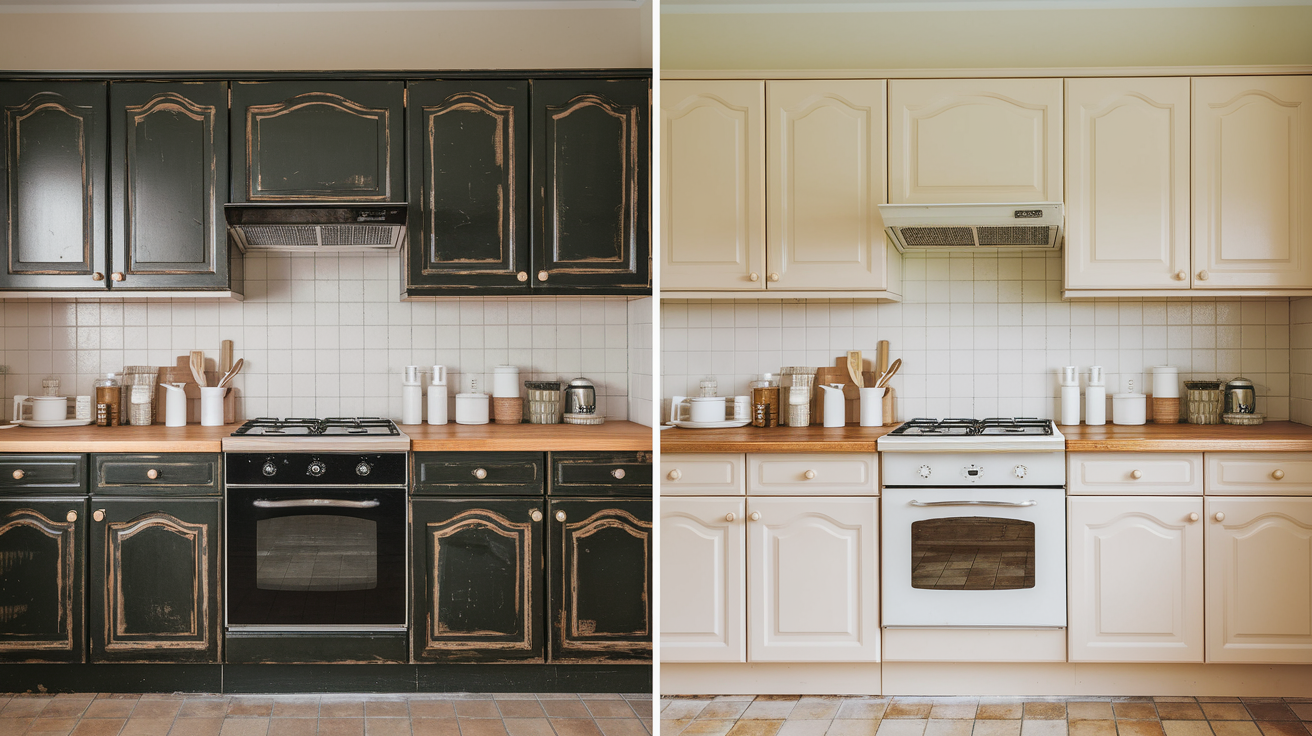
Painting your kitchen cabinets is one of the easiest ways to refresh your space.
But before you get to the fun part, choosing a color, you need to focus on a step that makes all the difference: priming.
Primer helps paint stick better, hides old stains or colors, and makes your cabinets more durable over time.
But how many coats of primer do you really need? Is one coat enough, or should you plan on two?
The answer depends on a few things, like the type of cabinets you have, the current finish, and the kind of paint you’re using.
Getting this part right can save you time, money, and frustration down the line.
In this guide, I’ll cover everything you need to know, including the number of coats of primer and paint to use, as well as tips for achievinga smooth, long-lasting finish.
Is Primer Necessary for Cabinets?
Yes, primer is a key step when painting kitchen cabinets. It helps the paint stick better, covers stains or wood knots, and gives a smoother, longer-lasting finish.
This is especially important for glossy surfaces, stained wood, laminate, or previously painted cabinets. Without primer, paint can peel, chip, or look uneven.
In some rare cases – like lightly scuffed, already painted cabinets – you might skip primer, but it’s not usually recommended.
Skipping this step often leads to additional work later, such as applyingextra coats of paint or having to repaint entirely.
Primer helps your paint do its job well, so it’s worth the time to apply it properly.
How Many Coats of Primer on Cabinets?
The general rule for priming kitchen cabinets is 1 to 2 coats. In many cases, one coat is enough to give you solid coverage and good adhesion.
But sometimes, a second coat is worth the extra time, especially if you’re working with tricky surfaces or dramatic color changes.
One coat is usually enough if:
- Your cabinets are lightly sanded and already painted a light color
- You’re using a high-quality bonding primer on a smooth surface
- There are no heavy stains or dark colors to cover
Two coats are better when:
- The cabinets are bare wood, which absorbs primer quickly
- You’re covering dark, stained, or reddish wood tones (like cherry or mahogany)
- There are grease stains, smoke damage, or old oil-based finishes
- You want to ensure maximum durability and color consistency
The number of coats also depends on several other factors. The material of your cabinetsmakes a big difference; woodabsorbs more primer than laminate or MDF.
If you’re switching from a dark color to a lighter one or if you’re using water-based paint over an old oil-based surface, two coats are likely beneficial.
Always let the first coat dry fully, then check for full coverage and a smooth feel to determine if a second coat is needed.
What Affects How Many Coats You Need?
The number of primer coats you need depends on a few key factors. First is the surface type.
Raw wood tends to soak up primer quickly and may need two coats, while laminate or MDF surfaces are smoother but need a bonding primer that may require more coverage to stick well.
The original finishalso plays a big role.
Painted cabinets in light colors might only need one coat. But stained, glossy, or dark finishes often show through unless you apply a second coat.
Color changeis another important factor. If you’re going from dark cabinets to a light paint color, you’ll likely need more primer to block the base tone and avoid streaks.
Ultimately, the type of paint you use makes a significant difference. Some paints provide better coverage when paired with a strong primer base.
Always check the primer and paint label for best results and recommendations.
Choosing the Right Primer for Cabinets
Picking the right primer is key to a smooth, long-lasting finish. The best primer for your cabinets depends on the material, condition, and type of paint you plan to use.
Oil-Based Primers: Oil-based primers are strong and durable. They’re great for sealing wood, blocking stains, and sticking to old finishes. They work well on raw wood or cabinets with knots and heavy discoloration.
These primers take longer to dry and have a strong smell, but they provide excellent coverage and adhesion.
Water-Based Primers: Water-based primers are easier to work with and clean up. They dry faster, have less odor, and are ideal for already-painted cabinets or manufactured materials like MDF. They’re a good choice for low-odor, low-VOC projects.
Shellac-Based Primers: Shellac primers are fast-drying and great at blocking stains, odors, and wood tannins. They’re perfect for cabinets with grease or smoke damage, but can be more challenging to clean.
Bonding and Stain-Blocking Primers: Bonding primersare designed to adhere to slick surfaces, such as laminate or glossy finishes, without requiringheavy sanding.
Stain-blocking primershelp cover dark stains, grease spots, or reddish wood tones and prevent them from bleeding through your paint.
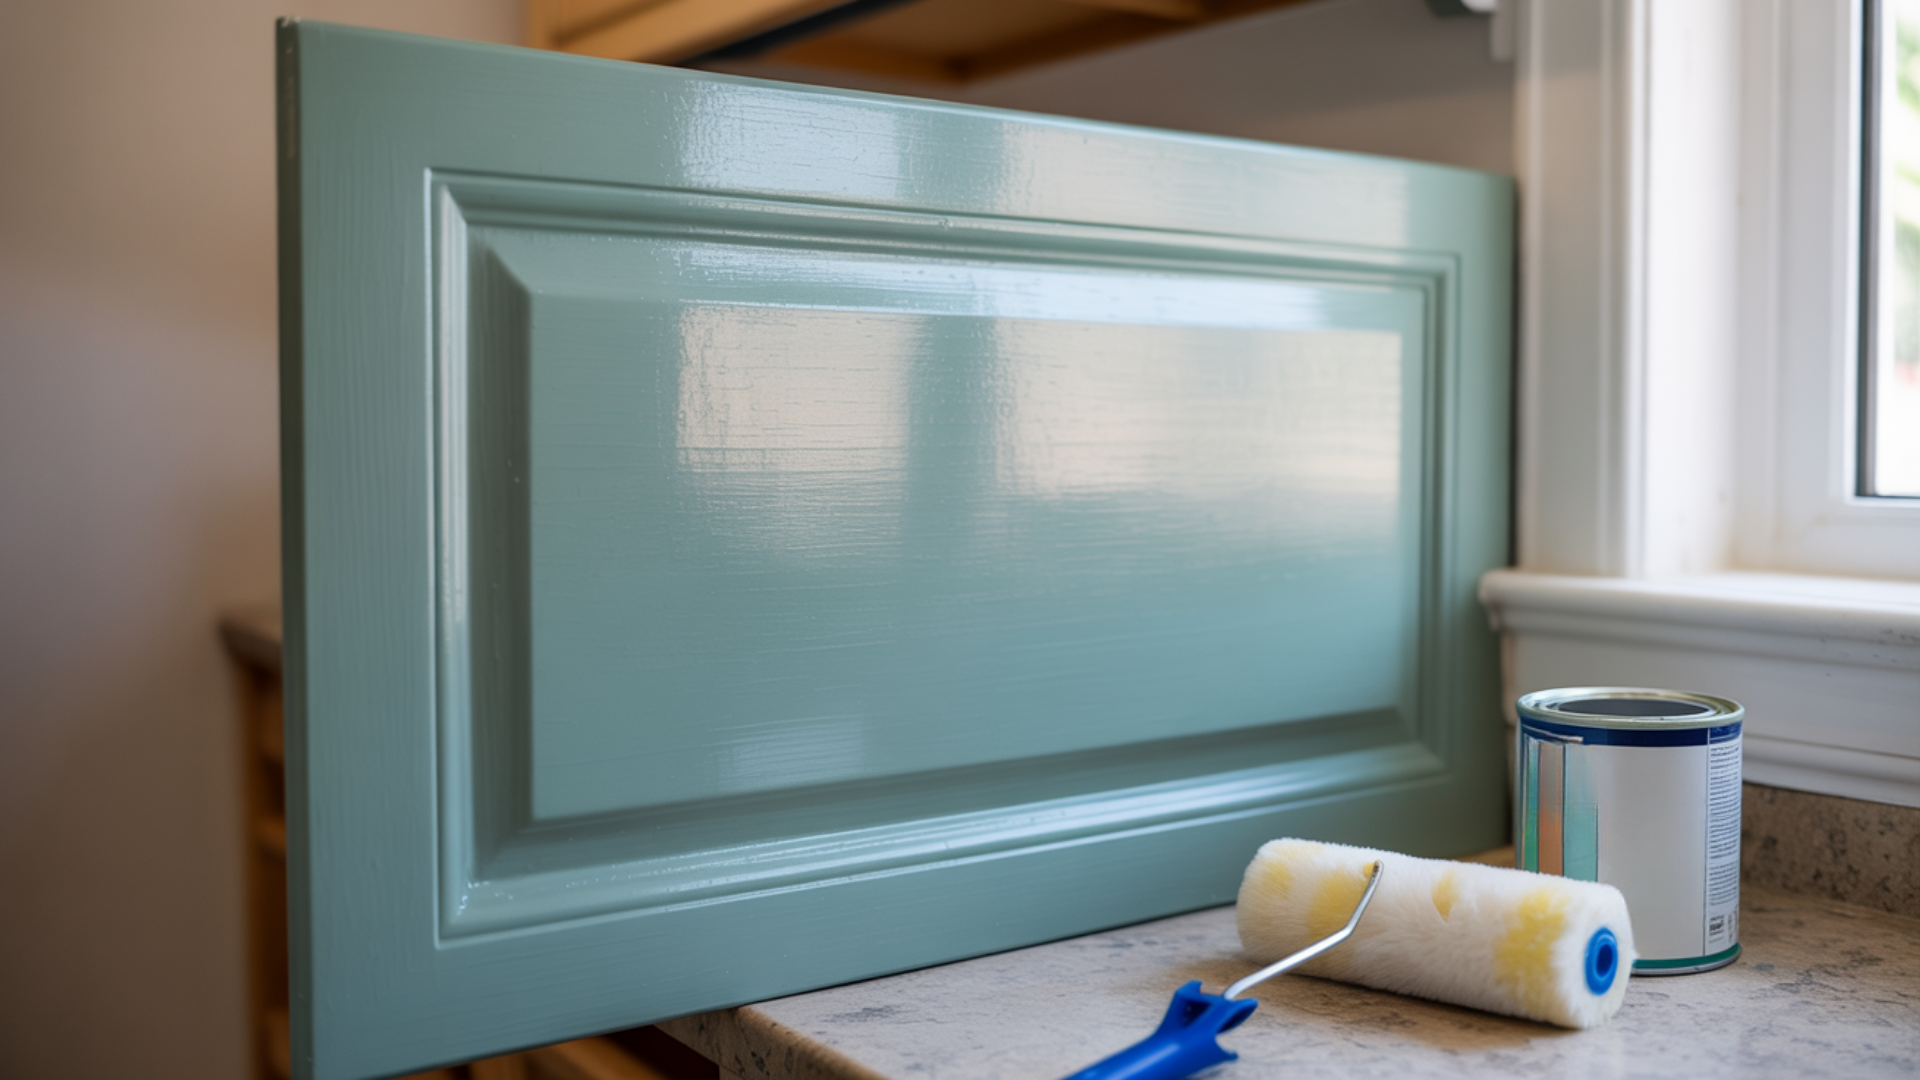
How to Apply Primer for the Best Results
Start with the right tools to get the best results when priming kitchen cabinets. Depending on the finish you want, you can use a brush, roller, or sprayer.
A brush is great for corners and details, while a foam roller or sprayer gives a smoother, more even surface.
Always apply thin, even coatsof primer; don’t apply it too thickly. Thick coats take longer to dry and can lead to drips or brush marks.
Let each coat dry fully before deciding if a second coat is needed. Check your primer’s label for the recommended drying time, which is typically between 1 and 4 hours.
Good ventilationhelps the primer dry more quickly and prevents fumes from accumulating. Try to work in a space with airflow, and avoid priming in extreme heat or humidity.
After the first coat dries, it’s a good idea to sand lightlywith 220-grit sandpaper.
This smooths out bumps and helps the next layer stick. Avoid pressing too hard, as over-sanding can damage the surface.
What Happens If You Skip Primer?
Skipping primer on your cabinets might seem like a way to save time, but it usually causes more problems than it solves.
Primer plays an important role in preparing the surface for paint. Without it, paint may not stick well, especially on glossy, stained, or laminate surfaces.
- Peeling or Chipping:Paint may not stick well and can start to peel or chip, especially with daily use.
- Uneven Coverage:The surface might absorb paint unevenly, leading to blotchy or streaky results.
- Stains Bleed Through:Without primer, grease, wood knots, or old stains can show through your new paint.
- More Paint Needed:You’ll likely use extra coats to cover the surface, which costs more and takes longer.
- Less Durability:Paint without a solid base wears down faster and is more prone to scratches or damage.
How Many Coats of Paint After Primer?
After you’ve finished priming your cabinets, the typical recommendation is to apply two coats of paint. This gives you better color depth, smoother coverage, and a longer-lasting finish.
Primer helps paint behave differently; it sticks better, goes on smoother, and usually covers more evenly than painting over bare wood or laminate.
In some cases, one coat of paint might be enough, like when you’re painting over a similar color or using a high-quality paint with excellent coverage.
Still, most professionals recommend applying two coats to ensure the finish is even and durable.
Don’t forget about paint sheen. Satin and semi-glossfinishes are popular for cabinets because they’re easy to clean and withstand the wear and tear ofbusy kitchens.
However, glossier sheens tend to show more flaws, so proper priming and two solid coats of paint help reduce visible brush marks or imperfections.
The Impact of Paint Quality on Cabinet Durability
No matter how well you prep and prime your cabinets, low-quality paint can ruin your results. Cheap paint often needs more coats, chips easily, and may not stick well, even over primer.
Investing in a high-quality cabinet or trim paintgives you better coverage, richer color, and a smoother, more durable finish.
Look for paints that are labeled as self-leveling, washable, and made for kitchen or bathroom use; theseare designed to handle moisture, grease, and daily wear.
High-quality paint also works better with primer, reducing the chances of peeling or streaking.
If you’re putting in the effort to prep and prime properly, don’t cut corners with the paint.
It’s the final layer that everyone sees, and it’s what keeps your hard work protected.
Tips for a Long-Lasting Cabinet Finish
- Let the Paint Cure Fully: Even if it feels dry, give your paint time to harden before heavy use, this helps prevent chips and smudges.
- Add a Protective Topcoat (Optional): A clear sealer can protect your cabinets from scratches, moisture, and daily wear, especially in busy kitchens.
- Clean Gently: Use soft cloths and mild cleaners. Avoid harsh scrubbing that can damage the paint over time.
- Prep Properly from the Start: Cleaning, sanding, and repairing before priming sets the stage for a smooth, lasting finish.
- Stick to Thin, Even Coats: Both primer and paint should be applied in thin layers to dry properly and avoid drips or buildup.
- Sand Lightly Between Coats: A quick, gentle sanding helps each coat bond better and leaves a smoother surface.
Common Mistakes to Avoid When Priming Cabinets
- Rushing Between Coats: If you don’t let the primer dry fully, the next layer can peel, bubble, or smear.
- Skipping Prep Steps: Failing to clean, sand, or degloss the surface makes it harder for primer to stick.
- Using the Wrong Primer: Not all primers work on every surface. Laminate and glossy cabinets need a bonding primer for best results.
- Applying Too Thick a Coat: Thick primer takes longer to dry and may leave brush marks, drips, or an uneven texture
Conclusion
Painting your kitchen cabinets is a great way to refresh your space, but good results depend on proper prep.
Start by cleaning and sanding, then apply 1 to 2 coats of primer,depending on your cabinet’s condition and surface. Primer helps your paint stick, covers stains, and creates a smoother base.
After priming, apply two coats of quality paint for even color and lasting durability. Don’t rush – leteach coat dry fully, and lightly sand between layers if needed.
If your cabinets are dark, glossy, or stained, a second coat of primer may give better results.
I recommend taking your time with each step – prep, prime, and paint. This can make the difference between a quick touch-up and a finish that truly lasts.
Be patient, follow the process, and you’ll end up with cabinets that look clean, fresh, and professionally done.