
Love the soft, textured look of old-world limewashed walls but don’t want the hassle or cost of traditional limewash? You’re in luck! Faux limewash paint is a great DIY way to get that same natural, aged look without using real lime or special tools. It’s perfect for adding warmth, depth, and charm to any room.
In this blog, I’ll walk you through everything you need to know about faux limewash paint. I’ll cover what it is, why it’s a great option, and how to apply it step by step. You don’t need to be a pro to get amazing results—you need a little time and the right technique.
If you’re ready to give your walls a stylish makeover, let’s get started. Faux limewash might be your new favorite DIY trick!
Understanding Faux Limewash Paint
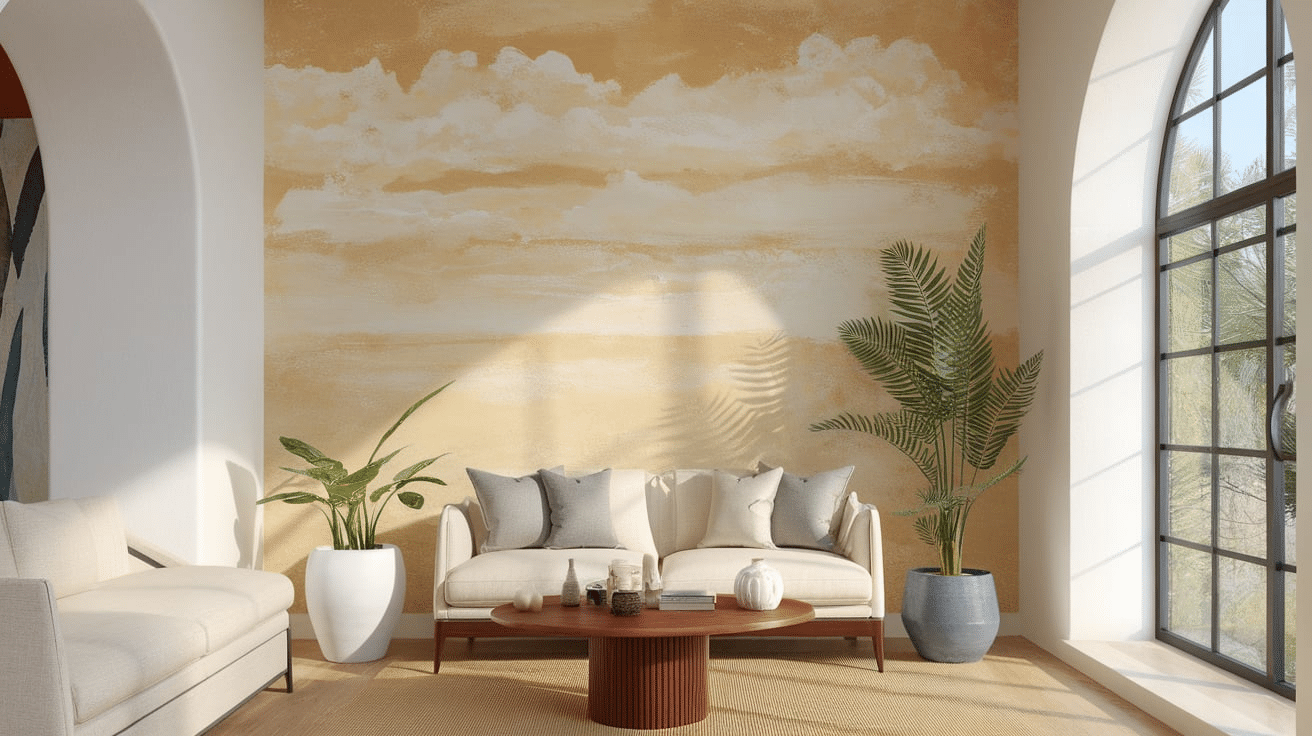
Faux limewash paint is a fun and easy way to give your walls a soft, textured look—kind of like something you’d see in an old farmhouse or a cozy European home.
Unlike real limewash, which is made with lime and minerals, faux limewash is just regular matte paint thinned with water. It’s safer, easier to use, and you can do it yourself without any special skills.
The goal is to create a finish that looks cloudy and uneven and in a good way. This style adds depth and character to your walls, making them feel warm and natural.
Faux limewash works best on flat, smooth walls. It’s great for living rooms, bedrooms, and even small spaces like entryways or bathrooms. You can also play around with different colors to match your style. It’s a simple project with beautiful results!
Why Choose Faux Limewash?
Faux limewash is a great choice if you love the look of real limewash but want something easier and more budget-friendly. It gives your walls that amazing, cloudy texture without using real lime or hiring a pro.
- It’s easy to DIY. No fancy tools or skills are needed, just some matte paint, water, and a brush!
- It’s affordable. Faux limewash costs a lot less than specialty lime paint or professional finishes.
- It looks high-end. Even though it’s simple to do, the finish look is stylish and unique.
- You can use any color. Unlike real limewash, faux versions can be made in any paint shade you like.
- It works in any room. Use it in bedrooms, living rooms, bathrooms, or even small hallways.
If you want walls with charm and texture—without the stress—faux limewash is a smart choice!
Step-by-Step Guide: How to Apply Faux Limewash Paint
Faux limewash paint is easier than it looks—and you don’t need special tools to pull it off.
Step 1: Gather Your Supplies
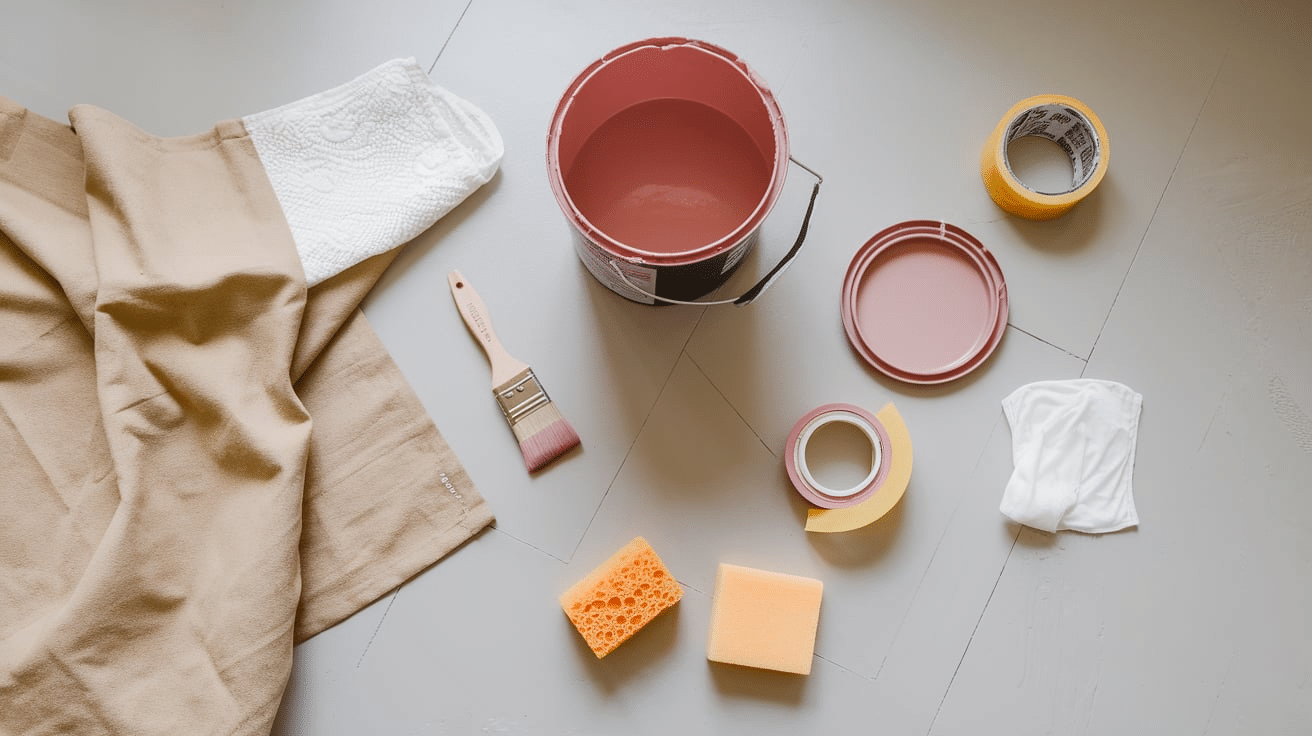
Before you begin, make sure you have everything you need:
- Flat or matte latex paint (choose your color)
- Water (for thinning the paint)
- A mixing container or bucket
- Large paintbrush (preferably a natural bristle or limewash-style brush)
- Painter’s tape
- Drop cloths or old sheets
- Sponge or rag (for touch-ups or blending)
- Stir stick or paint mixer
Step 2: Prep Your Wall
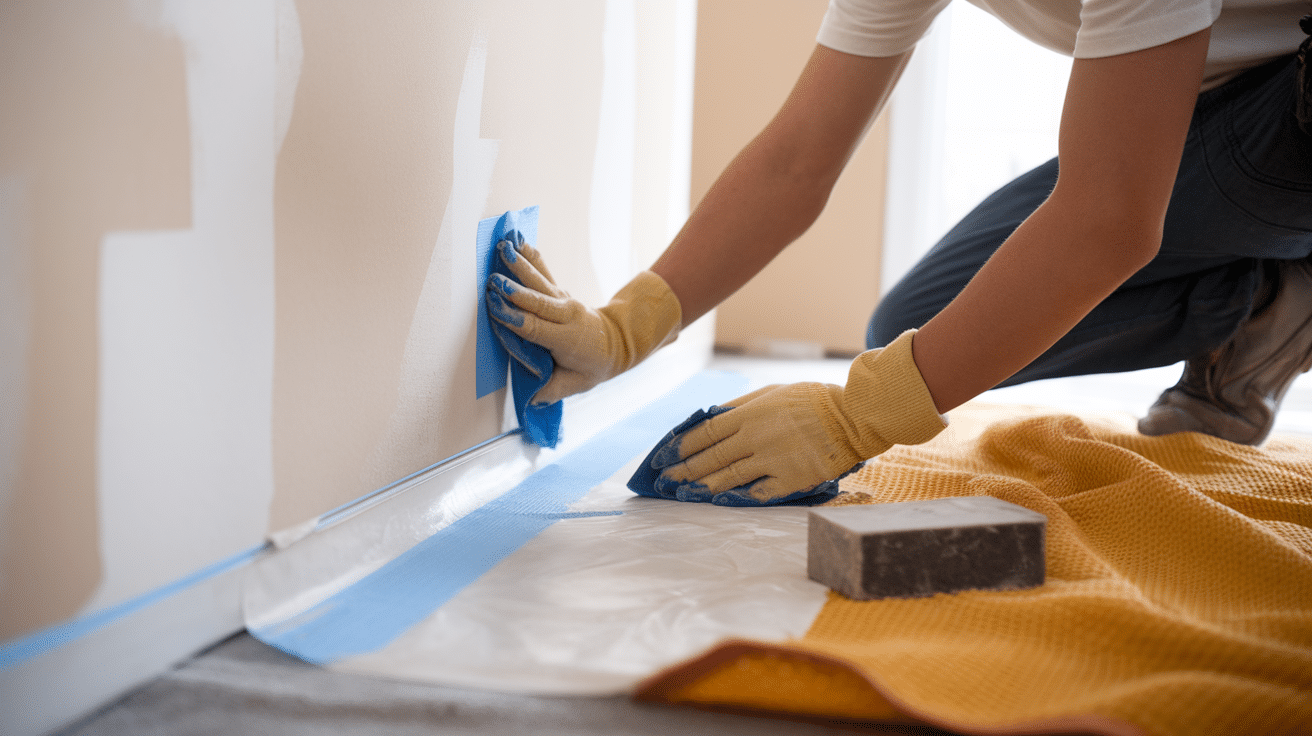
Good prep makes all the difference.
- Clean the wall to remove dust, dirt, or grease.
- Repair any holes or cracks using spackle.
- Lightly sand any rough areas.
- Tape off the edges around baseboards, trim, and ceilings.
- Lay down drop cloths to protect your floor.
Faux limewash works best on light-colored, flat surfaces. If your wall is dark or glossy, prime it first.
Step 3: Mix the Paint
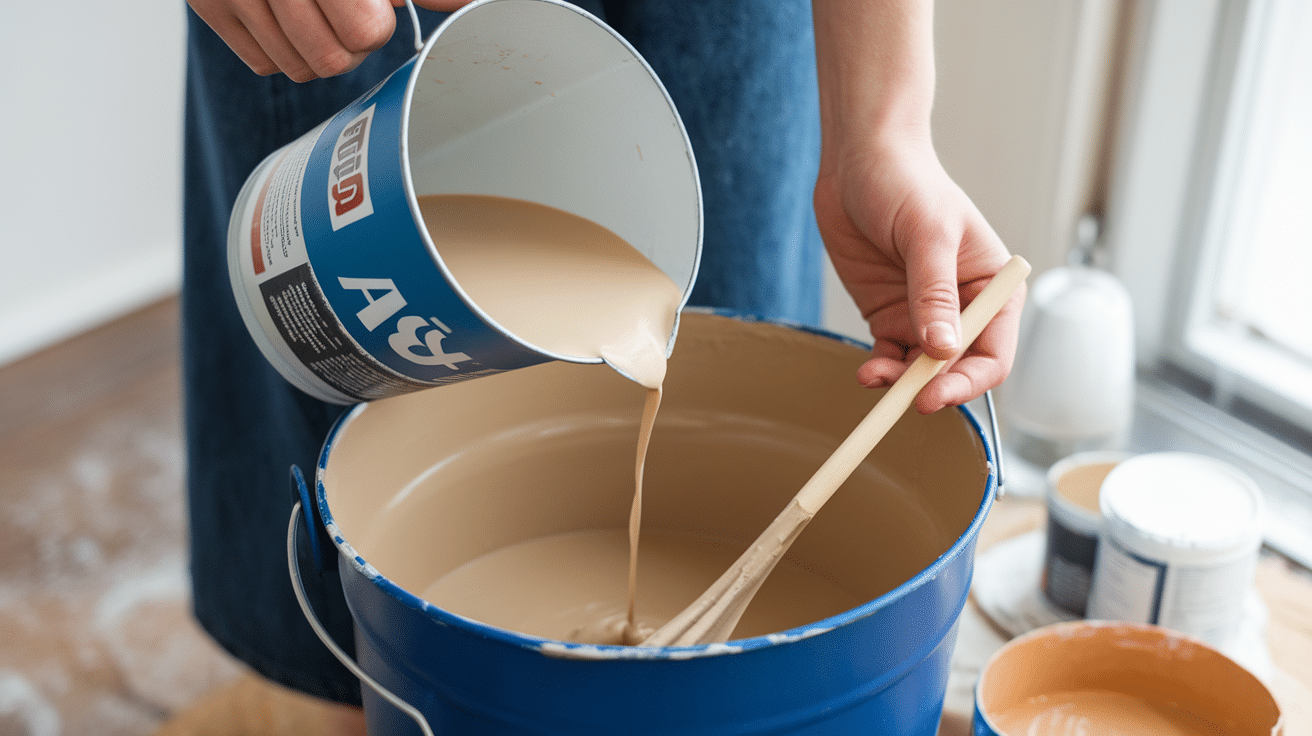
Now it’s time to create your faux limewash mixture.
- Pour some flat or matte paint into a mixing container.
- Add water in a 1:1 ratio (equal parts paint and water).
- Stir well until fully mixed. The paint should feel thinner than normal—almost like milk.
You can test the mix on a piece of cardboard or a hidden wall spot to see how it looks.
Step 4: Start Painting
This is where the fun begins!
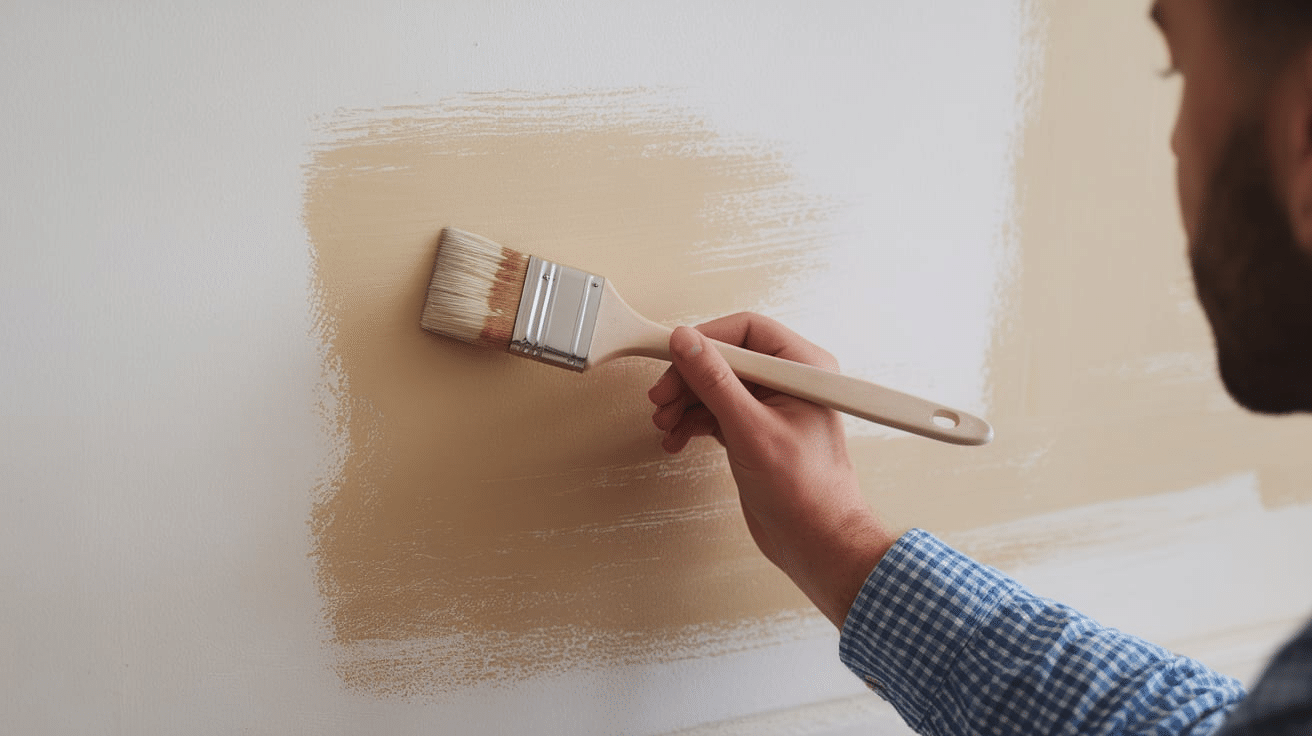
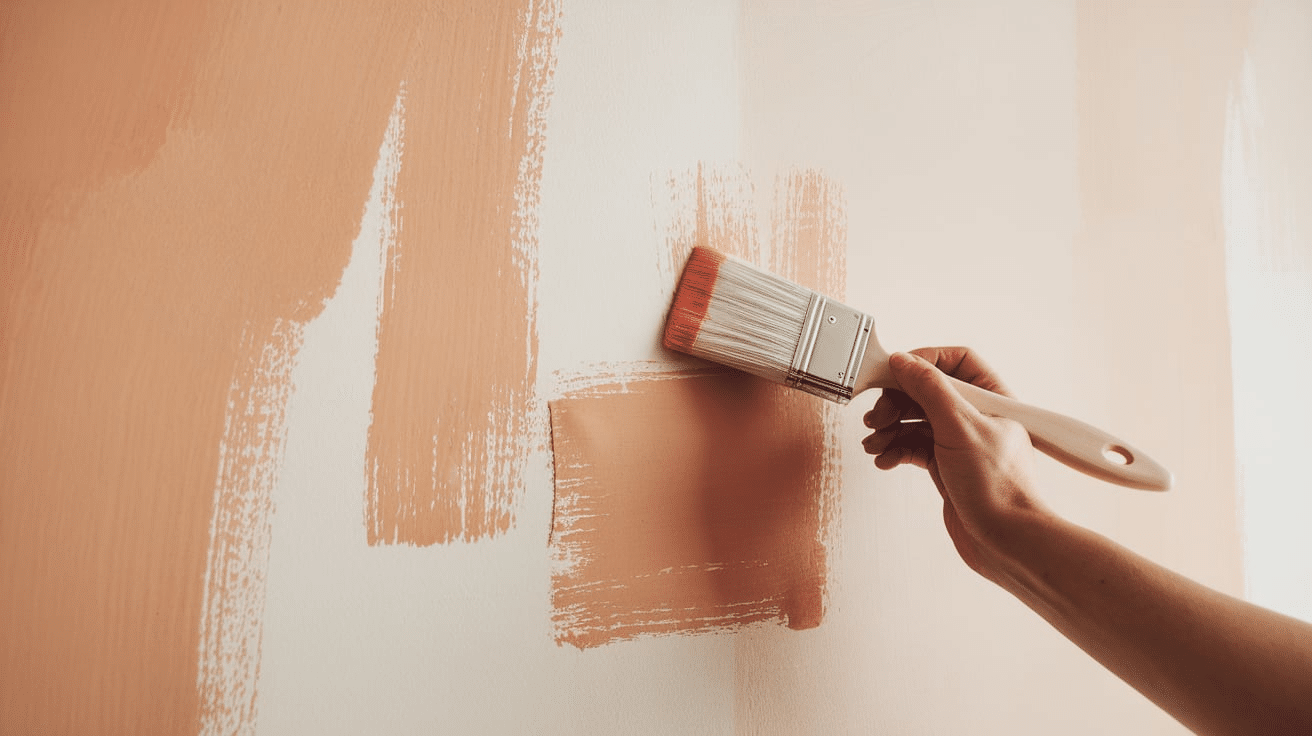
- Dip your brush into the thinned paint.
- Apply it to the wall using crisscross strokes or X-shapes. This creates the textured, cloudy look.
- Work in small sections, keeping a “wet edge” so everything blends smoothly.
- Don’t worry about perfection—it’s supposed to look smooth and natural.
Step 5: Add More Layers (Optional)
If you want more texture or depth, add a second or even third layer.
- Let the first layer dry fully (about 2–4 hours).
- Then repeat the same technique, adding more layers as needed.
- You can water down each layer a bit more or less, depending on the look you want.
Step 6: Blend and Soften (Optional)
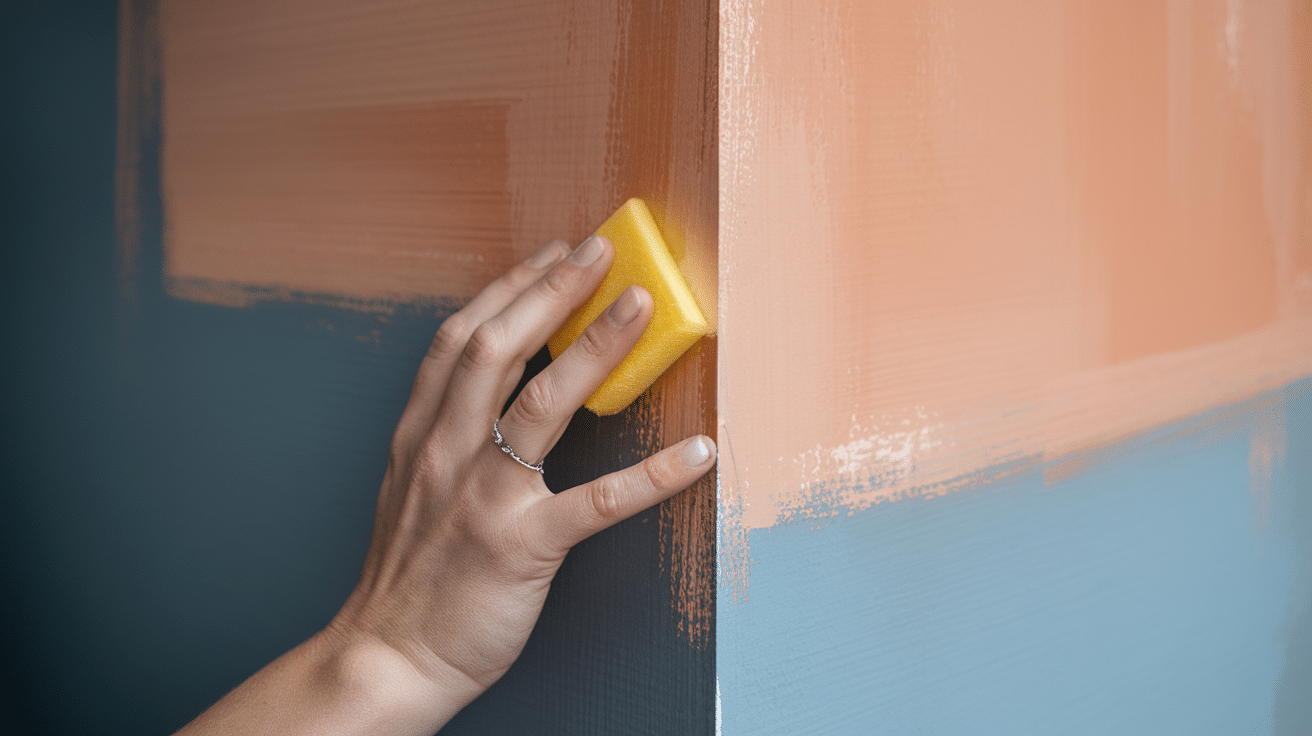
If any spots look too harsh or streaky:
- Lightly dab them with a sponge or rag while the paint is still slightly wet.
- This will soften the lines and help blend everything together.
Step 7: Clean Up and Let It Dry
- Carefully remove the painter’s tape while the paint is still a little tacky.
- Clean your brush with warm water.
- Let the wall dry overnight for the final look to settle in.
That’s it! You’ve created a beautiful faux limewash finish that looks soft, natural, and full of character. It’s a simple way to give any room a stylish, aged look without the mess or expense of real limewash.
Best Faux Limewash Paint
You don’t need real lime to get that soft, textured limewash look. These paints are great for creating a faux limewash finish—and they’re easy to find and use!
1. Shop Behr Premium Plus Matte ($25-$40 per gallon):This budget-friendly option works great when thinned with water. Its flat, chalky finish is perfect for faux limewash.
2. Shop Clare Paint ($45-$55 per gallon):Clare makes eco-friendly paints with a matte look. Their colors are beautiful and perfect for layering in a limewash style.
3. Shop Aura Matte ($70-$80 per gallon):This one is high quality and great for blending. It has a rich finish and works well for textured wall effects.
4. Shop Jolie Paint ($40-$55 per quart):Made for decorative finishes, this paint is great for DIY projects like faux limewash. It’s thick, easy to work with, and comes in trendy colors.
Always choose flat or matte paint—glossy finishes won’t give you the same look. Remember to thin it with water for that soft, faded texture.
Choosing Faux Limewash Paint Colors
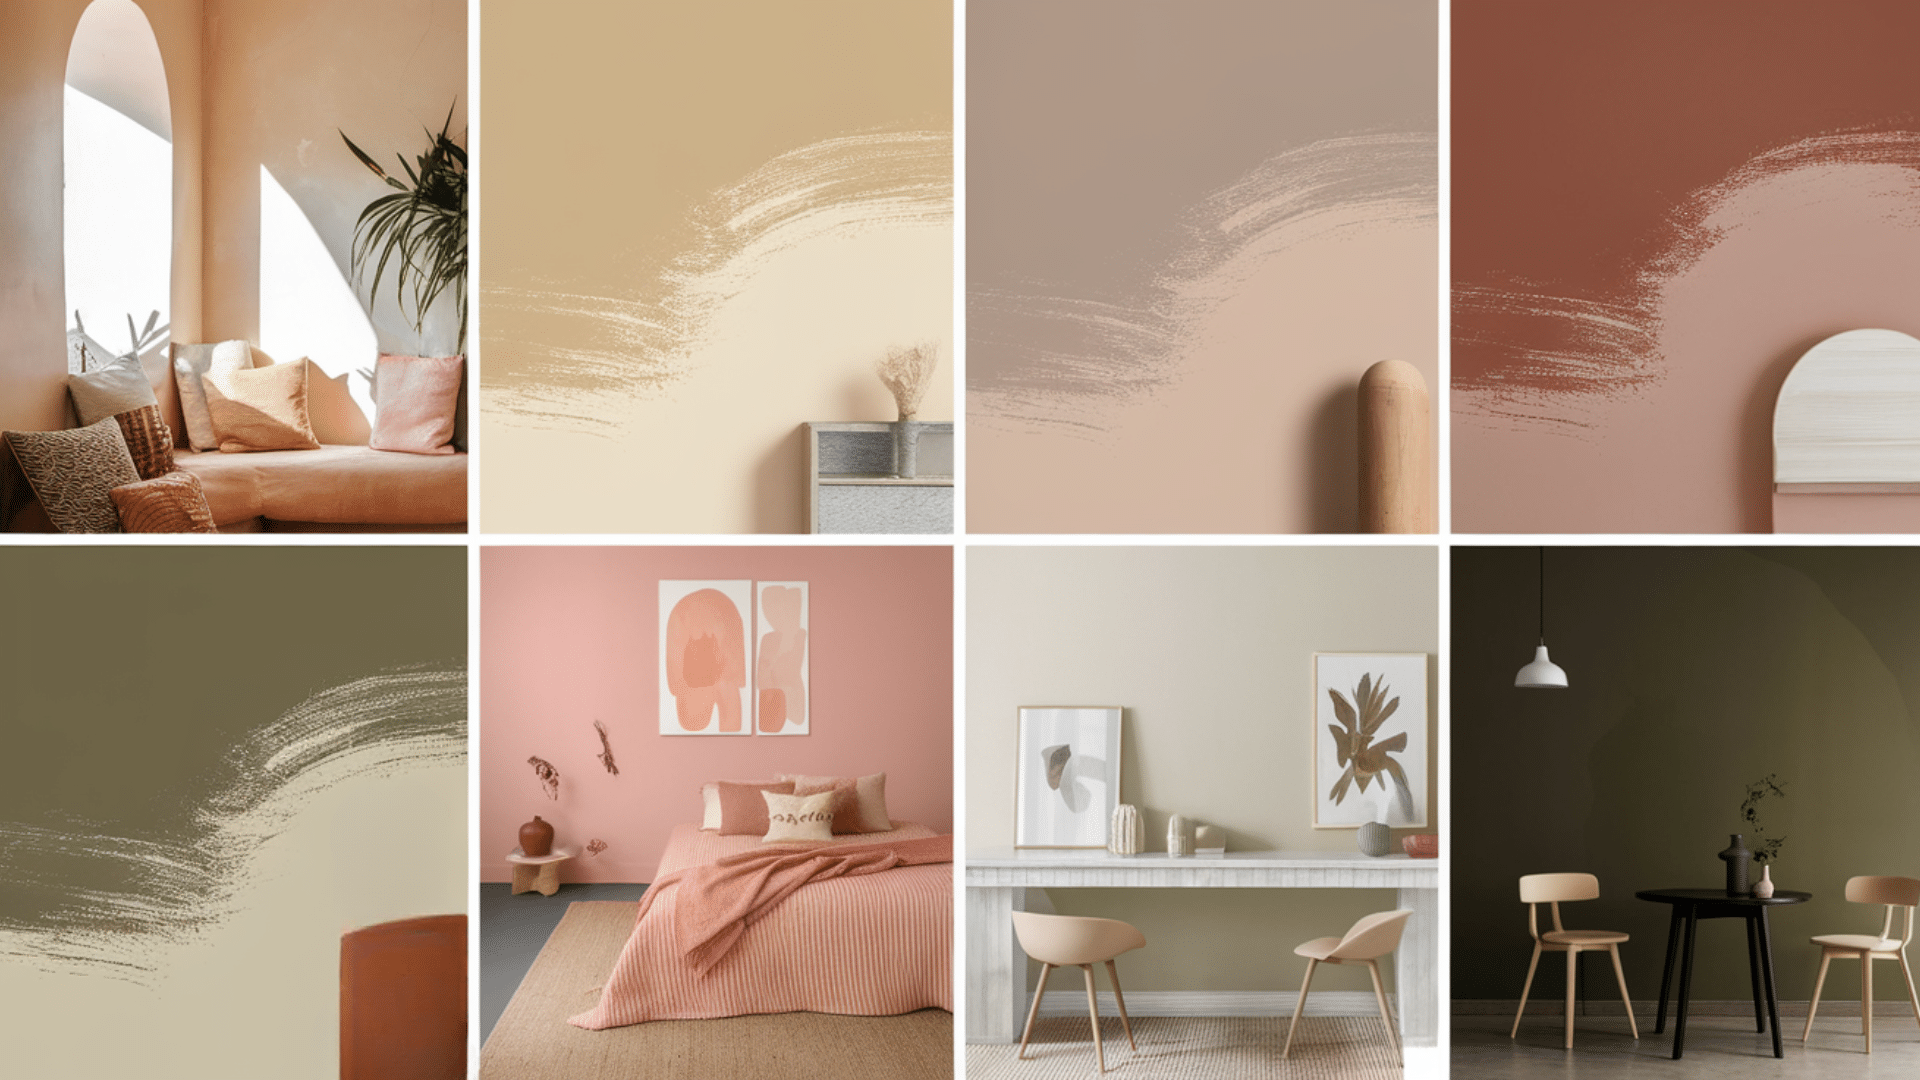
One of the best parts about faux limewash paint is choosing your color. The color you pick can totally change the mood of your space—from calm and cozy to bold and dramatic.
1. Soft, Airy Feel: Soft whites, creams, and light beiges give that peaceful, natural look limewash is known for. These colors reflect light and make a room feel open and calm.
2. Try Earth Tones for Warmth: Warm taupes, dusty browns, and clay-like colors add depth and give your walls an old-world charm. They’re perfect for a cozy, lived-in feel.
3. Use Deep Shades for Drama: Rich charcoal, navy, or forest green create a moody, stylish vibe. These colors are great in small spaces or as an accent wall.
Test your color first—it can look different once it’s thinned and layered!
Faux Limewash Paints in Different Places
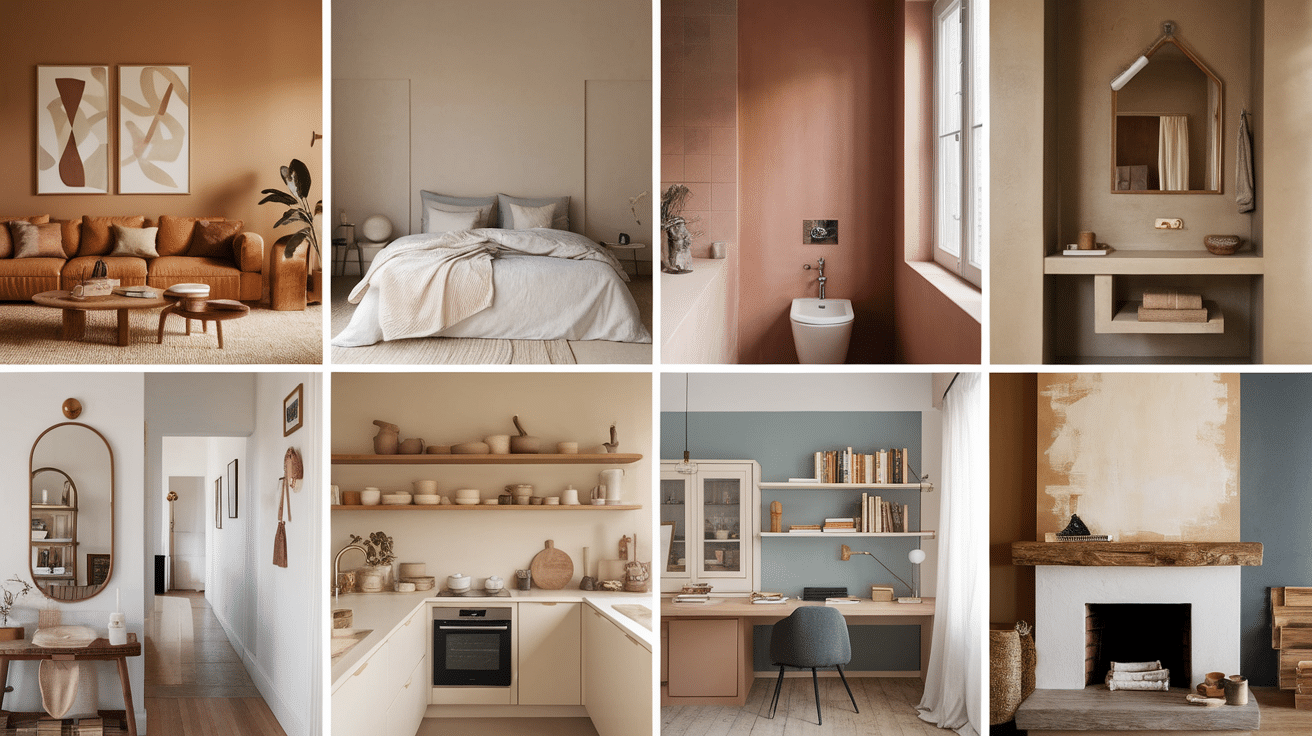
Faux limewash paint isn’t just for one kind of room—it works almost anywhere! Its natural texture adds character and warmth to all kinds of spaces.
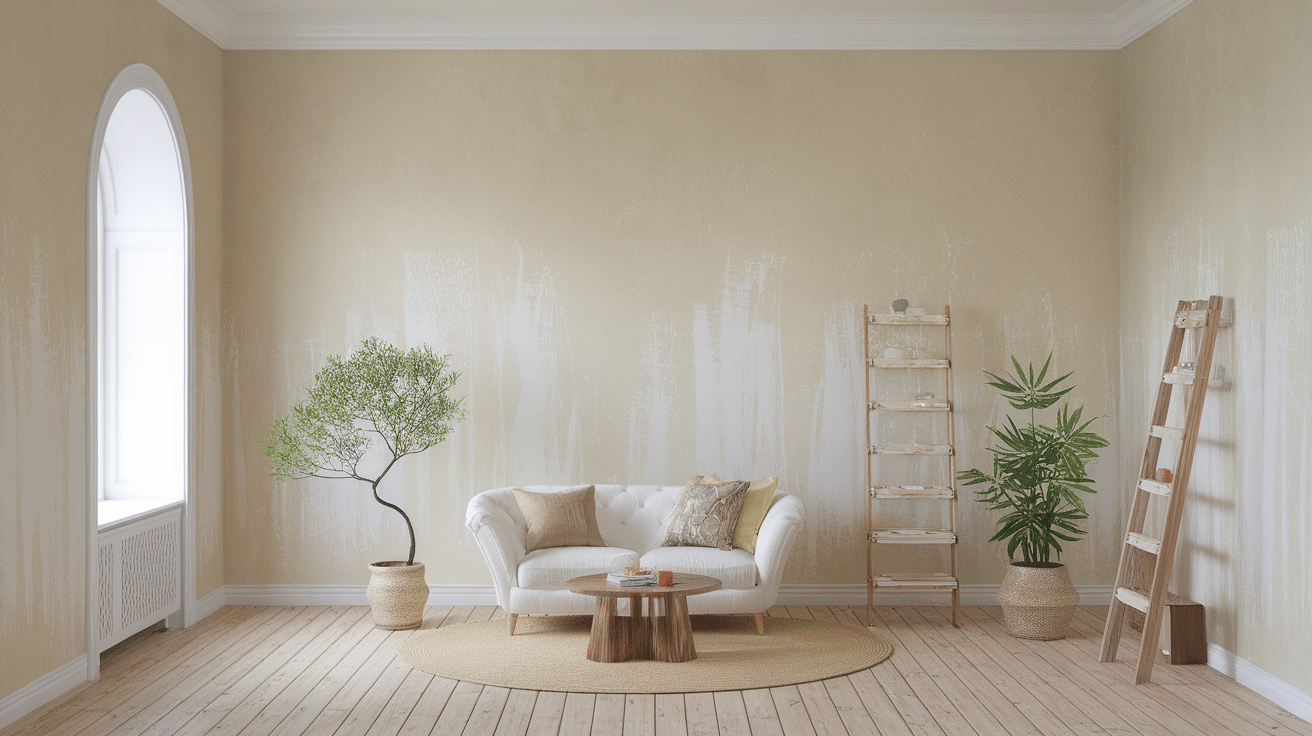
1. Living room: Use faux limewash on an accent wall or the whole space for a calm, cozy vibe. Earth tones and warm whites work great here.
2. Bedroom: Soft, muted colors like dusty pink, taupe, or pale gray make your bedroom feel peaceful and relaxing. Limewash-style walls pair well with linen bedding and natural textures.
3. Bathroom: Yes, you can use it in bathrooms! Just make sure the space is dry and well-ventilated. Add a clear topcoat to protect from moisture.
4. Entryway or Hallways: Faux limewash in these small areas creates a stylish, welcoming feel. It’s a great way to make a strong first impression.
5. Kitchen: Try it on a backsplash wall or above open shelves. Light colors like cream, sand, or clay look fresh and timeless in a kitchen setting.
6. Office or Study: Use cooler tones like soft blues or grays to create a focused and calming work space. The textured finish keeps it interesting without being distracting.
7. Fireplace wall: A faux limewash finish on a fireplace wall gives it an old-world, rustic charm—especially in shades of white, beige, or terracotta.
No matter where you use it, test the color first. Faux limewash can look slightly different depending on lighting and wall texture.
Faux Limewash Maintenance
Good news—faux limewash walls are easy to care for! Once your paint is dry and looking great, you don’t have to do much to keep it that way.
- Dust gently: Use a dry cloth, duster, or the brush attachment on your vacuum to remove dust now and then.
- Clean carefully: If the wall gets dirty, lightly wipe it with a damp sponge. Avoid scrubbing hard—it can remove the soft finish.
- Touch up if needed: Keep a little extra paint in a sealed container. If you notice a scuff or chip, just brush a small amount over the spot to blend it in.
- Avoid harsh cleaners: Stick to water or mild soap—no bleach or strong chemicals.
With just a little care, your faux limewash walls will stay beautiful for years!
Conclusion
Faux limewash paint is one of the easiest ways to add warmth, texture, and character to your walls without the mess or cost of real limewash. It’s beginner-friendly and budget-friendly and gives your space a high-end, timeless look. Whether you go for soft whites, warm earth tones, or bold dark colors, this paint style adds something special to any room.
The best part? You don’t need special tools or expert skills. With just some matte paint, a little water, and a brush, you can create a warm, cloudy finish that feels cozy and unique. Just take your time, follow the steps, and enjoy the process.
If you’re looking for a fun and rewarding DIY project, faux limewash is definitely worth a try. It’s an easy way to make your home feel fresh, stylish, and totally your own.