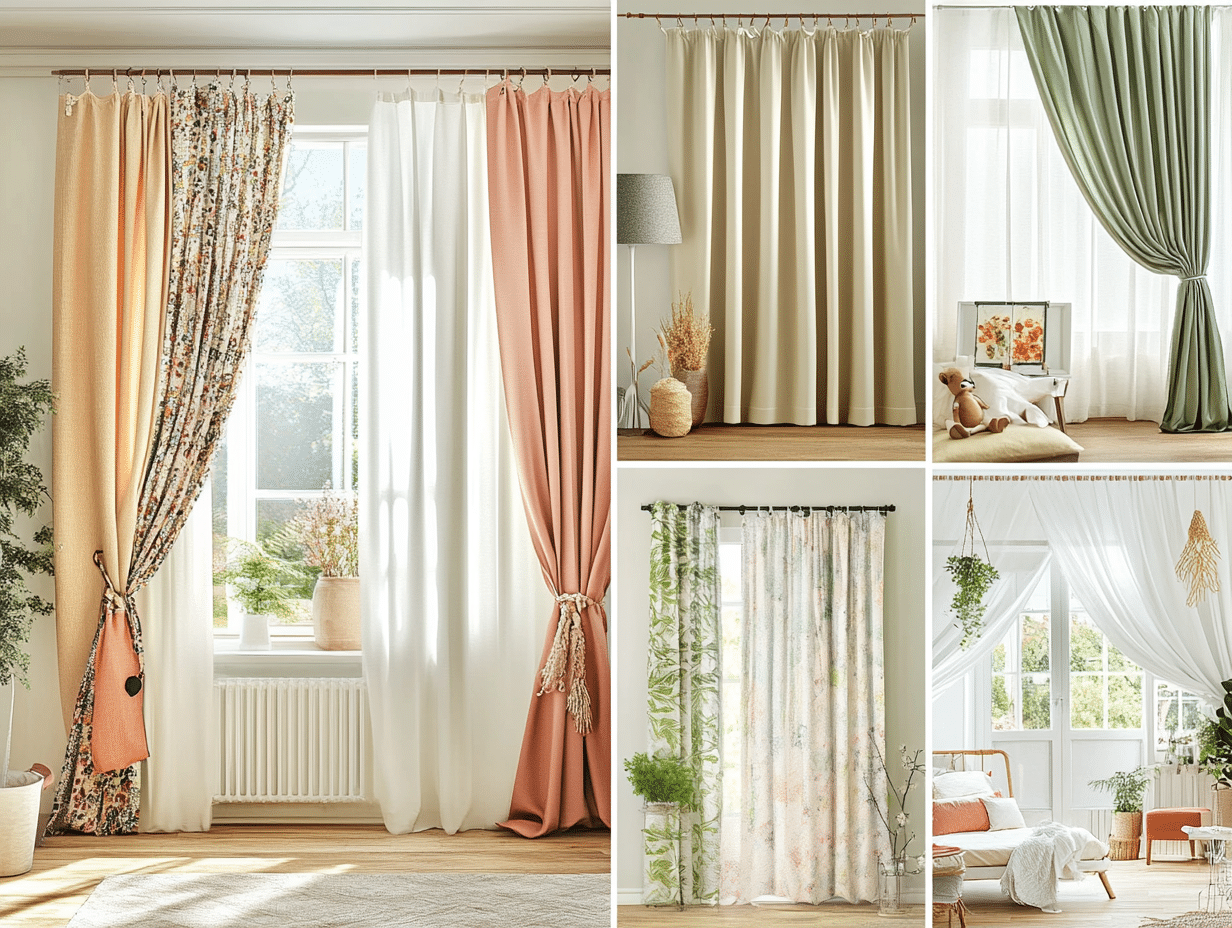
Hanging curtains might seem tricky, but it doesn’t have to be.
Are you unsure how to measure, install, or style them? Or maybe you’re looking for creative ideas to make your windows stand out?
Good news: You can hang curtains like a pro with basic tools and simple steps.
This guide will help you hang curtains step by step, even if it’s your first time. You’ll learn:
- How to measure for the right size
- Simple steps to install curtains
- Creative and unique hanging ideas
Here, you’ll learn how to measure, choose the best hanging method, and finish the job quickly.
You will also discover creative ideas for making your windows stand out, from rod placement to final touches.
Ready to transform your bare windows into beautifully framed focal points?
Let’s start with the basics and work our way through each step.
Here’s What You Need to Start
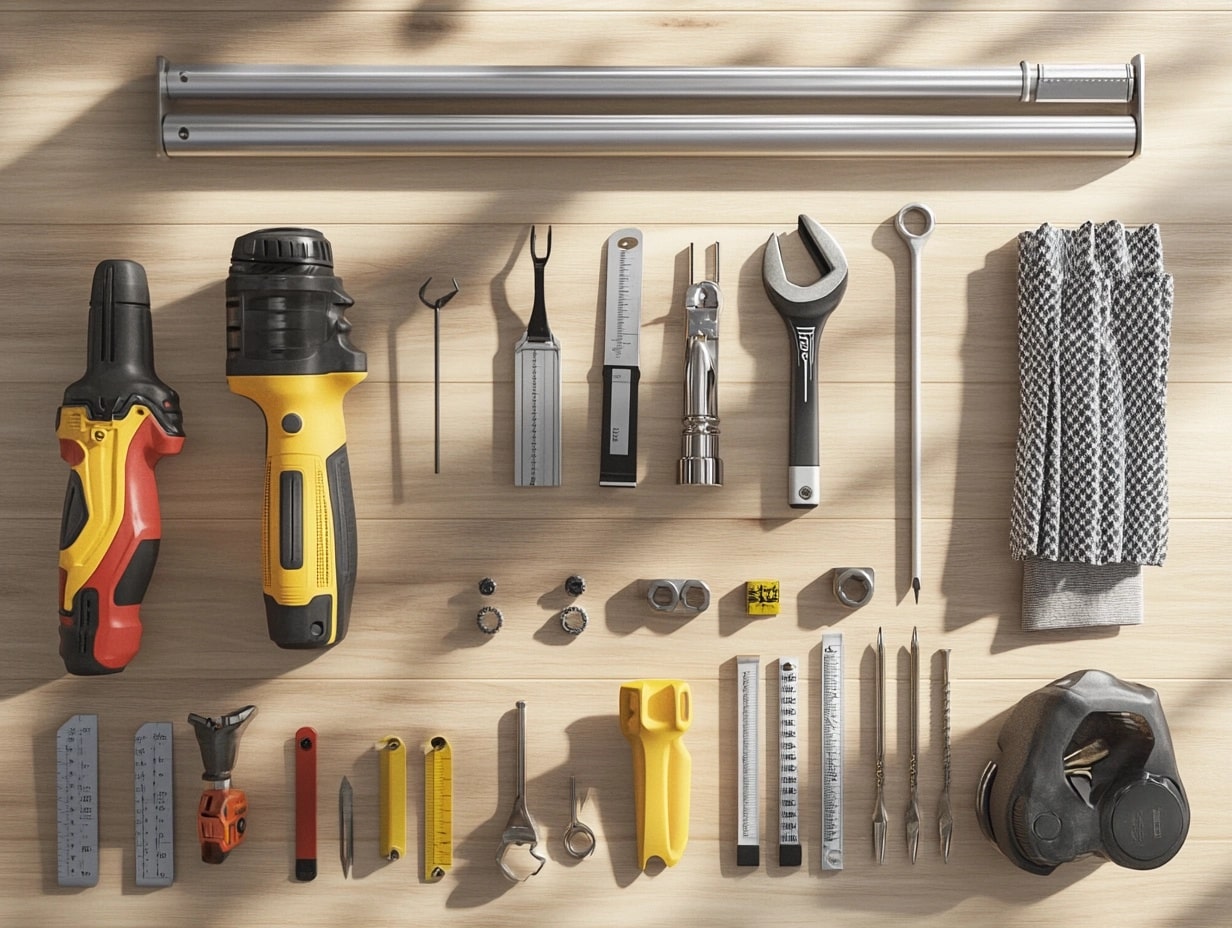
Before you can hang your curtains, make sure you have the right tools and materials.
Let’s gather everything before we begin. You’ll save time by having all your supplies ready.
Basic Tools
- Measuring tape (for perfect rod placement)
- Pencil (to mark your spots)
- Level (to keep things straight)
- Drill with bits (or a screwdriver for simple jobs)
- Stepladder or sturdy chair
Hardware You’ll Need
- Curtain rod that fits your window
- Mounting brackets (usually come with the rod)
- Wall anchors and screws (check your wall type)
- Wall anchors for drywall or plaster
- Screws that match your brackets
The Main Items
- Your chosen curtains
- Rod finials (the decorative ends)
Nice-to-Have Extras
- Curtain holdbacks
- Decorative hooks
- Iron or steamer (to remove wrinkles)
- Vacuum (for cleanup)
Pro tip:I recommend buying extra wall anchors and screws. They’re inexpensive, and having spares helps if you drop one or need to adjust your placement.
Got your tools?
Great—let’s move to the next step!
How to Hang Curtains: Simple Steps for Beautiful Results
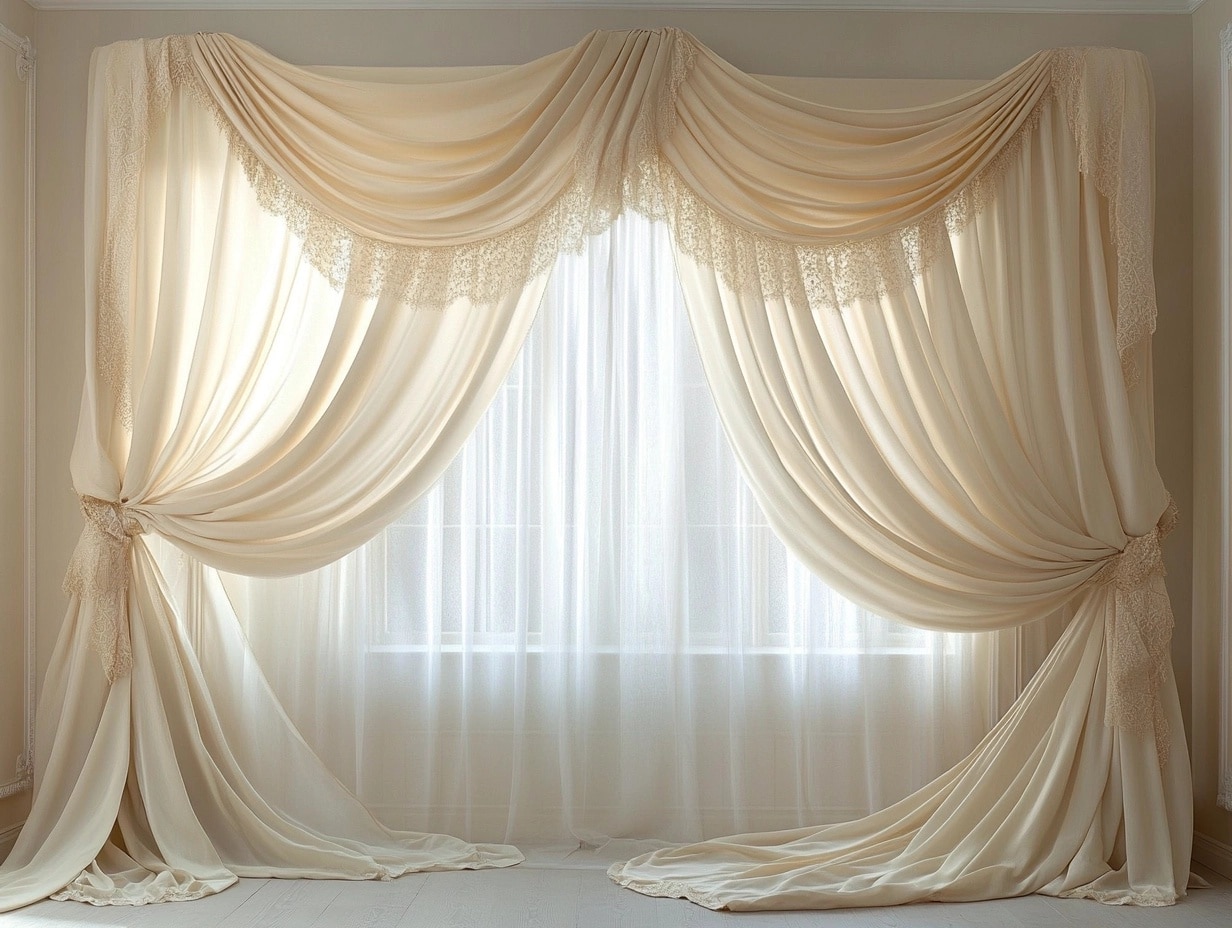
Let’s walk through each step to make your curtains look great.
Take your time – rushing often leads to crooked rods and extra holes in your walls.
Step 1: Mark Your Spots
- Hold your bracket against the wall where you plan to mount it
- Make small pencil marks for the screw holes
- Use your level to draw a straight line between brackets
- Double-check your marks are even on both sides
Quick Tip: If you’re working alone, tape a piece of paper to the wall and mark your measurements on it. This helps you keep track of your spots.
Step 2: Install Your Brackets
- Start with one hole per bracket
- If using wall anchors, drill pilot holes first
- Put in your wall anchors
- Screw brackets into place, but don’t tighten fully
- Check they’re level before adding the remaining screws
- Now tighten all screws firmly
Quick Check: Give the brackets a gentle tug to make sure they’re firmly in place.
Step 3: Add Your Curtains and Rod
- Lay out your curtains and rod on a clean floor
- Remove finials from one end of the rod
- Slide your curtains onto the rod
- Put the finial back on
- Lift the rod with curtains and set into brackets
- Secure the rod according to bracket instructions
Tip: If your rod extends, adjust it now to fit evenly.
Step 4: Make Final Adjustments
- Space your curtain pleats evenly
- Check both panels hang at the same height
- Smooth out any wrinkles
- Test opening and closing a few times
- Adjust rod position if needed
Helpful Hint: Stand back several feet to check everything looks straight. What seems fine up close might look off from across the room.
How to Measure for the Correct Size Curtain and Rod
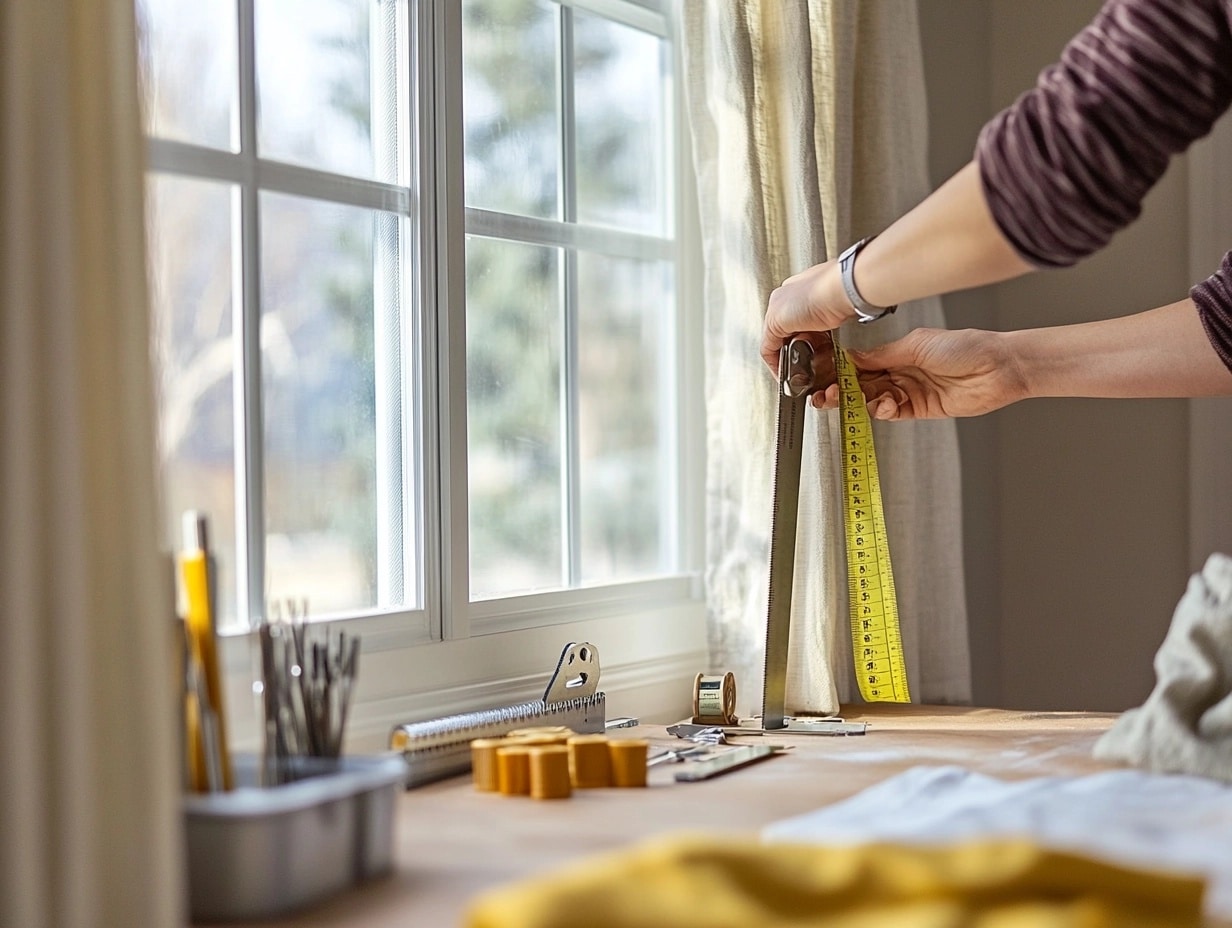
Getting the right measurements is key to making your curtains look good. Let’s break this down into simple steps.
1. Measure the Width of Your Window
- Use a tape measure to find the width of the window.
- Add 10 to 15 cm on each side (or about 4 to 6 inches) to allow the curtains to cover the window and stack neatly when open.
Pro Tip: Always round up—short rods make windows look smaller.
2. Decide on the Curtain Length
Where do you want your curtains to stop?
- Above the floor: Perfect for a clean, modern look.
- Touching the floor: Adds elegance without the hassle of dragging.
- Puddled on the floor: Best for formal rooms, but remember they’re harder to clean.
3. For Rod Height
- Place the rod 4-6 inches above your window frame
- If your ceiling is low, put it halfway between the window and the ceiling
- Higher rods make your room feel taller
4. Watch for Common Mistakes
- Don’t forget the rod height. Install it above the window frame at 10-15 cm (4-6 inches) for a taller look.
- Double-check your measurements. A little error can make a big difference.
- Think about fabric shrinkage. If your curtains need washing, choose a slightly longer length.
Smart Tip: Write down all measurements twice. Small mistakes here can mean redoing the whole project later.
How to Accessorise Curtains & Window Treatments
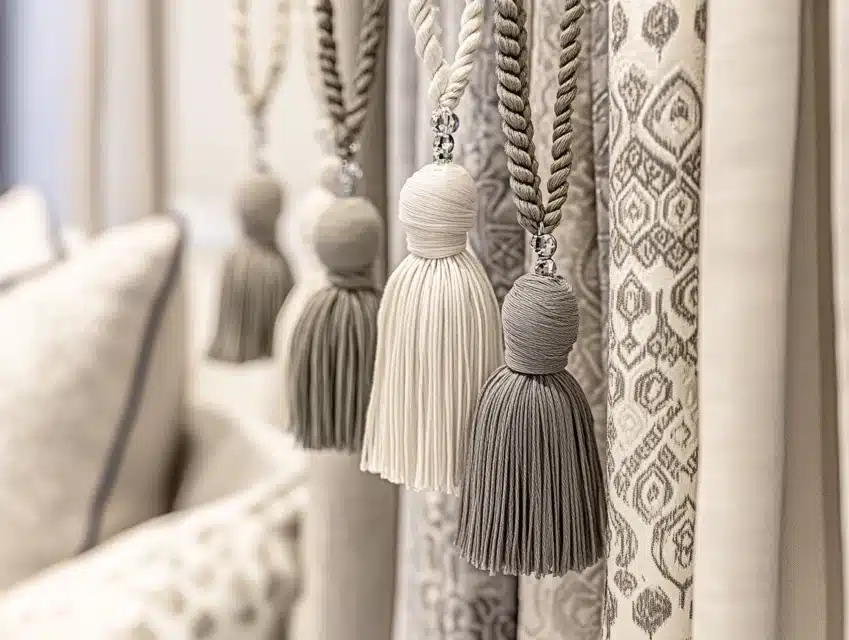
Curtains don’t just block light—they’re a chance to show off your style.
With the right accessories, you can transform them from basic to beautiful. Small touches can make your windows look even better.
Let’s look at some simple ways to add style to your curtains without spending too much money:
Pretty Tiebacks
- Simple fabric bands add a soft look
- Metal holdbacks come in many styles
- Rope cords with tassels work well for formal rooms
- DIY option: Make tiebacks from matching fabric
Money-saving tip: Try making tiebacks from items you already have. Even nice ribbons can work well.
Layer Your Look
- Put sheer panels behind the main curtains
- Use light fabrics for better light control
- Mix solid colors with patterns
- Add a simple valance on top
Decorative Rod Ends (Finials)
- Glass balls for a clean look
- Wooden ends to match furniture
- Metal designs for classic style
- Simple caps for modern rooms
Fun Extra Touches
- Clip-on crystals catch the light nicely
- Small decorative pins add sparkle
- Trim along the edges makes curtains special
- Colored bands at the bottom create interest
Smart Tip: Before buying extras, hang plain curtains first. Live with them for a few days, and you’ll know better what extras might look good.
Mix and Match Ideas
- Use different tiebacks for each season
- Change valances to update your look
- Try new finials for a quick change
- Add trim only to the front panels
Remember that less is often more. Instead of using everything at once, pick one or two nice touches.
Creative Curtain Hanging Themes
Curtains are more than functional—they can transform the vibe of your space.
Let’s explore seven creative themes to inspire your next curtain makeover.
1. Rustic Charm
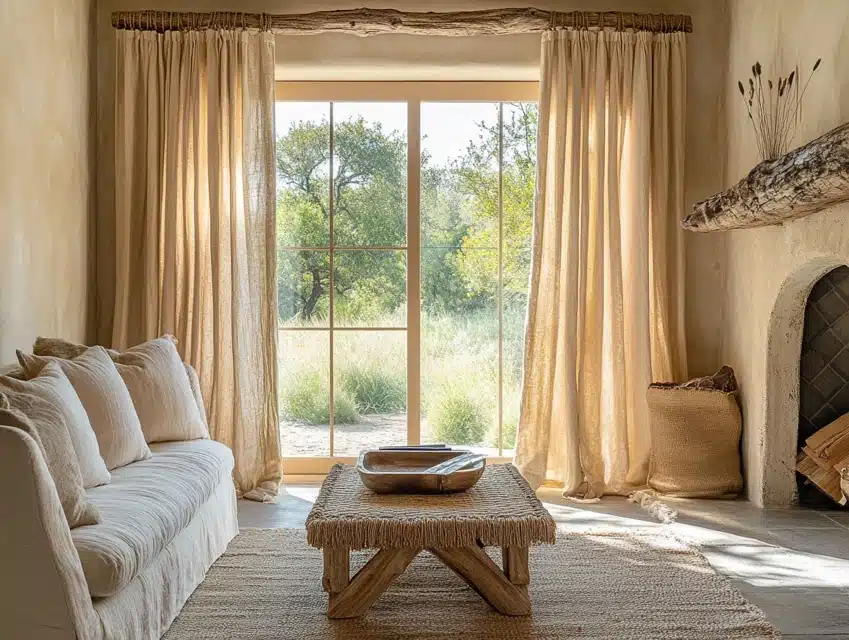
Bring nature indoors with a wooden rodor even a sturdy tree branch as your curtain rod.
Choose curtains made of natural fabrics like cotton or linen in neutral or earthy tones.
This setup pairs beautifully with farmhouse-style furniture or a cabin-inspired room.
Add some burlap tiebacks for an extra rustic touch.
2. Boho Vibes
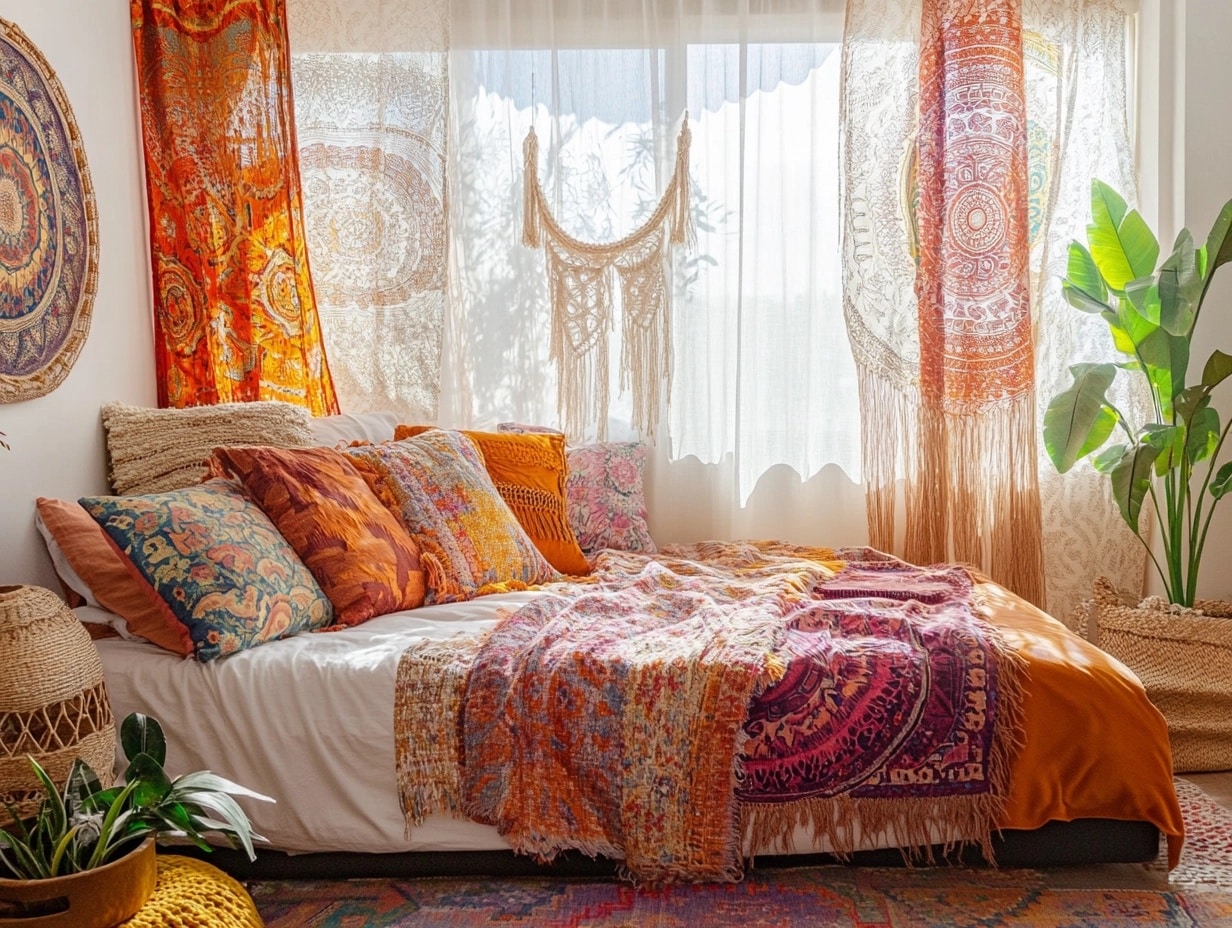
Layer sheer curtains with colorful, patterned ones for a relaxed and artistic feel.
Think bright mandalas, paisley prints, or tribal designs.
Add tiebacks made of beads, macramé, or tassels for a playful and textured look.
This theme works well in eclectic or laid-back spaces like bedrooms or lounges.
3. Industrial Style

If you love the look of exposed brick and metal, go for apipe rod as your curtain rod. It’s sturdy and gives off an edgy, industrial vibe.
Use curtains with metal grommets for an easy slide and cohesive look.
Stick to darker shades or bold solid colors to match the industrial feel.
This style is perfect for lofts or modern urban spaces.
4. Romantic Elegance
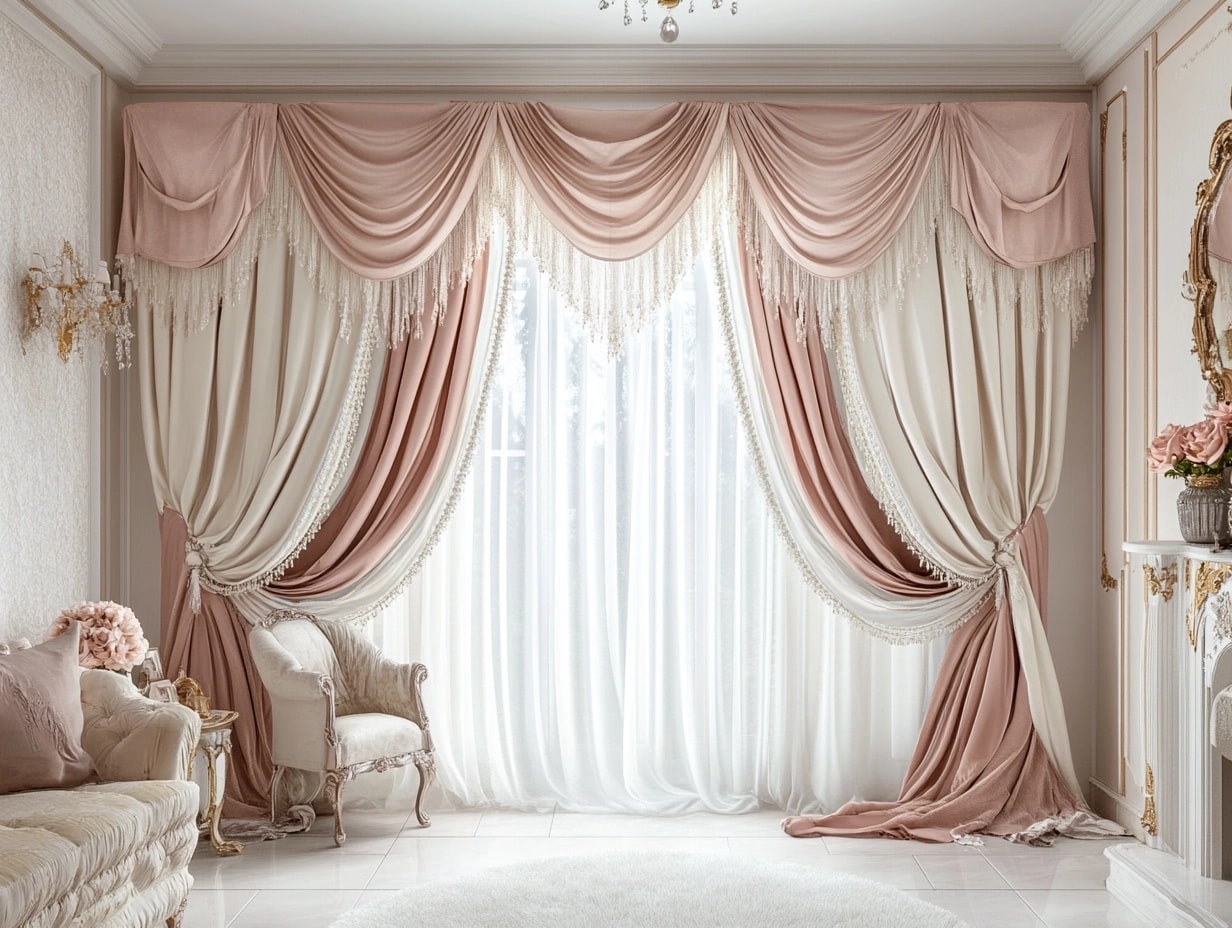
Create a dreamy atmosphere by hanging flowing, floor-length curtains that puddle slightly on the floor.
Choose satin, velvet, or lace fabrics in soft pastels or neutral shades.
Add a valance or draped fabric above the curtains for an extra layer of elegance.
This theme is ideal for bedrooms or formal living rooms where you want to add a touch of luxury.
5. Minimalist Modern
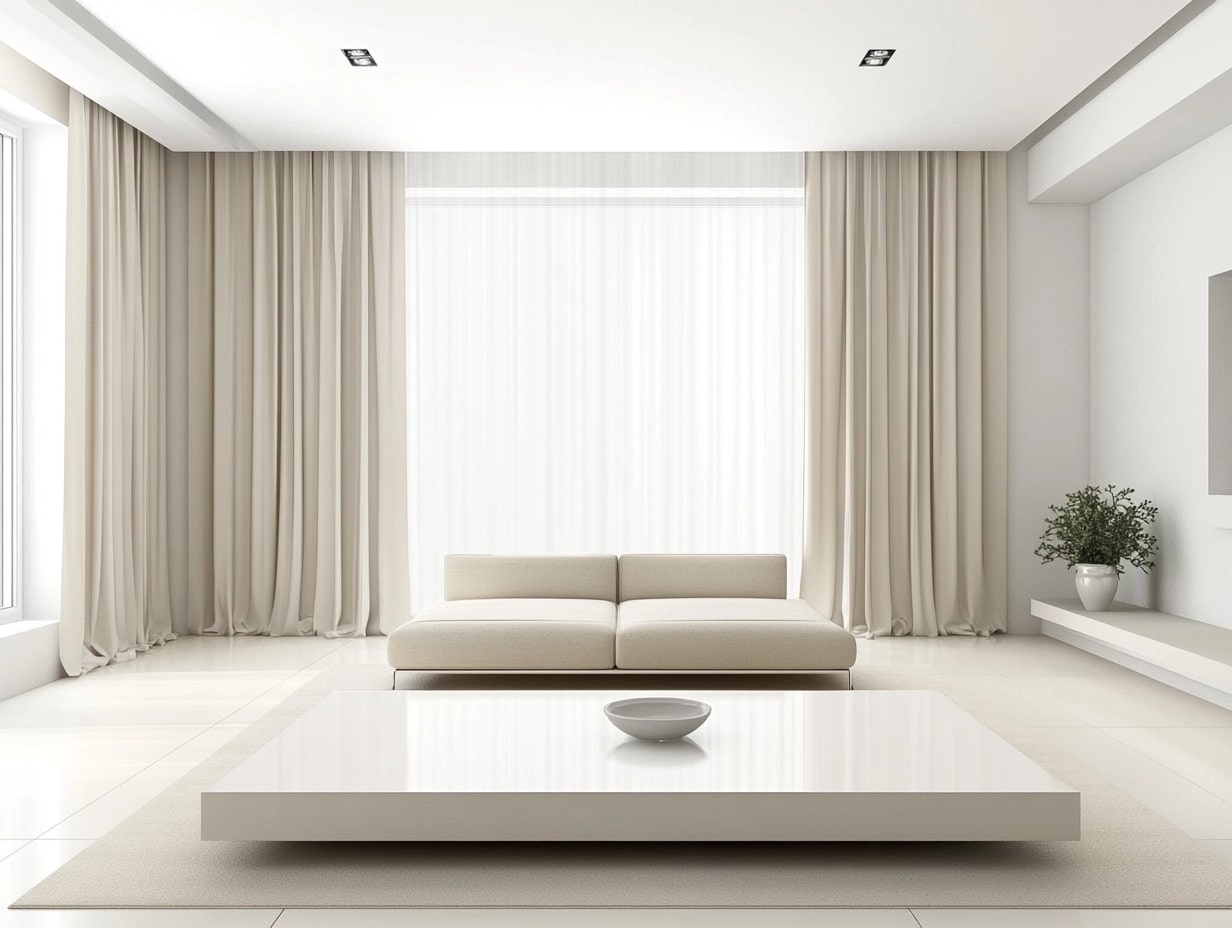
With this theme, less is more. Use solid-colored curtains in neutral tones like white, beige, or grey.
Pair them with a sleek, simple rod with hidden brackets for a clean, streamlined look.
Avoid heavy embellishments or layers—focus on simplicity.
This style works best in spaces with modern furniture and minimal decor.
6. Playful Kids’ Room

Make your child’s room lively with curtains in bright colors and fun patterns—think animals, stars, or cartoon characters.
Use creative tiebacks shaped like plush animals, clouds, or superheroes to add a touch of playfulness.
Lightweight, easy-to-wash fabrics are practical for kids’ rooms.
It’s a great way to make their space fun and inviting.
7. Coastal Cool
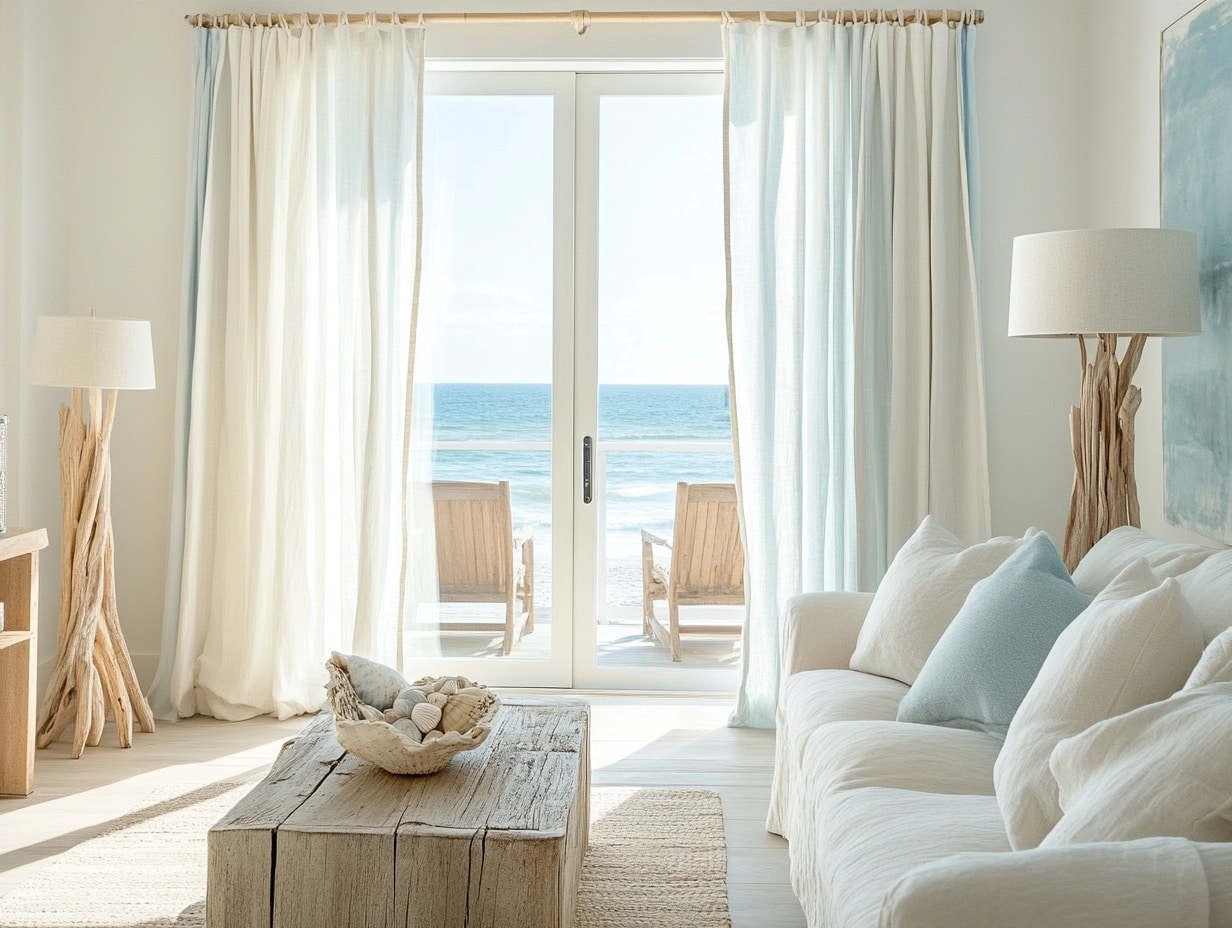
Bring a breezy, seaside feel into your home with curtains in light fabrics like linen or cotton.
Stick to colors inspired by the ocean, such as white, light blue, or sandy beige.
Use rope tiebacks or rods made of driftwood for a nautical vibe.
This theme is perfect for beach houses or any room where you want to feel calm and relaxed.
Troubleshooting and Maintenance
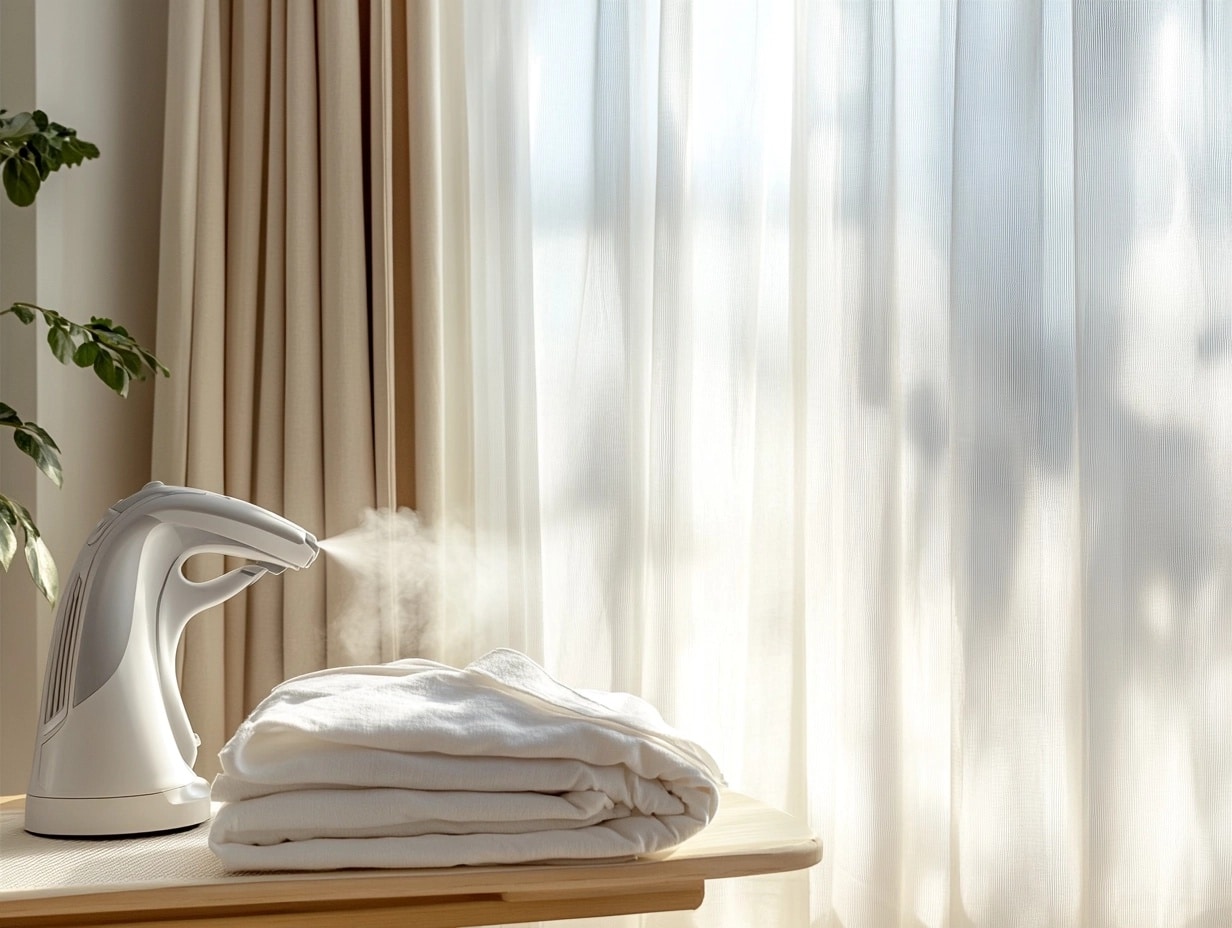
Even after you’ve hung your curtains, a few problems can pop up.
Don’t worry—most are easy to fix.
Here’s how to handle common issues and keep your curtains looking fresh.
1. Uneven Hanging or Sagging Rods
- Check if the brackets are level. Use a level to confirm.
- If they aren’t, adjust them by loosening the screws, realigning, and tightening.
- Switch to a stronger rod or add a center bracket for extra support for sagging rods.
2. Curtains That Are Too Long or Short
- Too long? Hem them using fabric tape or a sewing machine. You can also use clip-on curtain rings to raise them slightly.
- Too short? Add a fabric extension or layer another curtain underneath for a stylish fix.
3. Wrinkles or Folds That Won’t Settle
- Steam your curtains using a handheld steamer. This works while they’re hanging.
- If you don’t have a steamer, take the fabrics down and iron them in the appropriate setting. To protect delicate fabrics, use a pressing cloth.
- For stubborn wrinkles, wash the curtains (if the fabric allows) and hang them while still slightly damp.
4. Cleaning Tips
- Vacuum them regularly using a brush attachment to remove dust.
- For heavier cleaning, check the care label:
- Machine-wash if the fabric allows.
- For delicate materials, consider dry cleaning.
- Spot-clean any stains with mild detergent and water.
Your curtains can last for years and always look great with a little care.
Conclusion
Now you have all the basics for hanging curtains that look good and work well.
Remember:good measurements, strong hardware, and careful installation make all the difference.
Your windows can look exactly how you want them to. Start with the simple steps we covered – measuring twice, installing brackets carefully, and hanging your curtains properly.
Then, add your own touches with tiebacks, layers, or creative hanging methods.
Don’t worry if your first try isn’t perfect. Small adjustments make big improvements, and practice helps you get better results each time.
Have questions about your specific window situation?
Leave a comment below. We’d love to hear how your curtain projects turned out or help you solve any tricky window issues.
Your windows, your style. Start transforming your home today!
Frequently Asked Questions
How High Should I Hang My Curtain Rod Above the Window?
Put the rod 4-6 inches above the window frame.
For taller ceilings, you can mount it halfway between the window and ceiling to create the illusion of bigger windows.
How Wide Should Curtains Be Compared to My Window?
Your curtains should be 2 to 2.5 times the width of your window.
This gives enough fullness for nice folds when closed.
Do I need Wall Anchors to Hang Curtain Rods?
Yes, unless you hit wall studs.
Wall anchors prevent the rod from pulling out of drywall or plaster and are essential for heavier curtains.
How do I Keep My Curtains from Getting Dusty?
Vacuum curtains monthly with a brush attachment.
Use your dryer’s air-only setting for 10 minutes every few weeks to remove dust.
Can I Hang Curtains Without Making Holes in My Walls?
Yes, try tension rods for lighter curtains, or use command hooks with lighter rods.
These work well for temporary solutions or rental homes.

