
Have you ever looked at your kitchen wall and thought, “This could use a little something”? That’s exactly what I thought before starting my DIY backsplash project.
A backsplash doesn’t just protect your wall – it also adds style and personality to your kitchen.
The best part? You don’t need to hire a pro. With the right tools and a little patience, you can do it yourself.
I’ll walk you through each step, no matter if you’re using peel-and-stick tiles or classic ceramic. I’ll share what worked, what didn’t, and time-saving tips.
If I can do it, so can you. Let’s get started and turn that blank wall into something you’ll be proud to show off!
Why is the Kitchen Backsplash important?
A kitchen backsplash isn’t just about looks – it actually has a big job. It protects your walls from water, food splatters, and grease while you cook and clean.
Without one, your wall can get stained or even damaged over time.
But here’s the fun part: a backsplash also gives your kitchen personality.
If you like a modern, classic, or colorful look, the right backsplash can tie everything together and make your kitchen feel more “you.”
Plus, it’s one of those small upgrades that make a big difference. It can make your kitchen look newer, cleaner, and more finished.
And if you’re thinking about selling your home someday, buyers usually notice this kind of detail.
So, a backsplash is not just pretty, it’s smart and useful too!
Planning Your Kitchen Backsplash Project
Before you grab your tools and start sticking tiles, it’s important to make a good plan. Taking a little time to think things through will help you avoid mistakes and save money in the long run.
- Measure your space: Use a tape measure to figure out how much wall space you need to cover.
- Pick your style: Do you like simple white tiles, bold colors, or something with a pattern?
- Choose your tile type: Ceramic, glass, peel-and-stick, or metal – each has its own look and cost.
- Set a budget: Know how much you want to spend before you start shopping.
- Gather your supplies: Make a checklist so you don’t forget anything.
Once you’ve got a clear plan, the rest of the project will go a lot smoother!
Step-by-Step Guide: DIY Kitchen Backsplash with Tile Snips
This easy DIY backsplash project requires only basic tools and supplies. Follow these simple steps for a clean, professional-looking result.
Tools You’ll Need
- Tape measure
- Laser level or bubble level
- Utility knife
- Tile snips
- Scissors
- Trowel (3/16″ V-notch or square notch)
- Grout float
- Sponge
- Clean bucket
- Pencil or marker (for marking cuts)
Step 1: Prepare the Wall
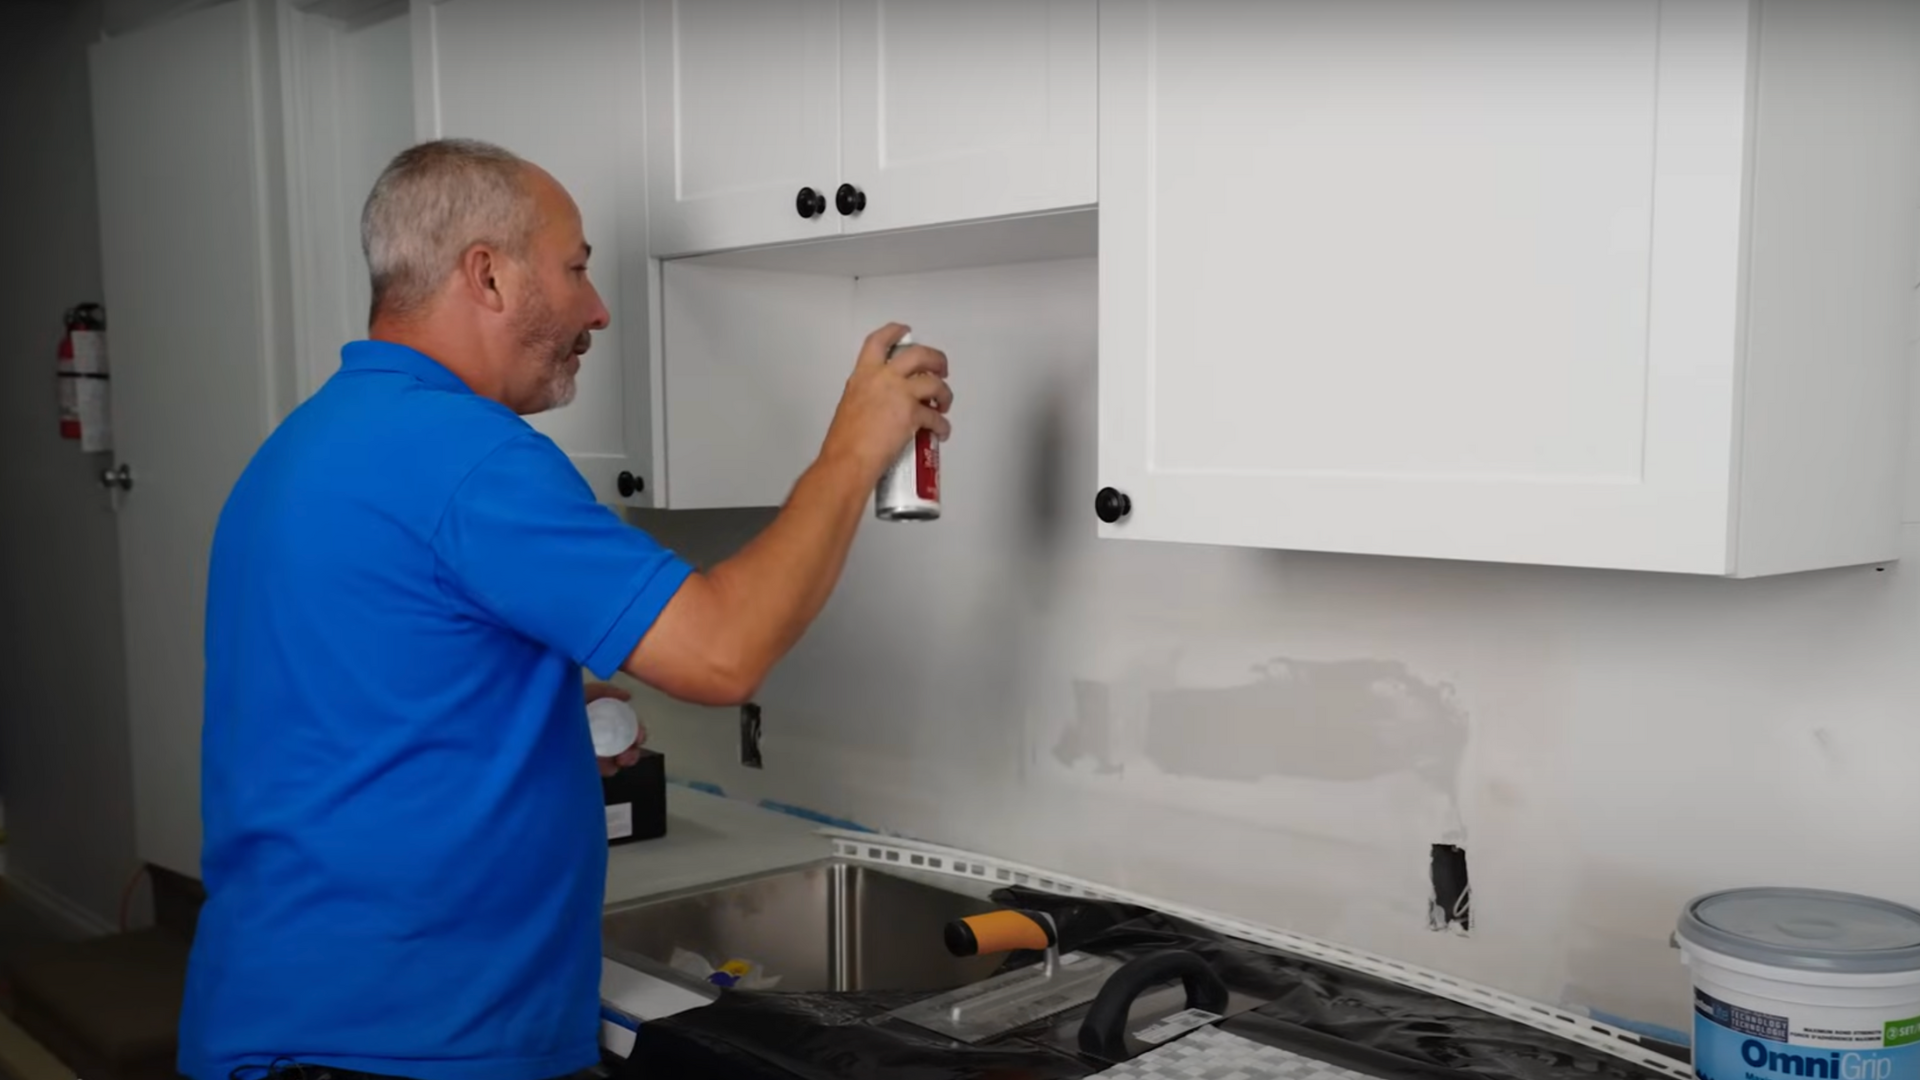
Clean the wall surface thoroughly to remove any dust, grease, or leftover marks. If needed, patch uneven areas with joint compound.
Ensure the wall is dry and smooth before moving on. Use a level to mark a straight reference line for the first row of tiles.
Step 2: Cut and Plan Tile Sheets
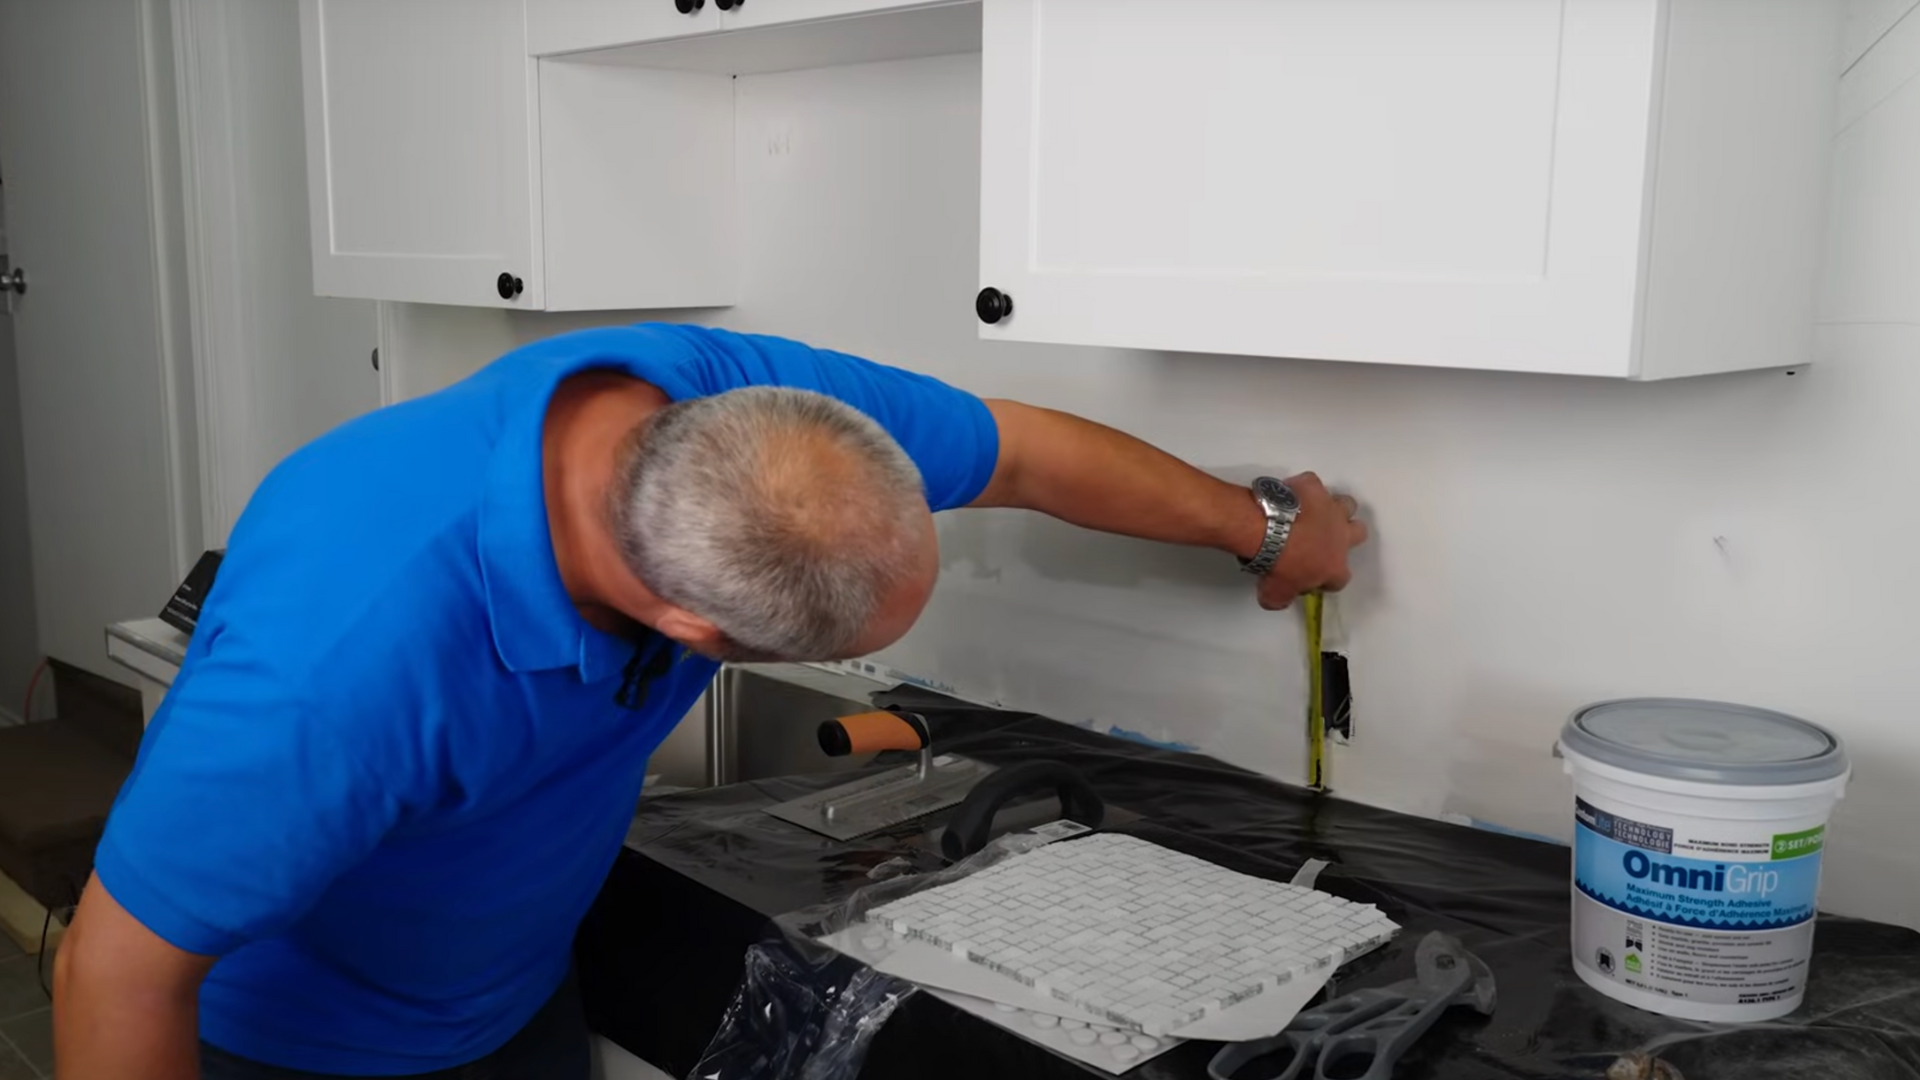
Lay out the tile sheets on the wall and measure carefully to check the fit before using any adhesive. This helps spot where cuts are needed and keeps the layout even.
Use tile snips and scissors to cut around outlets, corners, or edges. Mark the spots clearly so the cuts are accurate.
Planning cuts ahead of time makes installation easier and helps avoid gaps or uneven tile lines during the project.
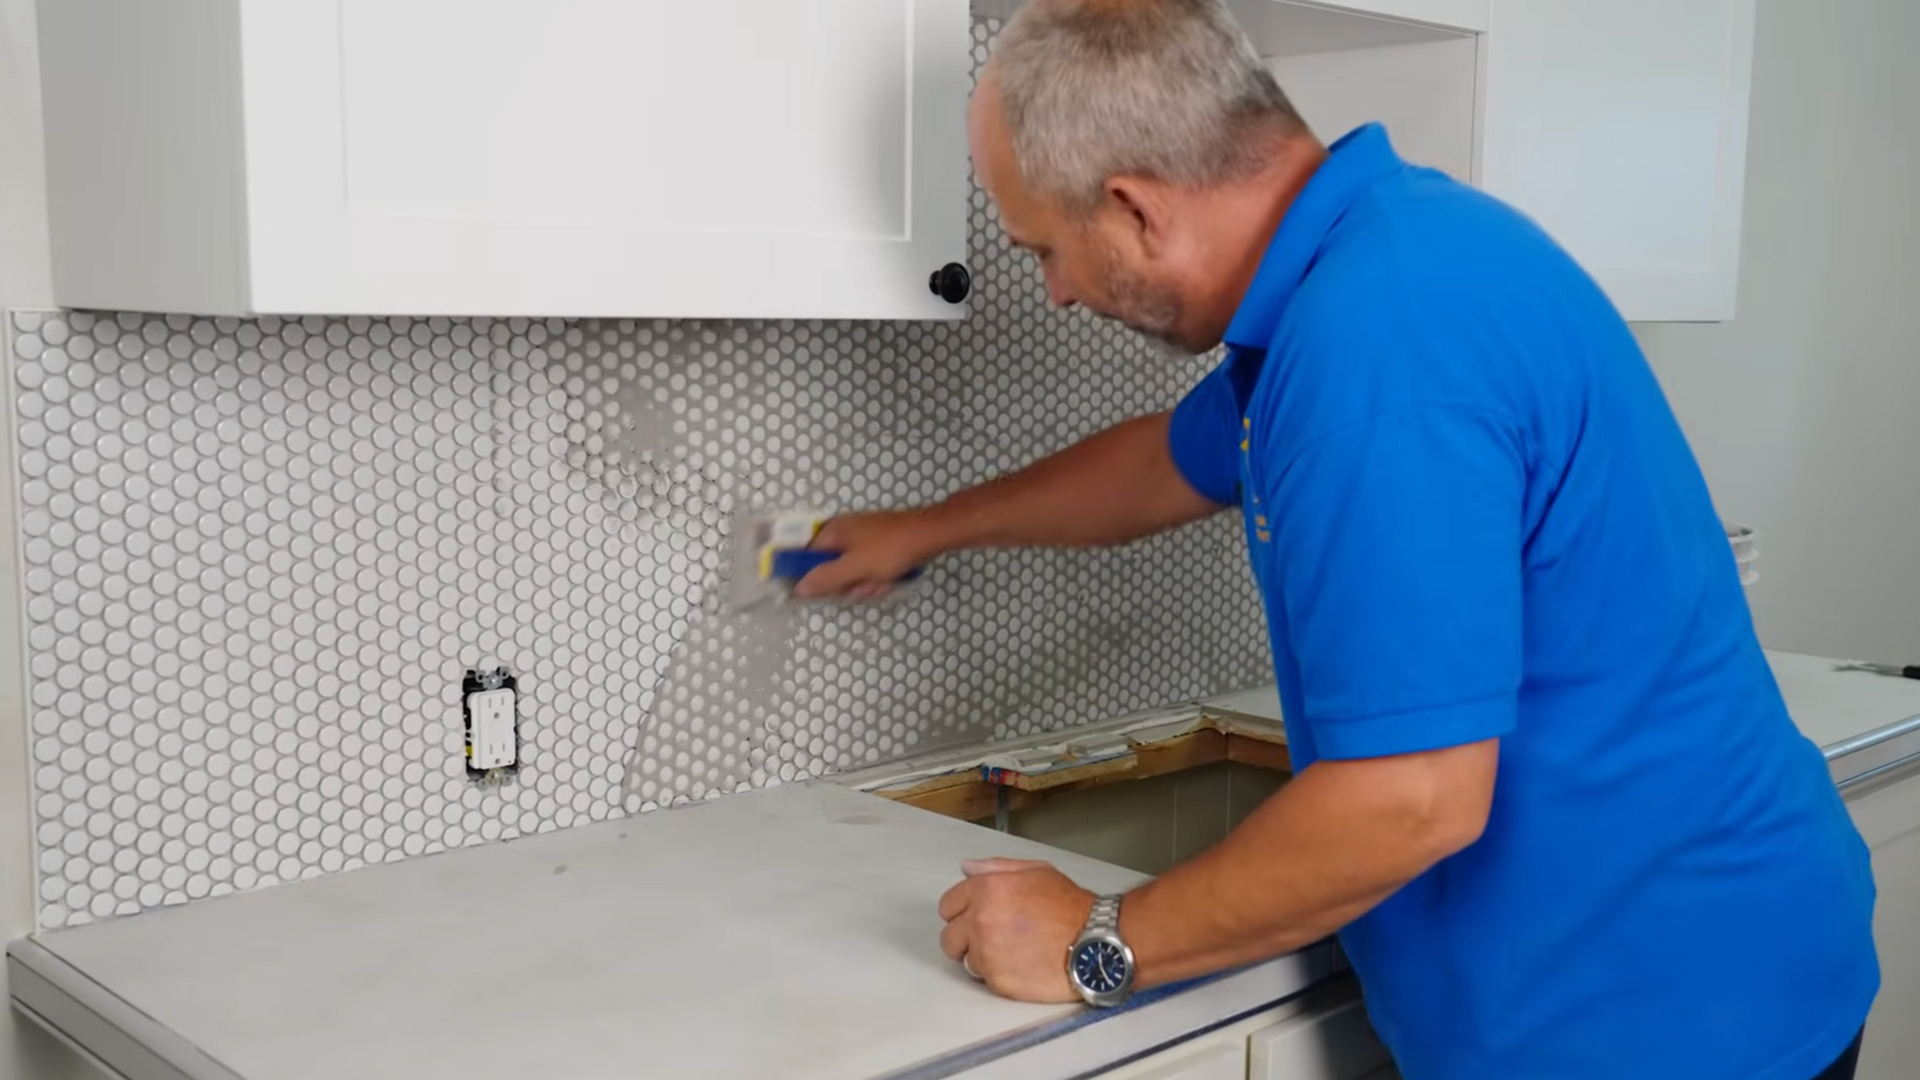
Step 3: Apply the Adhesive
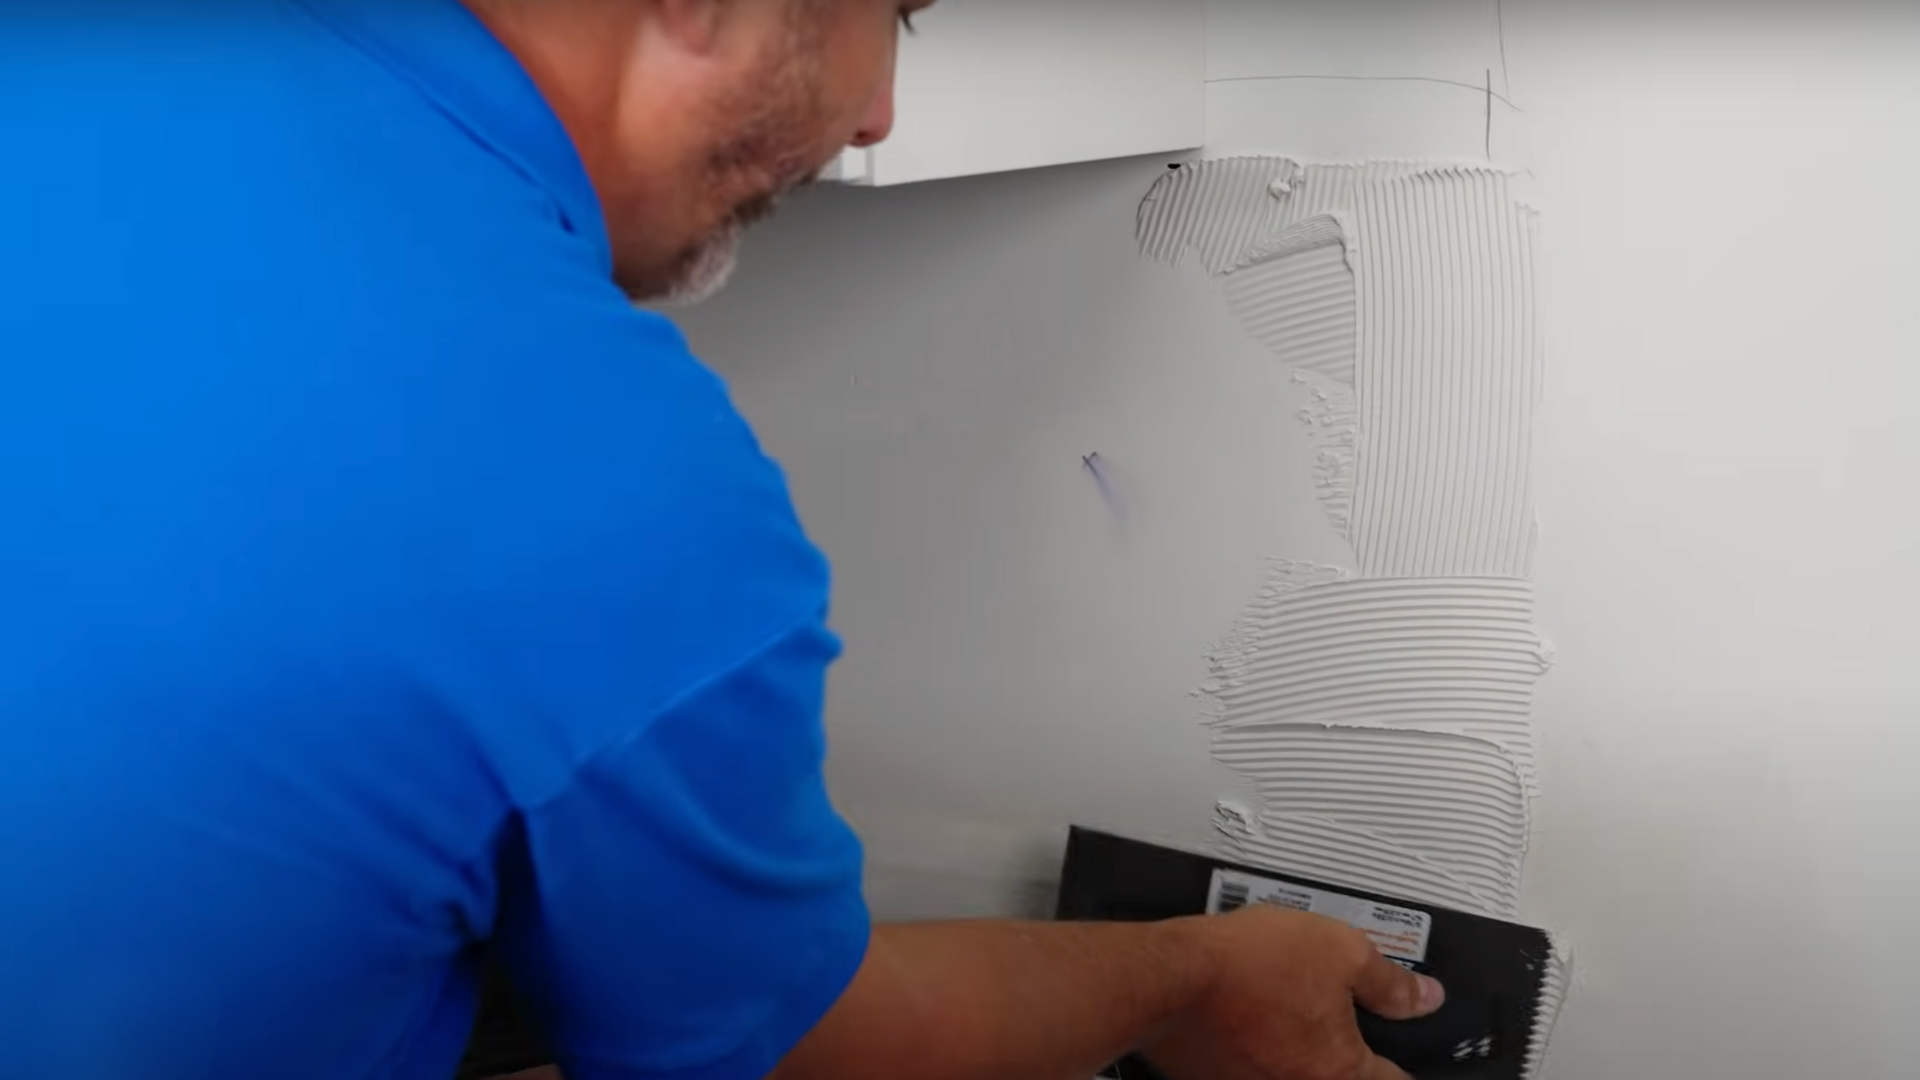
Spread a thin, even layer of adhesive on the wall using a notched trowel. Make sure the ridges are consistent to help the tiles stick properly.
It’s best to work in small sections, since the adhesive can dry fast and may not hold the tile if left too long.
Avoid using too much adhesive, as it can squeeze out between the tiles and create a mess.
Keeping the layer thin and controlled makes the cleanup easier and helps the tiles sit flat and even.
Step 4: Set the Tiles
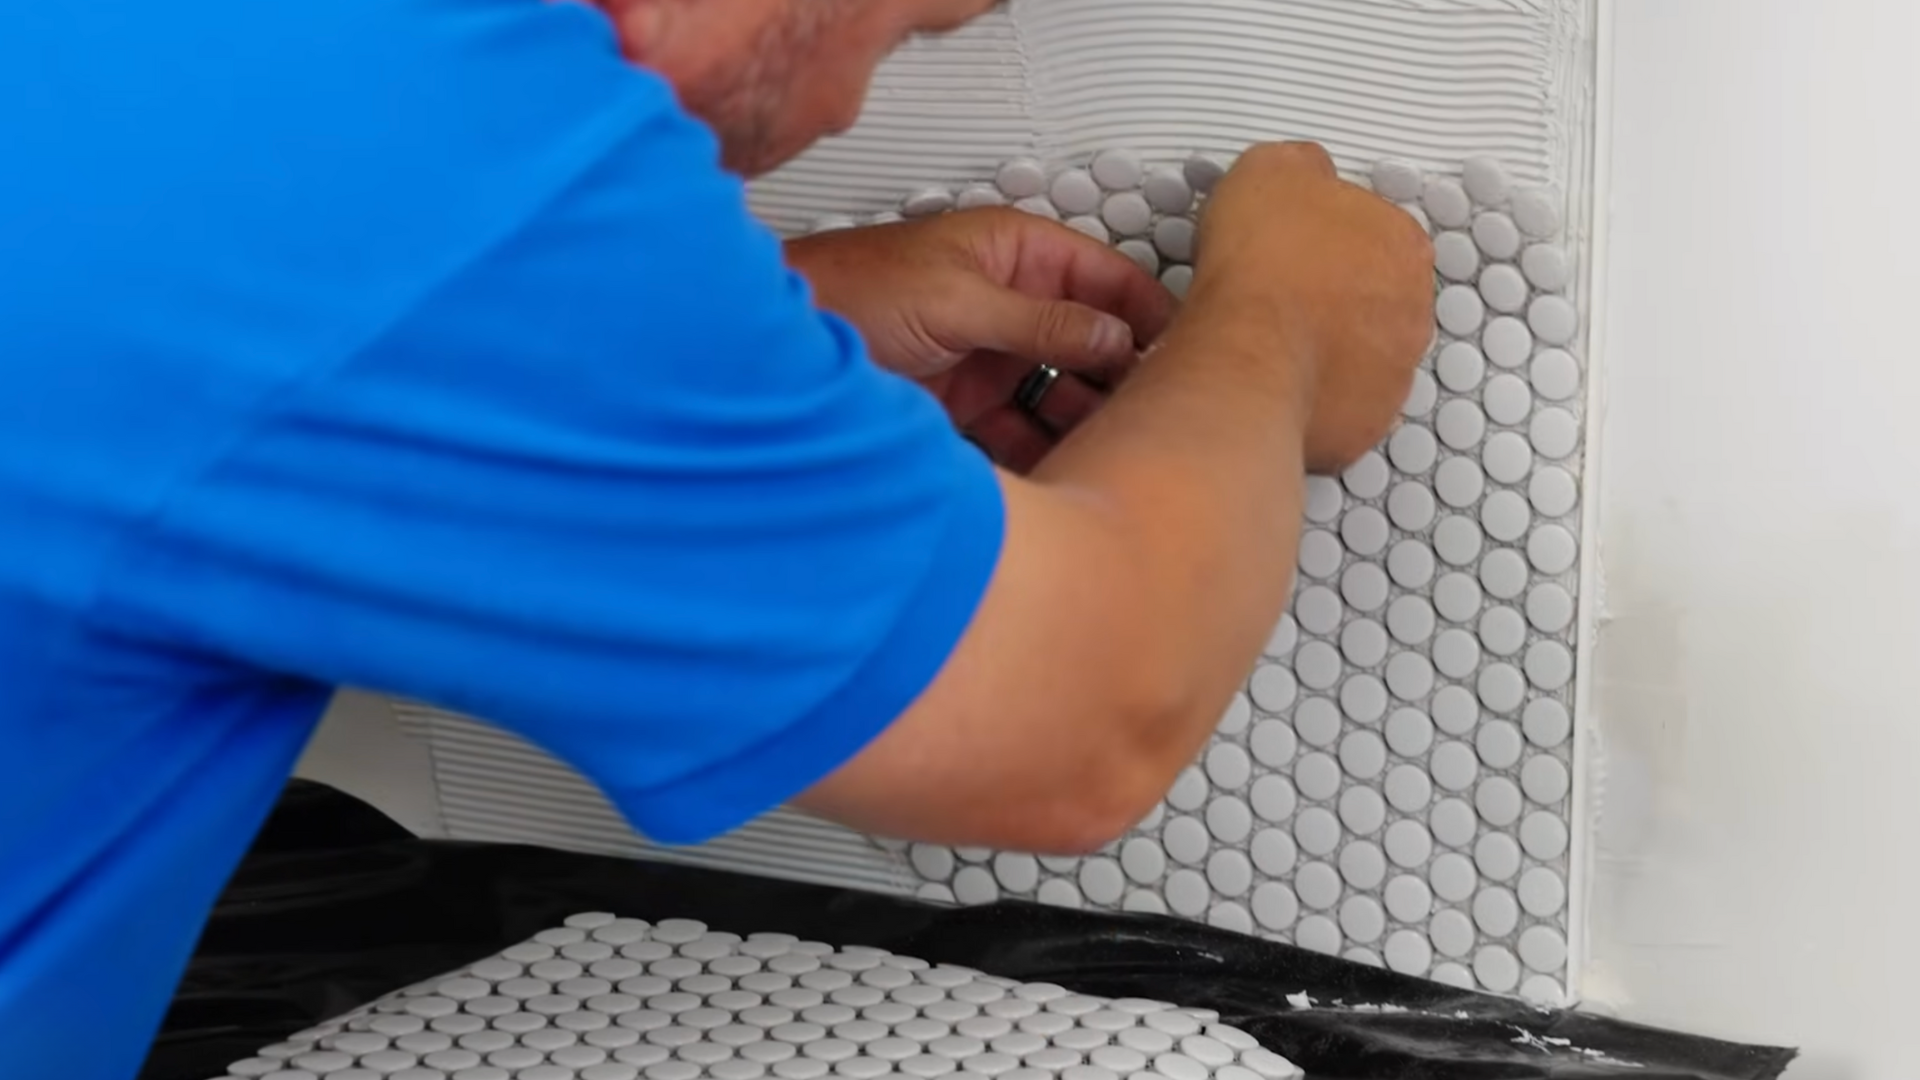
Press each tile sheet gently into the adhesive, starting from the bottom and working upward. Make sure the edges of each sheet line up neatly with the ones next to it.
A grout float can be used to press the tiles evenly into place without shifting them.
Check that each row stays level as you go, making small adjustments while the adhesive is still wet.
Step 5: Apply Grout
Once the adhesive has cured, mix grout according to the package instructions.
Spread grout over the tile using a grout float, pressing it into the spaces between tiles.
Wipe away excess grout with a damp sponge, being careful not to remove grout from the joints.
Step 6: Clean and Seal
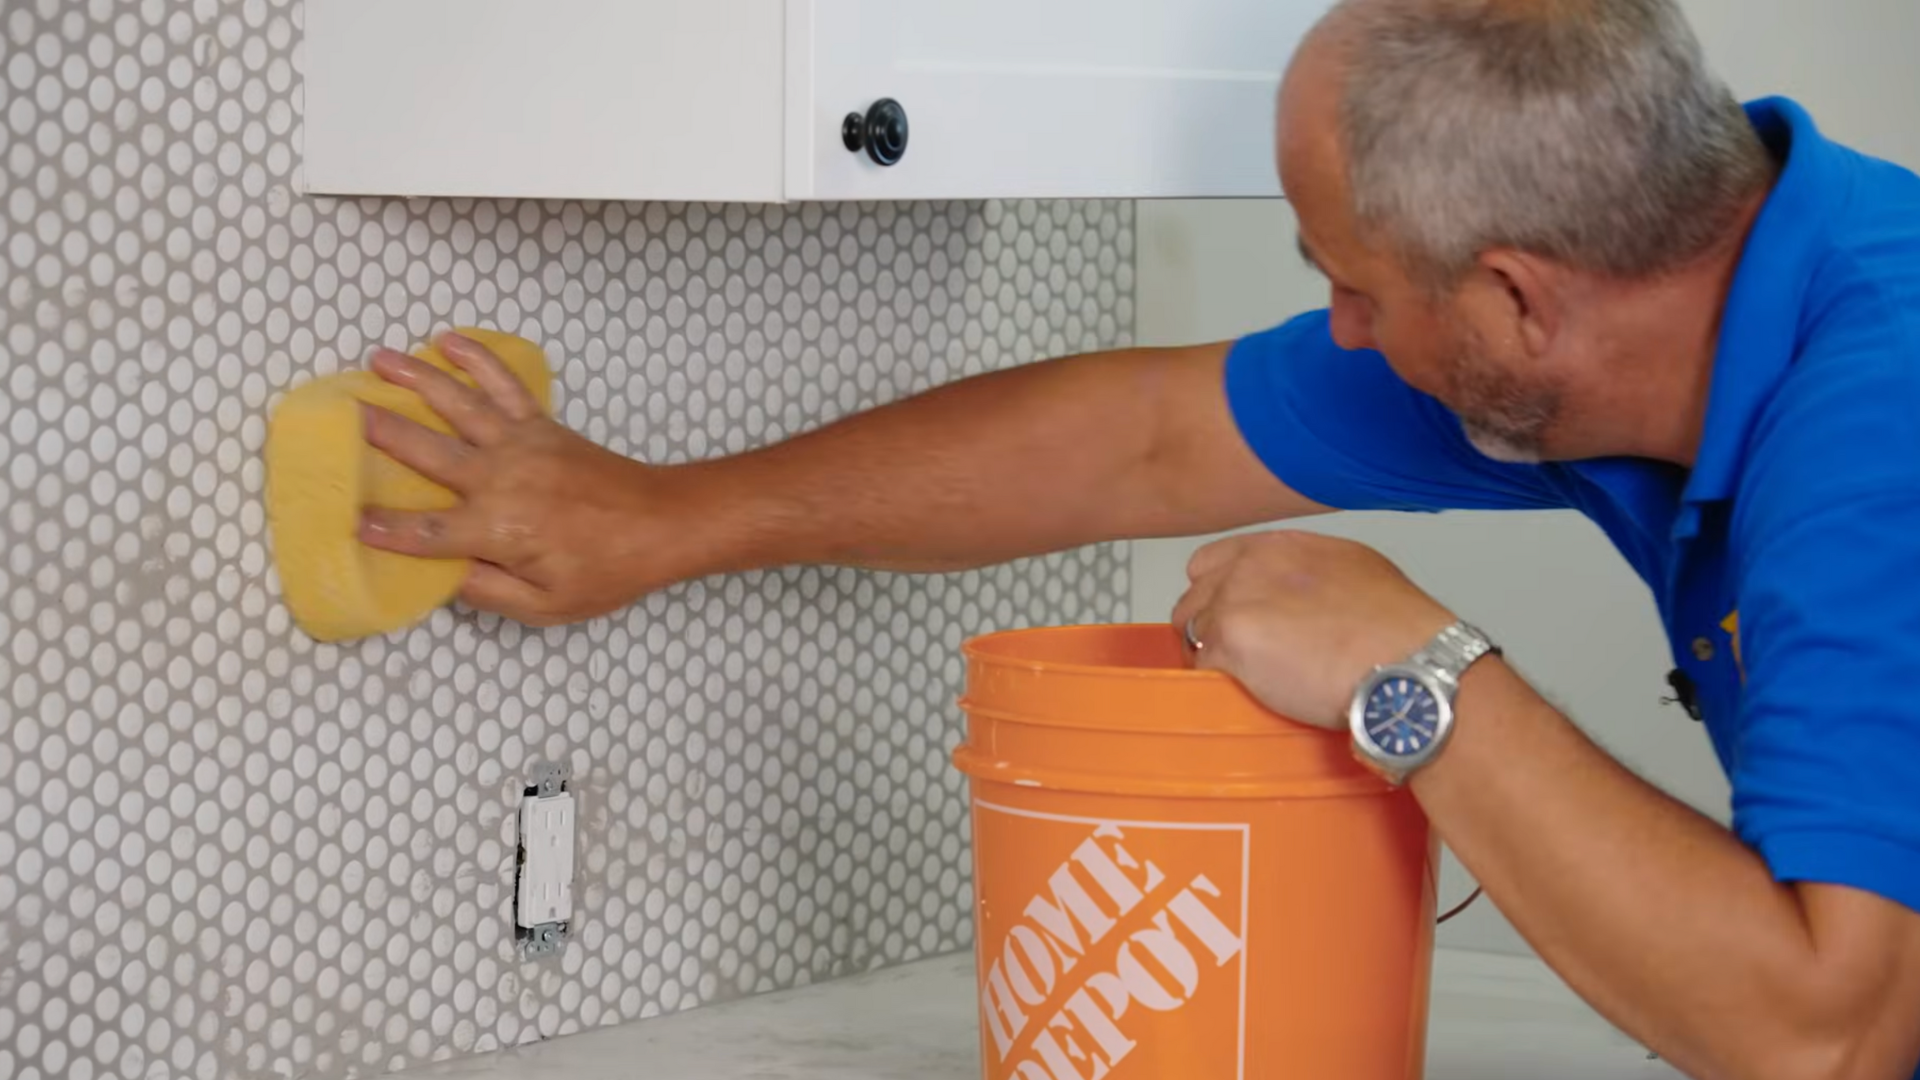
After the grout has set, clean the tiles again to remove any remaining haze. Use clean water and a soft sponge for best results.
Finish the project by adding silicone caulk where the tile meets the countertop or cabinets to create a sealed, flexible edge.
This simple backsplash method creates a polished look using just basic tools and affordable materials. A great way to upgrade any kitchen on a budget.
See the full step-by-step transformation in action – watch the YouTube video by @HomeRenoVisionDIY here.
Creative Kitchen Backsplash Ideas
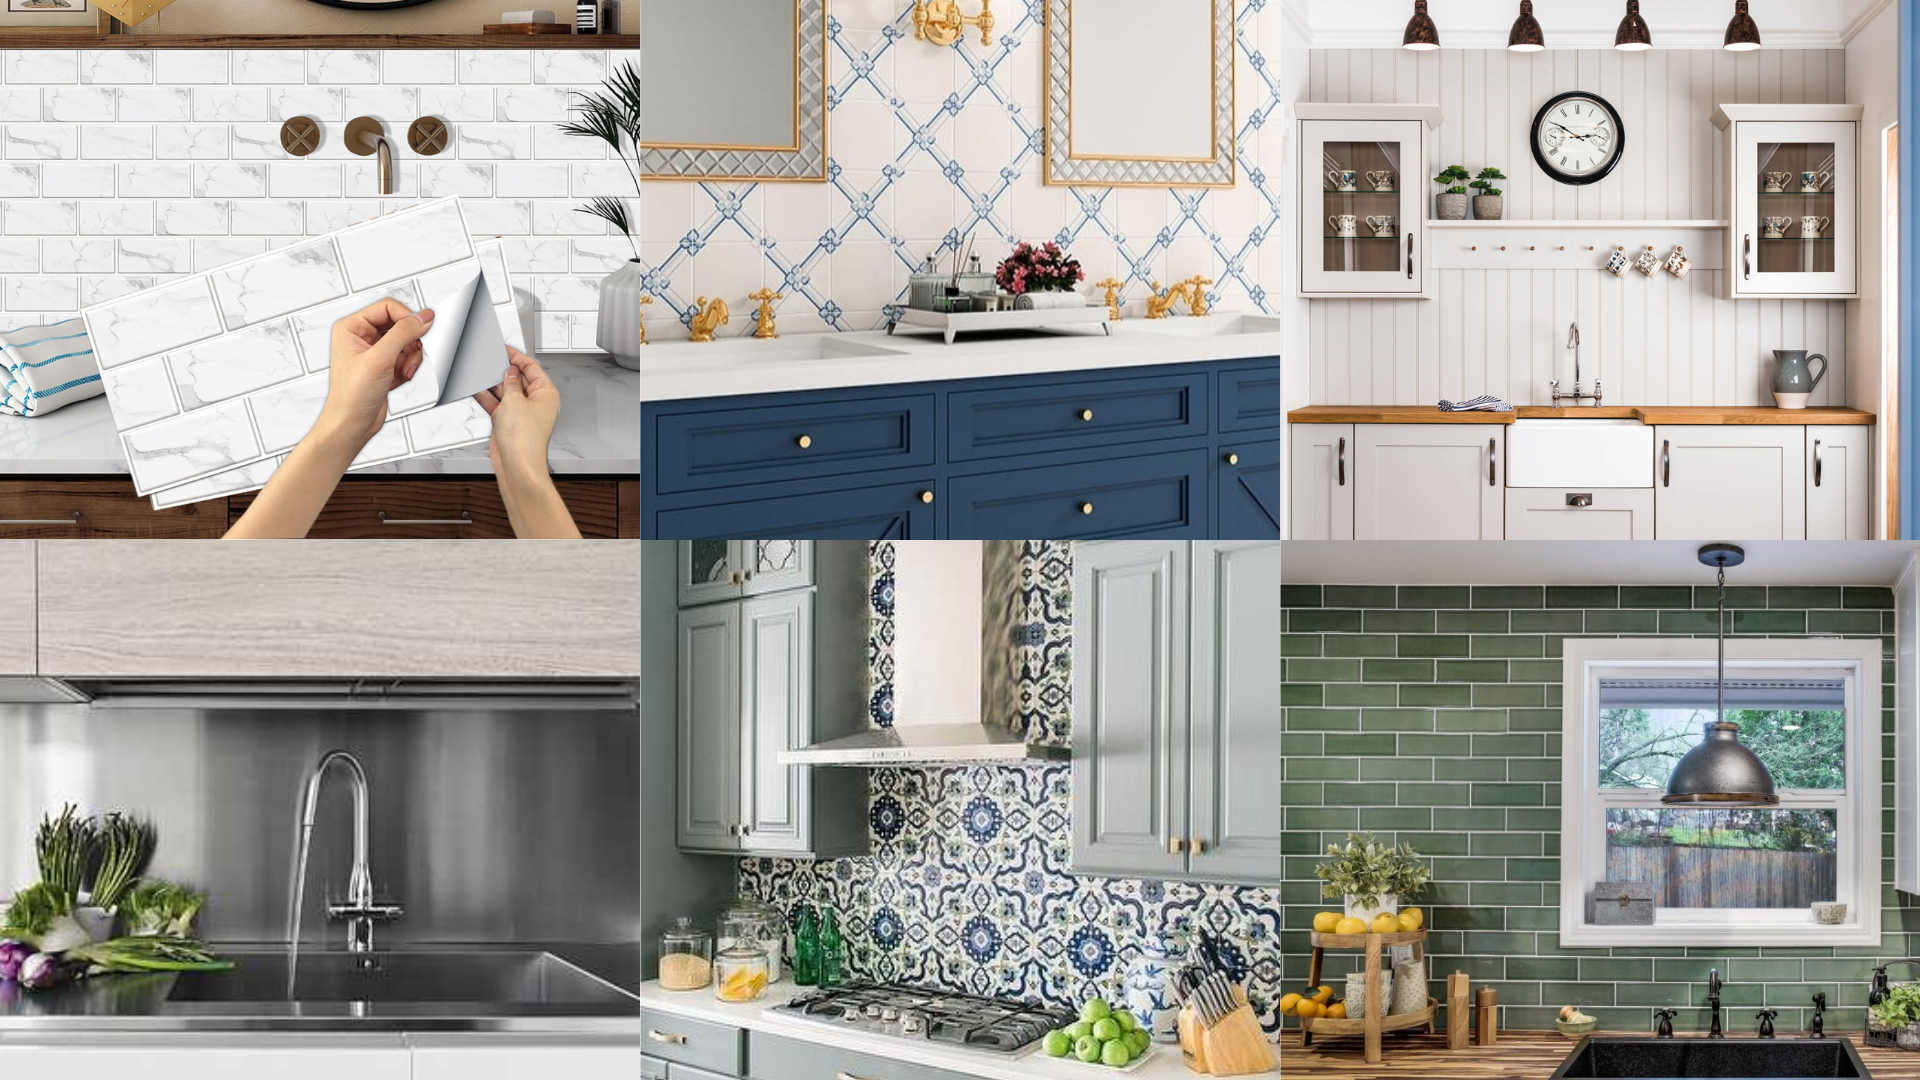
Looking for fun ways to make your kitchen stand out? A backsplash is the perfect place to get creative! You don’t have to stick to plain tiles. There are tons of cool styles and materials to choose from.
| Backsplash Idea | Why It’s Cool |
|---|---|
| Peel-and-Stick Tiles | Easy to use, great for renters or beginners |
| Painted Designs | Use stencils to add patterns or shapes |
| Beadboard Panels | Gives a farmhouse or cottage-style look |
| Metal Sheets | Adds a shiny, modern vibe |
| Mosaic Tile Mix | Colorful and fun, great for a bold statement |
| Subway Tiles | Classic look that never goes out of style |
No matter what your style is, there’s a backsplash idea that can fit your space. Just pick what feels right for you and have fun with it!
DIY Kitchen Backsplash Tips from Real People
When I started my DIY kitchen backsplash, I looked for advice from others who had already done it. Let me tell you, those tips made a big difference!
One person said to start tiling from the center of the wall so everything looks even. That helped my layout look way better.
Another DIYer shared that using spacers between tiles keeps everything straight, and they were right.
Someone else recommended testing a few tile layouts on the counter before sticking anything to the wall.
I also learned that peel-and-stick tiles are perfect for beginners or renters because they’re easy to apply and remove.
And if you’re using regular tiles, a tile cutter with a sharp blade saves time and effort.
These real-life tips helped me avoid mistakes, and I hope they’ll help you too!
Kitchen Backsplash Maintenance and Care
Once your kitchen backsplash is installed, you’ll want to keep it looking great. The good news is that it’s pretty easy! With just a little regular care, your backsplash can stay clean and shiny for years.
- Wipe it down often: Use a damp cloth or sponge to clean off splashes and spills.
- Use mild soap: Gentle dish soap works well for most surfaces.
- Avoid harsh cleaners: Strong chemicals can damage grout and tile finishes.
- Clean grout lines: Use a soft brush to gently scrub between the tiles if they start looking dirty.
- Check the caulk: Look for cracks or gaps and reapply caulk if needed to keep water out.
Taking care of your backsplash doesn’t take much time, but it makes a big difference!
Conclusion
I’m so glad I decided to take on my DIY kitchen backsplash. At first, it felt a little scary, but once I got started, it was actually fun and super rewarding.
Not only did I save money by doing it myself, but I also got to choose every detail and make it my own.
Along the way, I learned a lot from others, made a few mistakes, and found some great tips that really helped.
If you’re thinking about trying it, I say go for it! Take your time, plan it out, and don’t be afraid to get creative.
If you choose peel-and-stick tiles or go the full route with ceramic and grout, there’s something really special about saying, “I did that myself.”
I hope this guide helped and gave you the confidence to start your own backsplash project. You’ve got this!