Are you thinking about adding a wall sconce to your home? You’re in the right place! Wall sconces are a great way to add style and light to any room.
Depending on the look you’re going for, they can make your space feel cozy, modern, or even fancy. The best part? You can install one yourself with a few tools and a little know-how.
If you’re upgrading an old light or putting one in for the first time, I’ll walk you through it step by step. Don’t worry if you’ve never done electrical work before; this guide will keep things easy and safe.
By the end, you’ll feel confident and ready to light up your space with a beautiful new sconce. Let’s get started and turn your wall into something special!
What Are Wall Sconces?

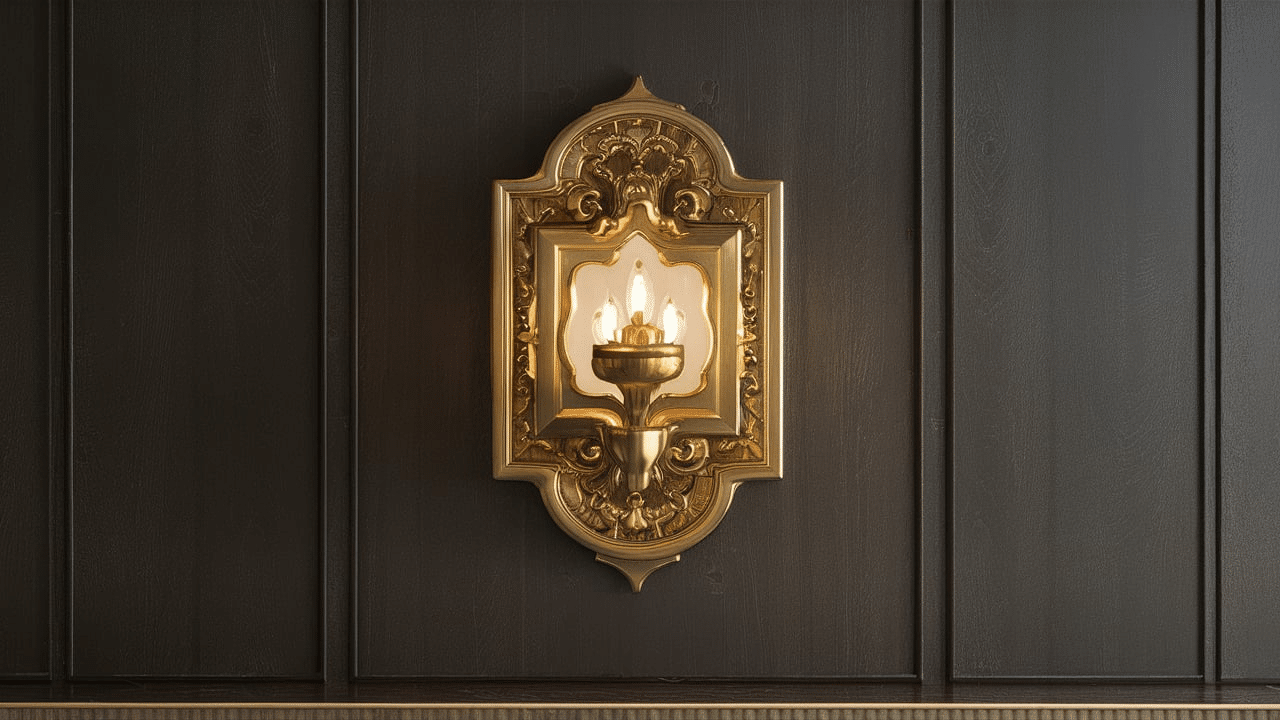
Wall sconces are lights that attach directly to the wall instead of hanging from the ceiling. They come in all kinds of styles and shapes and can light up, down, or even both ways.
People use them to add extra lighting to a room or to highlight certain areas, like artwork, mirrors, or bedsides.
Some wall sconces plug into an outlet, while others are hardwired into the wall, just like your ceiling lights. They’re great for hallways, bathrooms, bedrooms, and living rooms. You can even use them outside, next to your front door, or on your porch.
Wall sconces do more than just light up a space—they also add personality and style. Whether you want something modern, rustic, or classic, there’s a wall sconce out there that fits your style.
Why Add a Wall Sconce?
Wall sconces aren’t just pretty; they’re also super practical.
1. Saves space: Since they go on the wall, you don’t need side tables or floor lamps. This is great for small rooms.
2. Adds style: Wall sconces come in tons of looks—modern, rustic, vintage, and more. They can instantly boost your room’s vibe.
3. It provides soft lighting: Perfect for cozy corners, reading nooks, or mood lighting in the evening.
4. Highlight areas: Use them to showcase a piece of art, light up a hallway, or frame a bathroom mirror.
Adding wall sconces is an easy way to upgrade your home’s look and feel without a full renovation.
Step-by-Step Guide: How to Install a Wall Sconce
Installing a wall sconce might sound tricky, but with the right tools and steps, you can totally do it yourself. Follow this easy guide to get your new light up and glowing in no time!
Step 1: Turn Off the Power
Before you do anything, turn off the power at the breaker box. This is super important for safety. Find the switch that controls the room where you’ll be working and flip it off. Then, use a voltage tester on the wires to make sure there’s no power going to them.
Step 2: Gather Your Tools and Materials
Here’s what you’ll need:
- Wall sconce
- Mounting hardware (usually comes with the sconce)
- Screwdriver
- Wire strippers
- Voltage tester
- Level
- Drill (if needed)
- Wire nuts
- Electrical tape
Step 3: Remove the Old Fixture (If You Have One)
If you’re replacing an old light, take it down. Unscrew the fixture and gently pull it away from the wall. You’ll see the wires connected behind it. Use your voltage tester one more time to double-check the power is off. Then, twist off the wire nuts and disconnect the cables.
Step 4: Check the Electrical Box
Your wall sconce needs to be connected to an electrical box inside the wall. If there’s already one there, great! Make sure it’s tight and not loose. If there isn’t one, you’ll need to install an “old work” electrical box (this may require cutting into drywall).
Step 5: Connect the Wires
Match the wires from your wall sconce to the wires in the wall:
- Black to black (hot wire)
- White to white (neutral wire)
- Green or copper to green or copper (ground wire)
Twist the ends of each matching wire together and cover them with wire nuts. For extra safety, wrap electrical tape around the wire nuts.
Step 6: Attach the Mounting Bracket
Your sconce should come with a metal bracket. This attaches to the electrical box in the wall. Use your screwdriver to tighten the screws and make sure the bracket is straight. Use a level if you need to! A straight bracket helps your sconce sit evenly and look professional once it’s mounted.
Step 7: Mount the Sconce
Line up the fixture with the bracket and attach it using the screws that came with it. Make sure everything is snug and not wobbly—tighten the screws carefully. Some sconces also come with a decorative cover or plate that snaps or screws into place to hide the wires and hardware.
Step 8: Add the Bulb and Turn the Power Back On
Screw in the right light bulb for your fixture, making sure it’s the correct wattage. Once everything is secure and in place, go back to the breaker box and turn the power back on. Flip the wall switch to test it—and enjoy the warm, cozy glow of your brand-new wall sconce!
For visual guidance or additional information, check out this YouTube video by @ThisOldHouse.
Installing Plug-In Wall Sconces
If you want the look of a wall sconce but don’t want to mess with wires, a plug-in sconce is a great option. It’s super easy to install and perfect for renters or anyone who doesn’t want to deal with electrical work.
Step 1: Choose the right spot: Pick a wall where you want extra light, like next to a bed, couch, or mirror. Make sure there’s an outlet nearby so you can plug it in without using a long extension cord.
Step 2: Mark the mounting points: Hold the sconce up to the wall where you want it to go. Use a pencil to mark where the screws or wall anchors will go. Be sure to measure so both sides match if you’re hanging two.
Step 3: Install anchors: If you’re not drilling into a stud, use drywall anchors to keep your sconce secure. Drill small holes where you marked, then tap in the anchors with a hammer.
Step 4: Attach the bracket or mount: Use a screwdriver to screw the bracket or backplate into the wall. Make sure it’s level so the sconce doesn’t hang crooked. A level sconce not only looks better but also keeps the fixture safe and steady.
Step 5: Hang the sconce: Attach the sconce to the bracket. Some models slide on, and others screw in. Follow the instructions that came with your fixture. Make sure it feels stable. Give it a gentle wiggle to check that it’s firmly in place.
Step 6: Plug it in and enjoy: Plug the cord into the outlet, turn it on, and enjoy your new lighting! You can even add cord covers or clips to hide the wire and keep things tidy.
Check out this easy and fun tutorial by @NunuLighting on YouTube for more information.
Plug-in sconces are a fast and easy way to add style without needing an electrician. You can change them out or move them anytime you want!
Where to Place Wall Sconces in Your Home

Wall sconces are super flexible—they work in almost every room! Placement matters whether you’re adding light, saving space, or just making a room feel cozier.
1. Beside the bed: Skip the nightstand lamp! Mount wall sconces on each side of the bed for reading light that doesn’t take up space. Place them about 6–12 inches above shoulder height when sitting up in bed.
2. Above or beside a mirror: This is perfect for bathrooms or vanities. Sconces on each side of the mirror give even lighting for shaving or applying makeup. Mount them around eye level for best results.
3. In hallways and staircases: Wall sconces can make narrow spaces feel brighter and safer. Place them about 60–66 inches from the floor, spaced evenly along the hallway or stairs.
4. In the living room: Use sconces to highlight artwork or a fireplace or to add extra light around your seating area. They’re great for creating a cozy vibe without using a bulky lamp.
5. Around the Entryway: Sconces near the front door or entry area help set the mood for your whole home. They offer a warm welcome and help light up the space when you’re coming or going.
6. In the Dining Room: Add sconces to the dining room walls for soft lighting that makes meals feel special. They also help balance out overhead light and reduce harsh shadows.
7. Outdoors (Porch or Patio): For safety and curb appeal, use weather-safe wall sconces by the front door, garage, or patio. Make sure to choose fixtures made for outdoor use.
Wall sconces can be placed almost anywhere you need extra light or style. When you hang them, just remember the height, spacing, and purpose!
Wall Sconce Maintenance and Safety Tips
Once your wall sconces are up and glowing, a little care goes a long way in keeping them safe and looking great.
1. Turn Off Power Before Cleaning: Always turn off the light and unplug it (if it’s a plug-in) or switch off the breaker (if it’s hardwired) before cleaning or touching any wiring. Safety first!
2. Clean Regularly: Dust and dirt can build up on the fixture and bulb. Wipe the sconce gently with a soft, dry cloth or use a slightly damp cloth if needed. Don’t use harsh cleaners—they can damage the finish.
3. Check for Loose Screws: Over time, screws can loosen. Every few months, check the mounting bracket and fixture to make sure everything is tight and secure.
4. Replace Bulbs Carefully: Use the right kind of bulb for your sconce. Check the wattage limit printed on the fixture. If a bulb burns out, wait until it cools down before replacing it.
5. Look for Signs of Damage: Look for flickering lights, exposed wires, or burning smells. These could be signs of electrical problems. If something seems off, turn off the power and call a professional.
6. Use the Right Bulbs: LED bulbs are a great choice—they last longer, don’t get as hot, and save energy. Just make sure the bulb shape and size fit your sconce.
7. Outdoor Sconces Need Extra Care: If your sconce is outside, check it after storms or during seasonal changes. Make sure the fixture is dry, clean, and free from rust or bugs.
Taking a few minutes to check on your wall sconces now and then helps them last longer and work better—plus it keeps your home safe and looking its best!
Conclusion
Wall sconces are a simple and stylish way to brighten up your home. Whether you choose a hardwired or plug-in option, installing them doesn’t have to be hard.
With the right tools, a little planning, and some basic safety steps, you can add cozy lighting to almost any room. From bedrooms to hallways and even outdoor spaces, sconces can make a big difference in how your home looks and feels.
They save space, add character, and help create the perfect mood with soft, layered lighting. To keep them working safely, remember to clean them regularly and check for any loose parts.
If you’re lighting up a cozy reading nook or adding a touch of charm to your entryway, wall sconces are a great DIY project that brings both function and style. Now that you know the steps, you’re ready to hang your own and enjoy the glow!

