
Making a flower crown at home is one of those simple, creative joys that anyone can enjoy.
If you’re preparing for a wedding, a photoshoot, or just want to add a little natural beauty to your day, crafting your own flower crown is both fun and rewarding.
I love how easy it is to make, and with just a few materials, you can create something beautiful that feels personal and unique.
There’s something magical about wearing a crown of fresh flowers; it instantly makes you feel special.
In this guide, I’ll walk you through the step-by-step process of crafting a flower crown from scratch, using real flowers.
Don’t worry if you’ve never done it before; this is a beginner-friendly project that anyone can try.
Let’s get started and make something beautiful together.
Materials You Will Need for Your Flower Crown
Before starting, gather a few simple supplies to make the process smooth. These materials help hold the flowers in place and shape the crown neatly.
- Floral Wire: This thin and flexible wire forms the base of the crown. It helps shape the circle that will sit comfortably on your head.
- Floral Tape: Floral tape wraps around the wire and flower stems. It keeps the flowers secure and helps everything stay in place.
- Fresh or Artificial Flowers: Choose flowers that are small and lightweight. Fresh flowers give a natural look, while artificial ones last longer.
- Greenery or Leaves: Leaves add fullness and make the crown look more natural. They also help fill small gaps between the flowers.
- Wire Cutters or Scissors: These tools help trim flower stems and cut the floral wire. Clean cuts make the crown easier to assemble.
- Ribbon (Optional): A ribbon can be added at the back of the crown. It allows you to adjust the fit and adds a decorative touch.
How to Make a Flower Crown?
Follow these simple steps to create a beautiful and adjustable flower crown, perfect for any occasion. Let your creativity bloom as you craft a pretty, natural accessory.
Step 1: Prepare the Wire
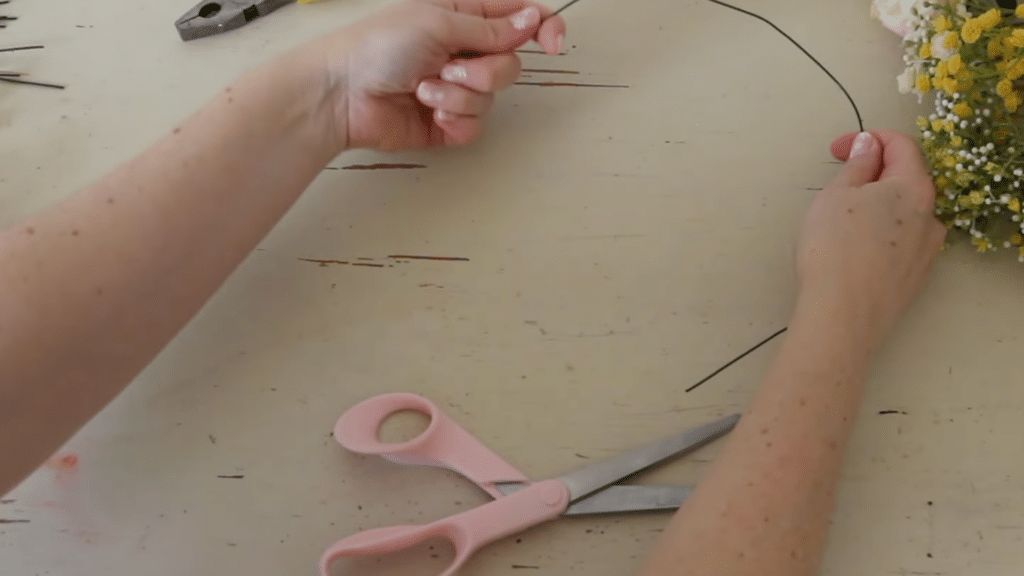
Start by bending your 18-gauge floral wire into a rough curve. Use a chopstick, pencil, or another cylindrical object to create a small loop at one end of the wire.
Once the loop is formed, use pliers to pinch the ends tightly, securing the loop in place.
This loop will serve as the base for attaching the ribbon later on.
By creating this loop, you’re setting a solid foundation for your flower crown, ensuring it’s both secure and adjustable for a comfortable fit.
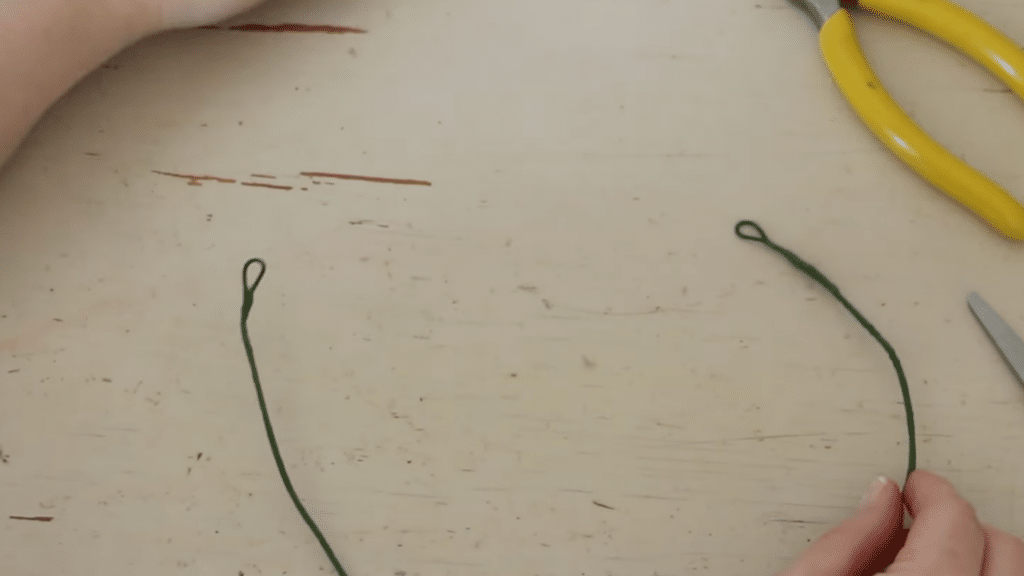
Step 2: Wrap the Wire with Floral Tape

Take the floral tape and gently stretch it as you wrap it around the entire length of the wire. Be sure to cover the ends of the wire, but leave the loop section free.
This step will help the flowers easily adhere when added later, making the crown-building process smoother.
Stretching the tape as you wrap ensures that it adheres tightly, creating a neat, secure coverage.
This will also give your flower crown the necessary structure, making it easier to add flowers and ensure they stay in place.
Step 3: Cut Your Flowers Into Smaller Pieces
Trim your flowers into smaller, manageable pieces to make attachment easier.
You can use either artificial or fresh flowers, but for durability, artificial flowers are ideal for this project.
Choose a variety of flowers, including both large and small blooms, and mix fluffy and spindly florals to achieve a natural, balanced look.
Preparing the flowers ahead of time ensures a smooth process as you build your crown.
Having them ready will allow you to place them efficiently, creating a beautiful arrangement with minimal effort.
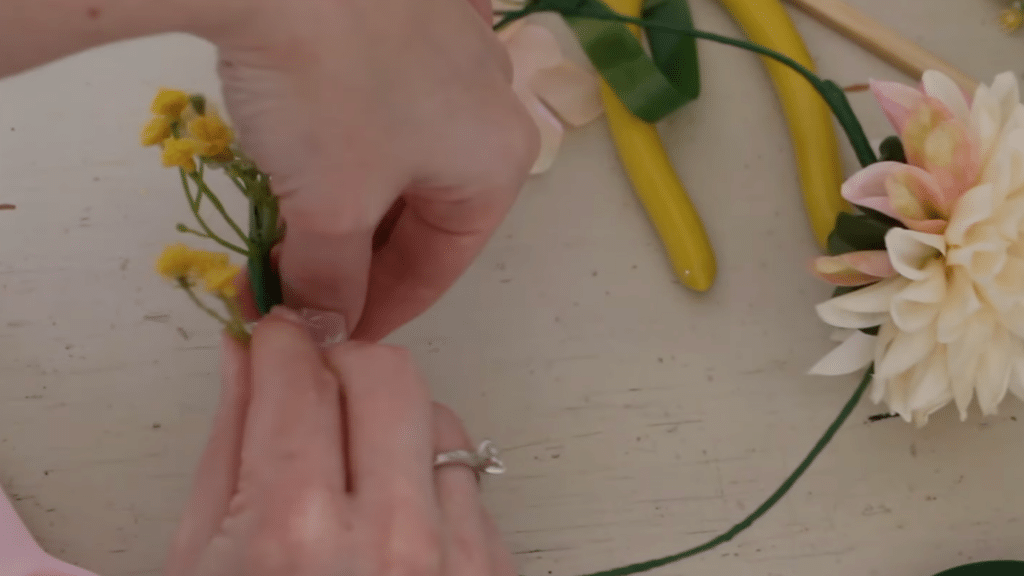
Step 4: Attach the First Flower
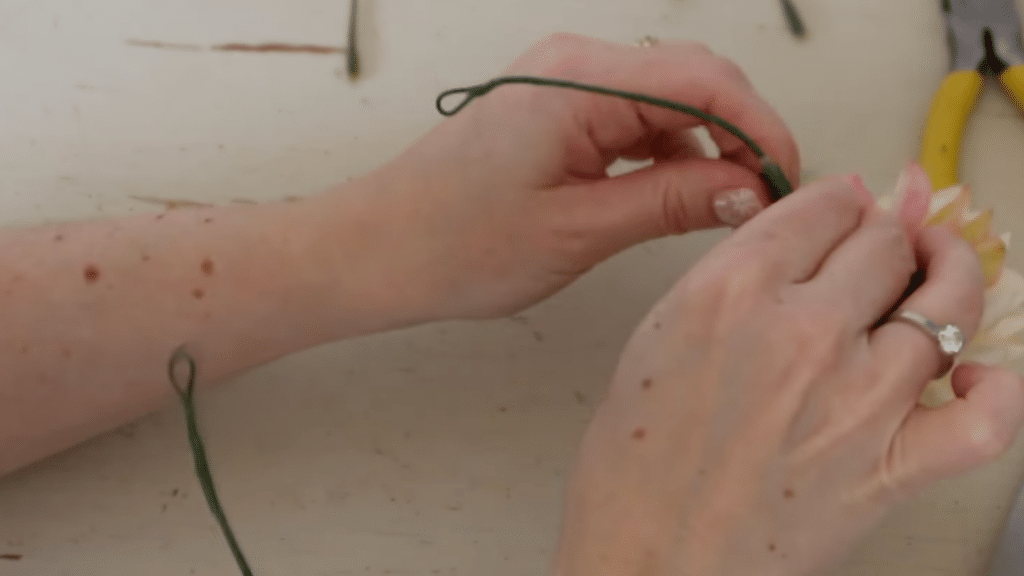
Begin by placing the largest flower slightly off-center on the wire, making it the focal point of your crown.
From there, arrange smaller flowers around it, working in one direction to maintain a natural flow. The off-center placement helps create an organic, relaxed look for your crown, rather than a rigid, symmetrical design.
This positioning also provides a subtle opportunity to change direction as you continue adding flowers.
It allows for a more dynamic and balanced arrangement, giving your flower crown a unique, beautiful shape.
Step 5: Cover the Wire Loops
To conceal the wire loops, place flowers directly over them, but leave the loops free for future ribbon attachment.
This step hides the wire, ensuring it’s not visible in the final crown while keeping space open for the ribbon later.
The flowers placed here primarily serve an aesthetic purpose, softening the look of the crown’s base.
This not only enhances the overall design but also gives the crown a more natural, seamless appearance, making it appear as if the wire is completely hidden.
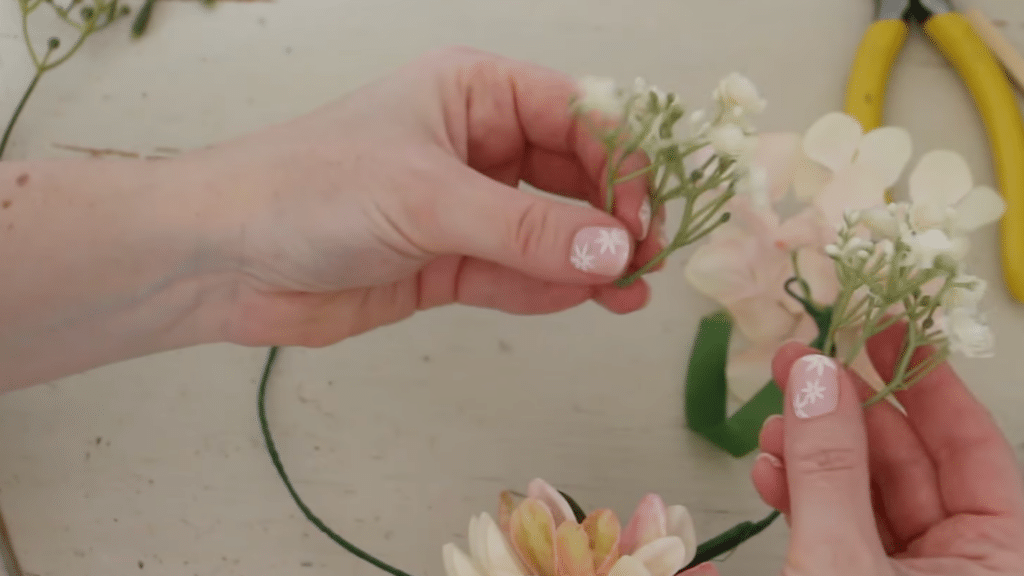
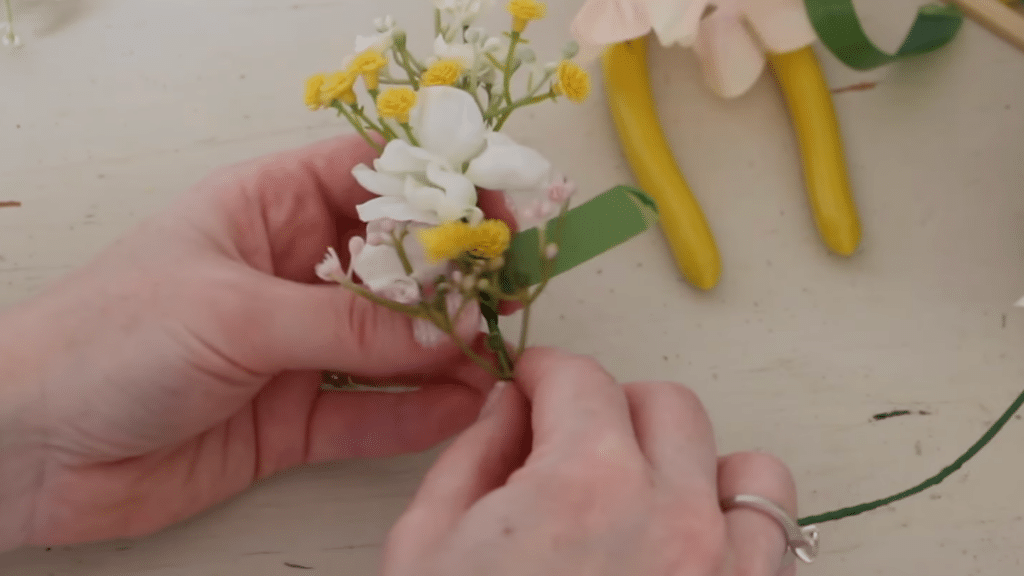
Step 6: Fill in the Gaps with Flowers
Continue adding flowers to fill in any gaps in your crown, arranging them in a staggered pattern.
Focus on covering the floral wire and the stems of previous flowers as you layer new blooms. This layering technique helps create a fuller, more natural look.
Don’t stress about perfect symmetry; embracing asymmetry adds to the crown’s realistic, rustic charm.
A slightly uneven arrangement will give your flower crown a more organic, handmade feel, making it look effortlessly beautiful and unique.
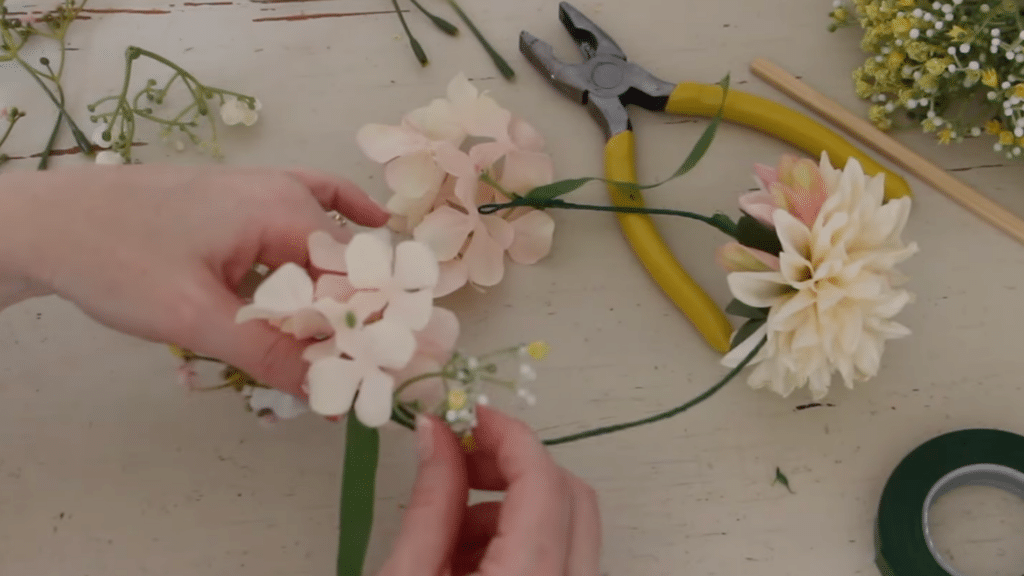
Step 7: Use Smaller Flowers for Gaps
If you notice any noticeable gaps, fill them in with smaller or spindlier flowers.
For larger spaces, add fluffier blooms like Bougainvillea to create a fuller appearance. The goal is to ensure your crown looks lush and abundant.
This technique helps smooth out any unevenness in the arrangement, making the overall design more cohesive.
Keep adding flowers until all gaps are covered, ensuring your flower crown looks balanced and natural.
The extra touches will make it look more complete and vibrant.
Step 8: Trim Excess Stems
As you add flowers, the stems can become bulky. Trim any excess stems to reduce the weight and make it easier to continue adding flowers.
This step ensures that your crown stays lightweight and comfortable to wear.
Trimming the stems keeps the crown neat and prevents it from becoming too heavy.
Keeping the stems trimmed also ensures that the overall design remains balanced, making your flower crown both beautiful and easy to wear.
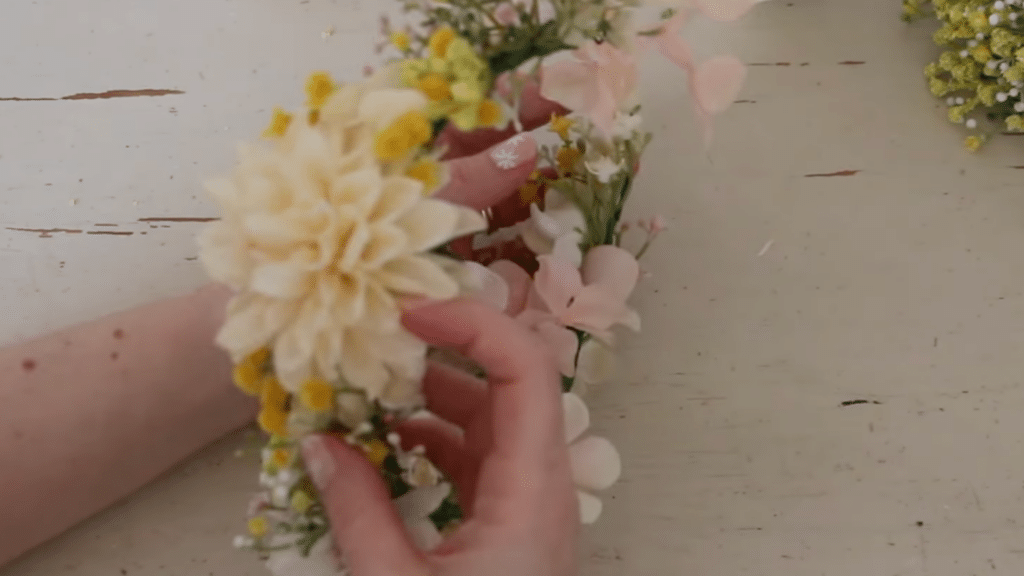
Step 9: Add Flowers to the Top and Outer Edge

Place the flowers primarily along the outer edge and slightly on top of the crown. This ensures the crown sits flat on your head while still showcasing the blooms.
The arrangement also helps prevent any gaps from being visible from the top, even if someone taller is looking.
By focusing on the outer portion of the crown, you’ll create a polished and complete look. This technique ensures a balanced design that looks beautiful from all angles.
Step 10: Check for Gaps and Balance
Once all the flowers are attached, place the crown on your head and check how it looks. Look closely for any empty spaces or uneven areas in the arrangement.
If you notice gaps, add a few more flowers or leaves to fill them. You can also move some flowers slightly to improve the balance.
Take your time with this step so the crown looks even from all sides.
Small changes can make a big difference. When everything looks balanced and full, your flower crown will feel complete and ready to wear.
Step 11: Attach the Ribbon
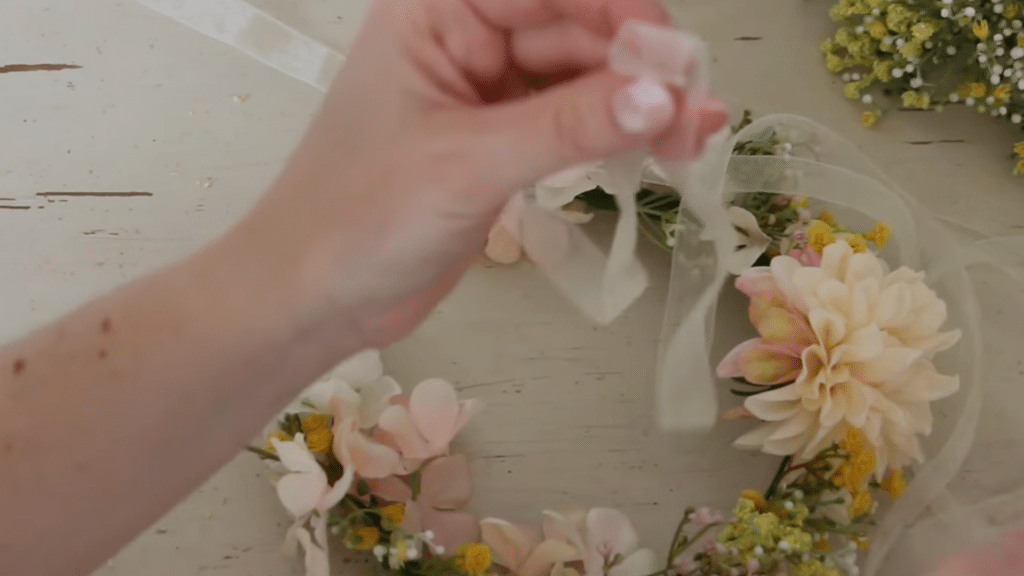
Cut two pieces of ribbon, each about 150 cm long. Take one piece, fold the edges, and thread it through the wire loop on the crown.
Pull the ribbon through until you can fit your hands inside. Repeat the same process with the second wire loop.
This method effectively hides the wire loops, creating a clean, secure finish.
The ribbon not only holds the crown in place but also adds a lovely, decorative touch, completing the flower crown with an elegant, adjustable tie.
Step 12: Final Touches

Tie the ribbon into a bow, allowing the ends to drape elegantly. The multiple strands of ribbon will add a romantic, whimsical touch to the crown.
This final step creates a beautiful, adjustable flower crown that’s perfect for any occasion.
If you’re preparing for a wedding, festival, or photoshoot, this crown adds a unique, personal flair. Don’t hesitate to experiment with different flowers, colors, and ribbons for different events.
Each crown can be customized to fit the occasion, making every one truly special.
Each step is clearly outlined to help you capture the right moments and achieve a beautiful DIY flower crown.
This tutorial is based on a helpful video by Megan Nielsen. You can check out the original video on their YouTube channel here or watch it below.
How to Care for Your Flower Crown?
Caring for your flower crown ensures it stays fresh and intact for as long as possible. Follow these tips to maintain its beauty and longevity.
- Keep It Cool and Dry: Store your flower crown in a cool, dry place away from direct sunlight to prevent wilting and fading.
- Avoid Water Exposure: Do not soak the crown in water, as this can cause flowers to wilt. If necessary, gently mist the flowers with water to refresh them.
- Refrigerate for Freshness: If you plan to wear the crown later, keep it in the fridge overnight. This helps maintain the flowers’ freshness.
- Handle Gently: Be mindful when handling your flower crown, as rough movements can damage the delicate flowers and stems.
- Keep It in Shape: If the flowers become bent or misshapen, gently rearrange them to restore the desired look. Use floral wire to secure any loose pieces.
Conclusion
Making your own flower crown is a simple way to turn fresh flowers into something personal. With a few tools and a little creativity, you can create a crown that reflects your style.
Each crown looks different depending on the flowers, colors, and arrangement you choose.
Now that you know the steps, you can try making one for a wedding, festival, photoshoot, or even a relaxing craft day at home.
Take your time, experiment with different flowers, and enjoy the process as much as the final result.
Have you tried making a flower crown before, or are you planning to make one now?
Share your experience, tips, or favorite flower combinations in the comments below. Your ideas may help inspire other readers, too.