
I love pressing flowers, and I’m here to show you how to make a flower press at home without spending much.
You don’t need fancy tools or special supplies, just simple materials like wood, cardboard, or even old books.
In this blog, I’ll walk you through three easy ways to build your own press. I’ll break each method down so it’s easy to follow, even if you’ve never made one before.
You can use what you already have or pick up a few low-cost items. I’ll also share tips to help you get the best results from your press.
Making one is fun, creative, and a great way to save your favorite flowers. Let’s get started and create something useful with our hands.
Why Press Flowers Yourself?
Pressing flowers at home offers a simple, cost-effective way to preserve natural beauty.
Instead of buying a ready-made kit, materials like wood scraps, cardboard, parchment paper, or old books can be reused to create a custom flower press.
This hands-on activity allows for full control over the size, design, and materials used, making it perfect for different craft styles and needs.
Pressed flowers can be used in various creative projects such as scrapbooks, framed art, cards, or handmade gifts. The process also encourages patience and appreciation for natural elements.
It’s a calming hobby that combines art with nature and doesn’t require advanced skills or expensive tools.
Pressing flowers is also a great way to save meaningful blooms from a bouquet, garden, or outdoor walk, turning them into lasting keepsakes for future projects or decoration.
Step-by-Step on How to Make Pressed Flowers
Build your own flower press at home by following these easy, budget-friendly steps using common tools and materials.
Step 1: Choose and Cut Your Wood
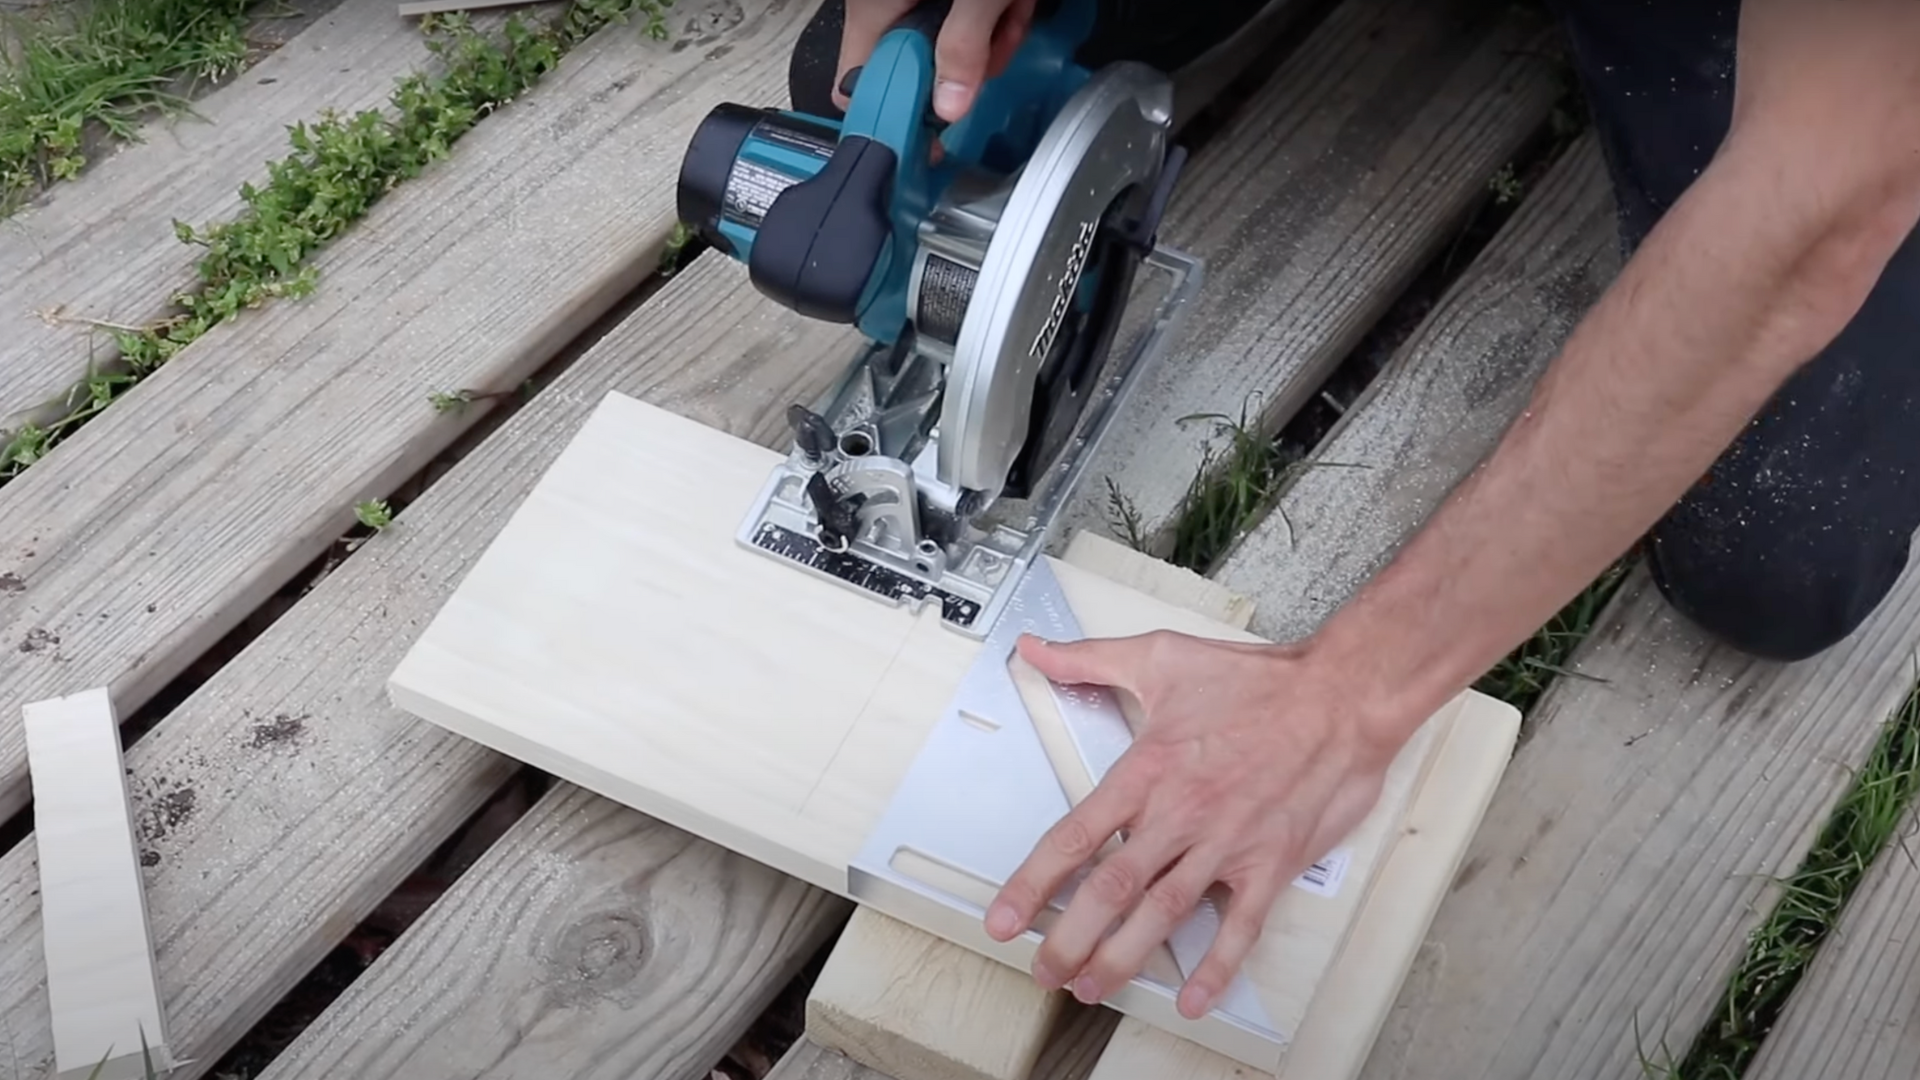
Start with unfinished, untreated wood like poplar, which is soft and easy to drill. Cut two square pieces using a saw, each side should be as long as the wood is wide (e.g., 7¼ inches).
This creates a square press without needing to trim all four sides. Hardware stores often offer free cutting services if you don’t have tools at home.
Step 2: Drill Holes in the Corners
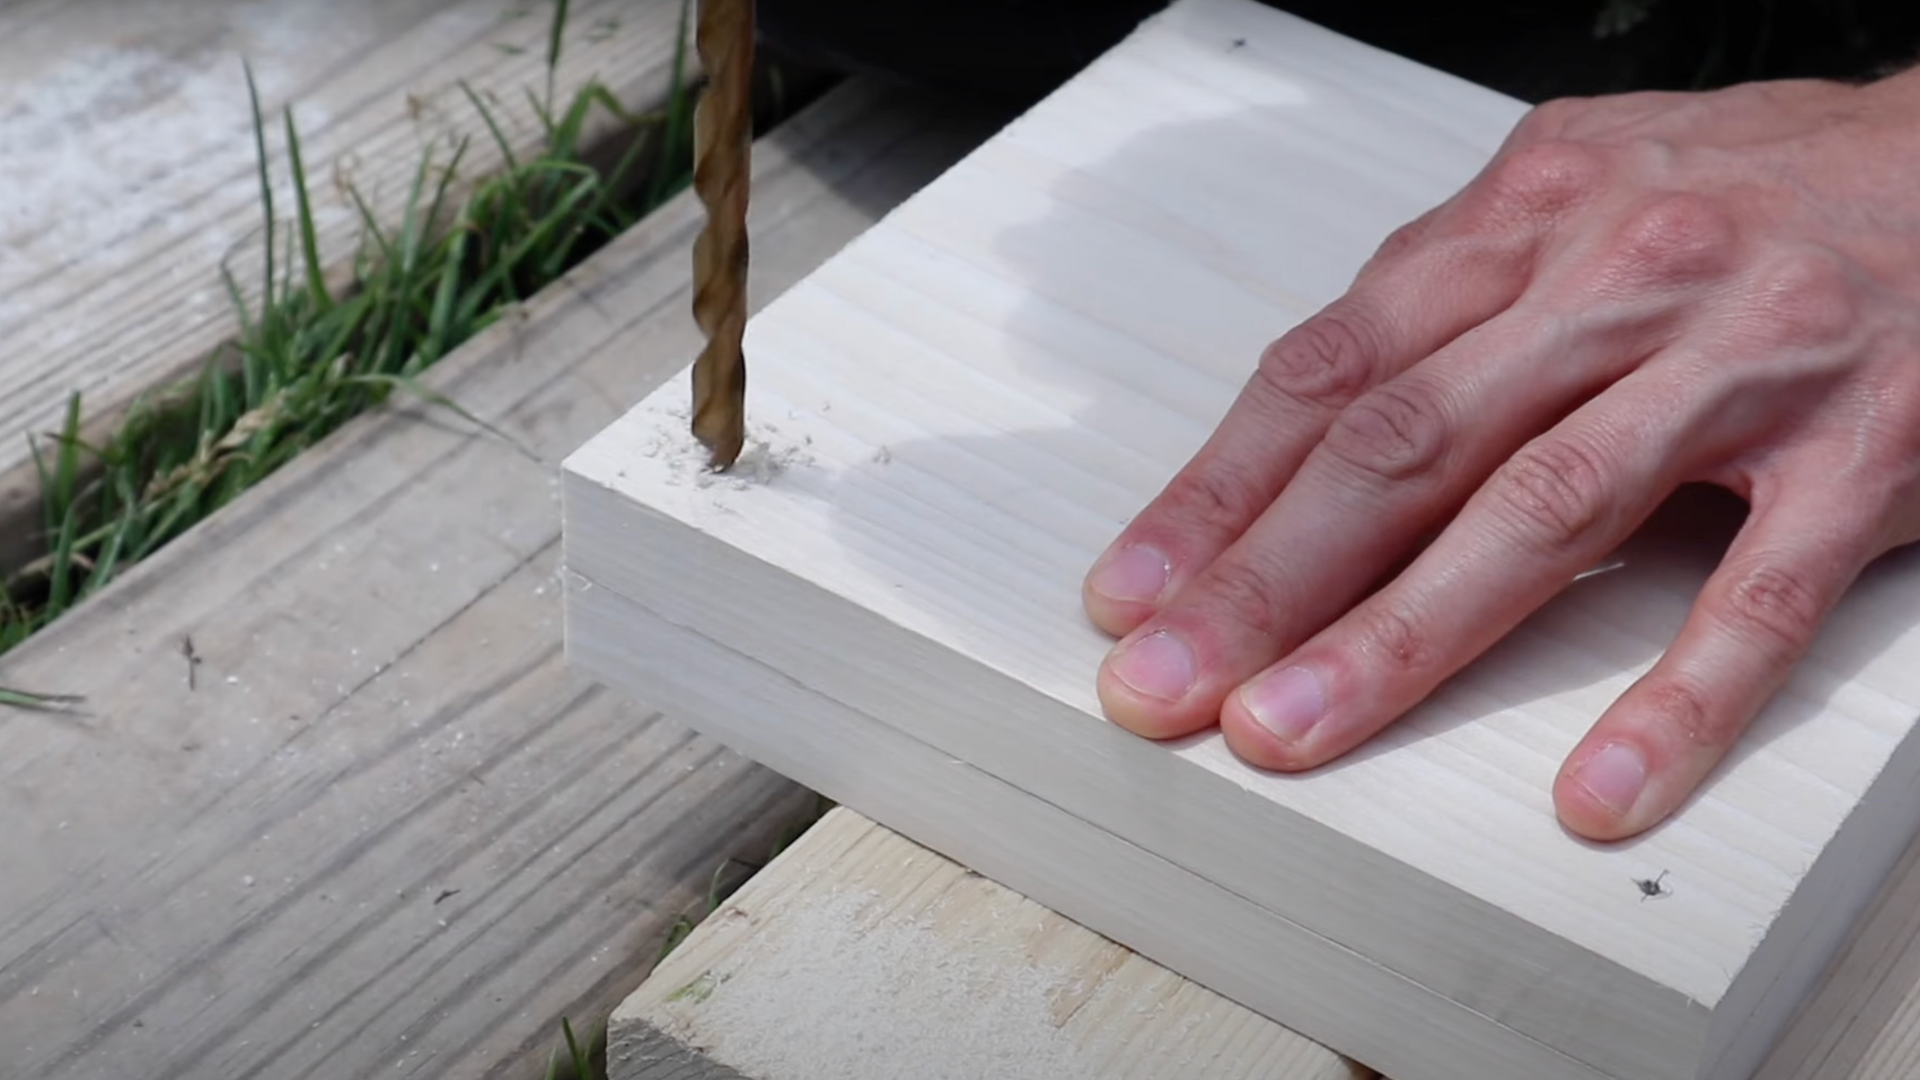
Place the two wooden boards together and clamp them tightly. Drill holes in all four corners using a drill bit that matches your bolt size (e.g., 5/16 inch).
Drilling both boards at once helps keep the holes aligned. Make sure to protect your work surface underneath to avoid damage while drilling.
Step 3: Sand the Boards Smooth
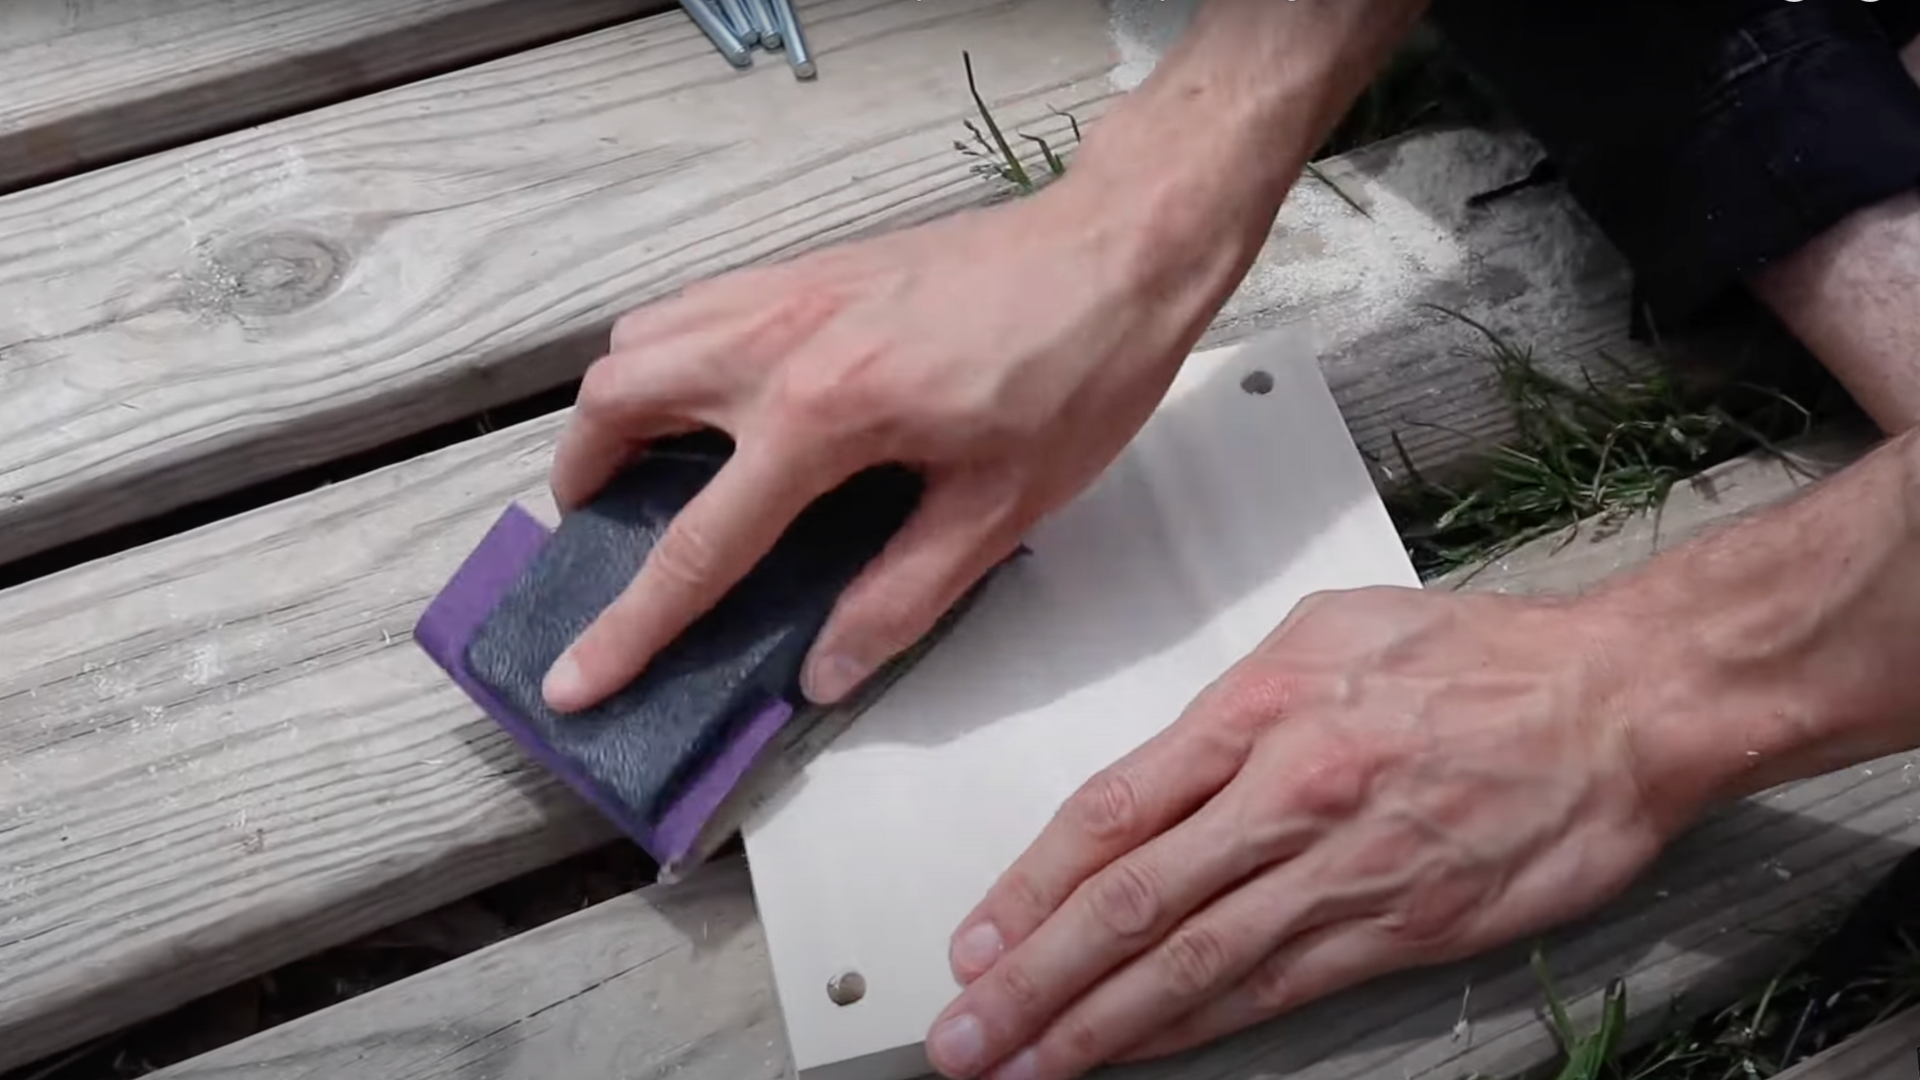
Use medium grit sandpaper (120 grit) to smooth all edges, corners, and the drilled holes. This step removes splinters and makes the press safer to handle.
For extra polish, wrap finer sandpaper around a stick and smooth inside the drilled holes. You’ll notice a big difference in the finish before and after sanding.
Step 4: Attach the Bottom Hardware
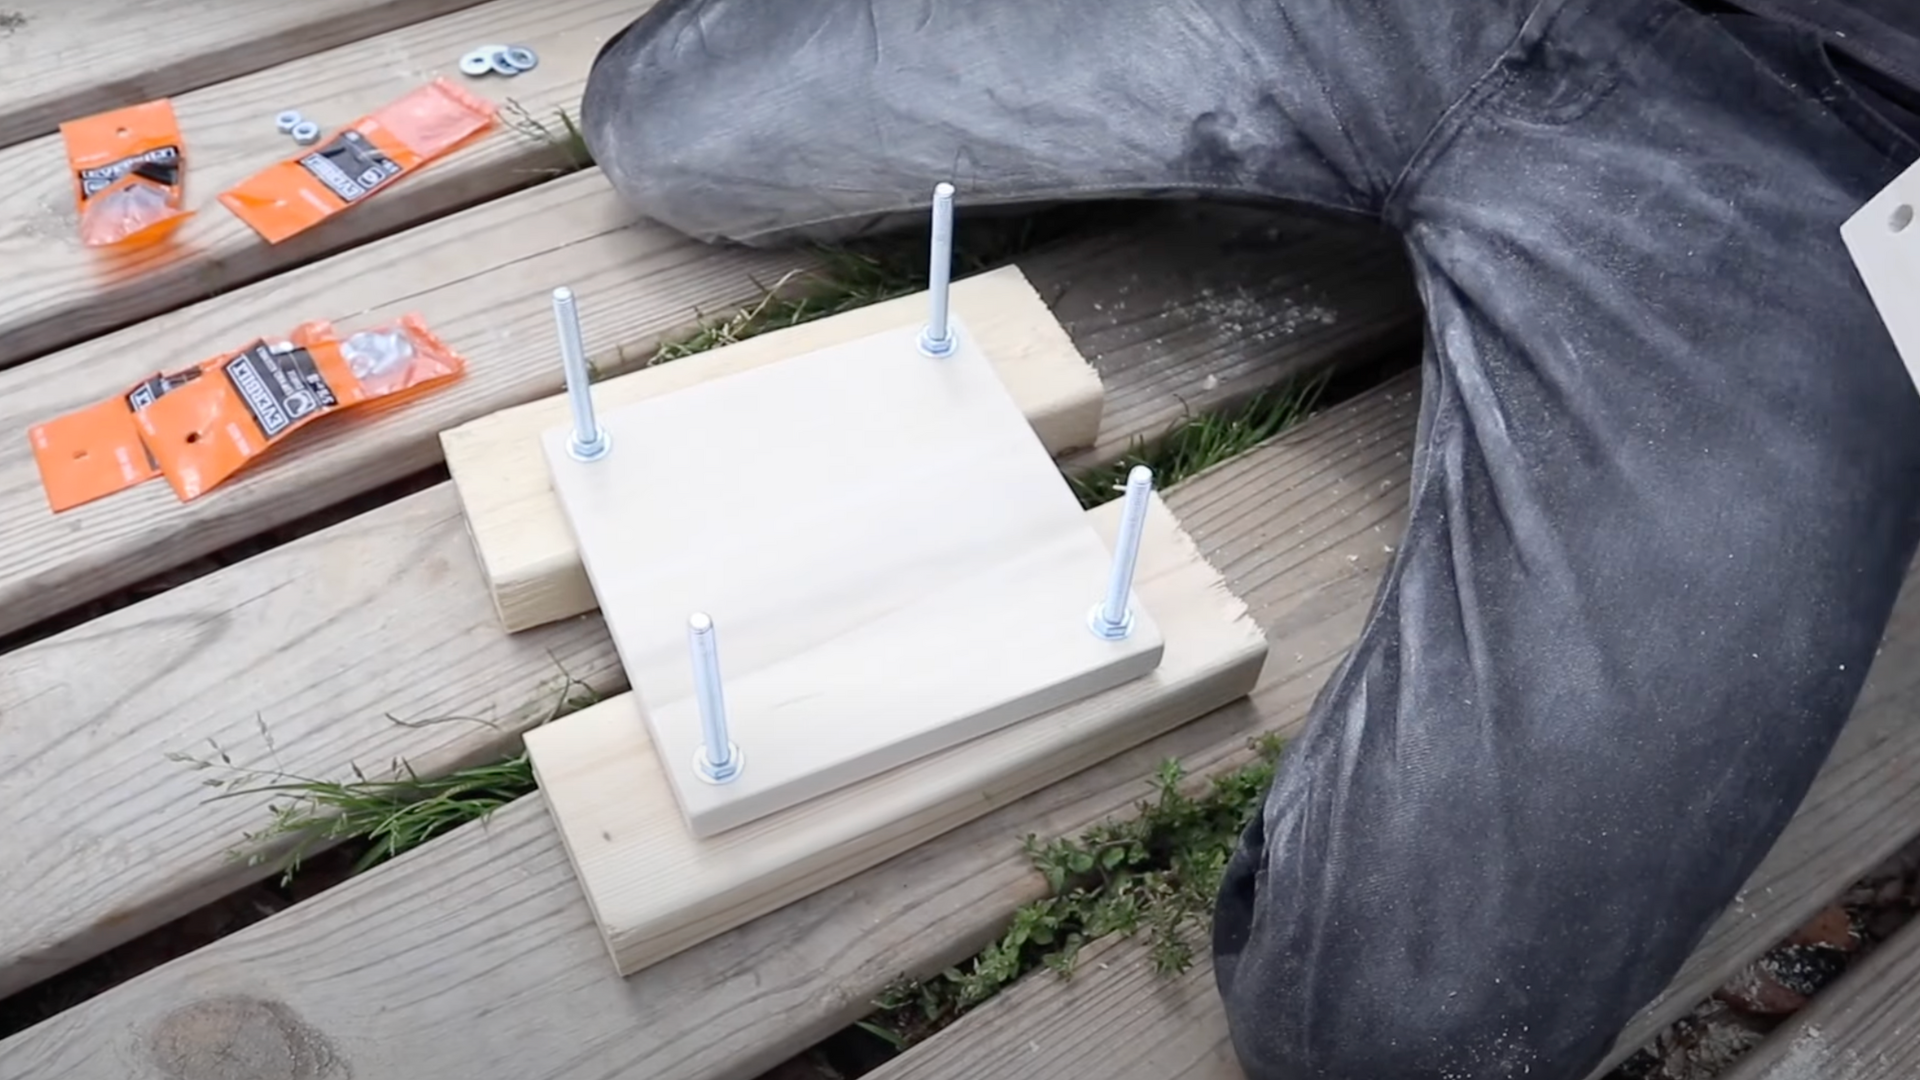
Insert the carriage bolts through the bottom board. Add a washer and nut to the top side of each bolt and tighten them with a wrench.
This step anchors the bolts in place, so they don’t fall out when you open the press later. Now the bolts stay attached to the bottom board permanently.
Step 5: Prepare the Pressing Layers
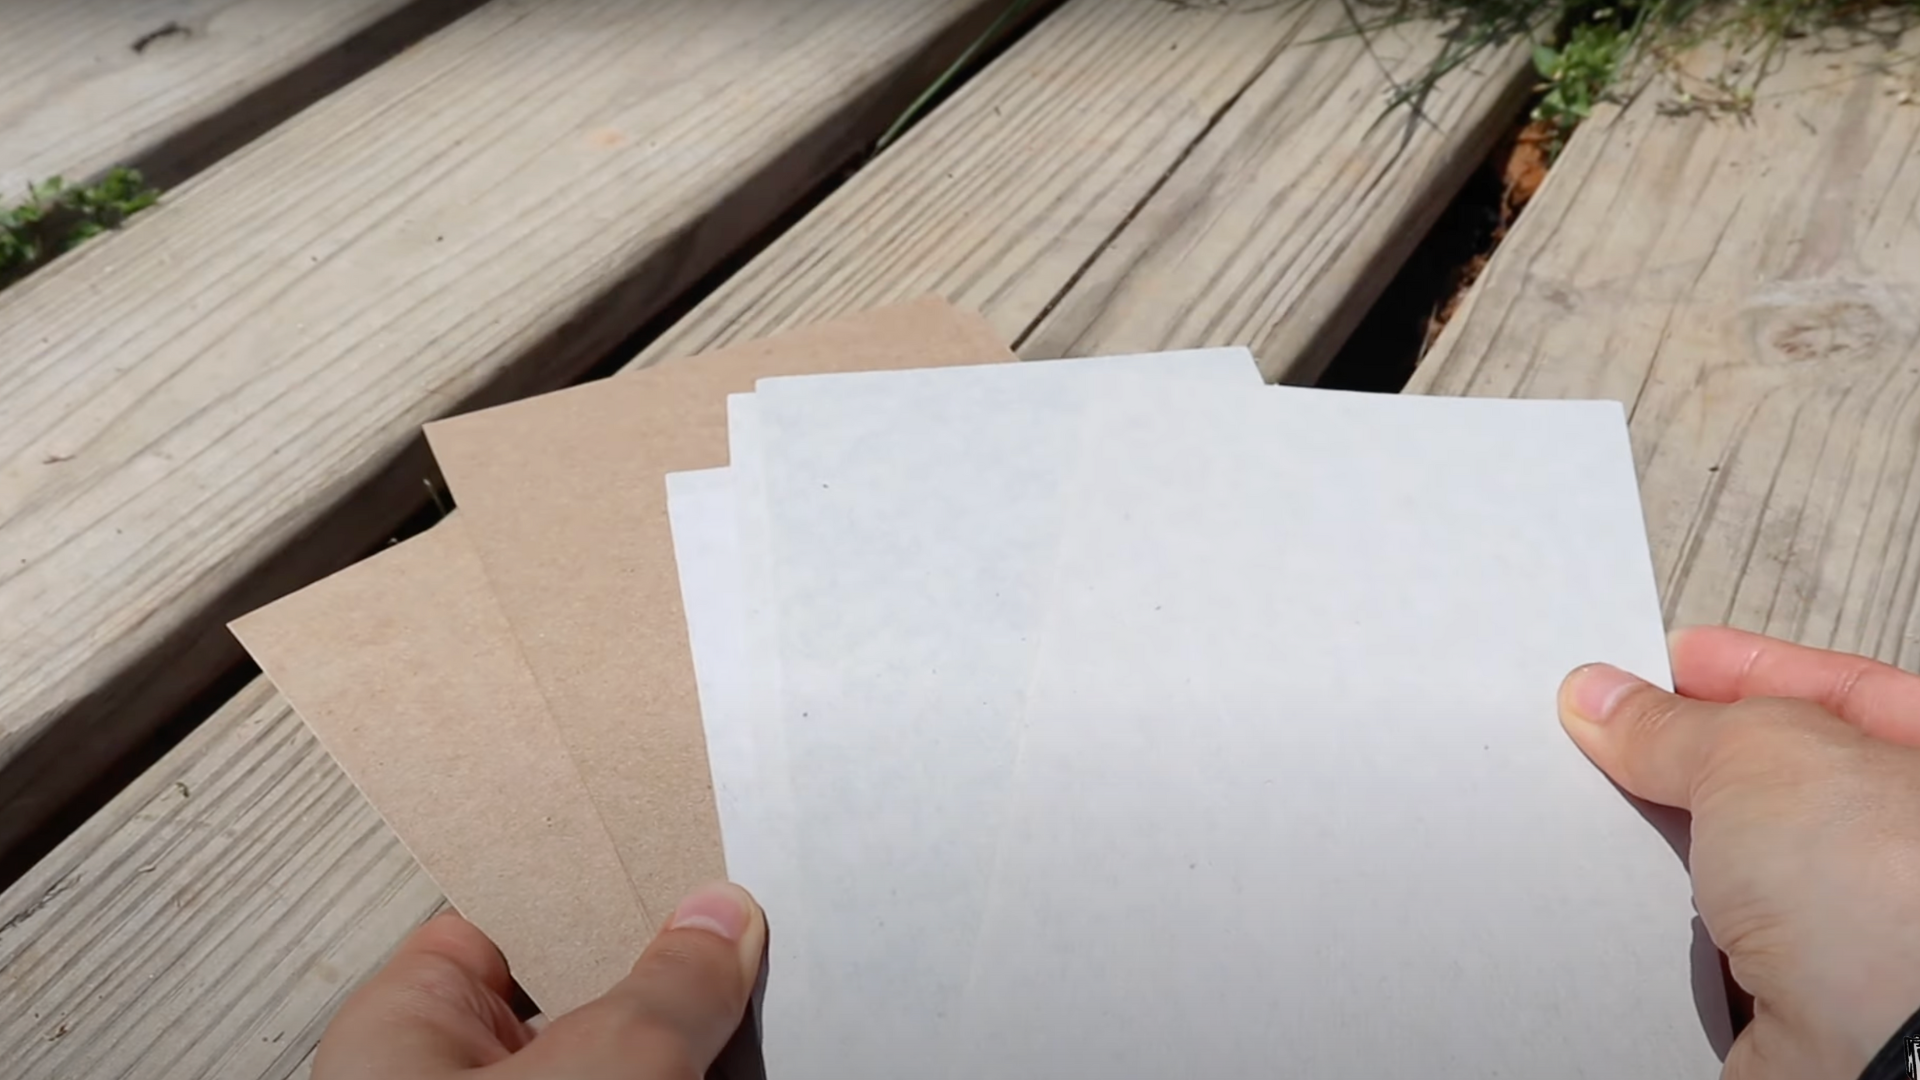
Gather flat, absorbent paper like loose-leaf or printer paper, and thin, non-corrugated cardboard (such as packaging backs).
Avoid textured cardboard, as the ridges can imprint on delicate petals. You’ll be layering paper and cardboard inside the press to hold the flowers in place while they dry.
Step 6: Pick the Right Flowers
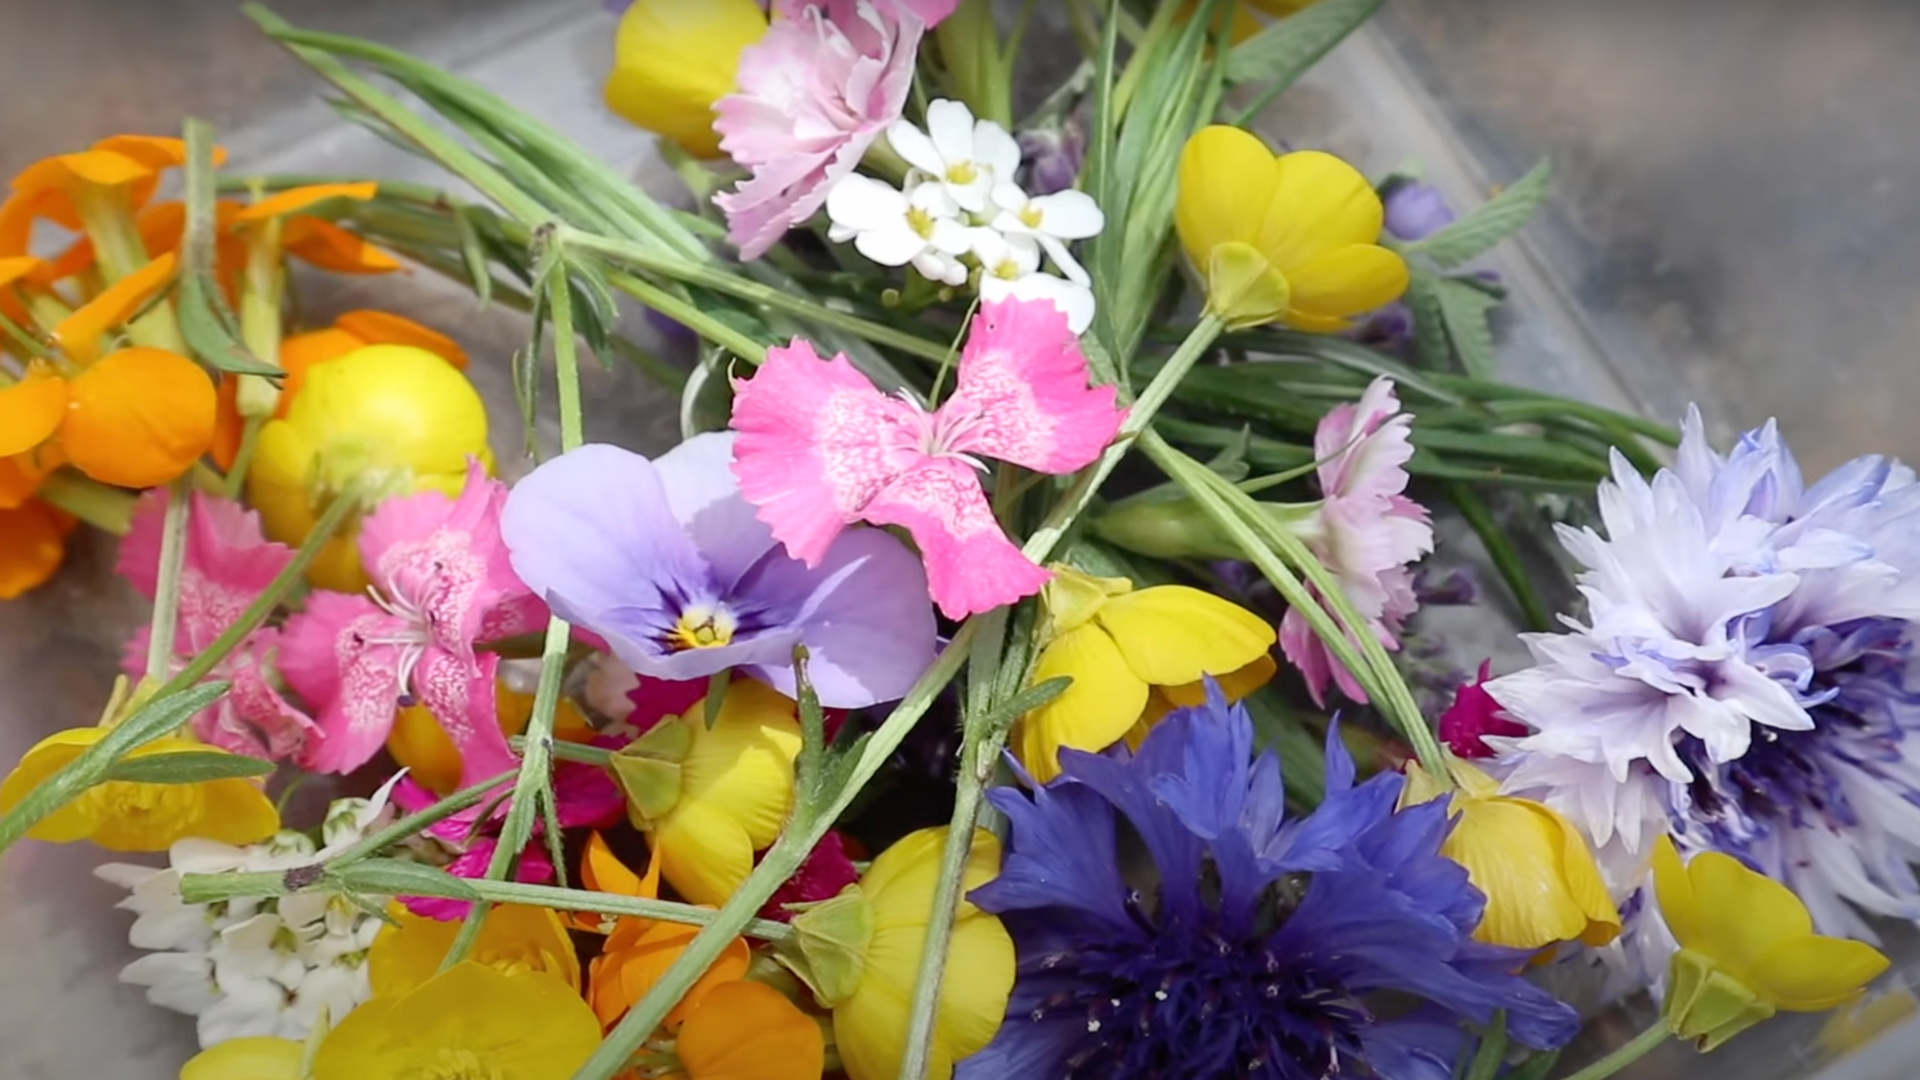
Select thin, flat flowers like violas, buttercups, and small leafy stems. Avoid thick flowers like layered petunias or those with moisture-heavy petals; they don’t press well.
You can also gently separate clustered blooms to press the smaller individual parts. Include foliage like grass and maple leaves for added texture.
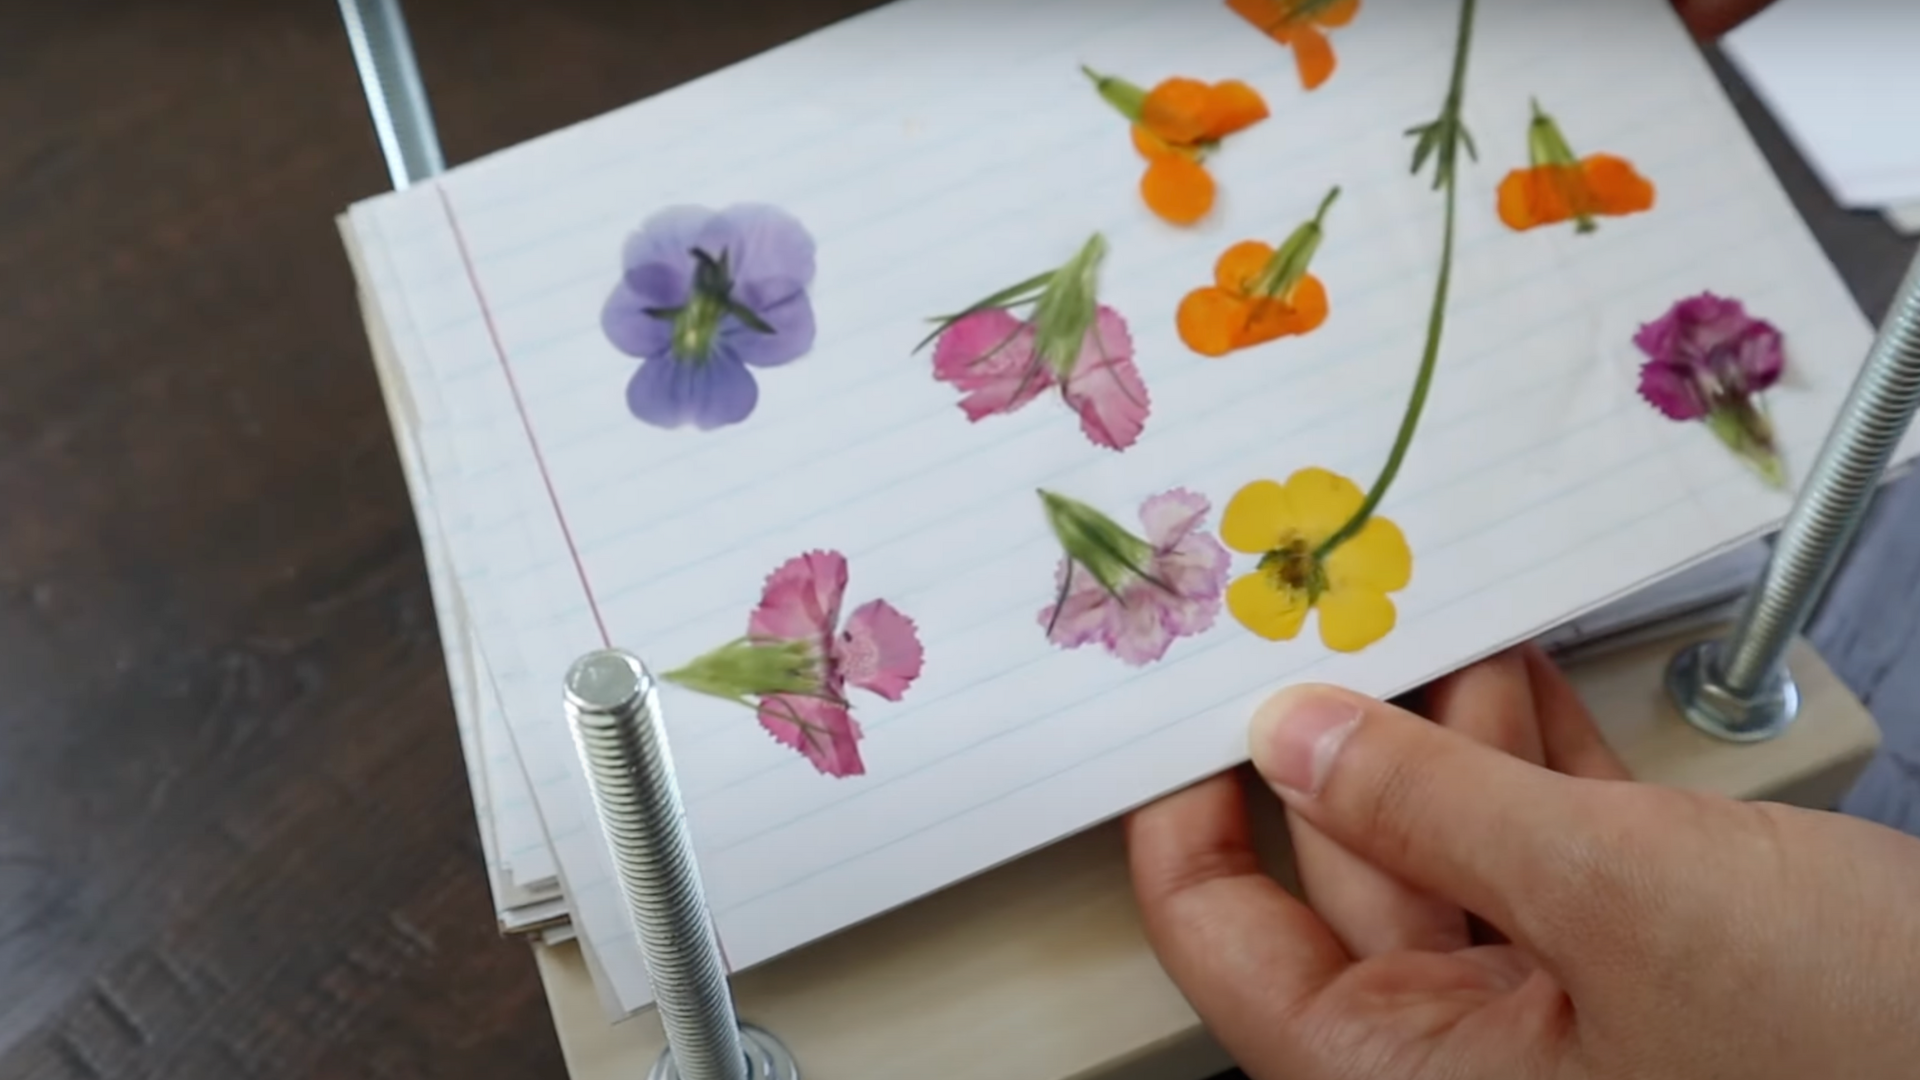
Step 7: Start Layering Flowers in the Press
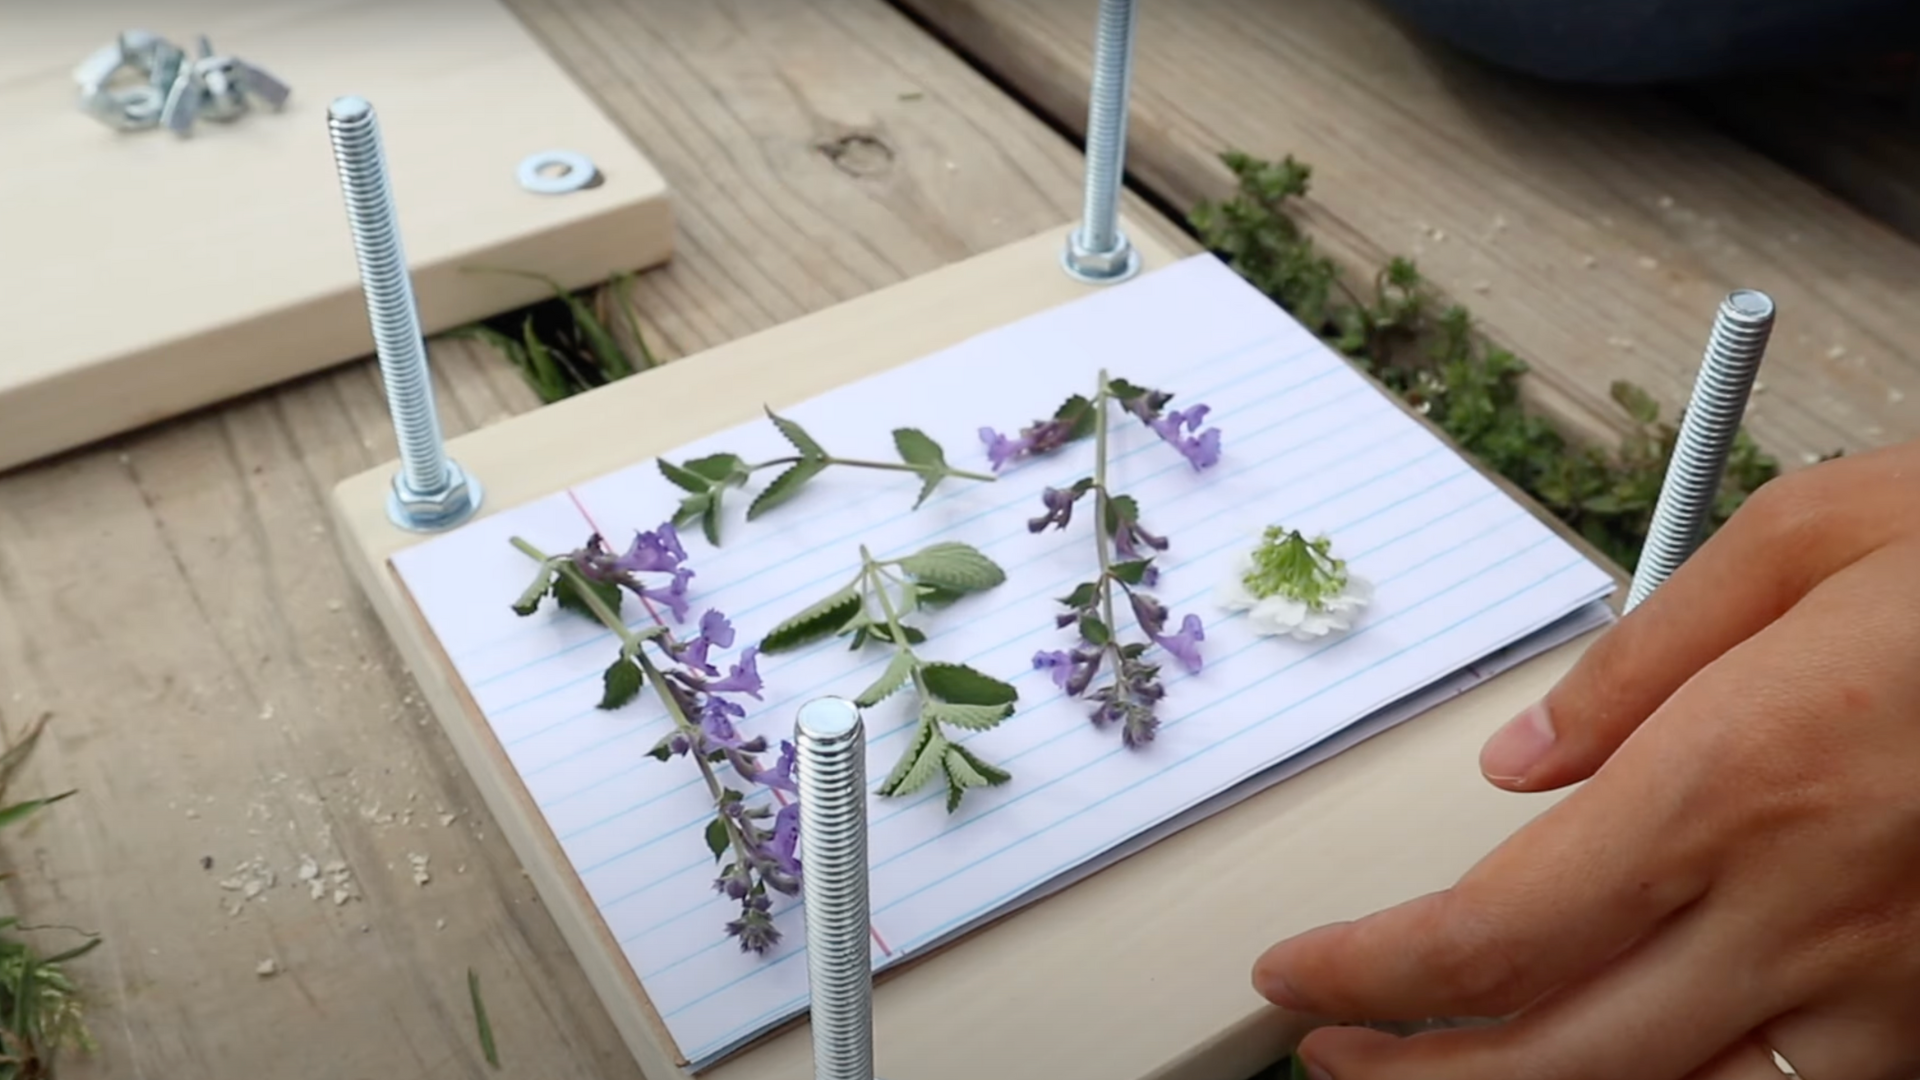
Place a cardboard sheet on the bottom board, then add two sheets of paper. Lay your flowers face down on the paper, spacing them out so they don’t touch.
Add two more sheets of paper, followed by another piece of cardboard. Repeat this layering pattern until your stack is full.
Step 8: Tighten the Flower Press
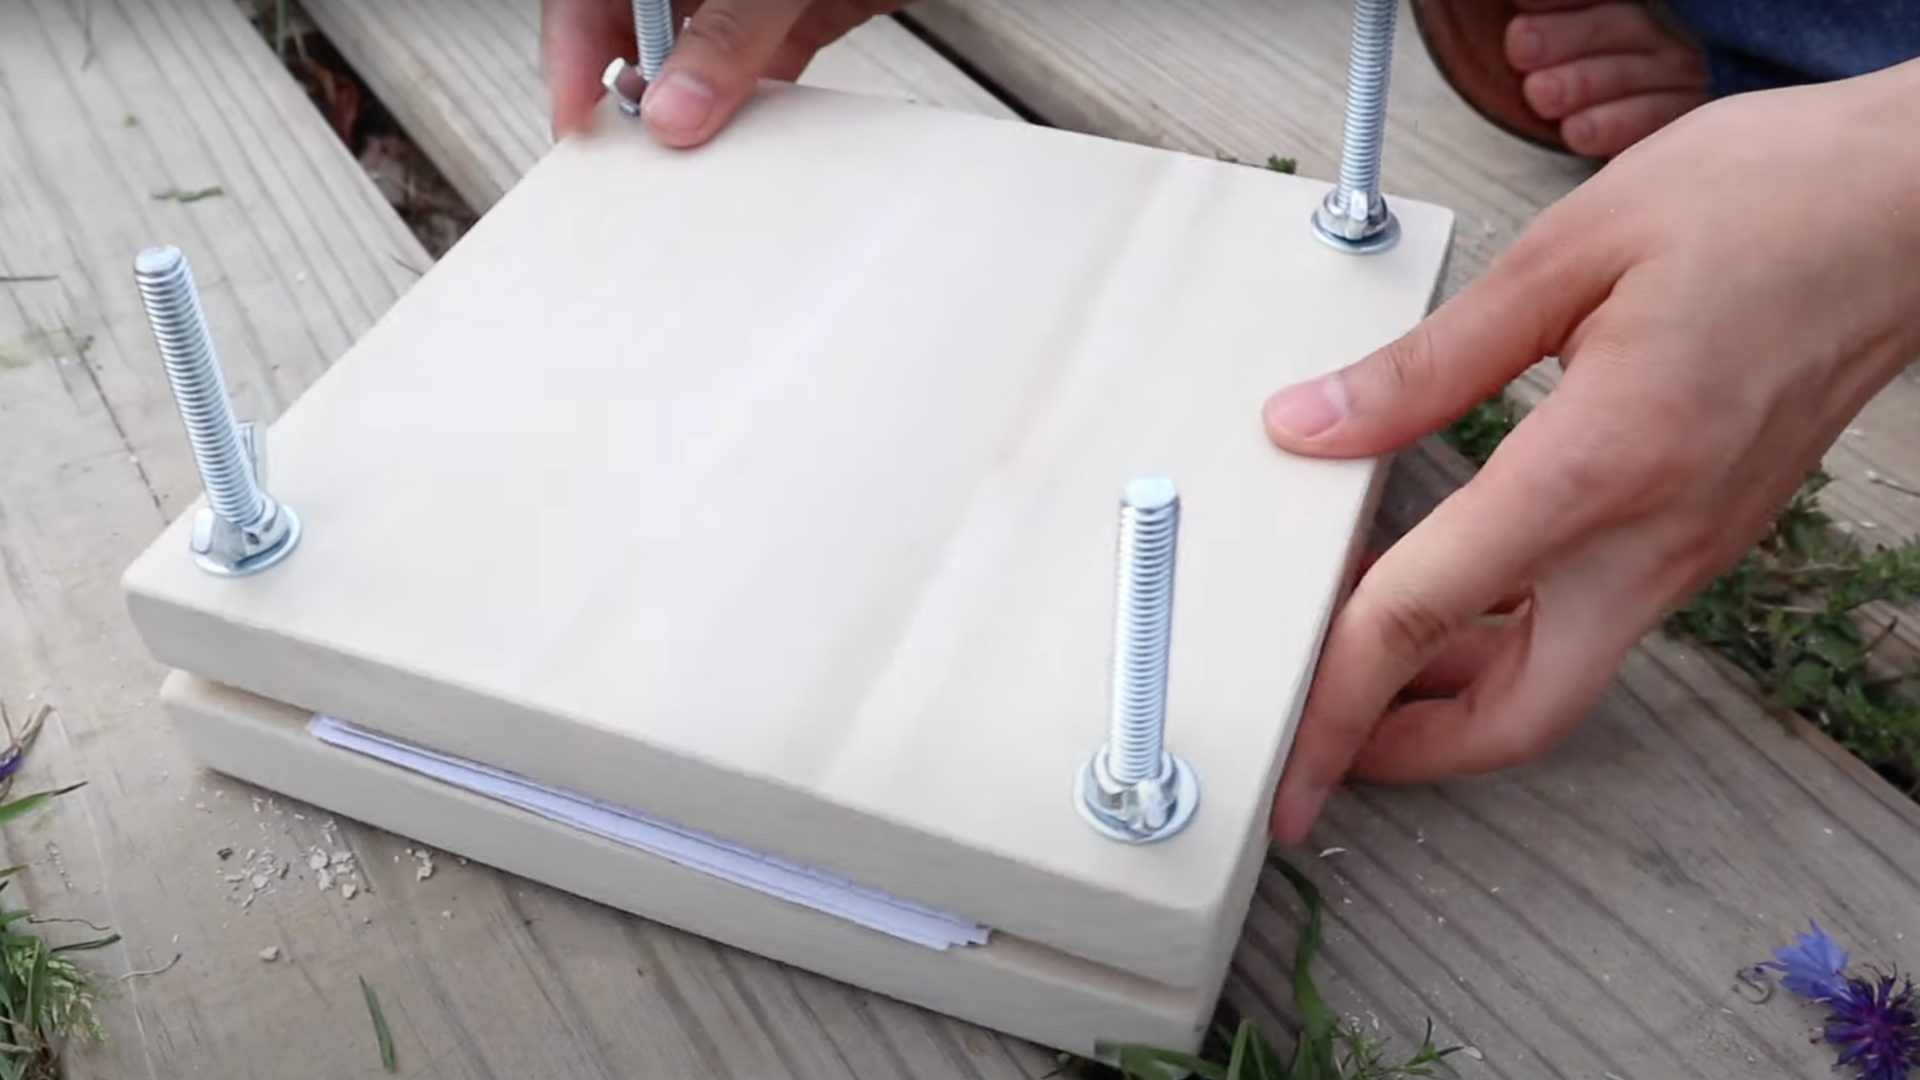
Fit the top board over the bolts, add a washer on each corner, then screw on the wing nuts. Tighten all four evenly until the press feels snug.
After a few hours or the next day, tighten the nuts again; flowers shrink as they dry, creating more space that needs compressing.
Step 9: Let the Flowers Dry
Leave the press in a cool, dry place for about a week. Thin flowers may dry in a few days, while thicker ones can take longer.
Replace papers if they become too damp. You’ll know the flowers are ready when they feel flat, crisp, and no longer stick to the paper.
For a visual guide, refer to this video by @MichelleMade on YouTube.
Different Methods to Press Flowers
Try these flower-pressing techniques using items you may already have at home, from traditional wood presses to quick DIY options.
1. Traditional Wood and Bolt Flower Press
This classic method involves two square wooden boards, four bolts, washers, and wing nuts to apply even pressure. Flowers are layered between sheets of paper and cardboard, then clamped tightly using the bolts.
It offers consistent results and is reusable for years. Though it takes several days to flatten blooms, this method is reliable, sturdy, and perfect for those who want a long-lasting flower press they can use again and again.
2. Heavy Book Pressing
This is one of the simplest and cheapest ways to press flowers. Just place your flowers between sheets of plain paper, tuck them into a thick book, and stack a few more books on top for added weight.
It’s a great low-effort method using materials most people already have at home. While it takes 1–2 weeks to fully dry, it works well for flat flowers and small foliage.
3. Cardboard and Clip Method
This lightweight option uses cardboard sheets, paper, and binder clips to create a flower press on a budget.
Flowers are sandwiched between paper and stacked between layers of cardboard, then held tightly with large clips or clamps. It’s easy to build, portable, and doesn’t require tools.
You can reuse the materials and adjust the pressure as needed, making this a great choice for beginners and casual crafters.
4. Microwave Flower Pressing
If you need quick results, try microwave pressing. Place flowers between absorbent paper and flatten them with ceramic tiles or a microwave-safe press.
Heat in 15–30 second intervals, checking often to avoid over-drying or burning. This method dries flowers in minutes instead of days, though results can vary by flower type.
It’s great for quick crafts or last-minute projects when you’re short on time but want pressed flowers fast.
5. Iron Pressing Method
This method is fast and doesn’t need a press. Sandwich flowers between sheets of parchment paper and use a low-heat iron with no steam. Press gently for 10–15 seconds at a time, checking frequently.
While results aren’t as long-lasting as traditional methods, it works well for quick decorating or crafting. It’s best for smaller, flat flowers and gives you instant results with little effort or setup needed.
6. Paper Towel and Weight Method
This is another easy method that requires only paper towels and a heavy object like a stack of books or a brick. Lay the flowers between paper towels, place them on a hard surface, and set a weight on top.
This low-tech method is perfect for beginners or kids. Flowers will dry and flatten in about a week. It’s mess-free, portable, and great for pressing a small number of blooms at a time.
Choosing the Right Flowers
Pick flowers that press well and hold their shape and color by following these simple selection tips.
- Choose flat flowers: Blooms like violas, pansies, and buttercups flatten easily without damage.
- Avoid thick petals: Flowers with layers or high moisture content may mold or dry unevenly.
- Pick flowers in dry weather: Morning blooms after dew has evaporated press best.
- Look for fresh, undamaged petals: Clean, whole flowers create better final results.
- Include foliage and stems: Leaves and stems add texture and balance to your designs.
Tips to Keep Pressed Flowers Beautiful
Learn how to keep your pressed flowers looking vibrant and intact with these simple care and storage tips.
- Use acid-free or archival paper: It helps prevent yellowing and preserves flower color.
- Change blotting layers regularly: Reduces the risk of mold and keeps flowers dry.
- Keep your press in a dry, shaded place: Avoids moisture and sunlight damage.
- Handle pressed flowers gently: They are delicate and can tear easily.
- Leave space between flowers: Prevents overlapping and improves drying.
Conclusion
I hope this guide helps you feel confident about pressing your own flowers at home. It doesn’t take much, just a few basic tools, some time, and the right flowers.
I’ve shared different ways to build a press, tips for layering, and methods to dry them properly. You don’t need fancy supplies to create something beautiful from your garden or neighborhood walk.
I always press more than I need because each flower turns out a little different, and I love having extra for gifts or craft projects. Try one of the methods and see what works best for you.
Once you start, it’s hard to stop; it’s relaxing, fun, and creative. If you enjoyed this guide, share it or send me your pressed flower projects. I’d love to see what you make.