
I remember standing in the paint aisle, staring at tiny jars and wondering if there was an easier way.
That is when I started learning how to make DIY chalk paint at home, and it changed the way small projects are handled.
If you like painting furniture or decor, you might be looking for the same simple fix. Chalk paint is a thick, matte paint that sticks well to many surfaces with little prep.
People like making it at home because it saves money and gives more control over the finish.
In this post, you’ll learn what chalk paint is, how it works, and why it is so popular.
I have also shared some easy steps, basic tools, and beginner-friendly methods so you can mix your own paint and get smooth results without feeling overwhelmed.
What Is Chalk Paint and How Does It Work?
Chalk paint is a type of paint known for its thick, matte finish and easy use on many surfaces. Unlike regular paint, it does not need much prep work before you start.
You often do not have to sand or prime, which saves time and effort.
Chalk paint works because it has a higher level of chalky fillers that help it grip surfaces better, like wood, metal, and even laminate.
This grip is what allows the paint to stick without peeling. The matte look comes from the low sheen, which hides brush marks and small flaws. That is why many people like it for furniture and decor projects.
Regular paint is smoother and usually needs more prep to last.
Chalk paint keeps things simple while still giving a soft, clean look that works well for both new and old pieces.
Tools and Ingredients You Will Need Before You Start
Getting everything ready first makes the process smoother and less messy. These items are simple, easy to find, and help you get consistent results.
- Latex paint: This is the base of your chalk paint and gives it color and coverage.
- Mixing powder (baking soda, plaster of Paris, or calcium carbonate) – This creates the chalky texture that helps the paint stick.
- Warm water: Helps dissolve the powder and keeps the mix smooth.
- Mixing bowl or container: Gives you enough space to stir without spilling.
- Measuring cups or spoons: Helps keep the texture even every time you mix.
- Whisk or stirring stick: Breaks up lumps and blends everything well.
- Paint brush or foam roller: Let’s you apply the paint smoothly to surfaces.
- Fine-grit sandpaper: Helps smooth the finish after the paint dries, if needed.
How to Make DIY Chalk Paint at Home Using Plaster of Paris?
This method is simple and works well for small furniture and decor projects. It uses easy-to-find supplies and helps you get a smooth, usable finish.
Step 1: Measure the Plaster and Water
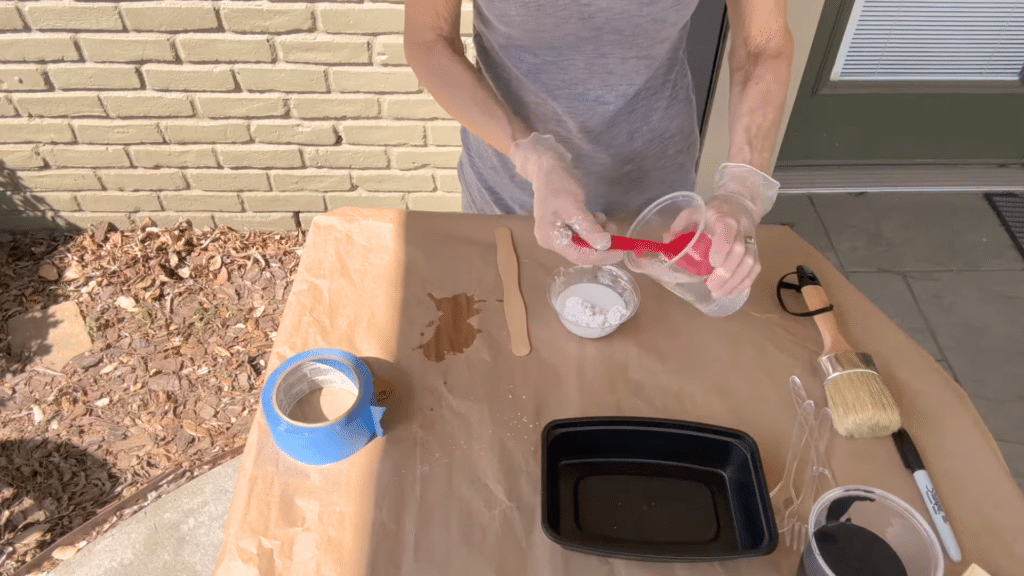
Start by measuring ¼ cup of plaster of Paris and placing it into a separate mixing container. Add 4 tablespoons of cold water to the plaster.
Using cold water matters because it slows the reaction and gives you more time to mix.
Avoid adding extra water at this stage. Keeping the ratio right helps prevent weak paint later. Wear a mask while handling plaster since it creates fine dust.
This step sets the base for a smooth chalk paint mixture that blends well into the paint.
Step 2: Mix Until Smooth and Lump-Free
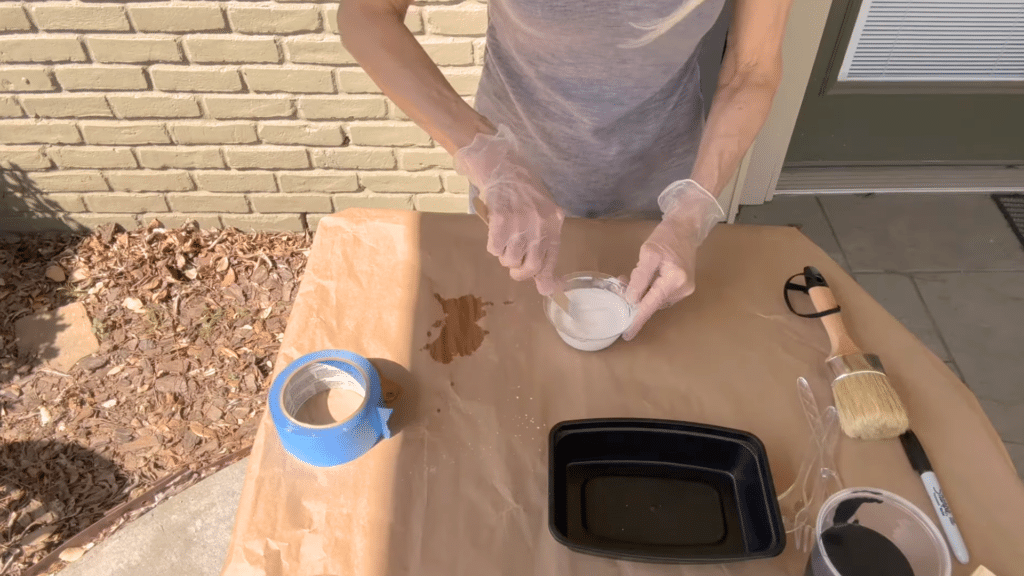
Stir the plaster and water mixture slowly but thoroughly. Take your time here and focus on breaking up every clump.
A whisk or sturdy stir stick works best. Do not rush this step because unmixed plaster can leave gritty bits in your paint.
The goal is a smooth, pourable paste with no dry spots.
If you still see small lumps, keep stirring until they disappear. This extra effort makes a big difference in how the paint looks once applied.
Step 3: Prepare One Cup of Paint

Measure 1 cup of matte latex paint and pour it into a clean container with enough space for mixing. Matte paint works best because it helps keep the chalky finish even and smooth.
You can use any color you like, depending on your project. If you plan to save leftover paint, choose a container with a tight lid.
Getting the paint ready first keeps the process neat and easy to manage.
At this point, do not add water or any powder. This step helps keep the mixture balanced and easier to control later.
Step 4: Slowly Add the Plaster Mixture
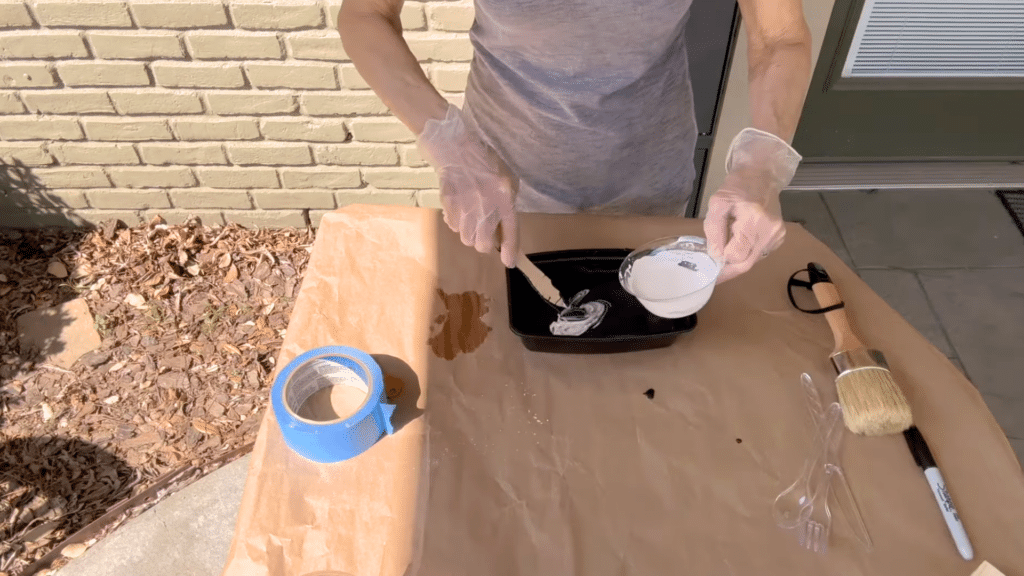
Begin adding the plaster mixture into the paint a little at a time. Stir as you pour so the plaster blends evenly.
Do not dump it in all at once, since that makes it harder to mix and can cause clumps. Keep stirring until the paint looks smooth and even.
This slow process helps the plaster fully combine with the paint.
Take short pauses if needed, but keep mixing until the texture looks consistent.
Step 5: Adjust the Thickness If Needed
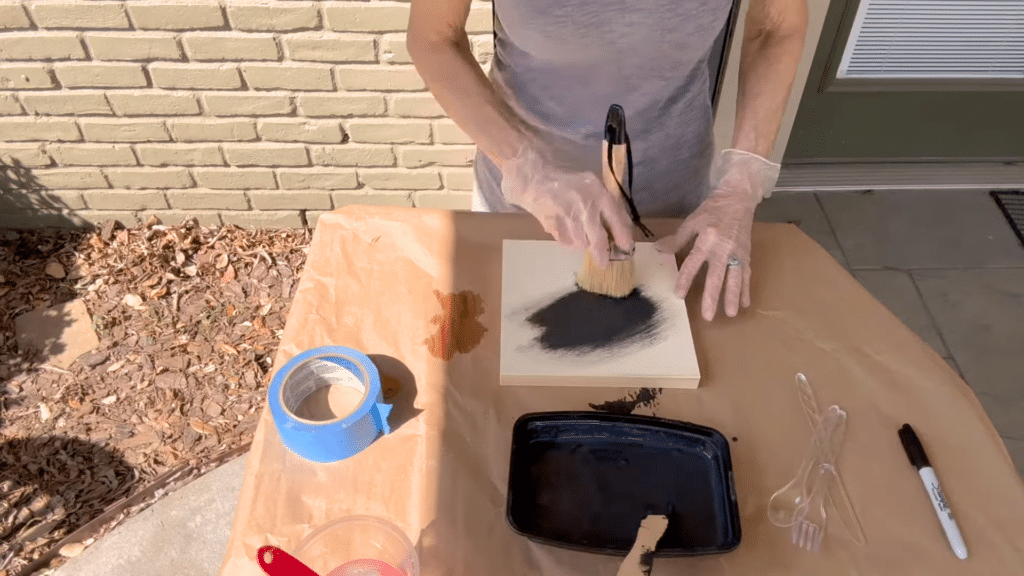
After mixing, check the paint’s thickness before using it. If it feels too thick or hard to spread, add 1 extra tablespoon of water and stir again.
The paint should feel smooth and easy to brush, not stiff or runny.
When lifted, it should flow off the brush without dripping. Avoid adding too much water, as that can weaken the finish and reduce coverage.
Taking time to adjust the texture helps the paint apply evenly and gives you better control while painting your project.
This tutorial is based on a helpful video by Patti J. Good. You can check out the original video on their YouTube channel here or watch it below.
How to Make Baking Soda Chalk Paint?
This method uses common pantry items and is easy to try at home. It was tested alongside other recipes to compare texture and finish.
- Step 1: Measure ½ cup baking soda and place it into a clean mixing container. Make sure the container has enough space for stirring without spilling.
- Step 2: Add 3 tablespoons of cold water to the baking soda. Cold water helps control the thickness and slows clumping.
- Step 3: Stir the mixture until it forms a thick paste. The texture will stay grainy, even when mixed well.
- Step 4: Pour 1 cup of matte latex paint into a separate container. Matte paint works best for a chalk-style finish.
- Step 5: Slowly add the baking soda paste into the paint. Stir as you pour to help blend everything evenly.
- Step 6: Mix thoroughly, scraping the sides and bottom. Small gritty bits may still remain after mixing.
How to Make Calcium Carbonate Chalk Paint?
This recipe is known for giving the smoothest finish among DIY options. It mixes easily and works well for furniture and decor projects.
- Step 1: Measure 4 tablespoons calcium carbonate and add it to a mixing container. This powder creates a smooth chalky texture without grit.
- Step 2: Add 4 tablespoons of cold water to the calcium carbonate. Use just enough water to help it dissolve fully.
- Step 3: Stir the mixture slowly and thoroughly. Take your time to remove all clumps before moving on.
- Step 4: Pour 1 cup of matte latex paint into a clean container. Leave enough room for mixing without spilling.
- Step 5: Slowly add the calcium carbonate mixture into the paint. Stir as you pour so it blends evenly.
- Step 6: Continue mixing until the paint looks smooth and consistent. The texture should feel creamy, not gritty.
How to Store Homemade Chalk Paint?
To store homemade chalk paint, place any leftover paint in an airtight container right after use.
This keeps air out and helps prevent the paint from drying or forming lumps. Store the container in a cool, dry place, away from direct heat or sunlight.
Most homemade chalk paint lasts about one to two weeks when stored properly.
Before using it again, stir the paint well and check the texture. If it mixes smoothly and smells normal, it is still safe to use.
If you notice a strong odor, thick clumps that will not blend, or mold on the surface, it is best to throw it away.
Always label the container with the mix date so you know how old it is and can avoid using paint that has gone bad.
Tips for a Smooth Chalk Paint Finish
Small changes in how you apply and finish the paint can make a big difference. These tips help you avoid streaks, bumps, and uneven spots.
- Use a quality brush or foam roller: A good tool helps spread paint evenly and reduces marks.
- Apply thin coats: Thin layers dry better and look smoother than one thick coat.
- Let each coat dry fully: Wait at least 30–60 minutes before adding another layer.
- Sand lightly between coats: Use fine-grit sandpaper to smooth rough spots without removing paint.
- Wipe away dust: Clean the surface after sanding so grit does not get trapped.
- Seal the paint: Use wax or a clear sealer to protect the finish and add durability.
- Allow proper cure time: Let the final coat set for 24 hours before heavy use.
Conclusion
Making DIY chalk paint at home is easier than it seems and feels manageable once you try it. With basic tools and simple ingredients, you can make an affordable paint that works on many surfaces.
What I like most is how flexible it is. You can adjust the thickness, change the look, and make only what you need.
If you are new to this, start with a small project like a stool, shelf, or picture frame. That gives you room to test and tweak the recipe without pressure.
Each batch helps you learn what works best for you. If you give it a try, I would love to hear how it went.
Share your results, tips, or questions in the comments below so others can learn from your experience too.