
Nothing ruins a nice evening outside like pesky mosquitoes. I’ve tried sprays and zappers, but making my own citronella candles was the easiest fix.
They smell great, look nice, and actually help keep bugs away. The best part? They’re super easy to make at home.
You don’t need fancy tools or a lot of time. Just a few simple supplies and you’re good to go.
I like making a bunch at once so I can use them all summer. They also make great gifts for friends and family.
In this guide, I’ll show you step-by-step how to make DIY citronella candles. If you enjoy easy crafts that are useful too, you’ll love this project.
Let’s get started and make your outdoor space bug-free and cozy.
Why Use Citronella Candles for Outdoor Spaces?
Want to know a secret weapon against mosquitoes? Let me introduce you to citronella candles, my absolute lifesaver during summer gatherings.
These magical candles are made from lemongrass oil, a natural mosquito repellent.
Unlike those harsh chemical sprays that make you smell like a walking pesticide, citronella offers a gentle, fresh approach to keeping bugs away.
I found these gems during a backyard barbecue that was quickly turning into a mosquito buffet. Within minutes of lighting a few citronella candles, the buzzing stopped.
The best part? They smell amazing, like a soft, lemony breeze. No toxic chemicals, just pure plant power. You can use them anywhere: on your porch, during camping trips, or while gardening.
They’re safe for kids, pets, and anyone who wants to enjoy the outdoors without becoming an insect’s dinner.
Pro tip: Place multiple candles around your space for maximum protection. Trust me, your skin (and sanity) will thank you!
Making DIY Citronella Candles
With just a few ingredients and some basic tools, you’ll craft homemade citronella candles that keep insects away while adding a warm, inviting glow to your outdoor spaces.
List of Materials & Tools
- Used candle jar (cleaned)
- Boiling water (to melt leftover wax)
- Soy wax flakes (from craft stores like Michaels)
- Microwave-safe container (for melting wax)
- Candle wick (available at dollar stores or craft stores)
- Hot glue gun (to secure the wick)
- Essential oils
- Chopsticks or pencils (to hold the wick upright)
- Dried lavender sprigs (optional, for decoration)
- Jute twine (for decorating the outside)
- Baby’s breath flowers (optional, for added decor)
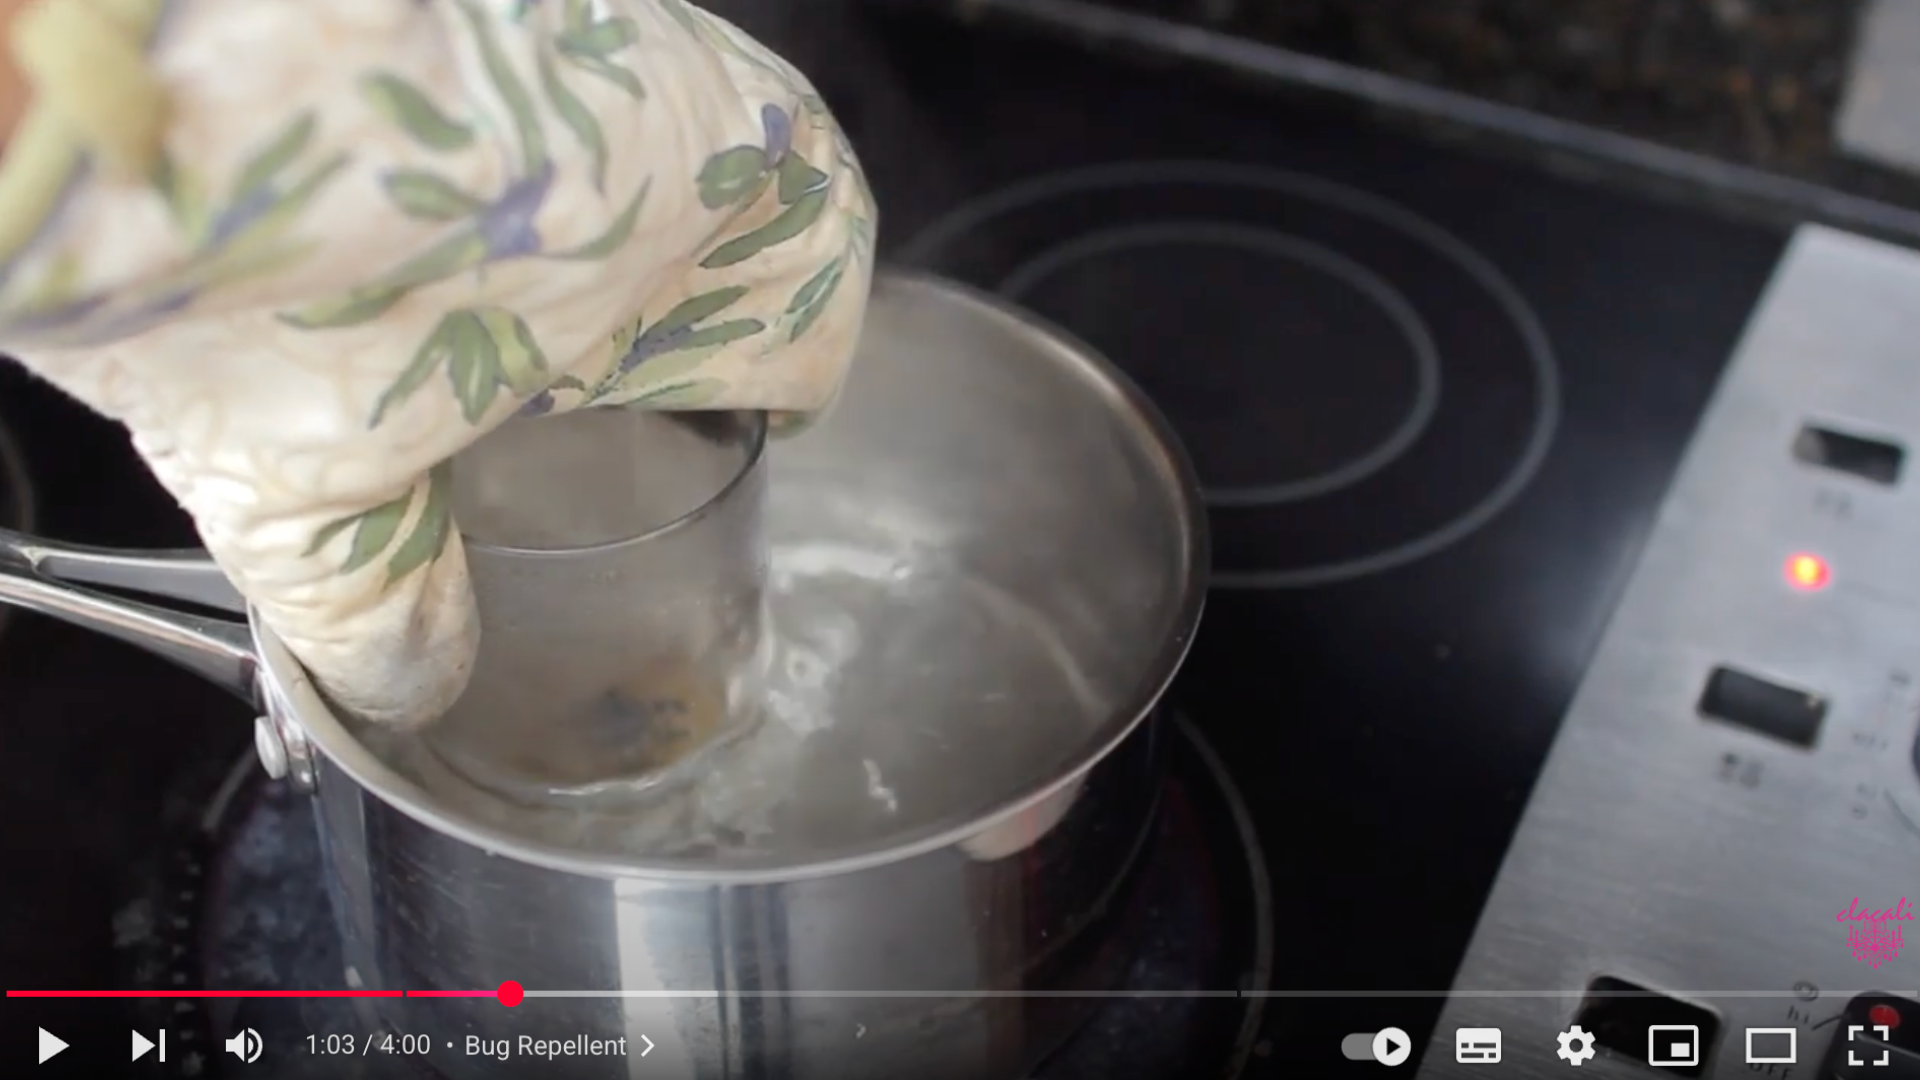
Step 1: Prepare Your Candle Jar
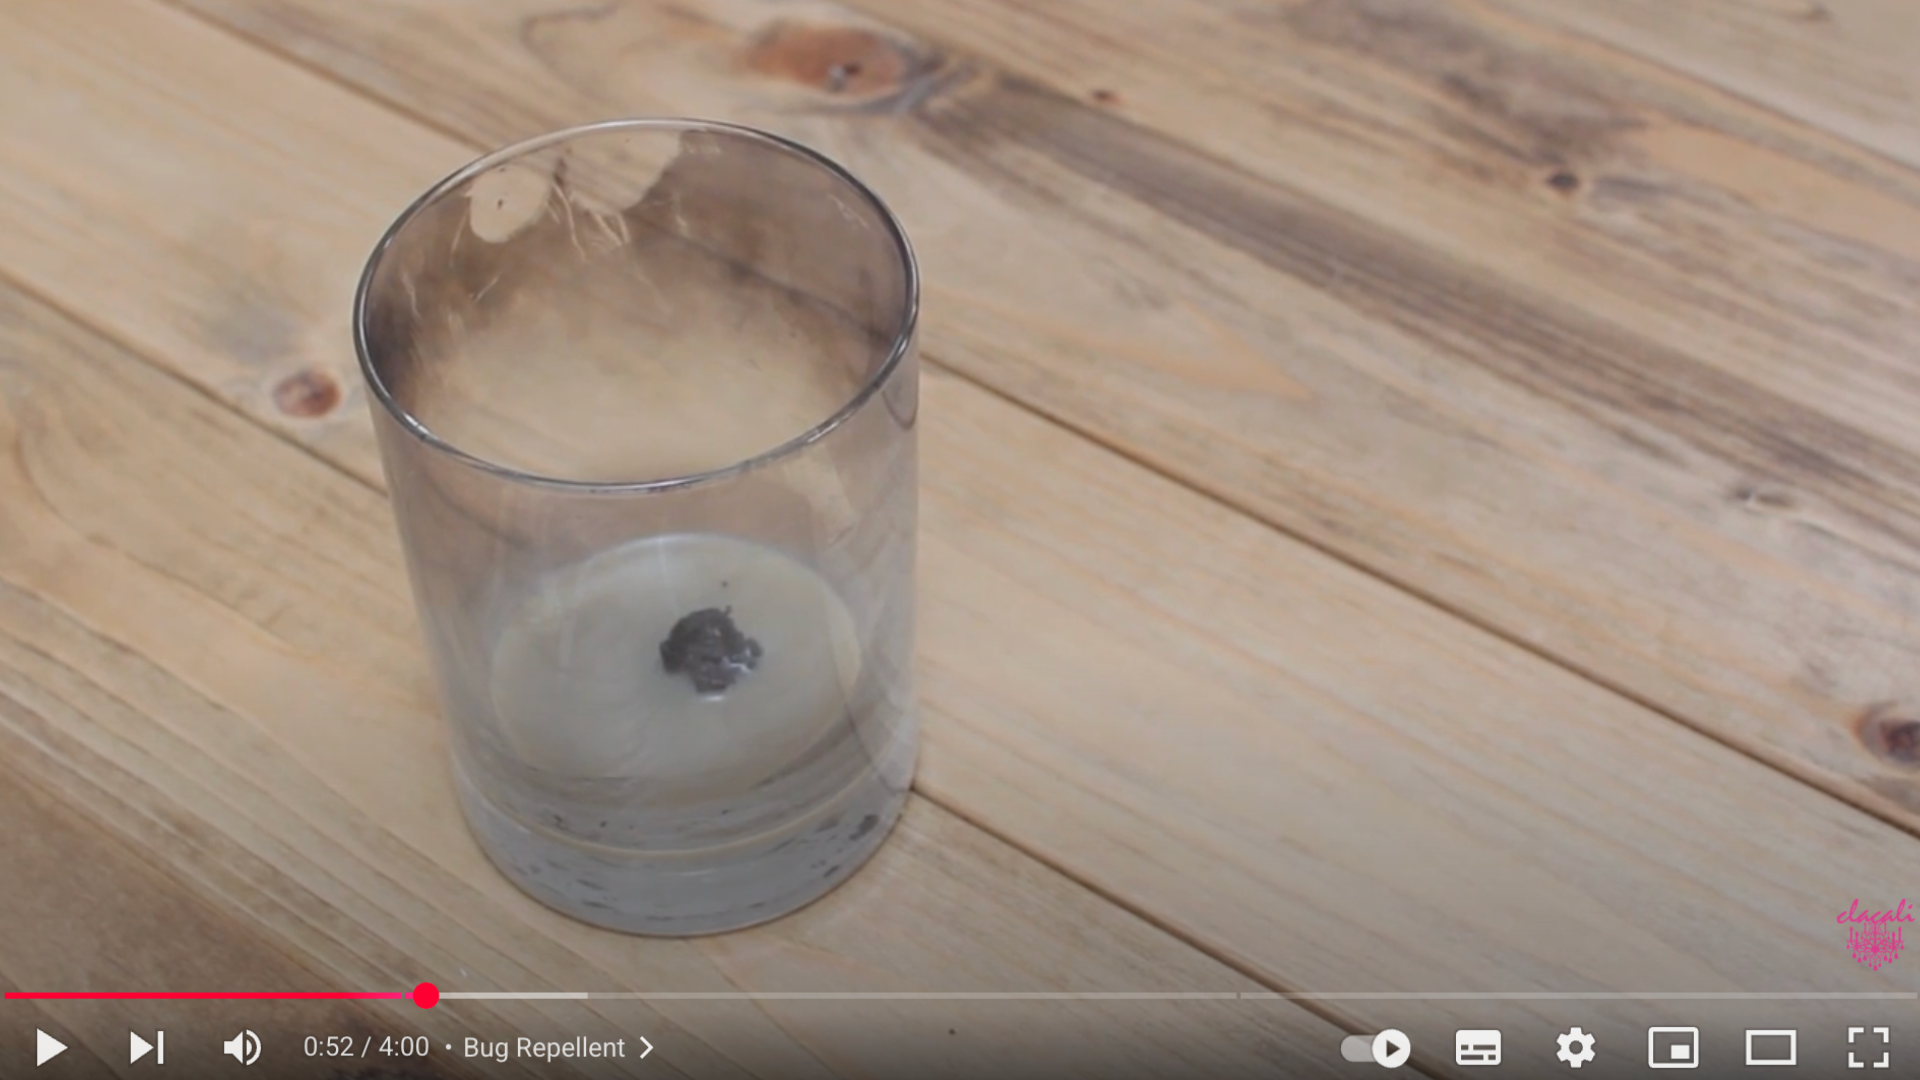
Start with a used candle jar, which is a great way to recycle instead of tossing it out. Place the jar in boiling water to melt any leftover wax inside.
This process softens the wax and makes it easier to remove. After a few minutes, you’ll be able to scoop out the old wax and wick.
Clean the jar thoroughly so that your new candle has a fresh and neat base. Not only is this eco-friendly, but it also saves money on buying new containers.
Step 2: Melt the Wax
Next, grab some soy wax flakes; these are available at most craft stores like Michaels and often go on sale with coupons.
Measure the amount needed to fill your jar, place it in a microwave-safe container, and heat it in short intervals until the wax is fully melted.
Stir between intervals to help it melt evenly. Soy wax is a cleaner-burning option and works great with essential oils, making it ideal for homemade candles.
Step 3: Set the Wick and Decorate the Jar
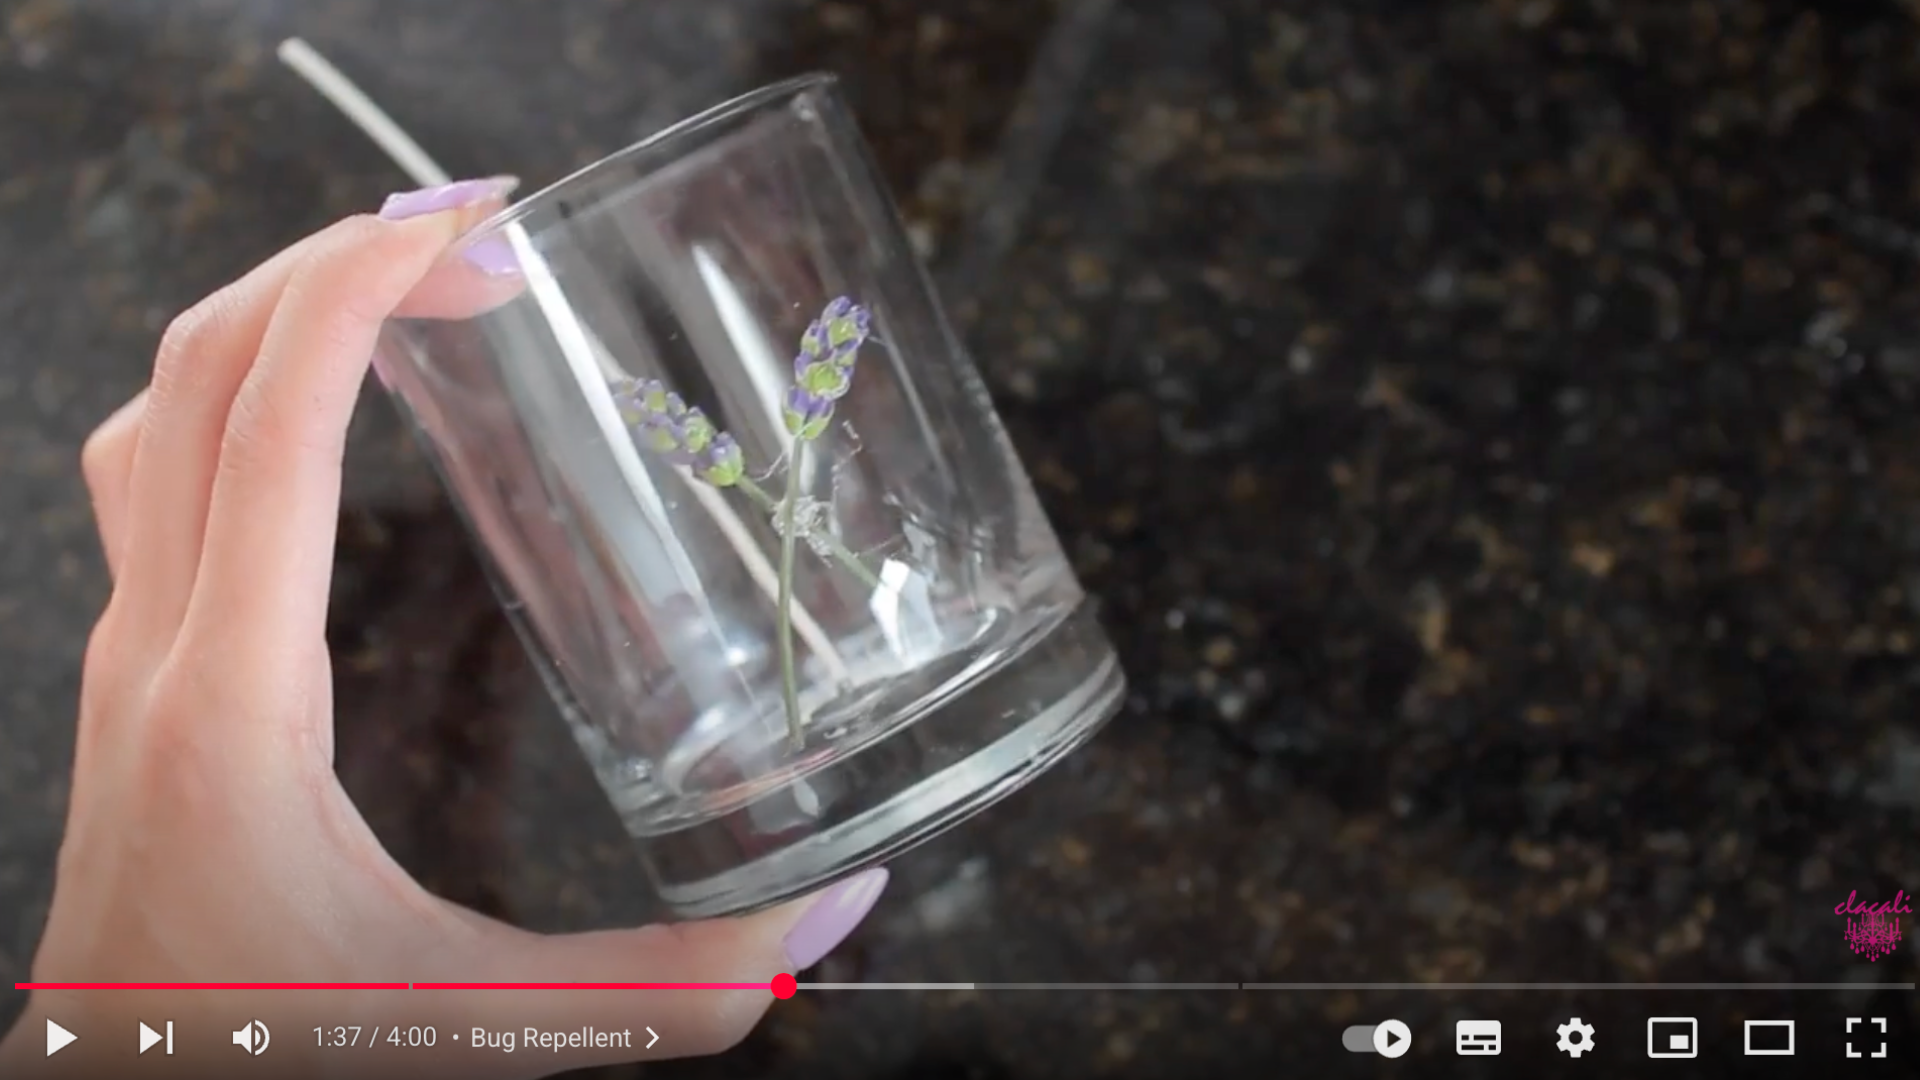
While the wax is melting, prepare your jar by adding the wick. Use a hot glue gun to secure the wick in the center of the bottom of the jar.
This helps keep it steady when you pour in the hot wax. To add some beautiful flair, glue a few sprigs of dried lavender to the inside wall of the jar.
Even if they don’t show clearly later, they add a personal, decorative touch and enhance the overall homemade look.
Step 4: Add Essential Oils
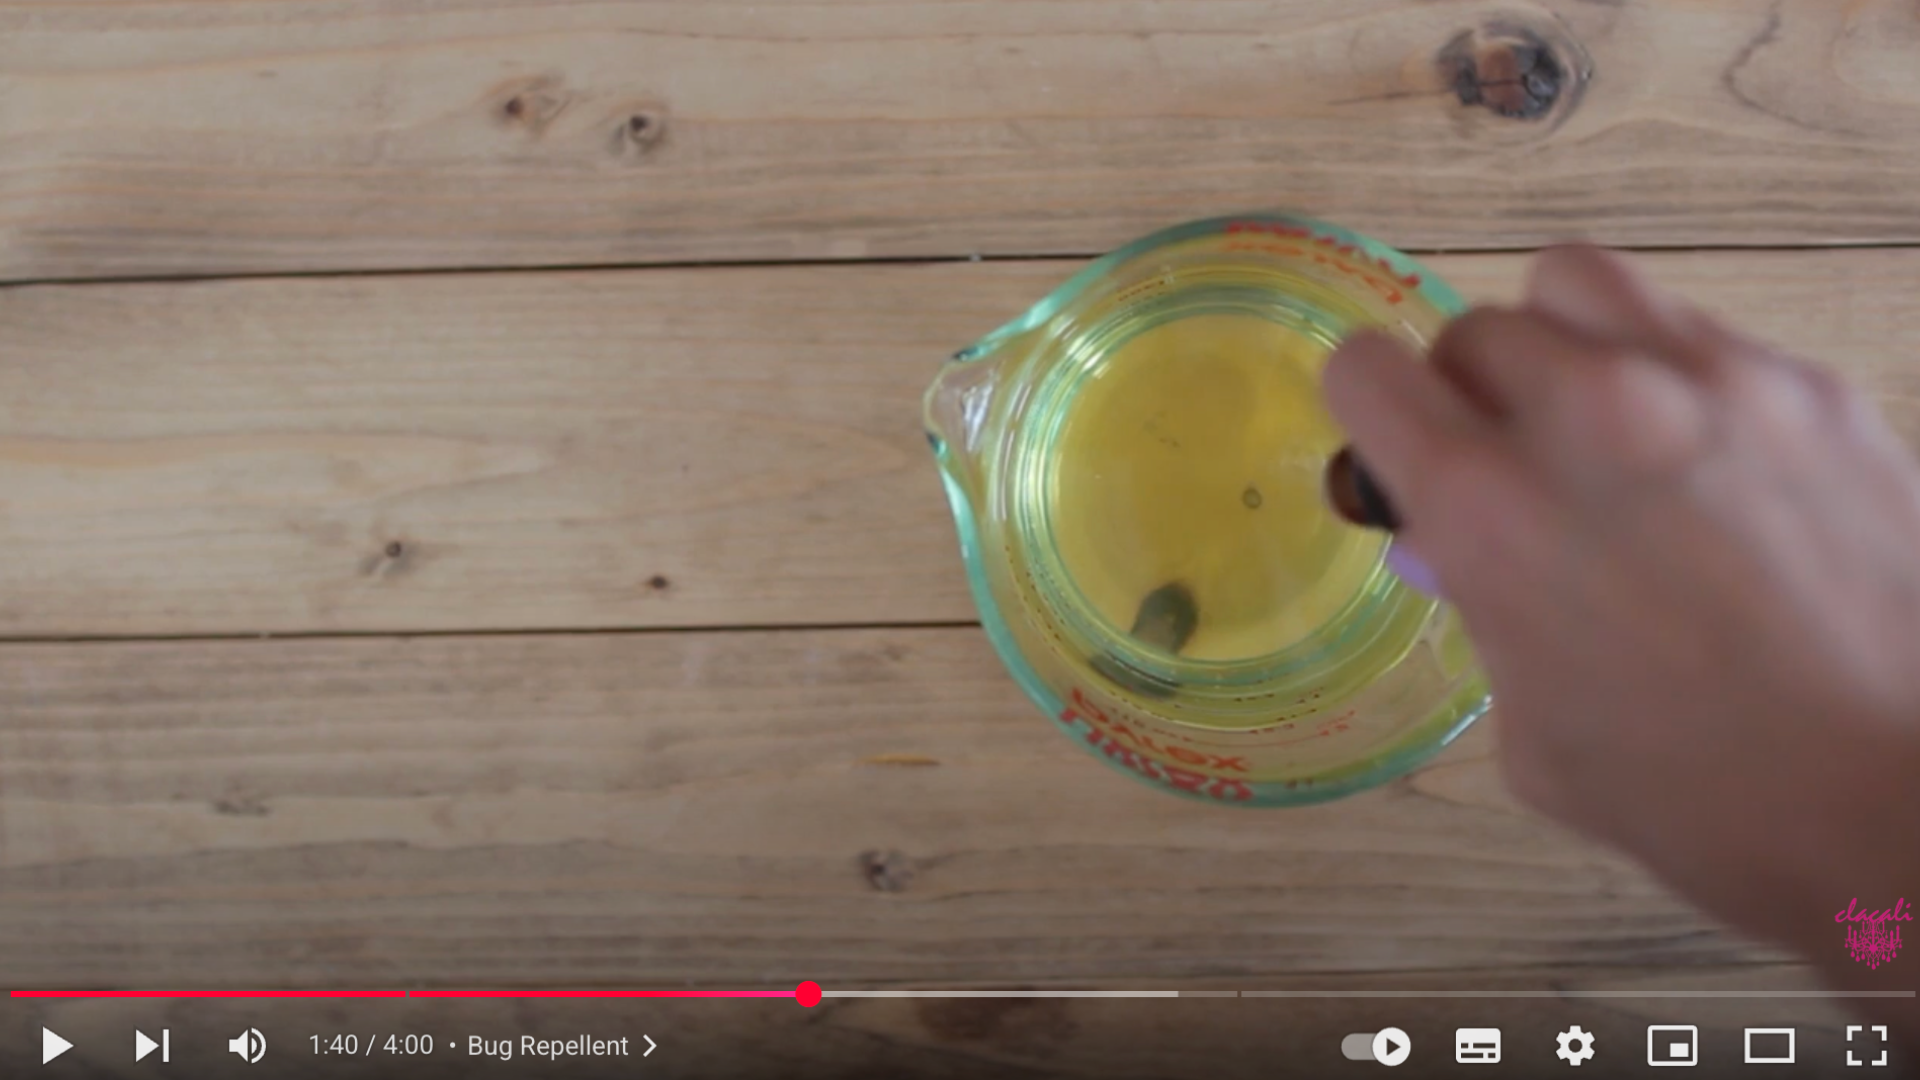
Once the wax is fully melted, it’s time to add your essential oils. This is the key step in turning your regular candle into a mosquito-fighting superhero.
Add a few drops each of citronella, lavender, and rosemary oils; these are all known for their natural bug-repellent properties.
Stir gently to mix the oils thoroughly. Not only will these oils keep pests at bay, but they’ll also give your candle a refreshing, calming scent.
Step 5: Pour the Wax
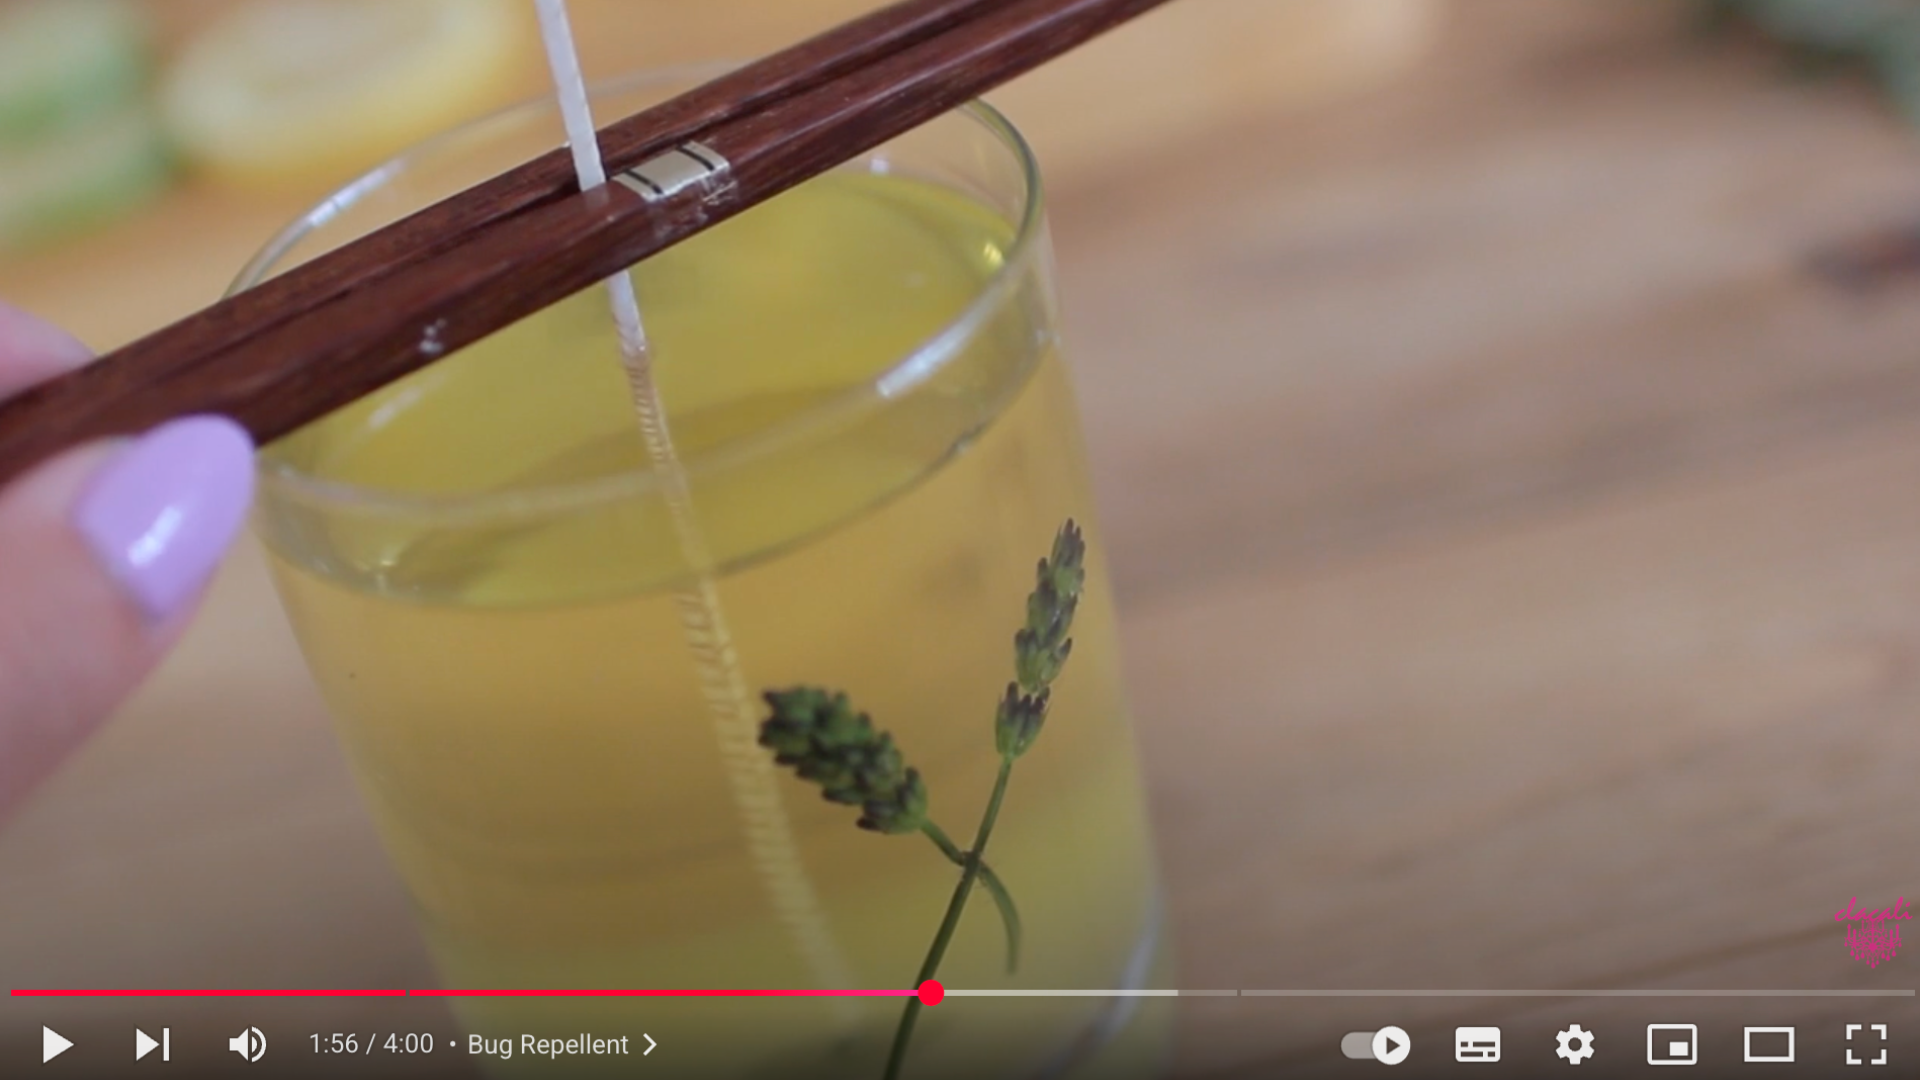
Carefully pour the scented wax into your prepared jar, making sure the wick stays upright.
To keep the wick centered and standing tall, sandwich it between two chopsticks or pencils laid across the top of the jar.
Let the wax cool and solidify for at least four hours. After it sets, you’ll have a clean-looking candle ready to burn, simple, attractive, and practical.
Step 6: Add Exterior Decorations
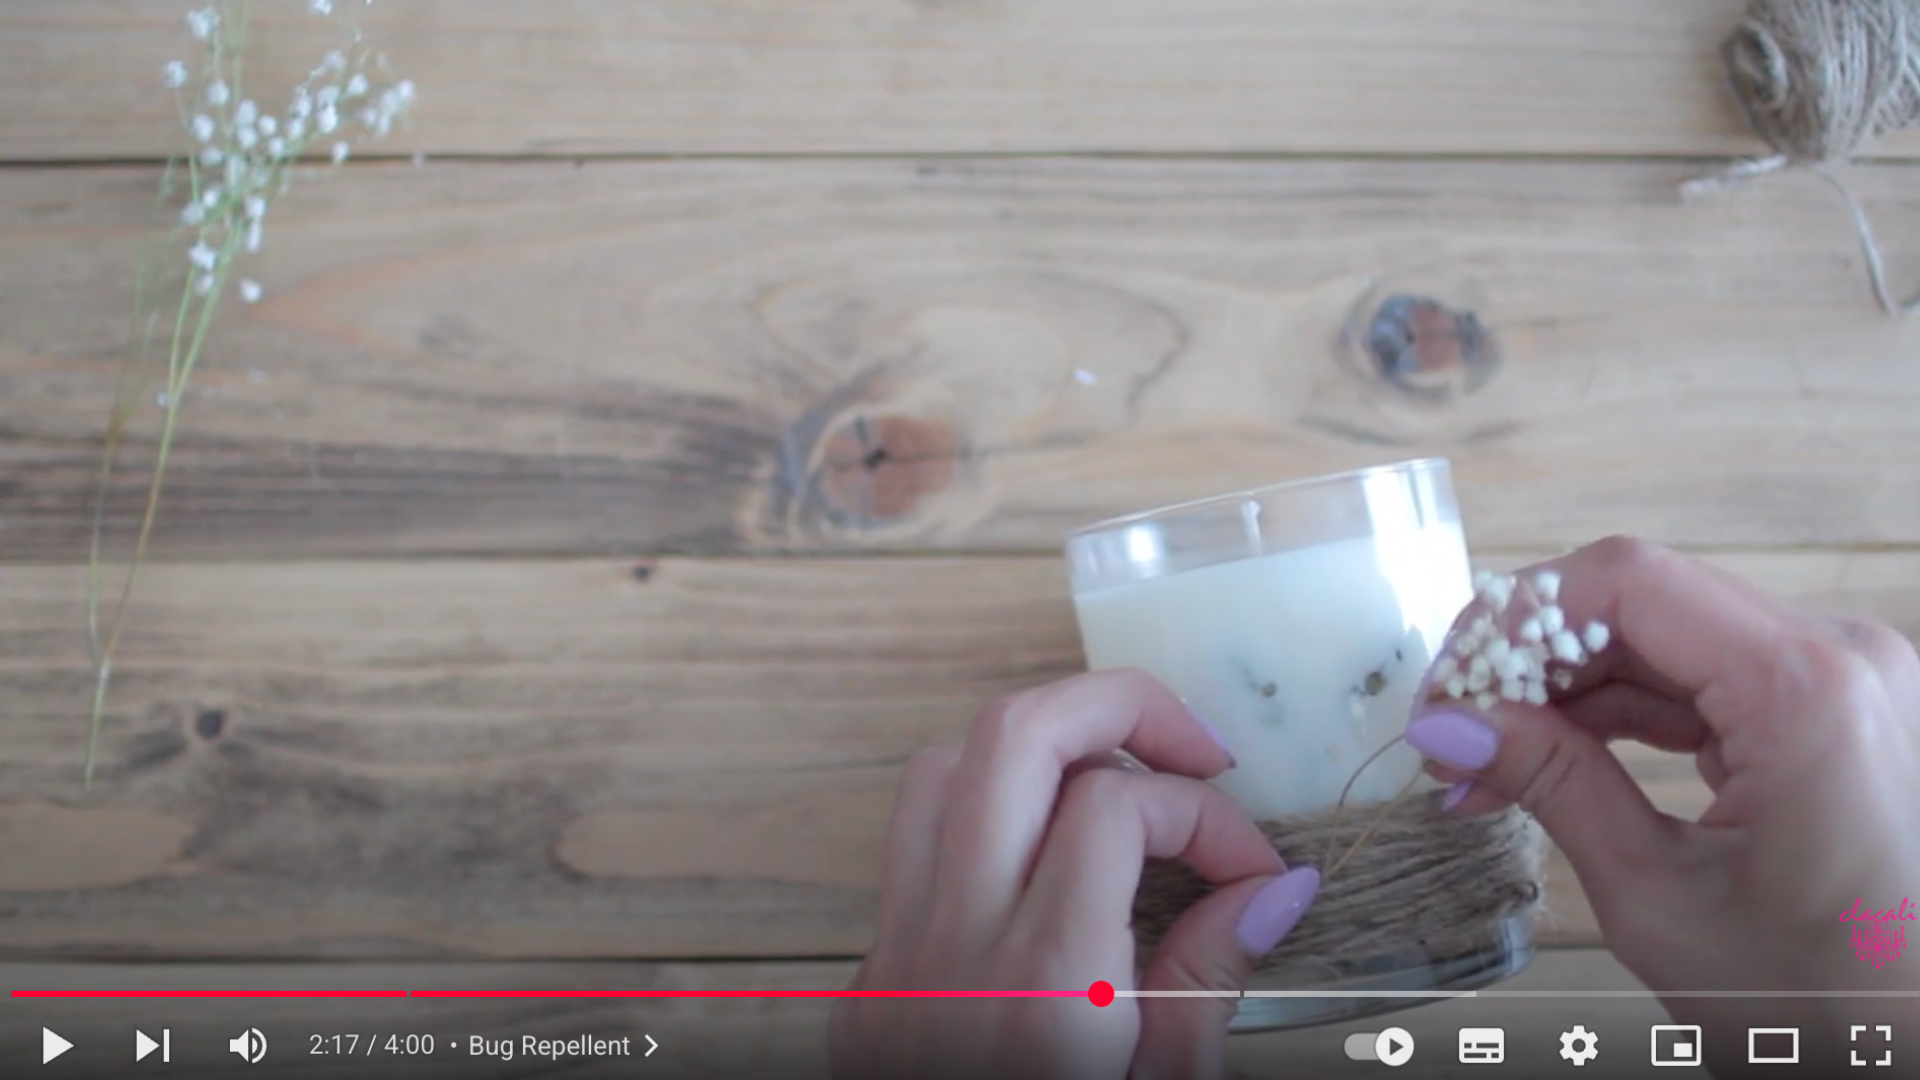
Once your candle is set, take a look at how it turned out. If the lavender you glued inside didn’t peek through the wax as you hoped, you can still add beauty with exterior decor.
Wrap jute twine around the bottom of the jar several times and secure it in place. Then, tuck in a few dried lavender sprigs and baby’s breath between the loops.
This gives your candle a lovely rustic look and makes it suitable as a centerpiece or gift.
Step 7: Light and Enjoy
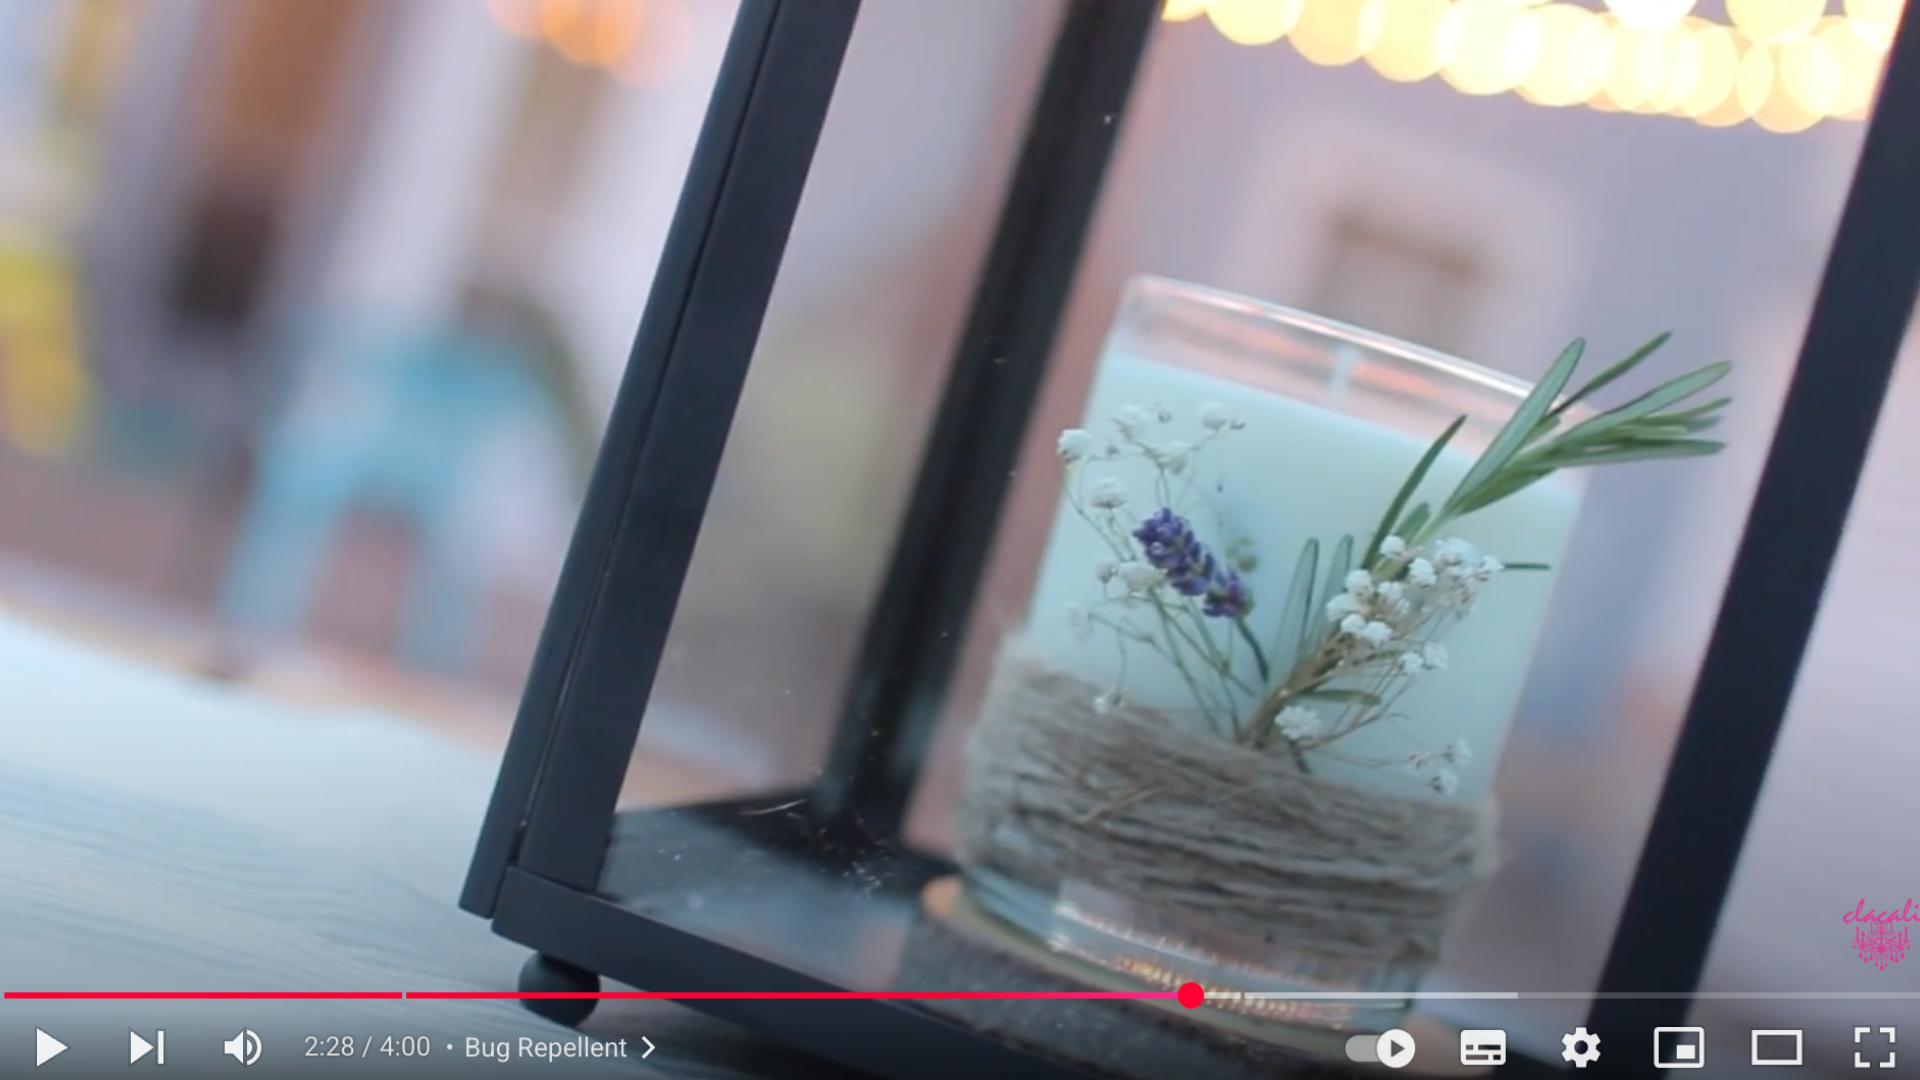
All that’s left to do is light the candles. As the flames warm the oils and herbs, they release a subtle fragrance that keeps insects at bay.
The flickering light adds a cozy vibe to your evening gatherings, while the natural ingredients do their job silently.
It’s a beautiful, eco-friendly solution that works great for patios, balconies, or garden dinners.
This step-by-step guide is inspired by a fantastic video from ClaCali. Many thanks to the creator for sharing such a clear and informative tutorial. You can watch the original video on their YouTube channel or view it below.
Where to Use DIY Citronella Candles for Best Results?
Not all candle placements are created equal! After years of battling mosquitoes, I’ve learned some smart positioning tricks that can turn your DIY citronella candles into bug-fighting champions.
1. Outdoor Dining Tables: Your Meal’s Shield
Imagine enjoying dinner without constantly swatting away insects. Place 2-3 candles around your table’s perimeter.
Position them slightly above table level for maximum mosquito defense. This creates a protective bubble that keeps those pesky bugs at bay while you enjoy your meal.
2 Porch and Entryway Protection
Your home’s entrance is a prime mosquito hangout. I’ve found that strategic candle placement near doorways can create an invisible barrier.
Spread candles about 3-4 feet apart to block mosquito entry points. Wind matters here, always position candles upwind from your seating area.
3 Patio and Balcony Boundaries
Create a bug-free zone along your outdoor living spaces. Line the edges of your patio or balcony with candles, spacing them about 5-6 feet apart. This approach works like a mosquito force field, giving you more enjoyable outdoor time.
4 Garden and Deck Defense
Gardeners, this one’s for you! When I’m tending to my plants, I place candles around the garden’s perimeter. Mosquitoes hate this trick. For decks, create a protective ring of candles that keeps you comfortable while you relax or work.
Warning: Never leave burning candles unattended. Safety first, bug-free zones second!
Conclusion
Ready to become a candle-making wizard? These DIY citronella candles are easier than making a sandwich.
In just 30 minutes, you’ll create bug-fighting magic that changes your outdoor spaces.
The best part? You’re not just making a candle, you’re crafting a cozy, protective glow that keeps insects at bay.
Don’t stop at basic citronella. Experiment wildly! Try adding lavender for relaxation or eucalyptus for extra bug protection.
Mason jars, tin cans, or cute ceramic containers, let your creativity shine. Each candle is a personal masterpiece that says goodbye to mosquitoes and hello to peaceful evenings.
Bonus challenge: Make a batch and share your creations! Snap a photo, tag a friend, spread the bug-free love. Your outdoor sanctuary starts now.