
Ready to change your plain clothes and fabric items into colorful masterpieces? Making your own fabric paint is easier than you think.
This simple craft project uses basic supplies you probably already have in your kitchen.
You can create beautiful designs on t-shirts, tote bags, pillowcases, and more without spending money on expensive store-bought paints.
Let’s go for this fun and creative process together. Start today and learn how to make fabric paint by yourself.
What is Fabric Paint?
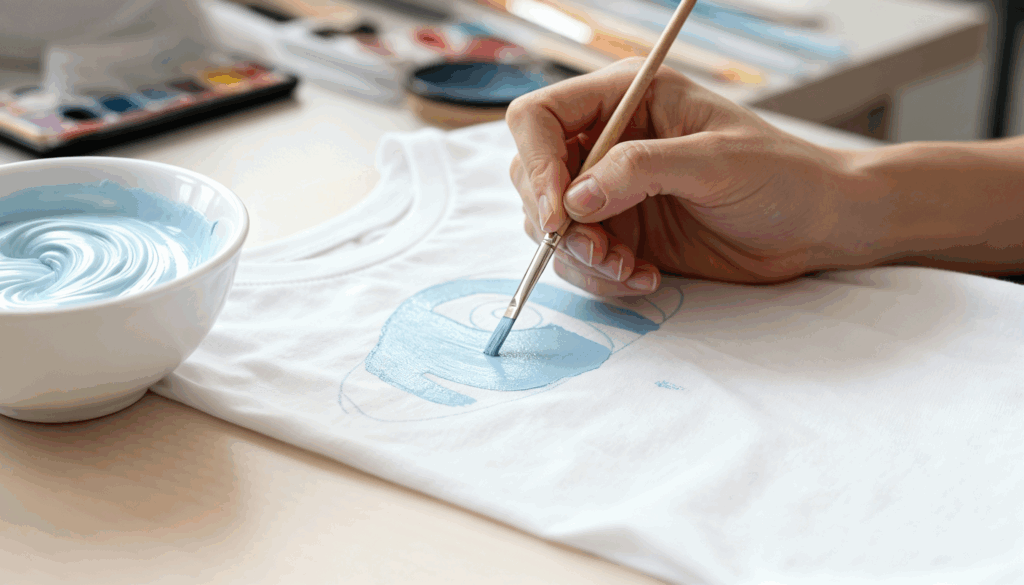
Fabric paint is a specialized coloring material designed to permanently bond with textile fibers and withstand regular washing cycles.
The key difference from standard craft paint lies in its flexible formula, which bends and stretches with the material rather than forming a stiff, breakable surface.
This paint actually soaks into the cloth’s weave, creating a soft finish that feels natural to the touch.
The DIY approach combines pigmented acrylic paint with a binding medium to create a textile-safe solution.
It performs excellently on various materials, including cotton, linen, canvas, and denim, for lasting creative applications from wearable art to decorative pillows.
Tools and Materials Required for DIY Fabric Paint
| Item | Purpose |
|---|---|
| Acrylic paint | Provides the color for your fabric paint |
| Fabric medium | Helps paint bond to fabric |
| Mixing bowl | Container for combining ingredients |
| Spoon or stirring stick | Mix the paint |
| Measuring cups | Ensures correct proportions of ingredients |
| Water | Thins the paint to the desired consistency |
| Fabric item | The material you want to paint on |
| Paintbrushes or sponges | Tools for applying paint to fabric |
| Cardboard or plastic sheet | Protects your work surface from spills |
Step-by-Step Process of Making Fabric Paint
Making fabric paint at home is easy and lets you choose the exact colors, thickness, and texture you want.
Step 1: Gather Your Ingredients and Prepare Your Workspace
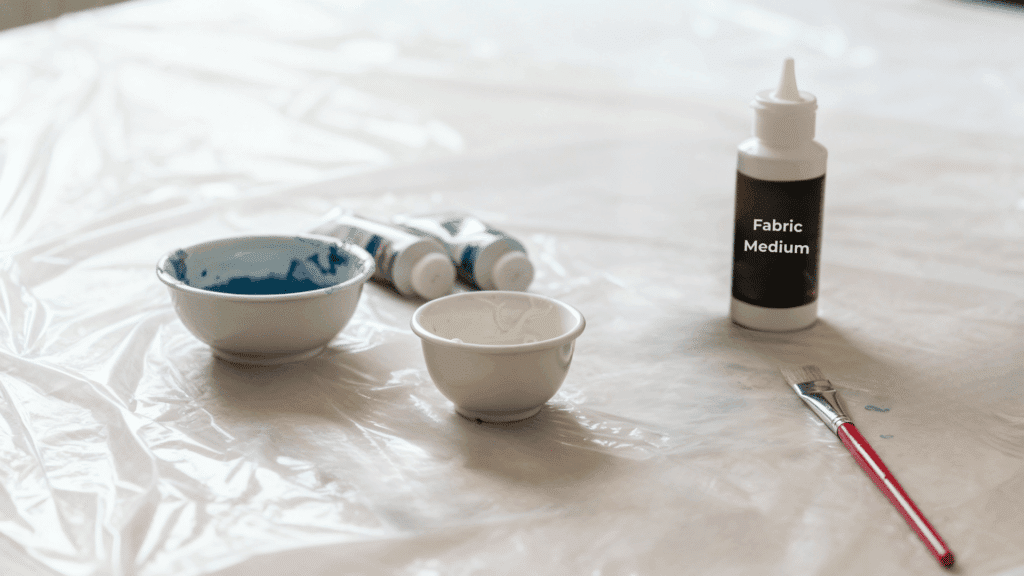
Start by collecting all the materials you need for this project. Place a plastic sheet or old newspaper on your table to protect it from spills.
Choose the acrylic paint colors you want to work with and have your fabric medium ready. Set up your mixing bowl and tools where you can reach them easily.
Good preparation makes the painting process smooth and enjoyable. Make sure your workspace has enough light so you can see the true colors as you mix.
Step 2: Mix the Acrylic Paint with Fabric Medium
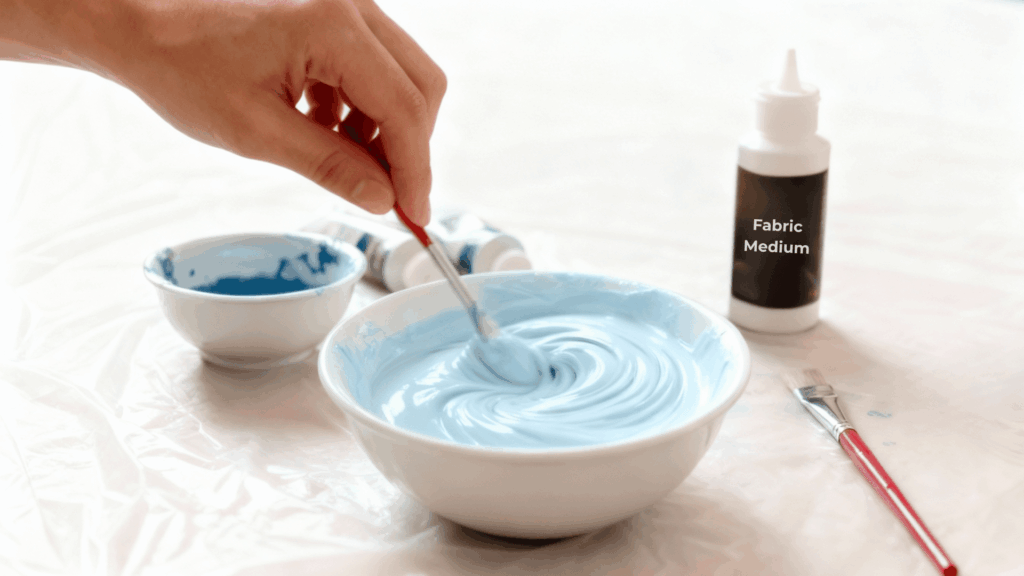
Pour equal parts of acrylic paint and fabric medium into your mixing bowl. A ratio is one tablespoon of paint to one tablespoon of medium.
Stir the mixture thoroughly until the two ingredients blend completely with no streaks. The medium changes acrylic paint into paint that can flex with fabric.
Check that the mixture looks smooth and even throughout. If you see any lumps or unmixed spots, keep stirring until everything combines perfectly.
Step 3: Adjust the Consistency with Water
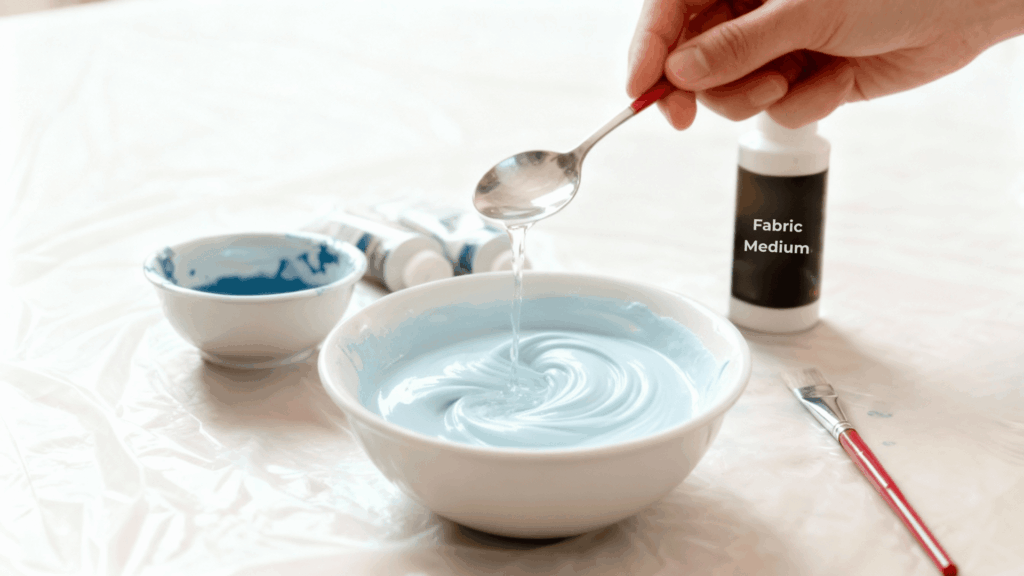
Now it’s time to get the right thickness for your project. Add small amounts of water to your paint mixture, one teaspoon at a time.
Stir well after each addition and check the texture. The paint should flow easily from your brush, but not be too runny or watery.
Thicker paint works better for bold designs and stamps, while thinner paint suits fine details and brush strokes.
Step 4: Test the Color on Fabric
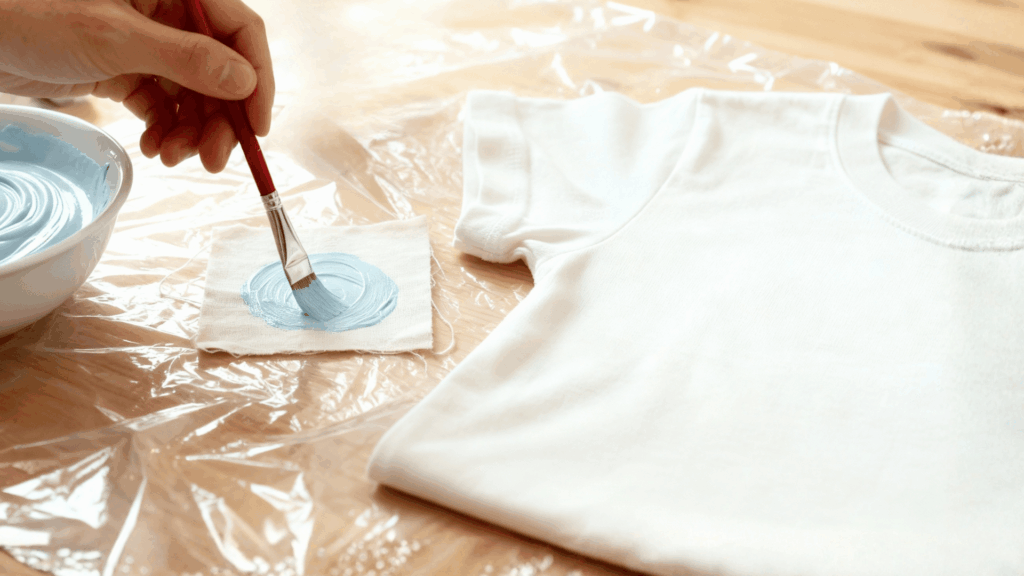
Before applying your homemade paint to your final project, test it on a scrap piece of fabric first. Choose a fabric similar to what you’ll be using for your actual work.
Apply a small amount of paint and let it dry completely to see the true color and texture. This test helps you check if the paint spreads smoothly over the material.
You can also wash the test fabric to ensure the paint stays intact after laundering. Testing prevents disappointment and wasted effort on your main project.
How to Use Fabric Paint
Begin by selecting the right method for your project, such as soft brushes.
Squeeze bottles work great for making raised outlines and dimensional effects on your fabric.
Keep your workspace organized with all tools within easy reach and a damp cloth ready for quick corrections.
Natural lighting helps you see colors accurately as you create your design. If you feel nervous about starting, sketch your idea on paper first to build confidence.
Remember to work on a completely flat surface to prevent unwanted drips and runs down your material.
Tips to Paint on Fabric Effectively
Mastering fabric painting changes plain textiles into artwork through proper techniques and creative applications for lasting results.
- Pre-wash fabric: Remove sizing and chemicals from new material by washing it first so the paint can grip the fibers better.
- Stretch tight: Pull fabric taut using an embroidery hoop or tape to prevent wrinkles and bunching while you paint your design.
- Blend colors: Mix different shades directly on the fabric while still wet to create beautiful gradients and custom color combinations.
- Protect surfaces: Place cardboard or wax paper between fabric layers to stop paint from seeping through to the back side.
- Seal properly: Wait 24 hours after painting, then iron the back of the fabric for five minutes to make the designs permanent and washable.
- Store smartly: Keep finished items flat or rolled for the first week to prevent the painted areas from sticking to themselves.
Conclusion
Now you know exactly how to make fabric paint at home using simple ingredients that cost very little.
This skill opens up lasting creative possibilities for personalizing clothes, making gifts, and decorating home items.
Homemade fabric paint gives you complete control over colors and saves money compared to buying commercial products.
Even if you want to update old clothes or create unique handmade presents, your custom fabric paint makes it possible.
Start your first fabric painting project this weekend and check out how rewarding it truly is. Grab your supplies and let your creativity flow today.