
When planning a kitchen remodel, measuring for cabinets correctly is crucial to ensure a smooth installation process.
I’ve spent time researching expert guides and real-world examples to create a step-by-step guide that will help you get accurate measurements and avoid common mistakes.
With the right measurements, your cabinets will fit perfectly, and your entire kitchen will function efficiently.
In this blog, I’ll walk you through the essential steps to measure your kitchen, from walls and appliances to ceiling height.
I’ll also cover the importance of selecting the right materials, finishes, and maintenance tips to keep your cabinets looking their best.
Why Accurate Measurements Matter?
Accurate measurements are key in a kitchen remodel, ensuring cabinets, appliances, and other elements fit properly.
Mistakes can lead to costly errors like wrong cabinet sizes or poor placements. Even small inaccuracies can disrupt the layout, making the design awkward.
Proper measurements maximize space, improve functionality, and ensure a smooth installation.
Taking the time to measure correctly saves time, money, and avoids delays.
Step-by-Step Guide: Measuring for Kitchen Cabinets
This step-by-step guide will walk you through the process of accurately measuring your kitchen space to ensure your cabinets fit perfectly and your remodel goes smoothly.
Materials Needed
These basic tools will help you accurately measure your kitchen space for a smooth remodeling process.
- Tape Measure: To accurately measure the length of walls, gaps, appliances, and cabinets.
- Paper: For sketching your kitchen layout and noting down your measurements.
- Pen or Pencil: To mark the measurements on your paper for easy reference.
- Level: To ensure your measurements are straight and even, especially for taller cabinets or walls.
- Ruler or Straightedge: For drawing straight lines when laying out the kitchen dimensions on paper.
- Calculator (Optional): For double-checking measurements, especially if you’re converting between units or adding up lengths.
- Step Ladder (Optional): If you need to measure the height of upper cabinets or the ceiling.
Step 1: Draw the Layout of Your Kitchen
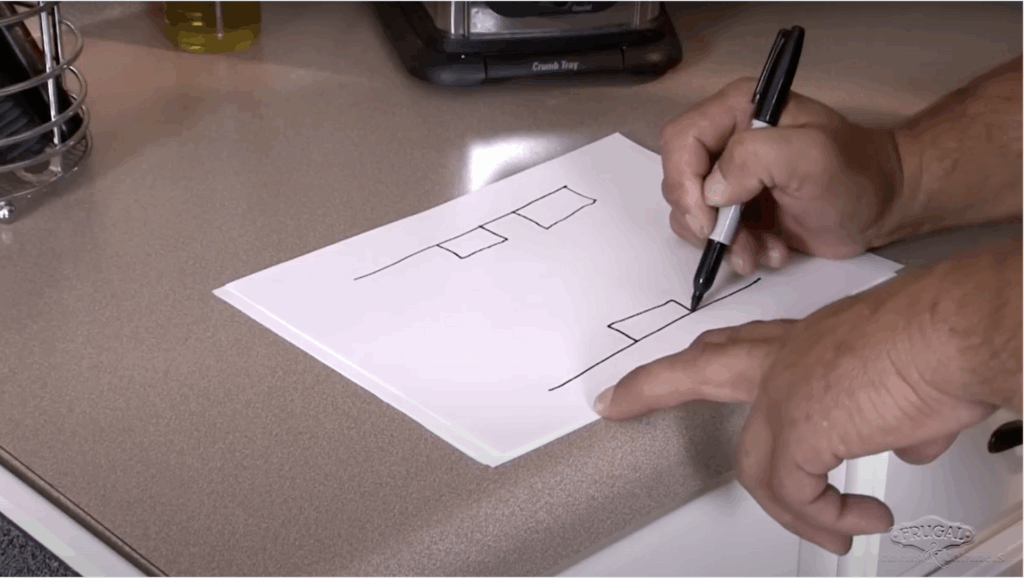
Start by sketching the layout of your kitchen on paper. For a galley-style kitchen, draw both walls and label them to match the space you’re working with.
Include the fixed elements, such as your refrigerator, stove, and sink, in the layout. Draw them to scale based on their locations in the kitchen.
Step 2: Measure Wall Lengths
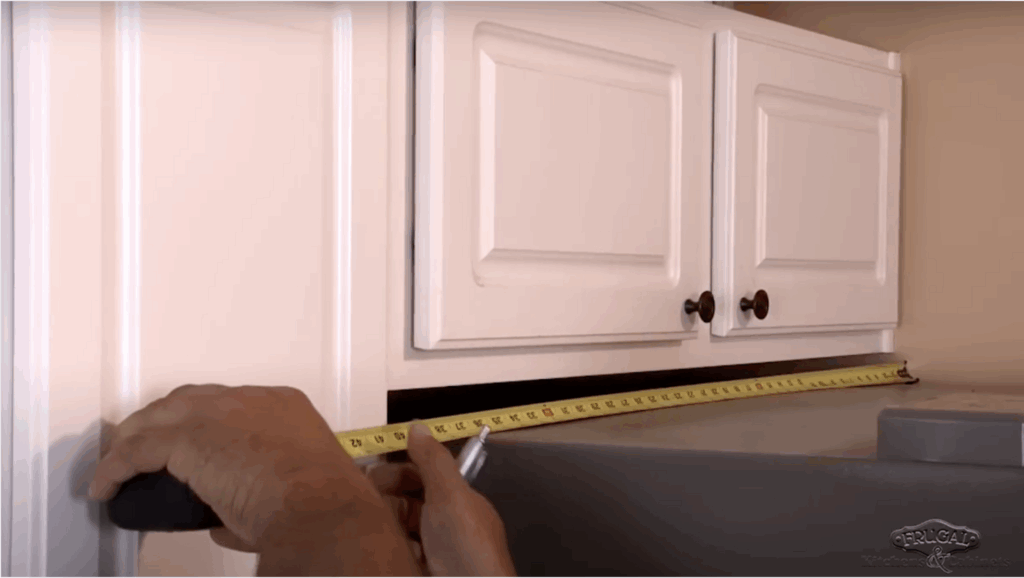
Begin measuring each wall from corner to corner. For example, measure from the wall to the edge of the cabinet to get an accurate length for that side of the kitchen.
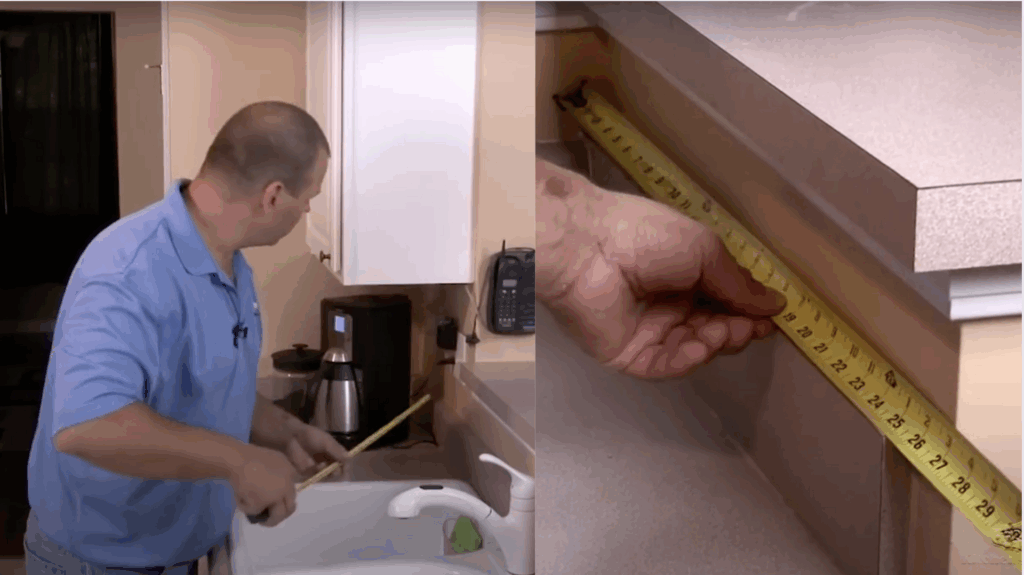
Step 3: Measure Gaps Between Cabinets and Appliances
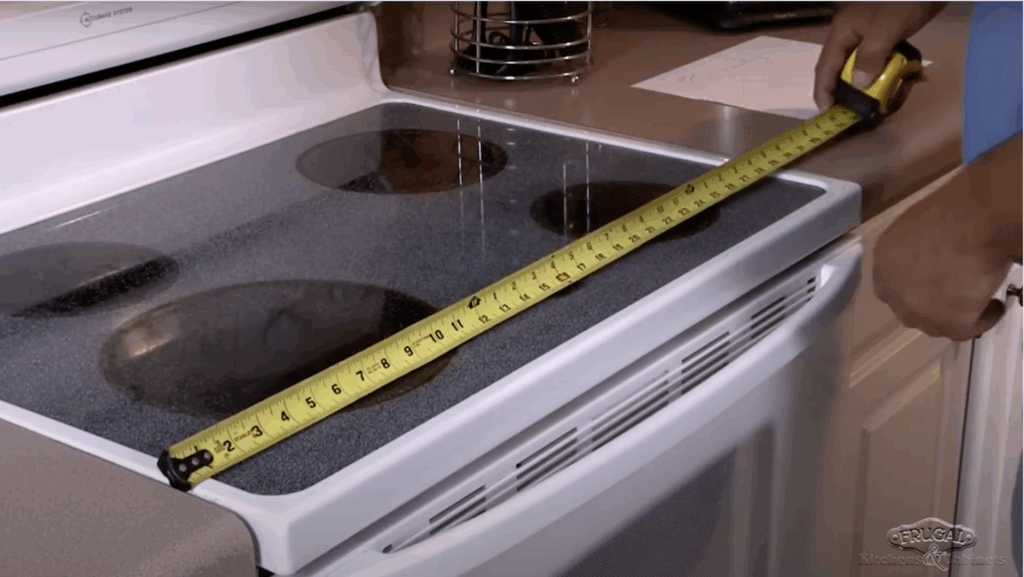
Measure the space between cabinets and appliances, such as between the stove and countertop, to make sure there’s enough space for installation.
Ensure that the dimensions of your appliances, like the stove, match standard measurements (for example, most stoves are 30 inches wide). Double-check to confirm.
Step 4: Measure for Additional Cabinets
If you have extra wall space and want additional cabinets, measure the space to see if it can accommodate more.
For example, measure from a corner to a point 18 inches over for more cabinet space.
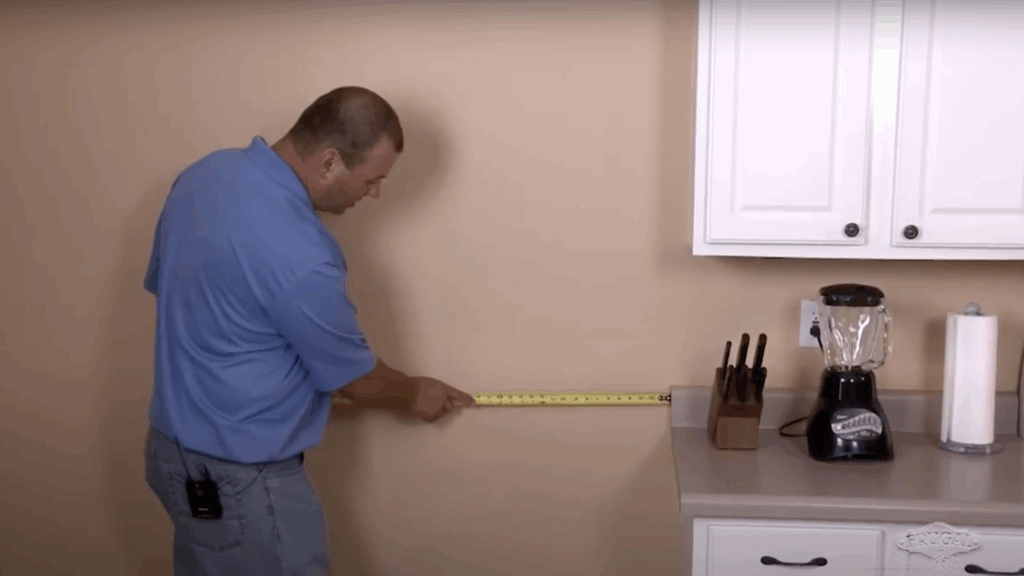
Step 5: Measure the Sink Wall
On the sink wall, measure from corner to corner to get the total length. Also, measure from the wall to the center of the sink to see if adjustments can be made.
Measure the total length of the wall and double-check your measurements to ensure the space fits everything properly, including upper cabinets or other fixtures.
Step 6: Measure Ceiling Height
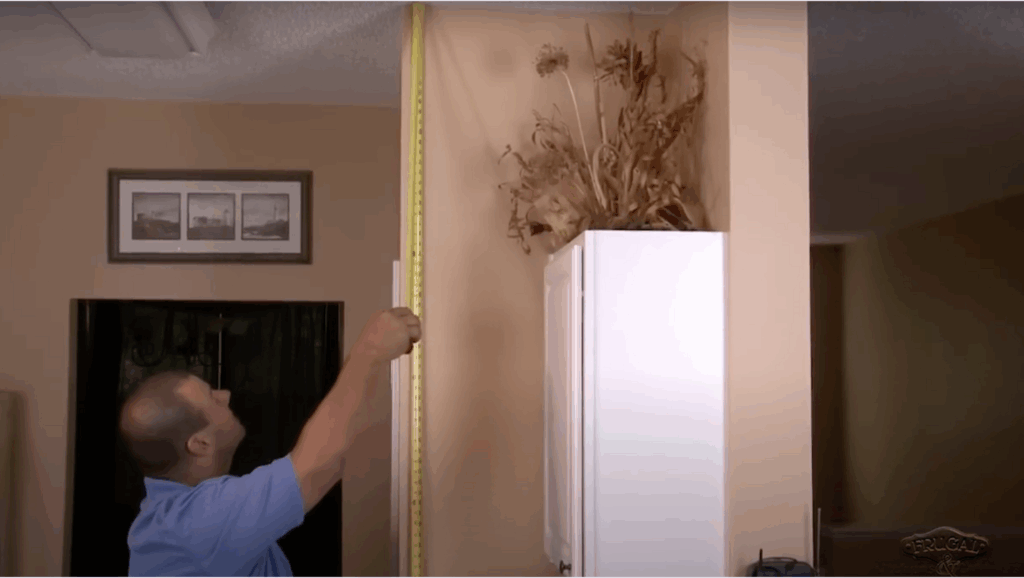
Measure the ceiling height to ensure you know how much space is available for upper cabinets.
This measurement can help with cabinet height adjustments to avoid fitting issues.
For a visual guide, refer to this video on how to measure kitchen cabinets by @Frugal Kitchens on YouTube.
Cost of Kitchen Cabinets: Understanding the Price Factors
The cost of kitchen cabinets varies based on factors like material, design, and customization.
- Stock Cabinets: $60 to $200 per linear foot
- Semi-Custom Cabinets: $100 to $650 per linear foot
- Custom Cabinets: $500 to $1,200 or more per linear foot
Material Costs:
-
Wooden cabinets, especially hardwoods like maple or cherry, are typically more expensive than MDF or plywood.
Design Complexity:
-
Intricate moldings or specialty finishes will increase the overall cost.
Installation Costs:
-
Installation typically ranges from $100 to $500 per cabinet, depending on the complexity and labor involved
Tips for Choosing Cabinet Materials and Finishes
Choosing the right cabinet materials and finishes is crucial for balancing durability, style, and functionality in your kitchen.
- Consider Durability: Choose materials like solid wood or plywood for long-lasting cabinets that can withstand daily wear and tear.
- Match Your Kitchen Style: Match the material and finish to your overall kitchen style—modern kitchens often look great with sleek finishes like lacquer or matte, while traditional kitchens benefit from warm, natural wood.
- Think About Maintenance: High-gloss finishes are easy to clean, but matte or textured finishes may show fingerprints or dust more easily.
- Choose the Right Wood: Different types of wood, such as oak, maple, or cherry, have varying durability and aesthetic appeal. Make sure the wood complements your kitchen’s style.
- Consider Cost vs. Customization: Custom finishes and specialty materials may increase the cost, but offer the most personalization for your kitchen design.
How to Care for and Maintain Your Kitchen Cabinets
Proper care and maintenance will help keep your kitchen cabinets looking beautiful and lasting longer, ensuring they stay functional for years to come.
- Regular Cleaning: Wipe down cabinets with a damp cloth to remove dust, grease, and food spills. Avoid abrasive cleaners that can damage the finish.
- Use Gentle Cleaning Products: Choose non-toxic, mild cleaners to preserve the cabinet finish and avoid discoloration or damage.
- Polish Wood Cabinets: Use furniture polish or wax on wood cabinets to maintain shine and protect them from moisture.
- Fix Damages Promptly: Address chips, scratches, or cracks quickly to prevent further damage and keep your cabinets looking fresh.
- Avoid Excessive Moisture: Keep cabinets dry to prevent warping or mold growth. Wipe up water spills immediately.
- Protect the Finish: Place liners inside drawers and cabinets to protect against stains and abrasions.
Conclusion
After finding the key factors of kitchen cabinet measurements, materials, and maintenance, I hope you’re feeling more confident in planning your kitchen remodel.
Accurate measurements are the foundation of a smooth installation process, and choosing the right materials and finishes will enhance both the functionality and aesthetic of your kitchen.
I recommend taking your time to carefully consider all the options, from style and design to long-term care. If you’re still unsure or need help with your cabinet choices, don’t hesitate to reach out.
I’m happy to guide you through every step to ensure your new kitchen looks great and works perfectly. Ready to get started? Drop a comment or contact me today to discuss your kitchen cabinet needs.
Frequently Asked Questions
Can I Install Cabinets Myself?
While it’s possible to install cabinets on your own, it requires proper skills, tools, and experience. If you’re new to DIY, consider hiring a professional to ensure your cabinets are installed correctly and safely.
How Do I Choose the Right Cabinet Doors?
When selecting cabinet doors, match the design to your kitchen. Flat-panel doors suit modern kitchens, while raised-panel doors fit traditional styles. Consider the material and finish based on your preferred level of maintenance.
Do Cabinets Need to Be Custom for My Kitchen?
Custom cabinets offer the most flexibility in terms of design and dimensions. However, stock or semi-custom cabinets are more affordable and may work well for most kitchen layouts.