
I used to think painting over old, oil-based finishes was nearly impossible—but it’s totally doable with the right prep and products.
No matter if you’ve inherited a vintage piece or picked up a secondhand gem, this step-by-step guide will walk you through how to paint over oil-based paint the right way.
With proper sanding, priming, and technique, you’ll avoid peeling and ensure strong adhesion. This process works for dressers, cabinets, tables, and more, turning outdated pieces into bold, modern statements.
Even if you’re new to painting furniture, these clear instructions will help you succeed from start to finish.
This tutorial is based on a real makeover of a WWII-era dresser by A Ray of Sunlight on YouTube.
Why Paint Over Oil-Based Paint?
Oil-based paint was once a go-to finish for furniture because of its durability, but it’s also thick, prone to brush marks, and difficult to repaint without proper prep.
Today, most DIYers and furniture flippers prefer water-based paints due to their low odor, fast drying times, and easier cleanup.
Here’s why you might want to paint over oil-based paint:
- To modernize outdated furniture without stripping it completely
- To switch to safer water-based products with fewer fumes
- To fix worn or damaged surfaces, like chipping, cracking, or yellowing oil paint
- To personalize with color and match your own decor style
However, oil-based paint can repel water-based finishes if not properly prepared. That’s why sanding and priming are essential; this guide walks you through everything you need to know.
Step-by-Step: How to Paint Over Oil-Based Paint
Follow these clear, timestamped steps to properly prep, prime, and paint over oil-based finishes for a smooth, lasting result, no peeling or chipping down the line.
Materials
- Degreaser (like Crud Cutter)
- Damp rags or a microfiber cloth
- Vacuum
- Screwdriver or drill
- Wood filler
- Putty knife
- Sandpaper (100, 150, 220 grit)
- Sanding sponge
- Tack cloth
- Shellac-based primer (e.g., BIN)
- Mohair roller and tray
- Water-based paint
- Distilled water
- Paint sprayer
- Scrap wood
- Wood glue
- Dremel or handsaw
- New knobs or pulls
- Peel-and-stick wallpaper
Step 1: Clean and Prep the Surface
Start by removing all hardware such as knobs and pulls. Some may pop off easily, while others may require tools and a bit of elbow grease.
Once removed, clean the entire piece using a degreasing solution like Crud Cutter and a damp rag.
Be sure to vacuum the inside of drawers and wipe away all dust, dirt, and grime. A clean surface is essential; paint won’t adhere properly to grease or residue.
Step 2: Fill in Chips and Sand the Old Paint
.png)
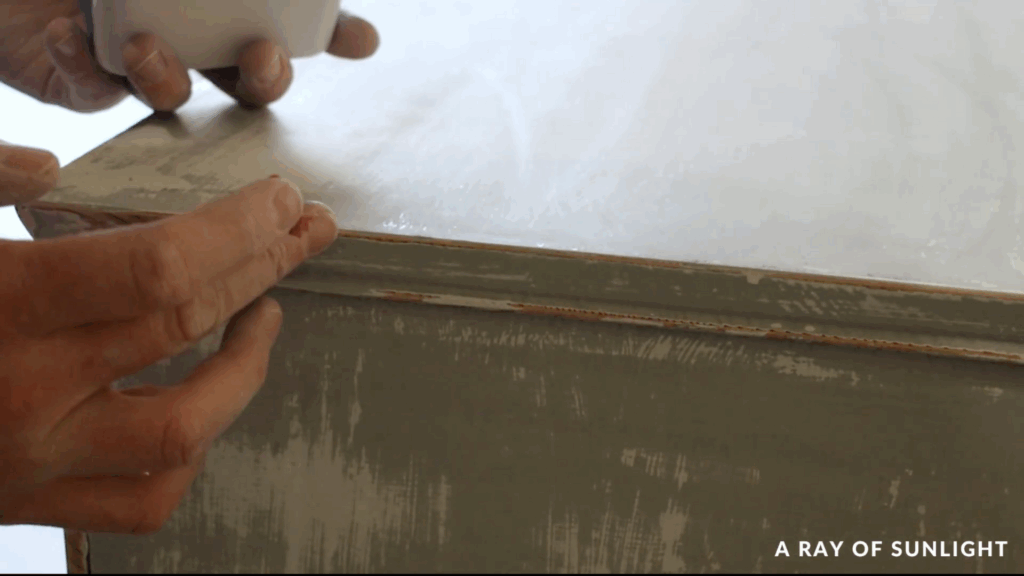
Use plastic wood filler to patch any chipped or damaged areas in the old oil paint. Allow the filler to dry completely.
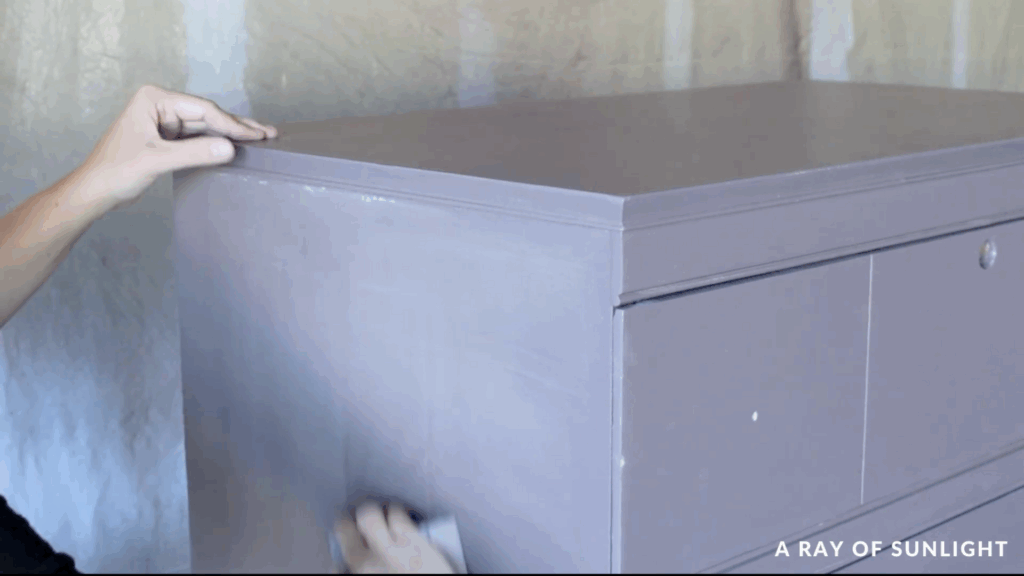
Then, begin sanding the entire piece to remove brush marks and smooth out the surface.
Start with 100-grit sandpaper to tackle rough areas. Move to 150-grit, and finish with 220-grit for a smooth finish.
This may take a few hours, depending on the thickness of the original paint. The more even and smooth the surface, the better your final results will be.
Step 3: Check for More Imperfections and Hand Sand
Once the surface is sanded, you may notice additional scratches or dents that were previously hidden.
Apply more wood filler where needed and let it dry overnight for best results.
In the morning, sand those areas by hand using 220-grit sandpaper. Hand sanding is quieter and ideal if you’re working in a shared space or early in the day.
After sanding, vacuum the dust thoroughly and wipe all surfaces down with a tack cloth to catch fine particles.
Step 4: Prime the Surface with Shellac-Based Primer
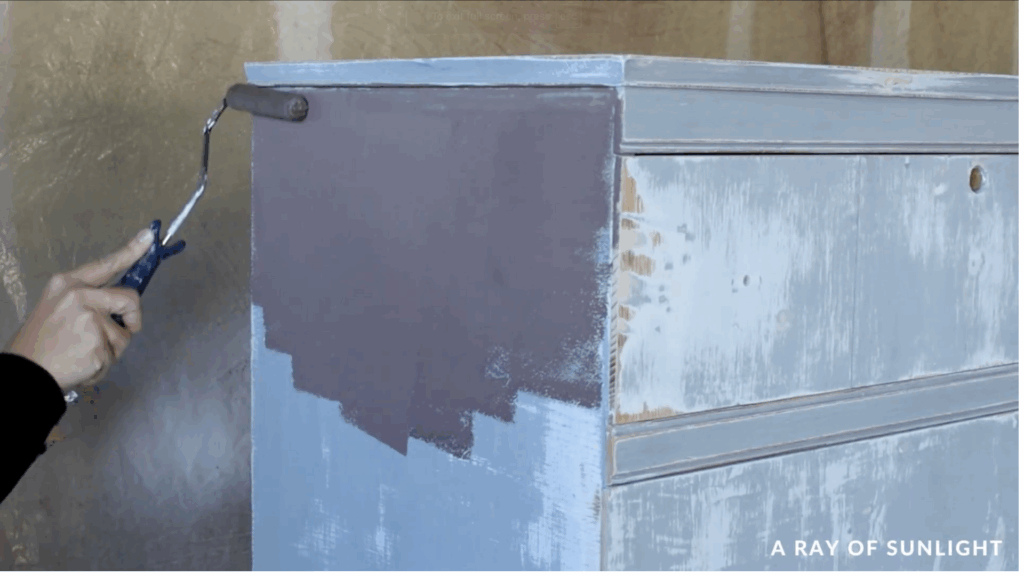
To successfully paint over oil-based paint, you must use a bonding primer. Choose a shellac-based primer like BIN, tinted if possible.
Tinting the primer to a gray or brownish base will improve coverage, especially if your chosen paint color has poor opacity.
Pour the primer into a tray and apply it using a mohair roller for smooth, even coverage. This primer will:
- Bond your water-based paint to the oil-based surface
- Block old stains or yellowing
- Create a solid, grippy base for your new color
Let the primer dry fully; it usually takes about an hour.
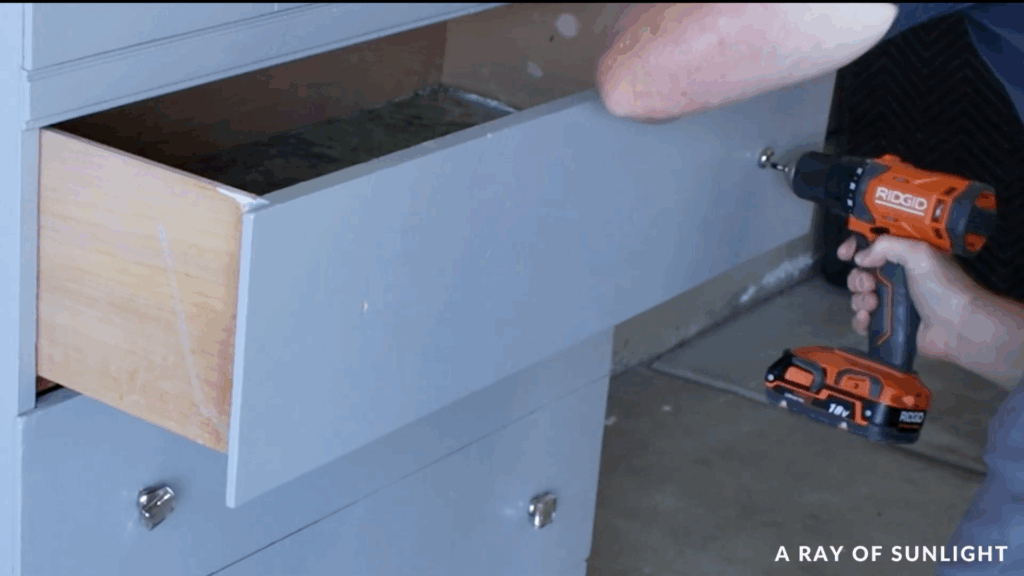
Step 5: Patch Again if Needed and Fix Drawer Tracks
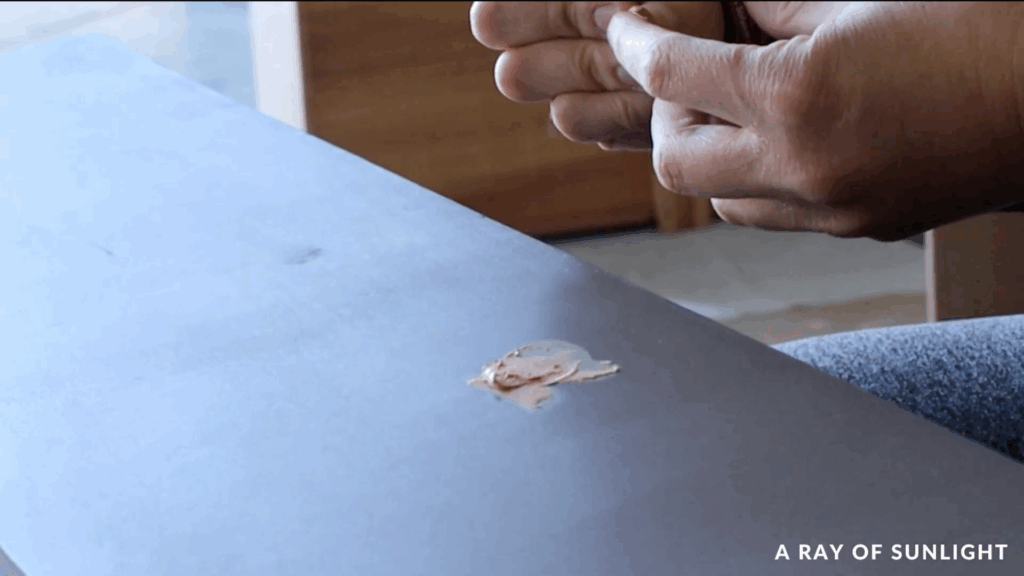
Once the primer dries, check for any spots that still need filling. Use wood filler on minor dents or gaps, especially along drawer edges.
While that dries, inspect the drawer tracks. If any are broken, you can replace them using scrap wood and a Dremel Multi-Tool to cut notches for proper fit.
Glue and nail the new track in place, ensuring it’s level and functional before painting.
Step 6: Sand and Spot-Prime
Lightly sand the entire primed surface again using 220-grit sandpaper and a sanding sponge.
Avoid electric sanders at this stage to prevent sanding through the primer.
If you do accidentally sand through in spots, apply spot primer to those areas.
Also, sand any newly filled spots smooth. Finish by wiping everything clean again with a tack cloth to ensure a dust-free surface before painting.
Step 7: Spray Paint with Water-Based Paint
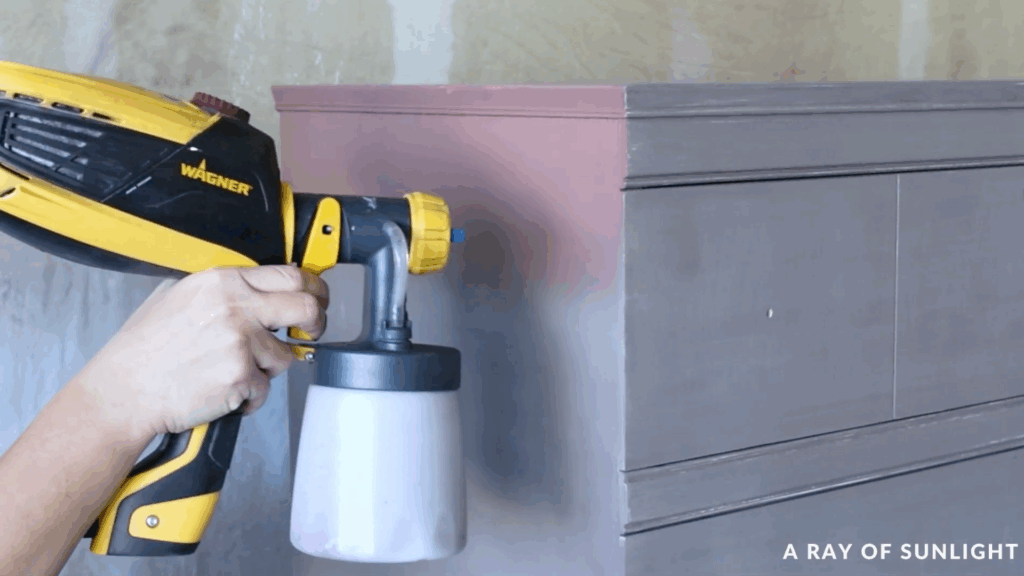
For a smooth, professional finish, use a paint sprayer. In this case, the paint used was Santeria Red by Melange One, a bold, rusty red color.
Because of its low coverage, it’s important to thin the paint (about 15% water) for even spraying.
Set your sprayer to a moderate power setting (around 4) and adjust fluid output for light coats.
Begin spraying, keeping your arm moving in even, overlapping passes. Full coverage took 2.5 coats. The primer helped reduce the amount of paint needed.
This paint has a 2&4 hour recoat time, making it easy to finish the project in a single day.
Step 8: Install Hardware and Add Drawer Liners
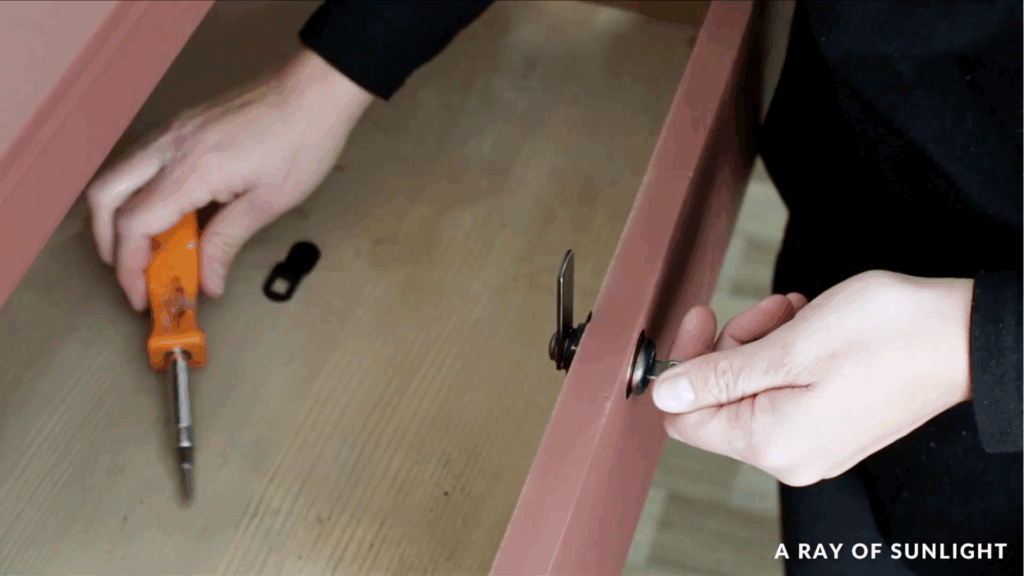
Once dry, sand the inside of drawers to smooth out any rough areas.
You can add a drawer lock to cover existing holes or for added functionality. Install new knobs or pulls for a fresh, modern look.
To elevate the interior, apply peel-and-stick wallpaper to the drawer bottoms. This is a quick and affordable way to brighten up the inside and cover old wood stains or damage.
Check out the complete tutorial by @ARayofSunlight on YouTube.
Bonus Tips for a Flawless Finish
Before you wrap up your project, keep these extra tips in mind to get the smoothest, longest-lasting results when painting over oil-based paint:
- Use quality tools: Cheap brushes and rollers can leave behind bristles or texture. Opt for a high-quality angled sash brush, a mohair roller for primer, and a foam roller or sprayer for final coats.
- Always sand between layers: Lightly sanding between primer and paint coats helps ensure a silky-smooth finish. It also improves adhesion, reducing the risk of peeling later.
- Thin your paint if spraying: Especially with thicker paints, adding 10&15% water can prevent clogs and help achieve even coverage with your sprayer.
- Work in a clean, ventilated space: Dust, pet hair, or lint can easily settle into wet paint. Sweep the workspace beforehand and use a tack cloth before every coat to keep surfaces clean.
- Don’t skip drying times: Let primer and each paint coat dry completely before adding the next. Rushing can lead to smudging, bubbling, or streaks.
- Test your spray settings: Always test on cardboard or scrap wood to fine-tune your sprayer’s power and fluid flow settings before applying paint to the actual piece.
- Seal if needed: If the furniture will get heavy use, add a water-based polyurethane topcoat—even if your paint has a sheen. It adds durability and makes cleaning easier.
The Final Result
The transformation from a dated, brush-streaked WWII dresser to a bold and stylish storage piece is nothing short of amazing.
Painting over oil-based paint may seem daunting, but with the right steps, sanding, shellac-based priming, and smart paint choices, you can completely change a piece without stripping it.
The finish is smooth and vibrant, with no sign of the original flaws or old oil paint. Even the drawers feel brand-new with the addition of liners and fresh hardware.
More than just a color update, this project proves that any furniture, even one that didn’t seem promising at first, can be turned into something you truly love.
It also reinforces that success comes down to preparation. The effort spent sanding, cleaning, and priming pays off tenfold in the final outcome.
Whether you’re flipping for profit or refreshing your own space, painting over oil-based paint is a skill worth learning.
With the right process, you can transform even the most outdated furniture into bold, modern pieces that feel entirely custom.