
Ever stood in front of an interior door, paintbrush in hand, and wondered, am I doing this right?
I’ve been there. A freshly painted door can totally change how a room feels, but if you skip a step or choose the wrong finish, you’ll notice every brush mark and chip.
I’ve painted more doors than I can count. Some turned out smooth and solid, others taught me what not to do.
If you’re looking for clear, simple rules that actually work, you’re in the right place.
This guide breaks it all down so you can get it right the first time, no fluff, just facts that’ll save you time and hassle.
Why Painting Interior Doors Matters
Painting interior doors might seem small, but it makes a big difference.
Doors take up visual space and are used every day, so their look and condition affect how a room feels.
A fresh coat of paint can clean up scuffs, cover old stains, and give your space a more finished, put-together look.
If you’re remodeling, changing the door color can help tie everything together or create contrast.
It’s also a great way to update your home without spending much. I’ve seen dull, worn doors instantly feel new again with just a few coats of paint.
In short, painting interior doors is a simple upgrade that adds style, protects the surface, and helps your space feel fresh and well-cared for.
Step-by-Step Guide to Painting Interior Doors the Right Way
Painting your interior doors can seem like a huge task, but with the right tools, techniques, and some helpful guidance, you can easily achieve a professional-looking finish.
Gather Your Tools and Supplies
Before beginning the painting process, it’s important to gather all the necessary tools and supplies. You’ll need:
- A paint tray with a liner for easy cleanup.
- A paint roller with a microfiber sleeve for smooth coverage.
- A 3-inch angled brush for precise cutting.
- A 5-in-1 tool for scraping and cleaning the roller sleeve.
- A sanding sponge for prepping the surface.
- A ladder for reaching higher areas, especially on doors with high frames.
1. Prepare the Door and Work Area
The first step in painting a door is to prepare the work area.
Begin by removing the door from its hinges and laying it on its side. This setup makes it easier to paint without worrying about getting paint on the hinges.
Next, cover the floor with a plastic drop cloth to protect the surrounding area.
Tape down the edges of the cloth to prevent it from shifting around during the process. The thin, disposable, and inexpensive plastic makes it an ideal choice for this task.
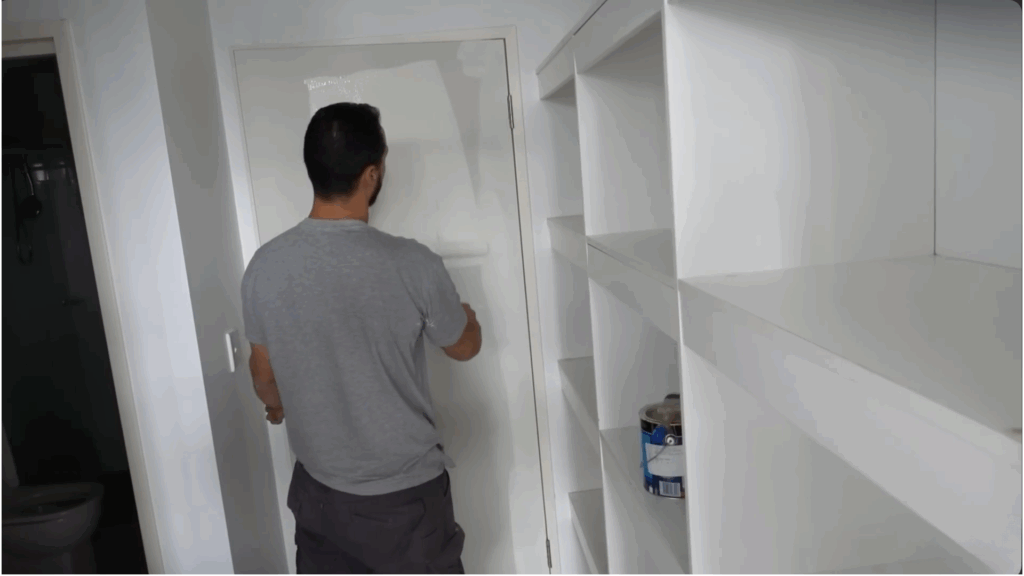
2. Paint the Edges First
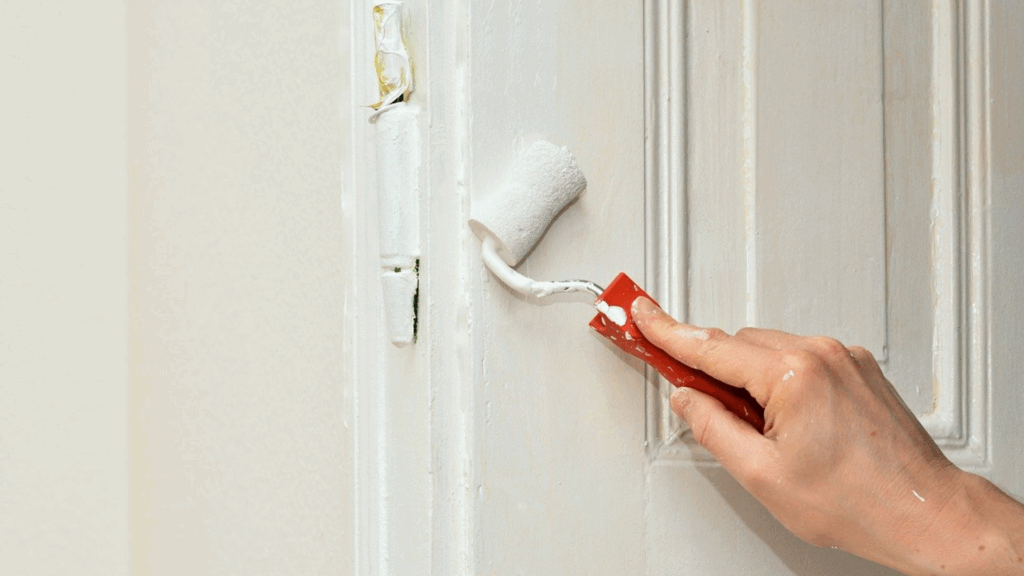
Once the door is securely in place and the floor is protected, it’s time to start painting. Begin by rolling a thin coat of paint along the edges of the door.
It’s best to do this while the door is lying flat, as it’s quicker and avoids getting paint on the hinges. Apply the first coat carefully, ensuring the roller isn’t overloaded, as excess paint can create runs.
Allow the first coat to dry for about 10 to 20 minutes, then apply a second coat to the edges for a more even finish.
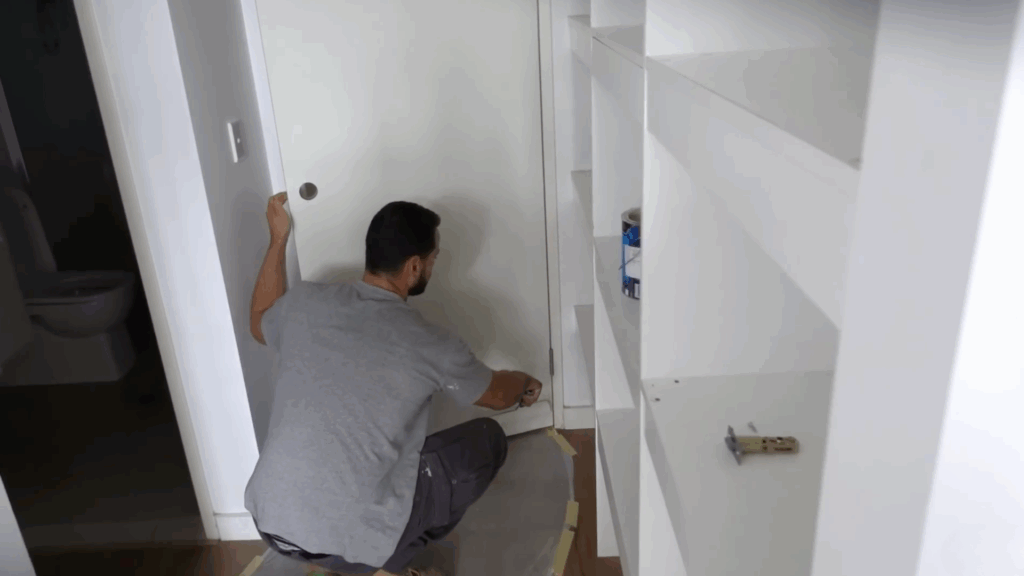
3. Cut In the Door
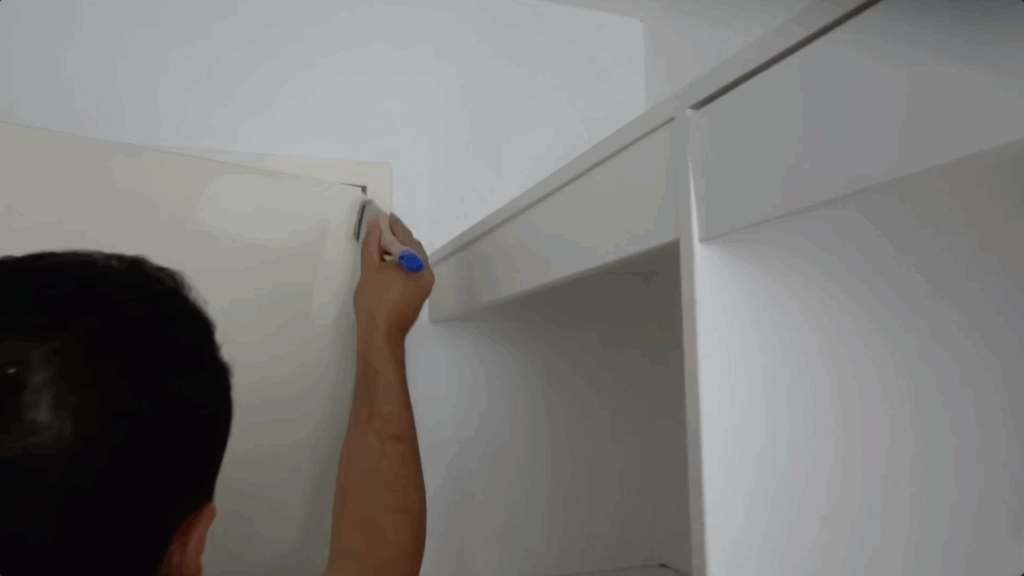
After the edge coats have dried, it’s time to cut in around the rest of the door.
Use a brush to paint areas that the roller can’t reach, such as along the edges of the door or around the hinges.
When cutting in, be cautious not to get paint on the hinges or other areas you don’t want to cover. If you do, clean it off immediately with a wet rag.
Cutting in carefully will help create clean lines and give you a more professional finish.
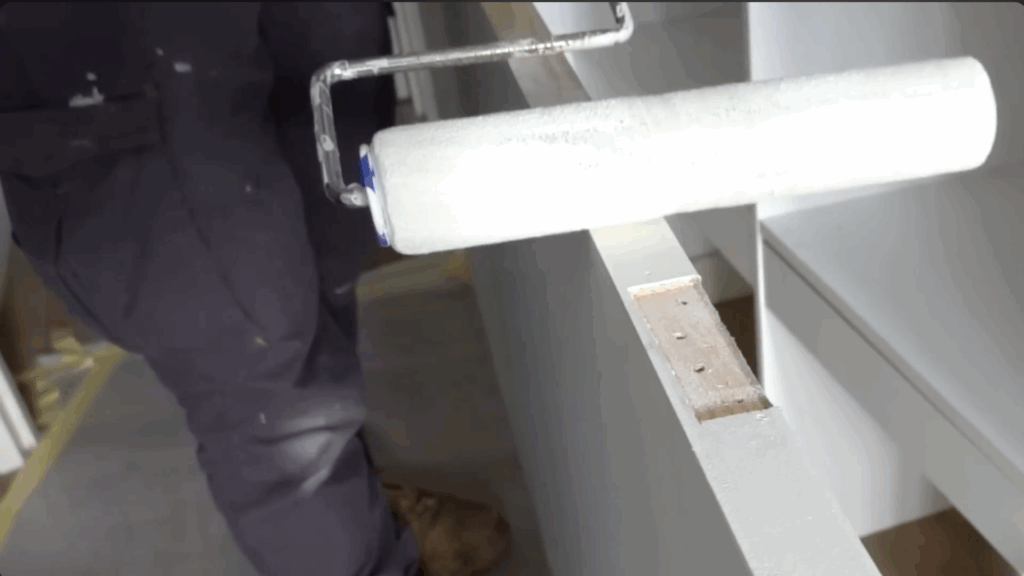
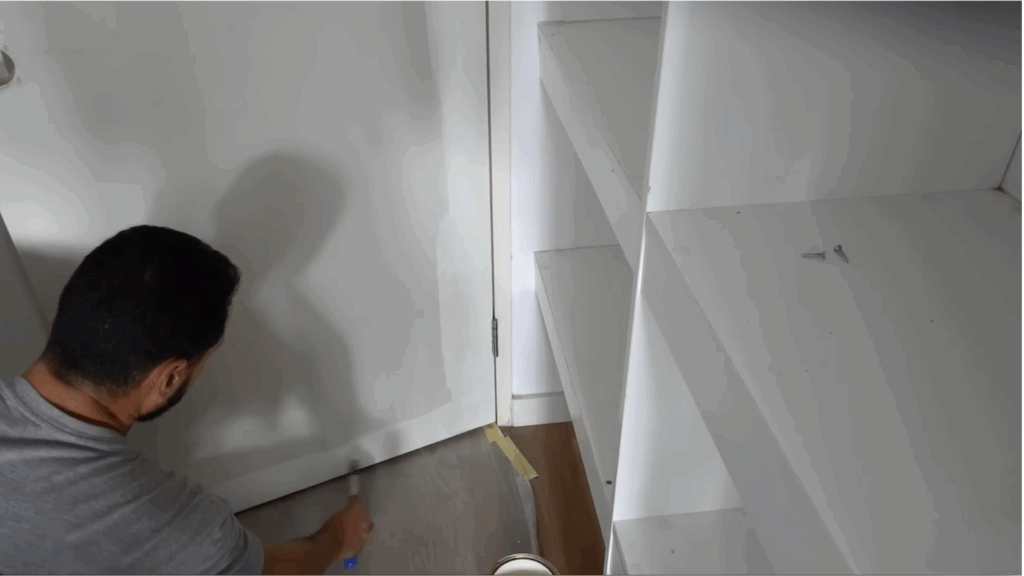
4. Apply Paint to the Main Area
Now that the edges are done, it’s time to paint the main surface of the door. Use your roller to cover the flat areas.
Don’t worry too much about achieving a perfect finish on the first pass; get the paint on the door. You can smooth things out in the next step.
When applying the paint, work in one direction, ensuring the surface is covered evenly.
Avoid stretching the paint too thin, as it will dry unevenly.
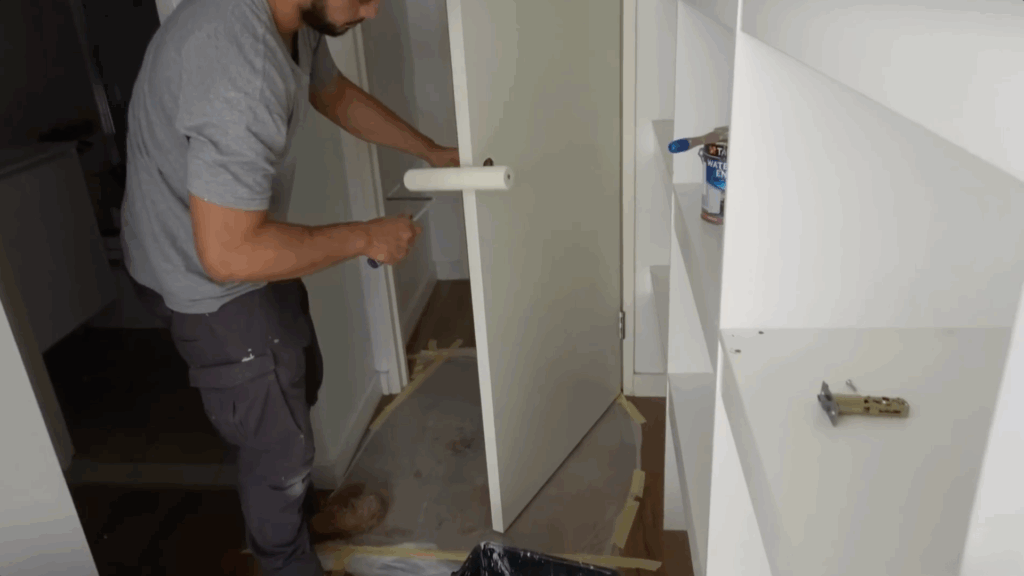
5. Smooth Out the Paint
After applying the paint, you might notice some areas with excess paint or “lap marks” where the roller left uneven textures.
To smooth everything out, lightly roll over the painted area with your roller, starting at the bottom and working your way up.
The goal is to level the paint, eliminating any lines or runs. Use very light pressure, just enough to smooth out the paint without adding more.
Once you’ve finished the first coat, let it dry completely. If you notice any dust or debris stuck in the paint, lightly sand the area with 240-grit sandpaper before applying the second coat.
6. Apply the Second Coat
Once the first coat is dry and any imperfections are sanded out, it’s time to apply your second coat of paint.
Repeat the process of cutting in and rolling the paint onto the door. This coat will give you a flawless, even finish.
Be sure to work carefully, making sure to smooth out any areas where the roller might have left marks.
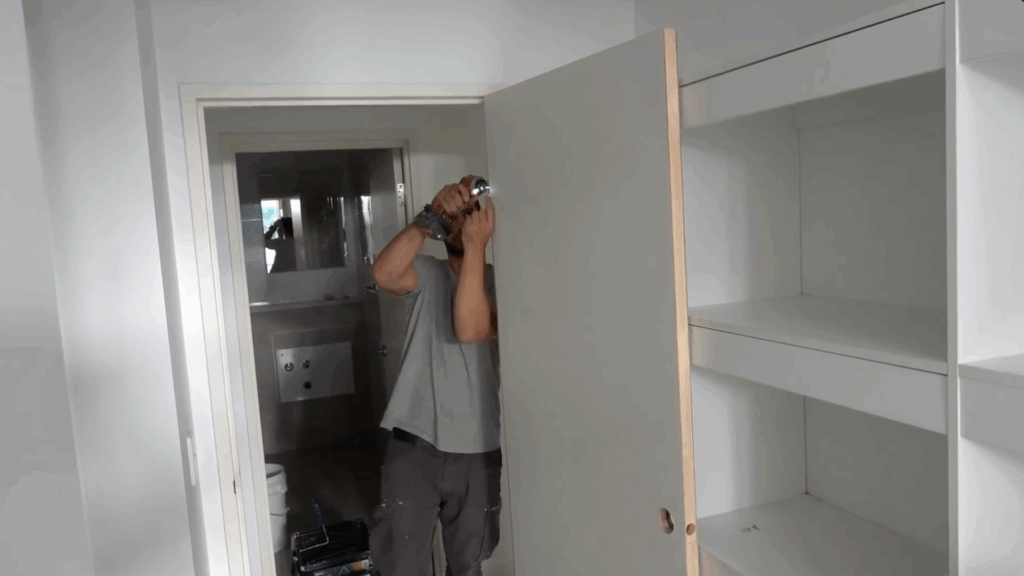
7. Finishing Touches and Reinstall the Door
After the second coat dries, check the door for any imperfections.
If everything looks good, it’s time to reinstall the door hardware, such as the lock and hinges.
Once the door is back on its hinges, check that it closes smoothly and that the paint has dried evenly.
With your fresh coat of paint, your door will look brand new.
This tutorial is based on a helpful video by @Billshowto on YouTube. You can check out the full-length video below.
Tips for Maintaining Painted Doors
I like to keep my painted doors looking fresh without much effort. These are the simple steps I follow to protect the finish and avoid touch-ups too soon.
- Clean gently with a damp cloth: Wipe down doors regularly using a soft cloth and mild soap. Avoid harsh chemicals that can dull or damage the finish.
- Touch up chips or scratches early: Keep a small container of leftover paint for quick fixes. I’ve found that touching up small spots right away helps prevent peeling or spreading damage.
- Avoid slamming the door: Constant impact can cause paint to crack or wear down at the edges, especially around the latch or bottom corner.
- Keep humidity in check: High moisture, especially in bathrooms or laundry rooms, can cause paint to bubble or peel. Use a fan or dehumidifier if needed.
- Inspect hardware and hinges: Loose knobs or squeaky hinges can scrape or dent paint over time. Tighten and lubricate as needed to protect the finish.
Conclusion
Painting interior doors can feel like a hassle, especially when the finish doesn’t turn out smooth or starts chipping too soon. I’ve been there.
You take the time, buy the paint, and still end up with brush marks, peeling edges, or scuffs that show after just a few weeks.
That’s why doing it right from the start matters. With the right prep, paint, and patience, your doors won’t just look better, they’ll last longer, too.
I hope this guide gave you the clear steps and honest advice you needed. You don’t need fancy tools or a pro, just a plan that works.
Take it slow, follow each step, and you’ll get results you can feel good about every time you walk through that door.