
Is your kitchen feeling a little tired, but a full remodel isn’t in the budget? Don’t worry, you don’t need to rip everything out or buy new cabinets to make a big change.
Restaining your kitchen cabinets is a simple and affordable way to give your space a fresh new look. In this guide, I’ll walk you through the entire process step by step.
You’ll learn how to prep your cabinets, clean them properly, sand them the right way, and apply stain that looks smooth and professional.
I’ll also share helpful tips I learned from doing this myself, so you can avoid common mistakes and feel confident about your project.
If your cabinets are scratched, faded, or just need a style update, this article will help you bring them back to life without spending a fortune.
I’ve been there, and I know it can feel a little overwhelming at first-but you’ve got this. Let’s get started on making your kitchen feel fresh, clean, and new again!
What You’ll Need to Restain Cabinets
Before you start, it’s a good idea to gather all your tools and supplies. Having everything ready will help the project go faster and smoother.
The good news? You don’t need fancy equipment- just some basics you can find at most hardware stores.
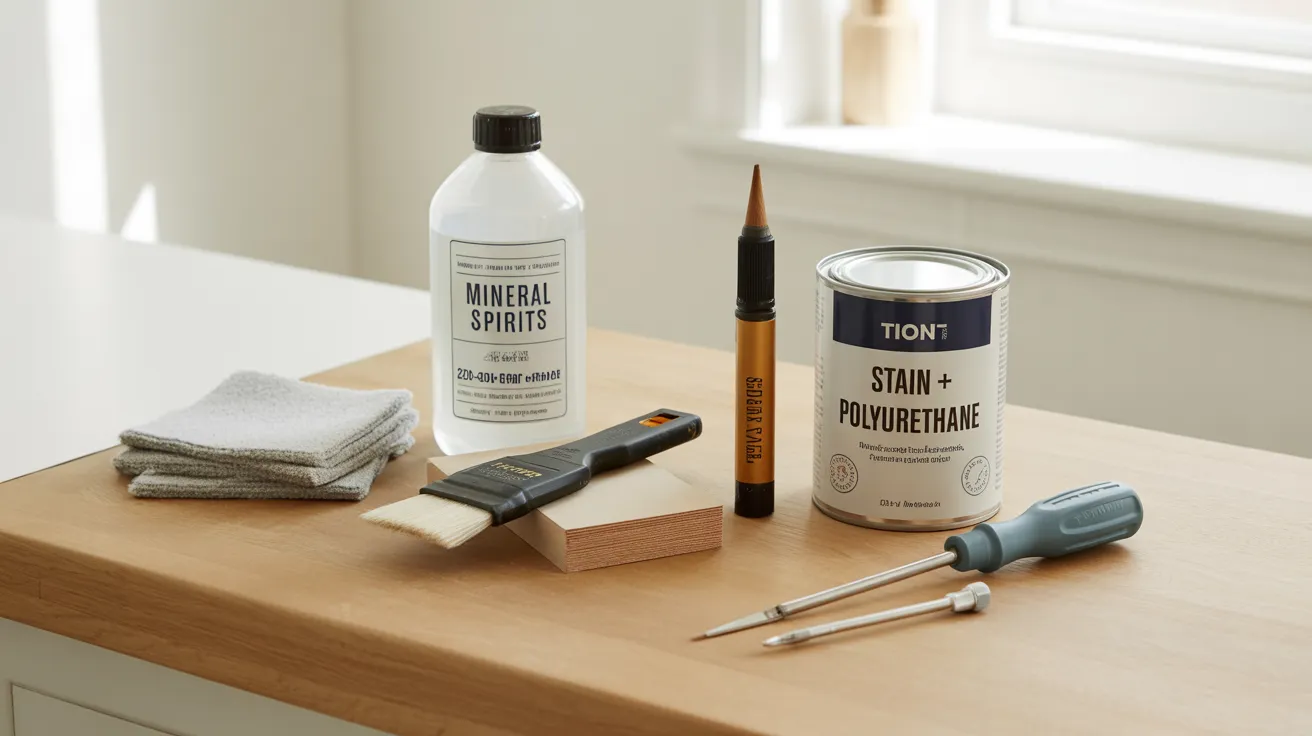
What you’ll need:
- 220-grit sandpaper
- Mineral spirits and a soft cloth
- Tack cloth or a clean rag
- Wood-tone touch-up pens
- A combination of stain and polyurethane
- A good quality brush
- Screwdriver
Step-by-Step Guide to Restaining Your Cabinets
Ready to give your kitchen cabinets a fresh new look? Follow these simple steps to get great results without needing to be a pro.
Step 1: Remove Cabinet Doors and Set Up Your Workspace
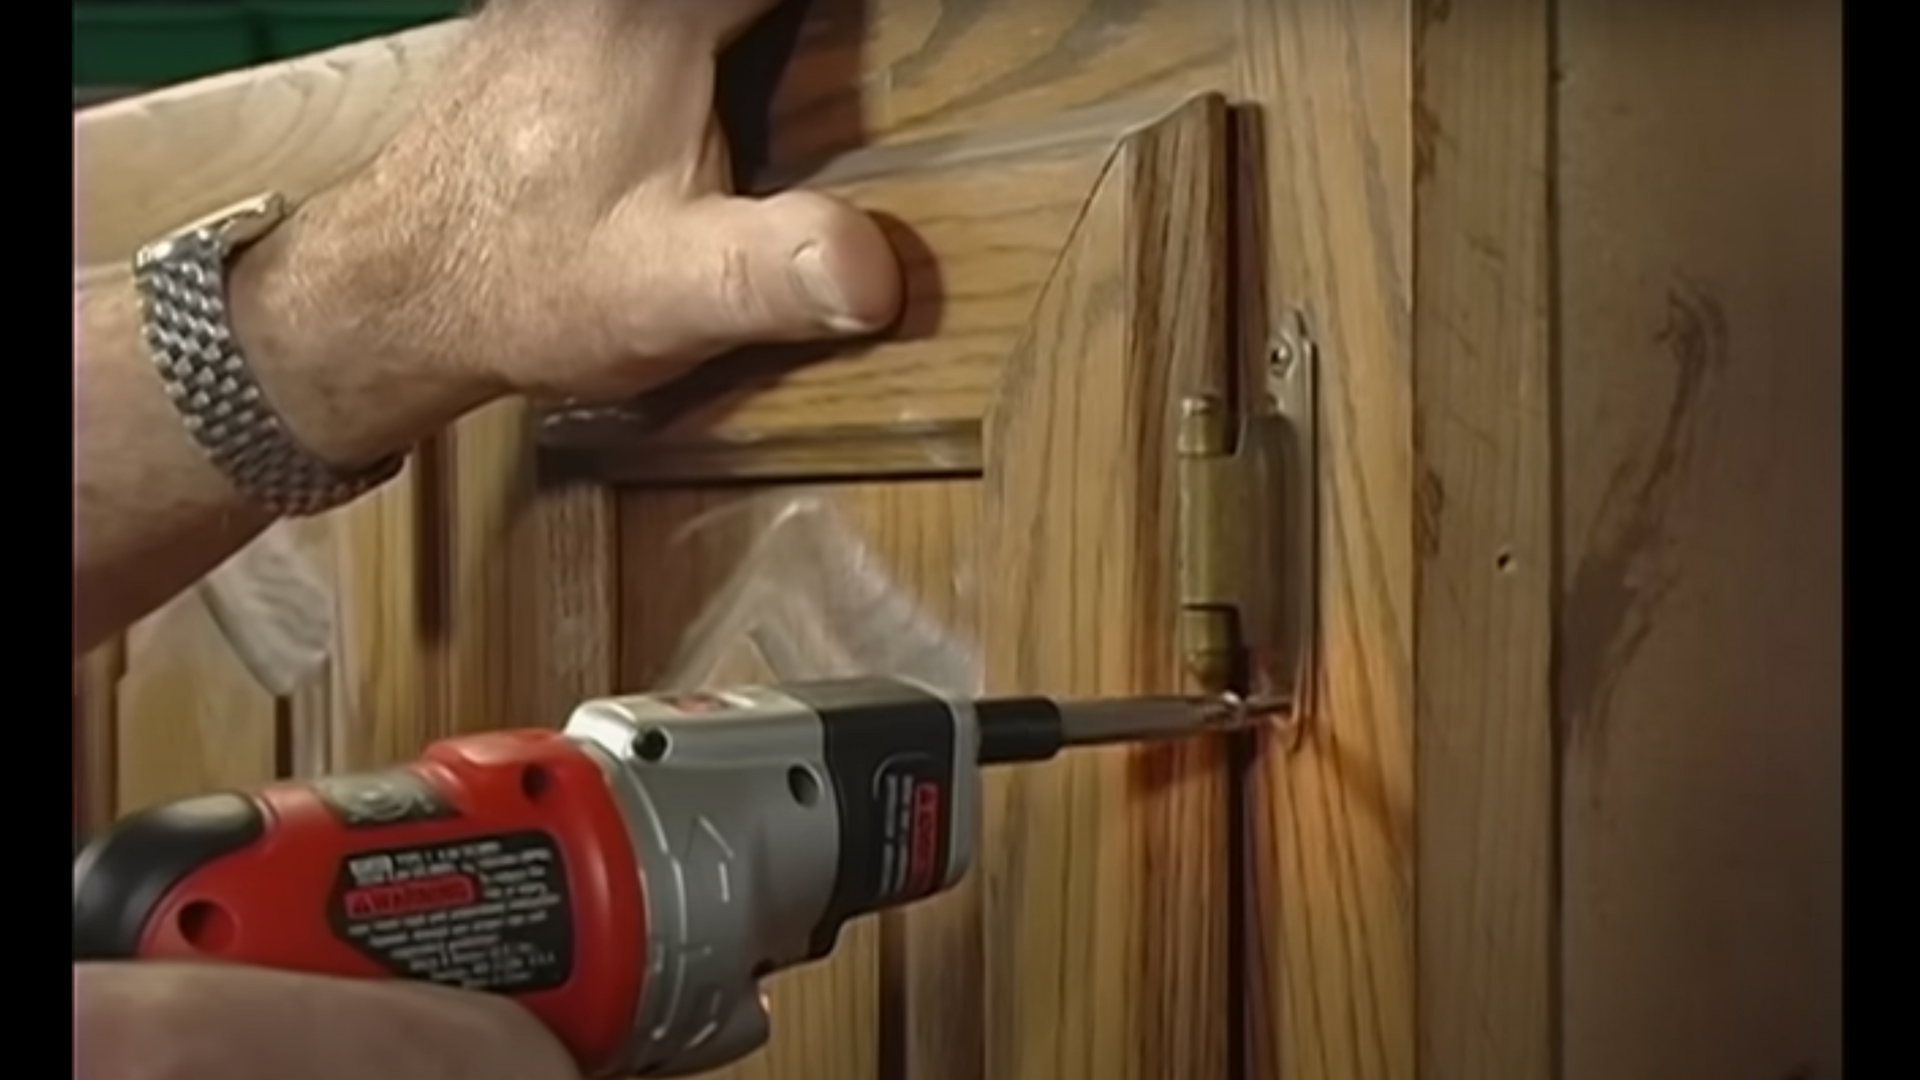
Before you start restaining, remove all cabinet doors, shelves, knobs, and hinges. It might seem like extra work, but this makes staining much easier.
Use a screwdriver to remove everything, and put the hardware in labeled bags so nothing gets lost.
Clear off your counters and put down a drop cloth to protect the floors from drips. Make sure you have good lighting, too- it helps you see what you’re doing.
Creating a clean and organized workspace from the beginning makes the rest of the project smoother and less stressful.
Step 2: Deep Clean the Cabinets
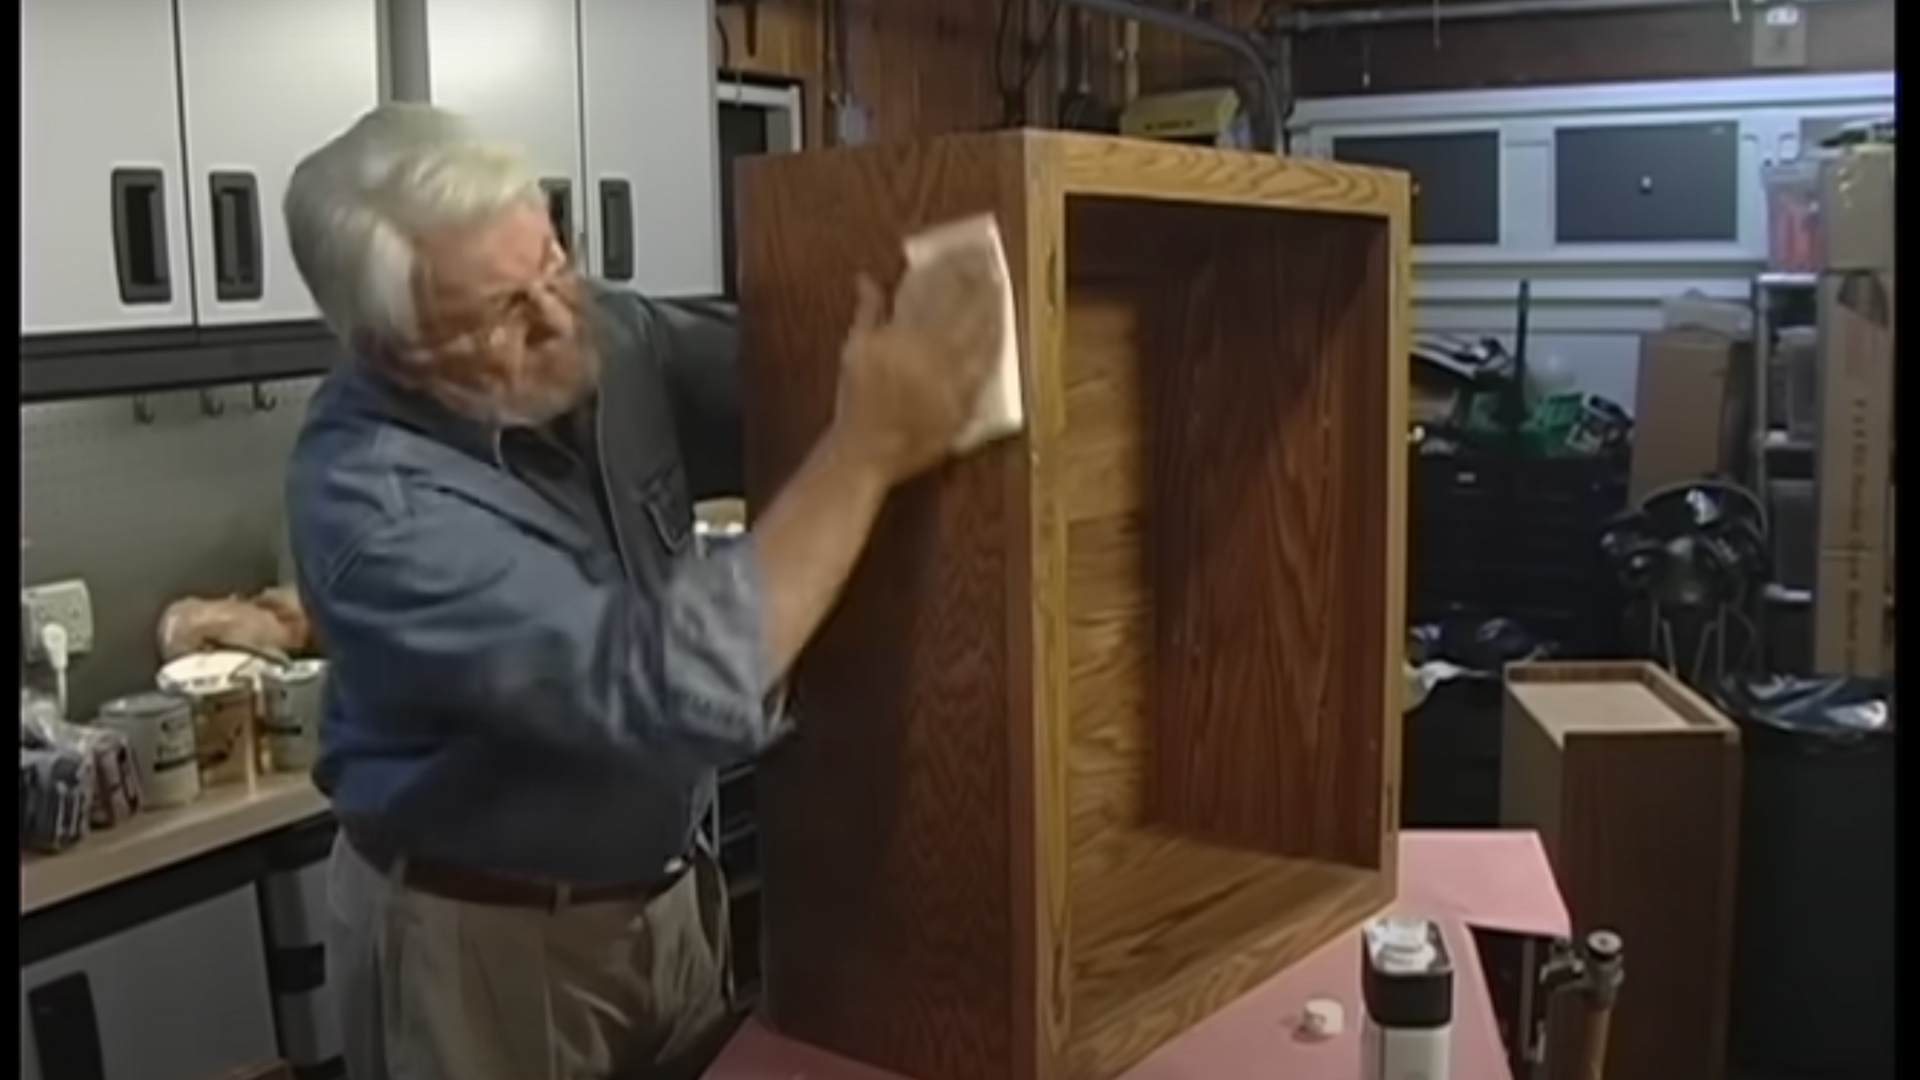
Cabinets collect grease and grime over time, especially in the kitchen. Before staining, give them a really good cleaning.
Use mineral spirits and a soft cloth to wipe down all the surfaces. This helps remove sticky messes and leftover oils that could stop the stain from sticking.
Go over each cabinet two or three times and flip the cloth when it gets dirty.
You might be surprised by how much gunk comes off! A clean surface helps the new stain look smooth and even, so don’t skip this important step.
Step 3: Lightly Sand the Surface
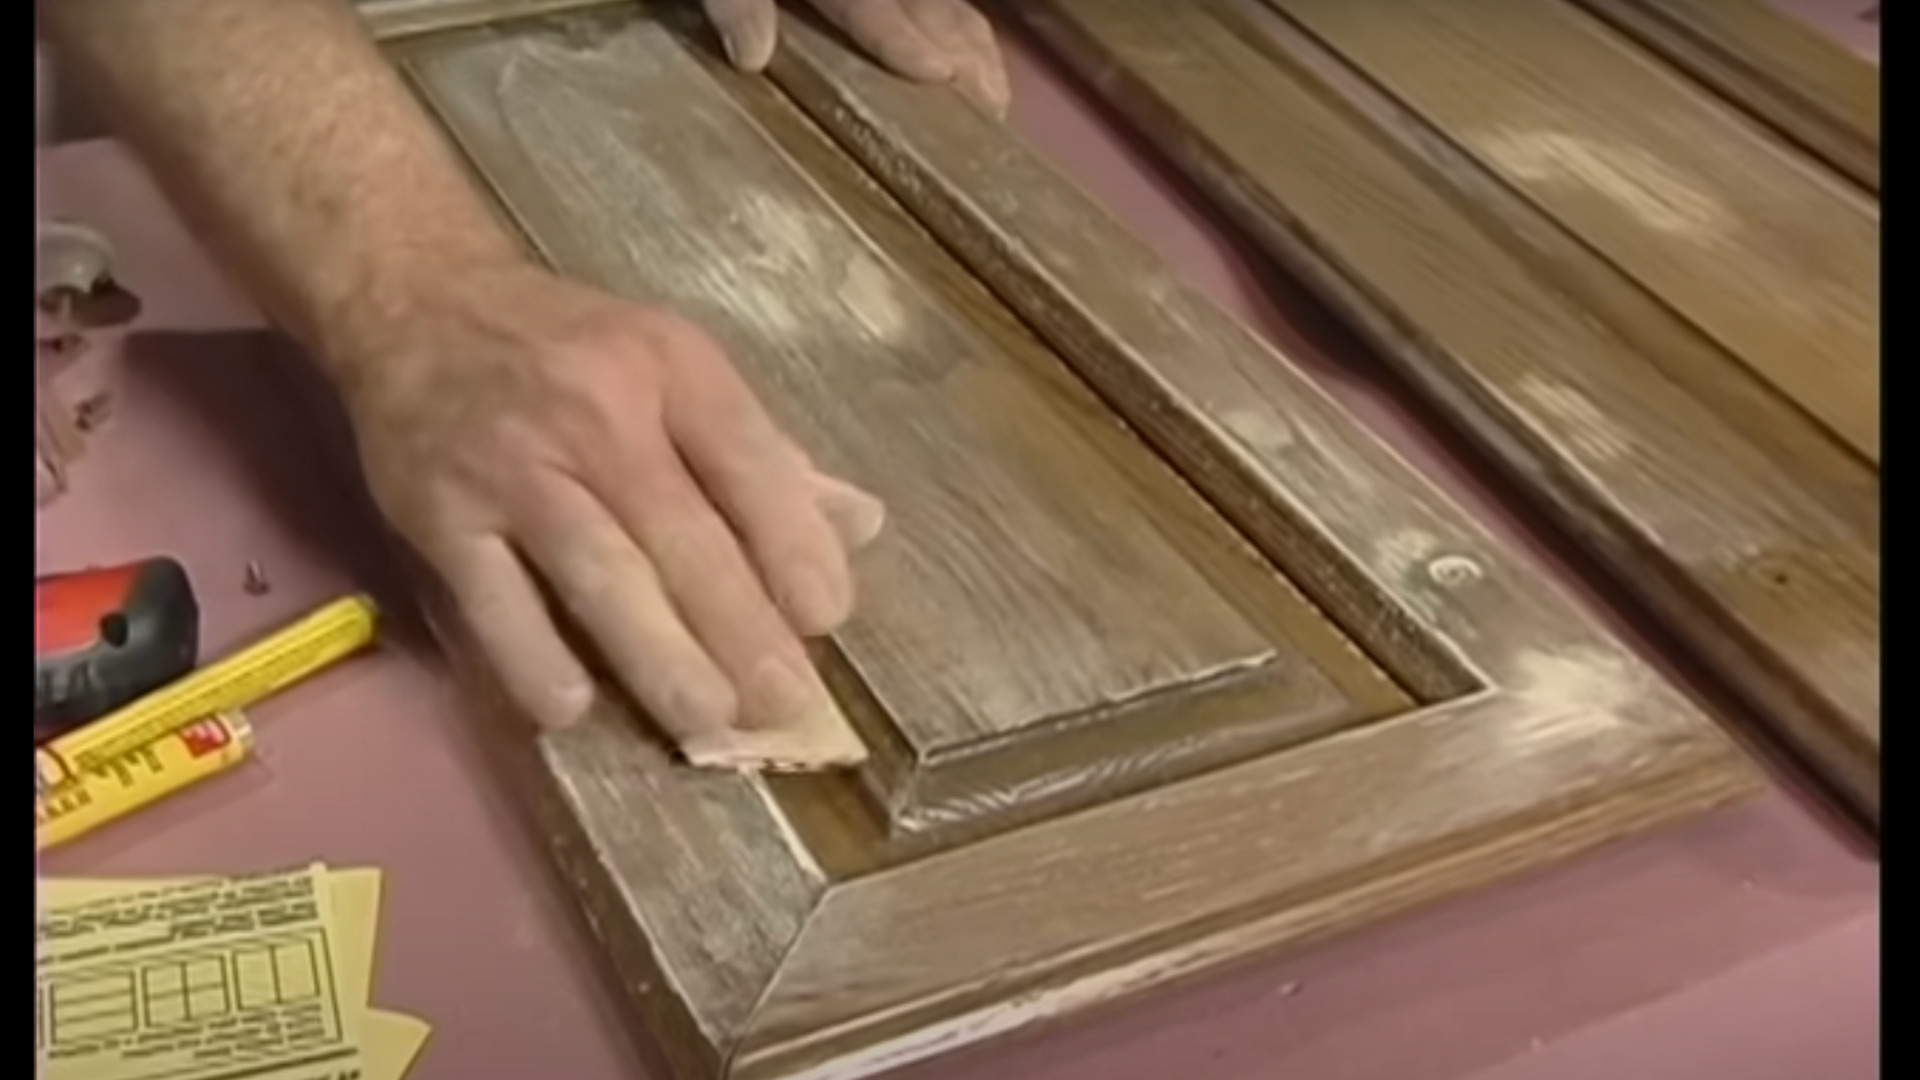
Now it’s time to sand the cabinets. You don’t need to remove all the old finish- just rough up the surface a bit so the new stain will stick better.
Use 220-grit sandpaper and sand in the same direction as the wood grain. Press evenly, but not too hard.
If your cabinets have trim or curved areas, use your fingers to bend the sandpaper and follow the shape. Once you’re done sanding, use a clean rag or tack cloth to wipe away all the dust.
A smooth surface means your stain will go on clean and clear.
Step 4: Touch Up Any Worn Spots
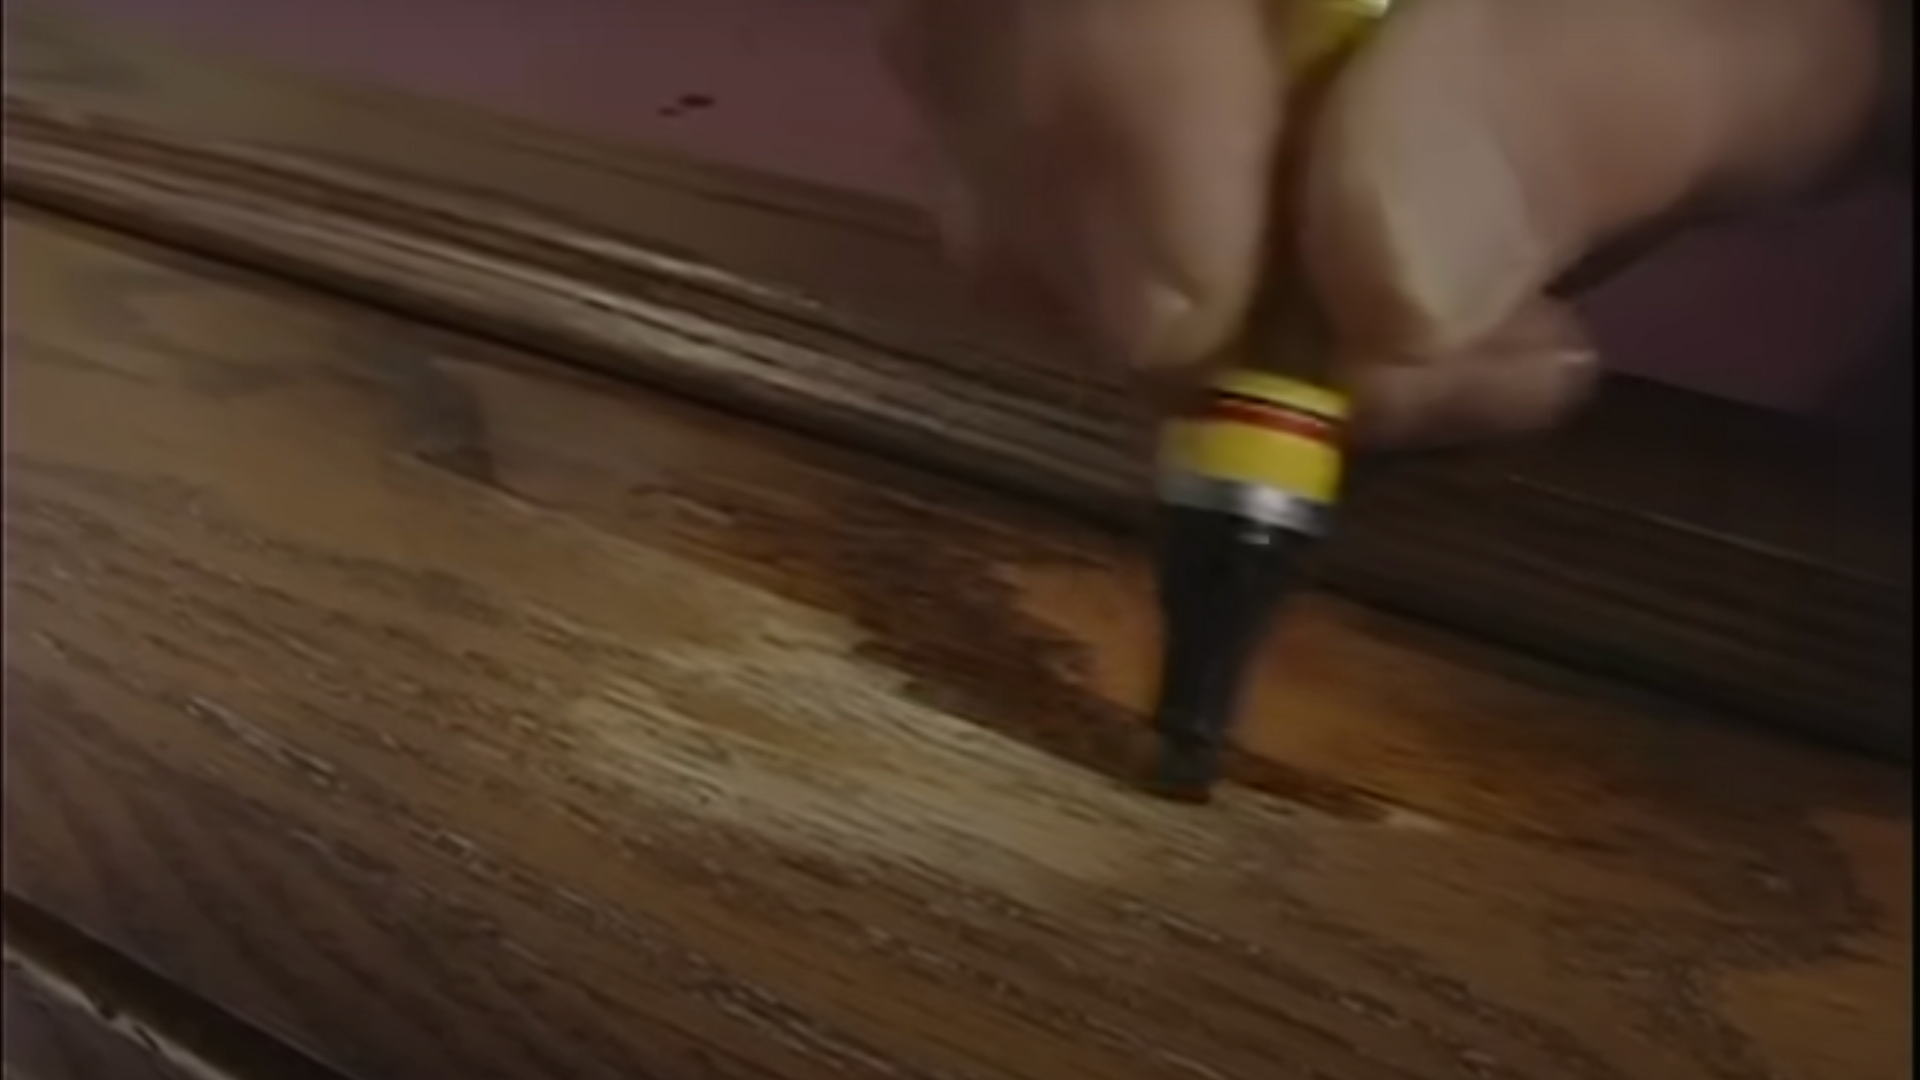
If your cabinets have spots where the finish is completely gone, don’t worry! A wood-tone touch-up pen works great for fixing those areas.
It looks like a marker and is easy to use. Just color in the worn spots, let it dry for a few seconds, and then gently wipe away any extra.
These pens come in different wood shades, so try to match it to your cabinets. This step helps hide damage and gives the stained finish a more even look later on.
It’s a quick fix that makes a big difference.
Step 5: Stir Your Stain
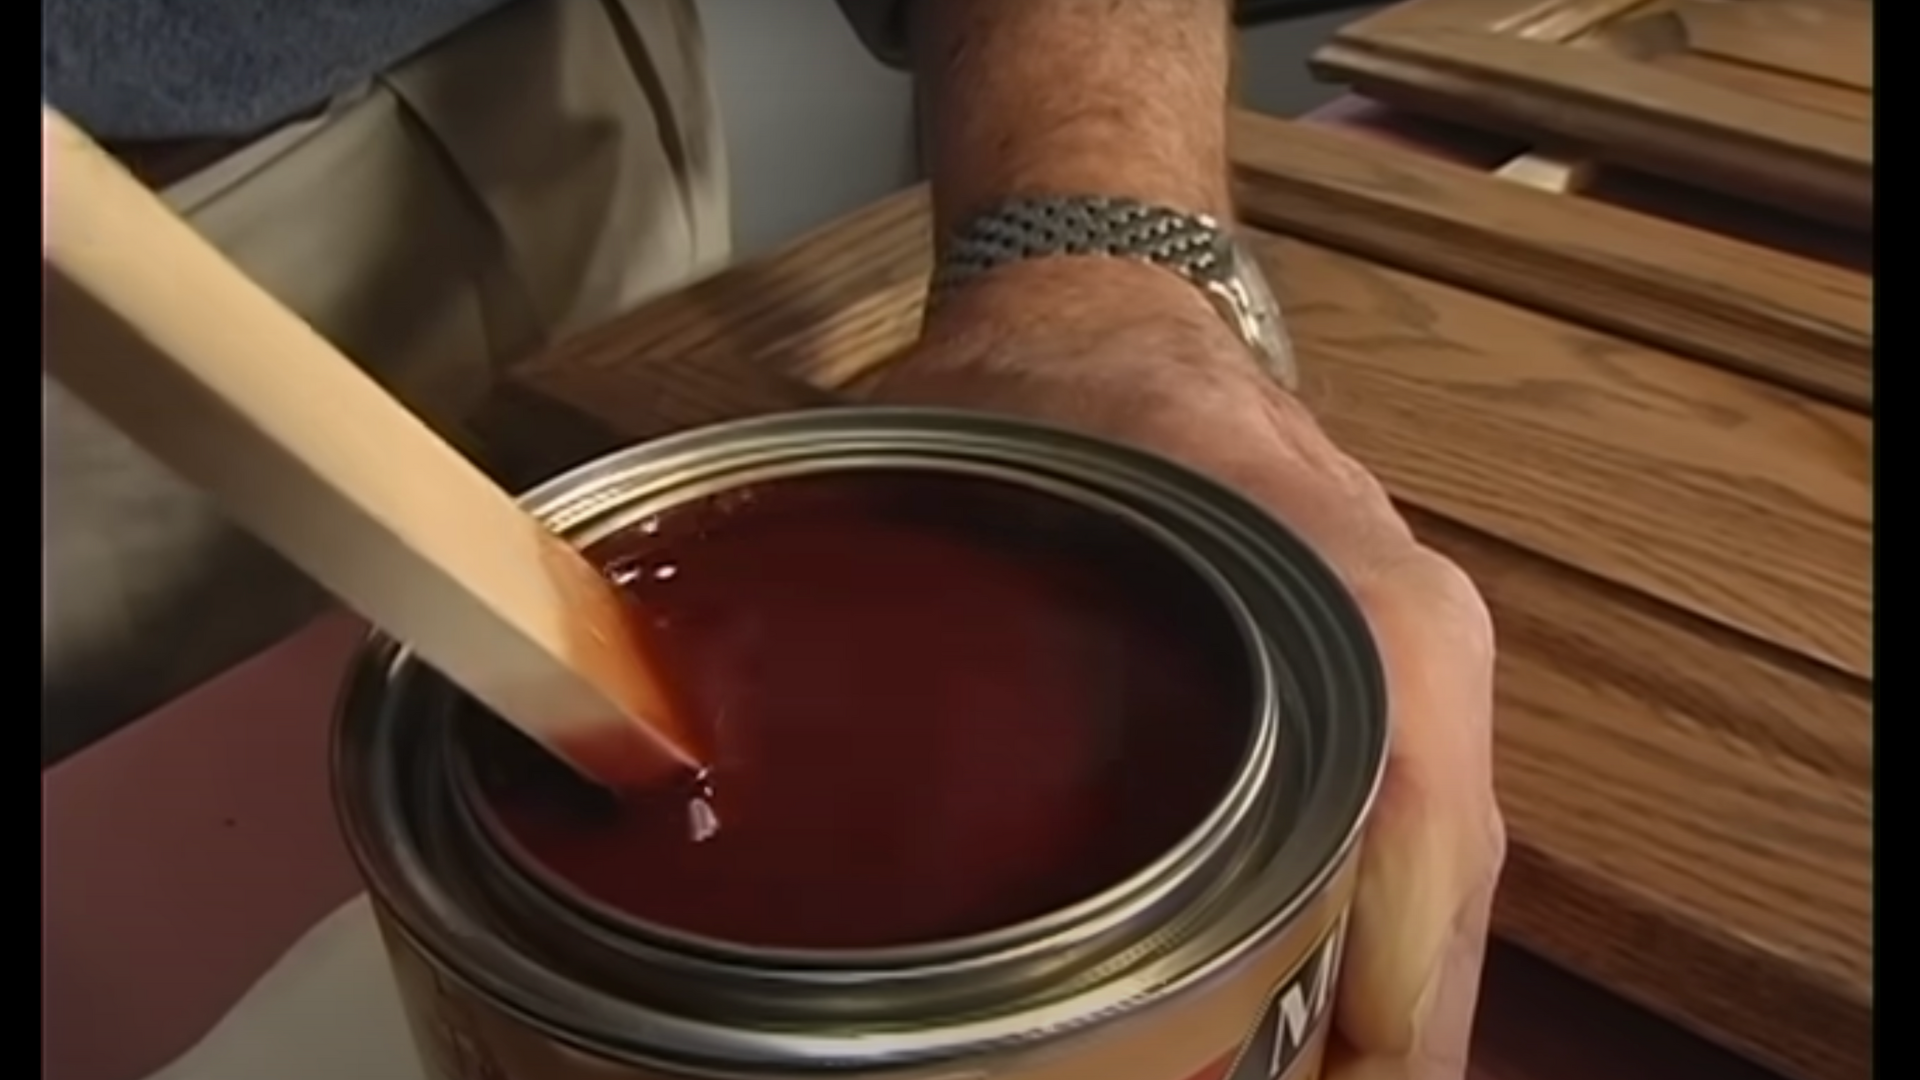
Before you apply your stain, give it a good stir. Don’t shake the can-shaking can cause air bubbles, and those bubbles leave tiny holes in the finish.
Use a wooden stir stick and mix the stain slowly. Make sure to pull the color up from the bottom of the can, where it tends to settle.
Stir until the liquid looks smooth and even. Taking your time step helps you get great results.
A well-mixed stain will go on evenly and dry nicely, so it’s worth doing right.
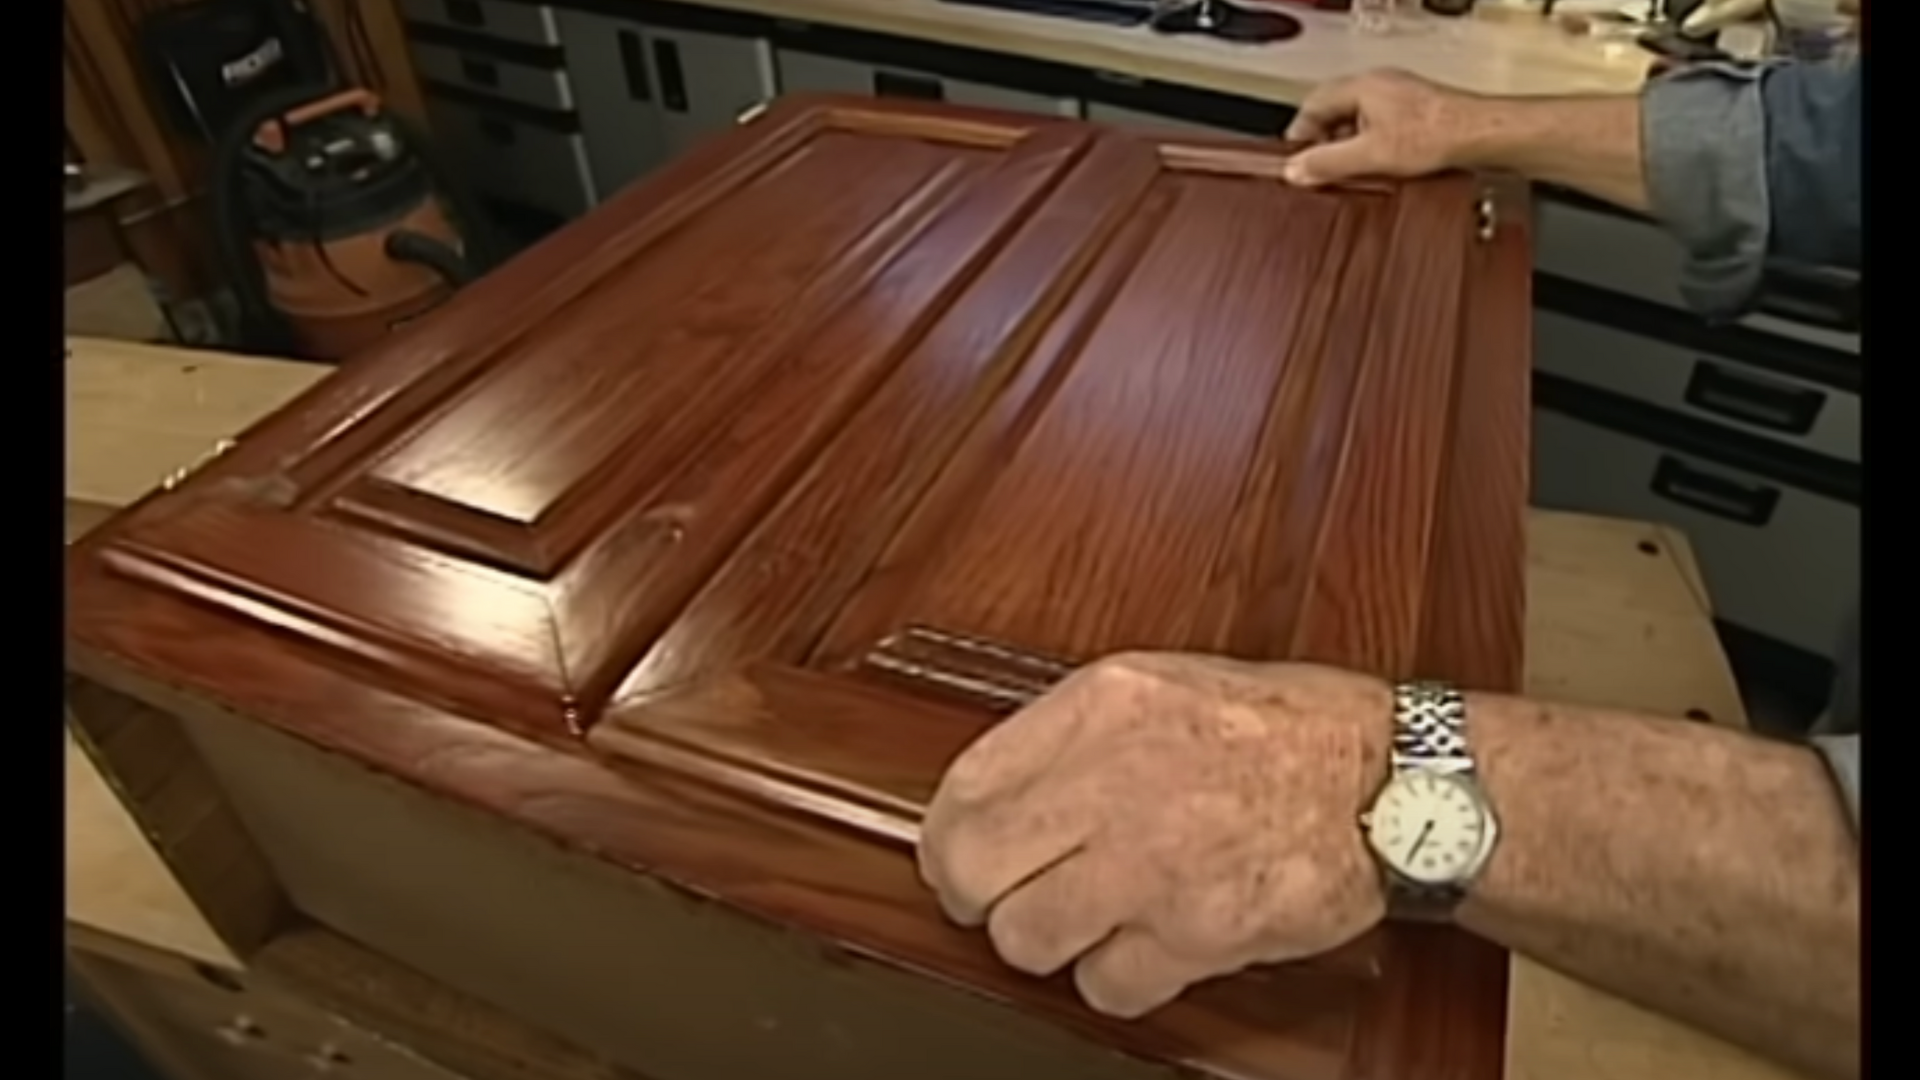
Step 6: Apply the Stain Evenly
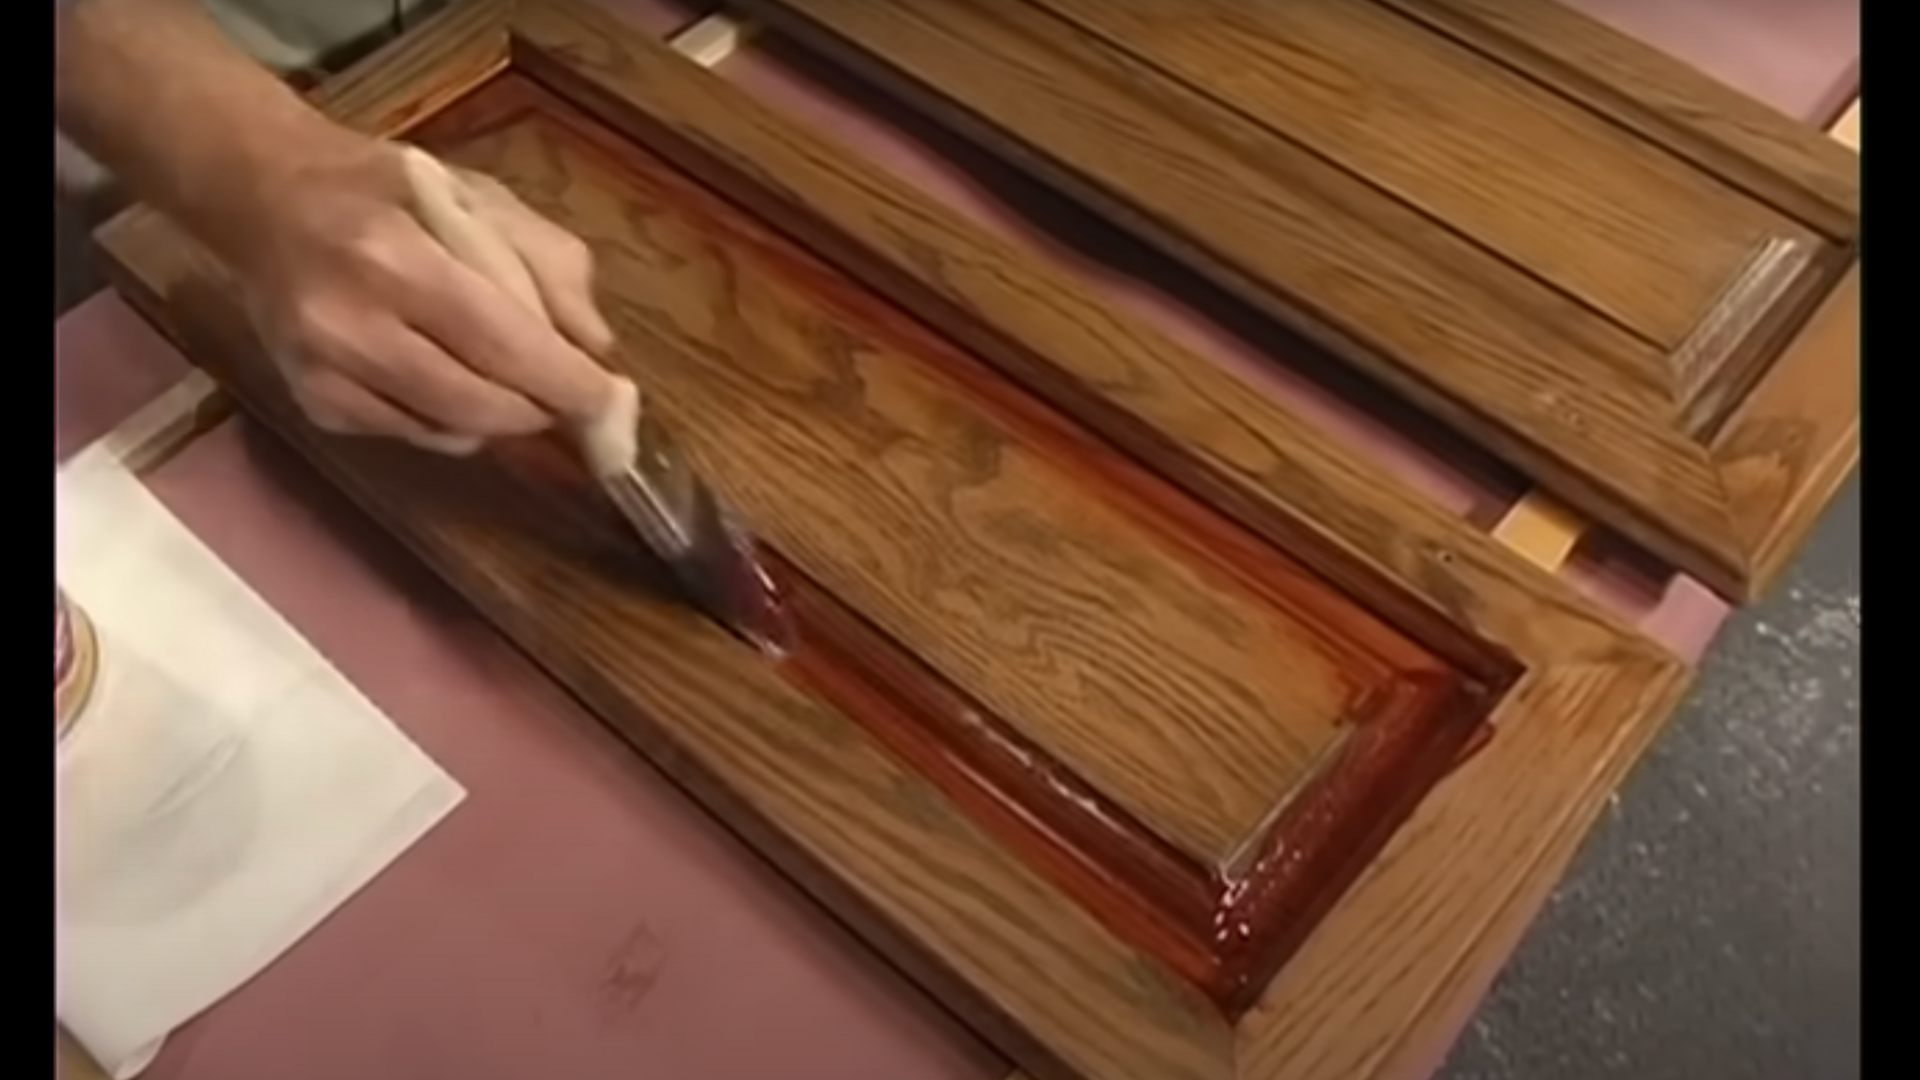
Dip your brush into the stain and apply it gently to the cabinets. Start with the edges and detailed areas first, then move on to the bigger flat surfaces.
Try not to go over the same spot too many times- that can leave streaks. Use long, even strokes and work in one direction. Don’t overload the brush with too much stain.
If you want a darker color, wait for the first coat to dry, then add a second coat.
Applying thin, even layers gives the best look and keeps your finish smooth.
Step 7: Use a “Strike Off” Finish
To make your finish look neat and professional, use a trick called “striking off.” After you apply the stain, finish each section with one long, smooth brushstroke in the same direction.
This helps spread the stain evenly and stops streaks from forming. It also helps blend the brush marks so everything looks smooth when it dries.
Make sure to use a quality brush with soft bristles so it doesn’t leave marks or shed hairs.
This final stroke really makes your cabinets look polished and clean.
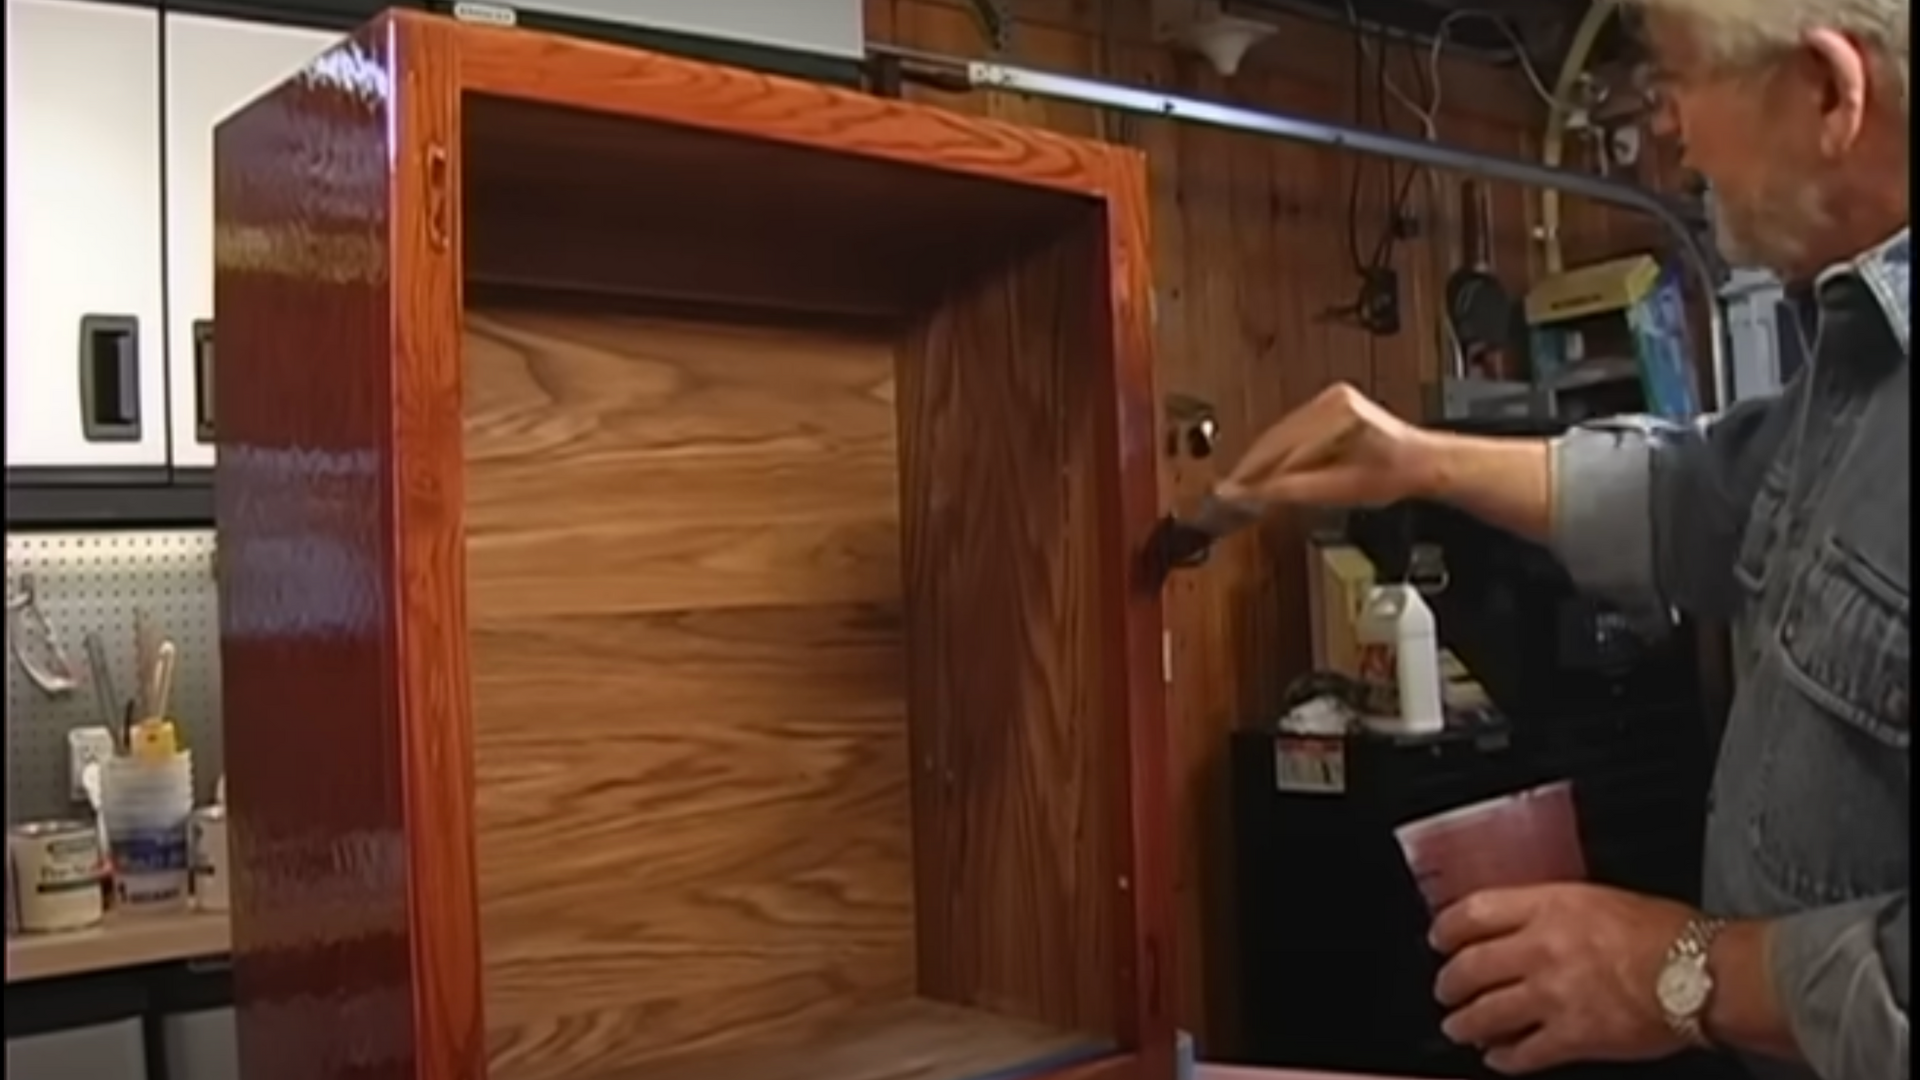
Step 8: Reassemble and Enjoy!
Once everything is completely dry, it’s time to put your cabinets back together. Reattach the doors, shelves, knobs, and hinges.
If you bought new hardware, this is the perfect time to upgrade! Take your time lining everything up so it looks neat.
Step back and admire your work- your kitchen now has a whole new feel, and you did it yourself.
Restaining might take a little time, but it’s a simple way to make a big difference without spending a lot of money.
Want to see how it’s done in real time? Check out the step-by-step video by @HouseCalls. It makes everything super easy to follow and helps you feel more confident before you start.
Why Restaining Cabinets Is Worth It?
Restaining your cabinets is one of the easiest ways to make your kitchen look new again without spending a lot of money.
Buying brand-new cabinets can cost thousands of dollars, but a can of stain and a good brush?
Much cheaper! If your cabinets are still in good shape but just look worn or faded, restaining can bring them back to life.
It also gives you the chance to change the color or finish to match your style. Want a darker look? You can do that. Want something warmer and more modern? You can do that too.
Plus, doing it yourself feels really good. You’ll be proud every time you walk into your kitchen. Restaining takes a little time and effort, but the results are totally worth it.
It’s a smart upgrade you can handle yourself.
Conclusion
When I first thought about refinishing my cabinets, I wasn’t sure if I could really do it myself. But once I got started and followed the steps, it turned out to be much easier than I expected.
With just a few tools, some stain, and a little time, I gave my whole kitchen a fresh new look- and I didn’t have to spend a lot of money.
If your cabinets are scratched, faded, or just looking old, don’t worry. You don’t need to replace them.
Restaining is a great way to bring them back to life and make your space feel updated.
I was surprised by how much better my kitchen looked after I finished, and I think you’ll be just as happy when you’re done.
Take your time, follow each step, and don’t rush. You’ll feel proud knowing you did it yourself.
So grab your brush and get started. You’ve got it, your cabinets are going to look amazing!