
Sanding a deck might not be the most glamorous part of homeownership, but I’ve found it to be one of the most satisfying projects I’ve taken on.
When I first decided to revive my splintered old deck, I didn’t expect sanding to make such a big difference, but it did.
A smooth surface not only looks cleaner and more inviting, but it also helps stains and sealants soak in evenly and last longer.
If you skip this step, you might end up with patchy finishes or worse, splinters under bare feet.
In this blog, I’ll guide you step-by-step on how to sand a deck the right way.
From choosing the right tools to getting into those tricky corners, I’ll share everything I’ve learned to make the process simple, safe, and effective for any DIYer.
Why Sanding Your Deck Matters
Sanding your deck does more than improve its appearance; it plays a crucial role in protecting the wood and making the space safer.
Over time, decks endure the effects of sun, rain, foot traffic, and dirt. This wears away the top layer, raises the wood grain, and leads to a rough or splintered surface.
Sanding removes these imperfections and smooths the boards, giving you a clean, even surface.
It also helps stains or sealants soak in properly and stay put longer. Skipping sanding can result in a blotchy or short-lived finish.
If your deck feels rough, looks patchy, or has peeling spots, sanding brings it back to life.
It’s also a must before painting. When done right, it makes your deck look better, feel better, and last longer through every season.
Tools and Materials Checklist for Sanding a Deck
Before getting started, ensure you have all the necessary tools and safety equipment. The correct equipment ensures a smooth process and prevents damage to your deck surface.
| ITEM | PURPOSE |
|---|---|
| Orbital or drum sander | For fast, even sanding on large, flat deck surfaces |
| Detail sander | Helps reach edges, corners, and railings |
| Sandpaper (60–120 grit) | Coarse for stripping; finer grits for finishing |
| Outdoor-rated extension cord | Needed for plug-in sanders if working far from power |
| Broom or leaf blower | Clears off dust and debris between sanding passes |
| Vacuum | Removes leftover dust after each sanding round |
| Work gloves, goggles, dust mask | Protects hands, eyes, and lungs during sanding |
Step-by-Step: How to Sand a Deck
If your old stained deck is deteriorating, start with sanding to restore it. This guide covers prep to cleanup for a smooth, professional finish.
Step 1: Prep the Deck and Gear Up
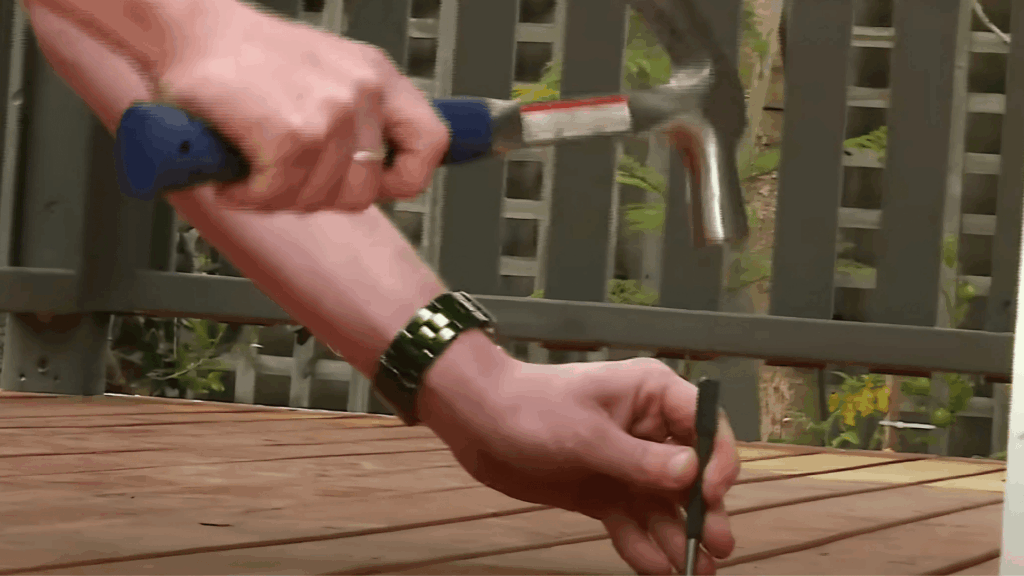
Before sanding, check the deck for raised nails and tap them down with a nail punch and hammer. Even one exposed nail can tear your sandpaper or damage the sander.
Once the surface is ready, put on your dust mask, ear muffs, safety goggles, and gloves. Prepping the deck and wearing proper gear helps you stay safe and ensures smoother, more efficient sanding from start to finish.
Step 2: Start Sanding with a Belt Sander

Begin the sanding process using a belt sander to tackle the main deck surface. Sand in the direction of the wood grain, never across it, as this can damage the boards permanently.
If the deck is in decent shape, a medium-grit sandpaper is used first. If your stain isn’t coming off or the boards are severely weathered, switch to a coarser paper, such as 40-grit.
Proceed at a slow pace and allow the sander to do the work without applying extra pressure.
Step 3: Switch to a Finishing Sander for Detail Work

Once the wide open areas are complete, switch to the finishing sander to clean up the board edges and spaces between planks.
This sander is lighter and easier to control, making it ideal for tighter areas. Continue to follow the grain, especially near corners and seams.
If needed, use hand sanding to reach awkward gaps or smooth small rough patches. This second round guarantees the deck has a flat surface and sets it up for a smooth, consistent finish.
Step 4: Clean Up the Surface
Now that sanding is complete, the final step is cleanup. Use a brush or broom to sweep away all the dust and sanding debris from the boards.
A dustpan helps collect loose grit and makes sure the deck is clear before sealing. Even after sweeping, some people prefer to lightly rinse the deck and let it fully dry before applying stain or sealant.
This step ensures your finishing coat adheres well and looks smooth and professional.
For more information, check out this video tutorial by Bunnings Warehouse.
Common Sanding Mistakes to Avoid
Sanding a deck might seem easy, but a few common missteps can affect the final result. Avoiding these mistakes saves time, reduces frustration, and helps you get a smooth, lasting finish.
- Skipping preparation: Failing to clean your deck before sanding can lead to clogged sandpaper and uneven results. Dirt and moisture interfere with sanding and ruin the surface. Always sweep, wash, and dry the deck thoroughly before starting.
- Sanding across the grain: Going against the wood grain causes scratches and gouges that won’t go away easily. These marks stay visible even after staining. Always sand in the same direction as the grain to prevent damage to the wood.
- Using fine grit too soon: Switching to fine grit before removing rough spots only smooths over the damage, not the underlying issues. This leaves old stain and splinters behind. Begin with a coarse grit and move up gradually for better control and finish.
Final Thoughts
When I first sanded my deck, I didn’t realize how much of a difference it would make.
The boards went from rough and dull to smooth and clean, ready for a fresh coat of stain. It felt like giving the entire space a new lease on life.
Taking the time to do it right made the finish last longer and reduced future upkeep.
The deck also became more comfortable to walk on, which I appreciated during the summer.
If sanding your deck feels like a step you can skip, trust me, it’s not. The time and care you put in now will pay off with a smoother finish and longer-lasting results.
I hope this guide made each step feel doable and gave you the confidence to get started.