
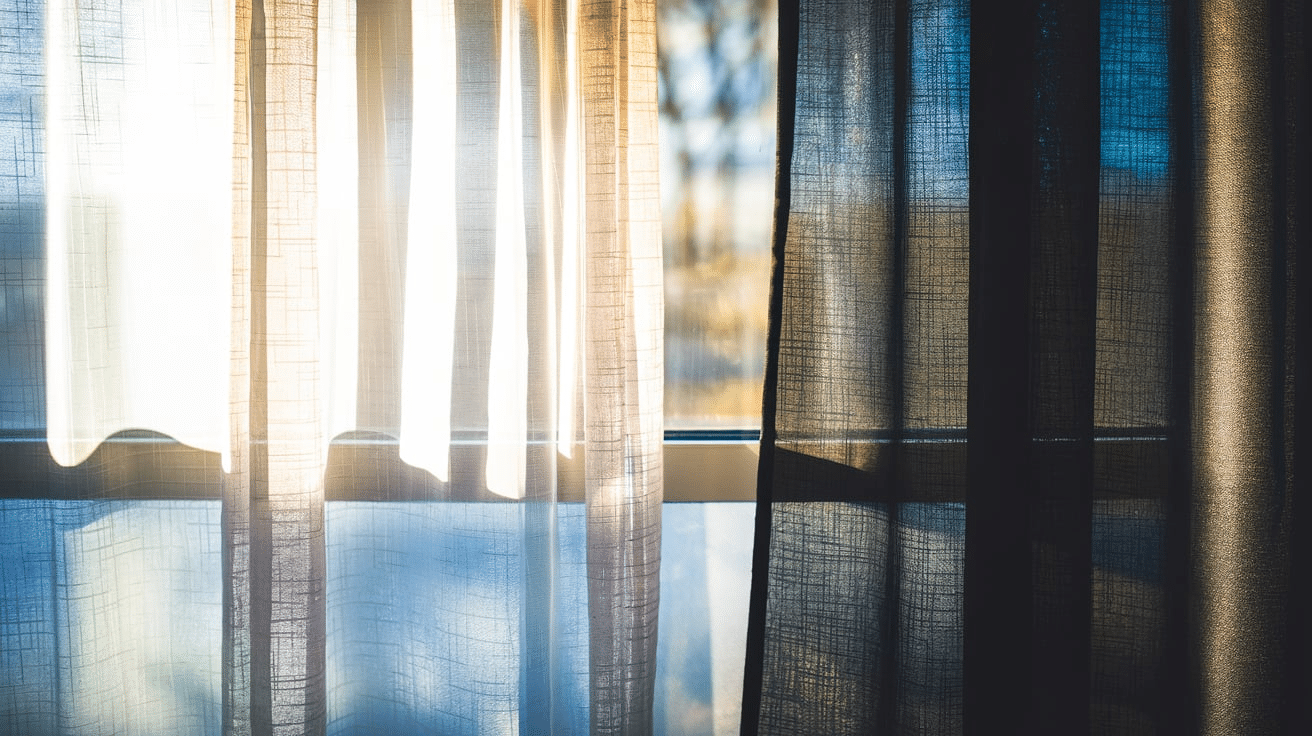
Are you trying to figure out the best way to hang both sheer and blackout curtains? I’ve been there too. After lots of trial and error in my own home, I discovered that layering these two types of curtains gives you complete control over light, privacy, and style.
In this guide, I’ll show you exactly how to combine these curtains on a single rod for a clean, professional look. You’ll learn which rods work best, the step-by-step hanging process, and styling tips that will transform your windows.
I’ve been decorating homes for over 10 years, and this approach has worked in dozens of rooms I’ve designed. If you’re dealing with a bedroom that needs better light blocking or a living room that could use more dimension, this article will solve your curtain dilemmas once and for all.
What’s the Difference Between Sheer and Blackout Curtains?
Sheer curtains are thin, lightweight fabrics that let light pass through. They give you:
- Privacy during daylight
- Soft, filtered sunlight
- A light, airy feel
Blackout curtains are made with thick, dense material that blocks light. They offer:
- Complete darkness when closed
- Better sleep quality
- Improved energy efficiency
- Protection for furniture from sun damage
- Sound reduction
The main difference is in their function: sheers diffuse light and provide basic privacy, while blackouts block light and add insulation.
Why Hang Both Curtains on One Rod?
I choose to hang both types on one rod because it gives me total control over my space. Here’s why this works so well:
- Flexibility: I can pull the sheers closed for daytime privacy while still letting in light.
- Temperature control: The blackouts help keep my room cooler in summer and warmer in winter.
- Look: The layered effect makes my windows look more complete and stylish.
- Space-saving: Using one rod instead of two takes up less wall space.
- Cost-effective: It’s cheaper than installing separate hardware for each curtain type.
This setup means I don’t have to choose between light, privacy, and style—I get all three!
What Kind of Curtain Rod Works Best?
For successful layering, the right rod makes all the difference. I recommend:
Double curtain rods – These have two separate tracks, one in front of the other, allowing each curtain to move independently.
Deep single rods – If you prefer a simpler look, choose a rod that extends at least 3-4 inches from the wall to accommodate both curtain types.
Important features to look for:
- Strong material: Choose metal rods that can handle the weight of multiple curtains
- Secure brackets: Make sure they extend far enough from the wall
- Smooth gliding rings or grommets: This makes opening and closing easier
- Width: The rod should extend 4-6 inches beyond your window frame on each side
For my home, I found that adjustable rods with decorative finials work best since they add a nice finishing touch.
How to Layer Sheer and Blackout Curtains on One Rod (Step-by-Step)
A detailed process for hanging both curtains on one rod:
Prepare Your Materials
Gather everything you need:
- Measuring tape
- Pencil for marking
- Level
- Drill with appropriate bits
- Screws and wall anchors
- Screwdriver
- Step ladder
- Curtain rod (either double rod or deep single rod)
- Blackout curtains
- Sheer curtains
- Curtain rings or clips (optional)
- Helper (optional but makes the job easier)
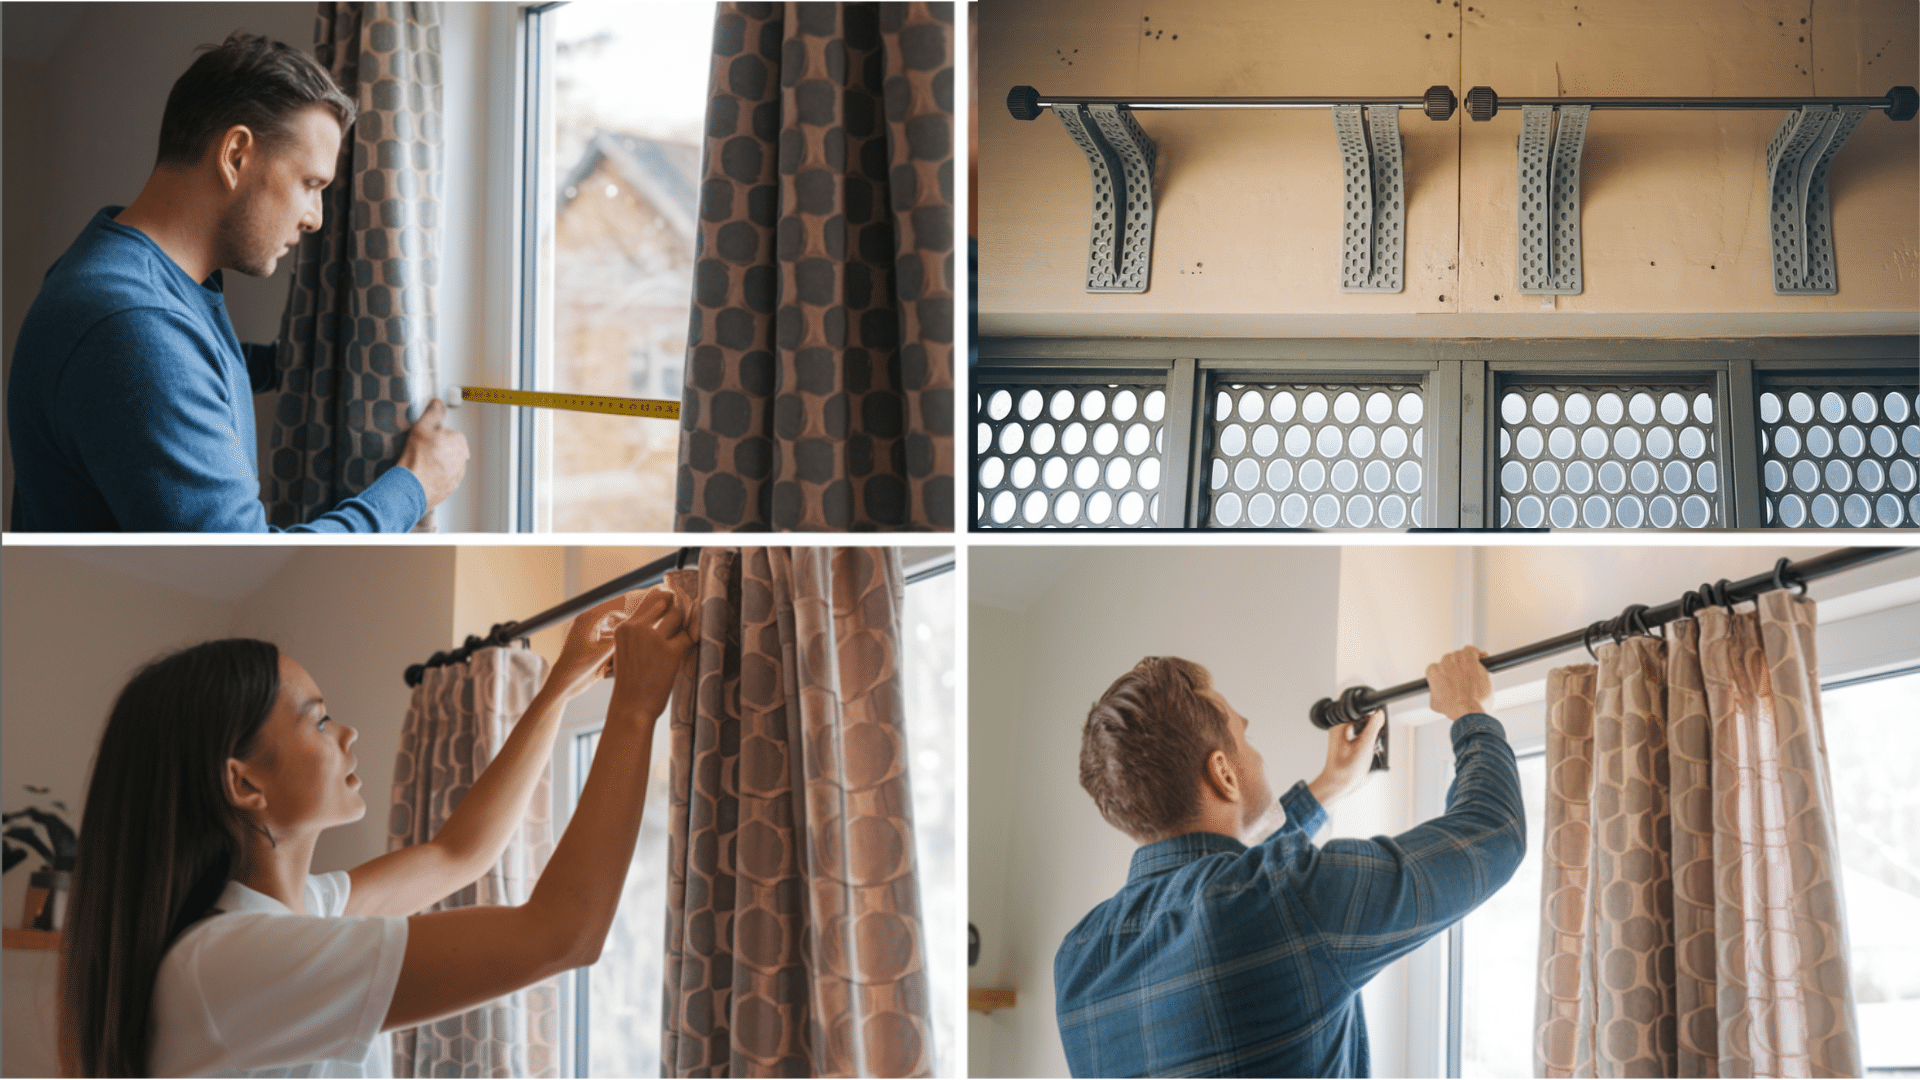
Measure Your Window Properly
Take accurate measurements:
- Measure the width of your window frame.
- Add 8-12 inches total (4-6 inches on each side) to allow curtains to extend past the window.
- For height, measure from where you want the rod (usually 4-6 inches above the window) to the floor.
- Subtract ½ inch from the height if you want curtains to hang just above the floor.
- Write down all measurements.
Mark and Install Brackets
Position your brackets correctly:
- Mark where your brackets will go with a pencil, ensuring they’re level.
- For standard windows, place brackets 4-6 inches above the window frame and 4-6 inches out from each side.
- Use a level to ensure your marks are even.
- If installing into drywall, use a stud finder to locate studs or install wall anchors.
- Drill pilot holes at your marks.
- Screw brackets into place firmly.
Prepare Your Curtains
Get curtains ready for hanging:
- Unpack and iron or steam both curtain types to remove wrinkles.
- If using clip rings, attach them evenly across the top of each panel (space them about 4 inches apart).
- For rod pocket curtains, make sure the pocket is open and ready for threading.
- Lay them out in order of how they’ll go on the rod.
Install the Blackout Curtains First
Thread blackouts onto the rod:
- For a double rod, use the back rod (closest to the wall).
- For a single rod, thread these first.
- Start from one end and work your way across.
- Make sure any pleats or folds face the same direction.
- Distribute the fabric evenly across the rod.
Add the Sheer Curtains Next
Thread sheers onto the rod:
- For a double rod, use the front rod.
- For a single rod, add these after the blackouts.
- Make sure they’re facing the correct direction (usually toward the room).
- Ensure even distribution of fabric.
Mount the Rod onto the Brackets
Secure everything in place:
- With help from another person, if possible, lift the rod with all curtains attached.
- Place each end securely into the brackets.
- Tighten any set screws on the brackets to hold the rod in place.
- Stand back and make sure everything looks level.
Adjust the Curtain Length
Fine-tune the positioning:
- Let curtains hang freely and check their length.
- Adjust the rod height if needed.
- For curtains that are too long, consider hemming or using hem tape.
- Make sure both curtain types hang at your desired length (either just touching the floor or with a slight puddle).
Style Your Curtains
Create the finished look:
- Spread both curtain types evenly across the rod when open.
- Adjust the folds to create an even, pleated appearance.
- If using tiebacks, install them at about 2/3 of the way up from the floor.
- Step back and make any final adjustments for symmetry.
Pro tip: Take a photo of your window from across the room to see it from a different perspective. This often reveals needed adjustments.
Should the Sheer Go In Front or Behind?
This is really about personal preference, but here’s what I’ve found works best:
Sheers in front (toward the room):
- Creates a softer, layered look
- Makes it easier to close just the sheers during the day
- Protects blackout curtains from dust
Sheers behind (toward the window):
- Gives a more formal, clean appearance
- Makes the blackouts the star of the show
- Works better if your blackouts have a pattern you want to highlight
I personally prefer sheers in front because I use them more during the day, making them easier to access.
Styling Tips to Make It Look Put Together
To make your layered curtains look intentional rather than messy:
- Match or contrast wisely. I like to use sheers that are a lighter shade of my blackout color. For example, light gray sheers with charcoal blackouts.
- Consider your hardware. The rod and finials should match other metal elements in your room.
- Use the right fullness. For a full look, each curtain panel should be 1.5-2 times the width of your window.
- Try tiebacks. When open, use decorative tiebacks to hold both layers back neatly.
- Add texture. Different textures create visual interest—like linen sheers with velvet blackouts.
The goal is to make the window treatment look planned and balanced with the rest of your room.
Common Mistakes
I’ve made some errors in my curtain journey that you can avoid:
- Wrong Rod Depth – Make sure your rod extends far enough from the wall to hold both curtain types comfortably.
- Too Short or Too Long – Measure twice, buy once! Curtains that don’t reach the floor look unfinished.
- Bad Proportions – Don’t skimp on width. Too-narrow curtains look cheap and won’t block light properly when closed.
- Hanging Too Low – Install your rod high above the window to create the illusion of taller ceilings.
- Ignoring Care Instructions – Some blackout curtains need special cleaning. Check the label before washing.
- Mismatched Rings/hooks – Use the same hanging method for both curtain types for a cleaner look.
Where This Setup Works Best
I’ve found that layered curtains work especially well in these spaces:
- Bedrooms – Get the perfect balance of light control for sleeping and waking.
- Living rooms – Adjust the light throughout the day as needed.
- Home offices – Reduce screen glare while maintaining a pleasant atmosphere.
- South-facing rooms – Control harsh direct sunlight without losing natural light.
- Spaces needing visual warmth – Adding layers of fabric can make a stark room feel cozier.
This setup is less ideal for kitchens or bathrooms where moisture can damage fabrics, and you want simpler solutions.
Conclusion
I started this curtain project because I wanted both light control and style. After trying this layering method, I’m amazed by how much better my windows look and function. With the right materials, you can easily do this yourself in a single afternoon. The best part? You’ll have windows that give you exactly what you need at any time of day.
If you’re struggling with too much light, not enough privacy, or just plain boring windows, try this double-curtain method. It’s been a game-changer in my home, and I’m confident it will be in yours, too. The right window treatment changes everything!
Frequently Asked Questions
What’s the Ideal Length Difference Between Sheer and Blackout Curtains?
I recommend keeping both curtains the same length for a clean look. If you want variation, make sheers 1-2 inches longer than blackouts for a soft layered effect.
How Do I Prevent Double Curtains from Looking Bulky when Open?
To create an elegant drape, use tiebacks positioned at the right height (about 2/3 up from the floor). Choose slim fabrics for sheers to reduce overall bulk.
Can I Mix Different Hanging Styles, Like Rod Pocket Sheers, with Grommet Blackouts?
It’s best to use the same hanging method for both curtains. Different styles can create uneven heights and make operations more difficult.
How Far Apart Should the Curtain Panels Be Spaced when Open?
Space them so they frame about 1/3 of the window on each side. This maximizes light while maintaining the decorative effect of your curtains.
What’s the Best Color Combination for Small Rooms?
Use light-colored sheers and blackouts in a similar tone to the wall color. This creates depth without making the space feel smaller or chopped up.