
Do you know what makes your Mercedes wheels stay firmly on your car?
I often get asked about bolt patterns, and many car owners feel puzzled about this essential part.
The truth is that putting the wrong wheels on your Mercedes can cause serious problems – from poor handling to safety risks.
But don’t worry! I’ve spent years working with different Mercedes models, and I’m here to help you understand everything about bolt patterns.
In this guide, I’ll share the exact measurements you need, show you how to check your current pattern, and help you pick the right wheels for your specific Mercedes model.
Let me walk you through what makes Mercedes bolt patterns unique.
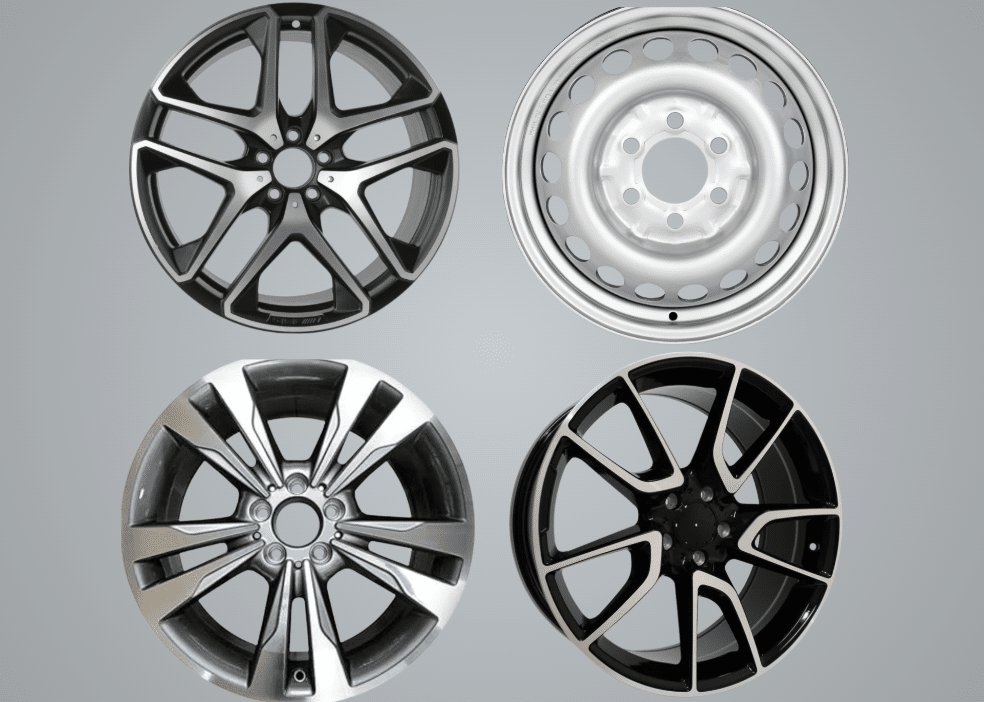
What Is the Bolt Pattern for Mercedes?
A bolt pattern refers to the arrangement of bolt holes on a wheel hub.
The bolt pattern for most Mercedes-Benz vehicles is 5×112, which means the wheel hub has five bolt holes arranged in a 112mm diameter circle.
This measurement is critical for ensuring a secure fit between the wheel and the hub.
However, some Mercedes models, like the G-Class, have a different bolt pattern, 5×130. These numbers indicate the lug count and the diameter of the bolt circle.
Proper measurement is essential not only for the aesthetics of your car but also for maintaining safety and performance.
A correct bolt pattern ensures the wheels are securely attached to the hub, minimizing the risk of instability or accidents.
Understanding Mercedes Bolt Patterns
Mercedes bolt patterns are crucial to ensure proper wheel fitment and compatibility.
Bolt patterns are a critical specification that directly impacts your vehicle’s wheels’ safety, performance, and fit.
Common Mercedes Bolt Patterns:
5×112:
- Found on most Mercedes sedans, coupes, and SUVs.
- Ensures compatibility with standard OEM wheels.
5×130:
- Typically used on larger vehicles like the G-Class and Sprinter.
- Requires specific wheels or adapters for compatibility.
Why is the Bolt Pattern Important?
- Ensures the wheel fits securely on the hub.
- Prevents issues like wheel instability or vibration.
- Critical for maintaining vehicle safety and performance.
Ensuring Compatibility with Mercedes Bolt Patterns
Adapting Wheels for Different Bolt Patterns
- Use wheel adapters to bridge incompatible bolt patterns (e.g., 5×112 to 5×130).
- Ensure adapters are high-quality and hub-centric for safety and stability.
- Check for proper offset and wheel size when using adapters.
Tips for Ensuring Compatibility
- Always verify the bolt pattern before purchasing aftermarket wheels.
- Consult your vehicle’s manual or a professional to confirm specifications.
- Use hub-centric spacers to eliminate gaps and ensure a precise fit.
- Check the wheel offset to ensure it matches your vehicle’s requirements.
- Ensure the thread size and center bore align with your Mercedes model.
- Opt for high-quality adapters if switching between different bolt patterns.
List of The Correct Bolt Pattern for A Different Mercedes Model
| Model | Model Year | Bolt Pattern | Center Bore (mm) | Thread Size | Wheel Torque (Nm) |
|---|---|---|---|---|---|
| A-Class | 1997–2004 | 5×112 | 66.6 | M12x1.5 | Unknown |
| A-Class | 2005–2012 | 5×112 | 66.6 | M14x1.5 | Unknown |
| A-Class | 2013–2017 | 5×112 | 66.6 | M14x1.5 | Unknown |
| A-Class | 2018–Present | 5×112 | 66.6 | M14x1.5 | 125 |
| AMG GT | 2014–Present | 5×112 | 66.6 | M14x1.5 | 180 |
| C-Class | 1993–2007 | 5×112 | 66.6 | M12x1.5 | 110 |
| C-Class | 2007–Present | 5×112 | 66.6 | M14x1.5 | 130 |
| G-Class | 1979–Present | 5×130 | 84.1 | M14x1.5 | 130 |
| Sprinter | 1995–Present | 5×130 | 84.1 | M14x1.5 | Unknown |
| CLA-Class | 2013–Present | 5×112 | 66.6 | M14x1.5 | Unknown |
| E-Class | 1993–Present | 5×112 | 66.6 | M12x1.5 | 110 |
| EQA | 2021–Present | 5×112 | 66.6 | M14x1.5 | 150 |
| EQB | 2021–Present | 5×112 | 66.6 | M14x1.5 | 150 |
| GLC-Class Coupe AMG | 2016–Present | 5×112 | 66.6 | M14x1.5 | Unknown |
| X-Class | 2017–Present | 6×114.3 | 66.1 | M12x1.25 | 135 |
How to Identify the Correct Bolt Pattern for A Specific Mercedes Model
1. Locate the Vehicle Manual
- Refer to the owner’s manual for wheel specifications.
- Look for the bolt pattern under “Wheel and Tire Information.
2. Understand the Bolt Pattern Format
A bolt pattern is represented as 5×112 (example):
- 5: Number of bolt holes.
- 112: Diameter of the bolt circle in millimeters.
3. Check the Center Bore and Thread Size
- Center bore: The hole in the center of the wheel hub.
- Common sizes for Mercedes are 66.6 mm and 84.1 mm.
- Thread size varies (e.g., M14x1.5).
4. Consult a Professional or Online Database
- Use certified sources or consult with a fitment expert.
- Use online tools to input your vehicle’s make, model, and year.
5. Measure Manually if Necessary
- Count the number of bolt holes.
- Measure the diameter of the circle formed by the bolt holes.
Tools You Can Use:
- Bolt pattern gauge.
- Ruler or measuring tape (in millimeters).
Quick Tip:
When upgrading or replacing wheels, confirm compatibility with the bolt pattern, center bore, and offset to ensure safety and performance.
Comparisons Between Mercedes’s and Other Brands’ Bolt Patterns
| Brand | Bolt Pattern | Center Bore (mm) | Thread Size | Approximate Price (per wheel) | Compatibility |
|---|---|---|---|---|---|
| Mercedes | 5×112 | 66.6 | M12x1.5/M14x1.5 | ₹20,000–₹50,000 | Common across sedans and SUVs like C-Class, E-Class, and GLC-Class. Known for precision and durability. |
| BMW | 5×120 | 72.6 | M14x1.5 | ₹25,000–₹55,000 | Typically, it is not interchangeable with Mercedes due to different bolt patterns and hub sizes. |
| Audi | 5×112 | 66.5 | M14x1.5 | ₹20,000–₹45,000 | It shares the same bolt pattern as Mercedes but may have offset and bore size variations. |
| Volkswagen | 5×112 | 57.1 | M14x1.5 | ₹18,000–₹40,000 | It is compatible with some Mercedes models but requires careful offset matching. |
| Toyota | 5×114.3 | 60.1 | M12x1.5 | ₹15,000–₹35,000 | It is incompatible with Mercedes due to different bolt patterns and smaller center bore. |
| Ford | 5×114.3 or 6×139.7 | 70.3 | M12x1.5/M14x1.5 | ₹12,000–₹30,000 | Larger bolt patterns are mostly incompatible with Mercedes vehicles. |
| Nissan | 5×114.3 | 66.1 | M12x1.5 | ₹14,000–₹28,000 | Compatible only through adapters due to differences in bolt patterns. |
How to Change Wheels Based on Mercedes Bolt Pattern

Changing wheels on a Mercedes requires careful attention to the bolt pattern to ensure a secure and proper fit.
Follow this step-by-step guide to make the process smooth and effective.
Step 1: Verify the Bolt Pattern
- Check the owner’s manual for the correct bolt pattern, such as 5×112 or 5×130.
- Match the new wheels with the specified bolt pattern, offset, and center bore size.
- Consult a professional or online fitment database for confirmation.
- Avoid using wheels with multiple bolt patterns, as these are not OEM-grade.
Step 2: Gather Necessary Tools
- A lug wrench or socket set for loosening and tightening nuts.
- Torque wrench to ensure proper tightening.
- Jack and Jack stands for vehicle lifting and stability.
- Anti-seize compound to prevent bolts from seizing (optional).
- Gloves are needed for safety, and a cleaning cloth is required for preparation.
Step 3: Prepare the Vehicle
- Park the car on a level surface and engage the parking brake.
- Slightly loosen the lug nuts before raising the vehicle.
- Gather all required tools within easy reach to streamline the process.
- Double-check the stability of the parking brake to avoid accidental movement.
Step 4: Lift the Car Safely and Remove the Old Wheels
- Use a jack to lift the car and secure it with jack stands for safety.
- Ensure the vehicle is stable and level before proceeding.
- Unscrew the loosened lug nuts using a lug wrench or socket.
- Gently pull off the old wheels to avoid damaging the hub or threads.
Step 5: Inspect the Hub and Bolts
- Remove any rust, debris, or dirt from the hub using a brush or cloth.
- Check bolts for signs of wear, damage, or corrosion.
- Replace any damaged bolts to ensure proper wheel installation.
- Confirm that the hub is clean and dry before proceeding to install new wheels.
- Apply a small amount of anti-seize compound to the bolt threads to prevent seizing and ease future removal.
Step 6: Install the New Wheels
- Align the new wheel with the hub, ensuring the bolt pattern matches exactly.
- Hand-tighten the lug nuts to avoid cross-threading.
- Use a lug wrench to secure the nuts loosely before final tightening.
- Double-check the wheel alignment before proceeding further.
Step 7: Tighten the Lug Nuts in a Star Pattern
- Use a torque wrench to tighten nuts to the manufacturer’s recommended torque.
- Follow a star or crisscross pattern to distribute pressure evenly.
- For security reasons, recheck all nuts after initial tightening.
- Avoid over-tightening, which could damage the bolts or wheel.
Step 8: Lower the Vehicle and Final Check
- Carefully lower the car using the jack, ensuring smooth and controlled descent.
- Recheck lug nut torque once the vehicle is fully grounded.
- Take the car for a short drive to confirm wheel stability.
- Perform a final inspection of the wheels and bolts after the test drive.
- Listen for unusual noises or vibrations during the test drive, indicating potential issues.
- Check the alignment and balance of the wheels to ensure smooth operation.
These steps ensure a safe and secure wheel replacement, maintaining optimal performance and safety.
How to Maintain Bolt Patterns on Your Mercedes
Maintaining the bolt patterns on your Mercedes is essential to ensure proper wheel alignment, safety, and performance.
Follow these straightforward tips to keep your bolt patterns in top condition.
- Regularly inspect wheel bolts for wear or damage.
- Tighten bolts to the recommended torque specifications.
- Use high-quality, rust-resistant bolts to prevent corrosion.
- Clean the hub area and bolt holes during tire changes.
- Avoid over-tightening to prevent thread damage.
- Replace damaged or stripped bolts promptly.
- Use hub-centric spacers for precise fitment when using aftermarket wheels.
- Ensure wheels are balanced and aligned correctly.
These simple steps will help maintain your Mercedes’s bolt pattern integrity and ensure a safe, smooth driving experience.
Conclusion
Now you know all about Mercedes bolt patterns – from basic measurements to proper maintenance.
Getting this right makes a big difference in how your car handles and keeps you safe on the road.
When you work on your wheels next time, remember to check those measurements twice and keep your bolt pattern clean.
Looking for info about other car brands? I’ve got you covered! Check out my other detailed guides:
- “Ford Focus Bolt Pattern: Complete Guide & Tips”
- “Volkswagen Bolt Pattern: Everything You Need to Know”
- “Honda CRV Bolt Pattern: Simple Breakdown”