
Does your backyard pond seem lifeless? A waterfall might be just what you need. Adding flowing water to your pond does more than look good. Pond waterfalls mix air into the water, stop green algae from taking over, and keep bugs away. Plus, the gentle sound of falling water can make your yard feel like a calm forest.
Many pond owners struggle with fish that don’t have enough oxygen, dirty water, and mosquitoes making themselves at home. Whether you’re aiming to create the dream pond in your backyard you’ve always wanted or simply improve your current setup, this guide has you covered.
In this blog, we’ll learn how you can combat these issues while creating an attractive and functional piece in your backyard. We’ll also look at the best option for backyard pond waterfalls and provide detailed steps for installation.
Let’s get into it!
Pond Waterfall: A Key to Your Backyard Landscaping
Many pond owners start with big hopes but end up with green, smelly water and mosquitoes instead of a calm spot to enjoy. The main problem? Water that doesn’t move. Still water quickly turns dirty and can hurt your fish, making many people quit due to the work involved.
A waterfall solves this by creating natural water movement. The POPOSOAP Waterfall Bucket Kit makes this easy, even for beginners. It’s perfect for small ponds and simple setups.
You don’t need to be rich or know everything about water. This kit can make your pond the peaceful space you wanted from day one. But, is it actually relevant to your pond’s overall look and needs?
Let’s take a deeper look at what it actually offers.
Unboxing & First Impressions
Here’s what to expect when you open your POPOSOAP Waterfall Bucket and how it might help your water garden.
What’s Inside the POPOSOAP Pond Waterfall Kit
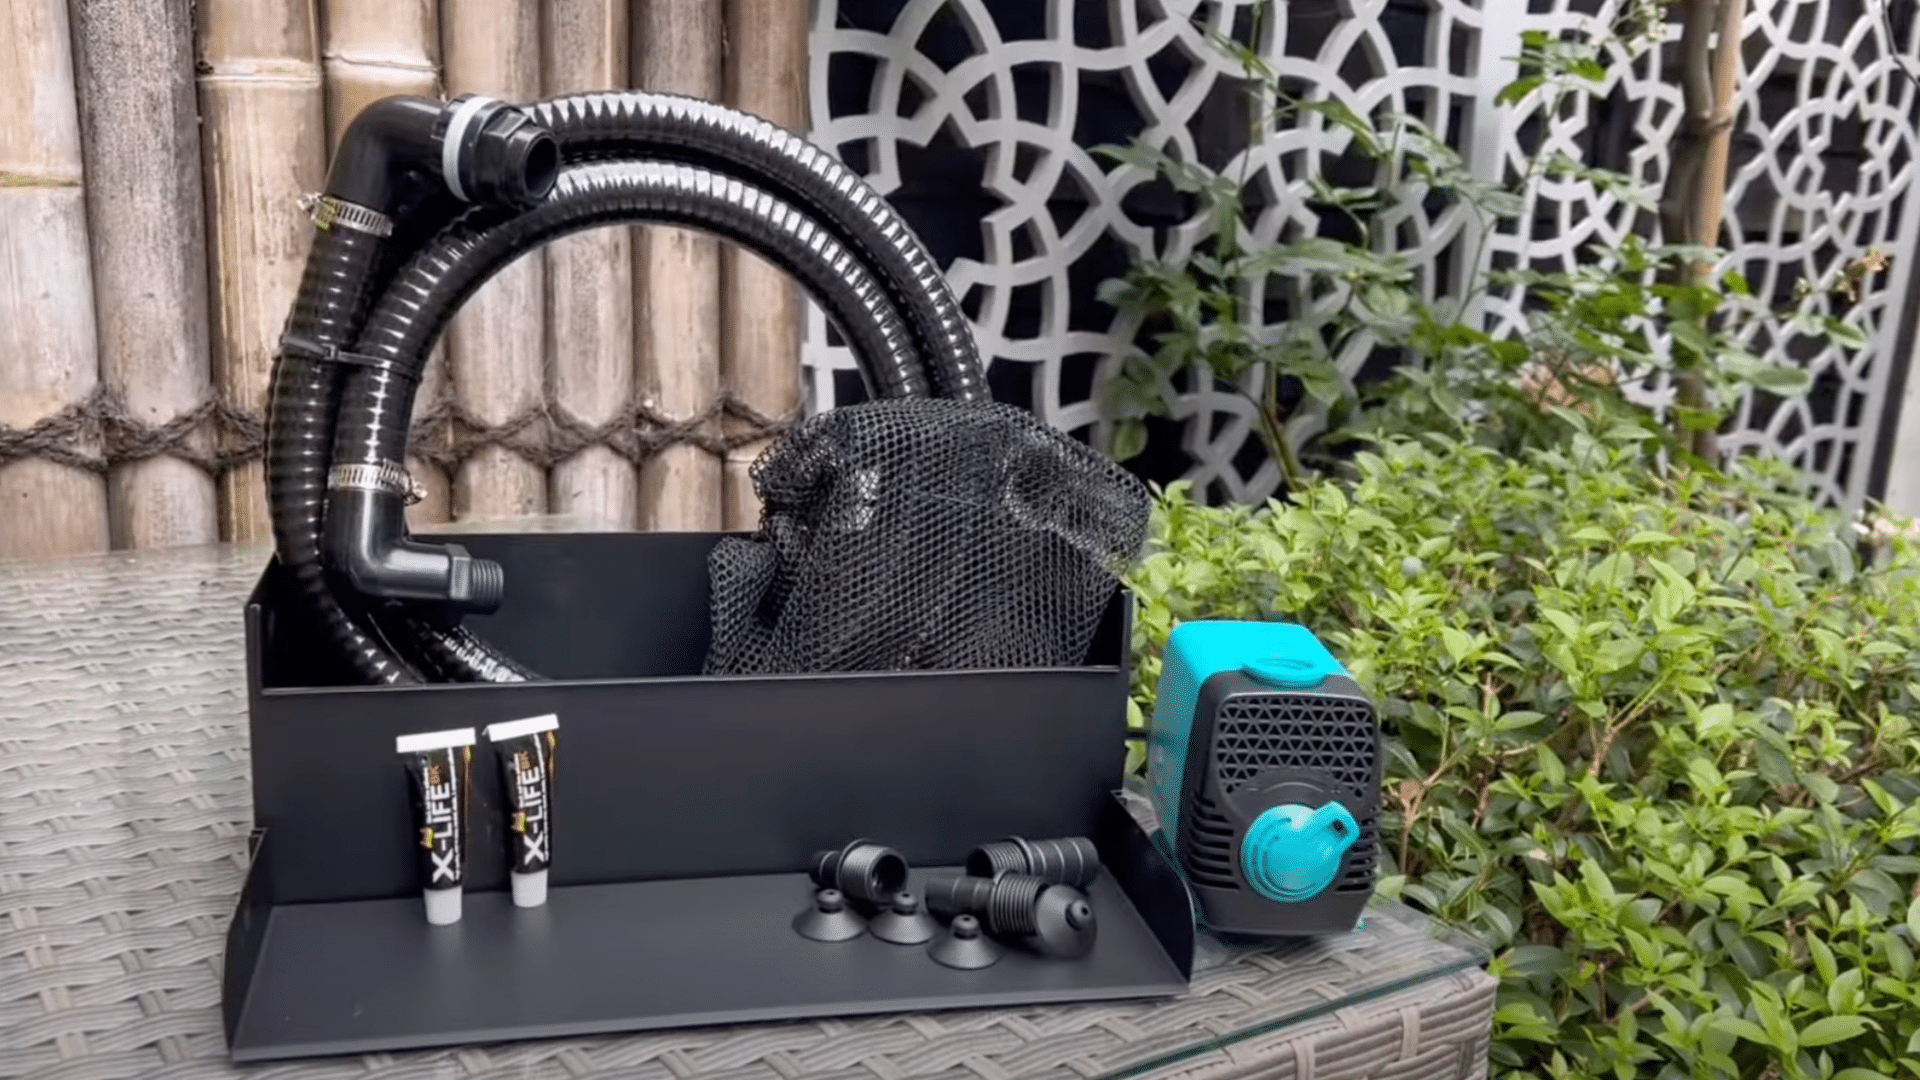
Your package will arrive with everything you need to get started right away.
- 40W Pump: A compact 40-watt pump moves water at 660 gallons per hour.
- Mesh Cover: This prevents clogging
- 9.8-Foot Hose: Ready to use with watertight fixtures already attached to both ends.
- Two Tubes of Silicone Adhesive: Professional-grade waterproof silicone that ensures a tight seal where you need it.
- Waterfall Bucket with Built-In Spillway: Made of strong, durable plastic that sits securely at your pond’s edge.
With all these quality components in hand, you’re ready to start with the quick sample guide. In the following segment, I have detailed a comprehensive, step-by-step process to get started on offering your backyard a whole new look.
How to Install a Pond Waterfall Bucket: Step-by-Step Guide
We’ve broken down the process into simple steps that anyone can follow.
1. Attach the Hose to the Spillwa
- Push the 9.8 ft hose firmly into the round spillway opening until you feel resistance
- Turn the pre-fitted connectors clockwise until hand-tight to create a complete water seal
2. Apply Silicone Adhesive
- Open one silicone tube by cutting the tip at a 45-degree angle for better control
- Apply a 1/8 inch thick line of silicone along the complete inner edge where spillway meets the bucket
- Let the silicone set for 5 minutes before handling to start the bonding process
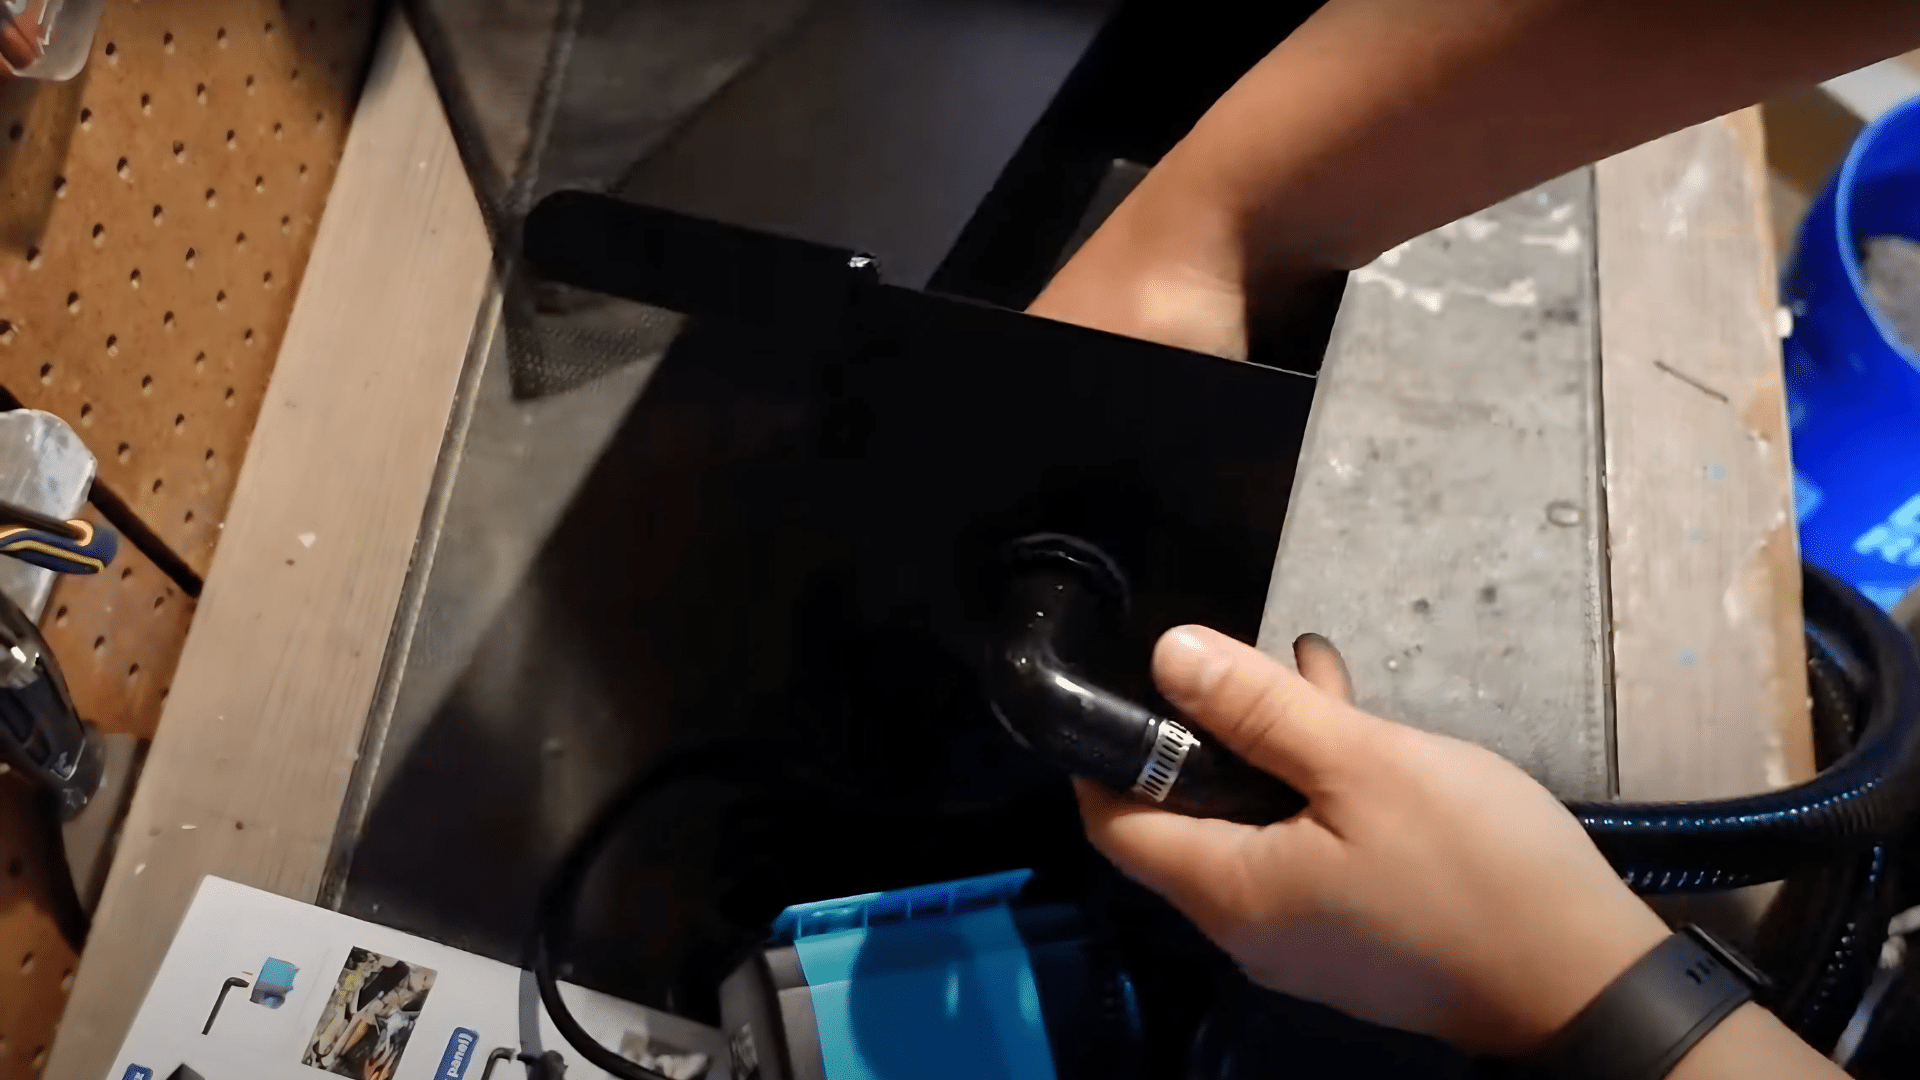
3. Set the Spillway Into the Bucket
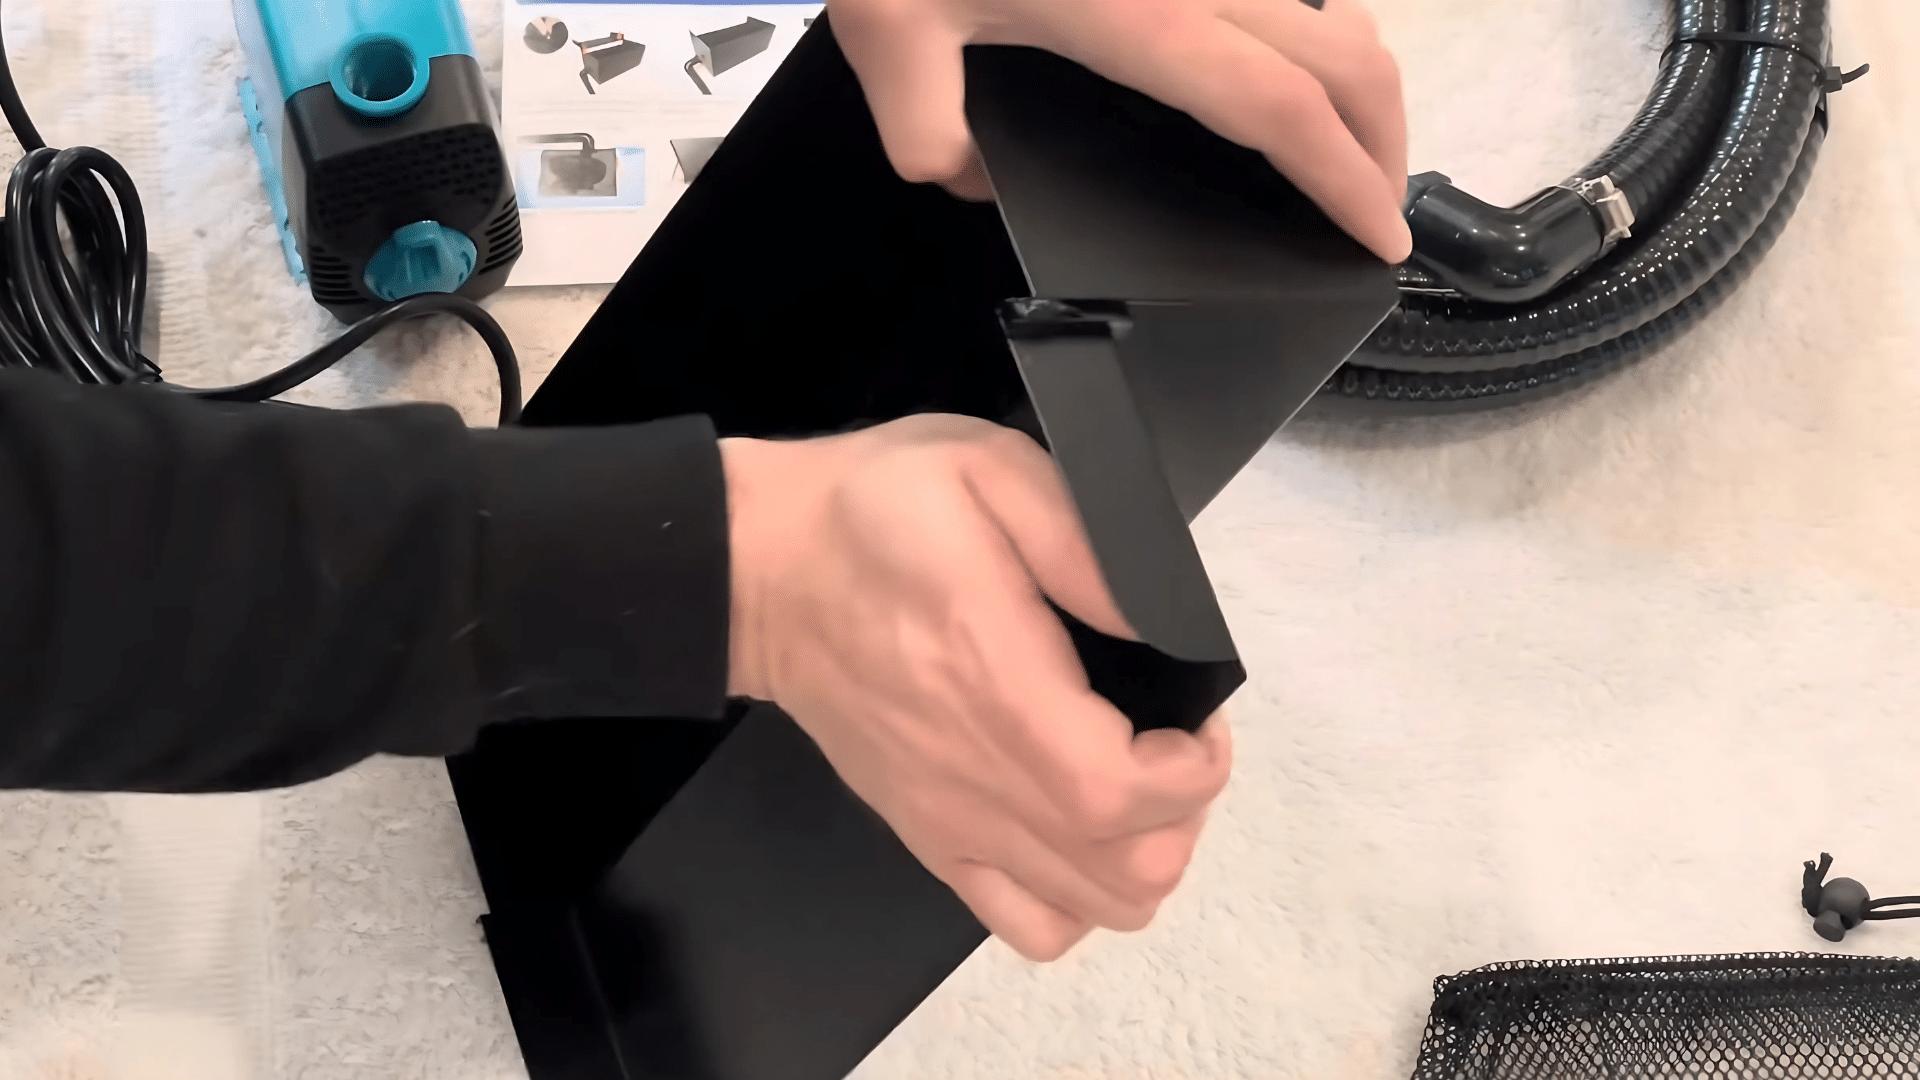
- Align the spillway with the bucket opening, matching up the curved edges exactly
- Press down with even pressure until the spillway sits flush with the bucket rim
- Hold in place for 30 seconds, then let it rest undisturbed for 15 minutes
4. Connect the Hose to the Pump
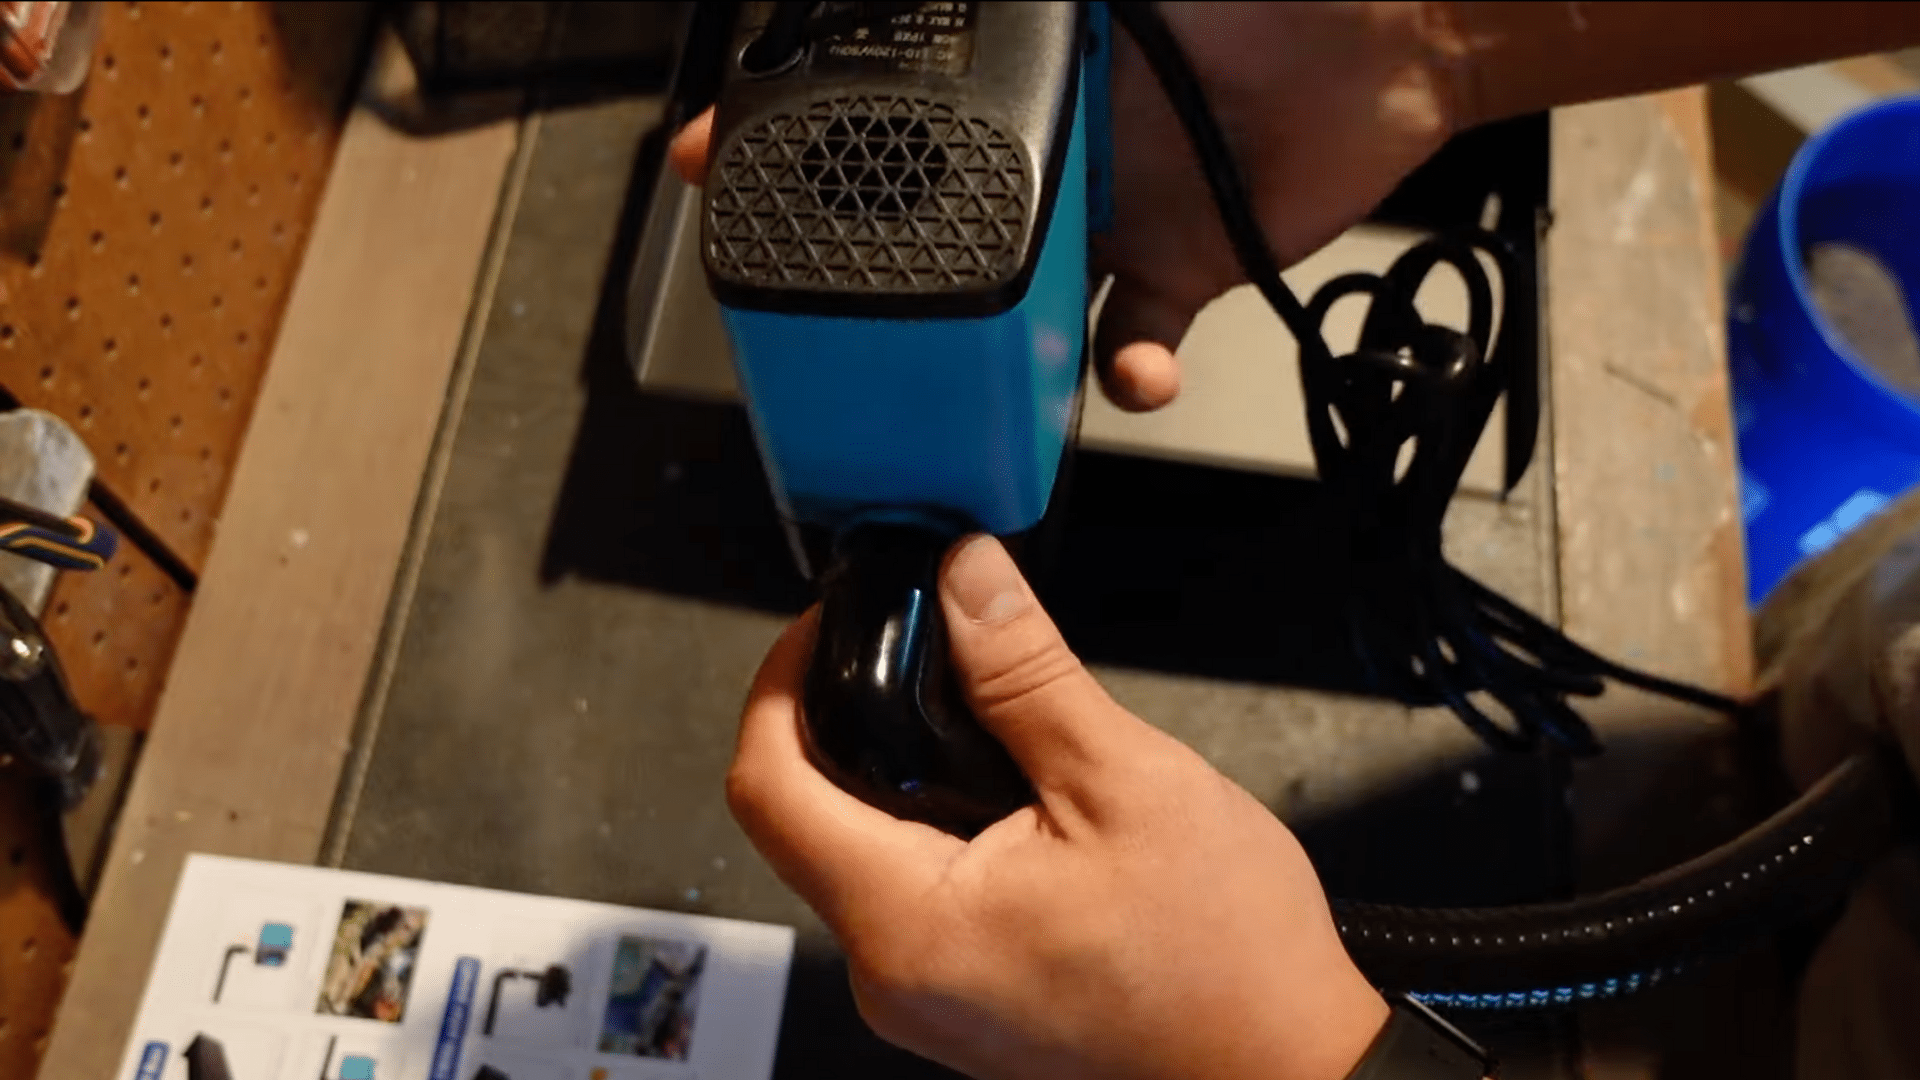
- Slide the loose end of the hose onto the pump’s outlet port until it covers the ridged portion
- If the hose is stiff, dip the end in hot tap water (not boiling) for 30 seconds to soften it
- Secure with the included hose clamp- your kit provides one
5. Place the Pump in the Pond
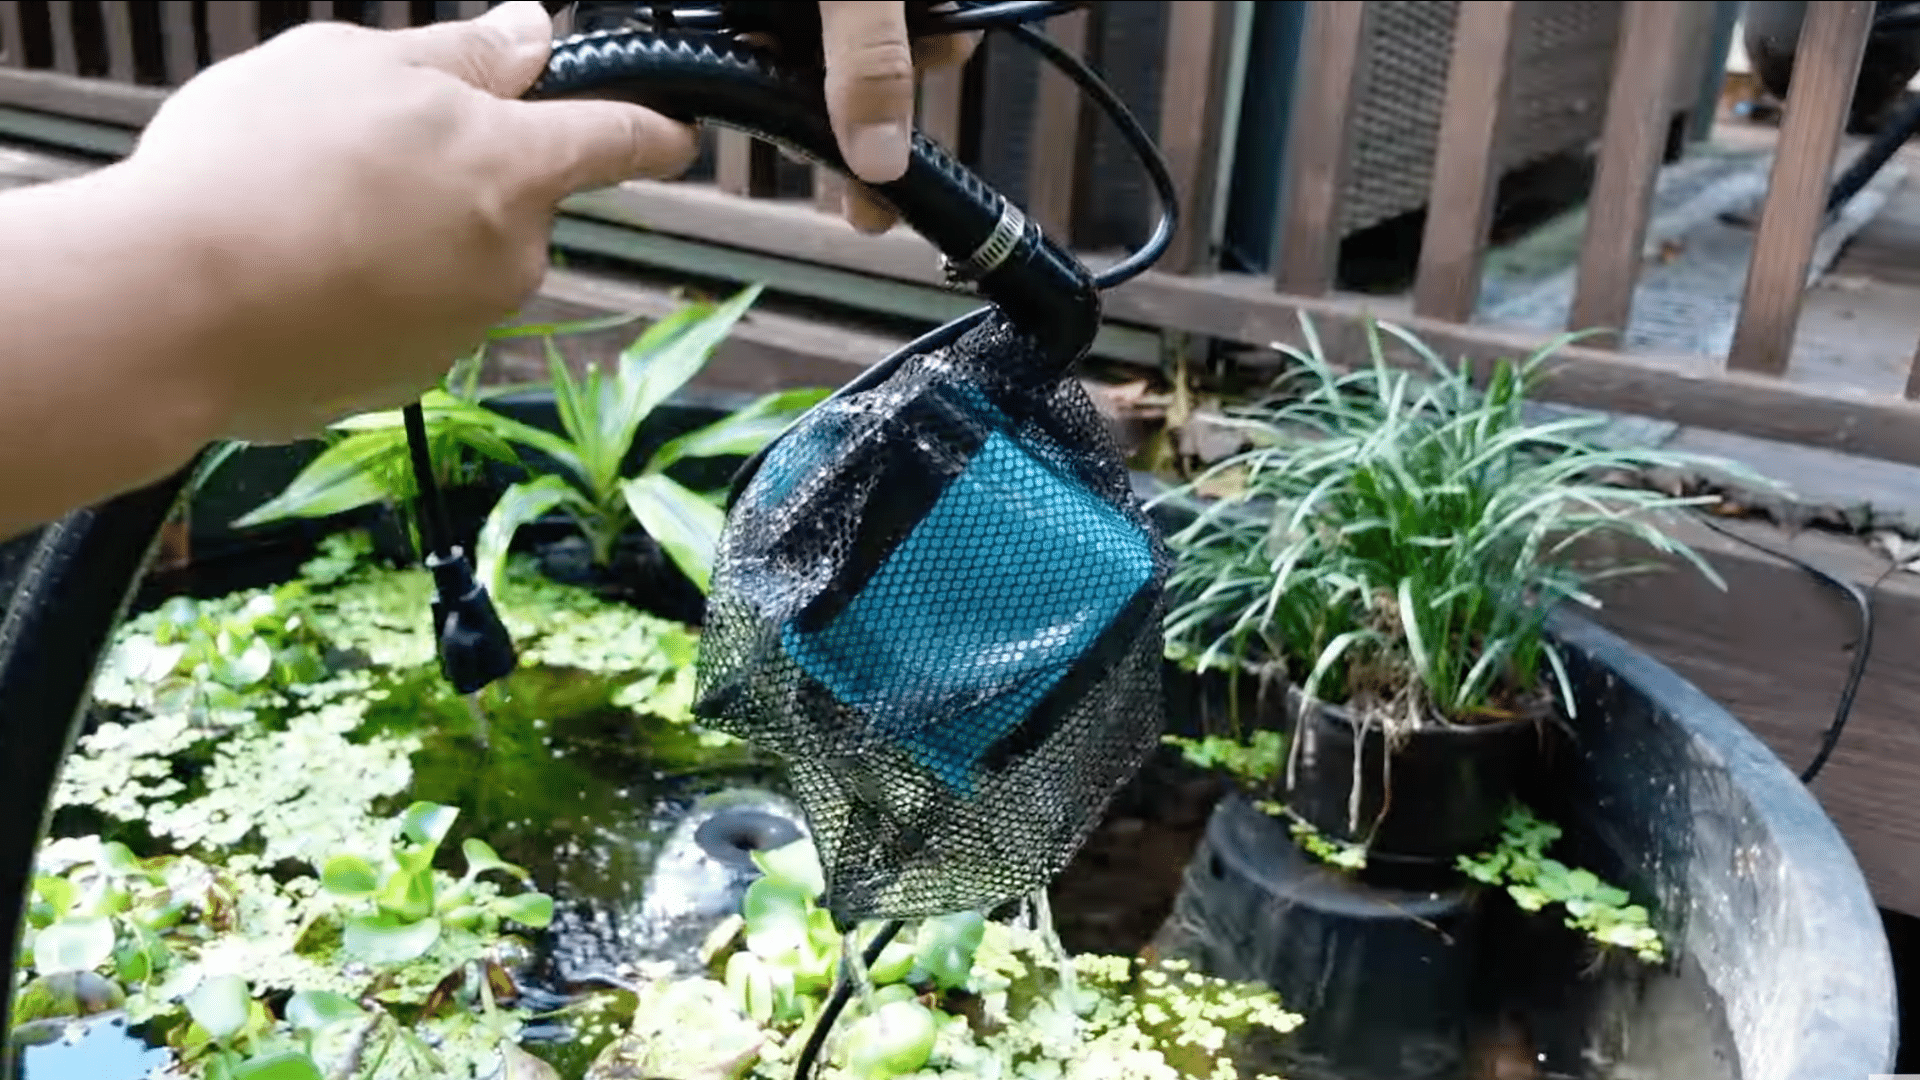
- Fully submerge the 40W pump in the deepest part of your pond, at least 6 inches underwater
- Position it on a flat stone or stable surface away from excess mud and debris
- Ensure that the mesh is put on correctly before submersion
6. Power On & Enjoy

- Connect the pump to an outdoor electrical outlet
- Watch for water loss from splashing, you can put rocks in the bucket to reduce splashing
The perfect flow creates a pleasing sound without losing water. Turn on the power and watch your DIY waterfall system to enjoy soothing sound that makes waterfalls so appealing.
For a detailed clarity, watch The DIrty Tank’s YouTube Video to see it being installed in action.
Pro Tips for Pond Waterfall Installation
Position your waterfall to create circular water movement—this helps spread oxygen throughout the entire pond.
Place small rocks and pebbles around the bucket’s edges to hide any plastic parts. Add water-loving plants like ferns or mosses near the edges too.
Place a couple of larger stones in the spillway path to create multiple mini-falls and interesting water patterns.
How Installing a Waterfall Transforms Your Pond
Here’s what you can expect after you get everything up and running.
Before Installing a Pond Waterfall
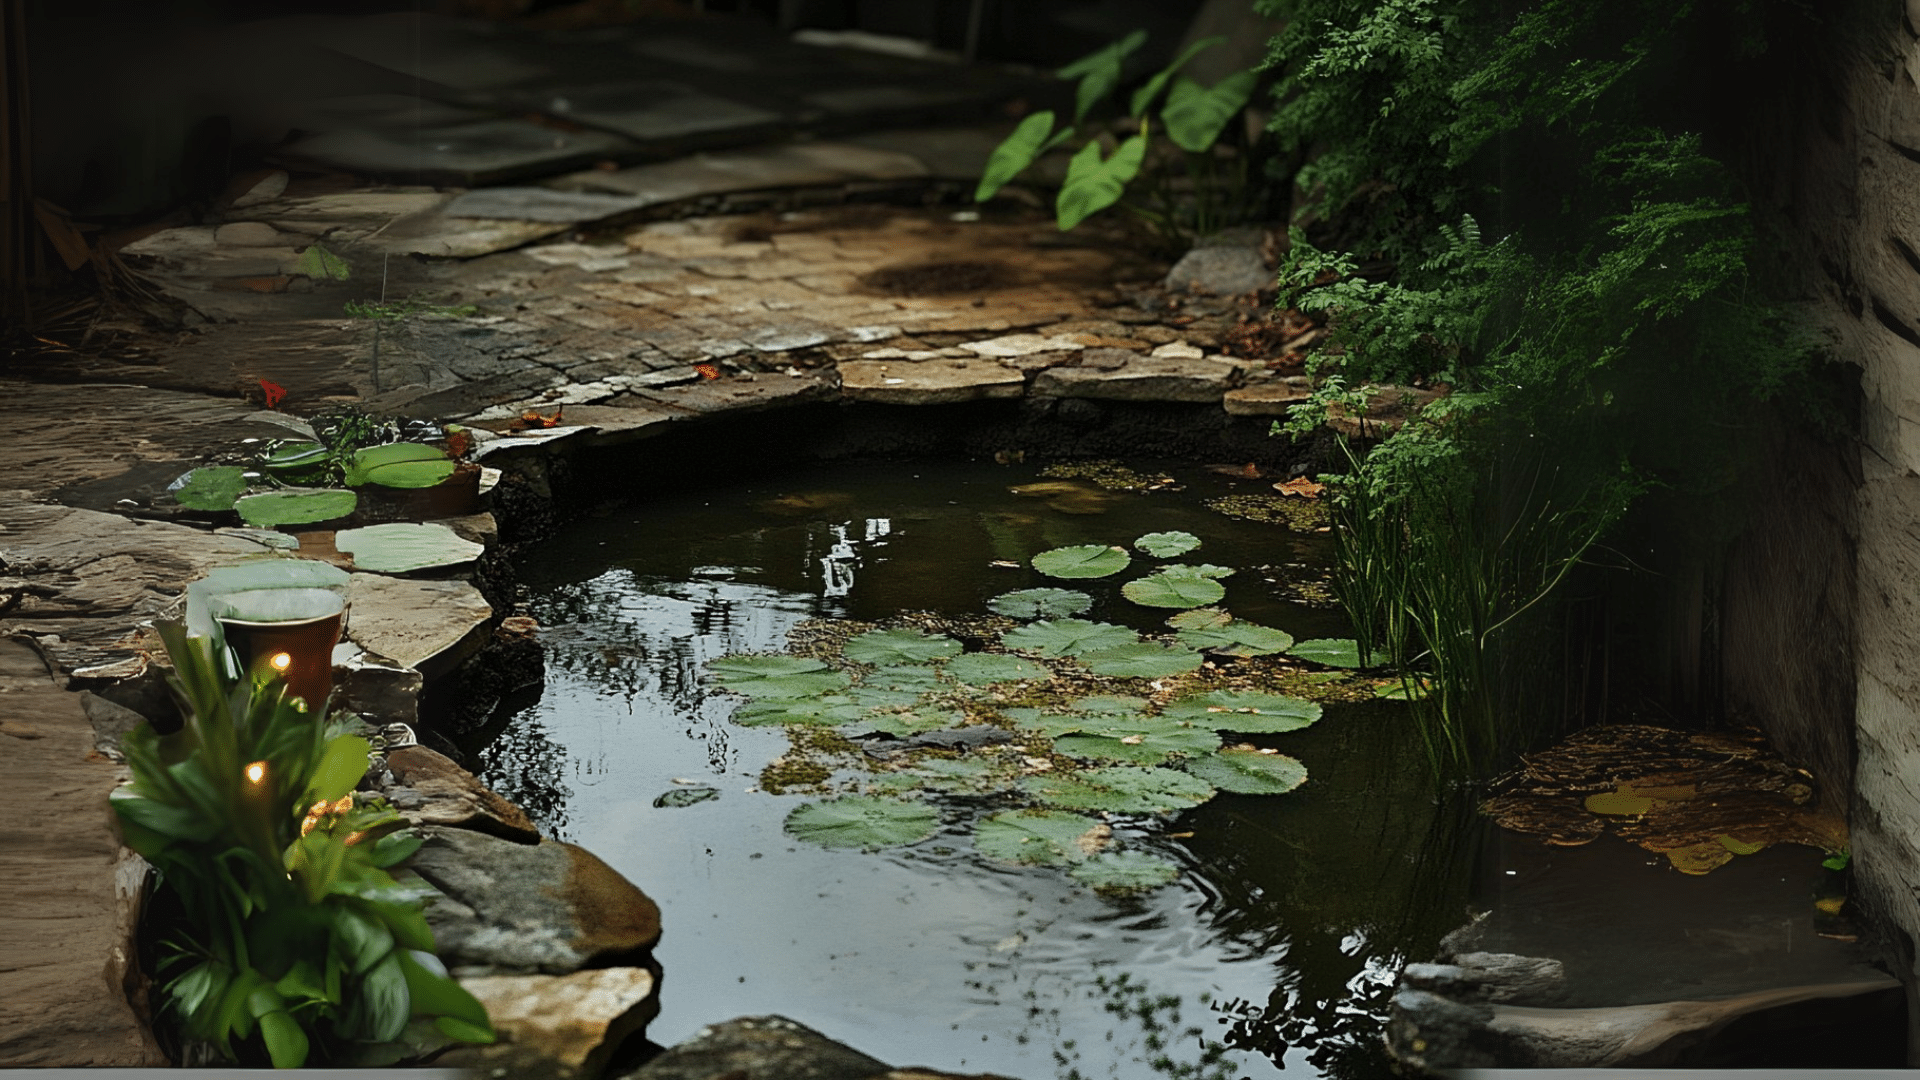
Look at the starting point in these photos! My pond water just sat there looking flat and boring. The surface was still, making it hard to see my fish swimming below. Without movement, debris would collect on top and the water often looked murky.
I had to clean the pond more often, and my fish seemed less active in the stagnant water. Visitors barely noticed the pond since it looked more like a puddle than a water feature.
After Using the POPOSOAP Bucket
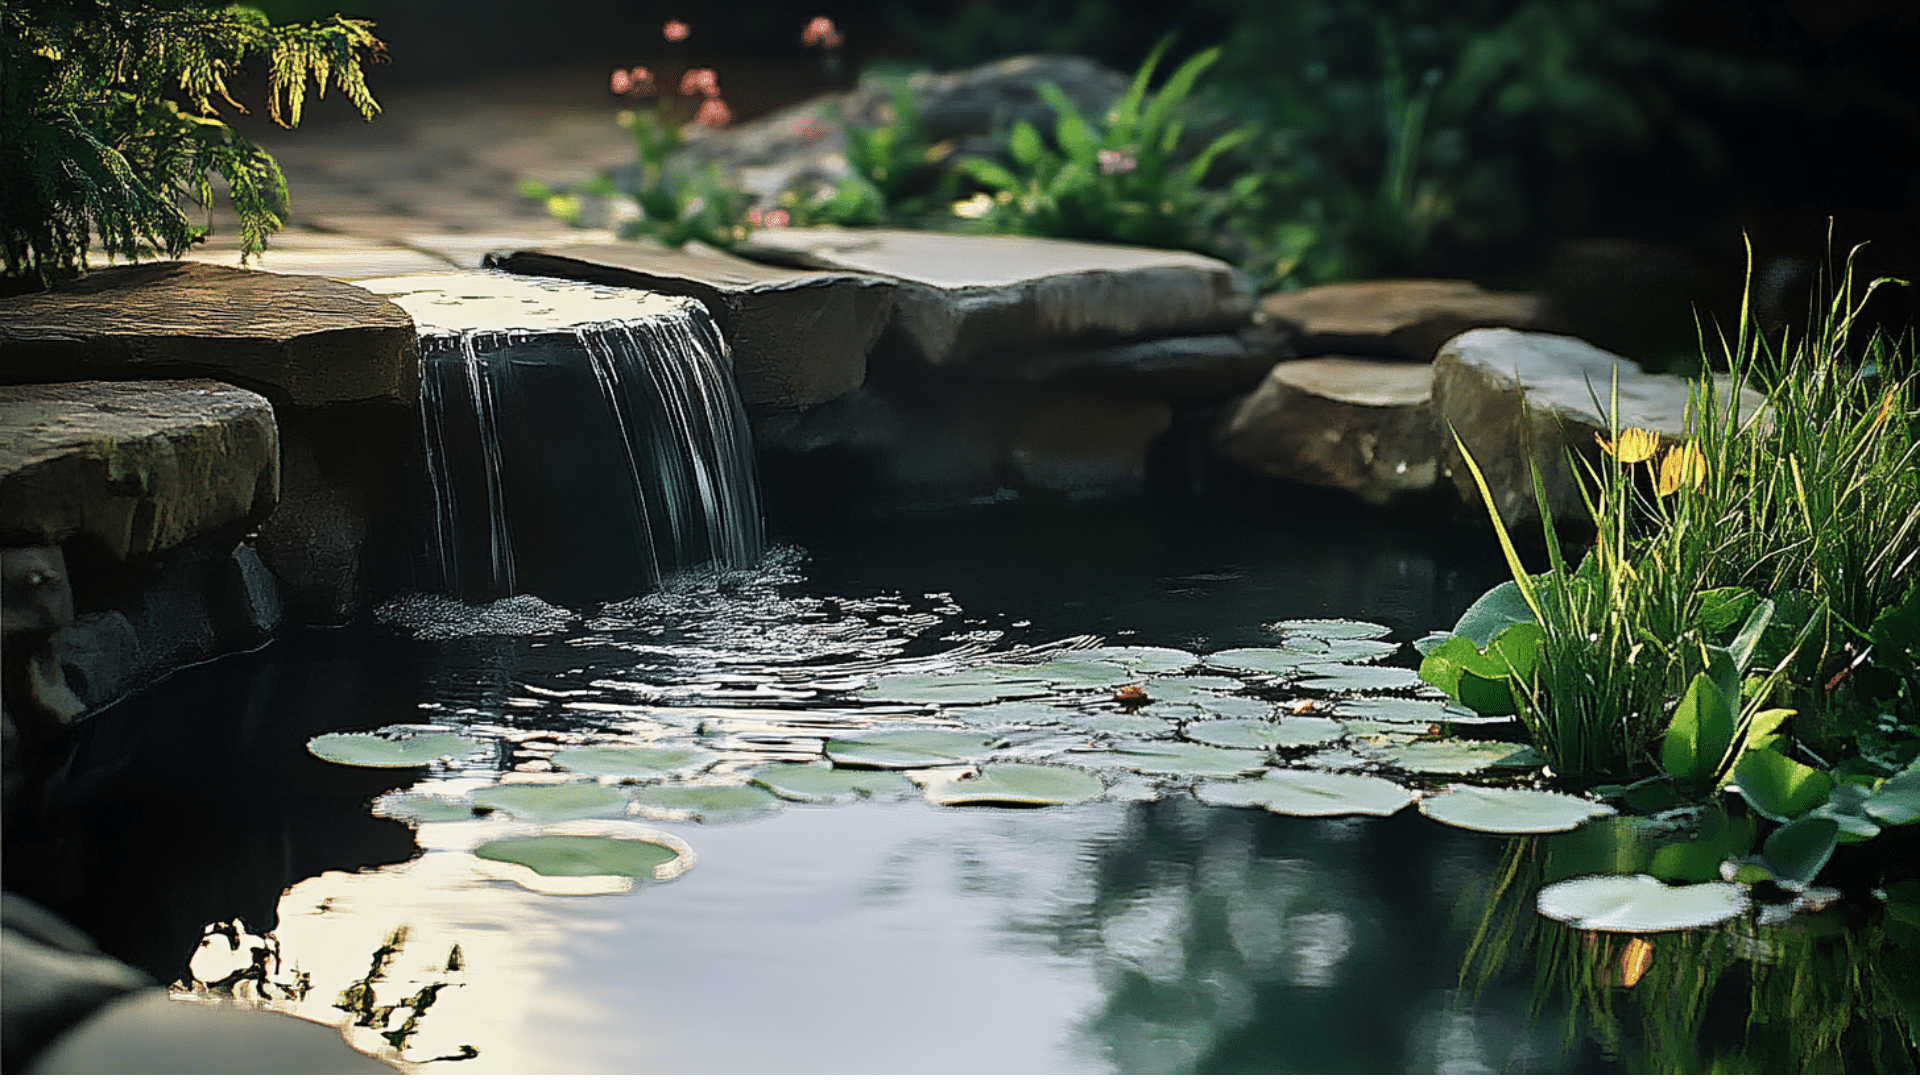
Now, gentle ripples move across the water, catching the sunlight in ways that make the whole pond come alive.
The water looks clearer too, since all that movement helps push dirt and waste into your filter system. Your fish will love swimming through the freshly mixed water, and you’ll spot them more easily now that the water isn’t cloudy.
The pond has become the main focus of my yard, drawing eyes right to it.
Take Your Pond Waterfall Setup to the Next Level
A pond waterfall does more than look good in your yard. With this easy-to-use kit, you can add this feature to your pond without calling in pros or spending weeks on the project.
Why Add a Waterfall to Your Pond
Adding a waterfall to your pond makes a big difference to both the look and health of your water garden.
- Better Water Quality: Water flowing over rocks adds oxygen, helping beneficial bacteria break down waste and creating cleaner, clearer pond water that stays fresh longer.
- Healthier Fish: Waterfalls mix air into the water, giving fish the oxygen they need to be more active, show brighter colors, and potentially live longer.
- Less Algae Problems: Constant water movement prevents algae growth by breaking up still surfaces, reducing green scum and keeping water clear so plants stand out better.
- Natural Filtration: Rocks in the waterfall trap dirt and small particles, creating a natural cleaning system that works like streams do in nature, making maintenance easier.
Common Concerns & Troubleshooting
Even with the best setup, you might hit a few bumps along the way. Don’t worry – most problems have easy solutions!
Why is My Pond Waterfall Not Flowing Properly?
First, check if leaves or dirt are blocking the bucket inlet. Also, make sure your pond has enough water.
How to Maintain a Pond Waterfall?
Clear leaves from your waterfall bucket each week. Wipe algae off the spillway. Check that your pump sounds normal and look for any cracks in the tubing. Clean the filter when the water flow starts to weaken.
Is the POPOSOAP Waterfall Bucket Right for My Pond?
The POPOSOAP works better than rock waterfalls for beginners. No leaks to fix! It fits ponds from 50 to 500 gallons and works with most standard pumps.
Pond Waterfall Solutions: Which Option is Right For You?
This comparison will help you understand which solution best fits your specific pond needs, skill level, and budget.
|
Feature |
POPOSOAP Waterfall Bucket Kit |
Traditional Rock Waterfall |
Prefabricated Cascade Spillway |
|---|---|---|---|
|
Setup Time |
30-60 minutes |
Several days |
2-4 hours |
|
Cost |
Approx $220-$330 |
Approx $845-$2110 |
Approx $325-$520 |
|
Maintenance |
Low – Easy access for cleaning |
High – Difficult to access clogged areas |
Moderate – Accessible but more parts |
|
Appearance |
Modern, can be disguised with rocks |
Natural, custom look |
Semi-natural, uniform appearance |
|
Sound Quality |
Consistent, gentle splashing |
Varied, natural babbling |
Uniform cascade sound |
|
DIY Friendly |
Very high – Designed for beginners |
Low – Often needs professional help |
Moderate – Requires some experience |
|
Best For |
Beginners, small-medium ponds, quick setup |
Large ponds, natural landscapes, and permanent features |
Medium ponds, semi-experienced owners |
The POPOSOAP Waterfall Bucket Kit stands out as the most user-friendly option. It provides the perfect balance of functionality, appearance, and ease of maintenance for most backyard pond owners.
Conclusion
We’ve discussed how adding a waterfall to your pond brings multiple benefits. The moving water adds oxygen, keeps algae growth in check, and makes your fish more active and healthy. Plus, the gentle sound creates a more peaceful backyard space.
As we’ve seen through the installation steps and before-and-after examples, even beginners can set up a pond waterfall without special skills or tools.
Ready to make your pond the highlight of your yard? Grab your POPOSOAP Waterfall Bucket Kit today and see the difference for yourself. Your fish will thank you, your garden will look better, and you’ll finally have that peaceful outdoor spot you’ve always wanted.
Don’t wait for green water and mosquitoes to take over. Transform your pond this weekend!
And don’t forget to follow @POPOSOAPSOLAR on Instagram for more pond care tips, DIY waterfall ideas, and to connect with other pond enthusiasts. Share your waterfall transformation photos with #POPOSOAPWaterfall for a chance to be featured on our page!