That flashing parking brake light on your dashboard is an alert you shouldn’t ignore. While it can be unsettling, there’s no need to panic.
This warning points to a possible issue with your vehicle’s braking system that needs attention.
In this guide, I’ll walk you through the most common reasons behind a glowing parking brake signal.
Whether it’s an engaged brake, low brake fluid, worn components, faulty sensors, or an electrical issue, each cause will be covered.
Whatever is triggering that red light, you’ll find easy troubleshooting steps to help identify and resolve the problem.
No advanced auto repair skills are required-just clear, simple guidance.
By the end, you’ll know why your parking brake light is on and how to turn it off safely.
Don’t ignore the warning. A step-by-step approach can get your parking brake system working as it should.
What is a Parking Brake System?
The parking brake is a critical safety feature in any vehicle designed to keep it at rest when parked. Unlike the regular brake system used during driving, the parking brake applies brake force to the rear wheels even when the engine is off.
This prevents unwanted movement and ensures the vehicle remains securely in place until you disengage the parking brake.
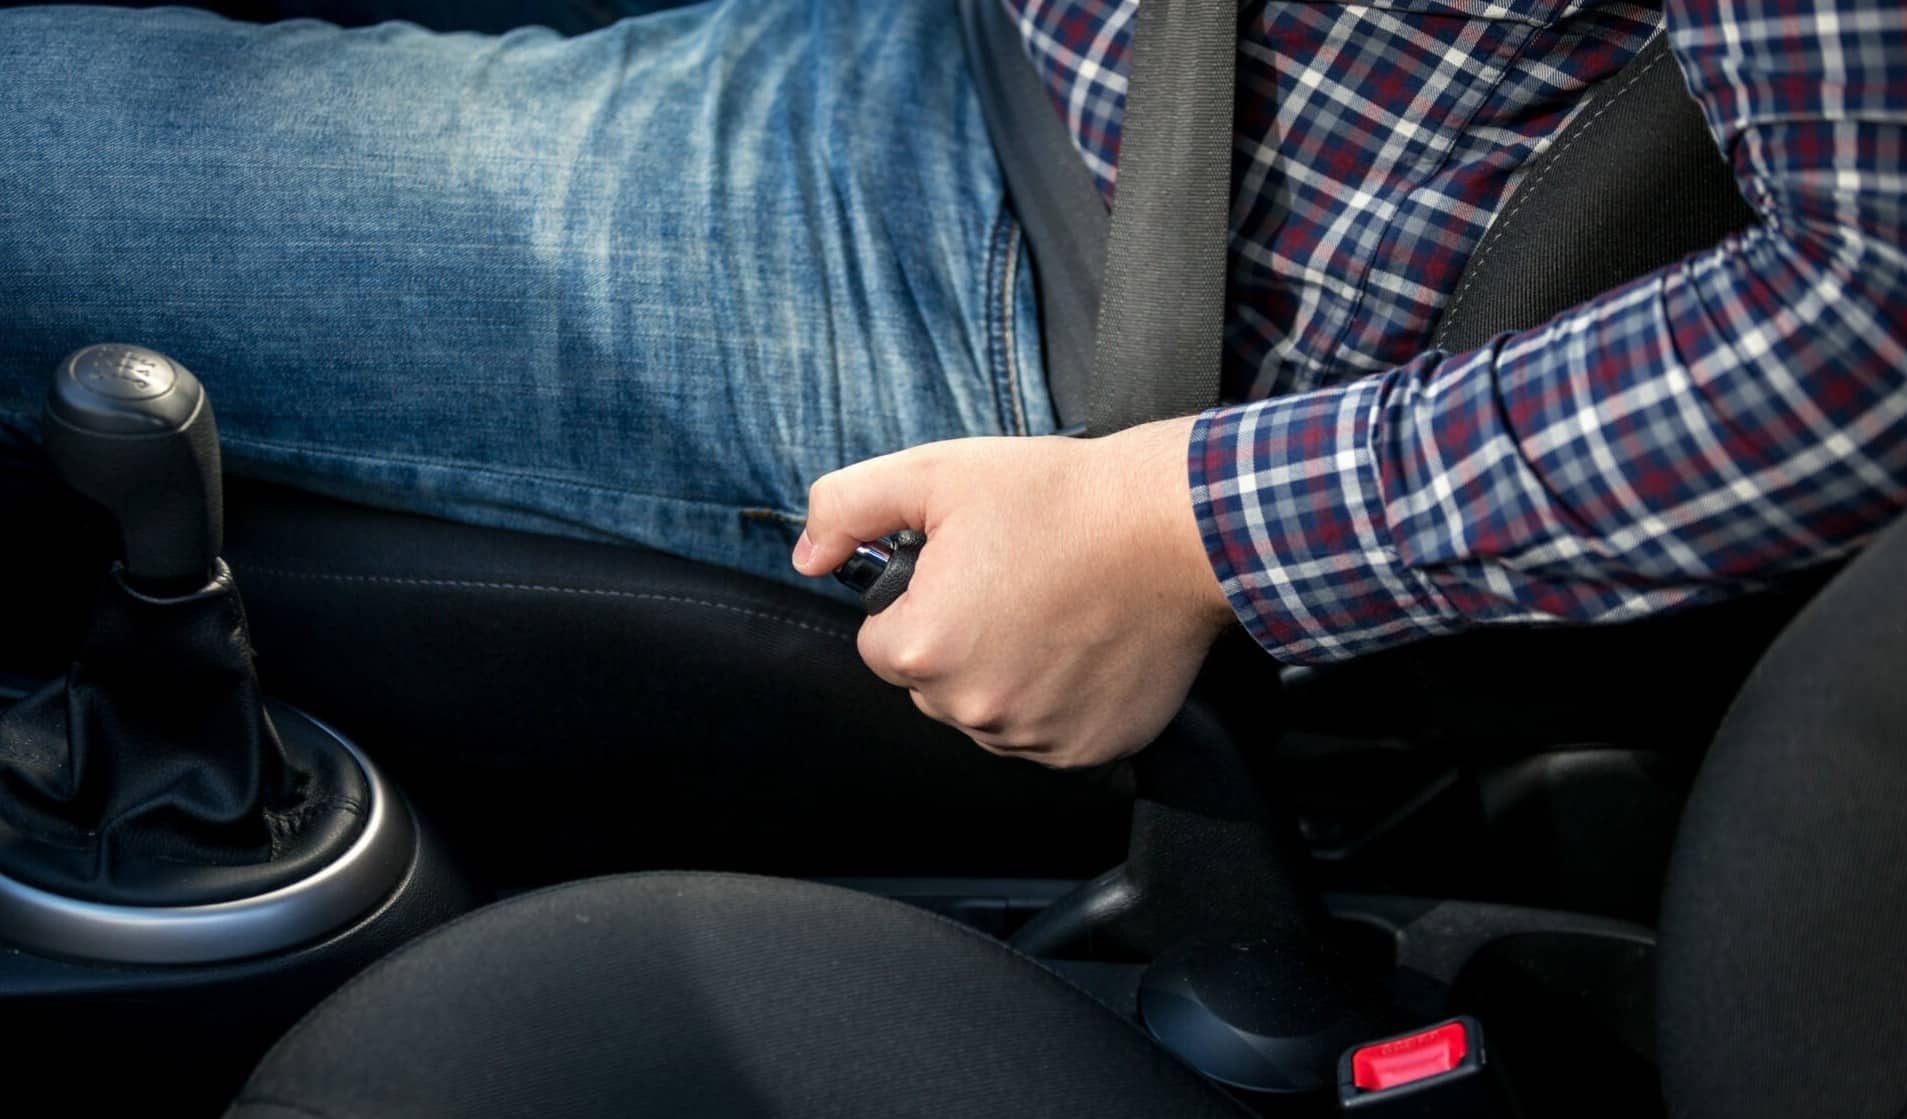
The parking brake works differently than the brake system you use while driving. Engaging the parking brake lever, pedal, or button triggers a mechanism that applies the rear brakes using either a cable pulling the brake shoes against the drums or calipers clamping the brake pads on the rotors.
This brake force stays applied until you release the parking brake, preventing wheel movement.
Indicators and Signals
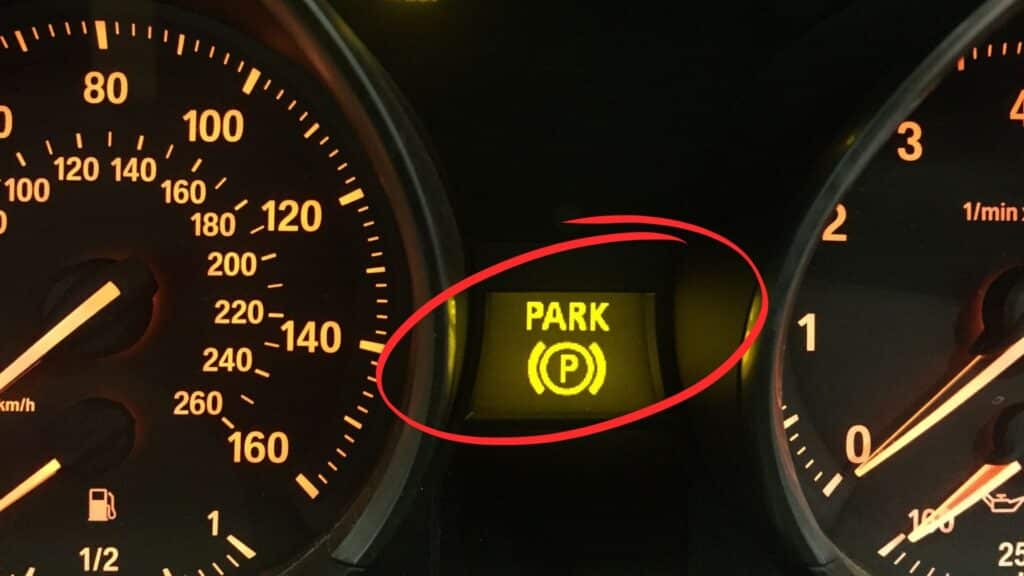
We’ve all been there – you start driving and suddenly notice that telltale parking brake light glowing on your dash. It’s an easy thing to overlook in the hustle of daily life. Thankfully, that little light is there to remind you.
The parking brake indicator usually appears as a red or amber warning light with the letter “P” or an exclamation point inside a circle. It is nice and clear, so you know exactly what it means.
When illuminated, the parking brake is engaged and needs your attention before you move the vehicle.
Common Causes of a Flashing Parking Brake Light
Addressing a flashing parking brake light promptly is crucial for maintaining your vehicle’s safety and preventing potential brake system issues from escalating.
The following sections explore various causes that might trigger this warning indicator, helping you effectively identify and resolve the underlying problem.
1. Engagement Issues
Sometimes, the reason for a flashing parking brake light is as simple as the parking brake not being fully released. This can happen in different scenarios.
Failing to lower the lever or release the pedal in vehicles with a hand-operated lever or foot pedal can leave the parking brake partially engaged, causing the warning light to activate.
For modern vehicles with electronic parking brake systems, a software or hardware glitch may prevent the system from fully disengaging, triggering the warning light. Always double-check that the parking brake is completely disengaged before driving to avoid such issues.
For lever or pedal systems, ensure the lever is fully lowered, or the pedal is fully released. Verify that the dashboard indicator confirms the parking brake is off for electronic systems.
2. Fluid-Related Problems
The parking brake system is connected to your vehicle’s overall brake system, which relies on brake fluid to function correctly. Two common fluid-related issues can cause the parking brake light to flash.
If the brake fluid level in the master cylinder reservoir drops too low, it can affect the entire brake system’s performance, including the parking brake mechanism, triggering the warning light.
To check and refill the brake fluid, follow these steps:
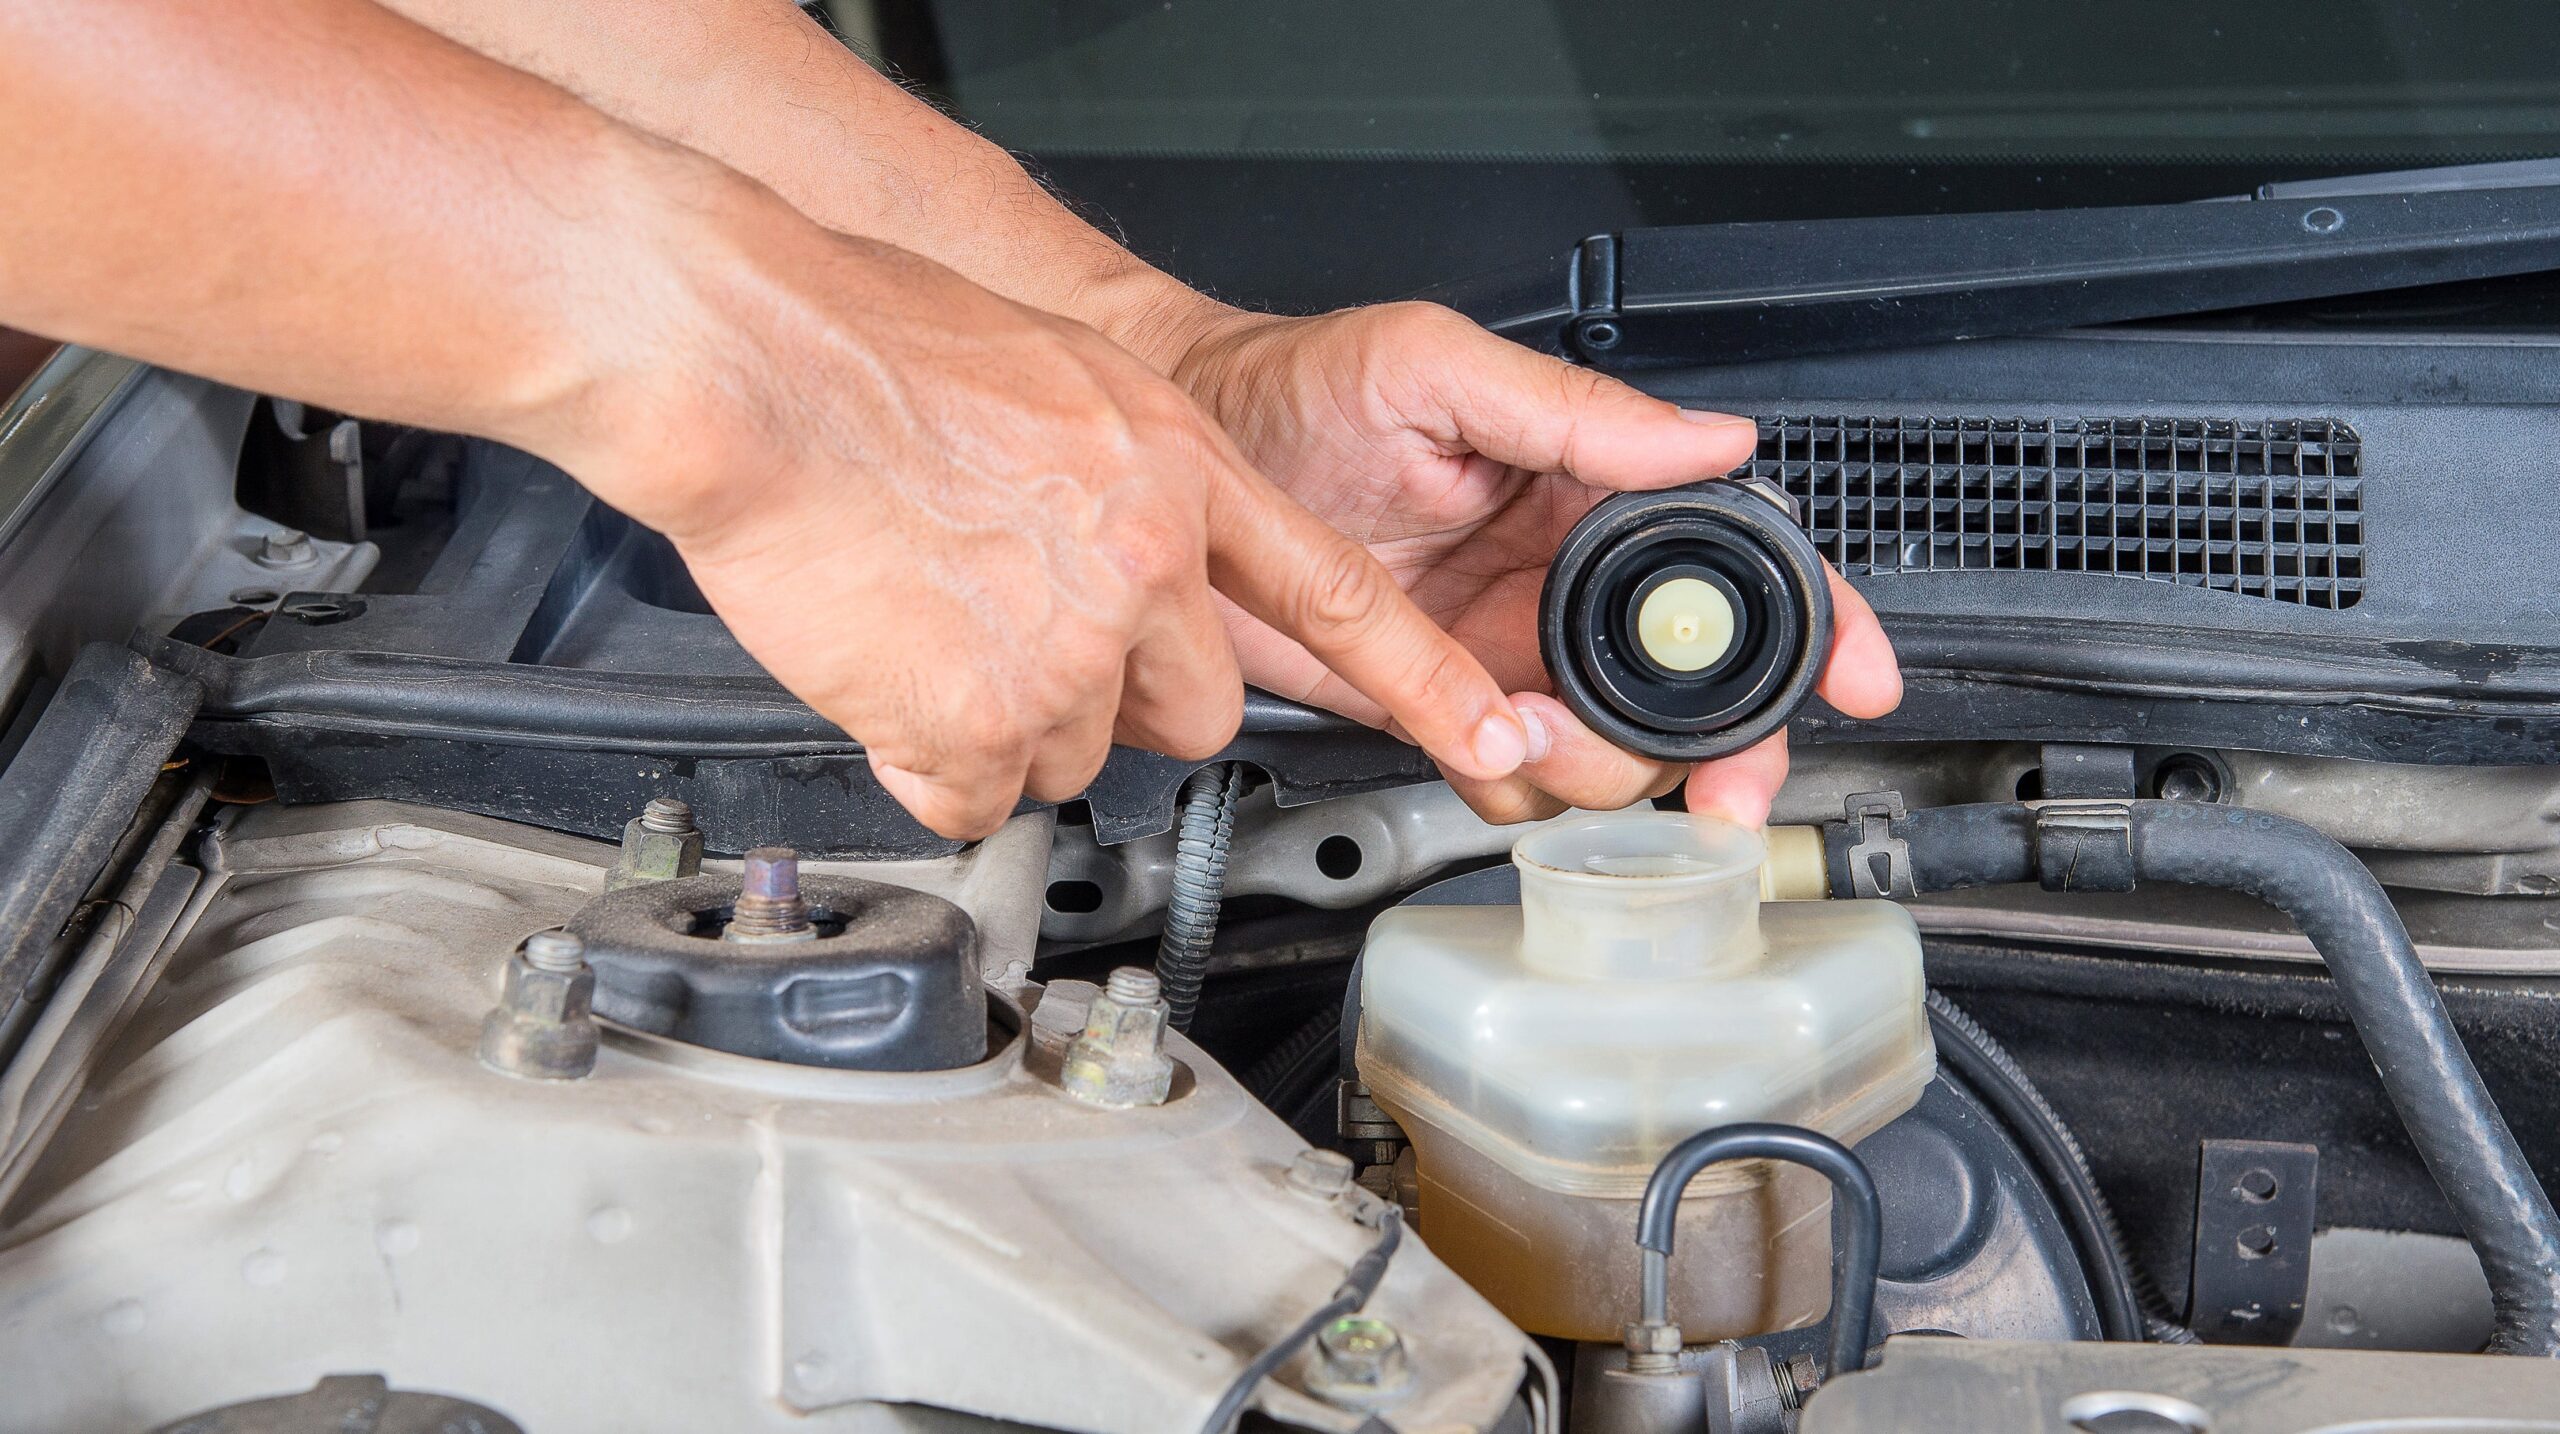
- Locate the brake fluid reservoir, usually near the back of the engine compartment.
- With the engine off and the car parked on level ground, check if the fluid level is between the reservoir’s minimum and maximum markers.
- If the fluid level is low, carefully open the reservoir cap and top up the fluid to the maximum level using the brake fluid type recommended by your vehicle’s manufacturer.
Leaks in the brake lines or components can also cause fluid levels to drop, leading to parking brake issues and illuminating the warning light. If you suspect a leak, have a professional mechanic inspect your brake system thoroughly and repair any leaks found.
3. Mechanical Failures
As time passes, the parts of your parking brake system can gradually wear out, potentially causing the warning light to flash. One common issue is worn brake pads.
As brake pads wear down, they may fail to fully disengage from the rotors when the parking brake is released, keeping the system partially engaged and triggering the light. Another mechanical issue can be caliper or cable problems.
Sticking calipers, damaged cables, or other issues with the parking brake’s mechanical components can prevent proper disengagement and activate the warning light.
Regular inspections and timely replacements of worn parts by a qualified mechanic can help avert such mechanical failures and ensure the parking brake system operates correctly.
4. Sensor and Switch Errors
Modern vehicles often incorporate sensors and switches to monitor the parking brake system’s status and communicate with the dashboard warning lights.
Malfunctions in these components can lead to false alarms or inaccurate information being displayed. One issue can be faulty sensors. The brake fluid level sensor or other sensors in the system may fail, providing incorrect readings and causing the parking brake light to illuminate mistakenly.
Another issue can be switch malfunctions. The parking brake switch itself, whether mechanical or electronic, can develop issues over time, preventing it from accurately detecting the system’s engagement status.
To address sensor and switch errors, mechanics may need to check, clean, or replace the affected components to restore proper functionality and accurate warning light operation.
Step-by-Step Guide to Resetting the Parking Brake Light
This section provides a detailed, step-by-step guide on troubleshooting and resetting the parking brake warning light, including initial checks, inspections, and when to seek professional assistance.
Step 1: Check if the Parking Brake is Released and Look for Issues

First, make sure the parking brake is fully released. If your car has a hand lever, pull it down. If it has a foot pedal, ensure it is completely pushed back in.
For electronic parking brakes, check that the dashboard light shows it is turned off.
Next, examine the parking brake system closely for any obvious problems. Look for things stuck in the mechanism, loose parts, or signs of wear and tear that could prevent it from releasing properly.
Step 2: Check the Brake Fluid Level and Restart the Car

Open the hood and find the brake fluid reservoir, usually near the back of the engine. See if the fluid level is between the minimum and maximum lines on the reservoir.
If it’s low, carefully top it up with the brake fluid type recommended for your vehicle.
After checking the fluid, turn off your car, wait a few moments, and restart it. This may reset the system and turn off the warning light.
Step 3: Check the Owner’s Manual and Inspect the Brake Pads

Look in your owner’s manual for special instructions on resetting the parking brake warning light. Some cars have a specific way of doing this.
Also, check the thickness of your brake pads. If worn down, they may not release fully when you disengage the parking brake, causing the light to stay on.
Replace pads if needed.
Step 4: Inspect Parking Brake Sensors and Use Diagnostic Scan Tool

Examine the parking brake sensors and switches for any damage or loose wires that could give incorrect readings and trigger the warning light.
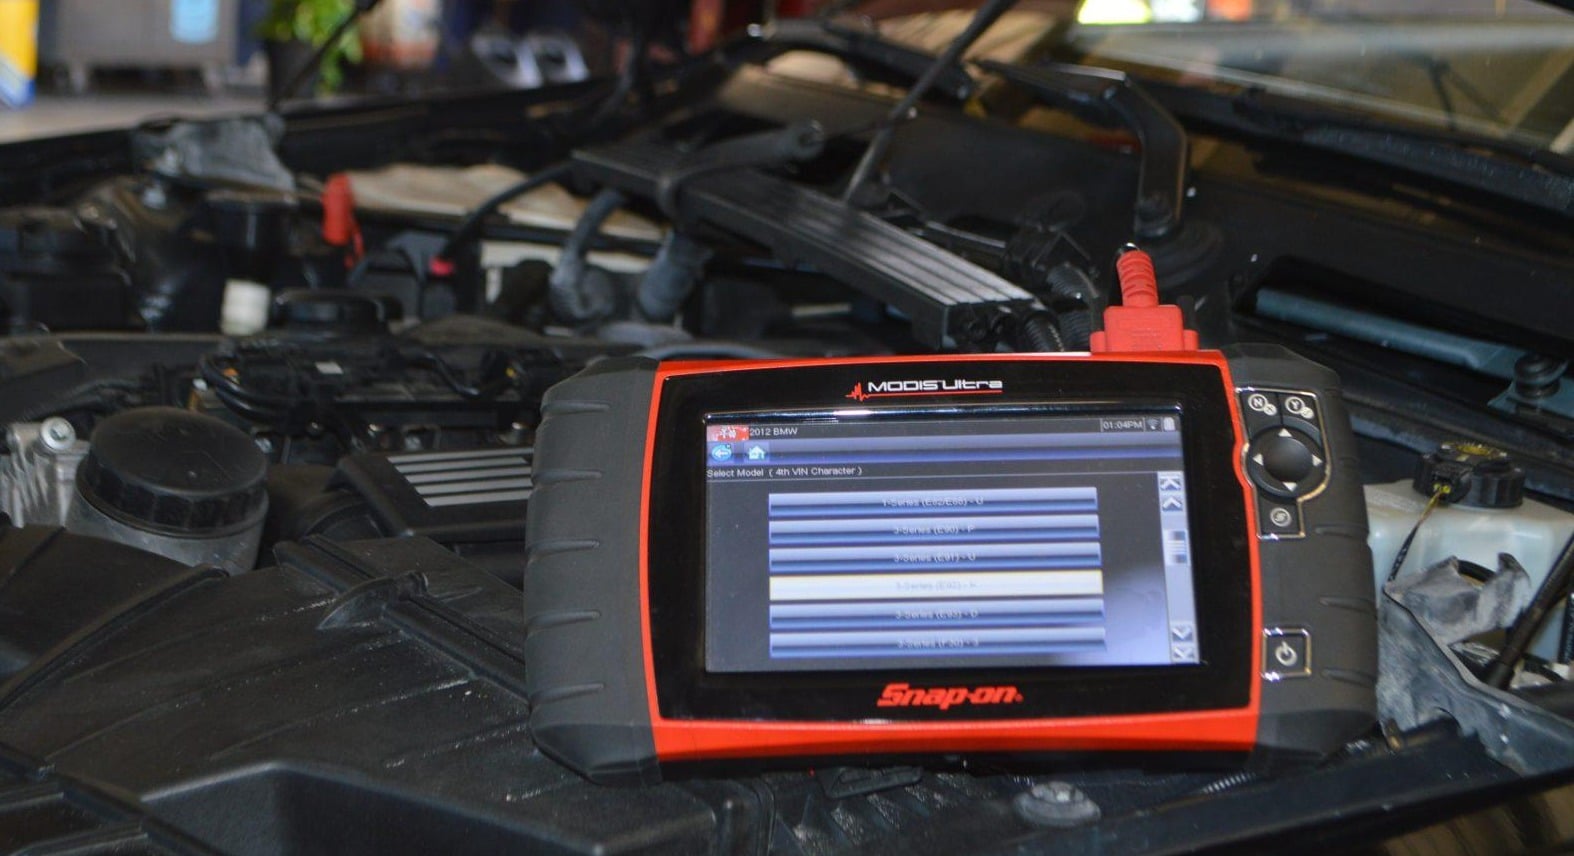
If possible, use a diagnostic scan tool to check for trouble codes related to the parking brake system.
These codes can point you to a specific problem.
Step 5: Look for Leaks and Get Professional Help

Carefully inspect the entire brake system, including lines and hoses, for any signs of brake fluid leaking out. Leaks can cause low fluid levels, possibly turning the parking brake light on.
If you’ve tried all the troubleshooting steps and the warning light is still on, especially if you notice other brake issues, having a professional mechanic inspect and repair your vehicle is best. Continuing to drive with persistent brake warnings can be unsafe.
Don’t ignore a parking brake warning light. If you don’t address it promptly, it may indicate a safety issue or lead to costly repairs.
Preventive Measures and Maintenance Tips
This section focuses on preventive maintenance and care for the parking brake system, covering regular inspections, maintenance tips for optimal function, dashboard warnings, and seasonal/usage-based precautions.
1. Regular Inspection of the Parking Brake System
Regularly inspect your parking brake system every 6 months or 6,000 miles through a certified technician.
They’ll check cables, levers, pulleys, and equalizers for excessive wear, fraying, corrosion, or damage to mechanical systems.
They’ll examine sensors, switches, wiring, and control modules for faults or malfunctions in electronic systems. Regular inspections allow for timely repairs to prevent safety hazards.
2. Maintenance Tips for Optimal Function
Properly lubricating the moving parts, such as cables and levers, to ensure smooth operation is essential for vehicles with mechanical parking brake systems.
Additionally, these components may require periodic adjustments to maintain optimal performance.
The parking brake system is connected to the vehicle’s overall hydraulic brake system.
Regular checks of the brake fluid level and topping up when necessary help maintain the proper hydraulic pressure required for the parking brake to function correctly.
3. Addressing Dashboard Warnings
If your parking brake warning light stays on, the first step is to ensure that the parking brake is fully released.
Then, perform a visual inspection for any obvious issues, such as obstructions or damage to the parking brake mechanism.
If the warning light persists after taking these initial steps, it’s advisable to seek professional help from a qualified mechanic or your dealership’s service center.
They have the diagnostic tools and expertise to accurately identify and address the underlying issue.
4. Parking Brake Care Based on Weather and Driving Conditions
In cold climates, apply a suitable lubricant to mechanical parking brake components and ensure proper operation before driving to prevent freezing.
If parking frequently on hills or inclines, more frequent inspections and adjustments are needed due to additional wear and tear.
Regular maintenance and promptly addressing concerns extend the system’s lifespan and prioritize safety.
Final Thoughts
Never disregard a flashing parking brake warning light. This indicator signals a potential issue with your vehicle’s parking brake system that demands prompt attention for safety reasons.
Attempt the straightforward troubleshooting techniques outlined, like verifying the parking brake is fully disengaged, checking brake fluid levels are adequate, and inspecting for excessively worn brake pads or faulty sensors triggering false alerts.
However, if the flashing persists after exhausting these basic fixes, it’s highly recommended that an automotive technician professionally inspect and repair the system.
Routine maintenance checks and servicing of parking brake components are also advisable to prevent problems from developing.
Addressing a flashing parking brake light without delay helps ensure your brakes remain reliable and functional, avoiding potential safety hazards or costlier repairs down the line.
If that warning illuminates, investigate the underlying cause immediately and seek professional diagnosis and repairs as needed.

