
Finding the perfect spot for your rubber stamps can make or break your crafting experience. Good storage keeps your stamps clean, ready to use, and lasting longer. Poor storage leads to damaged stamps and lost creative time.
This guide covers everything you need to know about rubber stamp storage. We’ll examine different stamp types and their needs, common storage problems, and practical solutions for every space and budget.
From DIY projects to store-bought options, we’ll explore ways to keep your stamps organized and protected. You’ll find space-saving ideas, step-by-step storage projects, and tips from experienced crafters.
Whether you have a few stamps or a large collection, you’ll discover methods to make your stamps more accessible and enjoyable.
Understanding Rubber Stamps
Types of Rubber Stamps and Their Storage Needs
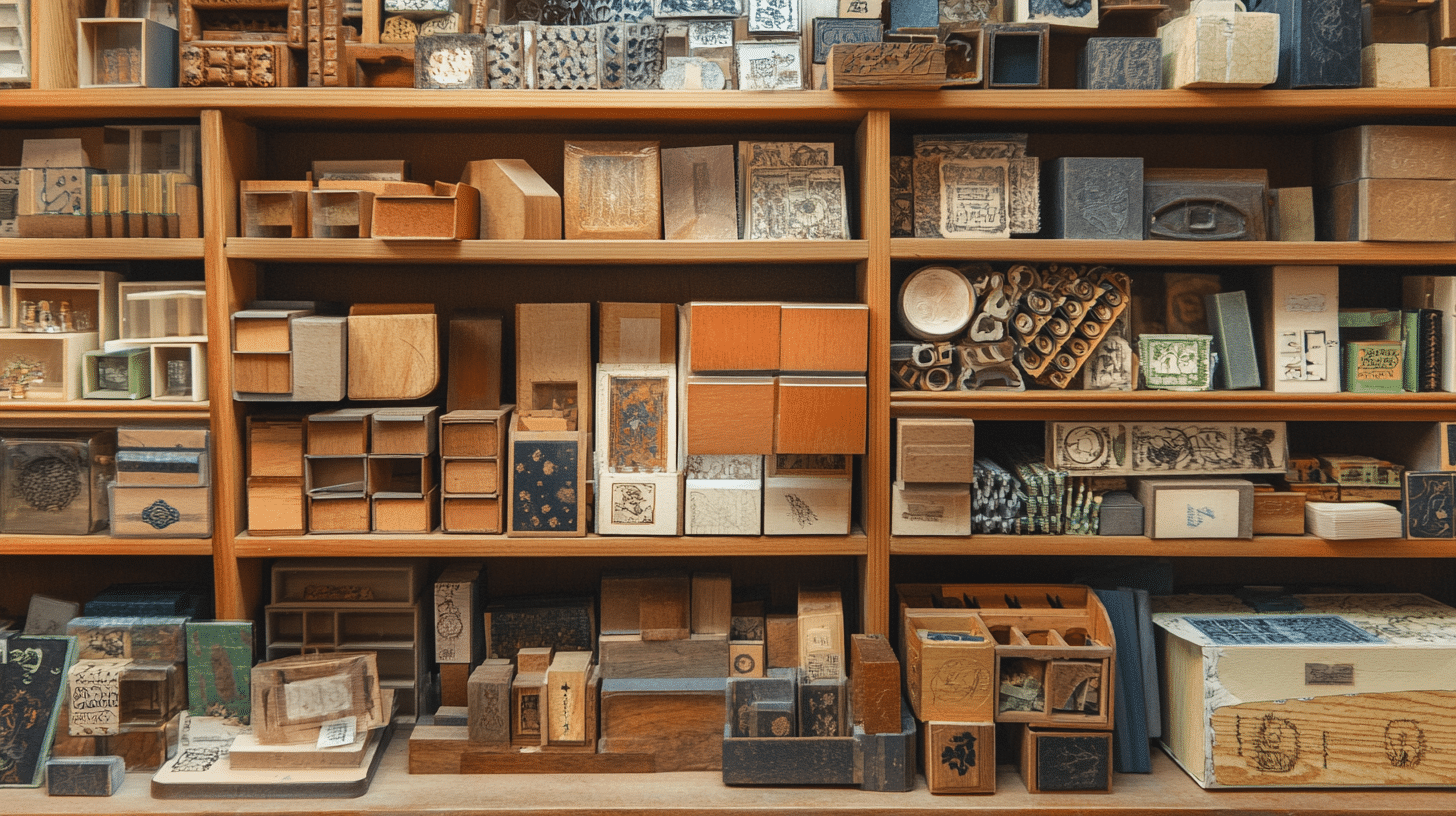
Rubber stamps come in several forms, each with specific storage requirements. Wood-mounted stamps offer sturdy handling but need more space due to their solid base.
Clear stamps, with their thin profile and stick-to-block design, offer flexibility. They require protective sheets to prevent dust and damage, making them ideal for compact storage solutions.
Cling stamps bridge the gap between wood-mounted and clear stamps. They feature a foam backing that sticks to acrylic blocks, offering the best of both worlds in storage and use.
Unique Characteristics of Each Stamp Type
Wood-mounted stamps stand out for their long-term durability and consistent impression quality. These stamps work best when stored upright, like books on a shelf, which helps maintain their shape and prevents warping.
Clear stamps shine in their ability to see through for precise placement. Storage for these stamps should include smooth, non-stick surfaces to maintain their tacky backing and prevent deterioration.
Cling stamps require careful attention to their foam backing during storage. These stamps benefit from container systems that protect their cling surface while keeping them easily accessible for regular use.
Common Rubber Stamp Storage Challenges
Space Limitations and Organization Issues
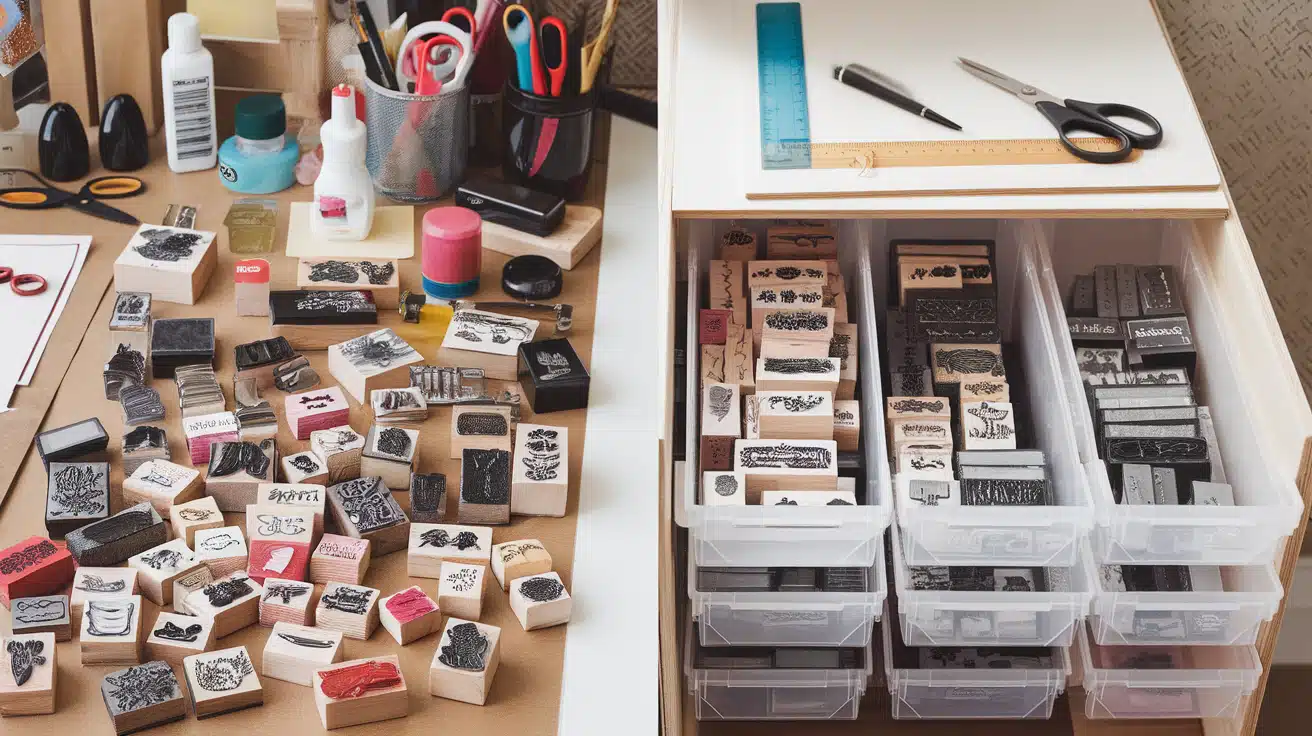
Many crafters face the challenge of limited workspace in their craft areas. Small spaces often lead to stacking stamps, making it hard to find specific designs when needed.
Storage problems multiply when different stamp types share the same space. This mixing can lead to damaged stamps and wasted time searching for the right design.
Impact of Improper Storage
Poor storage methods can significantly reduce the life span of rubber stamps. Stamps stored in direct sunlight or humid conditions might crack, warp, or lose their sticking ability.
Temperature changes and improper stacking can affect stamp quality. Wood-mounted stamps might develop uneven surfaces, while clear stamps could lose their stick if stored without protective sheets.
Efficient and Space-Saving Rubber Stamp Storage Ideas
1. Maximizing Small Craft Spaces
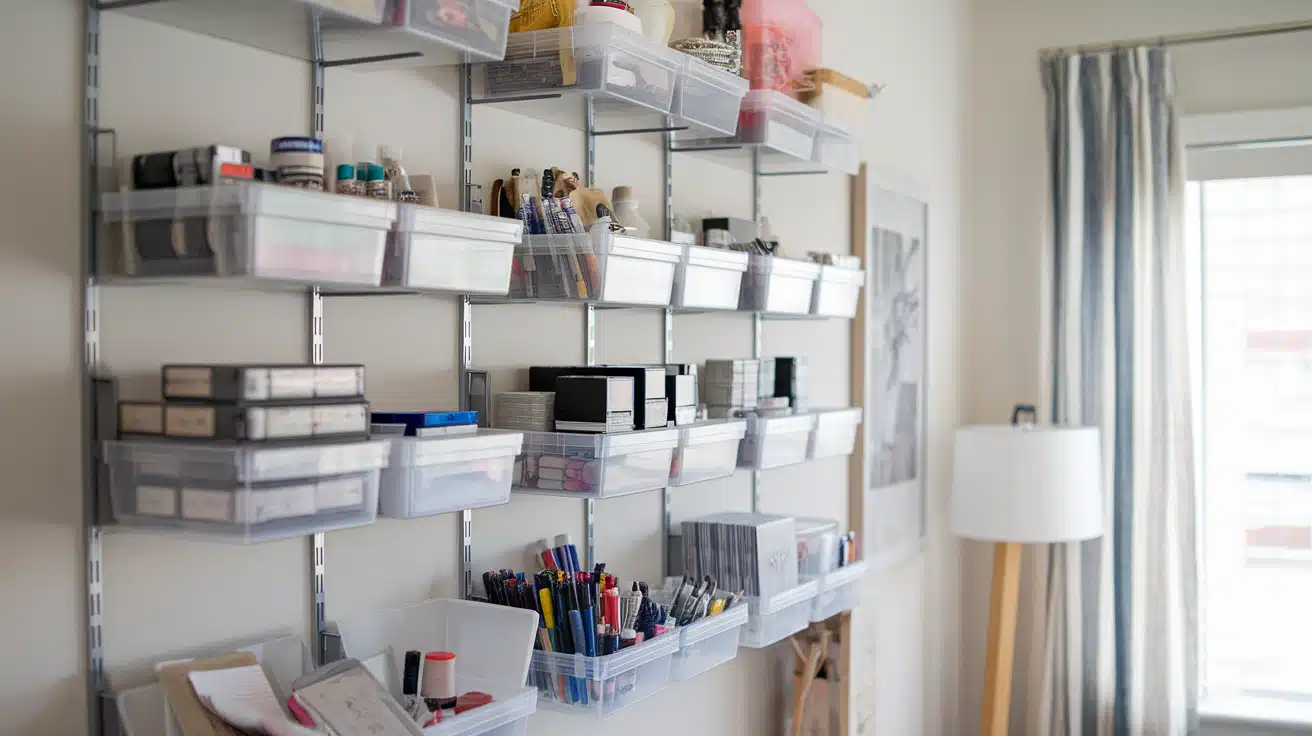
Vertical storage solutions offer excellent use of wall space without taking up valuable desk areas. Wall-mounted shelves and hanging organizers keep stamps visible and accessible while saving floor space.
Clear storage containers maximize visibility and protect stamps from dust. These containers stack neatly and allow quick identification of stored stamps.
2. Portable Storage Options
Photo storage boxes provide an excellent solution for crafters who work in different locations. These boxes offer divided sections that keep stamps organized and protected during transport.
Small plastic cases with secure latches carry essential stamps to crafting events. They protect stamps from damage while maintaining easy access during use.
3. Stackable and Modular Storage
Modular drawer systems allow crafters to expand their storage as their collection grows. These systems often include drawers of different sizes to accommodate various stamp sizes.
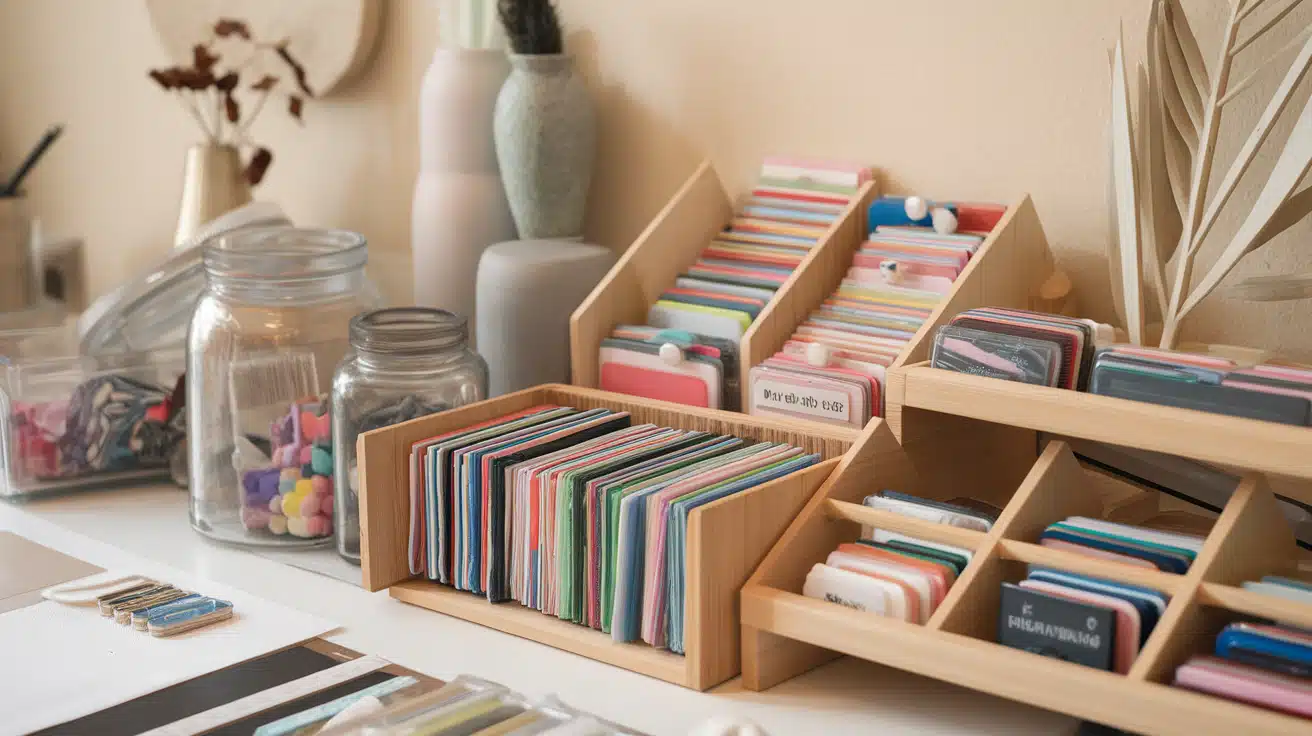
Step-By-Step DIY Stamp Storage Tutorial
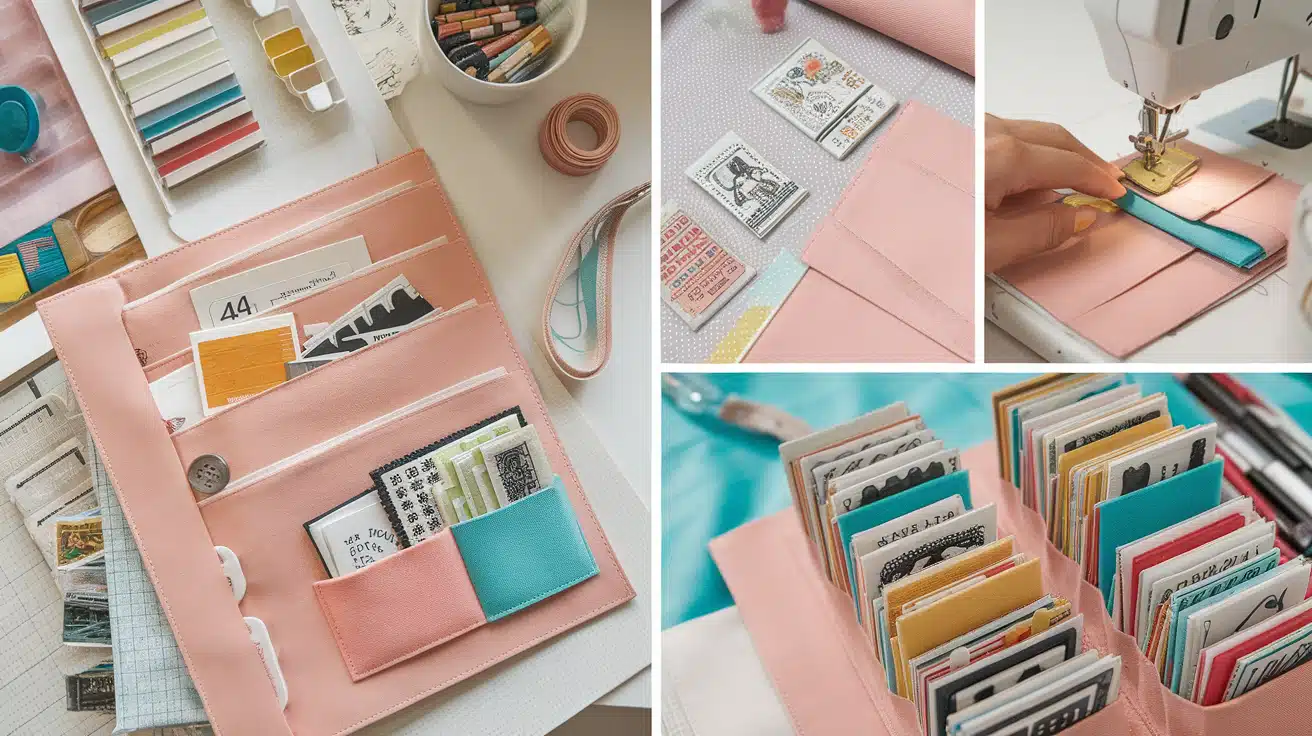
Organize your rubber stamps quickly and affordably with this DIY storage solution. Follow these simple steps to create customized pockets using A4 button folders.
Step 1: Gather Your Materials
- A4 button folders (e.g., from Home Bargains or Amazon)
- Ruler
- Biro (ballpoint pen)
- Scissors
- Sewing machine
Step 2: Measure and Mark the Pocket
- Open the button folder flap.
- Place your rubber stamps inside to determine the ideal pocket width.
- Ensure the seam is not too close to the edge, allowing enough space for stitching.
- Using a ruler, measure 13 cm from the edge and draw a straight line with the biro where you’ll sew.
Step 3: Sew the Pocket
- Take the folder to your sewing machine.
- Stitch along the line you marked to create a snug pocket for your stamps.
- Make sure the stitching is secure but neat to ensure durability.
Step 4: Trim Excess Material
- Close the snap closure on the folder.
- Use scissors to trim the excess width from the pocket, leaving a few millimeters for a clean edge.
- Save the trimmed pieces for future projects—they can be reused creatively.
Step 5: Store and Organize Your Stamps
- Insert your rubber stamps into the new pocket.
- Ensure they fit securely with the snap closure holding them in place.
- Repeat the process for all your stamps to create a well-organized collection.
Comparing DIY vs. Purchased Storage Solutions
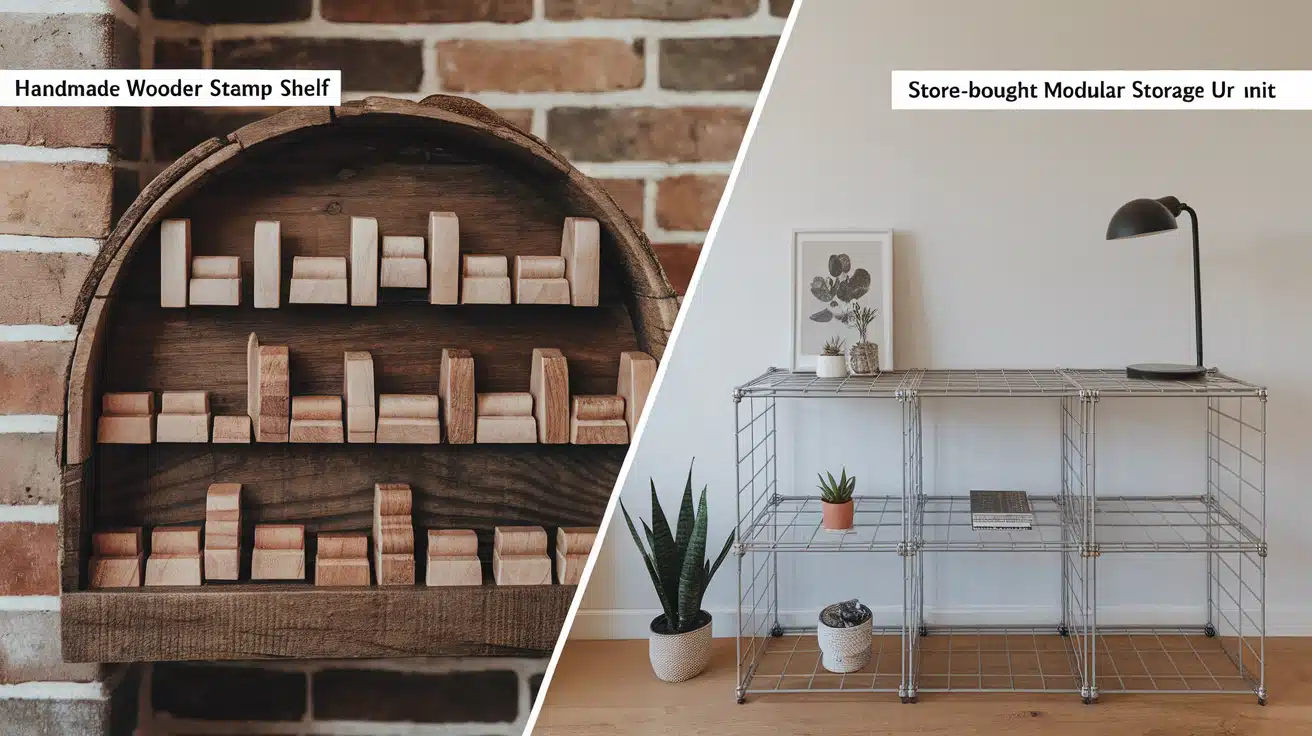
1. Cost Analysis and Time Investment
DIY storage projects typically cost less but require time and basic tools. For example, a custom wooden shelf might cost $20 in materials but take several hours to complete.
Store-bought solutions offer immediate use but come at higher prices. While a manufactured stamp organizer might cost $50, it provides instant organization without construction time.
2. Pros and Cons of Purchased Solutions
Commercial storage products offer tested designs and consistent quality. These solutions often include features like stackability and clear viewing panels that might be hard to replicate at home.
The downside of purchased options includes limited customization and higher costs. However, they often provide better durability and professional finishing than DIY solutions might lack.
3. Aesthetic vs. Functionality
DIY storage allows complete control over appearance and size. You can match your craft room’s style while creating storage that fits your needs.
Commercial options focus on practical features but might not match your decor. They are durable and often include thoughtful details like reinforced corners and secure closures.
Innovative and Unique Storage Ideas
1. Latest Trends in Rubber Stamp Storage
Magnetic strips mounted on walls create visible, accessible stamp storage. This method works well for metal-backed stamps and saves valuable desk space.
Clear acrylic panels with pockets offer modern storage solutions. These panels display stamps like artwork while keeping them protected and ready for use.
2. Reader-Submitted Storage Solutions
Crafters share creative ideas, such as using tension rods in cabinets for vertical storage. This method allows stamps to hang securely while maximizing cabinet space.
Modified kitchen organizers provide unexpected storage options. Spice racks and utensil holders adapt well for stamp storage, offering easy access and visibility.
3. Eco-Friendly Storage Options
Repurposed containers reduce waste while providing practical storage. Glass jars, wooden crates, and cardboard boxes find new life as stamp organizers.
Natural materials like bamboo and recycled wood create sustainable storage solutions. These materials offer durability while supporting environmental consciousness in craft spaces.
Final Thoughts
Finding the right storage method for your rubber stamps makes crafting more enjoyable and productive. Your choice depends on your space, budget, and stamp use.
The best storage system reflects your crafting style and needs. Mix different methods until you find what works in your space. Start small and adapt as your collection grows.
We’d love to hear about your stamp storage solutions. Share your success stories in the comments below. Tell us about your creative fixes and storage tips that made a difference in your craft room.
Remember that good organization leads to better crafting moments. Your perfect storage solution might combine several ideas from this guide or spark a new approach. Keep experimenting until you find your ideal setup.
Frequently Asked Questions (FAQs)
What Is the Best Way to Store Rubber Stamps?
Store rubber stamps in a cool, dry place, away from direct sunlight. Use pockets, drawers, or binders to keep them organized, flat, and protected from damage.
How Do I Store Wood-Mounted vs. Clear Rubber Stamps?
Wood-mounted stamps need sturdy, stackable storage. Clear stamps require flat, dust-free storage in transparent sleeves or binders to prevent distortion and maintain adhesive backing.
Can I Create DIY Storage Solutions For My Stamps?
Yes, DIY solutions like custom pockets, upcycled containers, or handmade shelves are affordable and customizable to your craft space, offering creative ways to organize your collection.