
If you’re tackling a home project—such as repainting a room or touching up trim—you’ve probably encountered a common question: Do you caulk before or after painting? It might seem like a small detail, but it makes a big difference.
The right order gives your work a clean, polished look and helps it last longer. The wrong order can lead to messy paint lines, cracking, or even peeling later on.
You’ll learn why caulk matters, how it works with paint, and what happens when you don’t follow the correct order. I will also explain the few times it’s okay to switch the steps and caulk after painting.
I have kept everything simple, no confusing terms or extra fluff, just the facts and tips you need to get smooth results.
What Is Caulk?
Caulk is a flexible material used to seal joints and gaps in various areas of a building. It helps keep out air, moisture, dust, and insects, offering both protection and insulation.
Caulk is commonly applied around windows, doors, bathtubs, and baseboards. Once it dries, it forms a solid seal that safeguards the area from potential damage. The following types of caulk and where to use them are listed.
- Acrylic latex caulk: It is ideal for indoor use. It’s simple to apply, dries quickly, and can be painted to match surrounding surfaces. It also cleans up easily with water, making it a go-to option for DIY users.
- Silicone caulk: It is waterproof and works well in kitchens and bathrooms where moisture is frequent. It remains flexible, doesn’t shrink over time, and is known for its durability. However, it cannot be painted and has a noticeable odor when first applied, which fades as it cures.
- Polyurethane caulk: It offers strong adhesion and lasting performance, making it suitable for outdoor use. It withstands weather fluctuations and adheres to a variety of surfaces. That said, it’s more difficult to clean and requires more effort to apply properly.
Benefits of Caulking Before Painting
Caulking before painting helps your paint job last longer and appear more refined. It closes up small cracks and gaps in trim, walls, and corners.
Caulking keeps dust, insects, and moisture out. It also allows the paint to glide on more evenly and bond better to the surface. When done correctly, caulking saves time and gives your space a well-finished look.
Smooth and Flawless Surface
Caulking fills minor imperfections, creating an even base for painting. This helps the paint spread uniformly without streaks or rough spots. With all gaps sealed, the result looks cleaner and more uniform.
Improved Paint Bond

Applying caulk before painting enhances the paint’s grip on the surface. Cracks and crevices can lead to peeling or chipping later, but caulking helps prevent that. This extends the lifespan of your paint and maintains its quality over time.
Protection from Moisture Caulk

It acts as a protective seal against water intrusion in corners and tight spots. It prevents moisture from entering, which helps reduce the risk of mold, wood decay, or water-related damage. This is especially helpful in bathrooms, kitchens, and exterior surfaces.
Sharper Lines and Fewer Touch-Ups
Caulking defines edges and trim, making it easier to paint clean lines. It also gives your work a neater, more refined appearance, reducing the need to correct smudges or uneven edges later.
When to Caulk After Painting
Sometimes it’s better to wait until after painting to apply caulk. It depends on the type of job you’re doing and how clean the finish needs to be. Post-paint caulking can help with precision and cleanup. Here are common cases where caulking after painting makes sense:
Touch-Ups
After painting, you might see tiny cracks or missed gaps that weren’t obvious before. Caulking after painting helps fix these small flaws without making a mess. It’s a quick way to improve the finish without redoing large areas.
Decorative Trim
When painting detailed trim or molding, it’s best to get clean paint lines first. Caulking afterward helps you shape precise edges without smudging paint, which is useful when you’re aiming for a sharp, professional look.
Special Finishes
Some walls or surfaces have textures or effects that caulk should not cover. If you caulk first, the paint might not lay right. Doing it after lets you match the look and avoid changing the surface color or texture.
Choosing the Right Caulk for a Clean Paint Finish
When preparing to paint, selecting the appropriate caulk is one of those small but crucial decisions that significantly impact the final result. The right caulk doesn’t just seal gaps—it also smooths surfaces and helps your paint adhere more effectively.
Using the wrong type of caulk can result in peeling, cracking, or uneven coverage that detracts from the overall appearance. Whether painting walls, trim, or windows, a proper seal is essential for a polished, professional look.
What to Use
For most interior and exterior paint projects, acrylic latex caulk is a dependable option. It adheres well to various surfaces, dries quickly, and—importantly—can be painted over. This makes it suitable for trim, baseboards, and drywall where a consistent finish is desired.
Some acrylic latex caulks also include a small amount of silicone for added flexibility and longevity, without affecting paint compatibility. Always ensure the label confirms the product is paintable before use.
What to Avoid
Avoid pure silicone caulk if you intend to paint over it. Silicone resists paint, resulting in blotchy and uneven coverage, even with a primer.
Although silicone is excellent in moisture-prone areas such as showers and around sinks, it’s unsuitable for painting projects involving walls, doors, or trim. If mistakenly applied, it often needs to be removed and replaced before painting can proceed.
Read the Label
Before purchasing any caulk, take a moment to examine the label. Look for clear indicators such as “paintable” or phrases like “compatible with latex or oil-based paints.” This ensures compatibility with your selected paint type.
Also, depending on the location of your project, verify if the caulk is meant for indoor or outdoor applications. Finally, confirm that it’s designed for the specific surface—whether it’s wood, drywall, metal, or brick—to prevent adhesion issues.
Steps to Caulk Before Painting
Caulking before painting helps fill gaps and makes the paint job look clean. It also seals out moisture and improves durability. Below are the key steps to follow before painting.
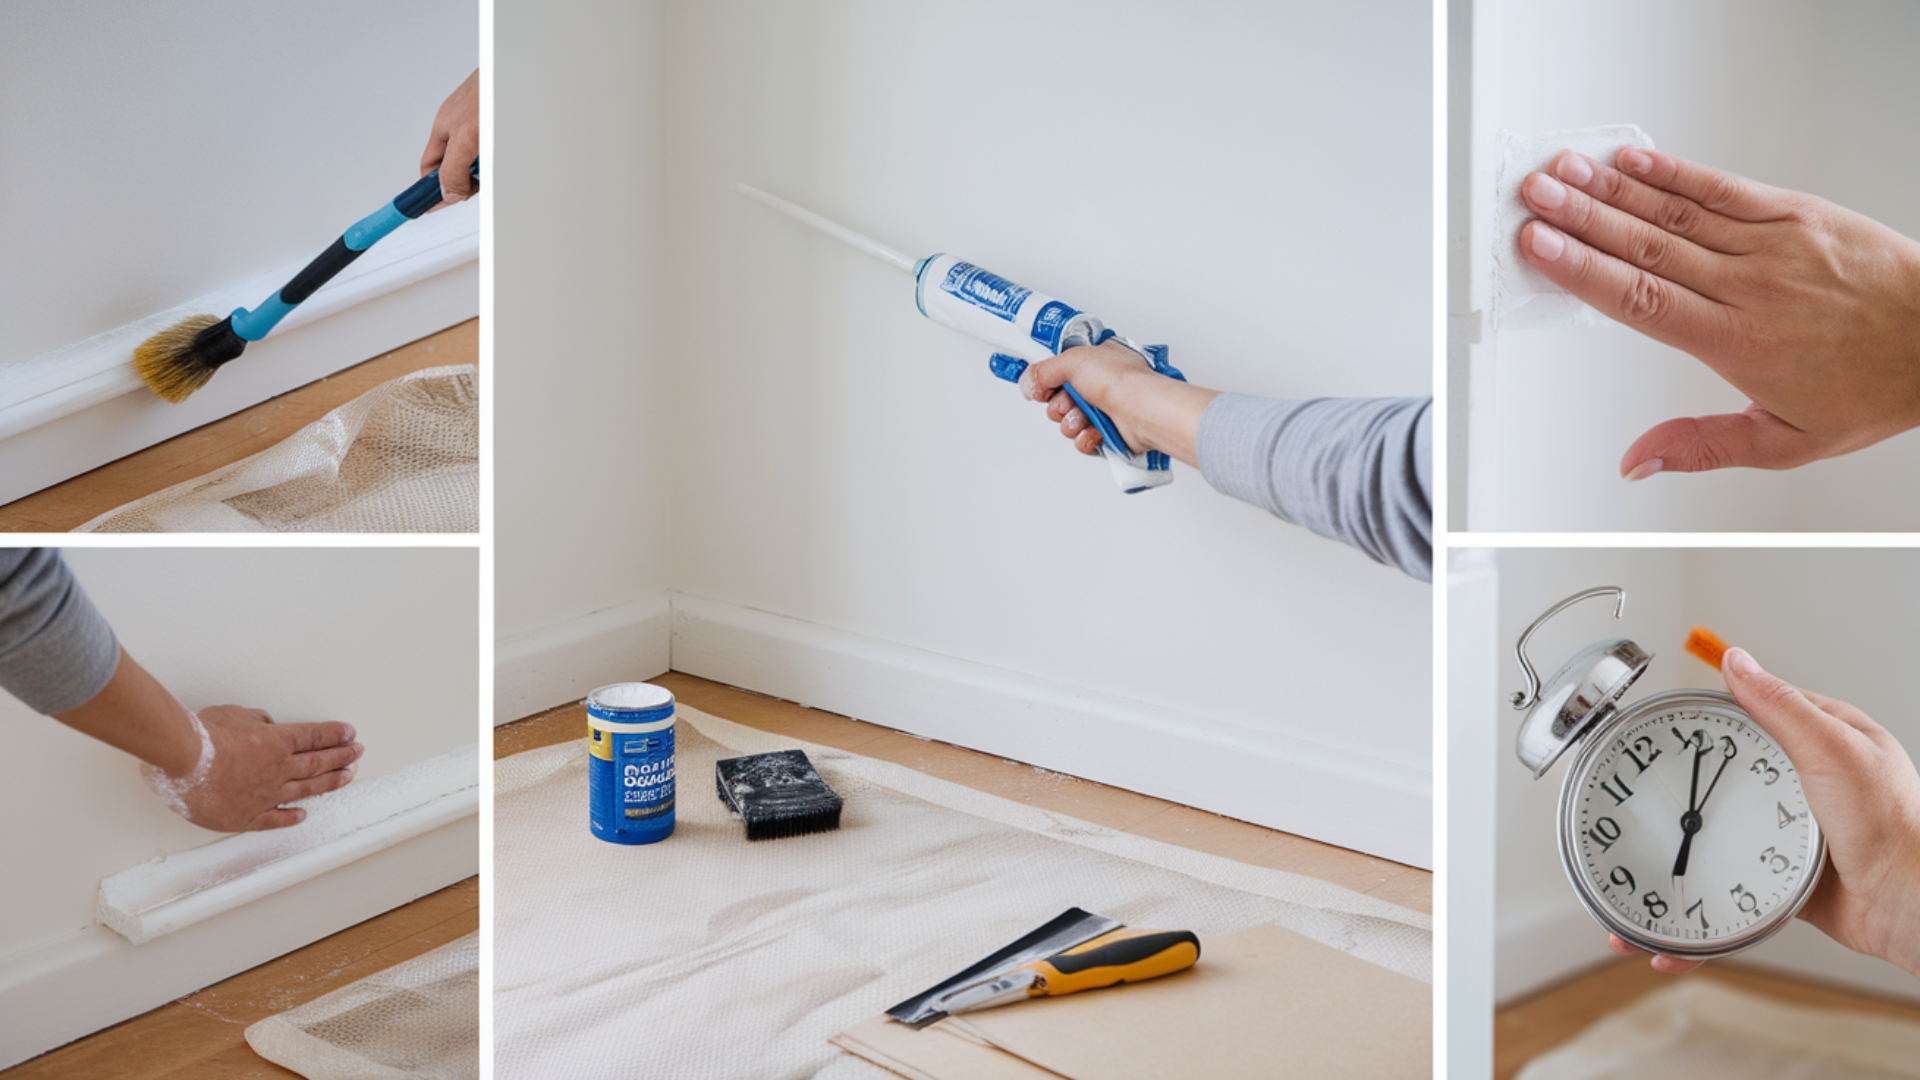
1. Clean the Surface
Start by cleaning the surface where you’ll apply the caulk. Use a brush or vacuum to remove dust, dirt, and any loose particles. If there’s old caulk, scrape it off using a utility knife or a scraper. Make sure the area is dry before moving on, so the new caulk sticks well.
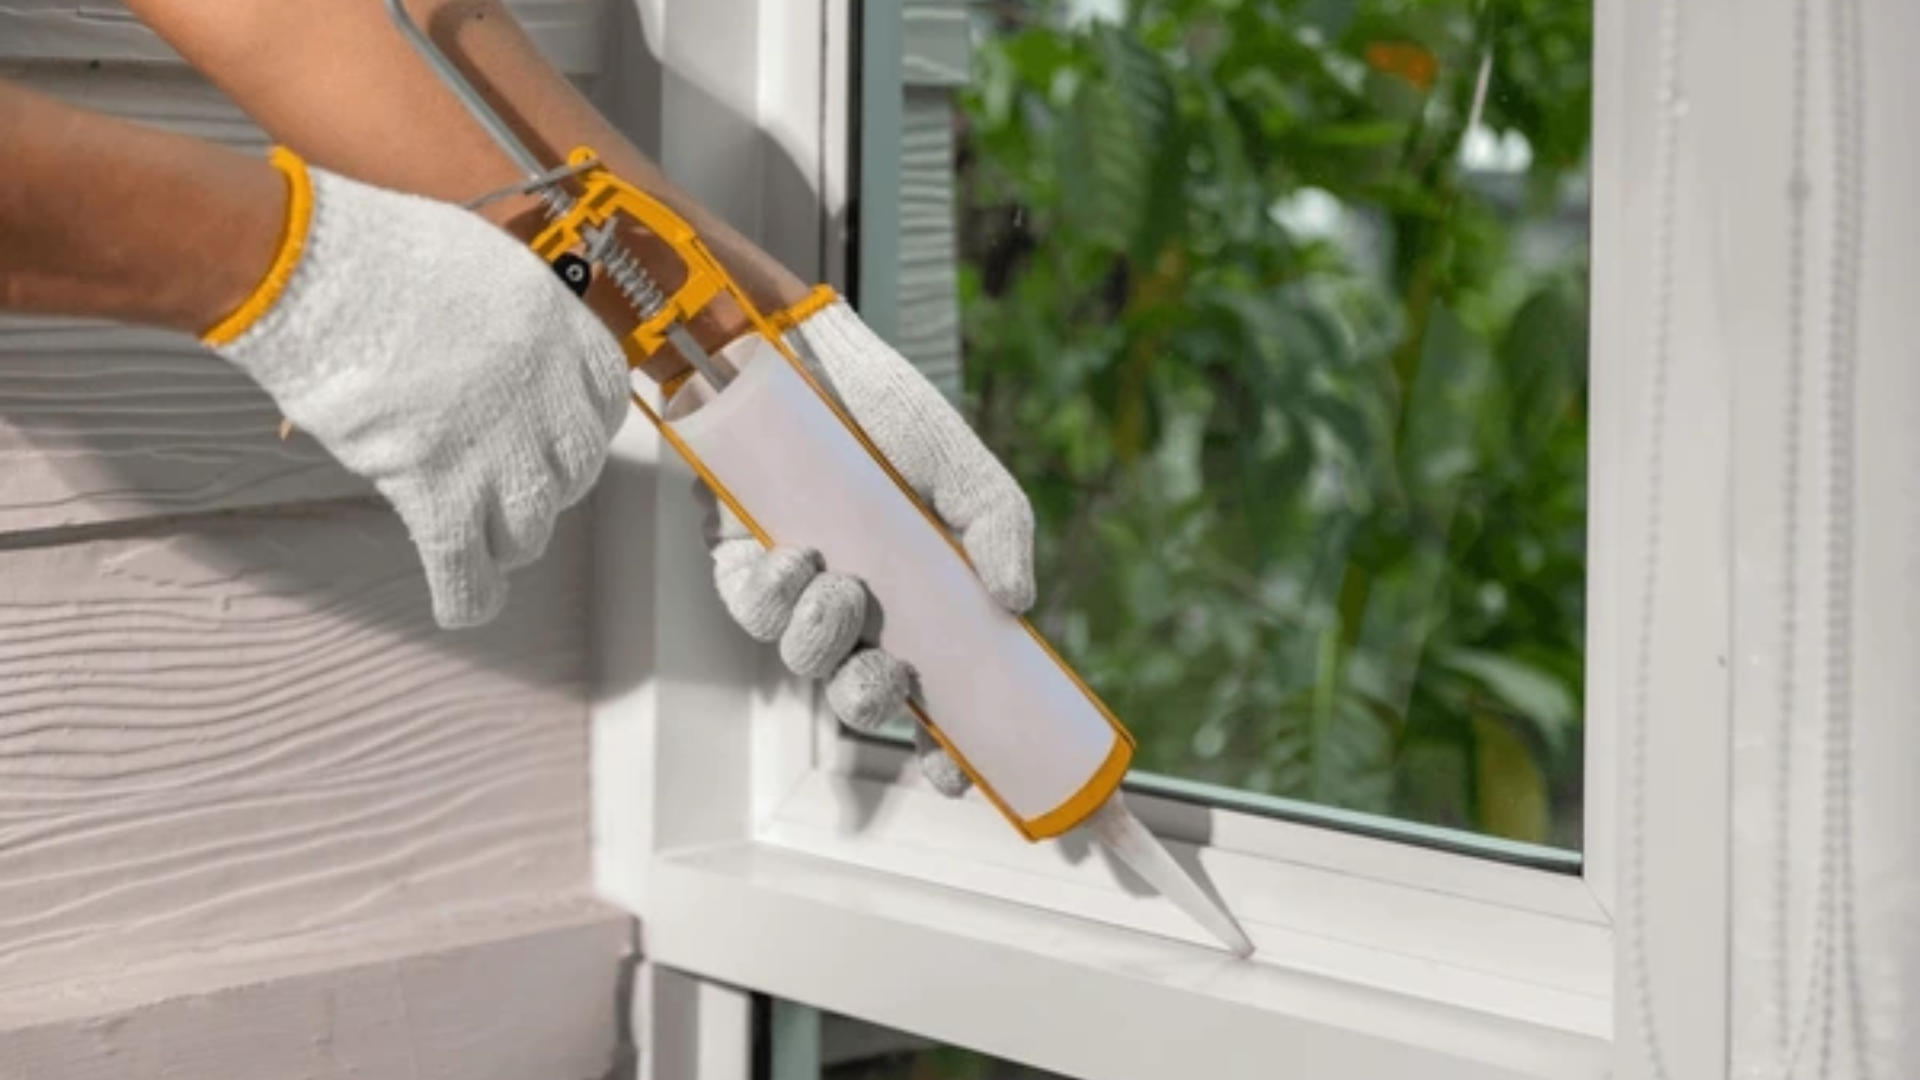
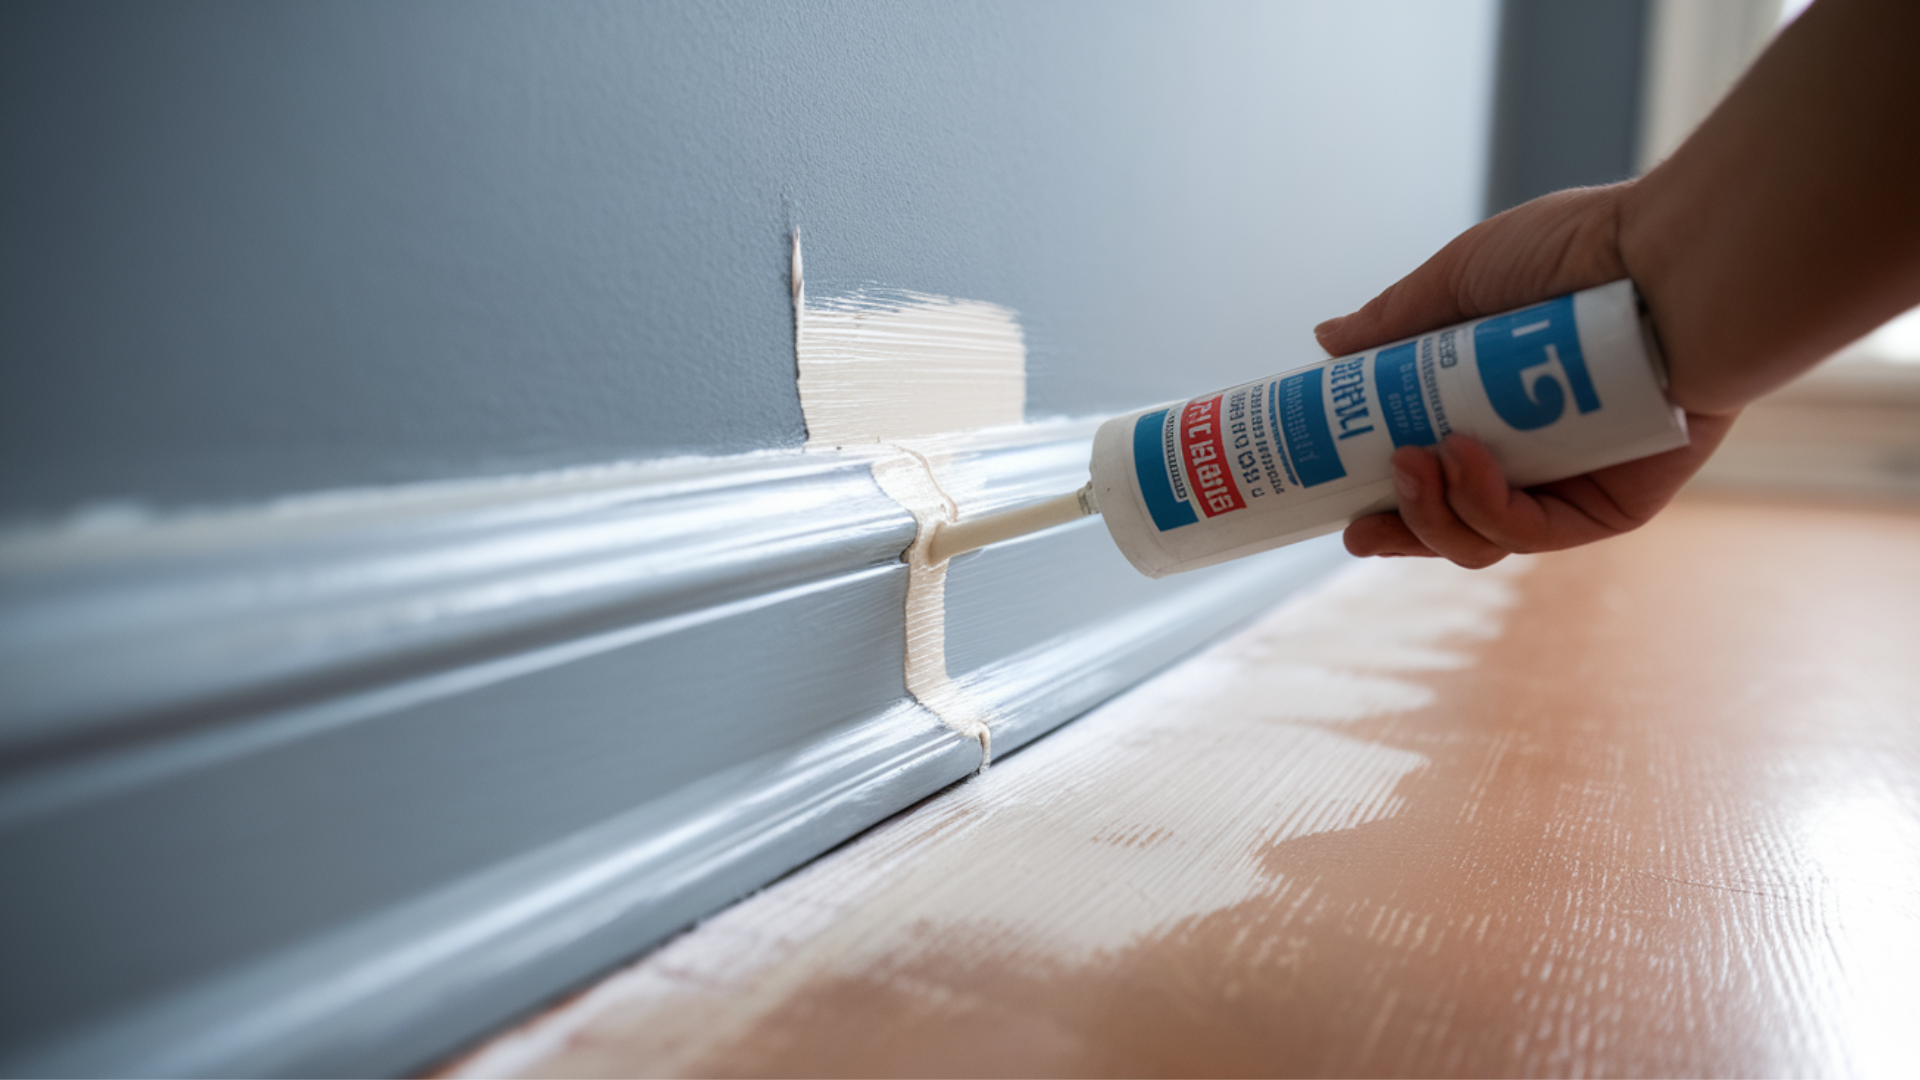
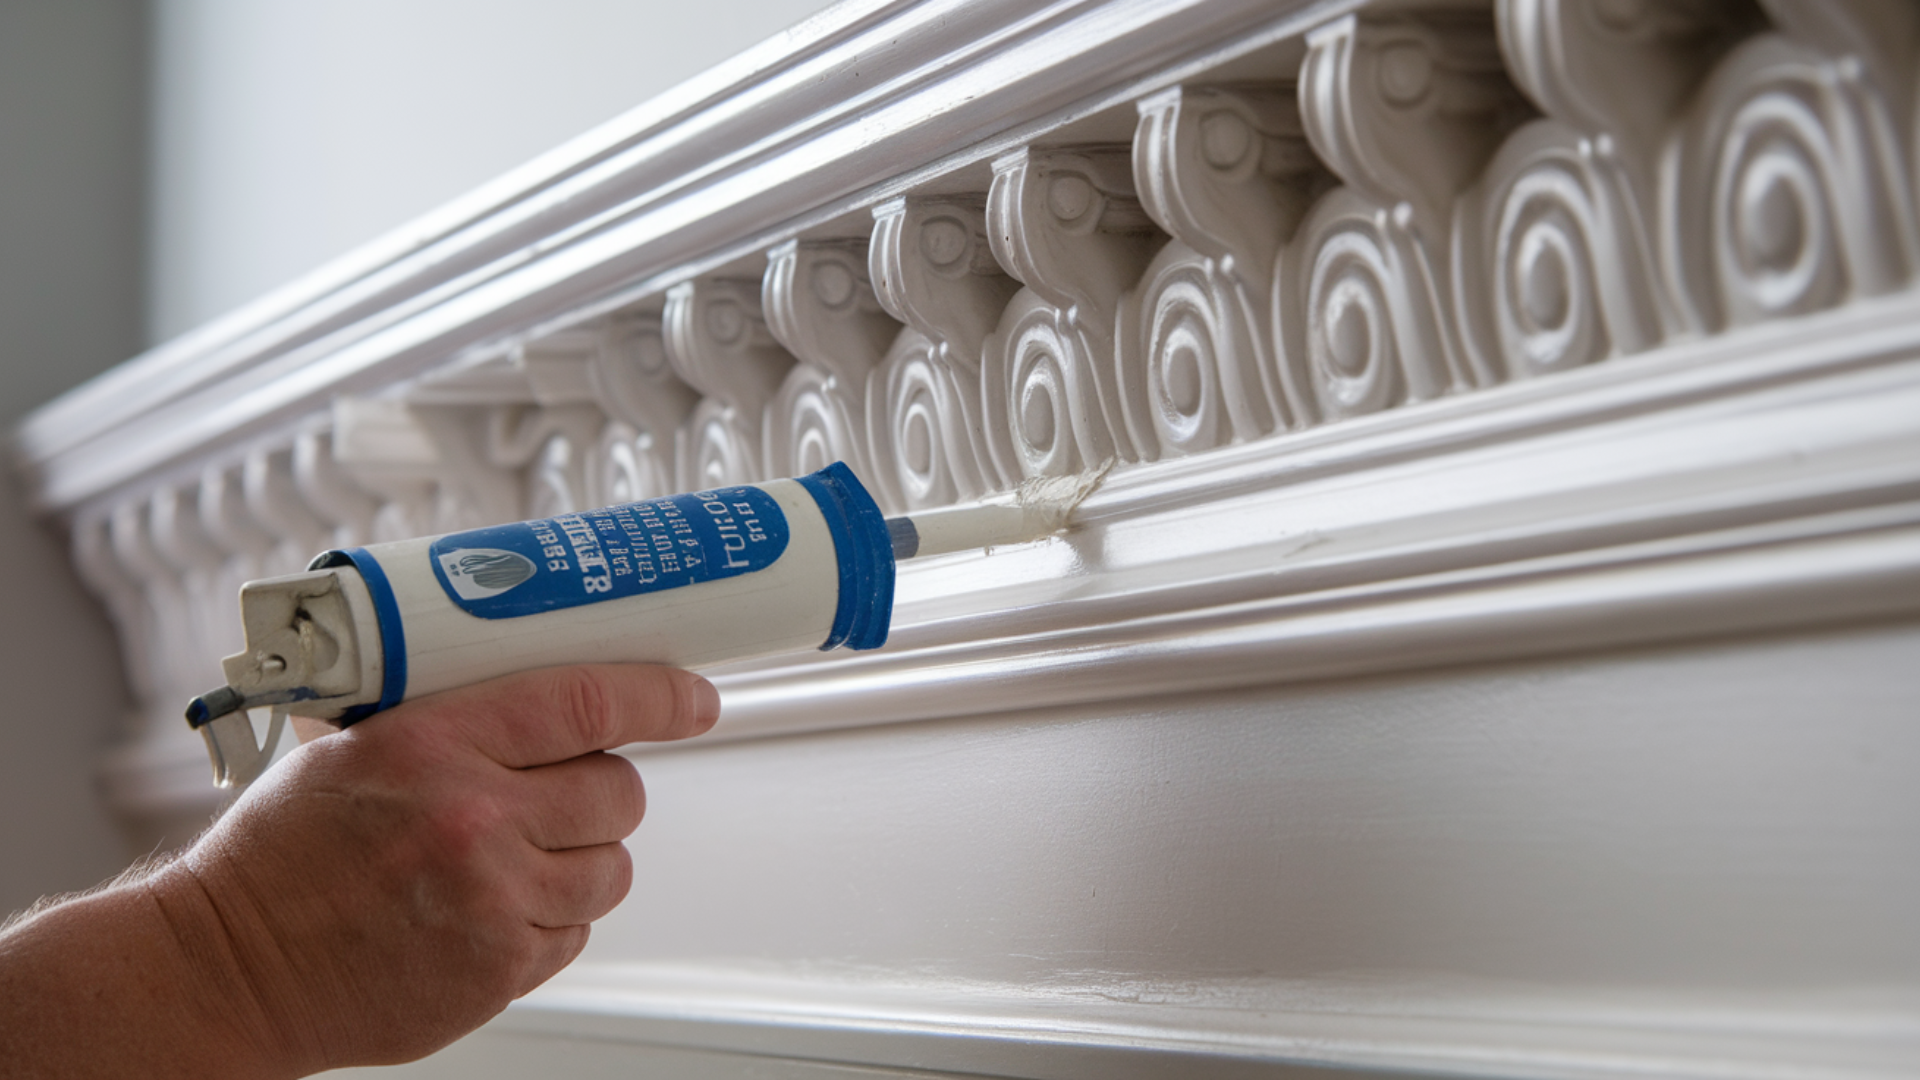
2. Apply Caulk
Use a caulking gun for better control and a steady line. Choose paintable caulk—acrylic latex is a good option. Cut the tube’s nozzle at a 45-degree angle to help guide the flow into cracks and seams. Apply the caulk slowly, keeping a steady pressure on the trigger as you move along the gap.
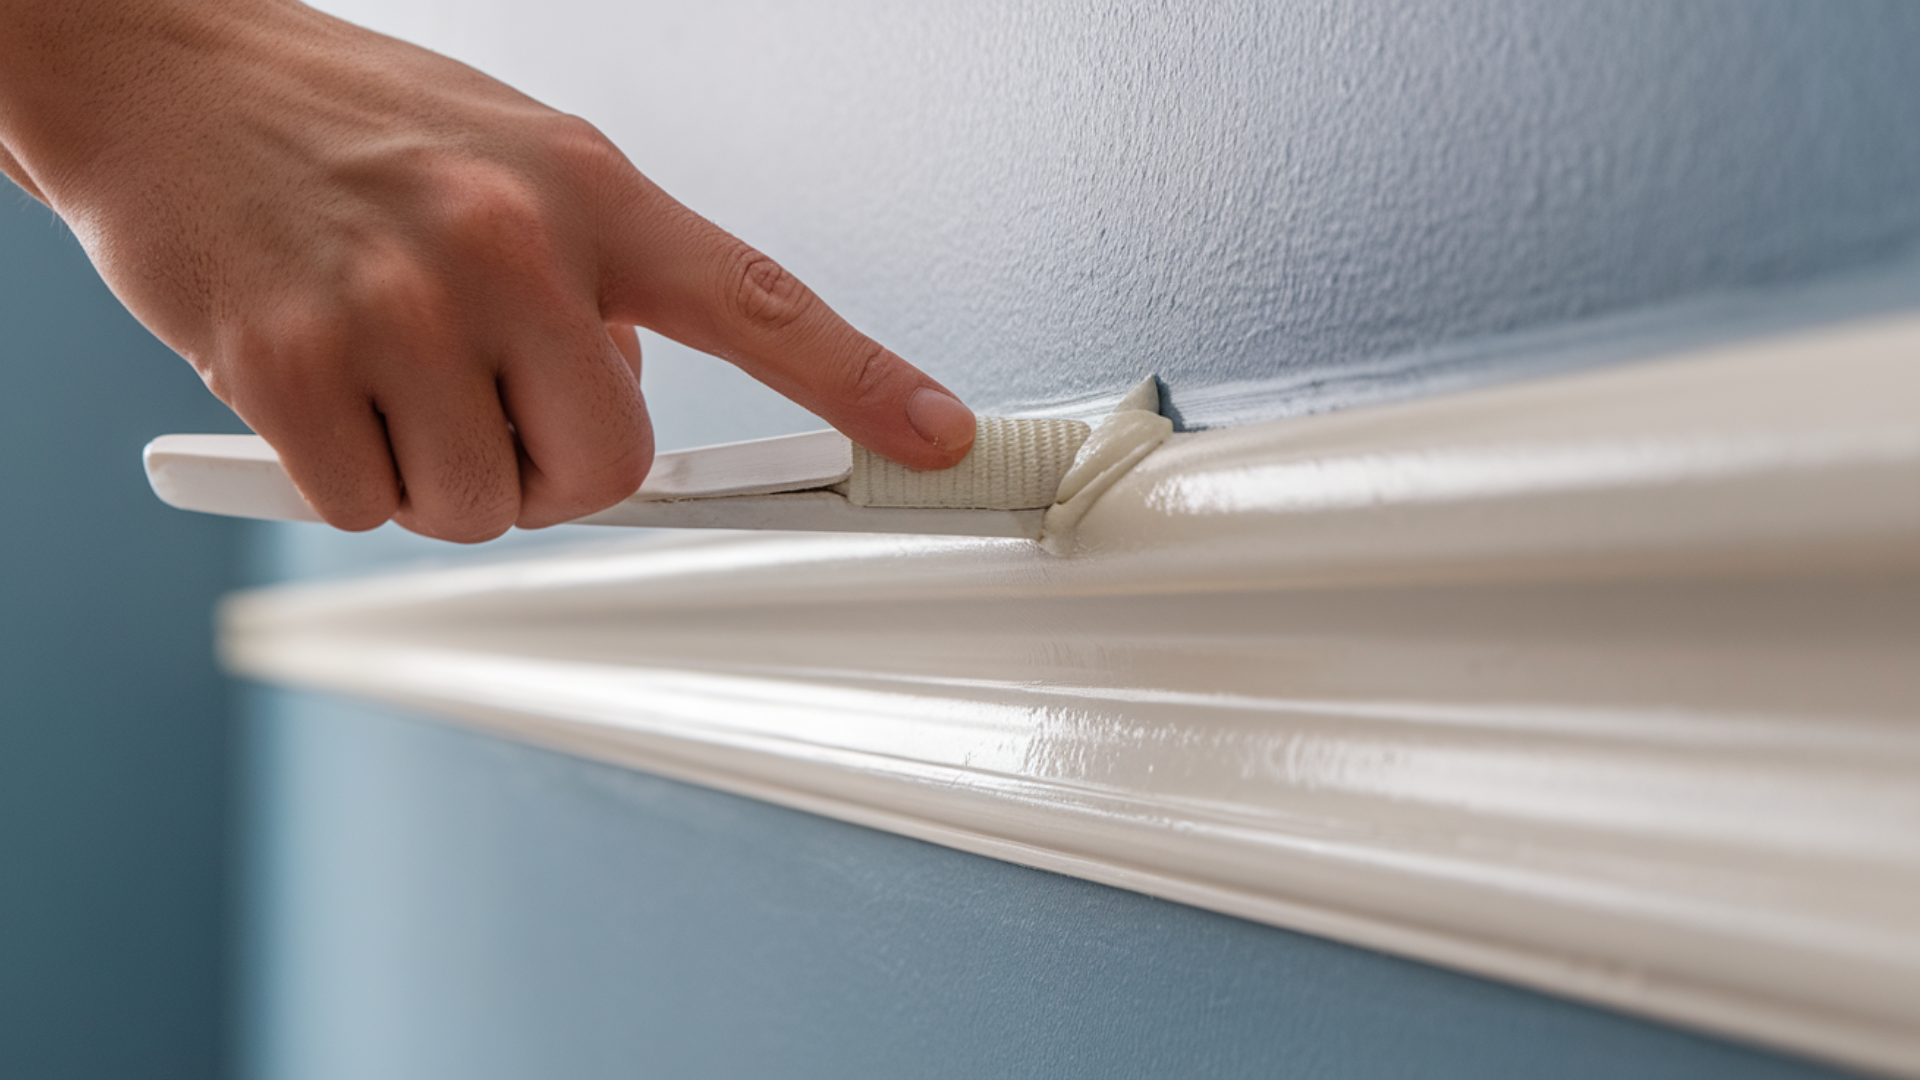
3. Smooth It Out
Right after applying, smooth the caulk using a wet finger or a smoothing tool. This helps press the caulk into the gap and creates a neat line. Wipe away any extra with a damp cloth before it starts to dry. A smooth finish is important because it makes the paint look cleaner and more professional.
4. Let It Dry
Check the label on the caulk tube for drying time. Some need only a couple of hours, while others may take a full day. Don’t rush this step. If you paint too soon, the caulk may crack or not bond well. It’s better to wait than to redo your work later.
5. Paint Over
Once the caulk is completely dry, you can begin painting. If the area needs it, apply a coat of primer first. Use smooth, even strokes to cover the caulk. The final result should look seamless, with no visible gaps or rough spots. This step finishes off the job and makes your work look polished.
Tips for Best Caulking Results
A little preparation can make a big difference in both the quality of the finish and the ease of the job. Follow these simple steps to get the best outcome while minimizing cleanup and errors.
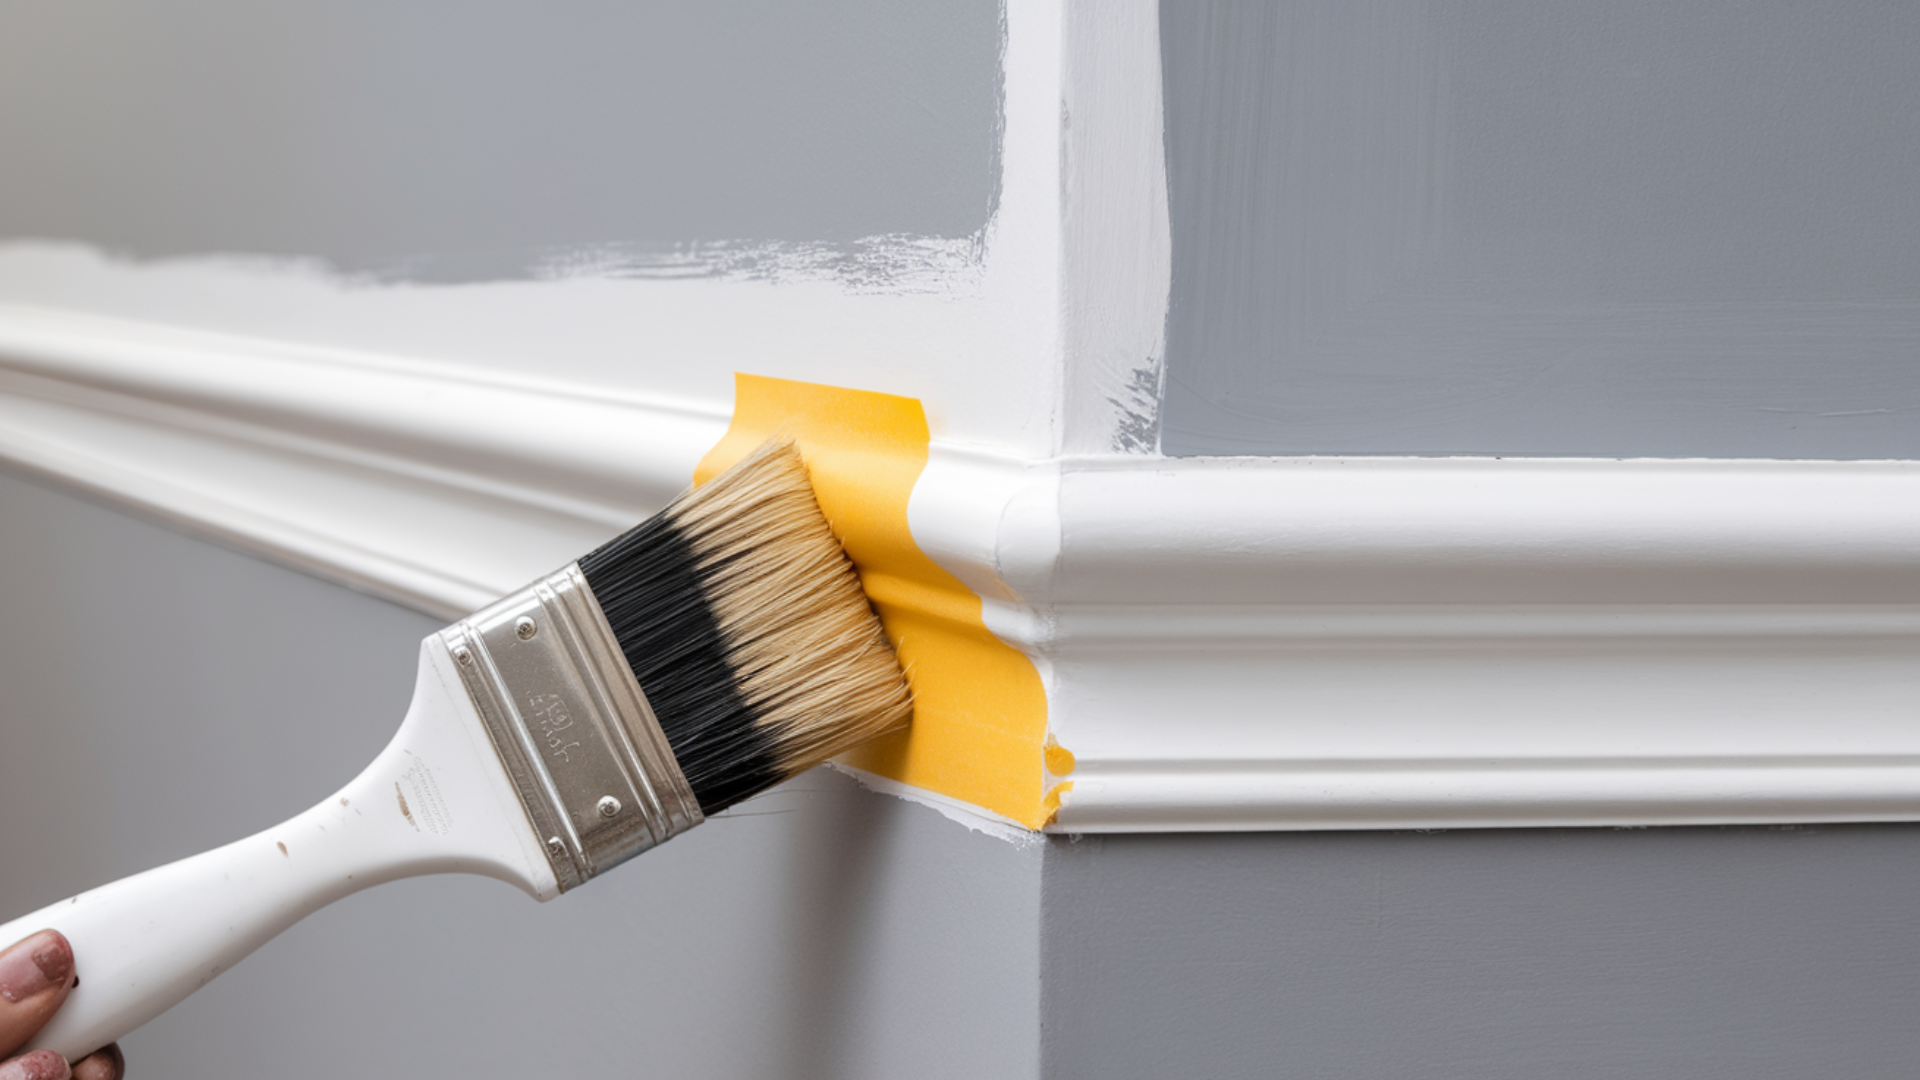
- Prep with Painter’s Tape: Using painter’s tape is a reliable way to get straight, crisp lines. Apply it along both sides of the joint before starting. Once the caulk is smoothed out, carefully remove the tape while the sealant is still wet for a clean edge.
- Cut the nozzle at an Angle: To better control the caulk tube, snip the tip at a 45-degree angle. A smaller opening lets you manage the flow and apply the bead evenly. It’s best to start conservatively—cut less than you think you’ll need and adjust if necessary.
- Practice Before You Begin: If you haven’t done this before, do a quick trial run on a spare piece of cardboard or wood. Practicing helps you understand the pressure needed and how fast to move the tube for consistent application.
- Choose the Right Day: Weather can impact how well the caulk adheres. For the best results, pick a dry day with mild temperatures. Moisture in the air can interfere with bonding, so avoid working just before rain or in very damp conditions.
Common Mistakes to Avoid
Avoiding these mistakes can save you time and effort. They also help your paint job look clean and last longer. Some are easy to miss, but they matter. Read this before you begin.
- Painting Too Soon: Let the caulk dry completely before painting. Wet caulk can cause paint to bubble or peel later.
- Wrong Caulk Type: Always choose paintable caulk. Silicone-only caulks won’t hold paint and will cause issues.
- Skipping Cleaning: Dirty or greasy surfaces stop the caulk from sticking. Use a mild cleaner or rubbing alcohol first.
- Overapplying Caulk: You only need enough to fill the gap. Too much can look messy and crack as it dries.
- Not Smoothing the Caulk: Always smooth the bead with your finger or tool. This helps it seal better and look neat.
- Using Old Caulk: Old, dried-out caulk won’t stick well. Check the tube before use.
- Working in Humid or Cold Conditions: Extreme weather can prevent caulk from drying or sticking. If possible, work in mild, dry weather.
- Ignoring Manufacturer Instructions: Read the label for dry time, surface prep, and cleanup. Not all caulks work the same.
Conclusion
Caulking before painting is generally recommended for a smooth, sealed finish. It helps conceal gaps, improves adhesion, and results in a cleaner appearance. This step also guards against moisture and cracking over time. However, not all projects require caulk.
Some surfaces may already be finished or not meant for painting. Always examine the surface to determine if gaps or seams need sealing. Skipping caulking when necessary can lead to uneven results, while using it unnecessarily can also create problems.
The key is to understand your specific project. Choose the appropriate type—paintable, waterproof, or flexible—and apply it correctly: cut the nozzle, use a steady bead, smooth it, and let it dry fully before painting.