
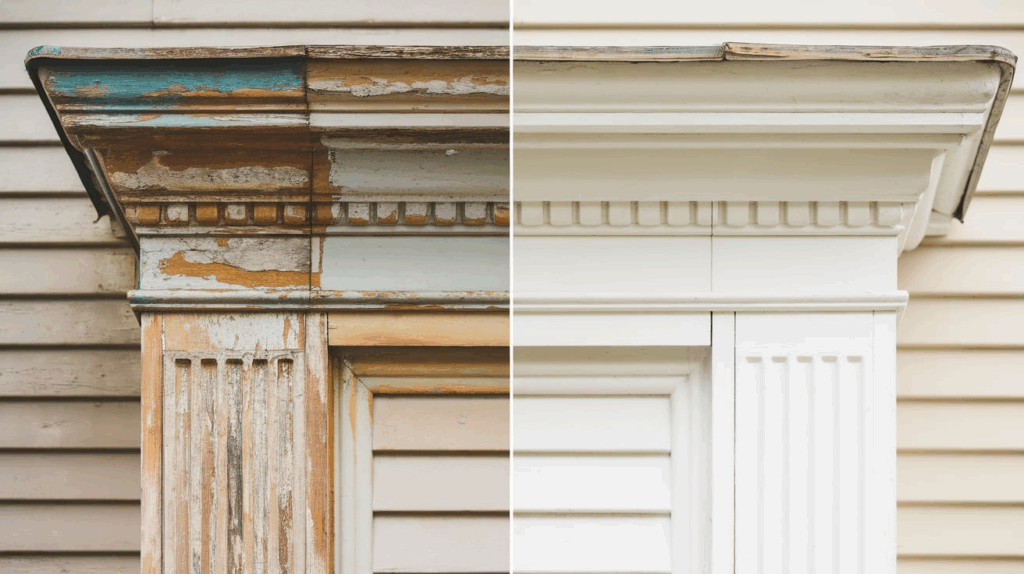
Painting your exterior trim might seem like a small task, but it makes a noticeable difference. Fresh trim paint can make your whole house look cleaner, brighter, and better maintained.
It also shields the edges of your home from wind, rain, and sun damage. No matter if your trim is wood, vinyl, or metal, a fresh coat of paint helps keep it looking neat and lasting longer.
You don’t need to be an expert to get great results either. With the right tools, a little time, and some clear steps, you can do it yourself.
In this blog, I’ll cover everything you need to know, from selecting the right paint to ensuring it adheres well and lasts. If your trim is chipped, faded, or just dull, this guide will help you give it new life without the hassle.
Why Paint Exterior Trim?
Painting your exterior trim isn’t just about making your home look nice; it serves an important purpose.
Trim protects the edges of your house, like around windows, doors, and the roofline. When the paint starts to peel or fade, that protection weakens. Moisture can sneak in, and over time, wood and other materials can rot or crack.
Fresh paint adds a strong layer of defense against rain, sun, and snow.
It also helps keep bugs out, especially in older homes where small gaps can form. A clean, crisp trim color makes your house stand out and appear well-maintained.
Painting your exterior trim is a straightforward way to improve both appearance and durability, if you’re planning to sell or want to enjoy a better-looking home.
Tools and Materials Needed
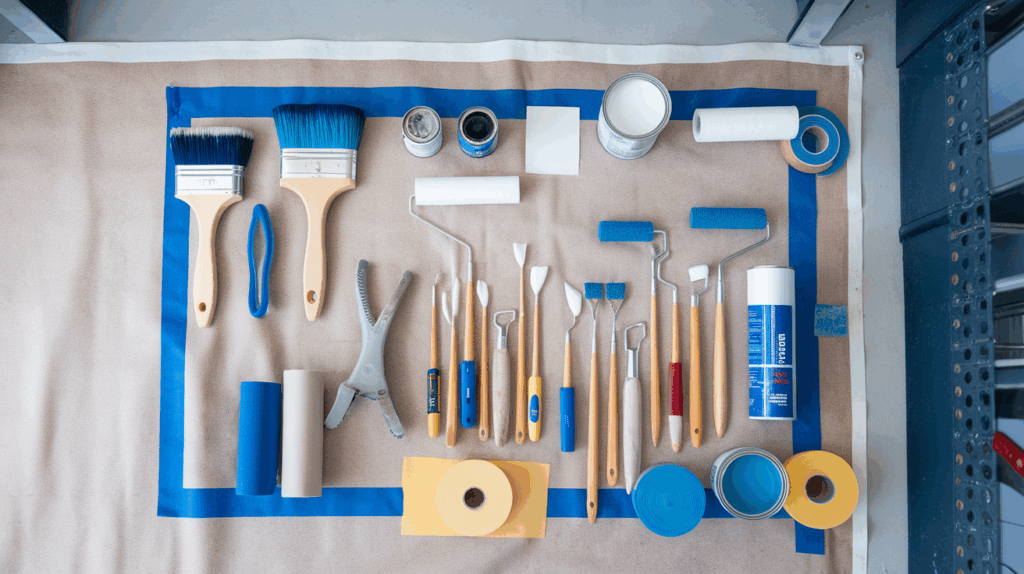
Before you start painting your exterior, it’s important to have the right tools. Having everything ready will help the job proceed more quickly and efficiently.
- Paintbrushes, rollers, and sprayers & Use brushes for small areas, rollers for flat surfaces, and sprayers for covering large spaces quickly.
- Sandpaper, putty knives, and scrapers & These help you clean up rough spots, remove old paint, and fill in cracks or holes.
- Exterior-grade primer and paint & Always use paint specifically designed for the exterior of your home. Primer helps the paint stick and last longer.
- Sealant and applicator & Use these to close any gaps between the trim and the wall. This keeps water and bugs out.
- Drop cloths and painter’s tape & Drop cloths protect the ground, and painter’s tape helps keep paint off windows and siding.
Step-By-Step Guide to Painting Exterior Trims
Breathe new life into your home’s exterior with a fresh coat of paint. Follow these steps and achieve a professional-looking finish that protects and beautifies your home’s most important details.
Step 1: Prep and Protect the Area
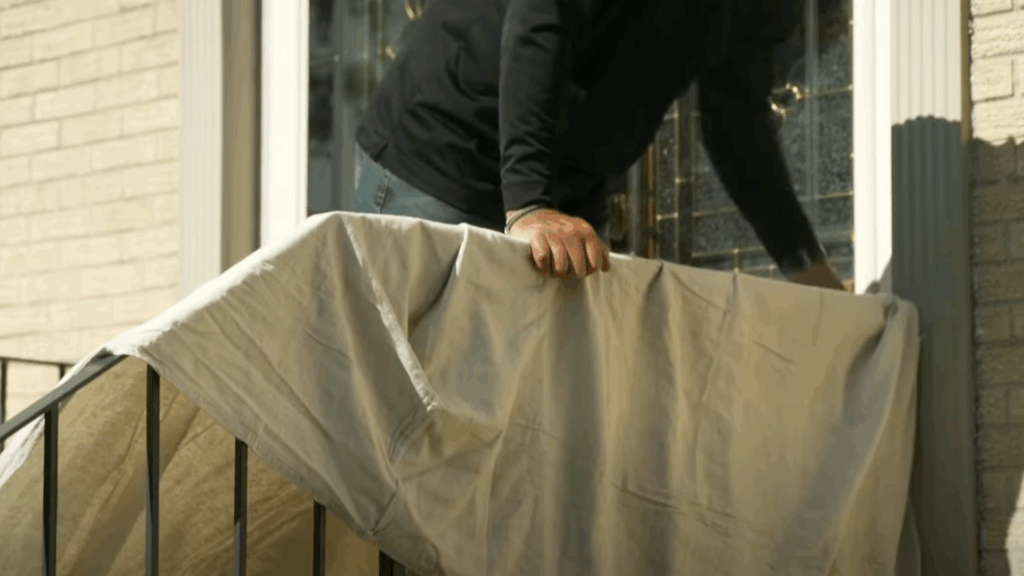
Before painting, protect your surroundings using drop cloths. Use a canvas one to cover the railing to avoid accidental paint splatters.
Next, inspect the trim and scrape off any peeling paint to create a smooth base. Sand the area with sandpaper or a sanding sponge, and repair any damaged or rotted wood using wood epoxy or replacements.
Prep is the key to a professional finish, so take your time here. Once everything is smooth and intact, you’re ready to move to the next step.
Step 2: Prime and Clean the Trim
After surface prep, apply a quality exterior primer to help the topcoat adhere better and last longer. Primer seals the surface and evens out imperfections.
Before you prime, wipe down the trim to remove dust or debris, as this can affect how the paint adheres. Clean surfaces ensure smoother application and a more polished finish.
Don’t skip this step; it sets the foundation for paint durability and consistency. Once cleaned and primed, let everything dry thoroughly before applying paint or caulk.
Step 3: Remove Fixtures and Apply Caulk
Take the time to remove any fixtures, such as flag holders, instead of painting around them; it makes the job easier and looks more professional.
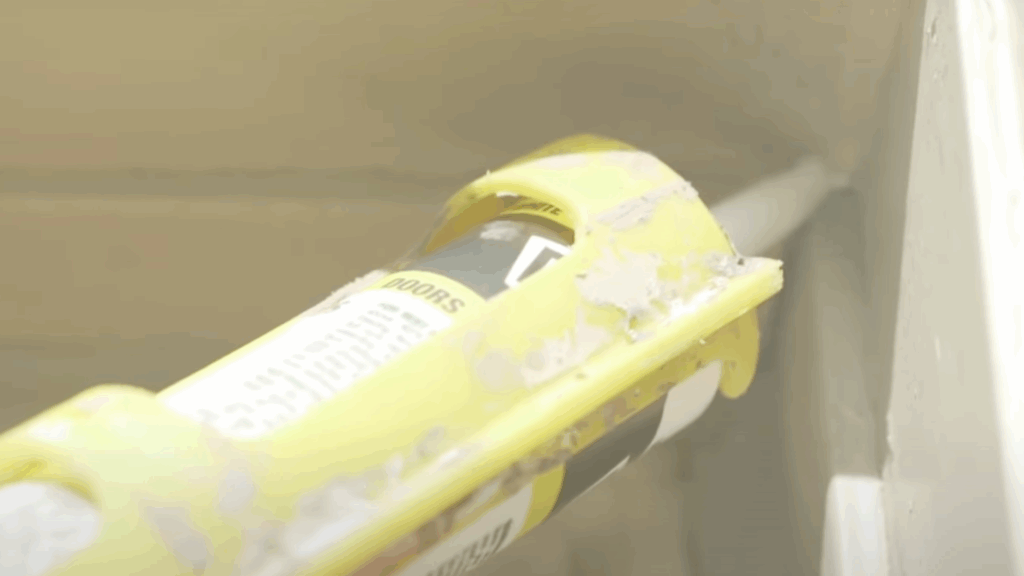
Apply a high-quality, paintable exterior acrylic caulk to fill any gaps or cracks in the trim. Caulking seals out moisture and improves appearance. Use your finger to smooth the caulk line for a clean finish.
Let it dry for at least an hour (longer if possible) to ensure a proper seal before painting. This step is crucial for achieving a weatherproof and seamless trim look.
Step 4: Detail and Tape with Care
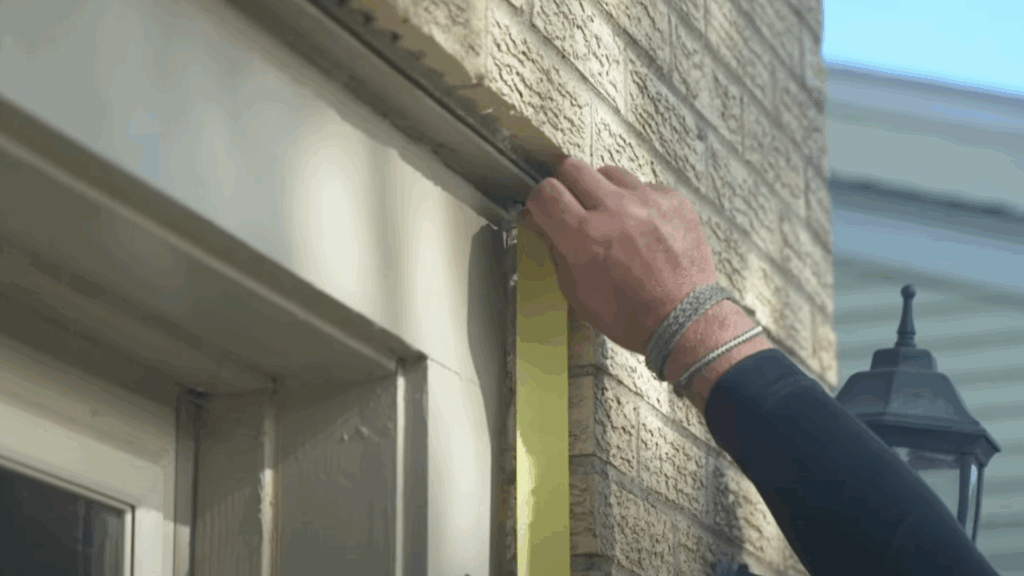
When you’re ready to paint, use exterior painter’s tape to mask off areas you don’t want painted, especially near surfaces like brick, where regular tape may not adhere well.
Press the tape down firmly to prevent paint from bleeding through. Proper taping makes clean edges easier and protects nearby surfaces for a tidy result.
Step 5: Choose Quality Paint and Tools
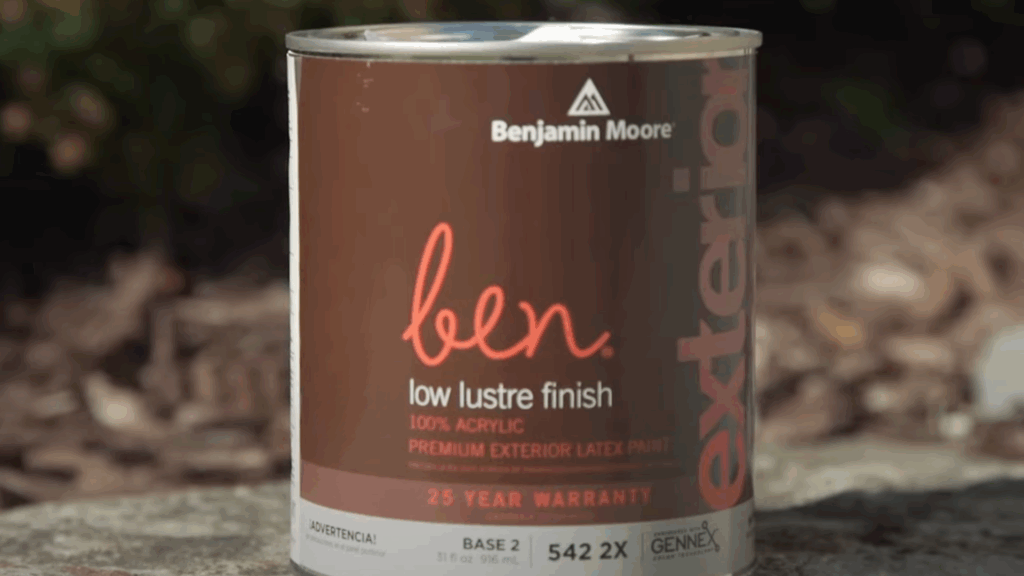
Benjamin Moore’s Ben line 100% acrylic, low-luster exterior paint, Puritan Gray, was used. It’s breathable, durable, and has great flow, meaning it applies smoothly.
Use a high-quality synthetic angled trim brush, which pairs best with acrylic paint. Synthetic bristles give better control and smoother results than natural ones.
The right tools and paint make a big difference in application and longevity. Select colors that complement your home and invest in products specifically designed for exterior use.
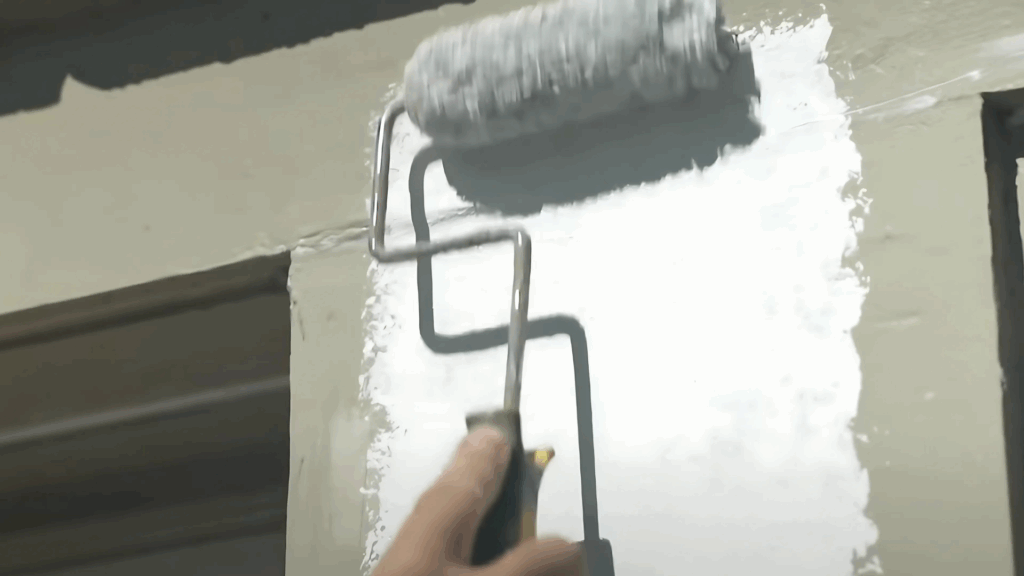
Step 6: Apply Paint and Finish Strong
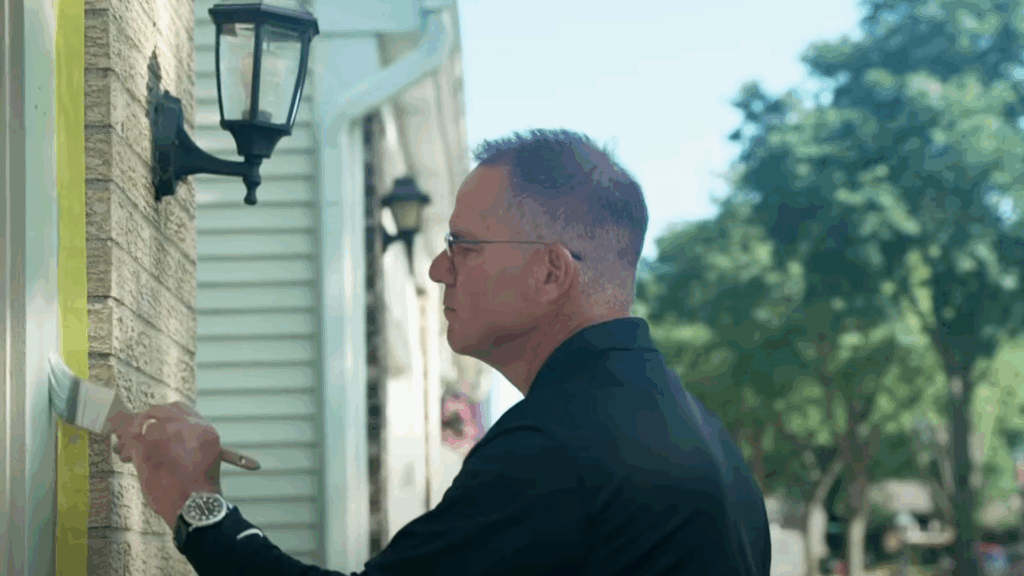
Start painting with long, even strokes. Once the first coat has dried, check for areas where the primer shows through. Apply a second coat for solid, vibrant coverage.
A second coat deepens the color and enhances durability. For optimal results, allow each coat to dry completely. Take your time, especially around corners and edges.
After painting, reattach any fixtures you removed earlier. Your refreshed trim will now look clean, sharp, and polished, instantly upgrading your curb appeal. For help, visit your local Ace or check out their tutorials.
Drying and Curing Times Explained
Drying and curing times are important to understand so your paint job turns out smooth and lasts a long time. Most paints will feel dry to the touch within 1 to 2 hours, but that doesn’t mean they’re ready for another coat.
It’s best to wait at least 4 to 6 hours before applying the second layer, although you should always refer to the instructions on the paint can for specific details.
Even after the paint appears dry, it still requires time to cure, during which it fully hardens and becomes more resistant. This can take anywhere from 7 to 30 days.
Weather plays a significant role in determining how quickly paint dries. High humidity and cold temperatures slow down the drying process, while warm, dry days help it dry more quickly.
However, if it’s too hot, the paint can dry too fast and crack. Aim to paint on mild, dry days for the most reliable outcome.
Common Mistakes to Avoid
Here are some simple things to watch out for when painting exterior trim. Preventing these mistakes will help your paint job last longer and look improved.
- Painting in the Wrong Weather: Don’t paint when it’s too hot, too cold, or raining. The best time is on a dry day when it’s between 50°F and 85°F. Bad weather can make the paint dry poorly or peel later.
- Skipping prep steps: Cleaning, sanding, and priming may take time, but they help the paint stick better. If you skip these steps, your paint might crack or peel too soon.
- Overloading the brush: Dipping the brush too deep in paint makes it messy and hard to control. Just dip the tip and wipe off extra paint on the side of the can. This gives you smooth, even strokes and less dripping.
Conclusion
Painting your exterior trim is one of the easiest ways to refresh your home’s look and protect it from the weather. With the right tools, a little prep work, and some patience, you can get solid results, even if you’re not a pro.
I learned that taking my time, following each step, and avoiding mistakes like painting in bad weather or skipping prep made a huge difference. Good prep helps the paint stick better and last longer.
Good prep helps the paint stick more effectively and last longer. Don’t forget to clean your tools and safely throw away leftover paint when you’re done.
If your trim is old and chipped or you simply want a color change, a fresh coat of paint can make a noticeable improvement.
Now that you know what to do, you’re set to begin. A small effort can make a big impact on your home’s appearance and overall protection