
Want to make your plain walls stand out? Box trims are the perfect solution. They’re affordable, stylish, and instantly add architectural beauty to any room.
Its an easy DIY project, where someone like me can also install it. With the proper guidance, you can achieve excellent results.
In this guide, you’ll learn precisely what box trims are and how they can improve your space.
I’ll walk you through all the necessary tools and materials, as well as the step-by-step installation process.
You’ll also get design tips to make your walls look professional. I’ll share common mistakes to avoid so you don’t waste time or money.
Let’s get started and make your walls look like a designer did the work!
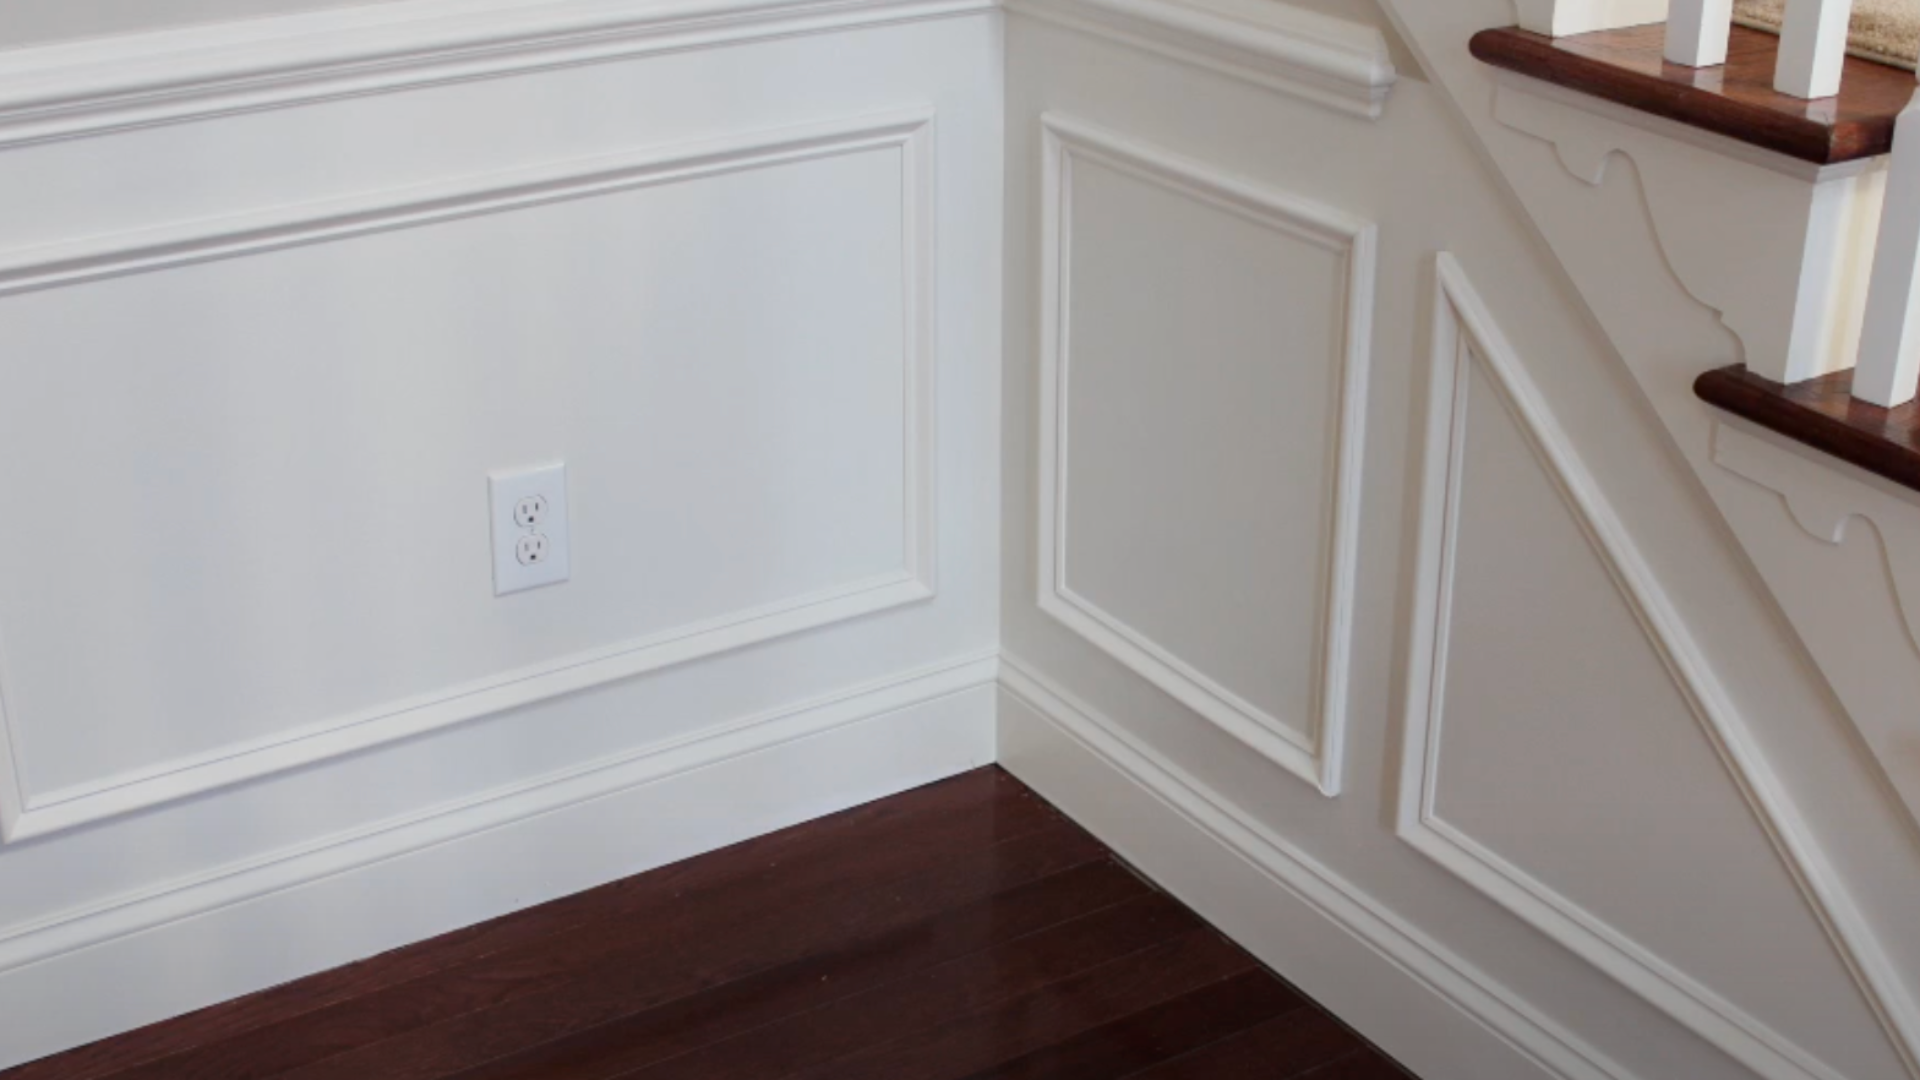
What are Box Trims?
Box trims are rectangular frames made from wood molding that you attach directly to your wall. They give the illusion of raised panels, adding a touch of class to any room.
Think of them like picture frames, but instead of holding photos, they frame sections of your wall. This simple detail instantly brings elegance to your space.
Various names, including wainscoting panels, picture frame molding, wall boxes, or decorative trim work, are known to them.
You can choose any size for your boxes. Small boxes create busy patterns, while larger ones feel more formal. Medium boxes are perfect for most rooms.
The best part? You can paint them to match your walls for a soft look or use bold colors for a statement.
Tools and Materials You’ll Need
The following are all the supplies you’ll need:
- Miter saw or miter box
- Measuring tape
- Level (2-foot minimum)
- A pencil for marking
- Nail gun or hammer
- Drill with bits
- Sandpaper (120 and 220 grit)
- Wood trim (1×2 or 1×3 boards work well)
- Finishing nails (1.5 to 2 inches)
- Wood glue
- Wood filler
- Primer and paint
- Wall anchors (if needed)
How to Install Box Trim on Walls
Installing box trim isn’t rocket science. But it does require patience and precision. Measure twice, cut once isn’t just a saying. It’s your best friend here:
1. Measure and Mark Your Corners
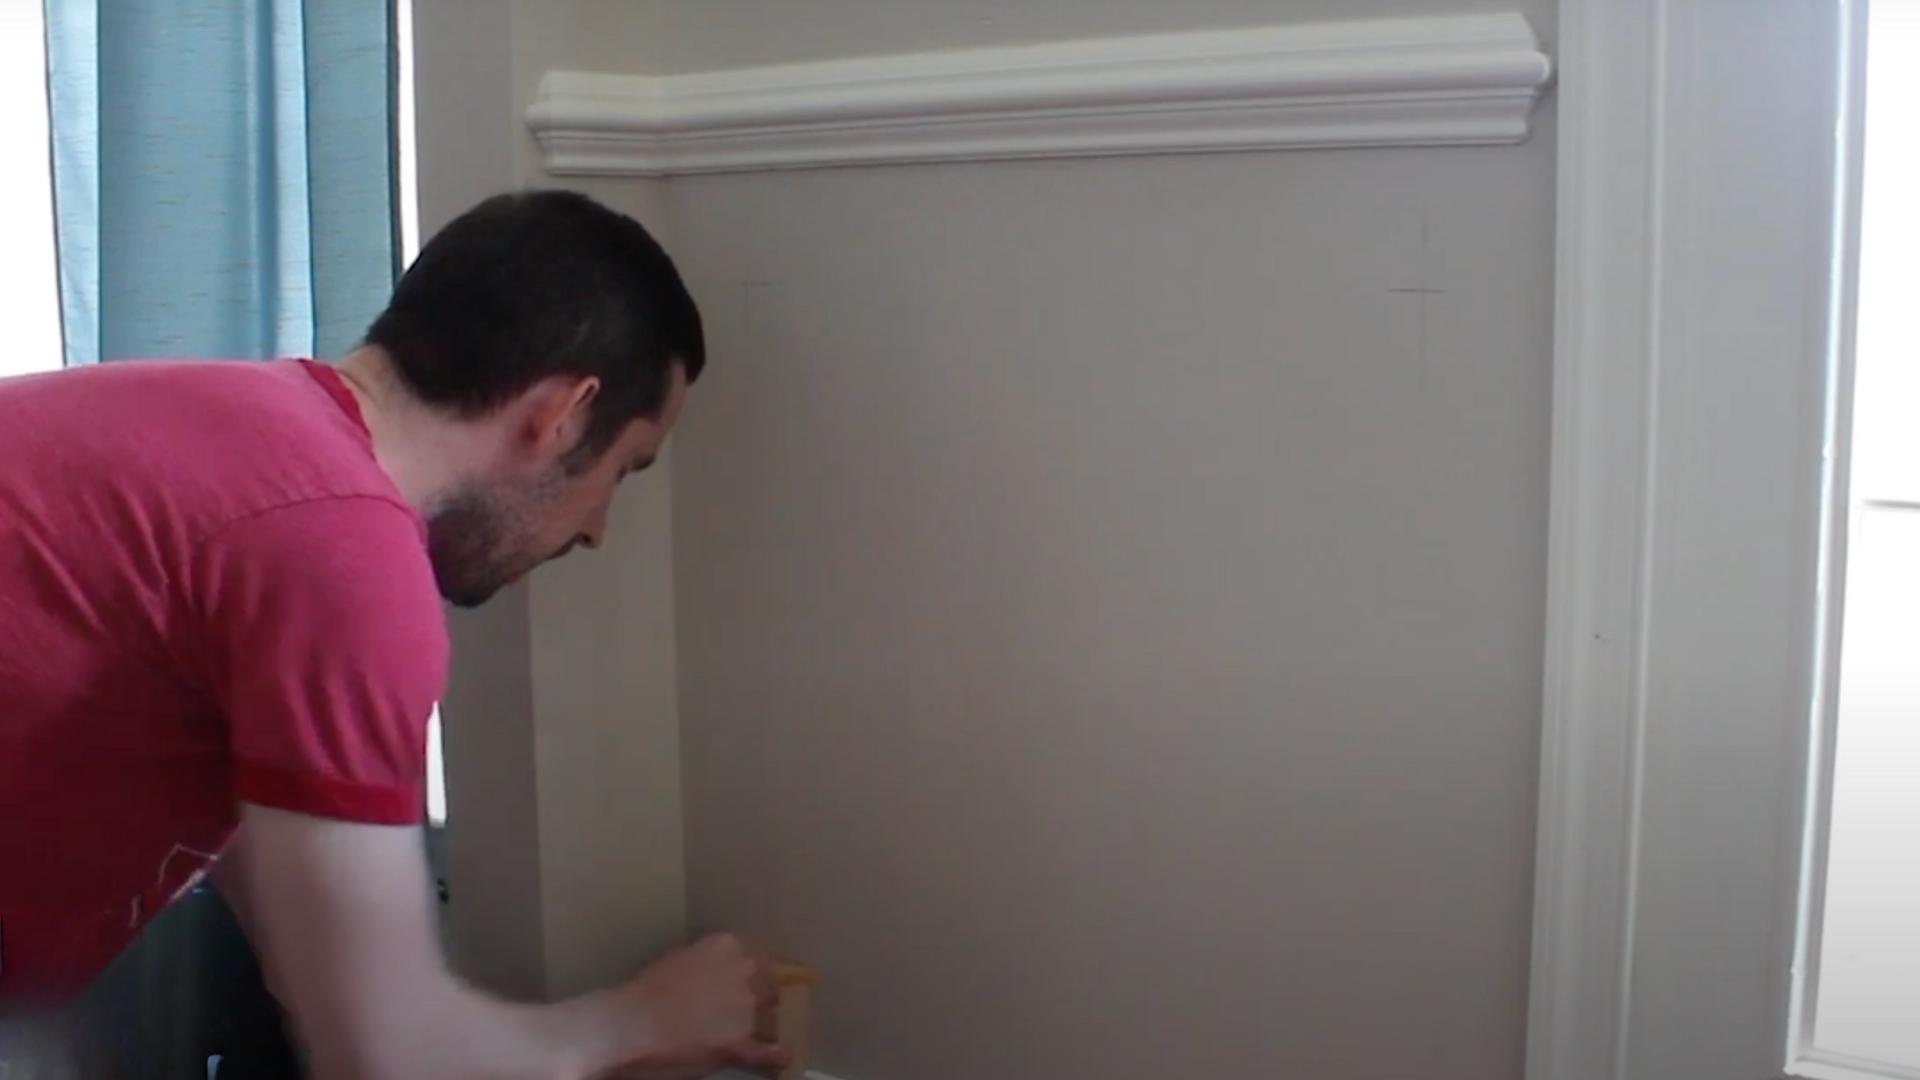
Start by deciding on the size of your boxes. Rectangles between 24 and 36 inches wide work well. The height can range from 18 to 48 inches, depending on your space.
Use a measuring tape to mark your corners with pencil dots. Double-check your measurements since walls may not always be perfectly square.
Place a level against each mark and draw light lines connecting the dots. These lines will guide you on where to place your trim.
Pro tip: Step back often to look at your layout from a distance. This helps ensure the spacing looks balanced and neat.
2. Measure and Cut Your Trim Pieces
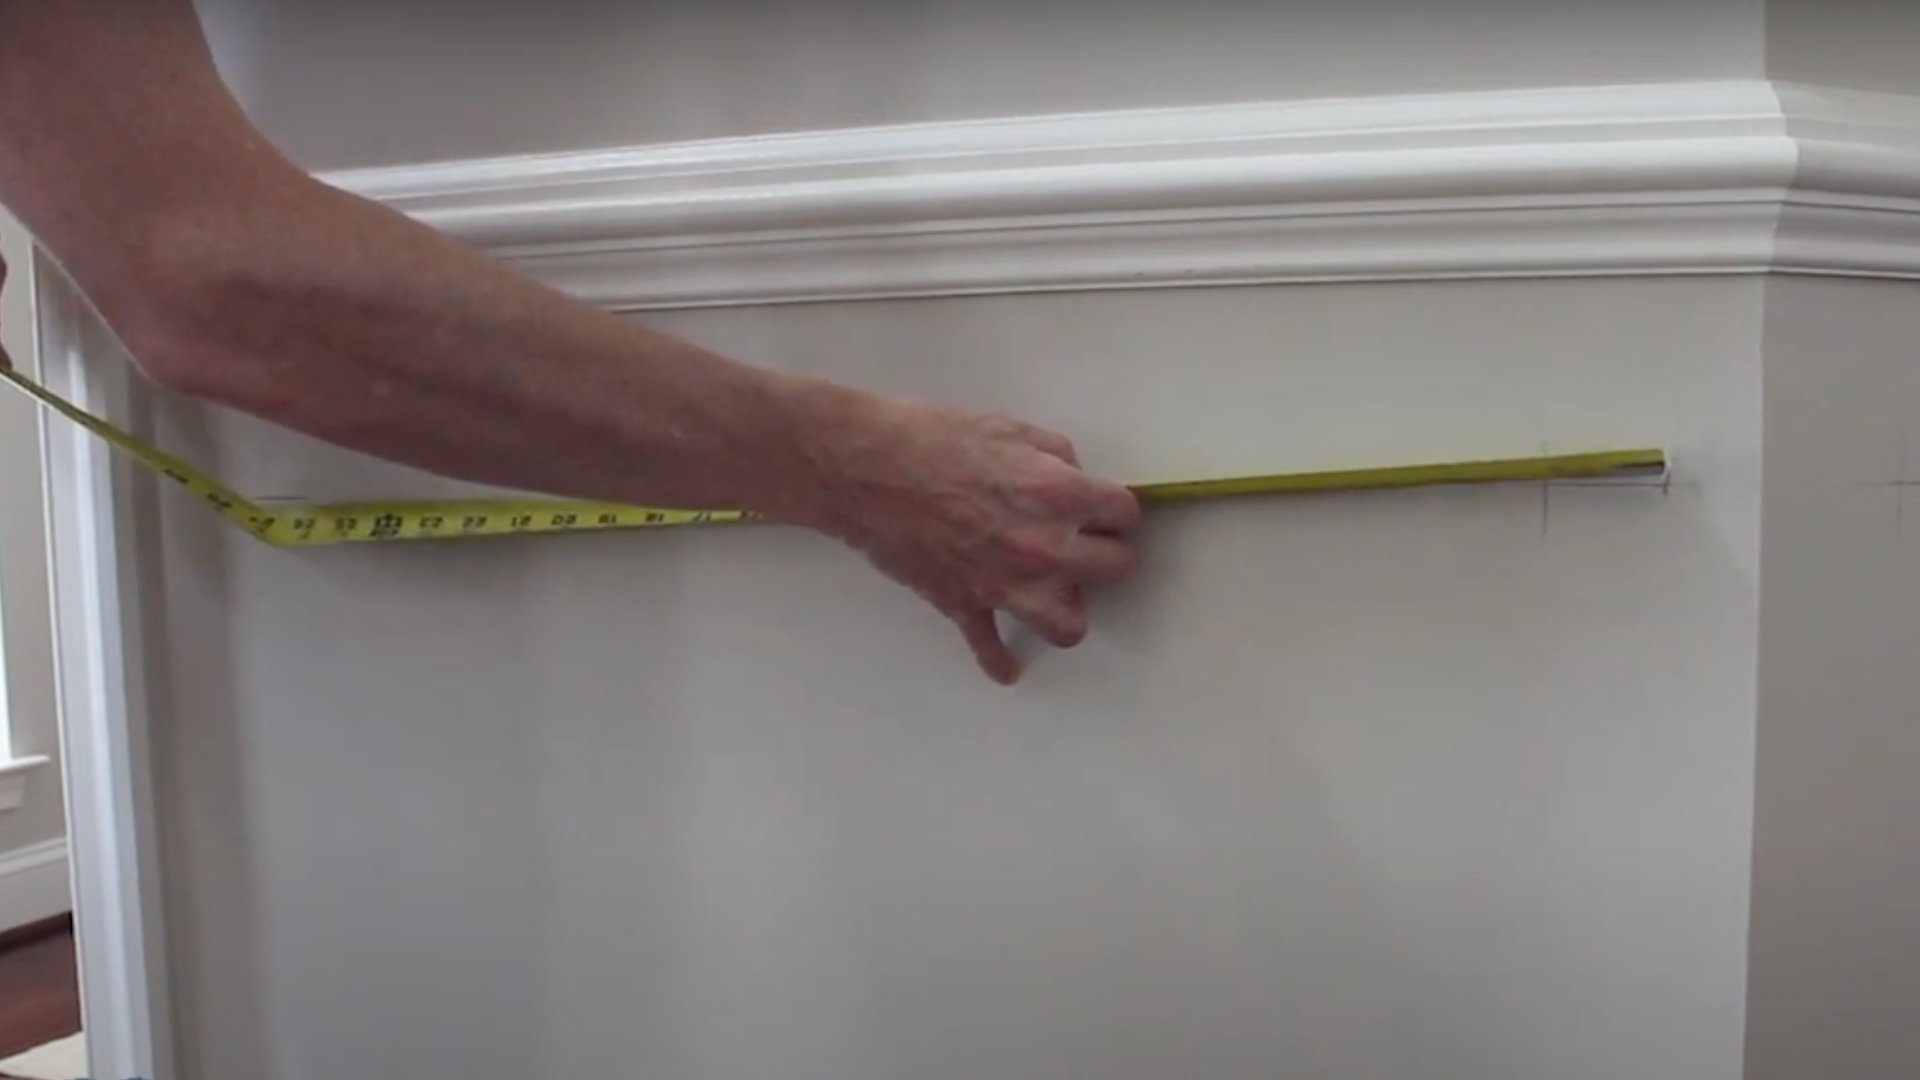
Measure each side of the marked boxes carefully. Write down these measurements, noting which piece goes where.
Set up your miter saw and cut 45-degree angles on both ends of each trim piece. This creates sharp, clean corners.
Before making your final cuts, test-fit the pieces to ensure a proper fit. Hold them in place and verify that everything aligns properly.
Cut all horizontal pieces first, then cut vertical ones. This method keeps your work organized and avoids confusion during assembly.
3. Attach the Trim Pieces to the Wall
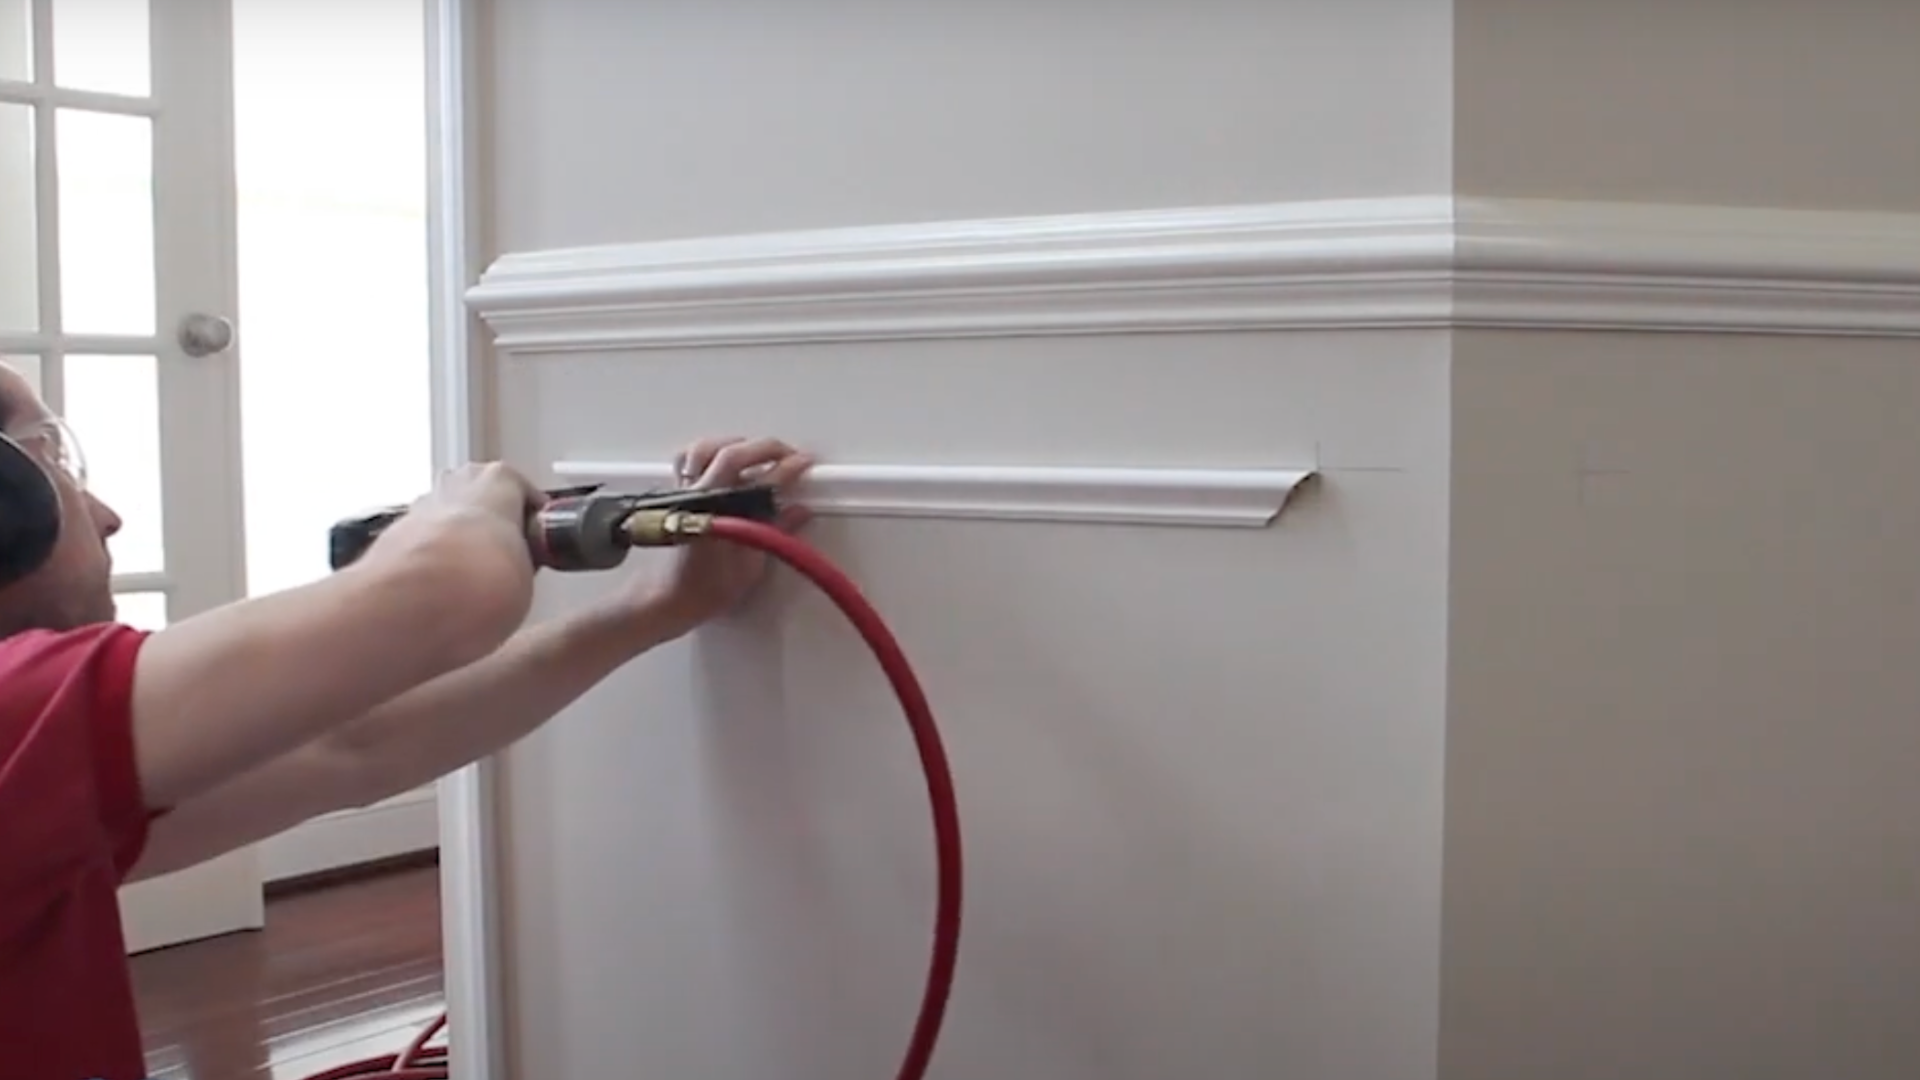
Start by attaching the bottom horizontal trim piece. Apply a thin line of wood glue to the back and place it along your marked line.
Use your level to ensure it’s perfectly straight, then nail the trim into the wall, placing nails every 12 to 16 inches.
Next, attach the top piece, followed by the vertical sides. Ensure the sides fit snugly between the top and bottom pieces.
Complete one box at a time to stay organized and focused throughout the process.
4. Finish the Box
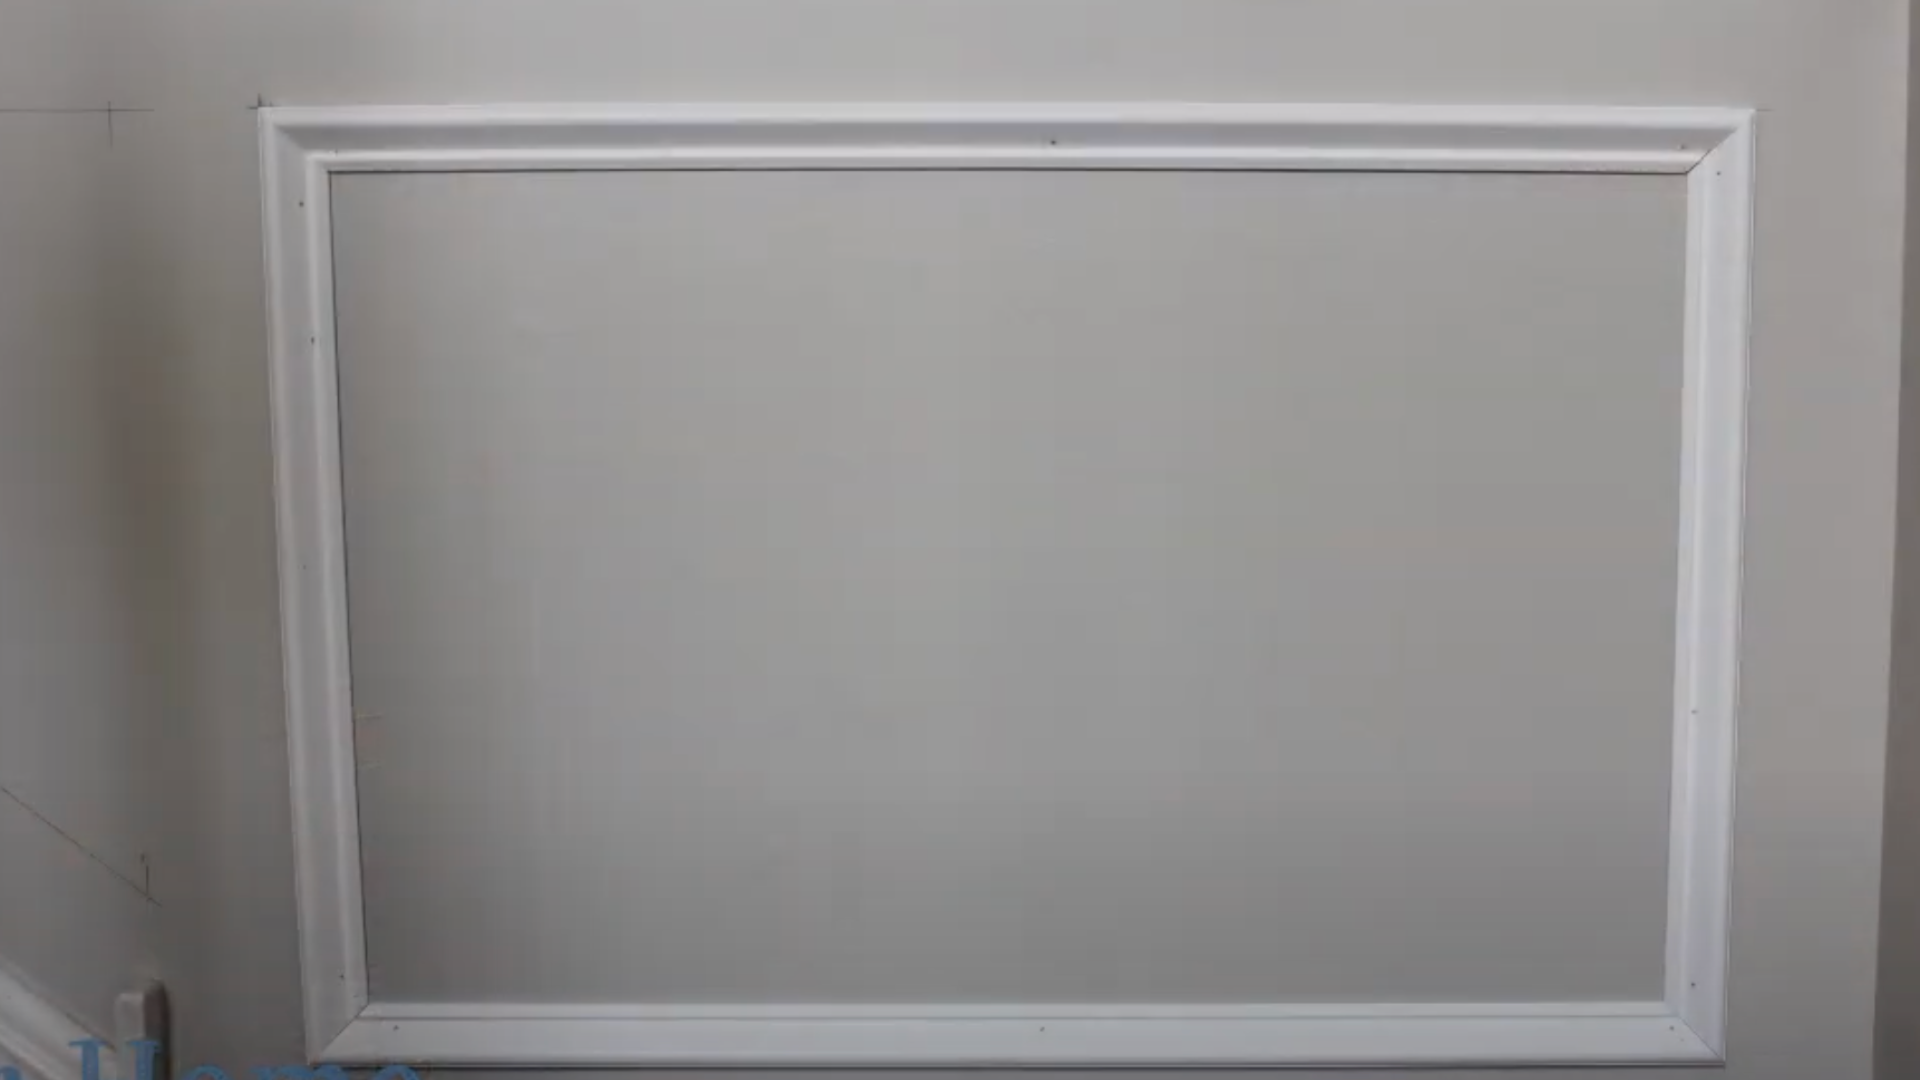
Once your trim pieces are attached, check all the joints for gaps. Small gaps are usually acceptable, but larger ones require attention for a clean, polished look.
Apply wood glue to any loose joints and, if possible, use clamps to hold them in place while the glue dries. Allow the glue to set for at least 30 minutes to ensure a secure bond.
Next, sand any rough edges with 120-grit sandpaper to smooth them out. Afterward, switch to 220-grit sandpaper to achieve an even smoother finish.
Be sure to vacuum up all the dust created from sanding. Dust left on the trim can affect the application of paint, resulting in an uneven finish.
5. Fill Nail Holes and Paint
Use wood filler to fill in all nail holes. Apply a bit more than needed, as the filler will shrink as it dries.
Allow the filler to dry completely before sanding it smooth with 220-grit sandpaper. Wipe off any dust with a damp cloth.
Apply a coat of primer to all trim pieces. Don’t skip this step, as primer helps the paint stick better and look more even.
Finally, paint with your chosen color using a high-quality brush. Apply thin, even coats for the best results.
To see the steps in action, watch this video from @OHFScratch. They are helpful, short, and to the point when showing how you can install trim walls.
Design Tips for a Stylish Box Trim Finish on Walls
The following are the tips you need to make your box trims look stylish:
- White trim on colored walls is classic; dark trim on light walls feels modern.
- Tall ceilings can handle larger boxes; low ceilings look better with smaller, horizontal rectangles.
- Space the boxes evenly and measure the gaps to maintain consistent spacing.
- Limit box sizes to two or three variations to avoid a chaotic look.
- Add LED strip lighting behind the trim for a floating panel effect in the evening.
Common Mistakes to Avoid
The following are the rookie mistakes you should avoid when trimming your wall:
- Skipping the planning stage
- Rushing the measuring process
- Using the wrong nail sizes
- Ignoring wall studs
- Poor joint preparation
- Painting before installation
Conclusion
Box trim installation can turn plain walls into stunning architectural features. The effort you put into planning and executing the project will yield beautiful results.
The key to success is precise measurements. Clean, smooth finishes set professional work apart from the rest. Take your time with each step, and don’t rush through any part of the process.
This project is suitable for a wide range of skill levels. If you’re unsure, start with just one wall. Build your confidence before moving on to larger areas.
Soon, your friends will be asking who did the work. You’ll proudly say, “I did it myself.” That sense of accomplishment makes the effort completely worth it.
Have you tried trim work before? Share your thoughts and experiences in the comments below. I’d love to hear about your successes or challenges!
Frequently Asked Questions
What Type of Wood Works Best for Box Trim?
Pine and poplar are popular choices. Pine is affordable but dents easily, while poplar resists damage better. MDF works well for painted finishes, but it isn’t as durable.
How Much Does Box Trim Installation Cost?
DIY box trim installation costs approximately $3-$ 8 per square foot. Professional installation ranges from $15 to $ 25 per square foot, with room size significantly impacting the total cost.
Can You Install Box Trim Over Textured Walls?
Yes, but the results depend on the texture. Heavier textures may need sanding, while light textures usually work fine with proper preparation.
How Long Does Box Trim Installation Take?
For an average-sized bedroom, plan on a whole weekend. Larger rooms will need more time, and drying time for paint and filler must also be factored in.
What Height Should the Box Trim Be From the Floor?
Standard box trim height is 30-36 inches from the floor, similar to chair rail height. Adjust this based on your room’s proportions and furniture placement.