
High-gloss ceilings are making a big comeback, and it’s easy to see why. They reflect light beautifully and add a dramatic, classy look to any room.
But the truth is, most people avoid them because they think they’re too hard to paint. I used to believe that, too, until I learned the right way to do it.
In this guide, I’ll show you exactly how to paint a high-gloss ceiling without hiring an expensive contractor.
You won’t need fancy tools or expert skills. Just follow these simple steps, and you’ll get amazing results.
I’ve painted plenty of high-gloss ceilings myself. Some didn’t turn out great at first.
But over time, I figured out what works and what doesn’t. The key lies in the preparation, the tools, and the technique.
If you follow the process closely, your ceiling will shine, literally, and look like a pro did it. Let’s get started!
What is a High Gloss Ceiling?
A high-gloss ceiling uses paint with the most shine and reflectivity. It gives a mirror-like finish that reflects light and makes rooms feel bigger and brighter.
This paint has more resin than other finishes, which creates a smooth, glossy look. However, it also shows every flaw, so proper prep is a must.
High-gloss ceilings are great for dining rooms, bathrooms, kitchens, or any space where you want a bold, dramatic effect.
They work best in rooms with good lighting, especially natural light, which really brings out the shine. With the right prep and placement, a high-gloss ceiling can completely improve a space.
Tools and Materials You’ll Need
Getting the right tools saves time and frustration. The following is your complete shopping list:
- High-quality primer
- High-gloss ceiling paint
- Paint thinner for dilution
- Paint sprayer (airless works best)
- Fine-grit sandpaper (220 and 400 grit)
- Skim coat compound
- Putty knife set
- Plastic sheeting
- Painter’s tape
- Drop cloths
- Dust masks
- Tack cloth
- Cleaning rags
- Mild detergent
How to Paint a High-Gloss Ceiling?
Follow these steps exactly. Don’t change the order. Don’t rush between coats. Your patience will pay off with a beautiful finish.
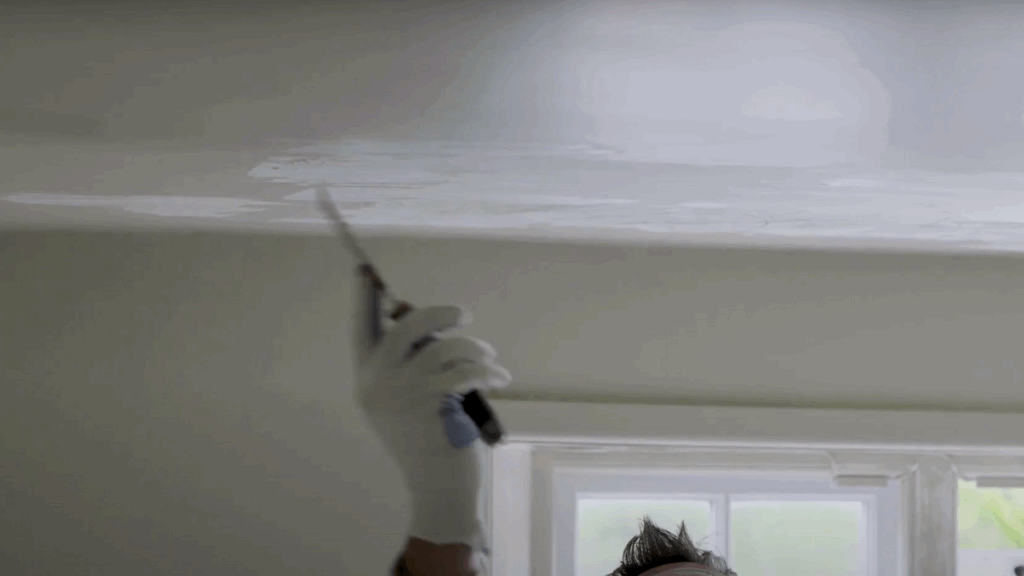
1. Prime the Ceiling

Before you start spraying, make sure the ceiling is clean and smooth. Scrape off any peeling paint and fill holes or cracks.
Once that’s done, get your spray equipment ready and practice on a piece of cardboard first to get the hang of it.
When you start priming, apply thin, even coats and overlap each spray pass by about 50%. Keep the sprayer moving to avoid drips or runs. Two light coats are better than one heavy one.
Let each coat dry fully before adding the next. For best results, follow the drying time on your primer label.
2. Apply Skim Coat
This step improves your ceiling from average to amazing. A skim coat smooths out the surface so the glossy paint looks perfect.
Mix the compound until it’s smooth and free of lumps. Use a wide putty knife to apply a thin layer across small sections. You’re not plastering, you’re just filling small flaws.
Feather out the edges so you don’t leave lines behind. Once you’ve coated the whole ceiling, let it dry completely. This usually takes about 24 hours.
Be patient and don’t try to rush this part, it’s the foundation for a flawless finish.
3. Sand the Ceiling

Sanding is not the fun part, but it’s one of the most important steps. Start with 220-grit sandpaper and lightly sand the entire ceiling.
You’re not trying to remove the skim coat, smooth it out. Then switch to 400-grit for a finer, final pass. Sand using light, circular motions.
This creates the ultra-smooth surface that makes high-gloss paint shine like glass. After sanding, wipe everything down with a tack cloth to remove dust.
Even a small amount of dust left behind will be visible in the gloss, so ensure it’s completely clean before proceeding.
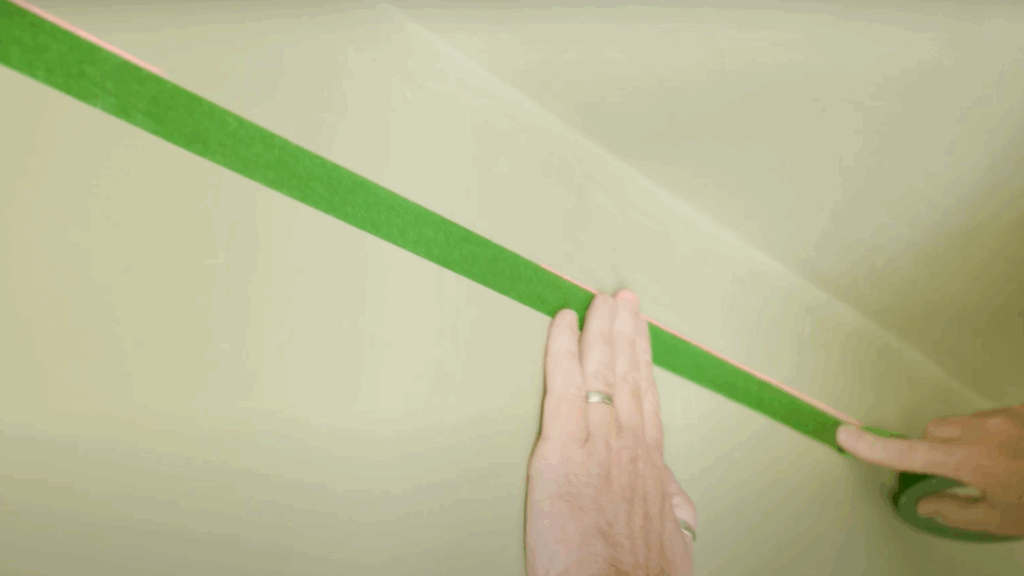
4. Mask Off Areas Below
High-gloss paint is tough to clean off furniture or walls, so protect everything before you start painting.
Cover furniture with plastic sheeting instead of cloths, as plastic blocks splatter better. Tape the edges tightly so nothing shifts while you work.
Mask off the tops of your walls with painter’s tape where they meet the ceiling.
Spend extra time double-checking your coverage. Missing even a small area could lead to hours of scrubbing later.
It’s easier to prepare than to fix mistakes, so be careful and make sure everything is protected before you spray.
5. Dilute the Gloss for Spray Equipment
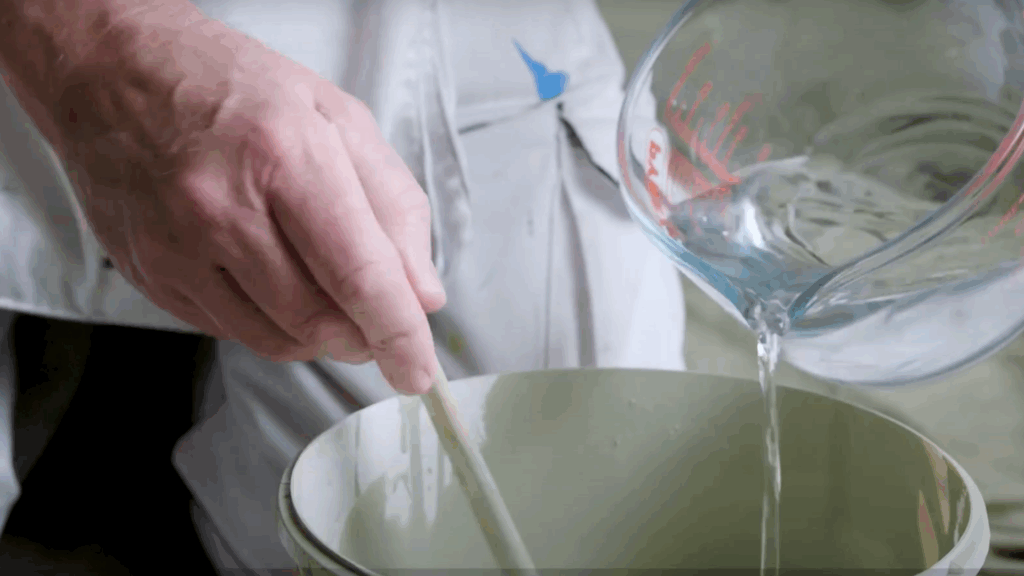
High-gloss paint is thicker than other paints, which means it doesn’t always spray well right out of the can.
Check your paint label first; some paints are designed for spraying, while others require thinning. Start by adding 10% paint thinner and mixing it very well.
Test the spray on cardboard to see how it flows. It should spray smoothly without dripping or clogging the nozzle. If it’s still too thick, add a little more thinner, but not too much.
Over-thinning can compromise your coverage and make the paint too runny to adhere properly.
6. Spray Full Gloss on the Ceiling
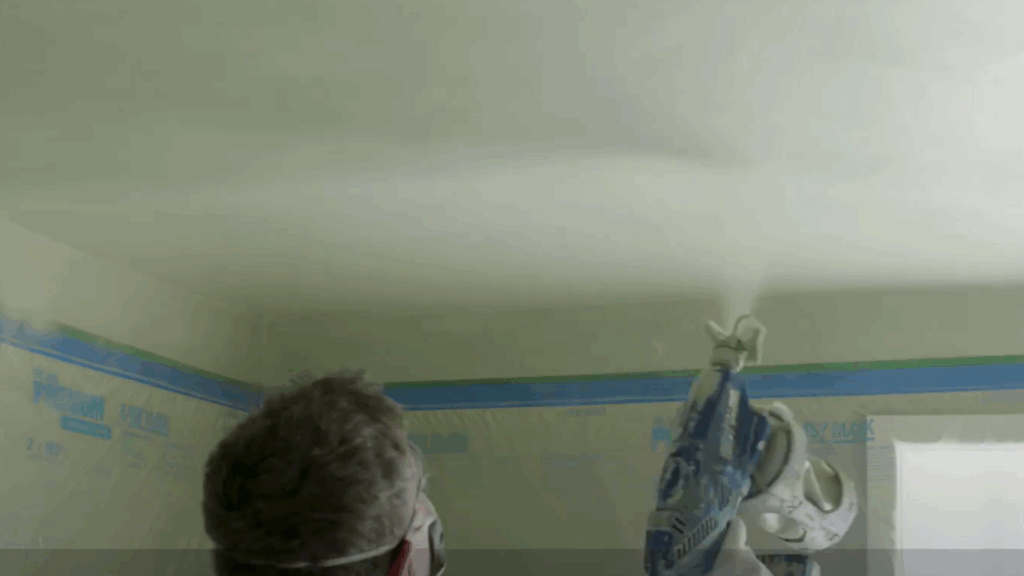
Now it’s time for the main event. Start in a corner of the room and move across in smooth, steady rows.
Keep your sprayer the same distance from the ceiling the whole time, don’t move in and out. To avoid streaks, overlap each pass by about 30%.
Always keep the sprayer moving because stopping can cause drips or runs. Apply thin coats, not thick ones. It’s better to do two or three light coats than one heavy coat.
Let each layer dry completely before spraying the next. This helps prevent issues like bubbles or uneven shine.
7. Sand the Surface and Clean the Ceiling In-Between Coats
After each coat dries, take a close look at your ceiling. If you see drips, rough spots, or dust stuck in the paint, lightly sand the area with 400-grit sandpaper.
This smooths out any flaws before the next coat is applied. Always clean the surface with a tack cloth after sanding to remove any dust or particles.
Skipping this step can lead to bumpy spots in your final finish.
It may feel like extra work, but it’s the difference between a good ceiling and one that really shines like a mirror. Be patient, it’s worth it.
Want to see the steps in action? Watch this helpful video by @farrowandballtv to understand the steps better.
Expert Tips for Maintaining a High-Gloss Ceiling
Your beautiful ceiling needs care to stay perfect. The following steps are how to keep it looking new:
- Dust regularly with a microfiber cloth on an extension pole
- Clean gently using mild soap and water
- Avoid harsh cleaners that can dull the finish
- Touch up carefully with leftover paint
- Lightly sand before touching up paint
- Watch for moisture in high-humidity areas
- Use exhaust fans in bathrooms and kitchens
Conclusion
A high-gloss ceiling is a bold design choice that adds style and style to any room. Its mirror-like finish reflects light beautifully, making the space feel brighter, bigger, and more polished.
However, achieving that perfect shine requires more than just paint; it is important to be careful with preparation and pay attention to every detail.
Each step in the process matters. Rushing through them leads to mistakes that will be easy to see on such a shiny surface.
That’s why it’s so important to go slow, stay patient, and do the job right.
Priming, skim coating, and sanding are the foundations for a flawless finish. Use high-quality tools and materials; cheap ones don’t hold up.
With the right prep and technique, your ceiling can turn into a true centerpiece.
If you follow every step carefully, you’ll end up with a high-gloss ceiling that looks professional and gets noticed the moment someone walks in.
Do you have any questions or suggestions? I would love to hear them! Mention your queries in the comment section below!
Frequently Asked Questions
How Long Does High Gloss Paint Take to Dry?
High-gloss paint usually dries to the touch in 2–4 hours. Full curing takes 24–48 hours. Always follow the manufacturer’s instructions before applying additional coats.
Can I Use a Roller Instead of a Sprayer?
Yes, but a sprayer gives a smoother finish. If you use a roller, choose a high-quality one. Expect a bit more texture compared to a spray application.
Why Is My High-Gloss Paint Not Shiny?
The shine often fails due to poor prep. Skipping sanding or not cleaning the surface can dull the finish, and low-quality paint may also reduce the final gloss.
Can I Paint Over Textured Ceilings?
Yes, but the texture will still be visible. For a smooth, glossy finish, skim coating first is best. Spray painting works better than rolling on textured surfaces.
What Temperature Should I Paint At?
Paint between 65°F and 75°F with low humidity. Avoid extreme temperature swings or direct sunlight, as these conditions can affect drying time and paint finish quality.