
If you’ve been staring at your old asbestos siding and thinking it needs a new look, you’re in the right place.
Many homes built before the 1980s still have asbestos siding that’s holding up well but looks worn or outdated.
Painting it is a much safer option than removing it, which can release dangerous fibers. It still gives you a fresh finish.
In this guide, I’ll show you how to safely paint your asbestos siding without putting your health or your home at risk.
You’ll learn what kind of paint and primer to use, how to prep the surface properly, and the best way to apply the paint so it lasts for years.
With a careful and safe approach, you can update your siding, protect your home, and avoid the mess and cost of removal. Let’s get started!
Is It Safe to Paint Asbestos Siding?
Yes, painting asbestos siding is safe when done properly. It seals in fibers and adds protection without the risks of removal.
Avoid sanding, scraping, or using high-power washers. Keep the surface damp, clean gently, and wear a mask and gloves.
The EPA recommends painting as a safe option for siding in good condition. It improves appearance and helps protect your home.
If the siding is damaged or crumbling, contact a professional before starting.
Tools and Materials You’ll Need
Gathering everything before you start will make the project go smoothly.
- Safety Gear
- Garden hose with spray nozzle
- Soft-bristled brush or sponge
- TSP cleaner
- Bucket
- Plastic sheeting for ground cover
- Exterior primer
- Quality exterior paint
- Paintbrushes
- Small brush for edges and corners
- Paint roller with extension pole
- Paint tray
- Painter’s tape
- Drop cloths
- Sprayer
- Ladder with stabilizer
- Garden sprayer for applying cleaner
How to Paint Asbestos Siding
Painting asbestos siding requires careful preparation and attention to safety precautions. When done correctly, your newly painted siding can last 8-10 years before needing another coat.
1. Inspect the Siding for Damage
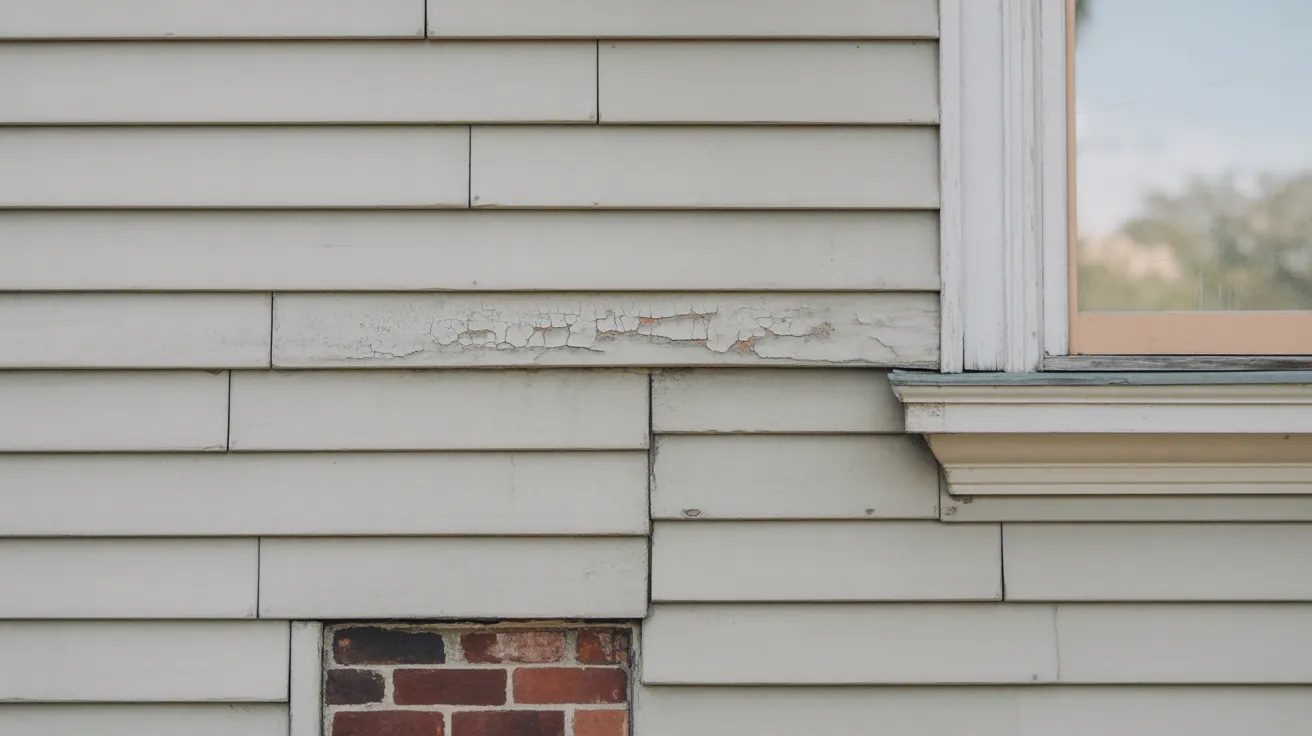
Before you start painting, inspect your siding carefully. Walk around your home and check for signs of damage, such as cracks, holes, or warping.
Look closely around windows, doors, and corners, where wear often shows first. Damaged siding won’t hold paint well and could cause problems later.
If you skip this step, your paint might peel or not stick right.
Use a flashlight if needed and make notes of any spots that need fixing. This will help you know what materials to get and prevent surprises once you start your project.
2. Clean the Surface Thoroughly
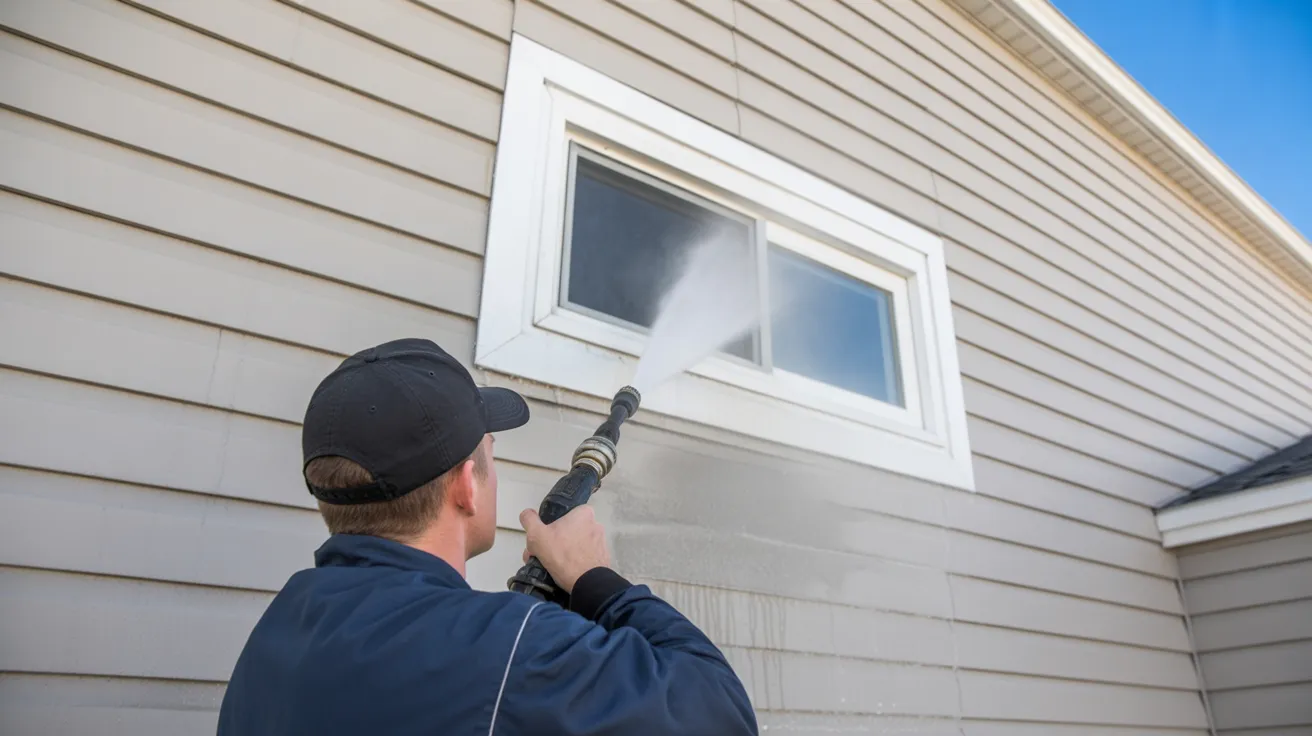
Clean siding helps paint stick better and last longer. Dirt, mildew, or dust can stop paint from bonding properly. Start by rinsing the surface with a hose or pressure washer.
Then, scrub any tough spots using a brush and soapy water. For mildew or mold, use a mix of water and a small amount of bleach.
Wear gloves and safety glasses to protect yourself while cleaning. Take your time to get the surface as clean as possible.
A dirty wall may look fine at first, but if grime is left behind, the paint will peel fast.
3. Allow the Siding to Dry Completely
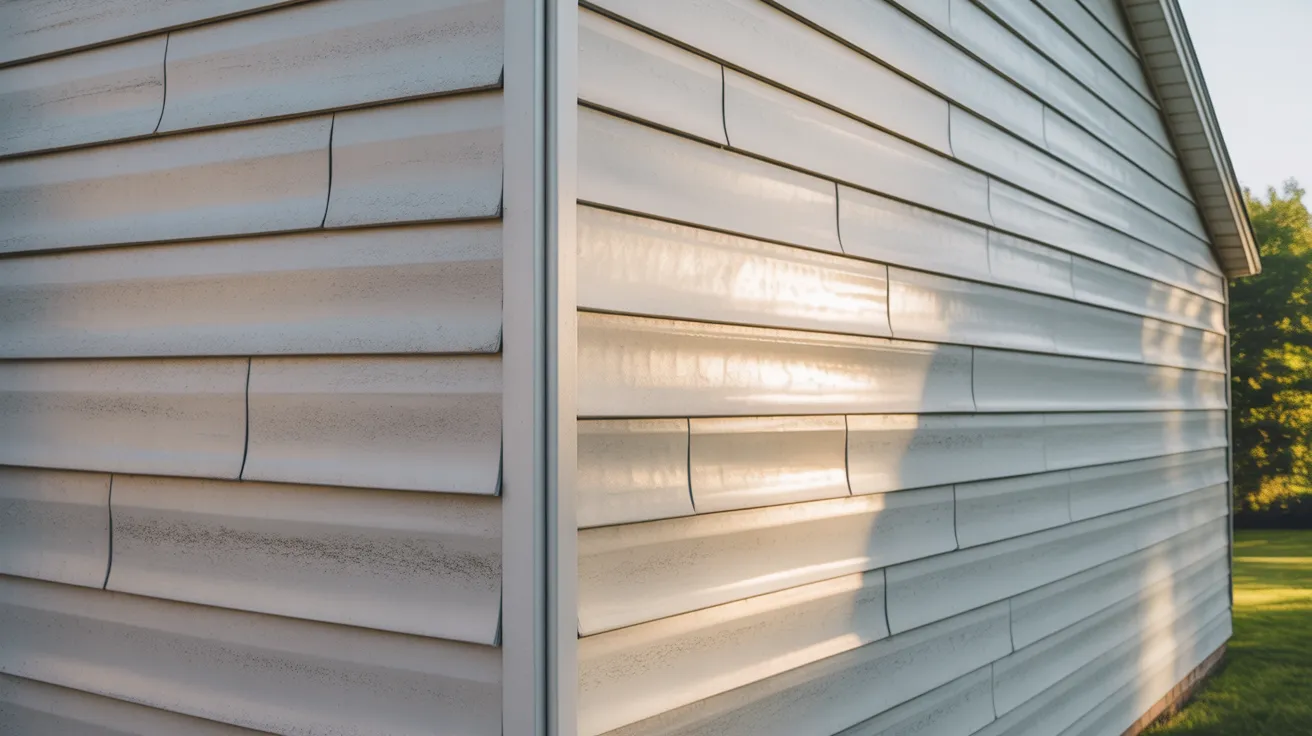
After cleaning, give the siding time to dry completely. Even if it looks dry outside, water can still be trapped in small cracks or behind boards.
Painting on damp siding will keep the paint from sticking properly. It can also trap moisture under the surface, causing the paint to bubble or peel later.
Let the siding dry for at least 24 to 48 hours, depending on the weather.
Sunny, dry days are best for this step. Don’t rush it; waiting now will save you from problems down the road.
4. Repair Any Small Cracks or Holes
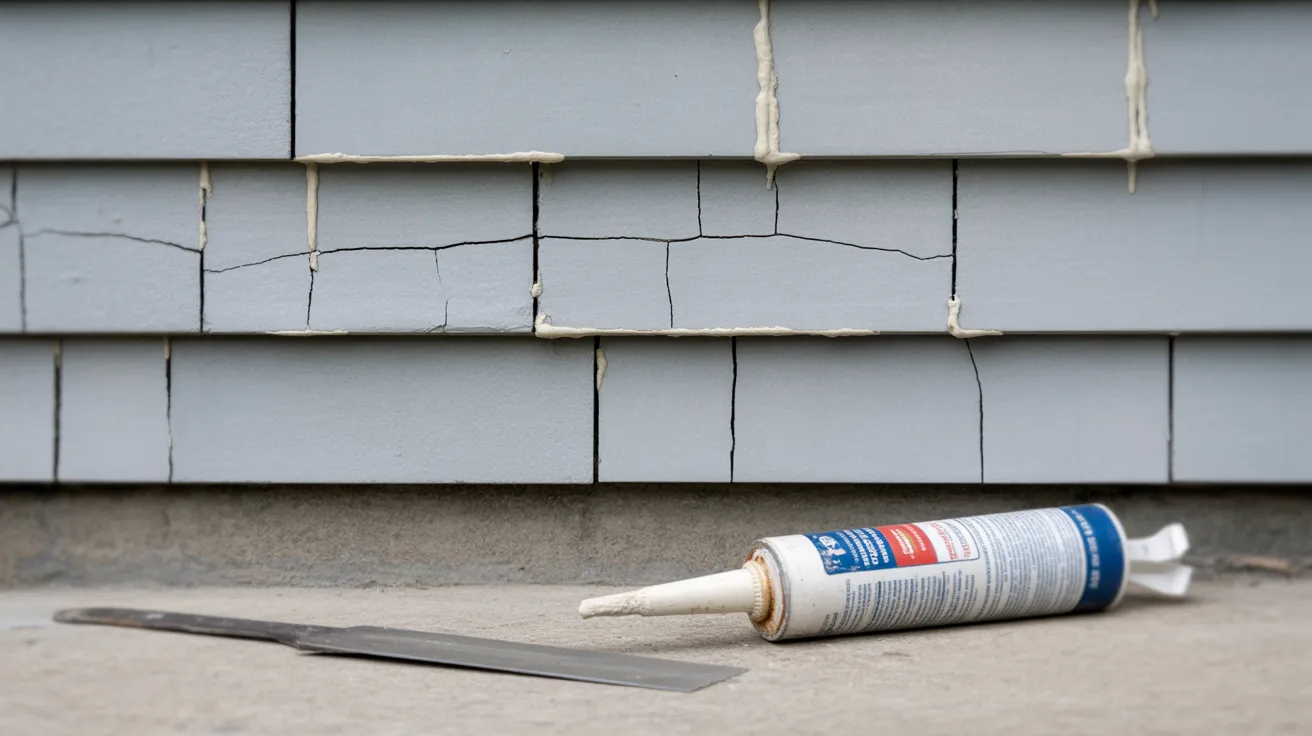
Fixing small cracks or holes before painting gives you a smoother finish and protects your home.
Seal gaps with exterior-grade caulk or filler, especially around windows and trim. Press the filler into the cracks using a putty knife, then smooth it out so it blends with the siding.
Let the filler dry completely, and then lightly sand it until it feels even. If you skip repairs, the paint may settle into cracks and look uneven.
Plus, sealing gaps keeps moisture and bugs out, making your siding last longer and your home more secure.
5. Apply a High Quality Bonding Primer
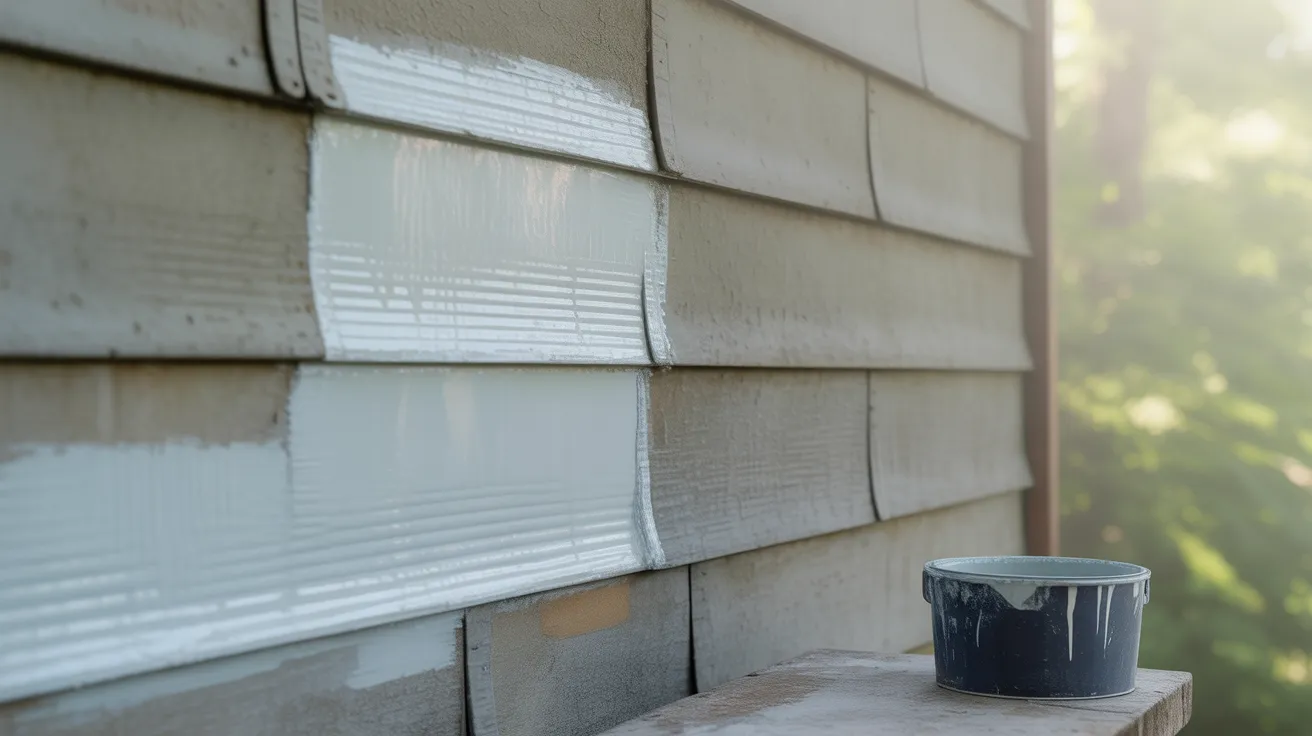
Using a good bonding primer helps the paint stick and stay strong. Primer is extra important if you’re painting over bare siding, stained areas, or dark colors.
It covers marks, blocks stains, and gives your paint a smooth, even surface to stick to. Use a roller for flat areas and a brush for edges and corners.
Let the primer dry fully before painting, usually about 4–6 hours or as the label says.
Skipping primer can lead to poor coverage or a short-lived paint job. It’s one extra step, but it makes a big difference in the final result.
6. Choose a Compatible Exterior Paint
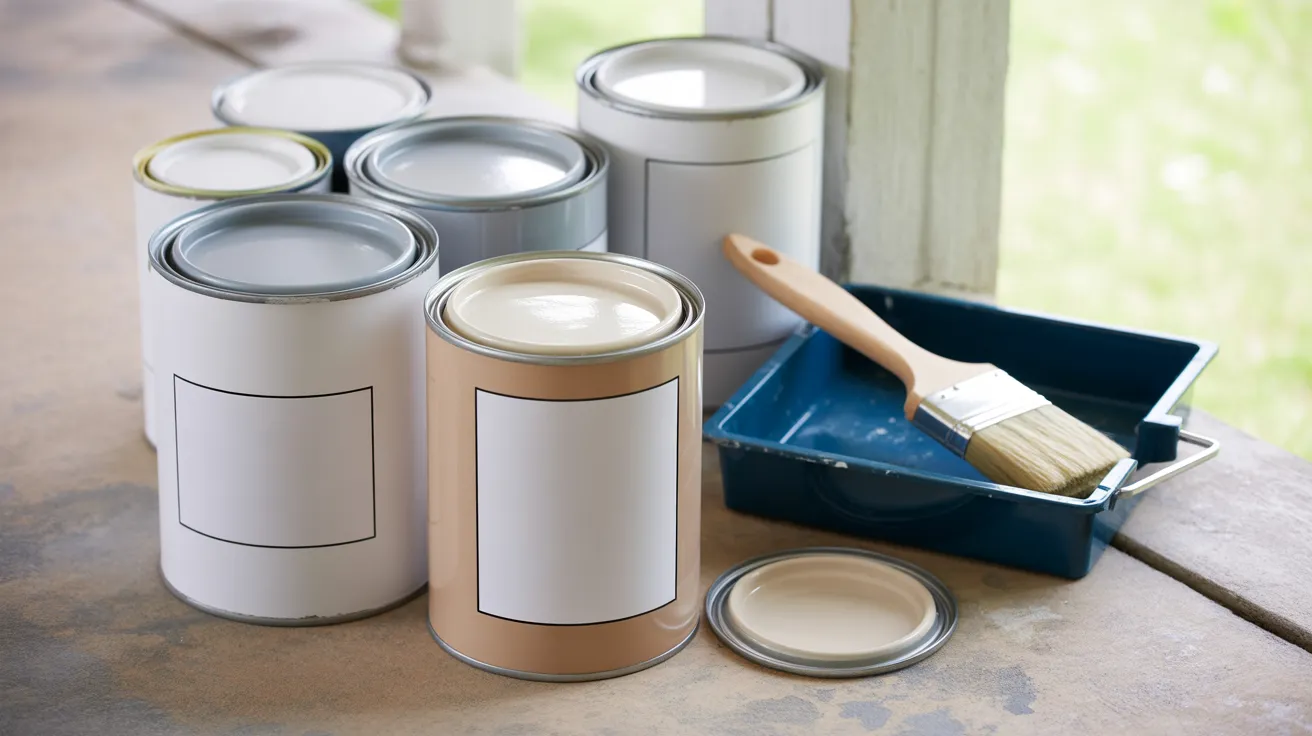
Picking the right paint is key to getting strong, long-lasting results. Use paint made for exterior siding, and check that it works with the material and primer you used.
Most siding needs acrylic latex paint, which is made to handle sun, rain, and changing temperatures.
Choose a finish, like flat, satin, or semi-gloss, based on how shiny or easy to clean you want the surface to be. If you’re not sure, ask at the paint store or check the label.
Using the wrong type of paint can lead to peeling or fading fast, so this choice really matters.
7. Apply Paint in Thin, Even Coats
When it’s time to paint, go slow and use thin coats, while thick paint might look faster, it won’t dry right and can lead to drips and peeling.
Use a roller for big areas and a brush for smaller parts or edges. Paint in smooth, even strokes and always move in the same direction.
Let the first coat dry completely before adding a second coat.
Two thin coats give better color and last longer than one thick one. This step helps your siding look clean, fresh, and evenly colored without any streaks or heavy spots.
Community Discussions About Painting Asbestos Siding
Many homeowners say painting asbestos siding is a smart way to update an older home without the high cost of replacement.
It can improve curb appeal, last for years with proper prep, and is fairly easy to apply since asbestos siding isn’t very porous. People like that it saves money and still gives good results.
However, others warn that asbestos is dangerous if disturbed, since breathing in the fibers can cause serious health problems.
Experts and homeowners agree, if you choose to paint, take proper safety steps like using masks, gloves, and low-dust methods.
In some cases, hiring a pro or considering abatement is the safest path.
Tips for the Best Result
It’s important to go beyond the basic steps to get the best results when painting asbestos siding.
These extra tips can help your paint job look smoother, last longer, and hold up better over time, while also keeping safety in mind.
- Paint in moderate weather: Avoid extreme heat, cold, or humidity for best results and smoother drying.
- Inspect first: Check for cracks, peeling, or mildew before you begin—fixing these first makes a big difference.
- Use quality tools: Good brushes, rollers, and paint go a long way in giving you a smoother, longer-lasting finish.
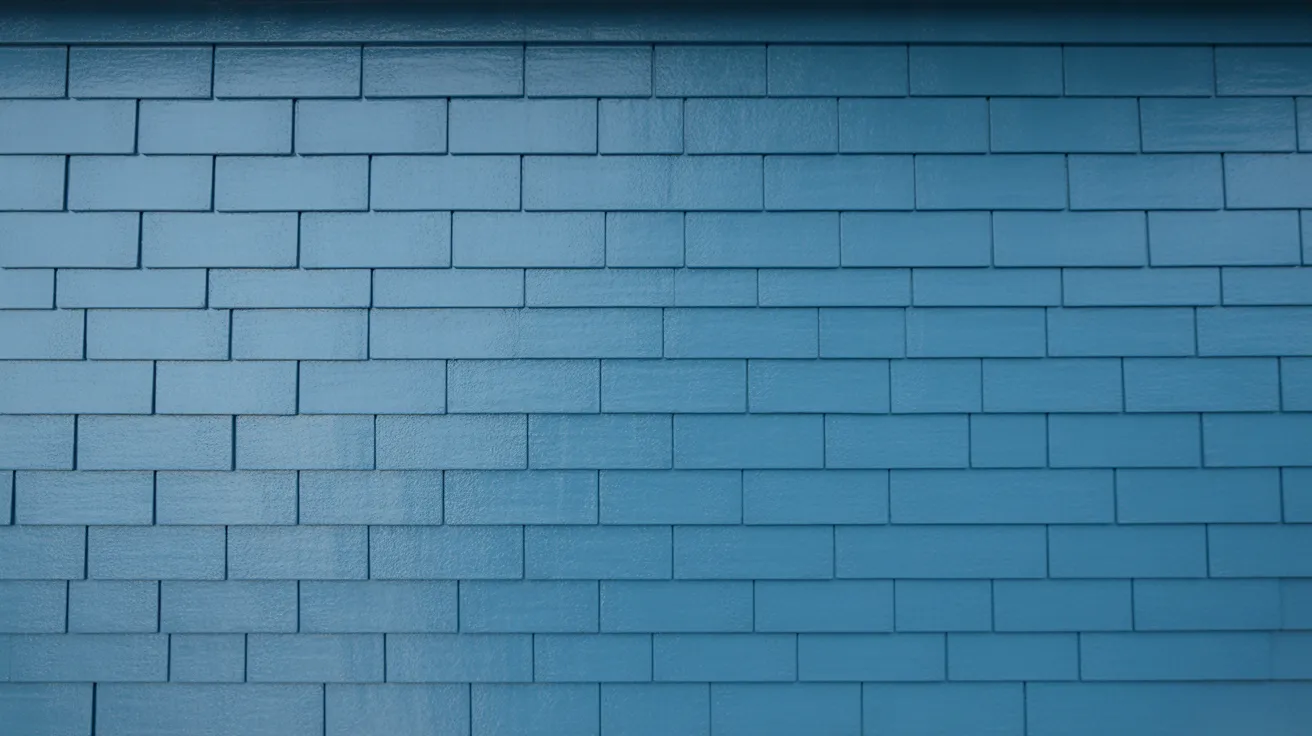
- Choose lighter colors:
-
They reflect sunlight, hide fading better, and keep surfaces cooler over time.
-
- Finish one section at a time
- Add extra paint to the bottom edges.
- Clean tools between coats
- Keep records
- Hire a pro if unsure
Conclusion
Painting your asbestos siding is a safe and smart way to improve your home’s look without the risks and high costs of removing it.
When done right, painting not only boosts curb appeal but also adds a layer of protection that helps your siding last even longer.
The key is to focus on safety and good preparation. Keep the siding damp while cleaning, and never scrape or sand the surface, since that could release harmful asbestos fibers into the air.
Use paint and primer made for masonry or cement-based materials so they stick well and hold up over time.
Take your time during each step of the process. Careful prep work and quality tools make a big difference in how smooth your final result looks and how long it lasts.
If you’ve already painted your asbestos siding or have some tips that worked for you, I’d love to hear them.
Do you have questions about your home? Please post them in the comments, and I’ll do my best to help!
Frequently Asked Questions
Can I pressure wash asbestos siding before painting?
No, pressure washing asbestos siding is not recommended. The high pressure can damage the surface and release harmful fibers.
What’s the best time of year to paint asbestos siding?
Spring and fall are best. Choose mild days with temperatures between 50 85°F, low humidity, and no rain for 24 to 48 hours. Avoid painting in direct summer sun, as it can dry paint too quickly.
Can I paint over old paint on asbestos siding?
Yes, you can if the old paint is still in good shape. Clean the siding well and spot-prime any small areas of peeling paint. If large sections are flaking, call a professional.
What’s the average cost to paint asbestos siding?
DIY painting costs around $1.50–$3.50 per square foot, which means $2,250–$5,250 for a 1,500-square-foot home; hiring a pro costs $3,000–$8,000.
How can I tell if my siding contains asbestos?
Homes built before 1980 may have asbestos siding. Look for a grainy surface, small ridges, or uniform square panels. The only way to know for sure is to test.