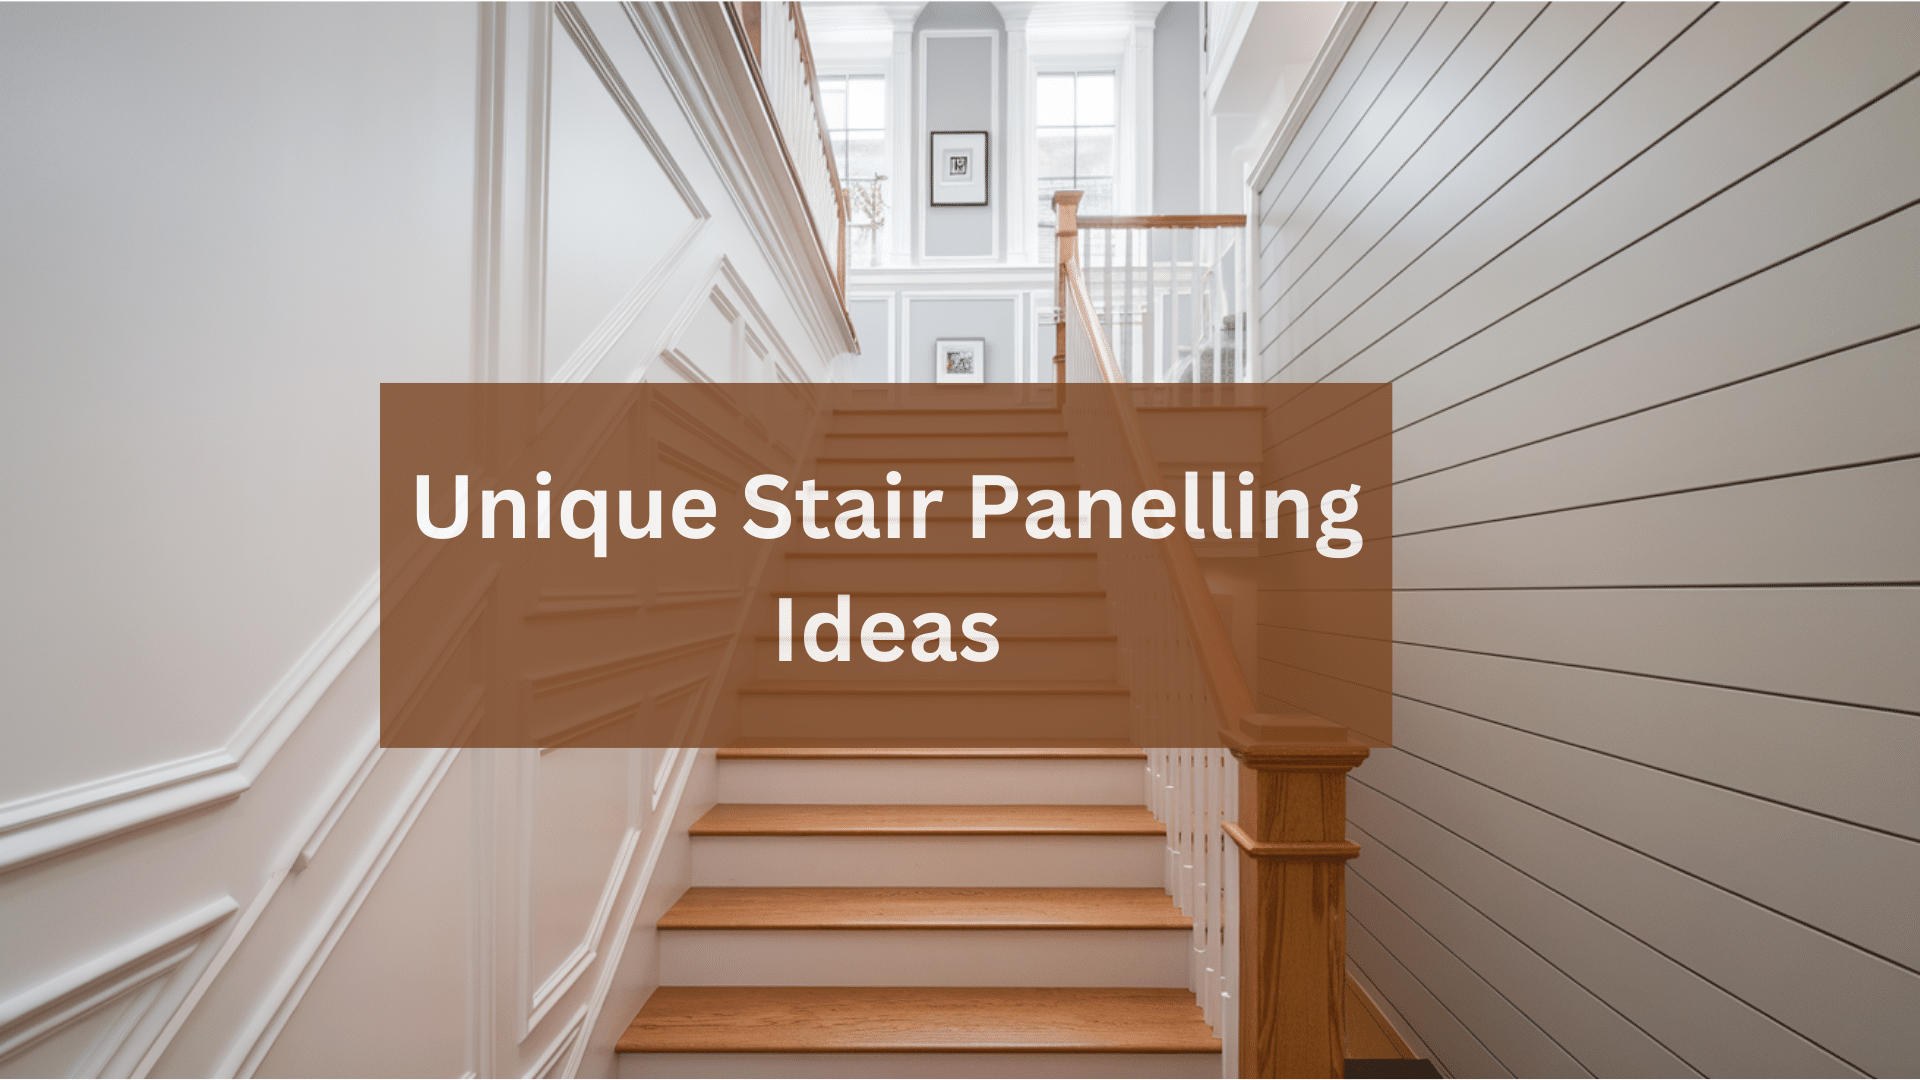
Have you been looking at your stairs, wishing they weren’t so plain or worn-out? I was in the same spot last year.
Updating your staircase with paneling is easier than you might expect. With some basic tools and clear instructions, you can change your stairs into a beautiful focal point without spending a fortune.
In this guide, I’ll walk you through:
- Fresh stair paneling ideas you can try this weekend
- Materials that work best
- Simple steps anyone can follow
- Tips to avoid common mistakes
You might worry about complicated woodworking or costly supplies. I had those exact concerns! But after trying different methods, I found simple solutions that anyone can handle.
If I could turn my boring staircase into something special, you can too.
Why Update Your Stairs with Paneling?
Before we look at specific ideas, let’s why stair paneling makes so much sense:
- Budget-friendly: Much cheaper than replacing your entire staircase
- Quick change: Most projects finish in a weekend
- Hides flaws: Covers scratches, marks, and uneven spots
- Adds value: Makes a great impression for visitors and potential buyers
- Personal touch: Show off your style and taste
Supplies You’ll Need
For most stair paneling projects, gather these basic items:
- Measuring tape
- Paneling materials (wood, MDF, beadboard, etc.)
- Saw (circular or hand saw)
- Sandpaper (medium and fine grit)
- Wood glue or construction adhesive
- Nails or screws
- Hammer or drill
- Painter’s tape
Unique Stair Paneling Ideas You’ll Love
Turn your ordinary staircase into an eye-catching focal point with these creative designs—from classic wainscoting to modern mixed materials—that anyone can tackle.
They will make your home feel brand new without the cost of a major renovation.
1. Classic Wainscoting Panels
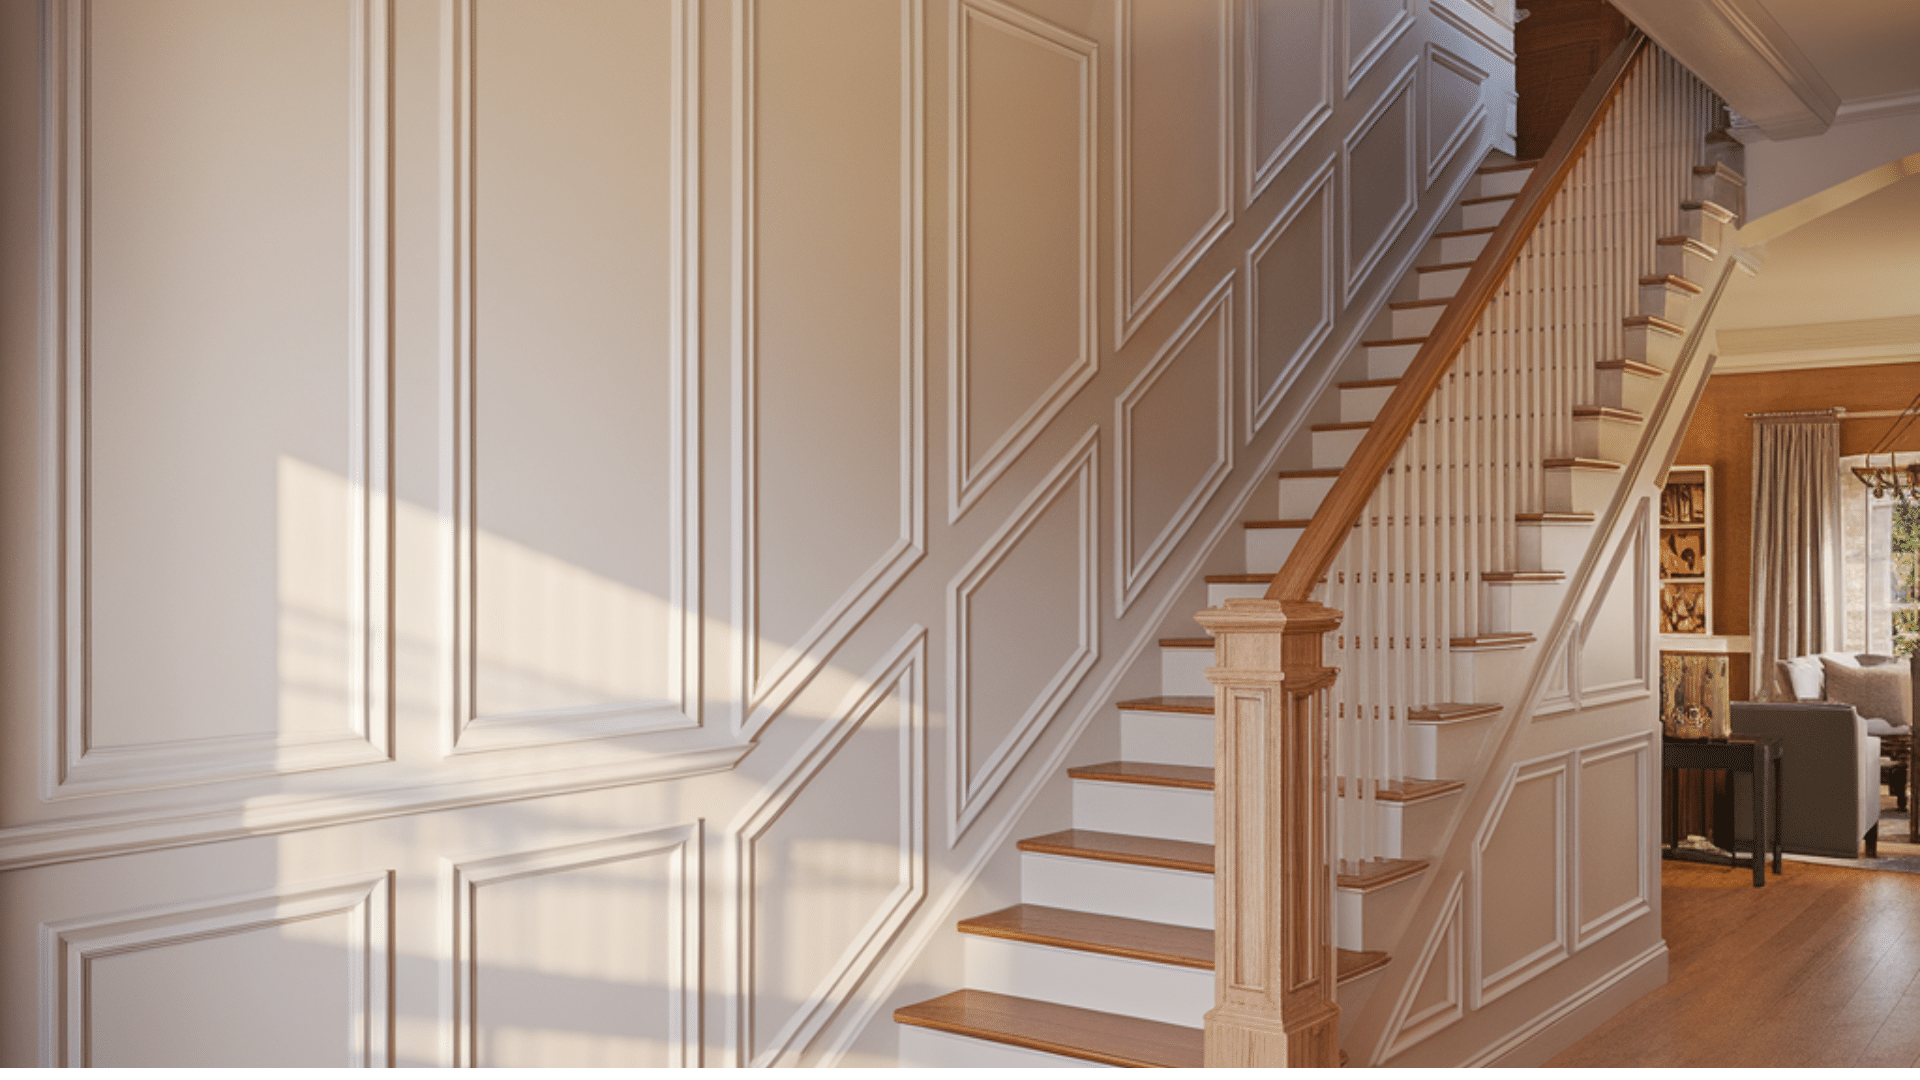
This timeless look adds instant beauty with vertical panels topped by a chair rail.
Wainscoting has been used in homes for centuries, dating back to when it served the practical purpose of insulating cold stone walls. Today, it brings architectural character to otherwise plain staircases.
DIY Steps:
- Install a baseboard at the bottom of your wall
- Add evenly spaced vertical strips (usually 3-4 inches apart)
- Top with a chair rail for a finished look
- Paint in white or light colors for a clean, bright stairway
This style works wonderfully in traditional homes but can also freshen up modern spaces with the right color choices.
2. Horizontal Shiplap
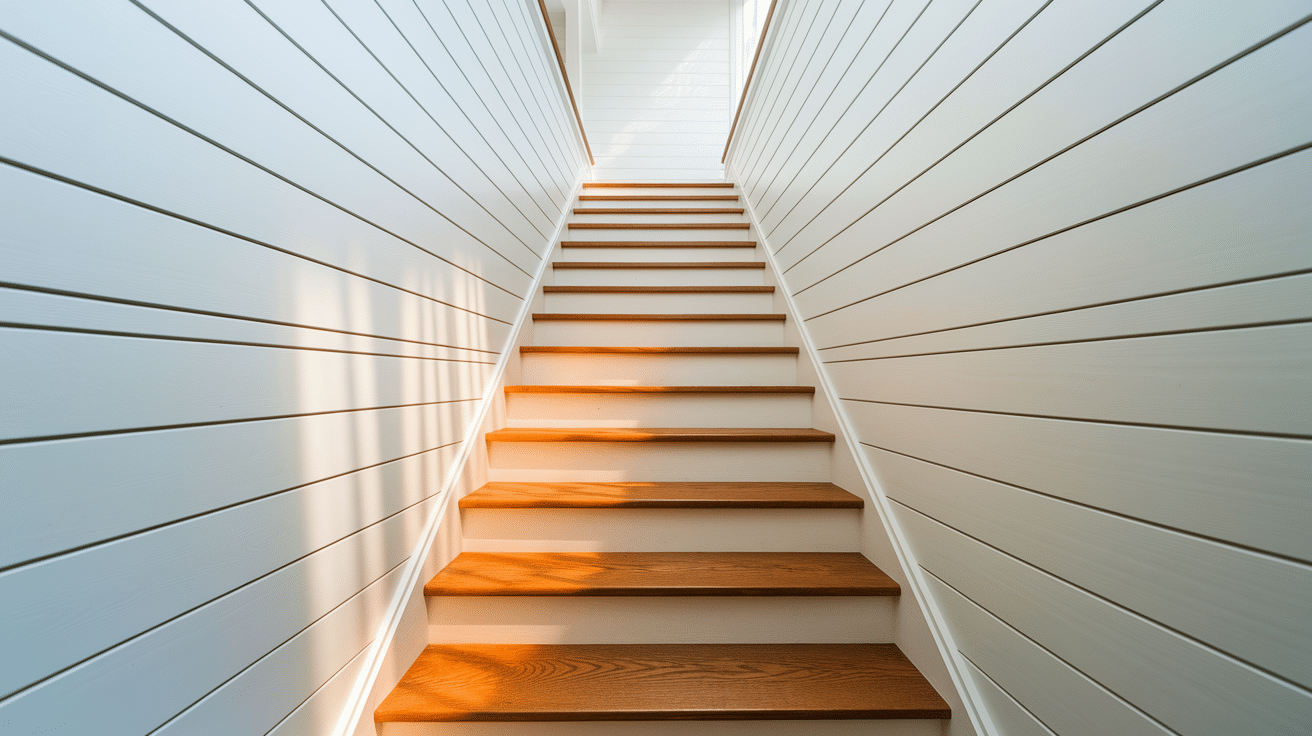
These overlapping horizontal boards create a casual, welcoming feel that’s both modern and rustic. Shiplap gained popularity in coastal cottages where the overlapping construction helped keep out wind and moisture.
Today, it’s beloved for its subtle texture and distinctive shadow lines that add visual interest without overwhelming a space. The horizontal orientation naturally guides the eye along the staircase, making it perfect for creating flow in your home.
DIY Steps:
- Cut boards to the right length for your stairway, ensuring clean edges for a professional finish.
- Install from the bottom up, with each board slightly overlapping the one below to create that distinctive shiplap look.
- Leave a small gap between boards for that classic shiplap shadow line that catches light throughout the day.
- Depending on your home’s overall style, you can paint it white for a coastal look or stain it for rustic warmth.
Shiplap brings texture and interest without feeling too busy. It’s perfect for making narrow staircases feel wider.
3. Beadboard Beauty
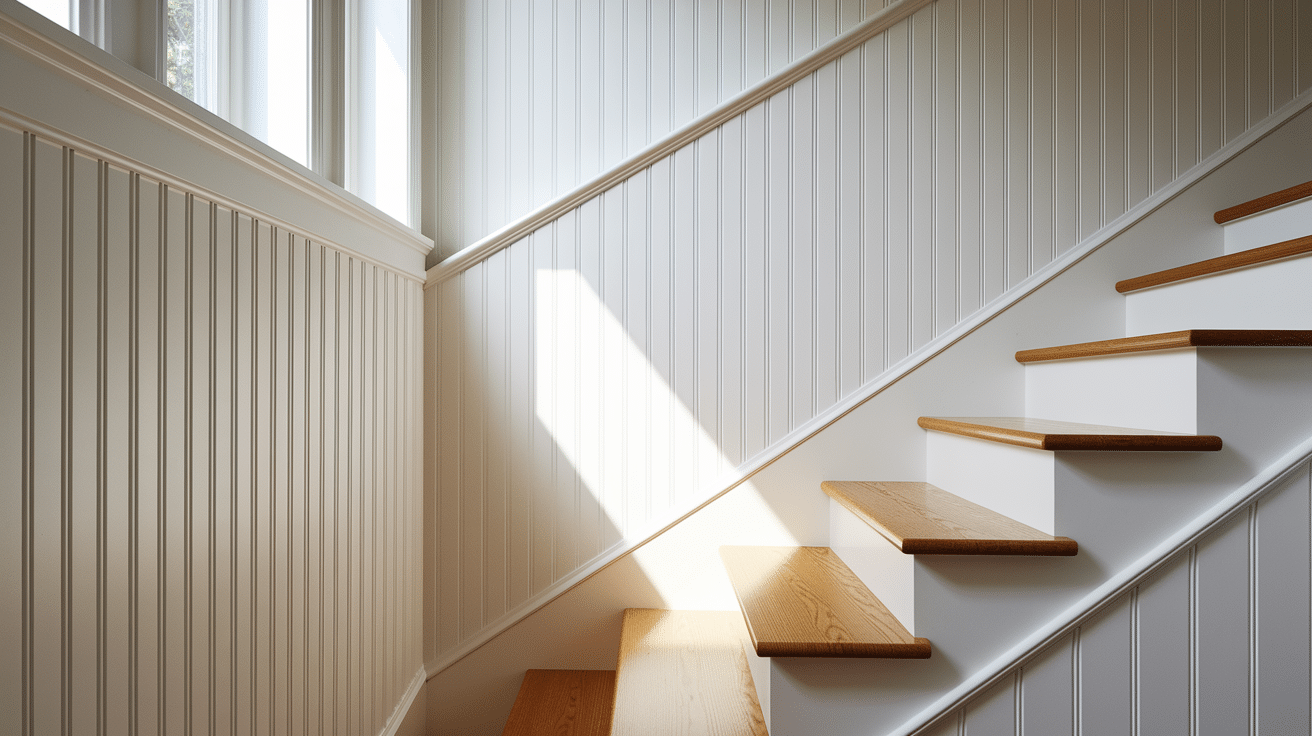
The small, vertical grooves add texture and character while being super easy to install. Beadboard features narrow, evenly spaced grooves running vertically, creating a subtle texture that’s visible from any angle.
This traditional material was originally made from individual tongue-and-groove boards, but today’s versions come in convenient panels that make installation much simpler while maintaining that handcrafted appearance.
DIY Steps:
- Purchase pre-made beadboard panels (much easier than individual boards) to save time and ensure consistent spacing.
- Cut panels to fit your stairway height, being careful to measure each section, as stairs often vary in dimension.
- Secure it with adhesive and finishing nails for a strong bond that won’t show obvious fasteners.
- Add a simple cap rail at the top to create a finished edge that transitions nicely to the upper wall.
Beadboard works beautifully in cottage-style homes. Its subtle texture catches light in interesting ways throughout the day.
4. Board and Batten Beauty
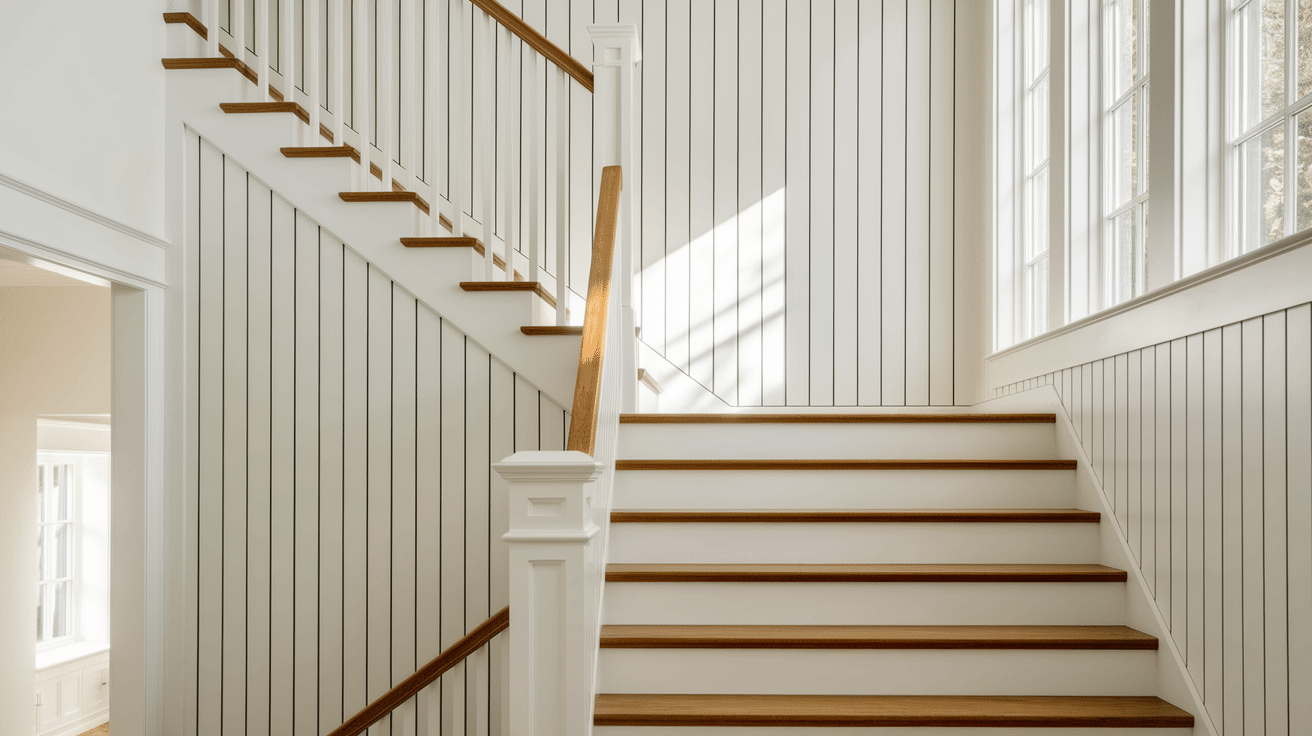
This style uses wide boards with thinner vertical “battens,” creating a grid pattern that adds depth. Board and batten originated in barn construction but has become a beloved interior finish for its combination of simplicity and visual impact.
The alternating wide and narrow elements create a rhythmic pattern that adds architectural interest to your stairway walls while remaining clean and unfussy.
DIY Steps:
- Install flat panels or paint your wall in your chosen base color before adding the battens.
- Add vertical battens (thin strips) at even intervals, carefully measuring to ensure consistent spacing.
- Consider adding horizontal pieces for more visual interest, creating rectangular or square sections.
- Paint everything the same color for a subtle, classy look that emphasizes shadow and texture rather than color contrast.
This style can be adjusted with different spacing to create unique patterns. It adds architectural interest without feeling fussy.
5. Picture Frame Molding
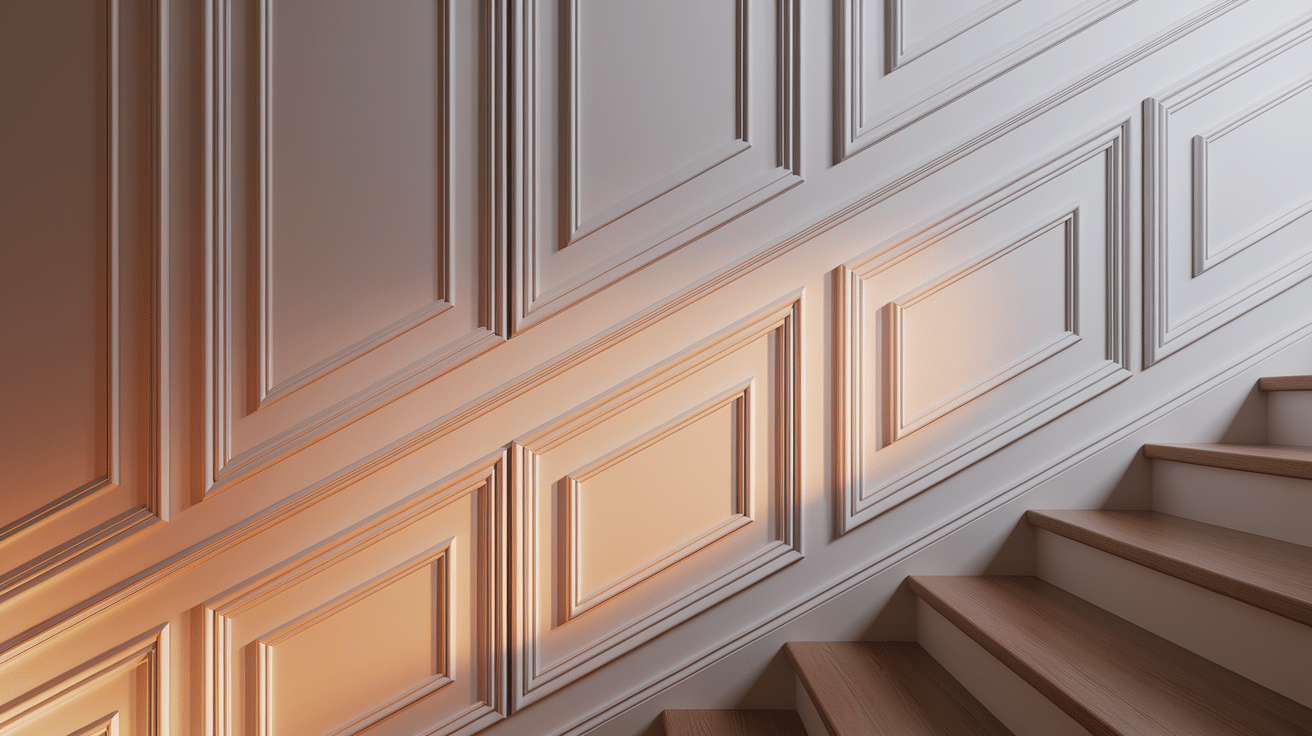
Creates neat “frames” on your stairway walls for a high-end, custom look. Picture frame molding draws from classical architecture where wall panels were often elaborately decorated.
This approach uses simple molding to create geometric shapes—usually rectangles or squares—that changes flat walls into structured, interesting surfaces.
The result is a look that feels custom and expensive but can be achieved on a reasonable budget.
DIY Steps:
- Plan your frame layout with painter’s tape first to visualize the pattern and ensure balanced proportions.
- Cut molding pieces at 45-degree angles for corners that fit together perfectly without gaps.
- Secure to the wall with adhesive and finishing nails, making sure each piece is level and properly aligned.
- Paint in a contrasting color or match your trim for different effects—matching creates subtle clean while contrasting makes a bolder statement.
This style looks much harder to install than it actually is. The results are eye-catching and make your home look more expensive.
6. Two-Tone Color Blocks
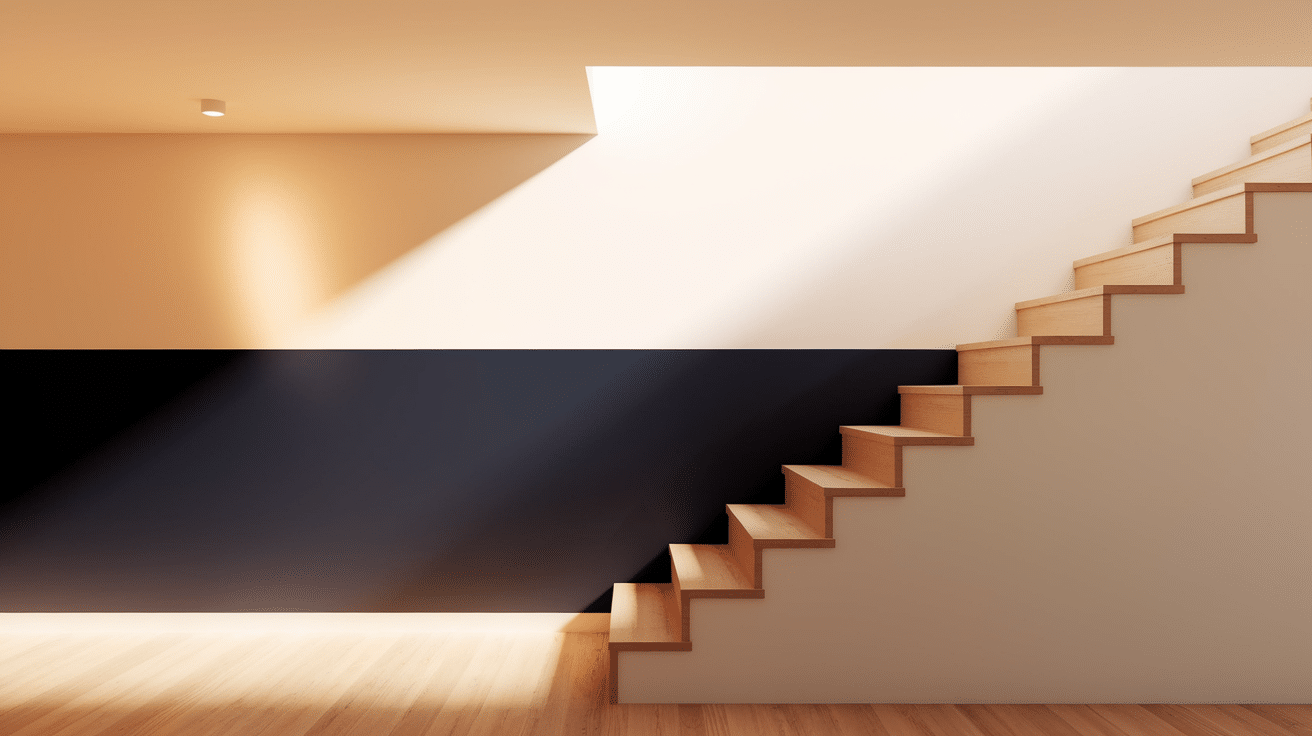
Using two colors with a clean dividing line creates visual interest without molding or complex woodworking. This approach relies purely on paint to define spaces, making it one of the most accessible options for beginners.
The color-blocking technique has roots in modern art and design, bringing a contemporary feel to your stairway while still respecting traditional proportions.
DIY Steps:
- Decide on your height line (usually about 3-4 feet from the stairs) based on classical wainscoting proportions or your personal preference.
- Apply painter’s tape for a crisp line that clearly separates your two chosen colors.
- Paint the bottom in one color and the top in another, carefully cutting along the tape line for professional results.
- Choose colors that work well together but provide enough contrast—consider colors from the same color family in different intensities for a subtle, glanced look.
This is the easiest option on our list but delivers a big impact. Try making ceilings feel higher by making them darker below and lighter above.
7. Reclaimed Wood Accent
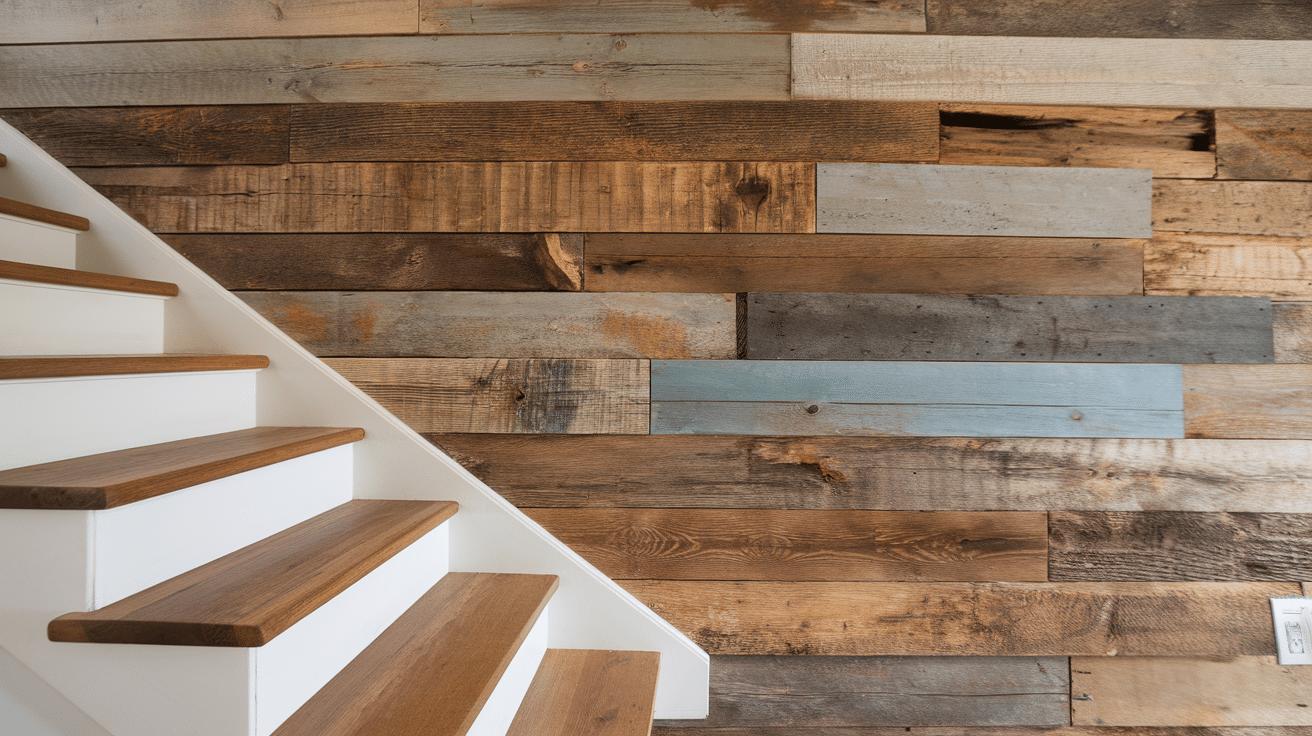
Using weathered or reclaimed wood adds warmth, texture, and an eco-friendly element to your stairs. Each piece of reclaimed wood has its history—with unique coloration, grain patterns, and character marks that tell a story.
This approach brings natural elements indoors, connecting your space to nature while repurposing materials that might otherwise be discarded.
DIY Steps:
- Source reclaimed wood from local shops or online marketplaces, looking for consistent thickness despite varied appearances.
- Clean thoroughly and check for any loose nails or splinters to ensure safety in your high-traffic stairway.
- Cut to create a pattern (horizontal often works best) that showcases the wood’s varied colors and textures.
- Seal it with a clear coat to prevent splinters, make cleaning easier, and preserve the authentic look of the aged wood.
The natural variation in reclaimed wood creates a one-of-a-kind look that tells a story and adds character.
8. Painted Pattern Panels
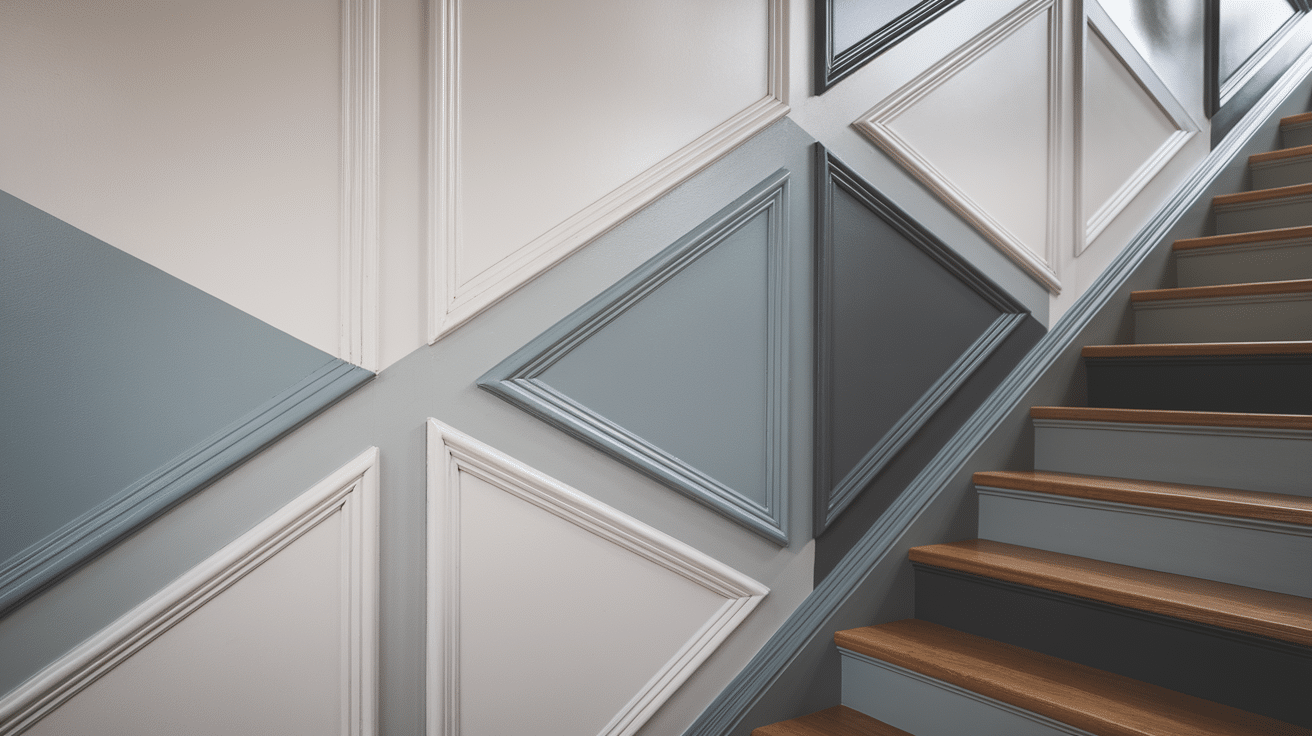
Using paint to create patterns on simple panels gives you endless options to match your style. This technique combines the structure of paneling with the versatility of paint, allowing you to incorporate colors and designs that perfectly complement your home.
From simple stripes to complex geometric patterns, this approach lets your creativity shine through.
DIY Steps:
- Install basic flat panels on your stairway to provide a smooth, stable surface for your painted design.
- Use painter’s tape to mark out geometric patterns—consider starting with something simple like chevrons or diamonds.
- Paint with 2-3 complementary colors that coordinate with your existing décor for a cohesive look.
- Carefully remove tape for crisp lines while the paint is still slightly tacky for the cleanest possible edges.
This lets you update your look easily in the future without removing the panels. Try simple stripes or diamonds for an eye-catching effect.
9. Textured Wallpaper Inserts
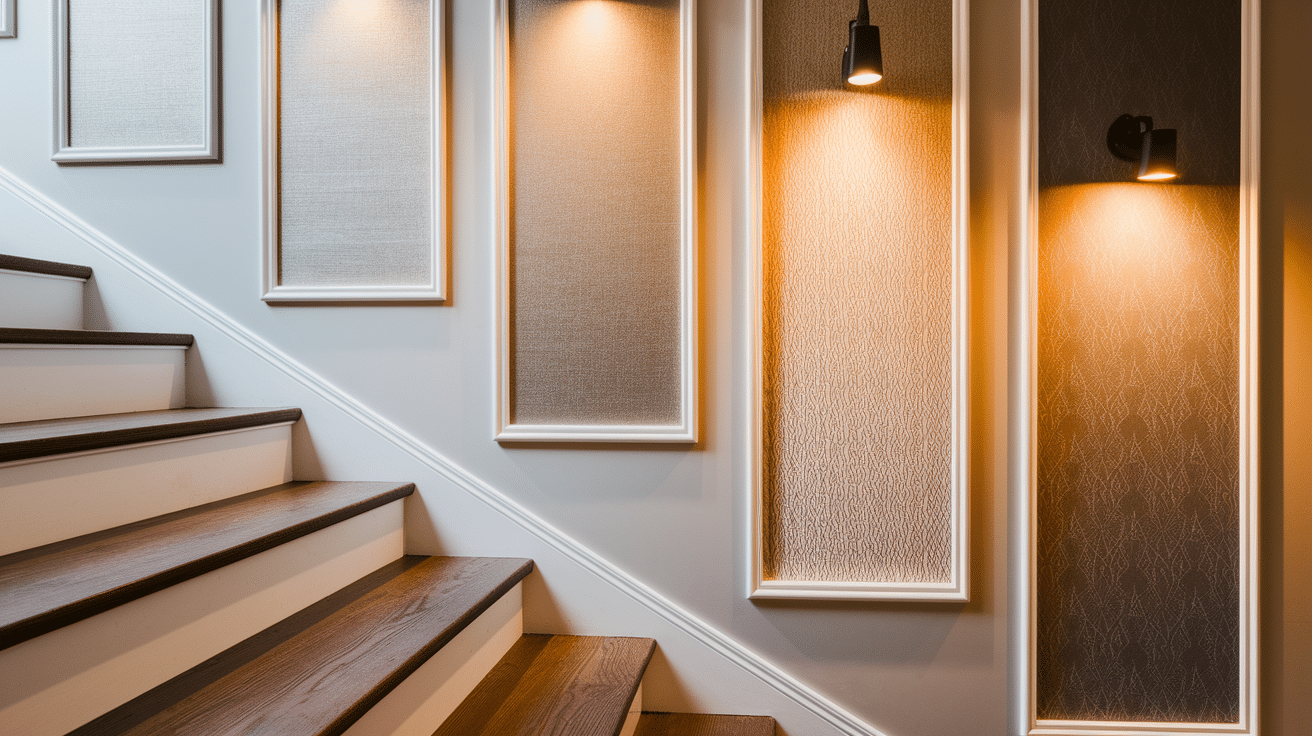
Combining panel frames with textured wallpaper creates rich detail with minimal effort. This approach pairs the structured elegance of molding with the unlimited design possibilities of modern wallpapers.
The framed sections contain and showcase the wallpaper, turning each panel into a decorative element that adds color, pattern, and texture to your stairway.
DIY Steps:
- Install simple frame molding on your wall, creating evenly spaced rectangles or squares for your wallpaper inserts.
- Cut textured or patterned wallpaper to fit inside frames, leaving a small margin for a clean fit.
- Apply with wallpaper adhesive, smoothing carefully to eliminate bubbles and ensure perfect alignment with your frames.
- Finish with trim paint that complements your wallpaper, creating a cohesive look that ties the elements together.
This approach lets you introduce patterns without overwhelming the space. It works beautifully even in small stairways.
10. Mixed Material Panels
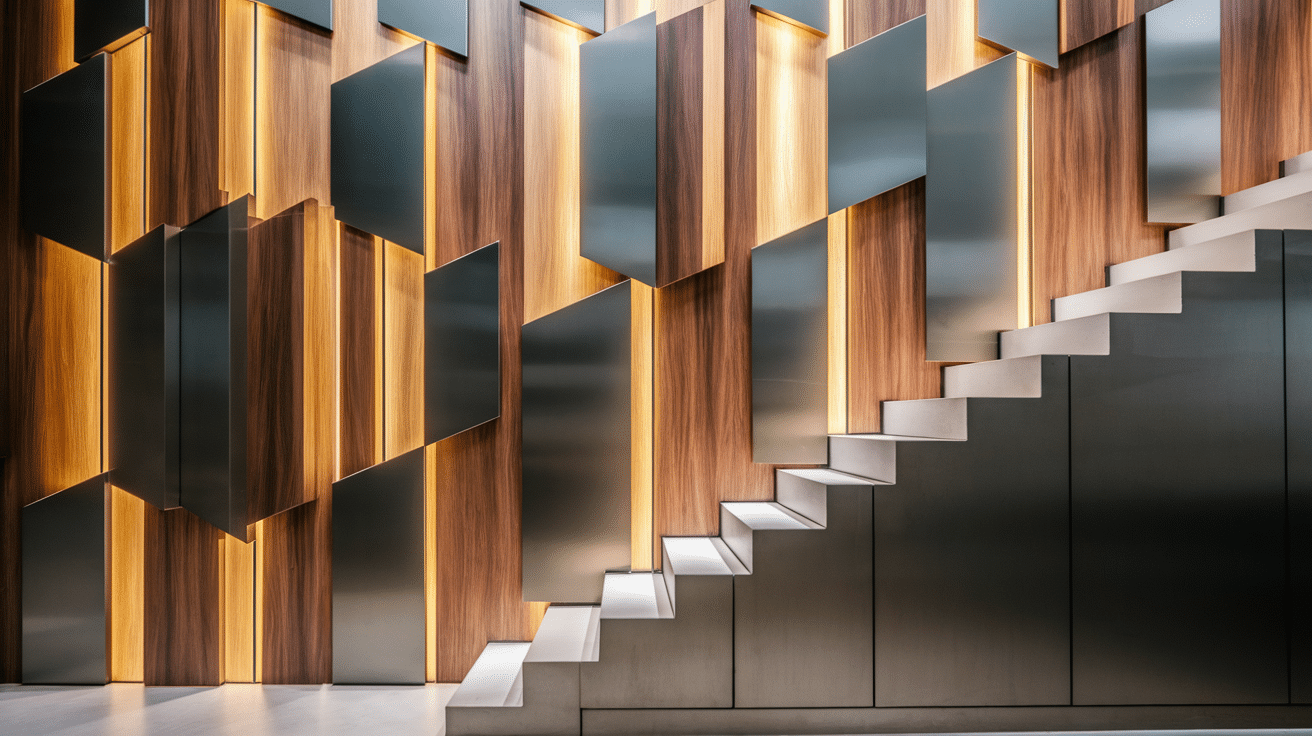
Combining different materials like wood and metal creates a modern, custom look that stands out. This forward-thinking approach draws from industrial design principles, where contrasting materials create visual tension and interest.
The juxtaposition of warm wood with cool metal or smooth surfaces with textured ones creates a multi-dimensional experience that engages the senses.
DIY Steps:
- Create a base of wooden panels as the foundation for your mixed-material design.
- Add metal accent strips or decorative hardware that contrasts with the wood in both color and texture.
- Consider incorporating mirrors or textured glass panels for unexpected reflective elements that bounce light around your stairway.
- Finish with complementary colors that highlight both materials while creating a unified design.
This forward-thinking approach makes a statement and works especially well in contemporary homes.
11. Herringbone Wood Pattern
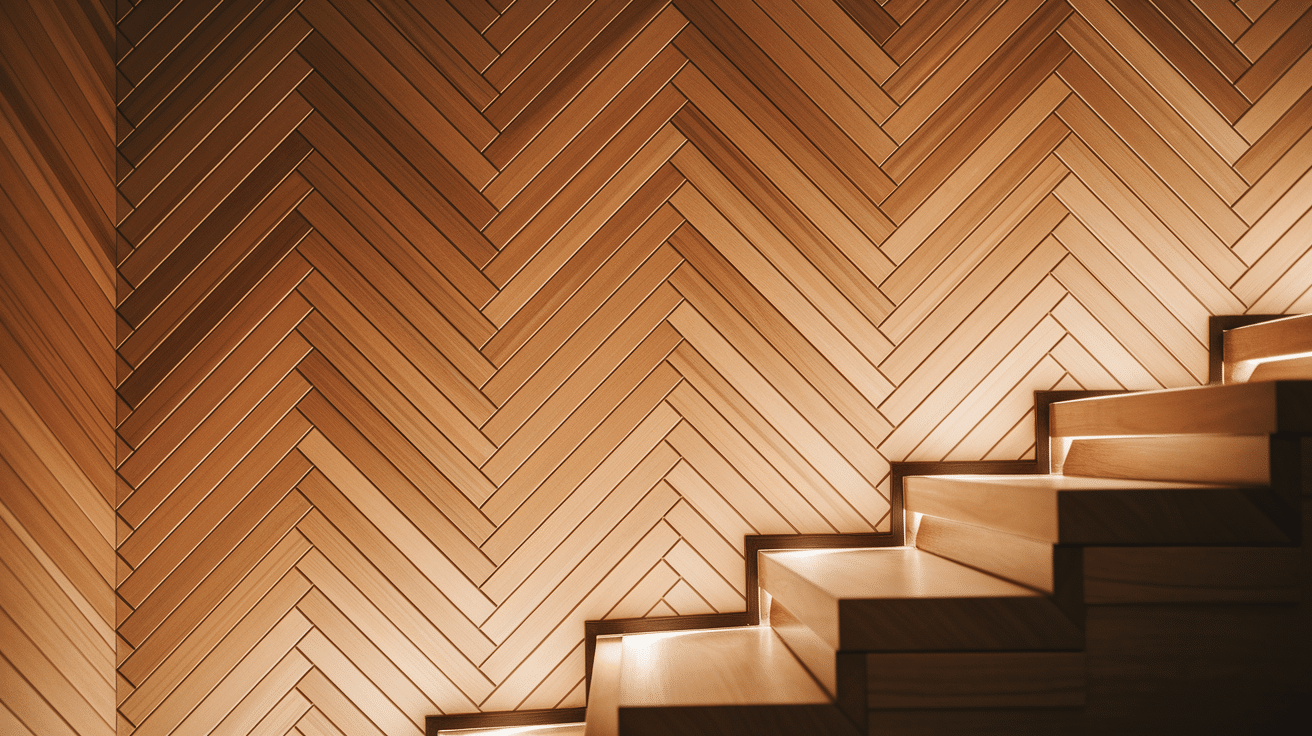
This eye-catching design creates movement and sophistication with angled wood pieces arranged in a distinctive zigzag pattern.
Herringbone patterns date back to European palaces and manor houses, bringing a sense of old-world craftsmanship to modern homes. The angled installation creates dynamic visual interest that draws the eye up your staircase.
DIY Steps:
- Cut wooden boards at precise 45-degree angles for clean joints
- Start from a center line and work outward for balanced patterning
- Use wood glue and finishing nails for secure attachment
- Stain or seal to protect the wood and enhance its natural beauty
This statement-making pattern works beautifully in both traditional and contemporary homes, adding texture without overwhelming your space.
12. Vertical Tongue and Groove
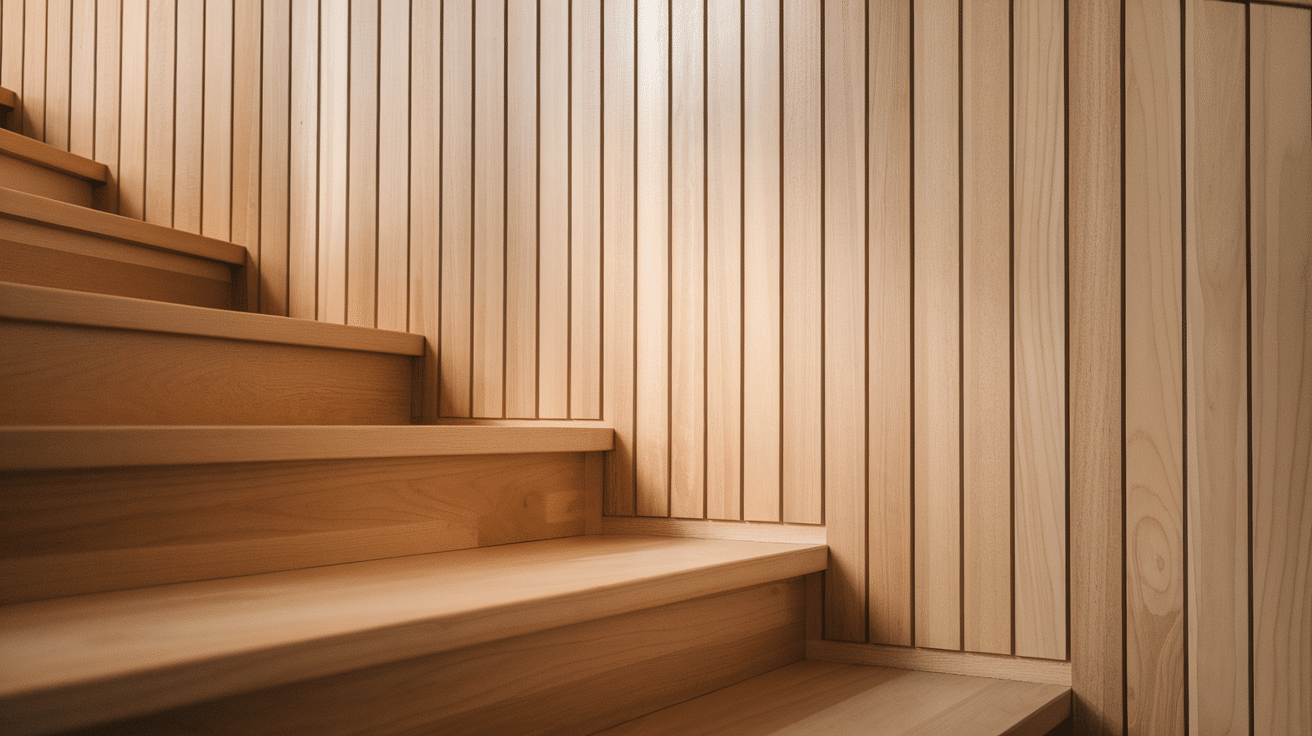
This clean, linear design creates height and elegance with narrow vertical boards that fit together seamlessly.
Tongue and groove construction features boards with a protruding “tongue” on one edge that fits into a corresponding groove on the next board, creating tight, secure joints without visible fasteners.
DIY Steps:
- Measure wall height and cut boards accordingly, allowing for expansion
- Install the first board perfectly plumb using a level
- Slide each subsequent board’s groove over the previous board’s tongue
- Secure with finish nails through the tongue side before adding the next board
This versatile style works in farmhouse, cottage, and Scandinavian-inspired homes, bringing natural warmth and subtle texture to your stairway.
13. Fabric-Backed Panel Inserts
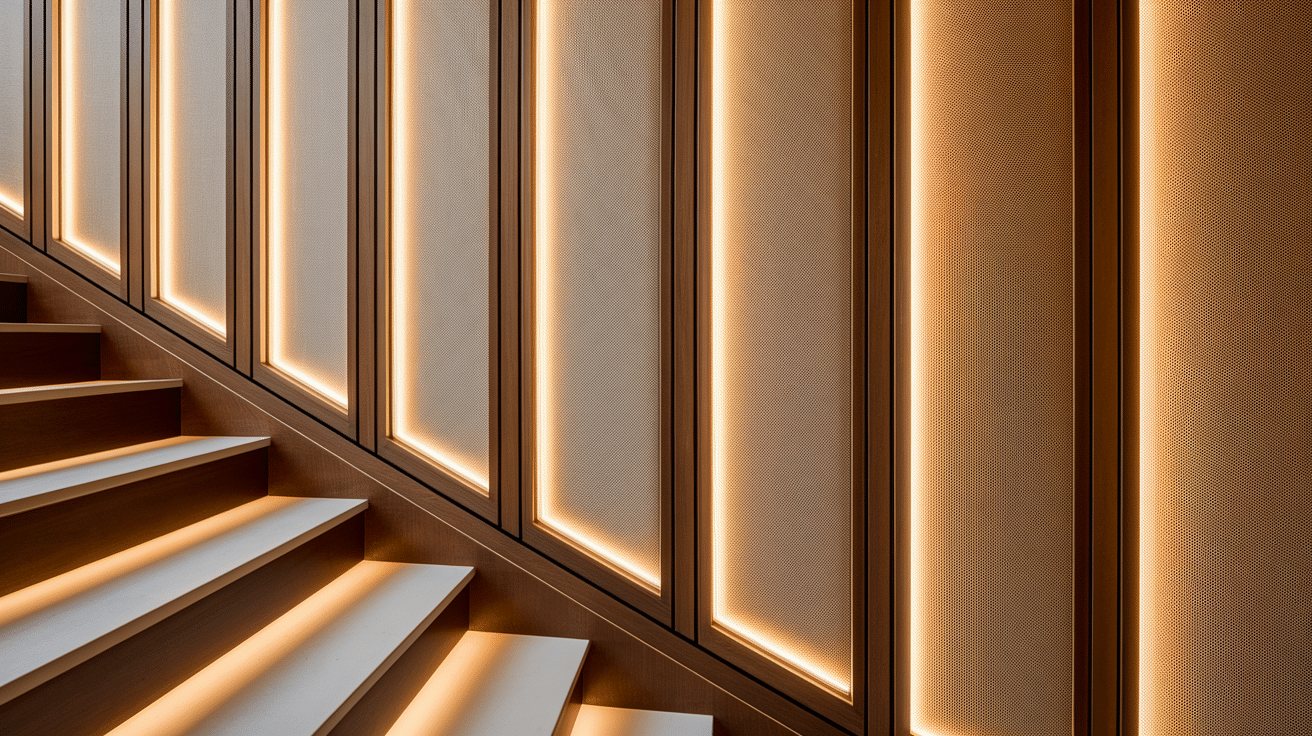
This luxurious approach combines wood framing with fabric-covered panels for warmth, texture, and sound absorption.
Fabric panels have roots in traditional upholstered walls but take on a modern feel when combined with clean-lined wood frames. The soft surface adds unexpected texture while helping dampen noise in your stairwell.
DIY Steps:
- Build simple frame boxes to the desired panel size
- Stretch fabric over foam board cut to fit inside frames
- Secure fabric on the back with staples, pulling taut for a smooth finish
- Install completed panels within your stairway’s larger frame structure
This clean option works beautifully in bedrooms and quiet zones, combining the structure of paneling with the softness of textiles.
14. Stenciled Pattern Panels
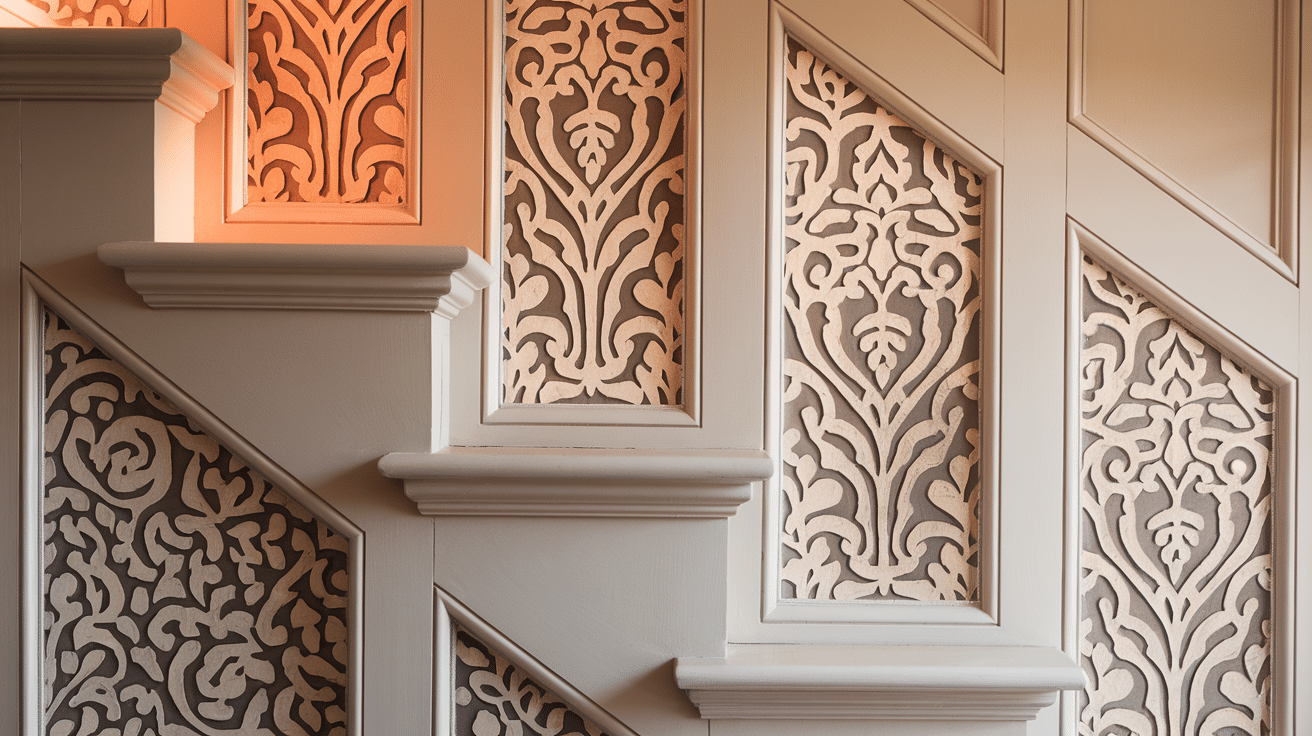
This creative technique uses paint and stencils to create intricate designs on simple panel backgrounds. Stenciling has been used for centuries to add decorative elements to walls and furniture.
This approach combines the dimension of paneling with detailed patterns that would be difficult to create by hand.
DIY Steps:
- Install basic flat panels painted in your background color
- Position stencils carefully, securing with painter’s tape for precision
- Apply paint with a nearly-dry stencil brush using a dabbing motion
- Remove stencil carefully while paint is still slightly wet for crisp edges
This versatile approach lets you customize your stairway with patterns from delicate florals to bold geometrics, making it perfect for expressing your style.
15. Painted Trellis Design
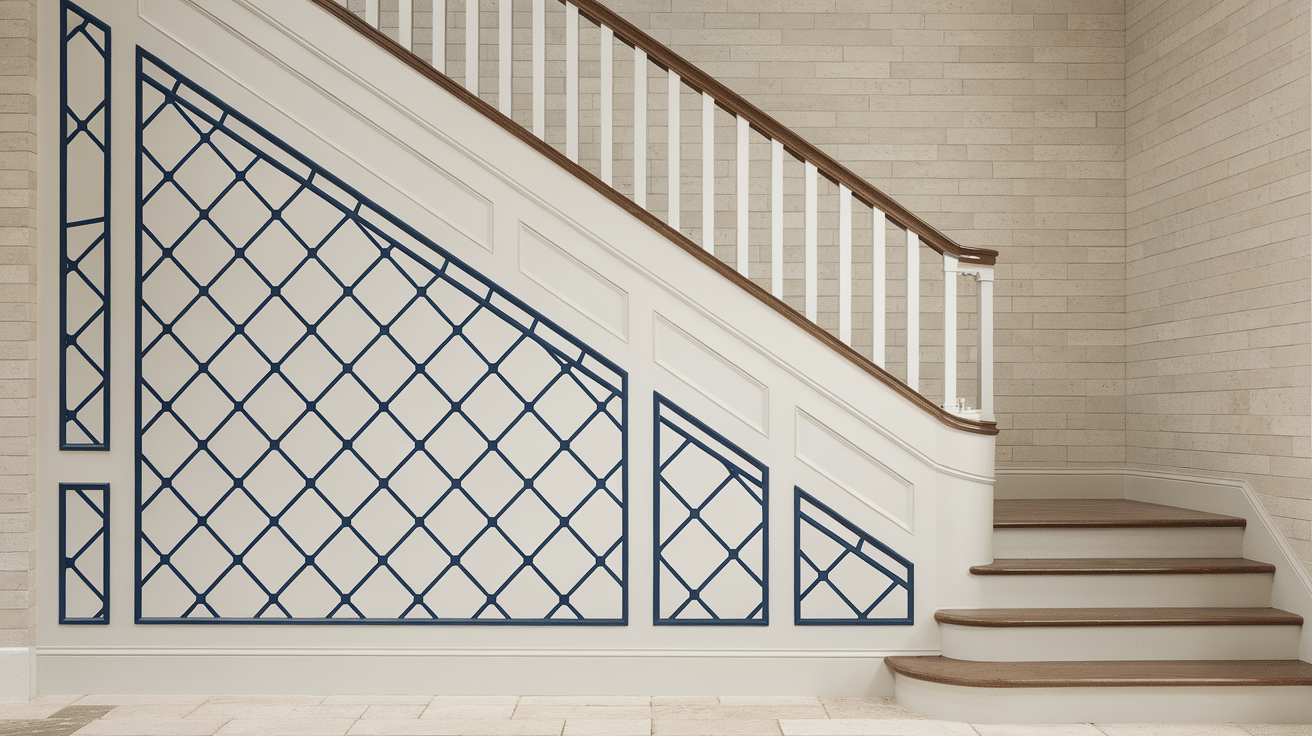
This garden-inspired pattern creates architectural interest with a lattice-like grid design painted onto flat panels.
Trellis patterns draw inspiration from garden structures and classical architecture, bringing outdoor elements inside. The interlocking diamond or square pattern creates visual interest through simple painted lines.
DIY Steps:
- Install flat panels painted in your background color
- Create a template for consistent diamond or square sizing
- Mark intersection points lightly in pencil across your panels
- Use painter’s tape or a steady hand to create clean, straight lines
This fresh, airy design works wonderfully in transitional and traditional homes, adding pattern without the complexity of installing actual lattice.
Common Mistakes and How to Avoid Them
Even the most carefully planned stair panelling project can encounter challenges. Let’s see some of the most common mistakes DIYers make when installing stair panelling and how you can avoid them:
1. Skipping measurements
Always measure twice, cut once. Take your time with this crucial first step. Staircases rarely have consistent dimensions throughout, so create a detailed diagram showing exact measurements for each section. Consider using a laser level to identify any wall inconsistencies before cutting your materials.
2. Ignoring wall conditions
Repair any damage before starting. Panels won’t hide major wall flaws. Patch holes, sand rough spots, and address moisture issues to ensure a strong foundation. For heavily textured walls, consider installing smooth backing board first to create an ideal surface for your paneling.
3. Using low-quality materials
Better materials might cost more upfront but last much longer. Staircases endure significant traffic and contact, so invest in furniture-grade wood and quality fasteners. Premium paints offer better coverage and resistance to scuffs, making them worth the extra cost for high-use areas.
4. Rushing the paint job
Allow proper drying time between coats for a smooth, professional finish. Follow the manufacturer’s recommendations—typically 24 hours for oil-based paints and 4-6 hours for latex. Improve air circulation with fans, but avoid creating dust that might settle on wet surfaces.
5. Forget about lighting
Consider how your stairway lighting will highlight (or reveal flaws in) your paneling. Test your existing light sources to see how they interact with your design. Side lighting emphasizes texture, while overhead lighting minimizes it. Consider adding or repositioning fixtures to showcase your new paneling effectively.
Finishing Touches and Care Tips
Once your stair paneling is complete:
- Allow paint or stain to dry before heavy use.
- Add small details like new light fixtures that complement your new look
- Take photos from different angles to appreciate the full changes.
- Clean your panels regularly with a soft cloth to maintain their beauty
With proper care, your stair paneling will look fresh for years.
Conclusion
Stair paneling is an affordable way to change the look and feel of your home completely. With these ideas, you can find a style that matches your taste and skill level.
Unlike major renovations that require contractors and permits, stair paneling is accessible to most homeowners with basic DIY skills and common tools.
The change goes beyond just design. A well-executed paneling project can hide wall imperfections, improve acoustics in your stairwell, and even add a layer of insulation.
Many homeowners report that their staircase becomes a favorite feature after paneling—changing from a purely functional area to a design highlight they proudly show off to visitors.
Have you tried paneling your stairs? Which of these ideas would work best in your home? I’d love to hear your thoughts in the comments below!
Frequently Asked Questions
How Much Does Stair Paneling Typically Cost?
Depending on the materials, DIY stair paneling usually costs $200-$500. Professional installation adds $500-$1,500 to this amount.
Do I Need Special Tools For Stair Paneling?
Basic tools work fine: measuring tape, saw, level, hammer, drill, and paintbrushes—no specialized equipment is needed for most designs.
How Long Does Stair Paneling Last?
With quality materials and proper installation, stair paneling can last 15-20 years before needing significant updates or refreshing.
Can I Install Paneling On Curved Staircases?
Yes, but it requires flexible materials or custom-cut panels. Beadboard and picture frame molding work well on gentle curves.
Will Paneling Make My Staircase Look Smaller?
Not necessarily. Horizontal patterns can make spaces feel wider, while lighter colors keep stairs feeling open and airy.

