
Thinking about giving your space a fresh new look? Color drenching is a smart and simple way to transform a room.
In this guide, I’ll walk you through everything you need to know. You’ll learn what color drenching is, why it works, and where it’s best used.
I’ll also provide a full step-by-step process to help you apply it yourself, starting from prep work to choosing the right paint finish.
You’ll get clear tips on selecting the perfect color, avoiding common mistakes, and using texture to add depth.
If you want a bold, calm, or cozy space, this approach can help. Everything is explained in easy language so you can feel confident, even if you’ve never painted before.
What Is Color Drenching?
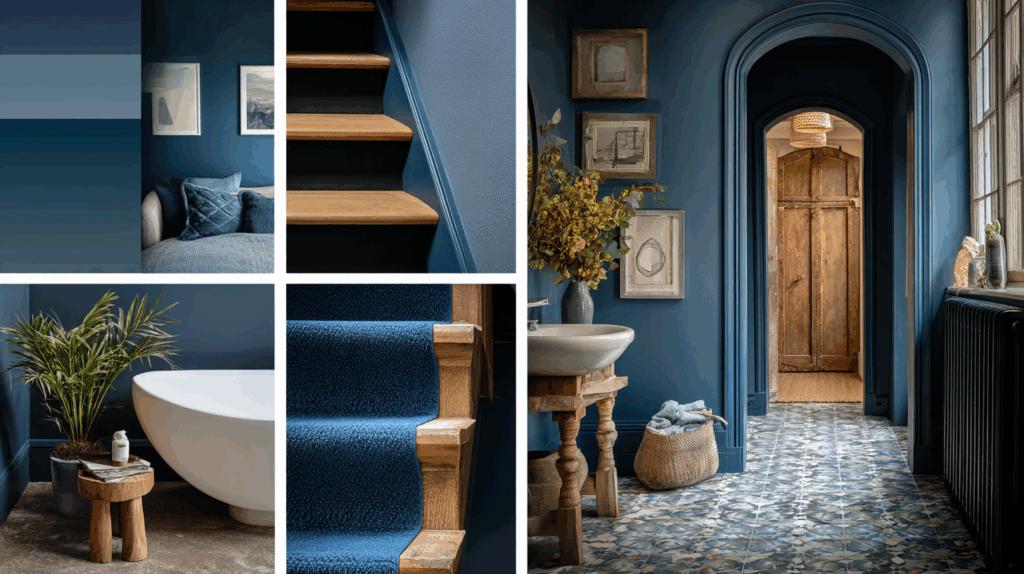
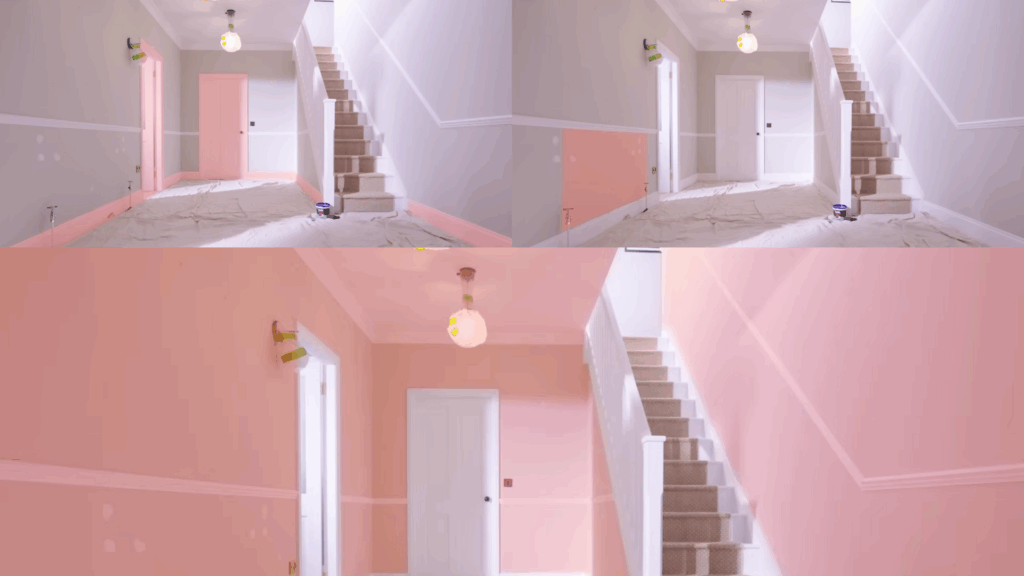
Color drenching is when you paint almost everything in a room the same color: walls, ceiling, trim, and sometimes furniture.
This creates a calm and bold look that wraps the whole space in one tone.
You can go with light, dark, or bright shades, but it works best when you stay with just one. Skip the mix of colors.
Unlike accent walls or traditional color schemes, color drenching keeps it simple and unified.
If you’re thinking of trying it, start with a color you truly like. Test it in different lighting. Use a matte finish for walls and a gloss finish for trim to add depth.
Begin with a small room first. This way, you can see how it feels before going bigger.
Why Designers Use Color Drenching

This is why designers often use color drenching and why you might want to try it too:
- Makes small rooms feel bigger by removing breaks in color
- Helps your eyes move smoothly around the space
- Creates a bold, clean, and connected look
- Highlights features like trim, molding, or built-ins
- Can hide wall marks or uneven surfaces
- Sets a strong mood with just one color
If you’re looking for a simple way to change a space, color drenching is a smart option. Start small and see how it feels before using it in larger rooms.
Where to Use Color Drenching
You can use color drenching in almost any room, but some spaces work better than others.
Try it in:
- Small rooms like bathrooms or hallways
- Bedrooms for a calm and cozy feel
- Living rooms, if you want a bold look
- Home offices to help limit distractions
- Spaces with lots of trim or molding to highlight details
Avoid using it in large open areas unless you’re sure of the color. It’s best to test the look in one small space first.
Use paint samples and check the color in both daylight and evening light. This helps you decide if it feels right for your home.
Start small and build confidence from there.
How to Use Color Drenching in Design
To get the best results with color drenching, it’s important to follow a clear, step-by-step approach. Proper prep and technique make all the difference in achieving a smooth, unified finish.
Step 1: Prep the Room
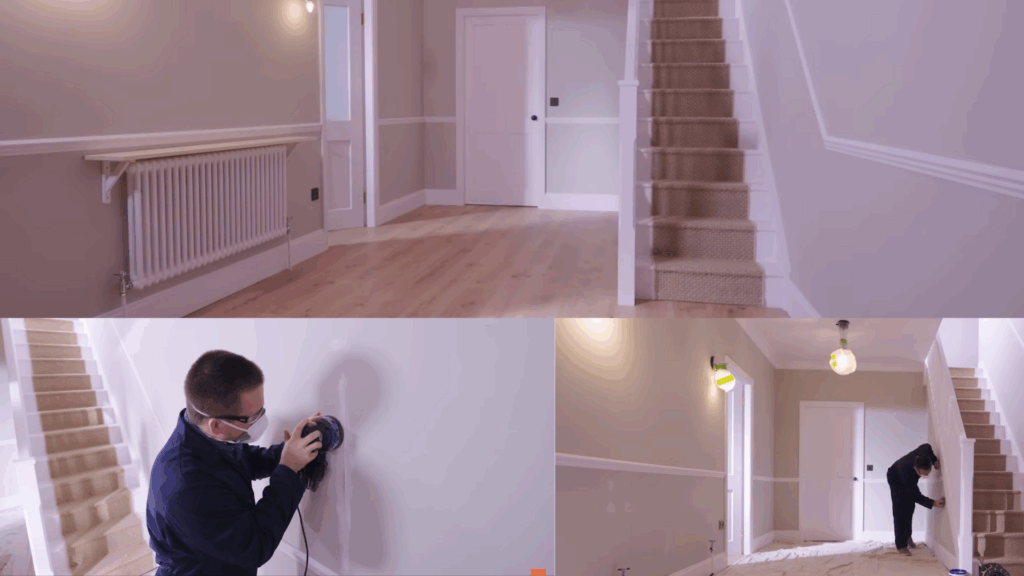
Before painting:
- Remove all furniture, wall items, and radiators (if possible).
- Lay down dust sheets.
- Fill any cracks with wall filler.
- Lightly sand wood trims, doors, and glossy areas.
Use circular motions to sand.
For larger jobs, consider a handheld electric sander to speed up the process.
Step 2: Clean All Surfaces
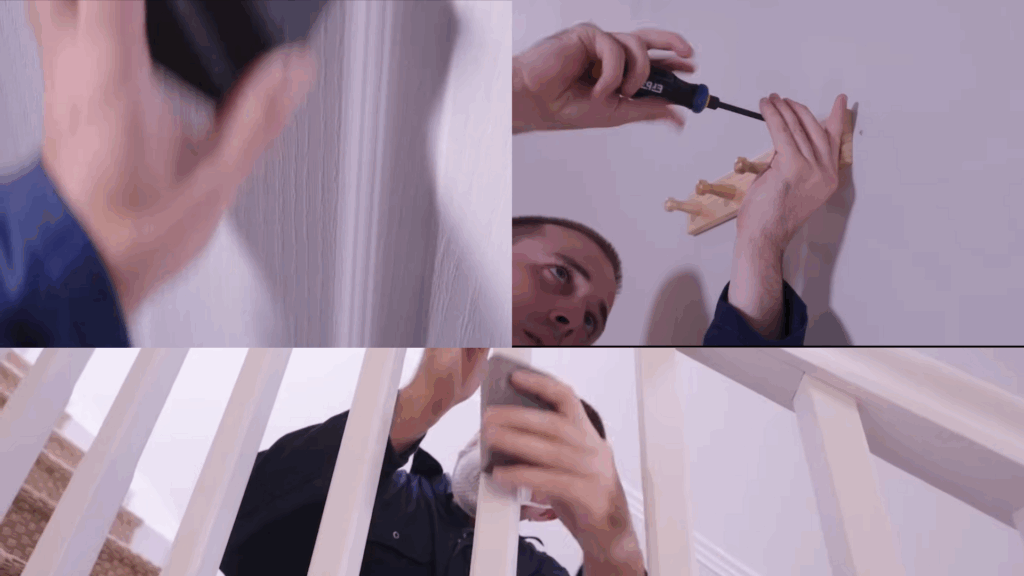
Dust and debris can affect how paint adheres to surfaces.
Use a suitable cleaner to wipe everything down, then allow surfaces to dry completely before painting. Remove all hooks, screws, and fittings from the walls using a screwdriver or suitable tool.
This helps the paint go on smoothly and last longer.
Also, make sure to clean corners, trims, and hard-to-reach spots carefully.
Step 3: Pick the Right Paint Finishes
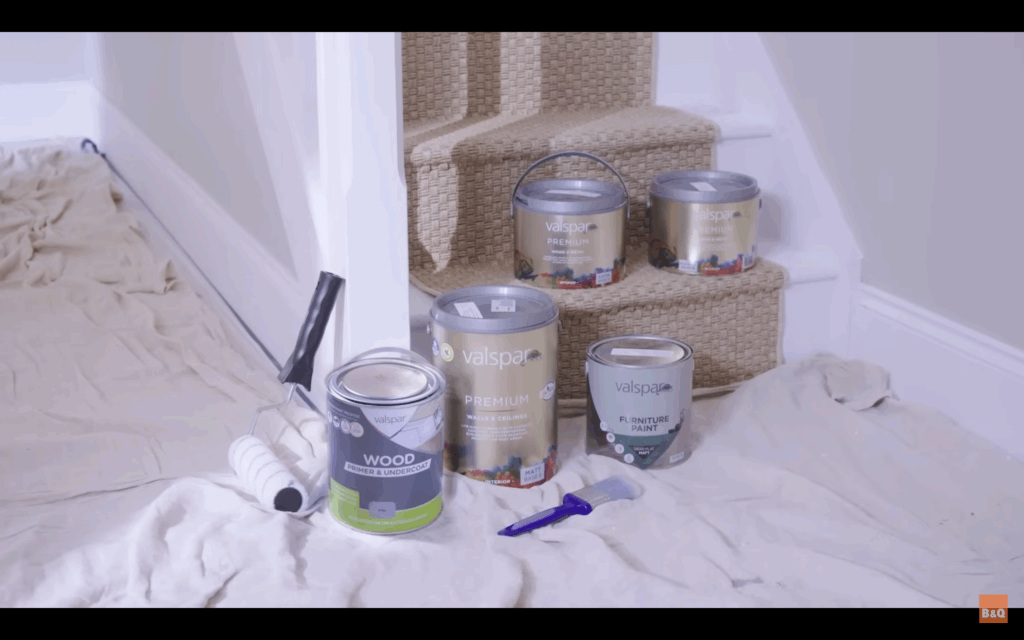
Each surface requires a different finish:
- Matte for walls and ceilings (provides soft, seamless coverage)
- Satin for trims and door frames (durable with a subtle sheen)
- Gloss for radiators (adds contrast and makes them pop)
High-quality paints allow you to color-match across all finishes, ensuring a unified look.
Step 4: Calculate Paint Quantity
You can use an online paint calculator or click here to use it.
You can also follow this rule of thumb:
1 liter of paint covers approximately 10m² (allow for two coats)
This helps you avoid running out of paint in the middle of the job and also prevents overbuying.
Planning ahead ensures a smoother painting process and helps you stick to your budget.
Step 5: Mask Off Details
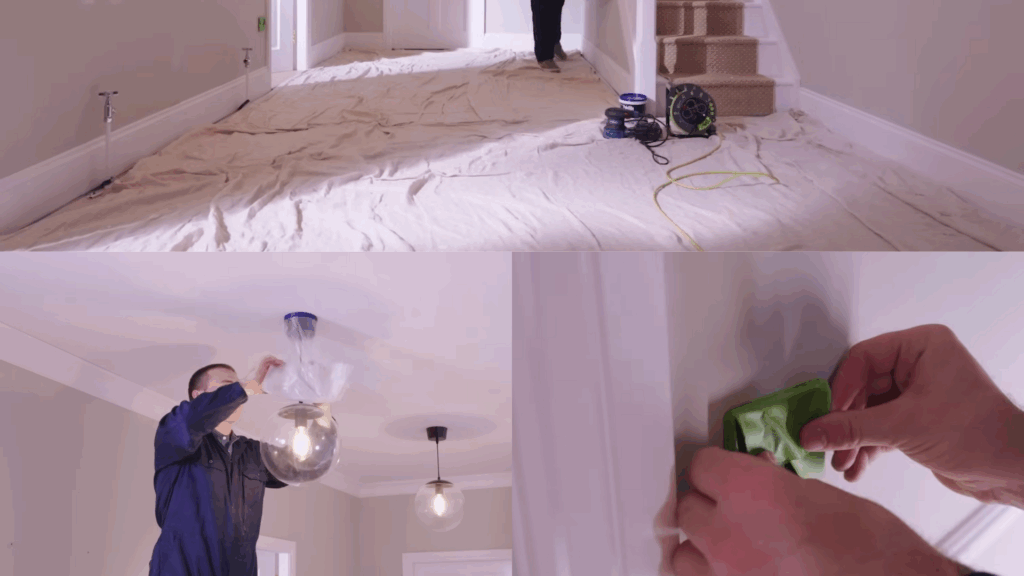
Even with one main color, it’s important to mask off key areas to ensure crisp lines:
- Trim edges
- Light switches and sockets
- Surfaces where different finishes meet
This ensures clean lines and a polished result.
Step 6: Paint From Top to Bottom
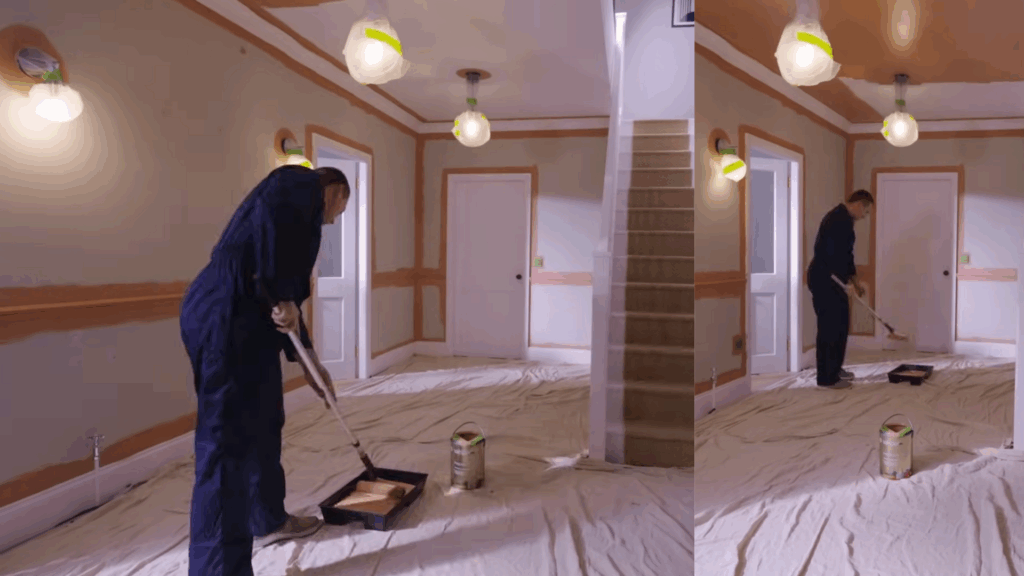
Follow the golden rule of painting:
Ceiling → Walls → Skirting → Hardware
This method prevents drips and smudges from ruining freshly painted lower sections and keeps your work clean and efficient.
Starting at the top, let gravity work in your favor, as any drips can be covered in the next step. It also helps you stay organized and reduces the need for touch-ups later.
Step 7: Paint the Ceiling
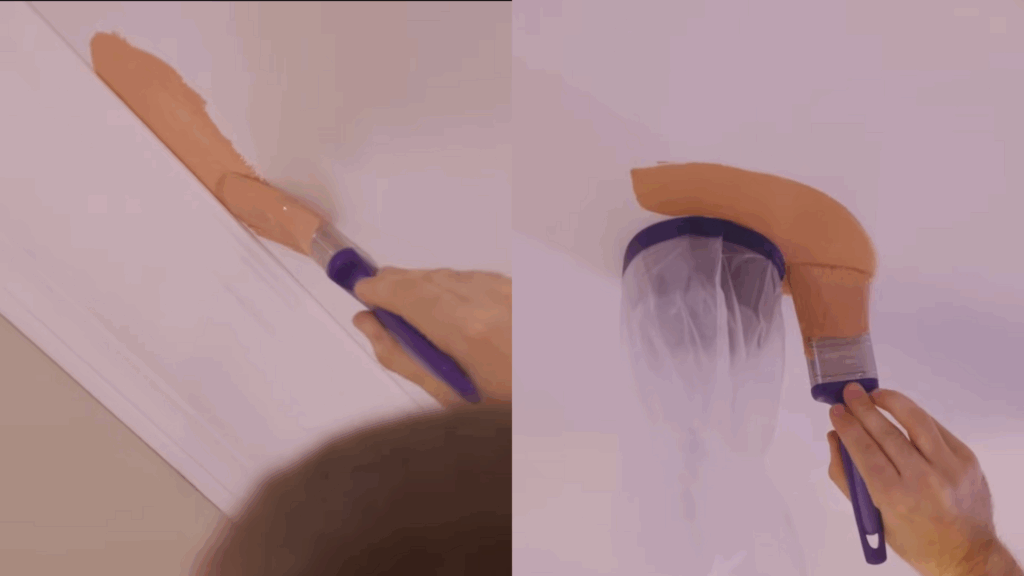
You’ll need: Matte Wall & Ceiling Paint, 2-inch angled precision brush (for cutting in), and Medium-pile roller with extension pole.
Start by cutting in around edges and light fixtures.
Then roll in vertical strokes followed by horizontal strokes, working backward from the window for even coverage.
Step 8: Paint the Walls

Use the same tools and paint as for the ceiling.
Follow these steps:
- Cut in along edges and corners.
- Roll the rest of the wall surface.
- Wait 2 hours before applying a second coat.
Pro tip: Work in small sections and maintain a wet edge to avoid roller marks or uneven patches.
Step 9: Paint the Skirting Boards
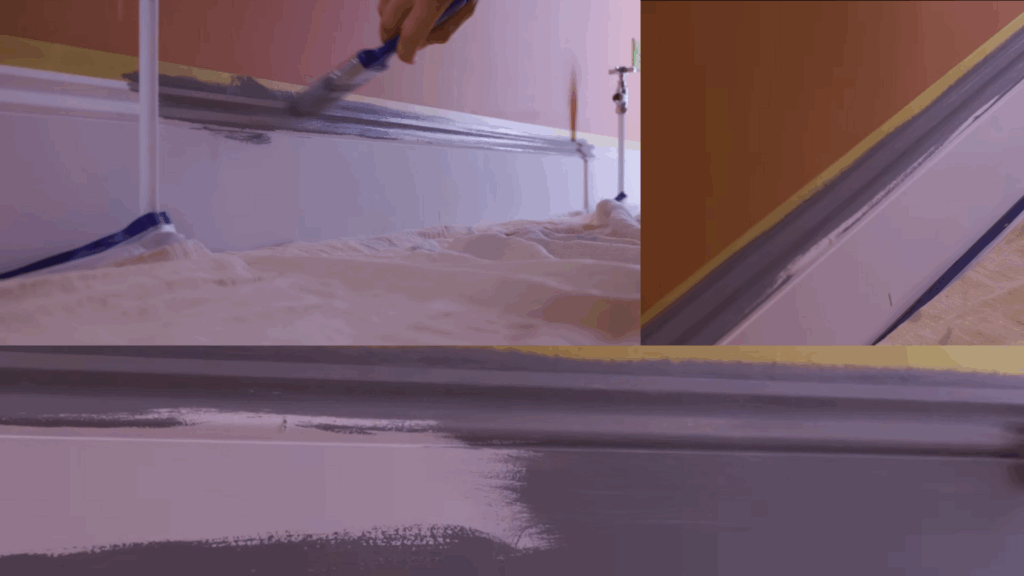
You’ll need: Wood & Metal Paint (Satin Finish), 2-inch flat brush, and Primer (especially over bold colors)
Use decorator’s tape to mask off adjacent walls.
Remove the tape while the paint is still wet for a crisp line.
If you’re using the same color for the walls and skirting, consider using a different finish to subtly highlight the trim without breaking the color flow.
Step 10: Paint Door Frames & Doors
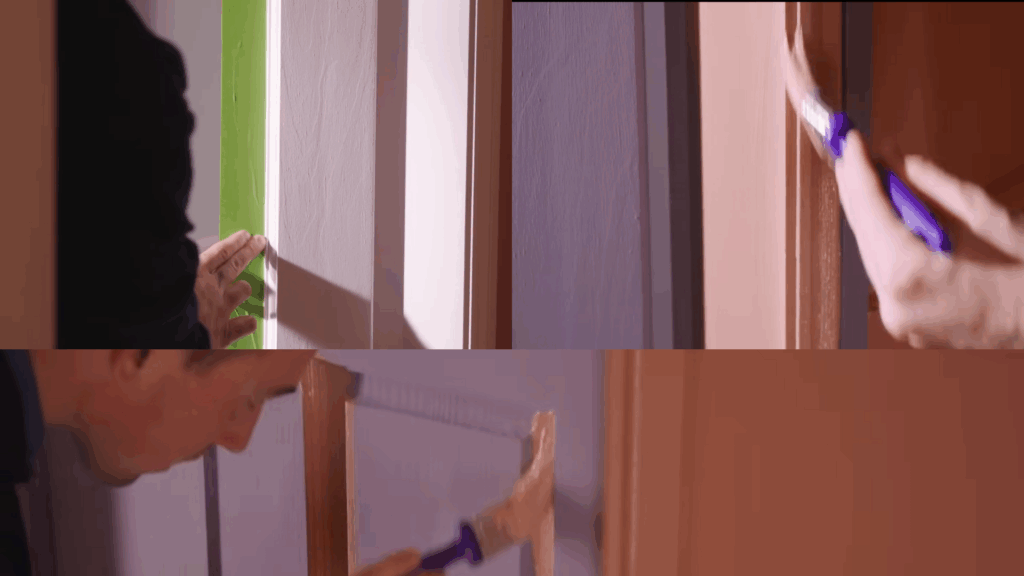
You’ll need: Satin finish paint, Grey primer, and a 1.5–2 inch brush
Tape around hinges and the surrounding wall.
Paint the door frame first, then the door.
Leave the door open while it dries and wait 24 hours before reattaching any hardware.
Step 11: Paint the Radiator
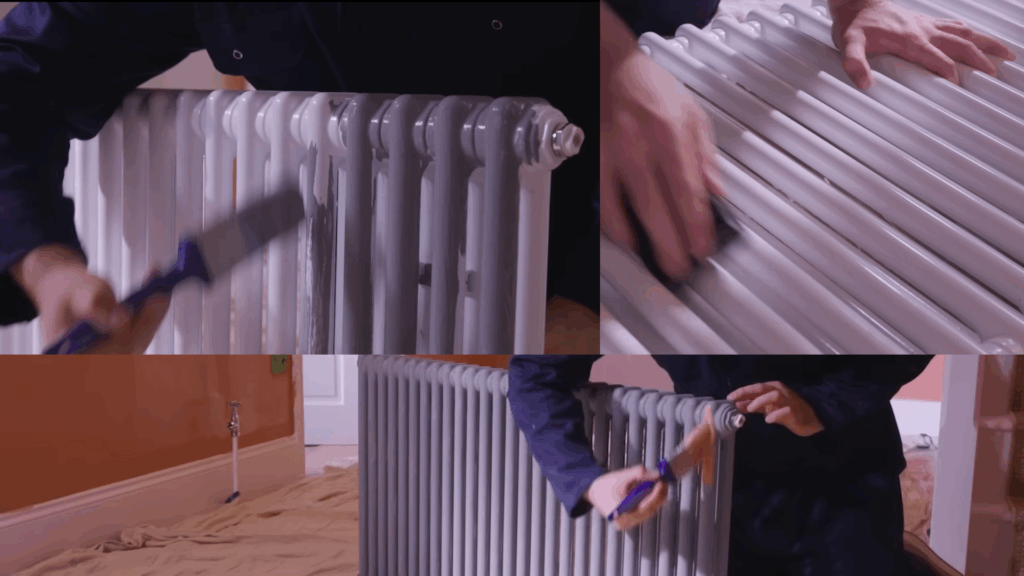
You’ll need: Wood & Metal Paint (Gloss Finish), Suitable metal primer, and a 2-inch brush
Sand and clean the radiator first.
Apply two thin, even coats and allow it to dry for at least 24 hours before turning it back on.
Step 12: Paint the Staircase
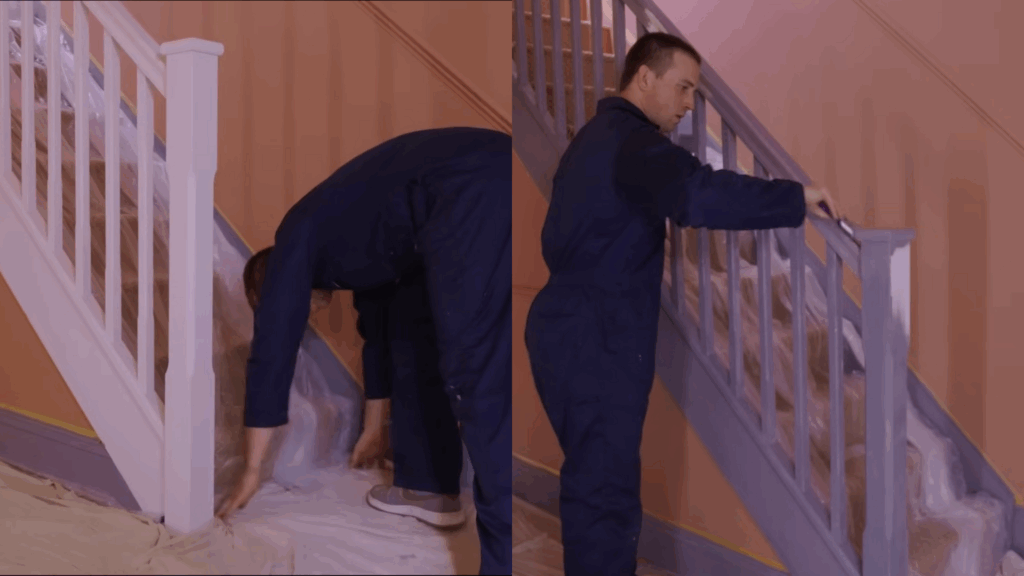
Protect the surrounding areas with dust sheets.
Prime and paint in this order:
Spindles → Banister →Newel Post
Use long, smooth strokes and a fine brush for detailed areas.
Take your time on the staircase as it often has the most intricate features and is more prone to visible brush marks. Patience here pays off in the final look.
A special thanks to @B&Q YT for this informative video on How to Color Drench.
Choosing the Right Color for Color Drenching

Choosing the right color is a key part of successful color drenching. It sets the tone and mood for your space. Keep these points in mind:
- Light tones make a space feel open and airy, making them ideal for smaller rooms or those with limited natural light.
- Dark tones add depth and coziness and work well in spaces where you want warmth and drama.
- Lighting matters; natural light softens color, while artificial light can shift how it appears, especially at night.
- Test your color at different times of day using sample patches to see how it looks in your room’s lighting.
- Color mood examples: Navy creates a deep, moody effect; sage feels soft and calming; terracotta adds warmth and comfort.
- Choose what suits you, don’t pick trendy colors unless they truly match your space and style.
Take your time when selecting a color. The right shade will help your space feel balanced, comfortable, and truly yours.
Pro Tips and Common Mistakes
- Use one tone: Too many shades can feel messy. Stick to a single, clear color for balance.
- Don’t go dark in dim rooms: Dark colors need good lighting. Without it, the room may feel closed in.
- Add texture: Use wood, soft fabric, or glossy trim to prevent a flat look.
- Test your color: Try it on the wall first. Light changes the way it looks.
- Avoid flat finishes everywhere: Paint alone isn’t enough. Texture and sheen add depth.
- Be flexible: If it feels off, adjust. Small changes make a big difference.
Final Thoughts
Take color drenching one step at a time. Start with a color that feels right to you, something that matches the mood you want the room to have.
Don’t rush the process. Test the shade at different times of the day and see how it looks with both natural and artificial lighting.
If the space feels flat, consider adding texture with fabrics, wood, or different finishes. This adds depth and interest without changing the color.
Avoid mixing too many shades. Keep the tone simple and clean for a more cohesive look.
Try it in a smaller space first. Once you see how it works, you might feel ready to try it in other rooms.
Let your choices be calm and steady, and let the space evolve with you.