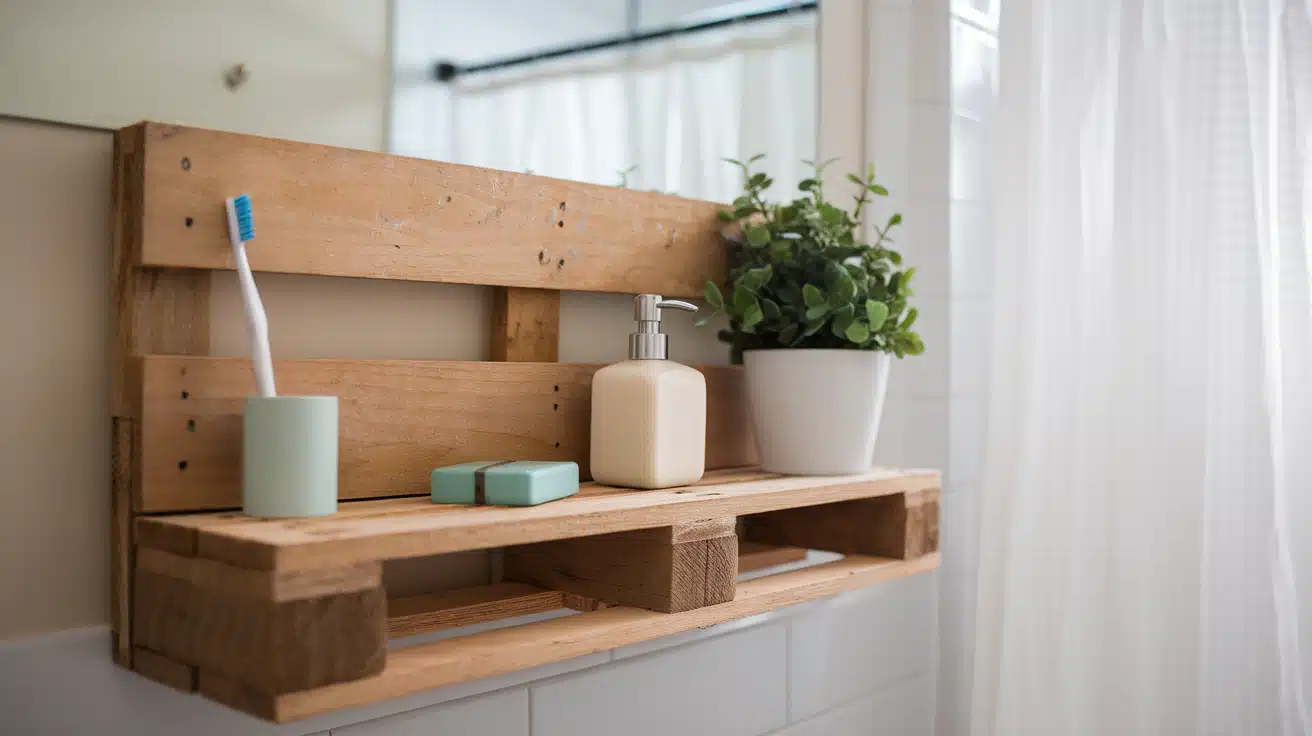
Your bathroom might be short on space but big on potential. Imagine transforming that blank wall into a stylish storage solution that looks like it came straight from a home design magazine.
DIY bathroom shelves are more than functional storage—they’re an opportunity to showcase your style while maximizing every inch of space.
Whether dealing with a compact powder room or a spacious master bath, creating custom shelves allows you to match your needs and décor perfectly.
In this guide, we’ll create beautiful, practical bathroom shelves with a handy towel rack. With basic tools and materials from your local hardware store, you’ll craft a professional-looking piece that adds storage and style to your bathroom.
Exploring Various Types of DIY Bathroom Shelves
When planning your bathroom storage makeover, it’s essential to consider how the space flows and functions. The perfect shelf should complement your existing décor while meeting your storage needs.
1. Floating Shelves
Floating shelves create an illusion of space and lightness, making them perfect for modern bathrooms. These sleek additions emerge directly from your wall, creating a clean, uncluttered, practical, and visually striking look.
Proper wall anchoring and weight distribution are key to successful floating shelf installation. When done correctly, these shelves can support everything from towels to small potted plants, adding functionality and natural elements to your space.
2. Over-the-Toilet Shelves
The space above your toilet represents prime real estate in any bathroom, particularly in smaller spaces. Over-the-toilet shelving units take advantage of this often-unused vertical space, providing valuable storage without consuming precious floor area.
These shelves can be designed to match any style, from rustic ladder-style units to modern geometric shapes. They’re perfect for storing extra toilet paper, fresh towels, or decorative items that enhance your bathroom’s ambiance.
3. Built-In and Recessed Shelves
Built-in and recessed shelves offer a sophisticated solution that is always part of your bathroom’s design. Nestled within your walls, these shelves create storage space without protruding into the room, making them ideal for shower areas or narrow spaces.
While installing recessed shelves typically requires more planning and construction knowledge, the result provides a custom look that can significantly increase your bathroom’s value and appeal.
4. Corner Shelves
Corner spaces often go unused, but with the right design approach, they can become feature elements in your bathroom. Corner shelves use these overlooked areas, providing convenient storage while adding architectural interest to your space.
From traditional triangular shelves to modern curved designs, corner shelving can be customized to fit any style.
They’re particularly effective in shower enclosures, where they can keep bath products within easy reach without disrupting the clean lines of your space.
Essential Materials and Tools for DIY Bathroom Shelves
Materials
| Material | Quantity | Specifications | Notes |
|---|---|---|---|
| 1×4 Boards | Four pieces | 24 inches long | For side panels |
| 1×4 Boards | Six pieces | 18 inches long | For shelves |
| 1×2 Boards | Eight pieces | 7 inches long | For shelf supports |
| Wood Dowel | One piece | 18 inches long | Optional, for towel rack (5/8 inch or 1/2 inch diameter) |
| Wood Glue | One bottle | Any wood-compatible | For joining boards |
| Wood Screws | 24-30 pieces | 1-1/2 to 2 inches | For securing supports |
| Wood Stain | One can | Your choice of color | Recommended: Minwax Red Mahogany |
| D-Ring Hangers | Two pieces | 50 lb capacity each | For mounting |
| Sandpaper | Multiple sheets | Medium and fine grit | For smoothing surfaces |
Tools
| Tool | Purpose | Essential/Optional | Notes |
|---|---|---|---|
| Power Saw | Cutting boards | Essential | Any type (circular, miter, or hand saw) |
| Drill | Making holes and driving screws | Essential | Cordless recommended |
| Drill Bits | For dowel installation | Essential | Match dowel size (1/2″ or 5/8″) |
| Tape Measure | Measuring boards | Essential | For accurate cuts |
| Square | Checking angles | Essential | Even basic $1.25 square works |
| Clamps | Holding glued boards | Recommended | Quick-grip clamps preferred |
| Sanding Tool | Smoothing surfaces | Essential | Electric sander or sanding block |
| Level | Ensuring straight installation | Essential | For mounting |
| Pencil | Marking measurements | Essential | For accurate cuts |
| Safety Equipment | Personal protection | Essential |
Step-by-Step Guide to Creating DIY Bathroom Shelves
Step 1: Prepare the Boards
Start with cutting your boards to the specified lengths. Create four 24-inch pieces from 1×4 boards, six 18-inch pieces from 1×4 boards, and eight 7-inch pieces from 1×2 boards. Ensure each cut is straight and precise for proper assembly.
Step 2: Assemble the Side Panels
Take two 24-inch 1×4 boards and apply wood glue along the joining edge. Place them together and secure with clamps. Place a flat board underneath to maintain level surfaces while drying. Repeat this process for the second side panel. Allow the glue to set overnight.
Step 3: Prepare the Shelves
Follow the same gluing process for the 18-inch boards. Join two boards together for each shelf, applying even pressure with clamps. Use a flat surface underneath to ensure proper alignment while drying. Let these pieces dry completely overnight.
Step 4: Sand the Assembled Pieces
Once all glued pieces have dried thoroughly, take them to a well-ventilated area. Sand all surfaces smooth, paying special attention to the joined edges where excess glue may have dried. Remove all sawdust before proceeding.
Step 5: Construct the Shelf Framework
Position the 7-inch 1×2 support pieces on your side panels. These will serve as the shelf supports. Ensure they’re level and evenly spaced. Secure them with screws and a small amount of glue for added stability.
Step 6: Install the Towel Rack
Mark and drill holes in both side panels if including a towel rack. Start with a pilot hole, then use the appropriate size bit for your dowel. Cut the dowel to 18 inches and test the fit before the final assembly.
Step 7: Assemble the Shelf
Position your 18-inch shelf boards onto the 1×2 supports. Start with the bottom shelf (3 inches from the bottom), then the middle shelf (12 inches from the bottom), and finally, the top shelf. Secure each shelf with screws after checking for level placement.
Step 8: Apply Wood Stain
Take your assembled shelf outside for staining. Apply your chosen wood stain evenly across all surfaces. For best results, work in the direction of the wood grain. Allow the stain to dry completely according to the manufacturer’s instructions.
Step 9: Mount D-Ring Hangers
Install two D-ring hangers on the back of your shelf. Position them so they’ll distribute weight evenly. When properly installed, these hangers should support up to 50 pounds each.
Step 10: Install the Shelf
Mark your mounting locations on the wall carefully. Ensure your shelf will be level when hung. Use appropriate mounting hardware for your wall type and verify the shelf is firmly secured.
Step 11: Final Inspection
Check all joints, screws, and mounting hardware. Ensure the shelf is completely level and secure. Test the stability of the towel rack if installed. Your bathroom shelf is now ready for use.
Watch the full YouTube video tutorial on DIY bathroom shelves by Emily Does It DIY.
Maintaining Your DIY Shelves

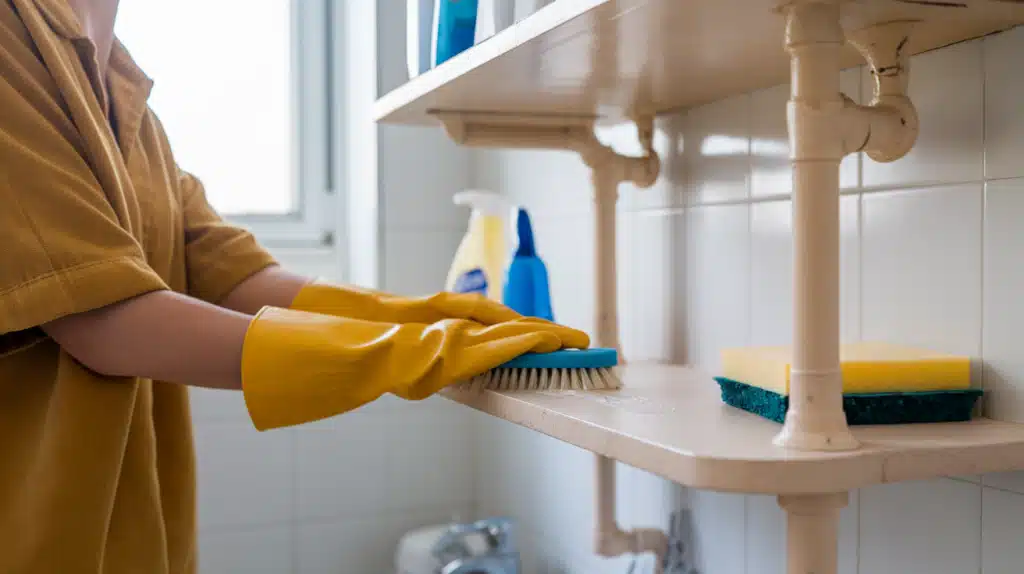
A well-maintained bathroom shelf not only looks beautiful but also lasts longer. Regular care makes all the difference in preserving your handcrafted piece in the moisture-rich bathroom environment.
Cleaning and Care
Daily Basics: Wipe your shelves with a dry microfiber cloth daily. This quick habit prevents dust buildup and detects any moisture problems. When you spot watermarks or soap residue, a gentle wipe with a barely damp cloth followed by immediate drying is all you need.
Weekly Cleaning: Once a week, give your shelves a thorough but gentle cleaning. Use a wood-specific cleaner that won’t harm the protective finish. Remember to dry immediately – standing water is your shelf’s biggest enemy. A quick wipe-down after hanging wet towels prevents moisture damage.
Regular Maintenance Checks
Monthly Inspection: Set aside five minutes to examine your shelves closely. Look at joints and seams where moisture likes to hide. A gentle press along the wood surfaces helps detect any soft spots early.
Seasonal Care: Assess the shelf’s finish every few months. Your bathroom’s humidity levels might mean some areas need an extra coat of sealant more often than others. The areas near your shower or tub typically need the most attention. Watch for any wood color or texture changes, as these often signal developing issues.
Ventilation Matters: Good bathroom ventilation dramatically extends your shelf life. Run your bathroom fan during showers and leave it for 30 minutes afterward. This simple habit reduces moisture exposure and helps maintain your shelves’ integrity.
Remember, catching small issues early prevents bigger problems later. With these simple maintenance routines, your DIY bathroom shelves will remain a beautiful and functional addition to your space for years.
Conclusion
After completing your custom bathroom shelf project, you’ll discover it brings more than just storage to your space. These handcrafted shelves reflect your personal touch while solving everyday organizational challenges.
Your creation will remain a lasting testament to your craftsmanship by following proper maintenance routines. The beauty of this project lies in its adaptability – adjust the dimensions, finish, or design elements to match your unique style and needs.
Each time you enter your bathroom, these shelves will remind you of the satisfaction of creating something beautiful and functional with your hands.
The skills and confidence gained from this project might inspire you to tackle other home improvements, knowing you’ve successfully transformed your bathroom into a more organized, personalized sanctuary.

