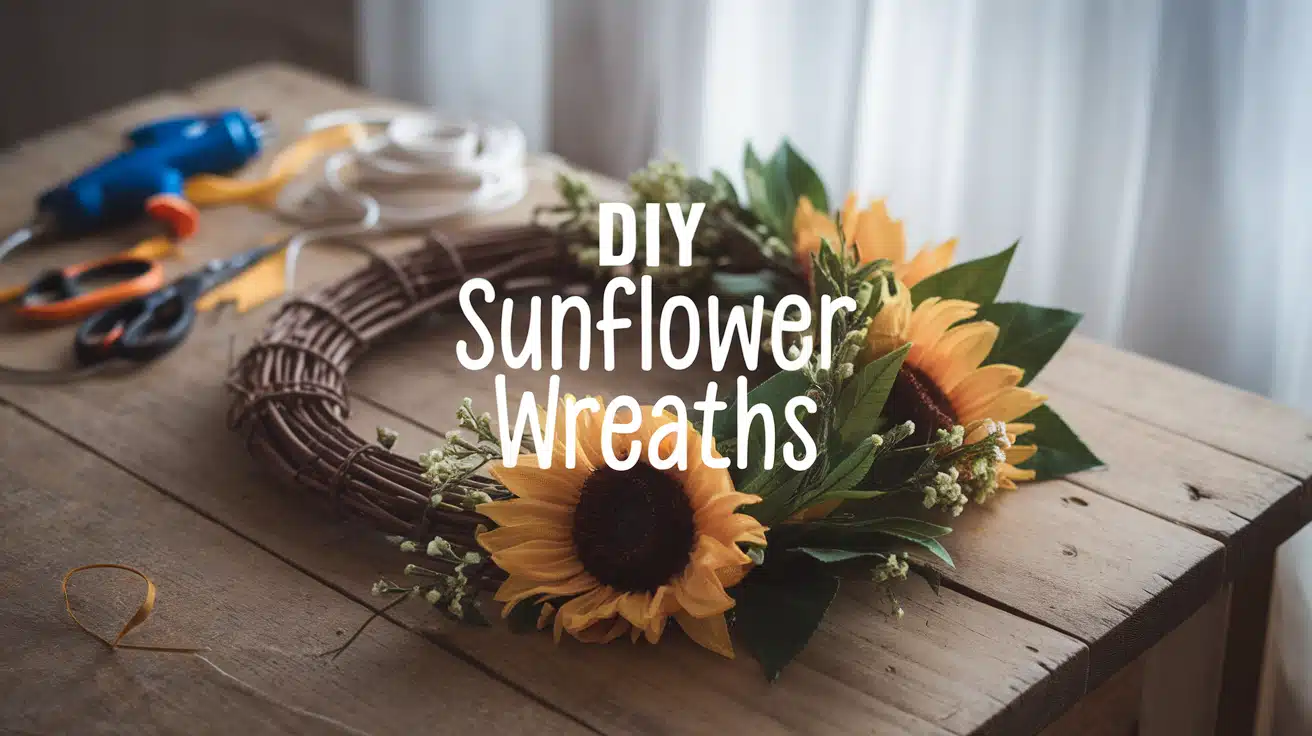
Last weekend, while visiting a local farmers market, I was stopped in my tracks by a gorgeous sunflower display. Right then, I knew I had to bring that same sunny energy into my home.
Sunflowers aren’t just flowers – they’re instant mood boosters. Their bright yellow petals and rich brown centers can transform any dull wall or door into a focal point that radiates warmth and joy.
Don’t worry if you’re new to crafting. This sunflower wreath project is surprisingly simple! With basic materials and about an hour of your time, you’ll create something beautiful to display.
In this article, I’ll walk you through:
- All materials you’ll need (mostly available at dollar stores)
- Step-by-step instructions with photos
- Tips for customizing your wreath
I’ve made three of these wreaths myself and taught the project at community workshops. Trust me – if my craft-challenged sister could make one, you absolutely can too!
Supplies You’ll Need
Let’s gather everything before we start. I promise you won’t need any fancy equipment or hard-to-find items for this project.
Here’s your shopping list:
- 5-7 faux sunflowers (or dried real ones if you’re feeling fancy!)
- 1 wreath base – choose what works for you:
- Hot glue gun and 3-4 glue sticks
- Floral wire or zip ties
- Greenery sprigs (eucalyptus, ferns, or whatever catches your eye)
- 2-3 filler flowers like a baby’s breath or small daisies
- Optional: 1-2 yards of ribbon or burlap for a bow
Where to shop without breaking the bank? I found most of my supplies at the dollar store!
Craft stores like Michaels or Hobby Lobby often have sales, too. Don’t forget to check their coupon apps before you shop.
Want to save even more cash? Try thrift stores! You’d be surprised how many crafting supplies show up at Goodwill or the Salvation Army. I once scored a bag of perfect silk sunflowers for just $2.
How to Make a DIY Sunflower Wreath?
Ready to bring some sunshine into your home? Let’s get crafting! I’ve broken this down into five simple steps that anyone can follow.
Step 1: Prepare Your Wreath Base
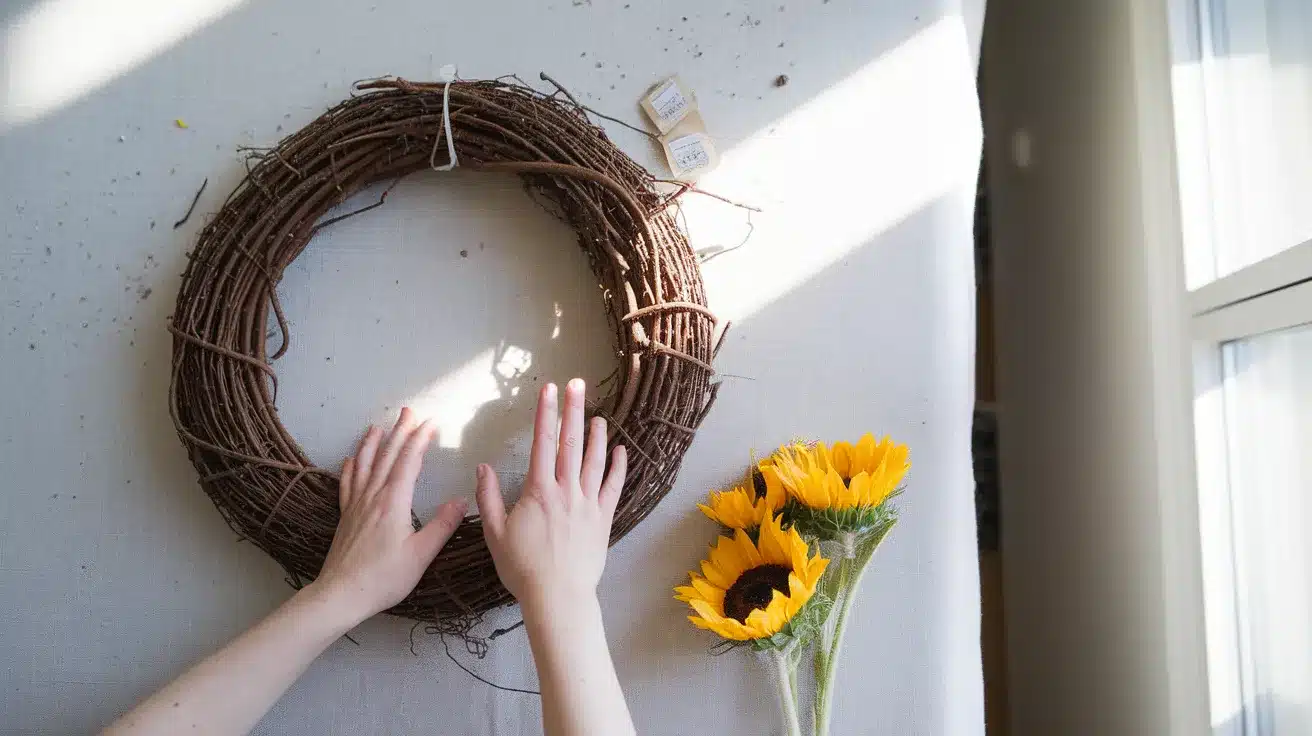
Start with a clean slate. Remove any price tags from your wreath base and check for loose pieces. If you’re using a grapevine wreath, give it a gentle shake to remove any bits that might fall off later.
This gives you a sturdy foundation to work with. Take a moment to visualize where you want your sunflowers to go before gluing anything.
Step 2: Position Your Sunflowers

Lay your sunflowers on the wreath without attaching them yet. I like to place the largest flower at the bottom of the wreath and arrange the others around it.
Try different patterns until you’re happy! Remember – there’s no wrong way to do this. Your taste is what matters most. Once you’re satisfied with the arrangement, take a quick photo with your phone as a reference.
Step 3: Attach the Flowers
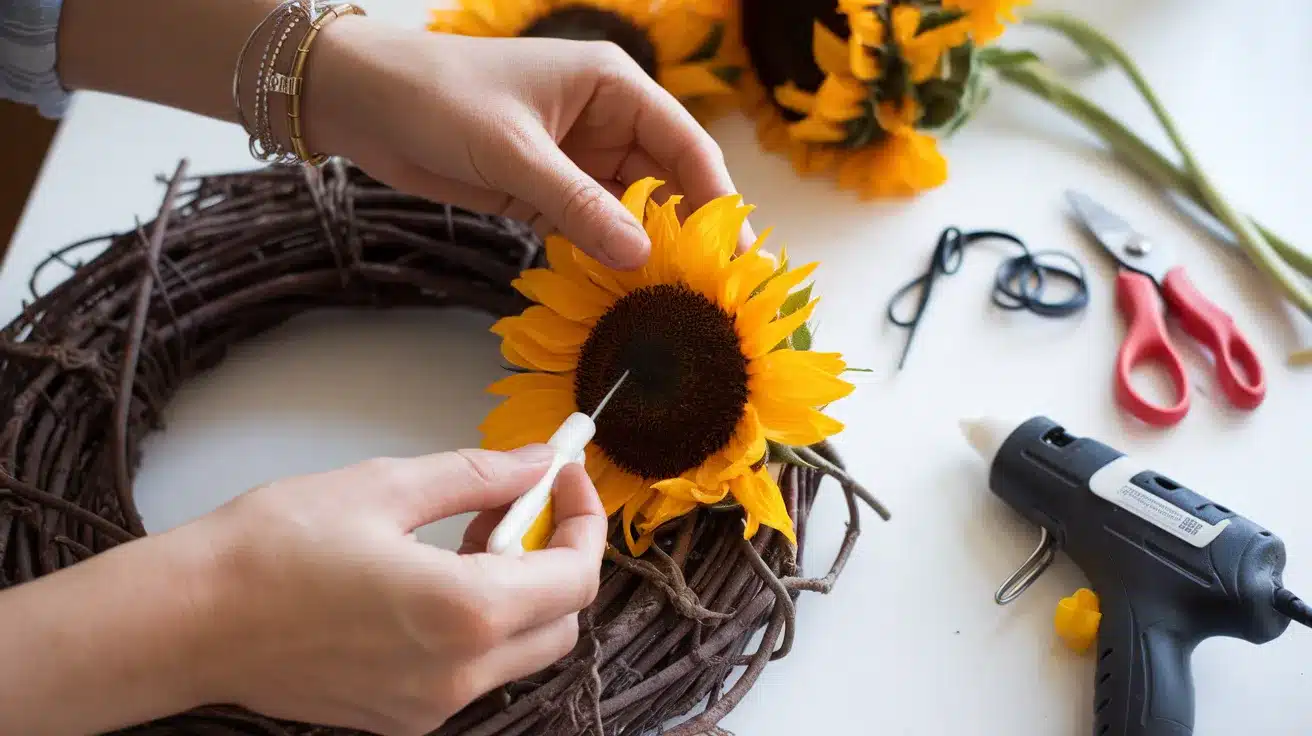
Time to make it permanent. Remove the stems from your sunflowers using wire cutters or by bending them back and forth until they snap off.
Apply a generous dollop of hot glue to the back of each flower and press firmly onto the wreath base. Hold for 10-15 seconds until the glue sets. Too impatient for glue? Zip ties work great too!
Step 4: Add Greenery and Fillers
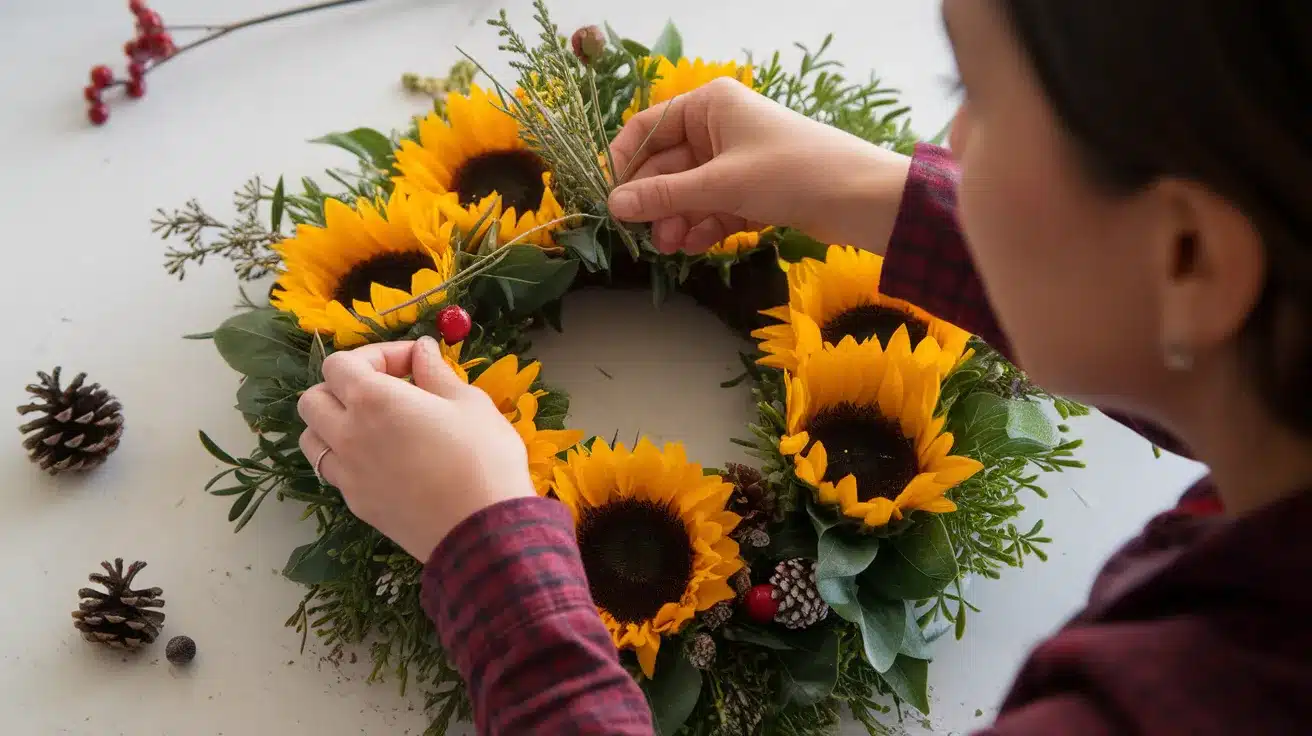
This is where the magic happens! Tuck sprigs of greenery between the sunflowers to fill empty spaces. Weave them into the wreath base or secure with small dabs of glue.
Then add your filler flowers to create depth and interest. I sometimes add unexpected elements like small pinecones or berries for extra texture. Step back occasionally to check your progress.
Step 5: Finish With a Hanging Loop
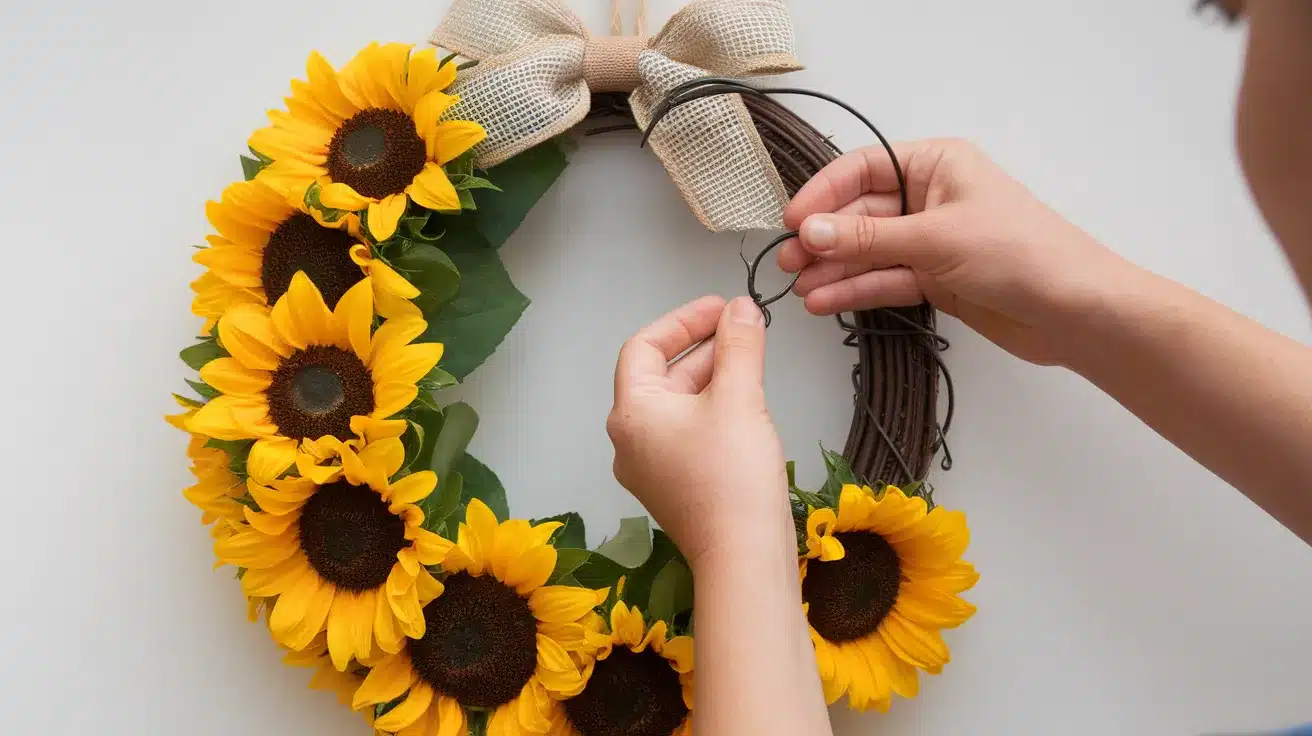
Cut a 6-inch piece of floral wire and bend it into a loop. Push both ends into the back of your wreath and twist to secure. If you’d like to add a bow, now’s the time!
Tie a simple bow with your ribbon or burlap and attach it to the top or bottom of the wreath. Stand back and admire your work! You’ve just created a beautiful sunflower wreath that will brighten any space.
Where to Hang Your Sunflower Wreath?
Your beautiful creation deserves the perfect spot! I’ve hung these wreaths all over my home and discovered some favorite places that might inspire you too.
1. Front Door Welcome
Nothing says “hello” like a sunflower wreath on your front door. I hung mine on a simple wreath hanger, and my neighbors stopped to compliment it the very next day!
The cheerful yellow pops against almost any door color, especially dark blue, black, or red doors. If your door gets direct sunlight, position the wreath where it will get some shade during the hottest part of the day.
2. Indoor Statement Piece
Why save all that beauty for the outdoors? Try hanging your wreath above your couch or bed as unexpected wall art. I used a small clear Command hook that’s practically invisible.
The sunflowers brought so much warmth to my plain white bedroom wall. Another spot? Over a fireplace mantle where it can be the star of your living room.
3. Kitchen Sunshine
Kitchens love sunflowers too! Hang your wreath on a pantry door or empty wall space. I placed mine on the wall next to my kitchen table, and it makes breakfast time so much more cheerful.
Even on cloudy mornings, it feels like the sun is always shining.
4. Window Dressing
Hanging your wreath in or near a window creates two views to enjoy. From inside, you’ll see it framed by natural light. From outside, it adds character to your home’s exterior.
I hung mine in my bay window using a suction cup hook, and it casts the prettiest shadows when the sun shines through it.
5. Protected Outdoor Areas
Porches, covered patios, and gazebos make perfect homes for your wreath. My friend hung hers on her screened porch, and it looks amazing against the wooden beams.
These spots offer protection while still allowing your wreath to be part of your outdoor decor.
Extra Tips for A Professional Look
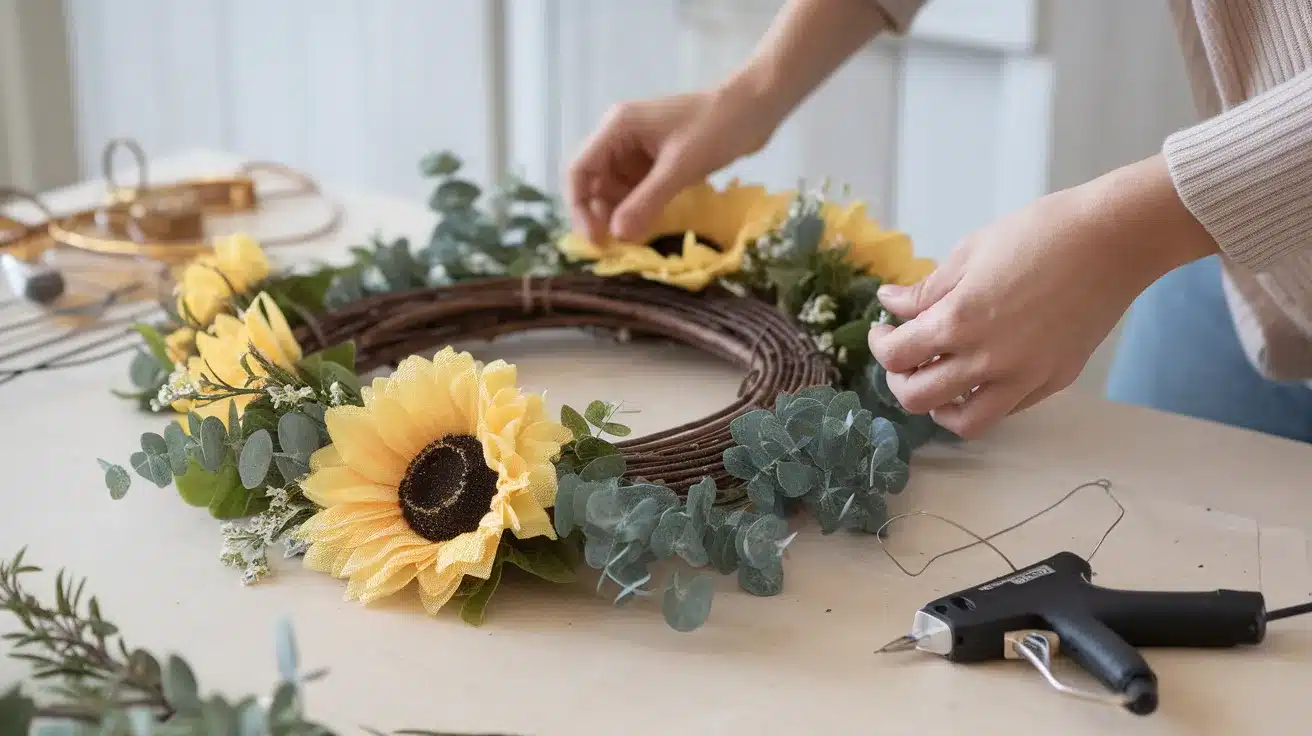
Want your sunflower wreath to look like it came from a fancy boutique? These little tricks have helped me take my wreaths from “homemade” to “wow, you made that?” Without any special skills or tools, you can create something truly special.
1. Layer Your Flowers
Don’t just stick all your sunflowers flat against the wreath. I learned to place some flowers slightly higher than others, creating dimension.
Try positioning smaller sunflowers behind larger ones. This simple layering trick creates depth that catches the eye. The wreath suddenly looks more interesting from every angle, not just head-on.
2. Mix Textures
Variety is the secret ingredient. When I added different textures alongside my sunflowers, the wreath transformed completely.
Try mixing in some burlap flowers, small pinecones, or even dried wheat stalks. The contrast between smooth sunflower petals and rougher elements creates visual interest that draws people in for a closer look.
3. Mind the Gaps
Empty spaces can make your wreath look unfinished. I fill small gaps with tiny filler flowers or greenery sprigs. Sometimes I tuck in curly willow branches that stick out playfully from the wreath.
These little additions cover bare spots without overcrowding. Step back frequently while working to spot any areas that need a little extra attention.
4. Create a Color Story
While yellow is your star, adding complementary colors takes your wreath to the next level. I like to include touches of deep orange or burgundy flowers for fall wreaths.
For summer, adding pops of purple creates a wildflower feel. Choose colors that appear in nature alongside real sunflowers for the most authentic look.
5. The Back Matters, Too
Don’t forget about the back of your wreath! I always make sure to cover visible glue spots and tuck in loose ends. Nothing ruins the magic like seeing messy construction.
Trim excess stems, tuck in wire ends, and add a bit of greenery to cover any mechanics. This extra care means your wreath looks beautiful from all angles, even if it’s hung on a glass storm door.
6. Protect Your Creation
A quick spray with a clear acrylic sealer helps your wreath last much longer. I give mine two light coats, letting it dry between applications.
This simple step prevents fading and keeps everything firmly attached. For wreaths hung outdoors, I reapply every few months. It takes just minutes but adds months to your wreath’s lifespan.
7. Refresh When Needed
Even the best wreaths can use a little tune-up. When I notice a flower looking squished or greenery fading, I simply replace those pieces.
Keep your leftover materials in a box for quick fixes. This way, your wreath stays looking fresh and beautiful season after season. With occasional refreshing, your sunflower wreath can bring you joy for years.
Conclusion
There you have it—your very own sunflower wreath, ready to brighten any space! If I managed to make one with my not-so-crafty hands, you absolutely can too. The joy of creating something beautiful with your own two hands is truly special.
Why not put your personal spin on this project? Try:
- Swapping yellow sunflowers for white or burgundy varieties
- Adding seasonal elements like mini pumpkins for fall
- Using dried real sunflowers from your garden
Don’t forget to snap a picture of your finished wreath! Share it with friends or post it online—I’d love to see your creations. Each time someone compliments your wreath, you’ll feel that little burst of pride saying, “Thanks, I made it myself!”
Remember, store-bought decorations might be perfect, but handmade ones have something no store can sell—your heart and personality woven right in. Happy crafting!

