
Swedish Putty is a thick, creamy paste used to smooth surfaces. It’s most often used on wood, walls, and furniture.
Once it dries and is sanded, it leaves a super flat, soft finish that looks great under paint. It’s also called Scandinavian Putty or linseed oil putty.
This type of Putty is popular with woodworkers, cabinet makers, and DIYers. It fills in tiny dents, grain lines, and small cracks better than many other products.
In this guide, you’ll learn what Swedish Putty is made of, why people use it, how to apply it the right way, the kinds of projects it’s best for, and lastly, how it compares to other fillers and putties.
I’ll walk you through each part so you can feel confident using it in your own projects. If you want to get a surface smooth enough to reflect light or feel soft to the touch, this Putty might be just what you need.
What is Swedish Putty?

Swedish Putty is a fine finishing compound. It’s used to create a very smooth, hard, and glass-like surface. It’s thicker than paint but smoother than regular fillers.
People often use it on wood or metal surfaces before painting. The goal is to get a flawless finish with no bumps, scratches, or dents.
It’s made from a special blend of resins and fillers. The texture is creamy, making it easy to spread in thin, even coats. After it dries, it becomes very hard but can be sanded down to a super-smooth surface.
It’s not meant for filling large holes or deep cracks. Instead, it’s used to fix small dents, scratches, or uneven spots.
It’s a surface-level product that helps you prepare for the final layer of paint, especially when you want a high-quality, glossy result.
How It’s Different from Regular Wood Filler or Spackle
Here’s how Swedish Putty stands out:
- Texture: It’s smoother than wood filler, which is often gritty.
- Application: It spreads like a soft paste and is easier to work with for fine layers.
- Finish: Once sanded, it gives a mirror-like surface, unlike spackle, which may need priming or extra coats.
- Use: Swedish Putty is for final surface prep. Wood filler is usually used for deeper cracks or holes.
Common Uses in Finishing and Refinishing
It’s great when you need a clean, polished surface before applying high-gloss paint. It’s also useful for restoration projects, where the goal is to bring something back to a very smooth finish.
Here are some ways I’ve used Swedish Putty:
- Cabinet makers
- Furniture restorers
- Painters working on trim, doors, and panels
- Auto body workers (on certain metal surfaces)
What Is Swedish Putty Made Of?
Swedish Putty is made from a few key ingredients. Each part plays an important role. These include:
Linseed oil: a natural oil made from flax seeds
Chalk (calcium carbonate): a fine white powder
Resins: to help it harden and stick to surfaces
Solvents: to keep the mix smooth and easy to apply
Why These Ingredients Create a Smooth Finish
- Linseed oil: Gives the Putty its creamy texture. It helps the mixture spread easily and dry slowly. This slow drying time lets you smooth out the surface before it hardens.
- Chalk: Fills tiny dents and scratches. It’s soft but packs tightly, leaving no gaps.
- Resins: Make the Putty dry hard. That means you can sand it down without it crumbling or cracking.
- Solvents: Help the Putty stay soft in the container and during use. They also allow it to level out on the surface, reducing bumps or lines.
Together, these parts create a smooth, even base that feels almost like glass once it’s sanded and painted.
Swedish Putty uses linseed oil, which is plant-based and renewable. That makes it more natural than many modern fillers made from plastics or synthetic chemicals.
Also, since it’s made to last a long time and works with thin layers, you usually waste less product. Some makers also offer low-odor or low-VOC versions, which are better for indoor use and the air.
Step-By-Step Application Process: Swedish Putty
Swedish Putty is used to get a smooth, even surface before painting. Whether you’re working on furniture, cabinets, or metal fixtures, Swedish Putty helps you achieve a flawless, polished finish. It works best on wood or metal.
1. Prepare the Surface
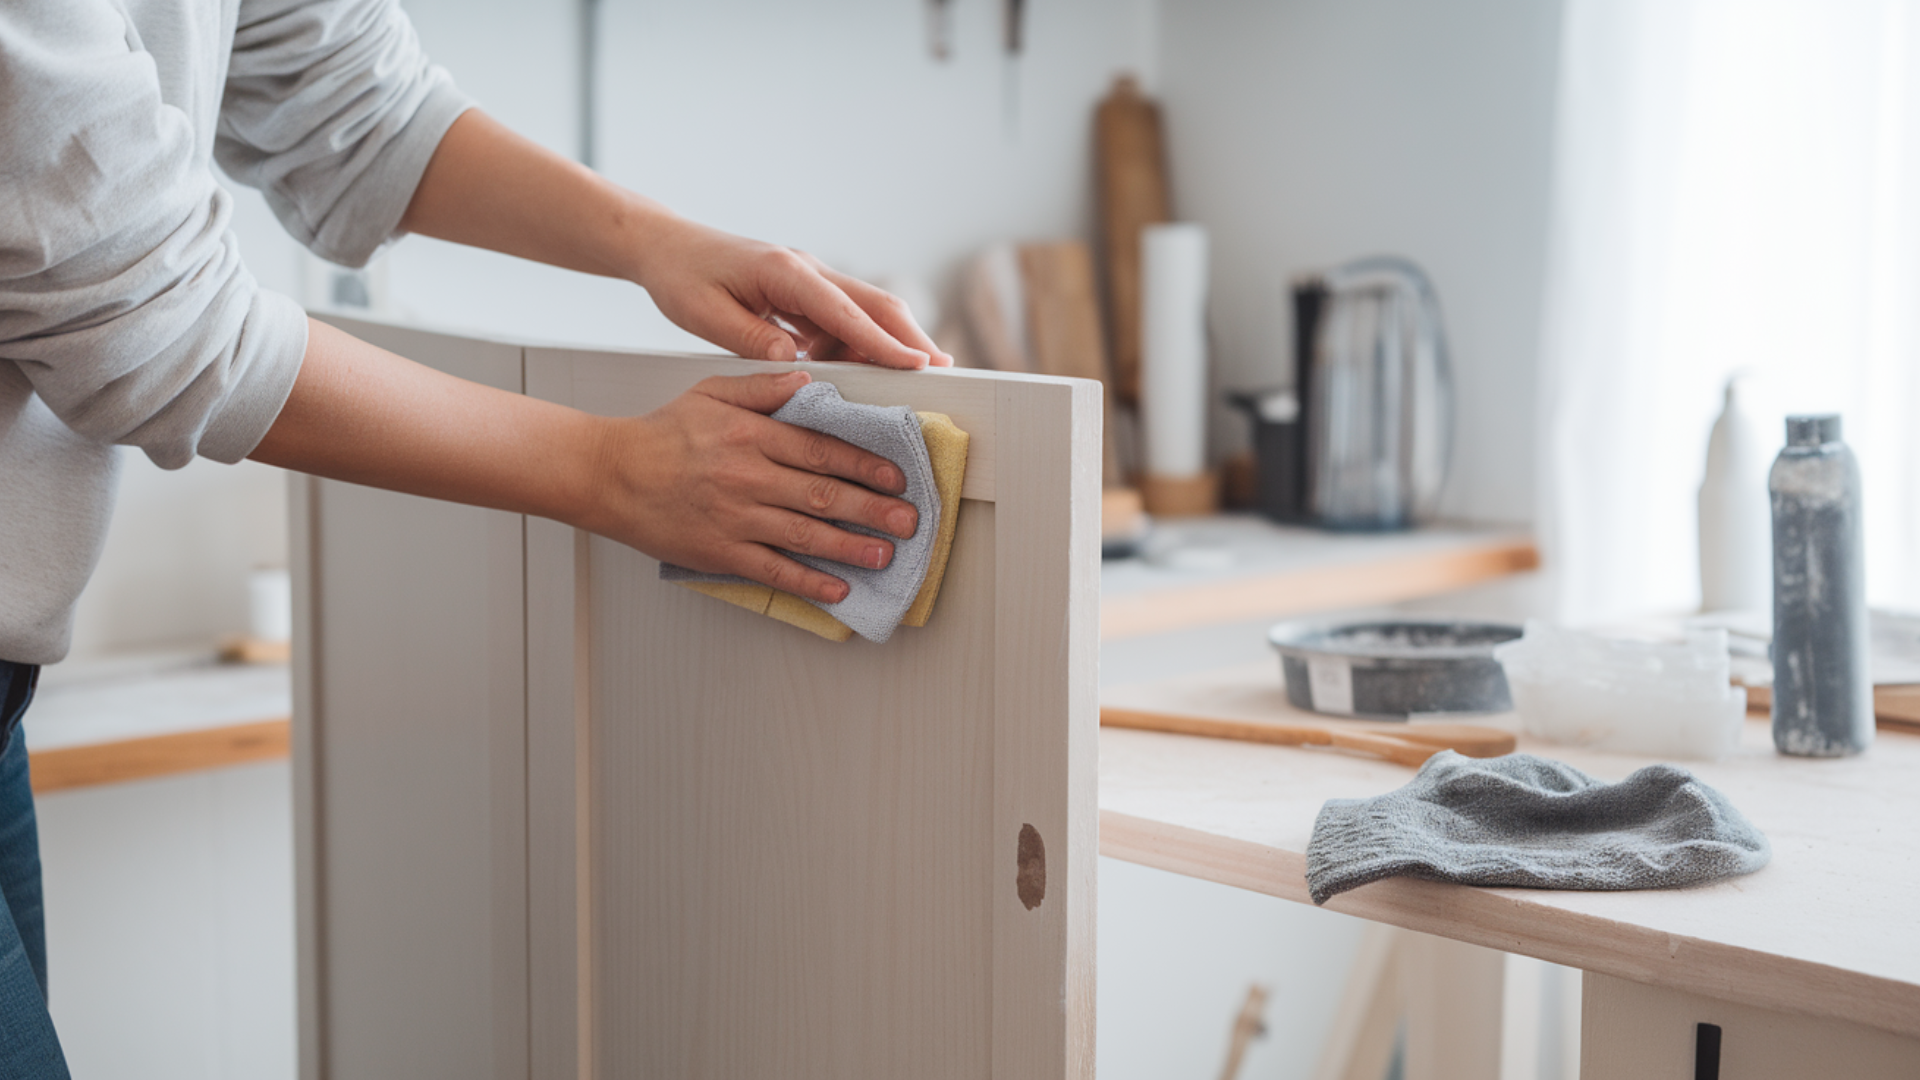
Start by cleaning the surface to remove dust, grease, and any loose or peeling paint. If needed, use a damp cloth or mild cleaner, then wipe it dry.
Make sure the surface is smooth, clean, and completely dry to help the putty stick properly. Taking time with prep work helps the putty go on evenly and last longer.
2. Apply Primer (if needed)

Apply a primer if the surface is bare wood or metal, as this helps the putty stick better. Choose a primer suitable for the material you’re working with.
I always make sure to follow the drying time on the label to avoid problems later. Allow it to dry completely before applying any Swedish Putty for best results.
3. Scoop and Spread the Putty
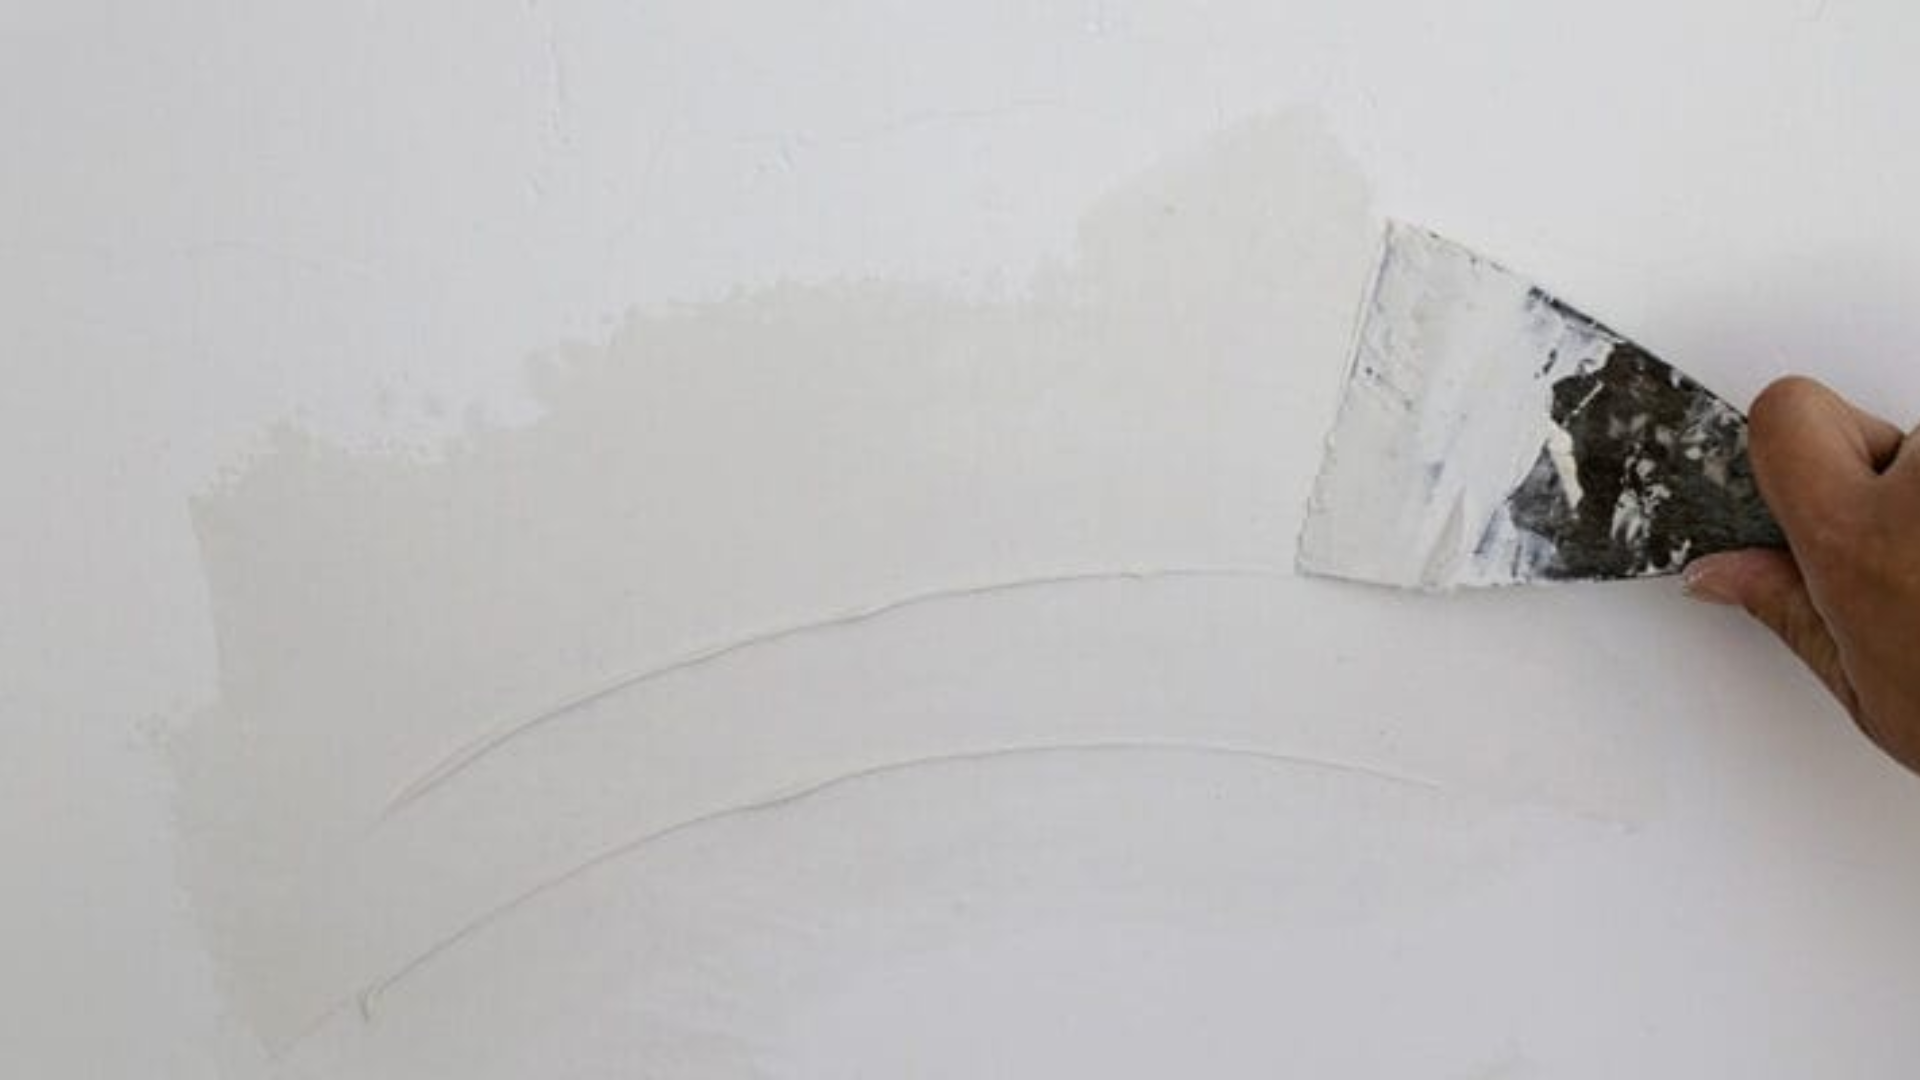
Use a putty knife or a flexible scraper to scoop out a small amount of Swedish Putty. Spread a thin, even layer across the surface, applying gentle pressure as you go.
Working in small sections helps you maintain control and achieve a smoother finish.
4. Let it Dry
After applying the Putty, allow it to dry completely before sanding or adding more layers. Drying time typically ranges from 12 to 24 hours, depending on the layer’s thickness and the room’s temperature and humidity.
Rushing this step can lead to cracks or uneven finishes later on.
5. Sand the Surface
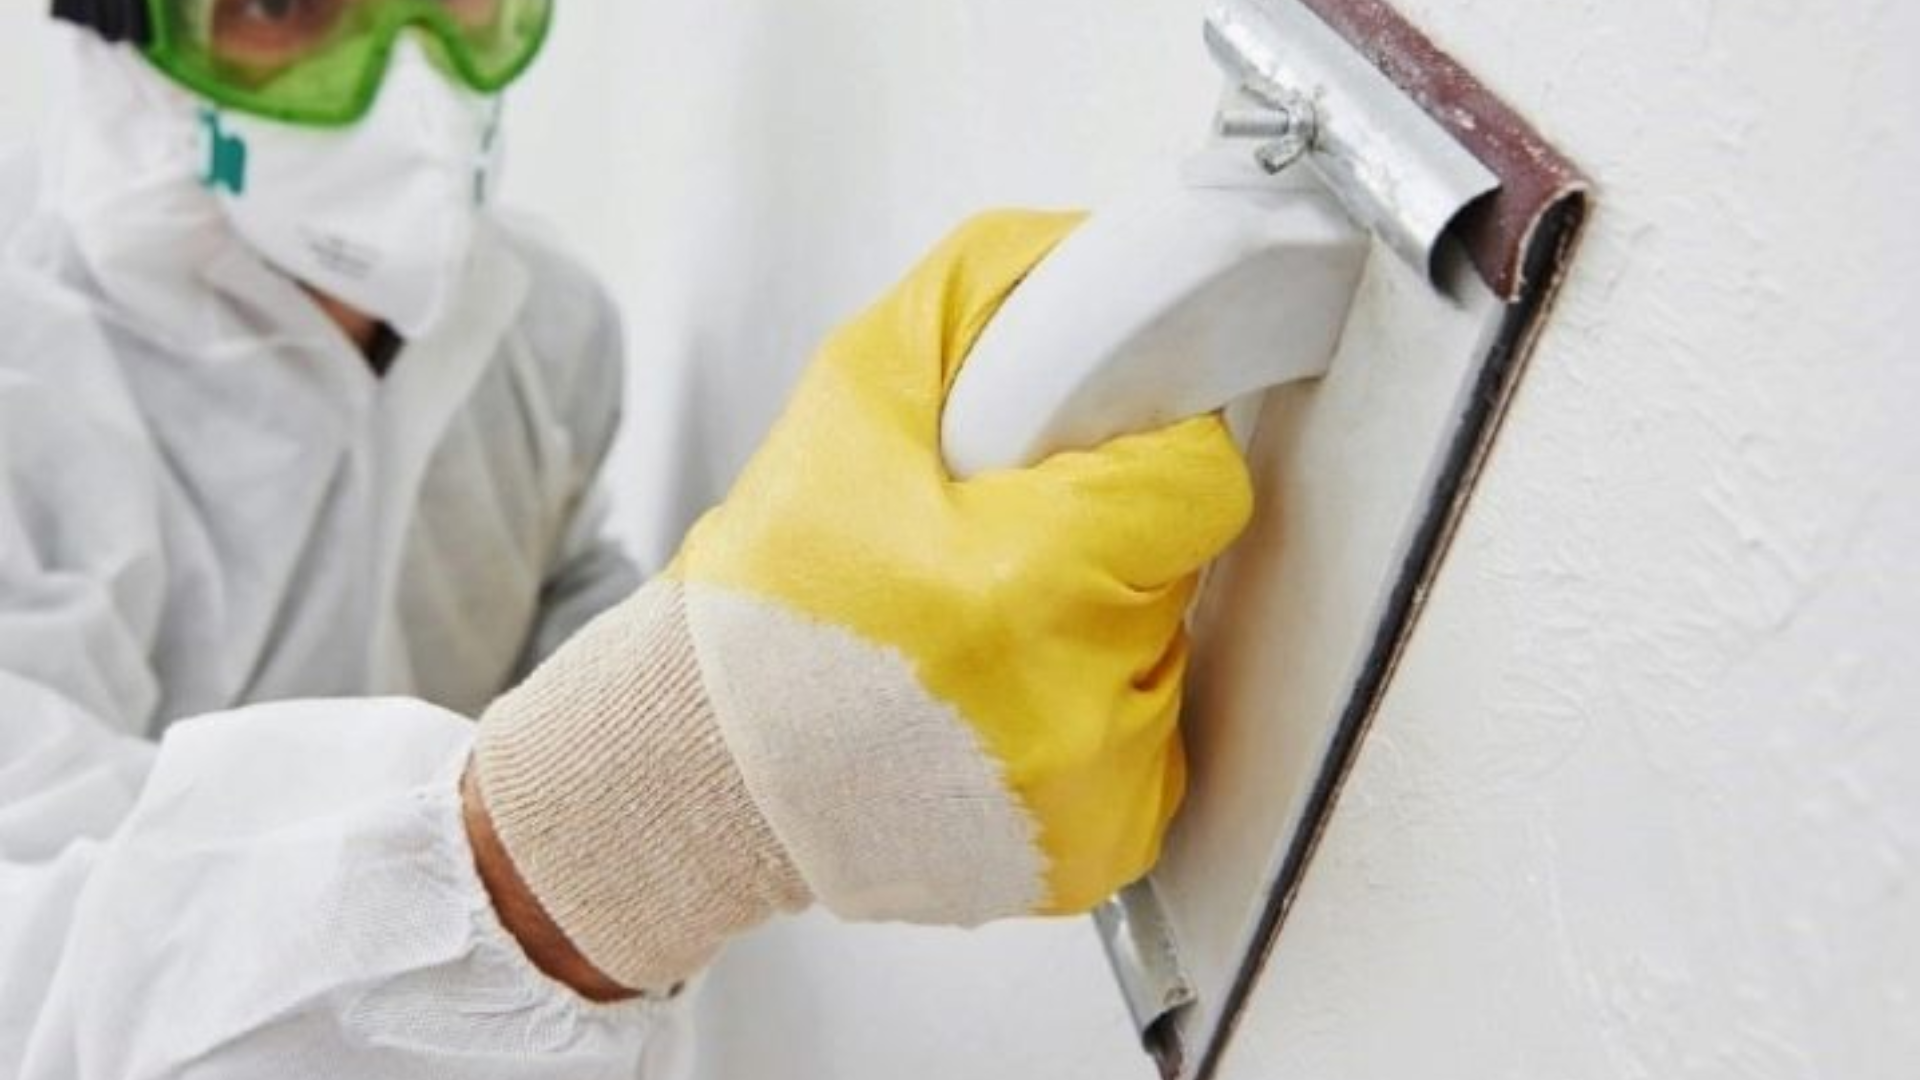
Once the Putty is fully dry, use fine-grit sandpaper (starting with 220) to smooth the surface gently. Sand lightly and evenly until it feels flat and free of ridges or bumps.
Wipe off all sanding dust with a clean, dry cloth to keep the surface clean for your next desired step.
Best Tools to Use
- Putty knife (metal or plastic): for spreading
- Flexible scraper: for wide, flat areas
- Fine-grit sandpaper: for smoothing
- Soft cloth or tack cloth: for cleaning dust
- Primer and brush (if the base needs it)
Projects That Work Great with Swedish Putty
Swedish Putty is best for jobs where you want a very smooth finish. It’s not for rough repairs or deep cracks. Instead, it shines in detailed, surface-level work. Here are a few common uses:
1. Furniture Refinishing
Swedish Putty is great for giving old furniture a clean, fresh look. Once sanded, the surface is perfect for glossy or satin paints. I’ve used it on several pieces, and the smooth finish really makes the paint stand out.
- Use it to smooth out dents and light scratches.
- Works well on wood chairs, tables, dressers, and cabinets.
- Makes painted furniture look flat and flawless.
2. Restoring Old Wood Trim and Doors
Trim and doors often have layers of old paint and small flaws. Just apply, let it dry, sand, and repaint.
- Swedish Putty helps fill shallow gouges or uneven spots.
- Ideal for baseboards, door frames, and window trim.
- Helps bring sharp lines and smooth edges back to life.
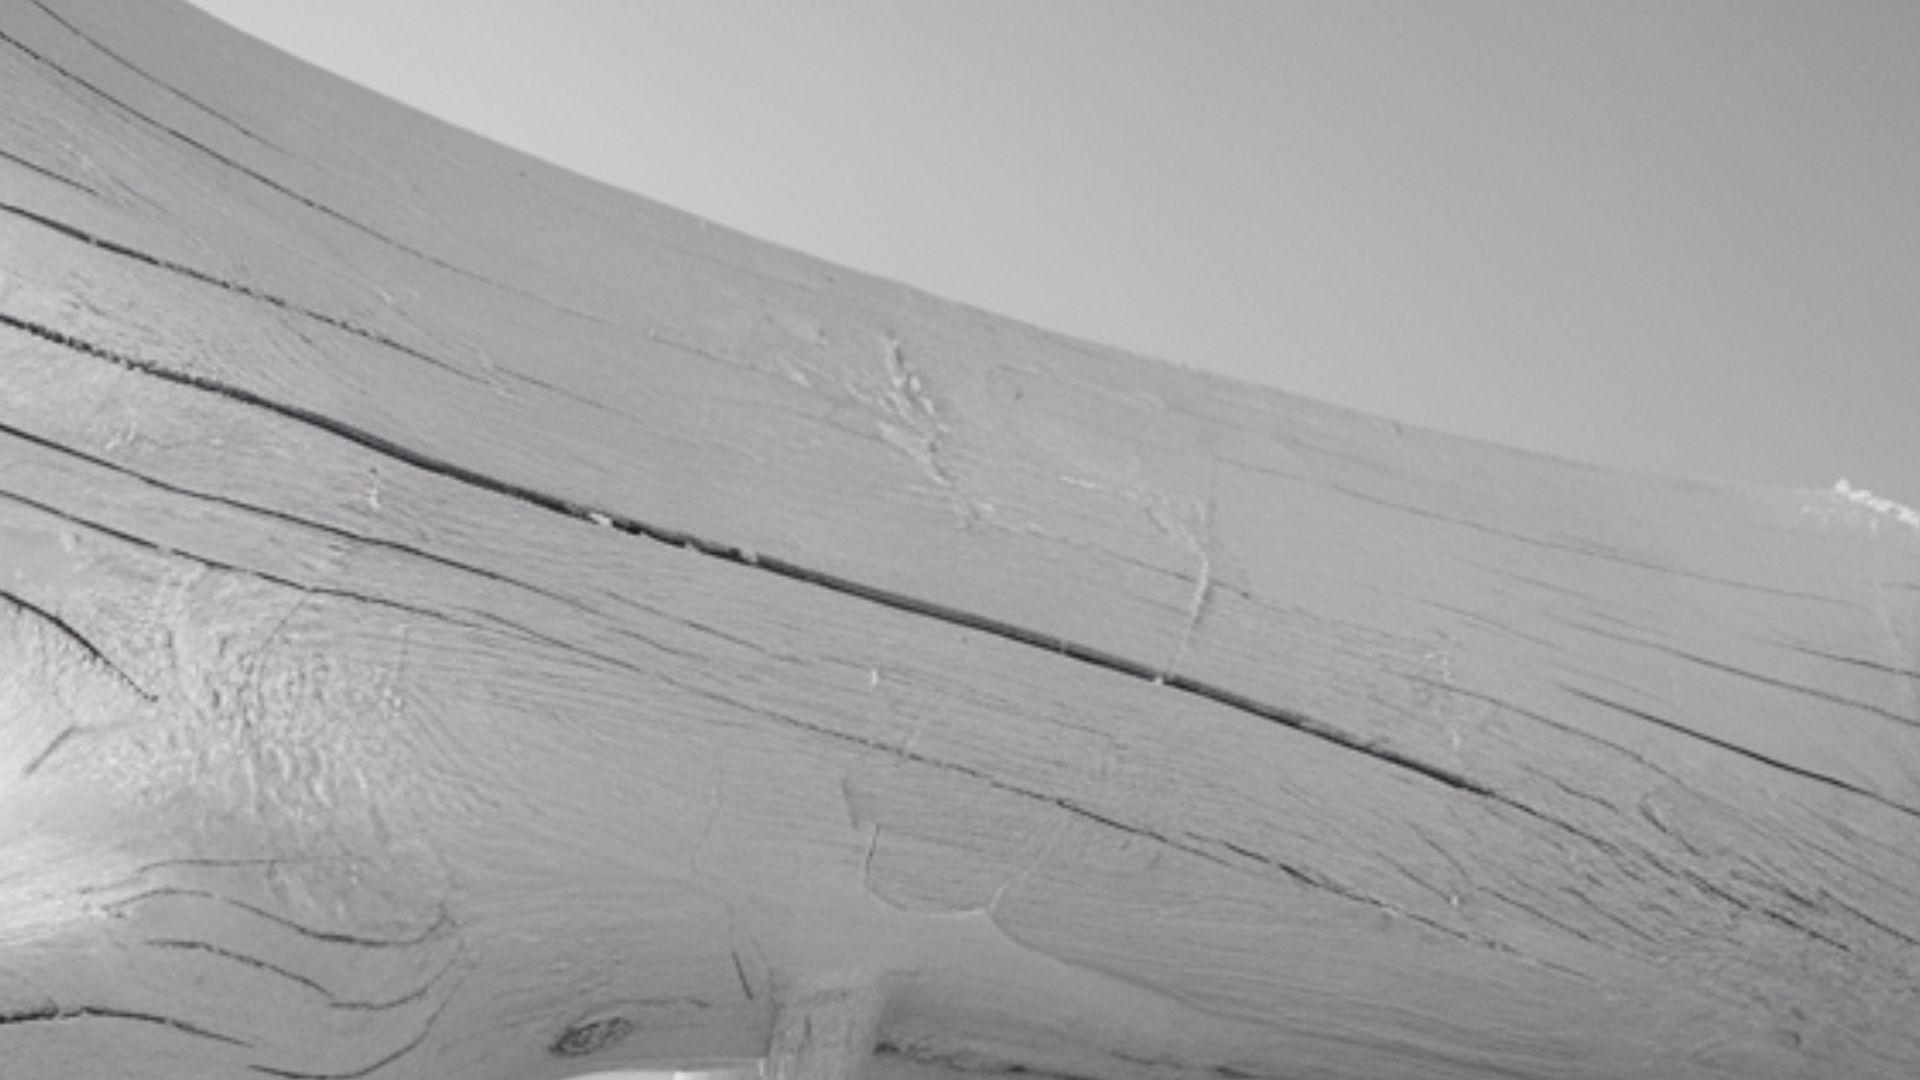
3. Creating Glass-Smooth Surfaces Before Painting
This is where Swedish Putty really stands out. When done right, the surface will reflect light evenly—no waves, no dents.
- Use it when you need a super flat finish with no texture showing.
- Great for surfaces that will get high-gloss paint.
- Works well on wood panels, doors, or smooth metal.
Swedish Putty vs. Other Fillers
Not all fillers do the same job. Let’s compare Swedish Putty to wood filler and drywall compound.
| Feature | Swedish Putty | Wood Filler | Drywall Compound |
|---|---|---|---|
| Texture | Very smooth, creamy | Thicker, grainy | Soft, fluffy |
| Use | Fine surface prep | Filling deep cracks, holes | Smoothing walls, seams |
| Finish | Glass-like | Rougher, may need sanding | Flat, but not glossy |
| Best For | Furniture, trim, doors | Nail holes, chips, splits | Drywall panels, corners |
Skip Swedish Putty if you’re patching large holes or working with bare, rough wood. For those, go with wood filler instead. Use Swedish Putty when:
- You need a perfectly flat surface.
- The item will be painted with gloss or semi-gloss
- You’re working on fine details like trim, doors, or furniture
- You want the finish to feel smooth to the touch
Where to Buy Swedish Putty
You won’t always find Swedish Putty at every hardware store, but it’s easy to buy once you know where to look. Popular brands include Clou, Mohawk Finishing Products, and SIRCA.
Clou is known for quality, while Mohawk is a favorite among furniture refinishers. SIRCA is more common in Europe but available online.
I usually check websites like Amazon, Woodcraft, or the brand’s official site to compare prices and reviews. Local specialty shops or paint stores may carry it too—just be sure to call ahead.
When buying, look for oil-based putty, as it dries slowly and sands smoothly. It should have a smooth, spreadable texture and clear dry-time instructions on the label. Good sanding ability is key, especially for flat finishes.
Also, make sure the product suits your material—some are only for wood, while others can be used on metal too.
Common Mistakes to Avoid
- Applying too thicka layer: Always use thin, even coats. Thick ones take longer to dry and may crack.
- Skipping surface prep: Dirt, grease, or loose paint will keep the Putty from sticking.
- Rushing the dry time: If it feels sticky, it’s not ready. Wait until it’s fully dry before sanding.
- Using the wrong sandpaper: Coarse paper can scratch the surface. Stick with fine-grit (220 or higher).
- Not wiping off dust: Dust left on the surface can ruin your paint job.
Conclusion
Swedish Putty is a specialized product with a clear purpose: making surfaces look and feel smooth. Unlike regular wood filler or drywall mud, it doesn’t just fill flaws—it prepares the surface for a sharp, clean paint job. That’s what makes it different.
It’s not a product for patching big holes or covering rough, raw wood. Instead, it’s for that final layer—the part that makes your project go from “just okay” to clean and professional.
So, if you’re planning a project where the final look really matters—something with fine details, smooth lines, or glossy paint—consider using Swedish Putty. It might take an extra step, but it can make a big difference.
Start small, test it out, and get a feel for how it works. Once you get the hang of it, it’s easy to see why so many professionals choose it for their finishing work.
Frequently Asked Questions
Can I Use Swedish Putty on Metal or Plastic?
Yes, it works well on metal if primed first. It’s not ideal for plastic unless the surface is sanded and primed to help the putty stick.
Is Swedish Putty Waterproof?
No, it isn’t waterproof. It must be sealed with paint or another topcoat. Without that, it can absorb moisture and break down over time.
How Long Does It Last Once Applied?
If sealed and maintained, it can last for years. The finish stays smooth and solid as long as the surface stays dry and protected.
Can Beginners Use Swedish Putty Easily?
Yes, with some practice. It spreads easily, but thin layers and proper sanding are key. Start with a small test piece to learn the process.