
Ever look up and see bumps, cracks, or an old texture on your ceiling that drives you crazy?
Skim coating is a simple way to fix that and give your ceiling a clean, smooth finish without spending a lot of money.
It’s not the easiest job, you’ll need to put in some work, but with basic tools and a little patience, you can get results that look like a pro did it.
No need to hire a contractor or spend a ton. In this guide, I’ll show you everything step by step.
You’ll learn what supplies to buy, how to mix your joint compound correctly, and how to spread it smoothly without making a mess.
I’ve made all the usual beginner mistakes, so I’ll help you avoid them. If you’re tired of that ugly ceiling and want a real change, this is the place to start.
Let’s get to work and make that ceiling look brand new!
What is a Skim Coat?
A skim coat is a thin layer of joint compound, often called “mud,” that is spread over walls or ceilings to smooth and even the surface.
It’s kind of like frosting a cake to cover up all the bumps underneath.
Skim coating can fix lots of ceiling problems at once. It covers small cracks, smooths out old textures like popcorn ceilings, and gives you a clean surface for painting.
It also hides stains or marks from past water damage.
Skim coating is a simpler and cheaper alternative to replacing the whole ceiling, which is expensive and makes a huge mess.
The best part? While pros might charge around $1 to $3 per square foot, you can do it yourself for under $100 in most rooms.
Tools and Materials You’ll Need
Before starting, gather everything you’ll need:
- Warner walkboard or stilts
- 14-inch taping knife
- 16-inch mud pan
- Bucket scoop
- All-purpose joint compound (like USG)
- Water for thinning
How to Skim Coat a Ceiling?
Skim coating isn’t complicated, but it requires patience and attention to detail. The process involves applying thin layers of compound, allowing proper drying time, and sanding between coats.
Step 1: Thin the Joint Compound
Joint compound is too thick straight from the bucket, so you’ll need to thin it before using it for skim coating.
Scoop a small amount into your mud pan and mix in water a little at a time. Stir until it feels like pancake batter, smooth and spreadable but not watery.
Test it on your knife to check the thickness. If it drips too easily, it’s too thin. If it’s hard to spread, add more water.
Don’t thin the whole bucket at once. Only mix small batches at a time, as the bucket dries out fast when left open.
Step 2: Apply the First Coat
Start by setting up your walkboard or using stilts so you can reach the ceiling safely.
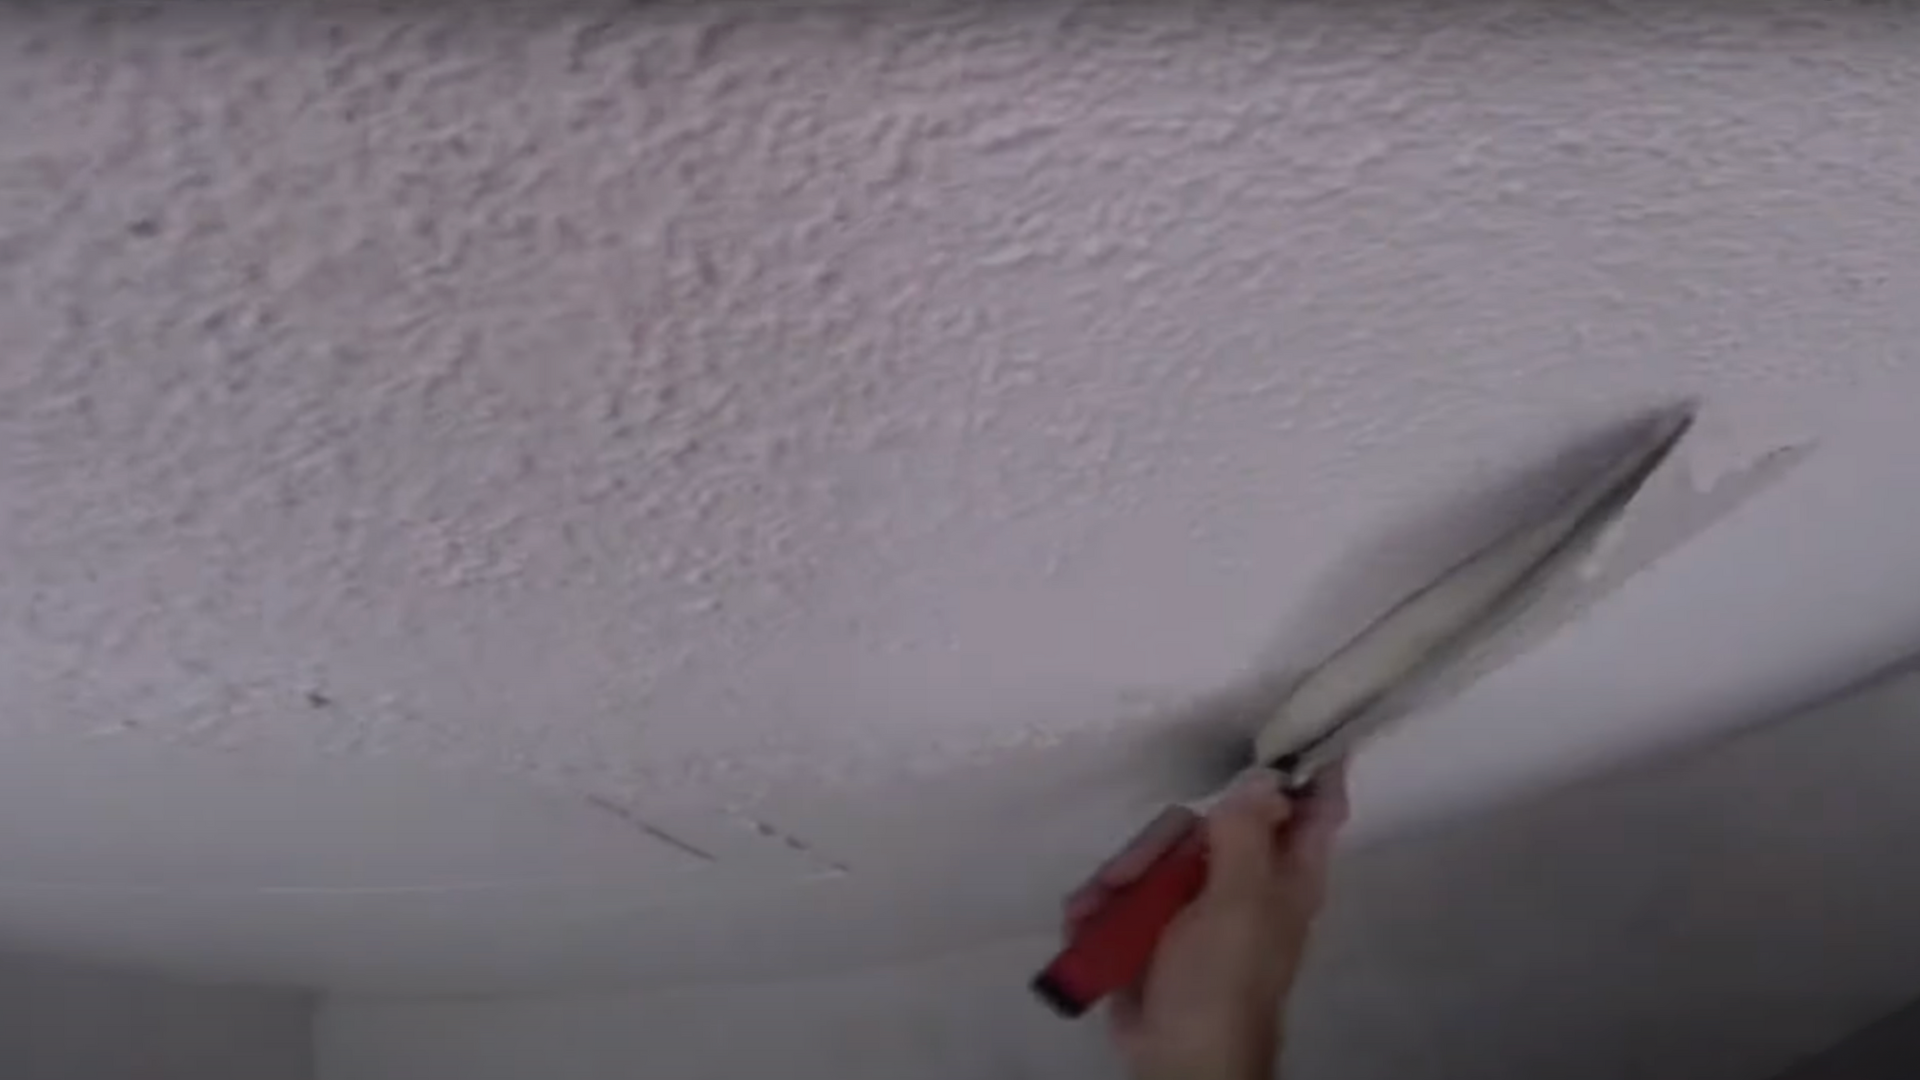
Load your taping knife with compound by pressing it into your mud pan at an angle. Then apply it to the ceiling with a smooth motion, holding the knife at a shallow angle.
Press firmly and move in one direction across a small area, about 3 to 4 feet wide. You’re just creating a thin first layer, so don’t try to fix every bump yet.
Keep it thin because thicker coats dry more slowly and may crack. This coat gives you a good base to build on.
Step 3: Smooth the Compound as You Go

Right after applying each section, go over it again using a clean part of your knife.
This helps smooth the surface and get rid of extra compound before it dries. Clean off your knife often by scraping it against the edge of the mud pan.
If dried mud builds up, it will leave ridges and lines in your work. Step back and check your ceiling from different angles to spot uneven spots or extra blobs.
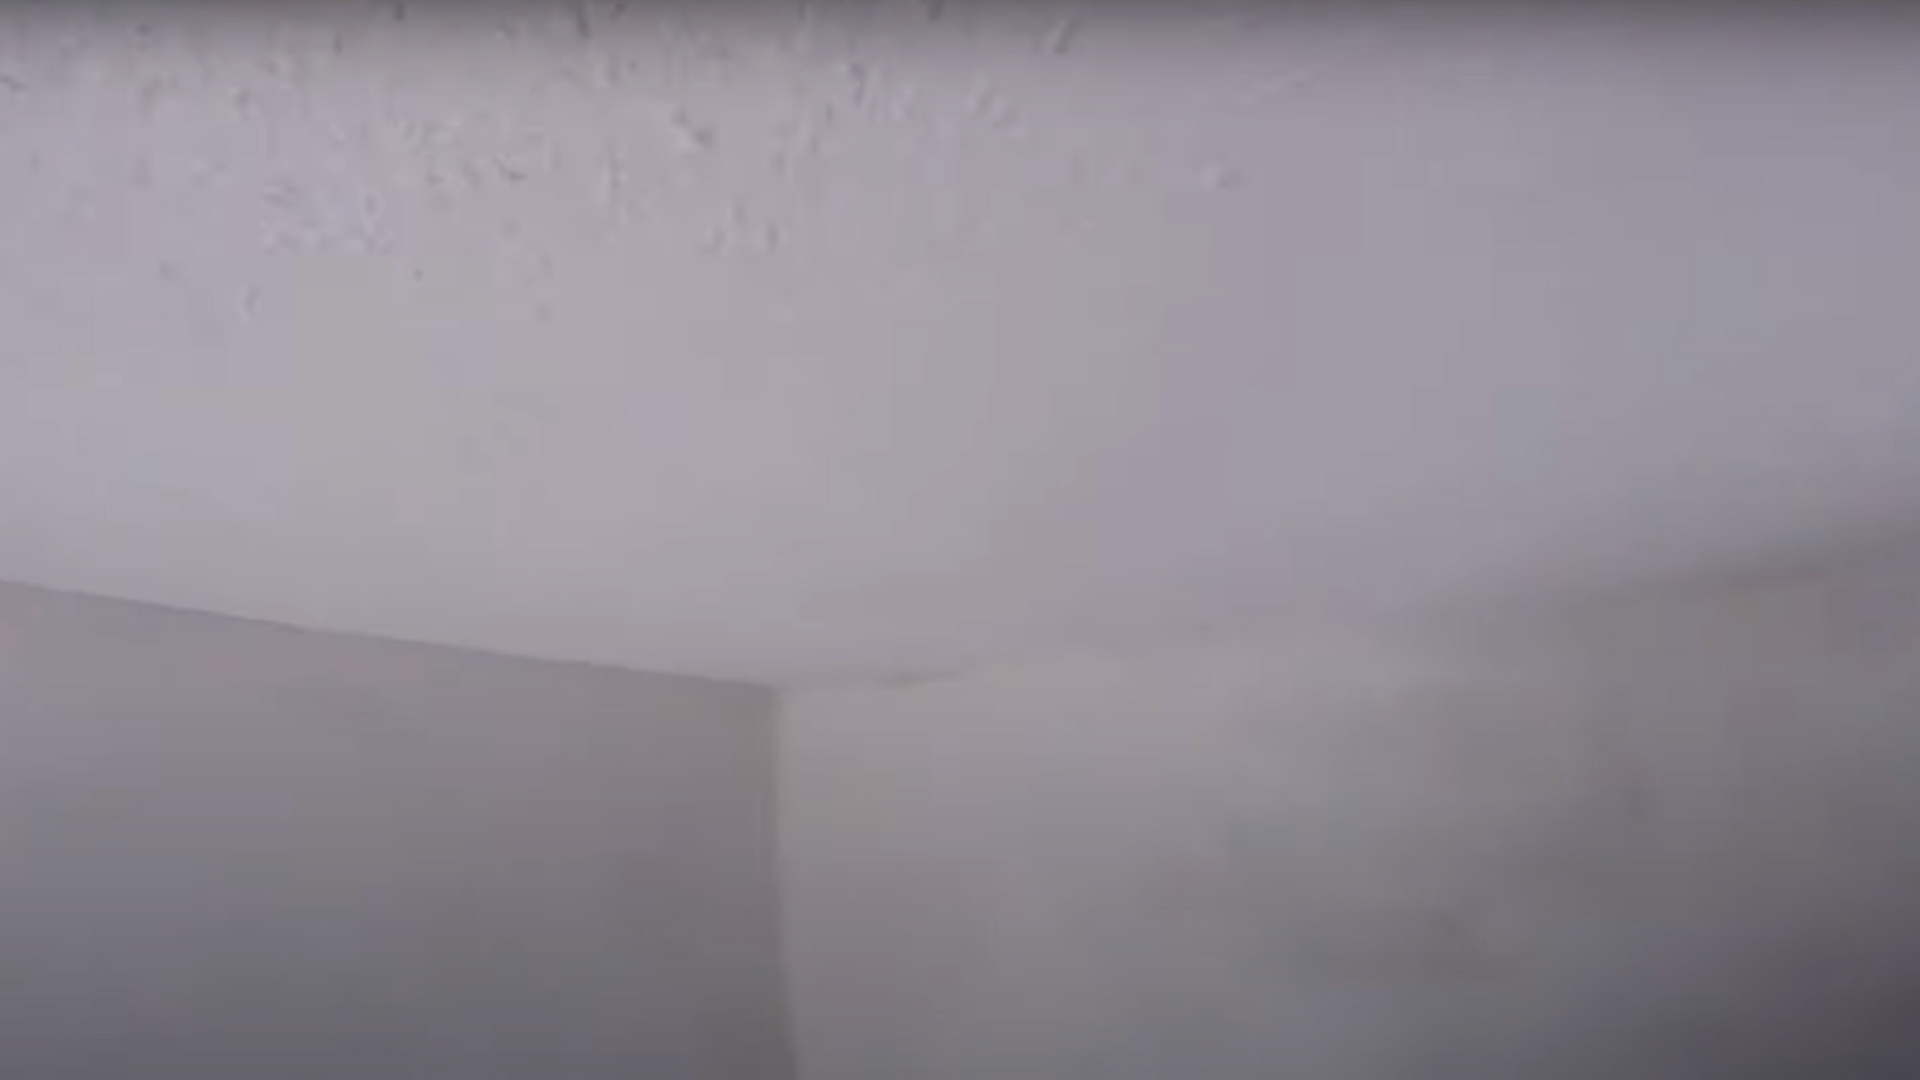
Let the first coat dry fully, usually about 24 hours. You’ll know it’s ready when the color changes from gray to white.
Step 4: Pay Special Attention to Corners
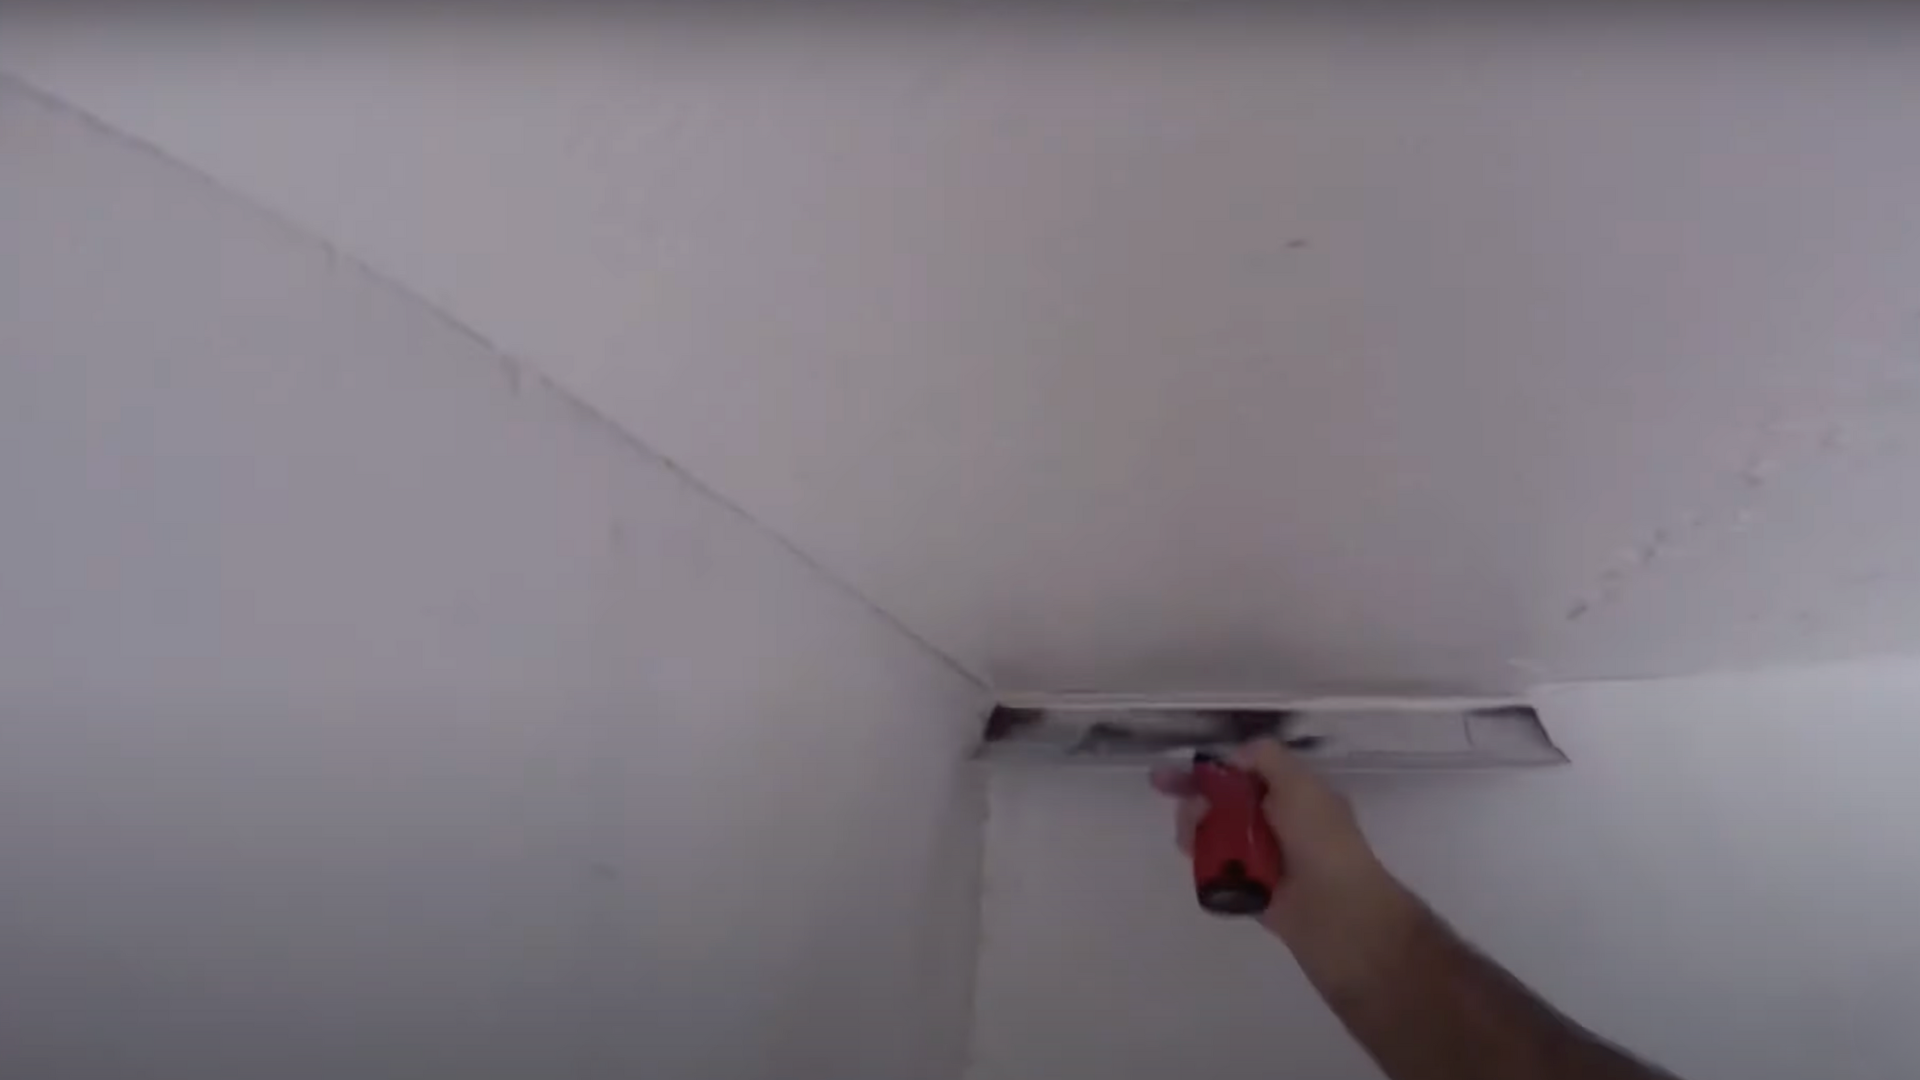
Corners and edges are the hardest places to get smooth, so take your time.
Use a smaller knife or a special corner tool to apply compound where the ceiling meets the walls. Press gently as you get close to the edge to avoid leaving thick lines or buildup.
Try feathering the edge by easing up on the pressure as you move toward the wall. This helps blend it in better.
Neat corners make a big difference in how clean and professional your ceiling looks.
Step 5: Be Cautious with Popcorn Ceilings and Hazardous Materials
If your ceiling has a popcorn texture and your house was built before 1980, it might contain asbestos. That can be dangerous if disturbed. Always test before scraping or sanding.
You can buy a test kit at most hardware stores or hire a pro to check it. If asbestos is found, do not touch it yourself. Call certified professionals to handle the job safely.
If it’s clear, you can either scrape the popcorn texture off first or apply a thicker coat of compound to cover it.
Scraping makes a smoother base, but coating is faster if you’re short on time.
Step 6: Choose the Right Type of Joint Compound
There are a few types of joint compound, and each works best for different parts of the job.
All-purpose compound is a good choice for beginners because it’s easy to spread and sands well, though it takes longer to dry.
Lightweight all-purpose compound is even easier to sand, but it’s a bit softer. Setting-type compound, like Durabond or EasySand, dries faster but is harder to sand, so it’s better for patching or first coats.
Topping compound is smoother and great for final coats. If you’re starting, use pre-mixed all-purpose compound to keep things simple and avoid problems.
Want a clearer look at how it’s done? Watch this helpful video by @PaulPeck—he breaks down each step in a simple, easy-to-follow way that’ll make you tackle your ceiling like a pro.
Common Mistakes to Avoid
Even experienced DIYers make mistakes when skim coating ceilings. Some pitfalls to watch out for are:
- Applying too thick a coat: Thicker layers are harder to control and more likely to crack or sag.
- Not letting coats dry completely: Rushing the process can cause peeling, uneven texture, or poor adhesion.
- Insufficient lighting: Good lighting helps you see flaws early—natural light or a work lamp can make a big difference.
- Over-sanding: Too much sanding can damage the surface or create low spots that need repair.
- Uneven pressure: Pressing harder on one side of the knife can leave ridges or gouges.
- Skipping primer: Priming seals the surface and helps the skim coat bond evenly and last longer.
- Using the wrong tools: A proper taping knife, mud pan, and sanding block are essential for a clean finish.
Conclusion
Skim coating your ceiling isn’t just about covering up cracks or hiding texture; it’s about giving your room a cleaner, fresher look that makes everything else feel more finished.
A smooth ceiling makes the space feel brighter and more open, and it can completely change how a room feels.
Sure, it takes time and effort. Your arms might get sore, and the job can feel slow at first. But when you step back and see that smooth surface you created, it’s all worth it.
I always say that the key is to be patient. Apply thin coats, take your time with each layer, and sand gently between coats.
These small steps make a big difference and help you get results that look like a pro did the work.
You don’t need fancy tools or a huge budget, just some determination and the right know-how.
Have you tried skim coating before? Or are you planning to tackle your first ceiling soon? Leave a comment and let me know how it’s going or ask any questions you have. I’d love to hear your story!