
Cedar siding looks great on homes and adds that natural wood style that so many people love. But here’s the truth: Cedar needs regular care to keep it looking that way.
Maybe you’re wondering if painting it is a good idea. Perhaps you’re tired of the weathered look, or your cedar is starting to look worn out. Either way, you’re not alone.
In this article, I’ll show you exactly how to paint cedar siding the right way. You’ll learn what tools and supplies you need.
I’ll guide you step by step so you don’t miss anything important. You’ll also learn how to take care of your siding after it’s painted so it stays looking good.
I’ve helped many homeowners repaint cedar siding—some just wanted a color change, while others needed to cover damage.
If you follow the process, you’ll get great results without any guesswork or costly mistakes.
Can You Paint Cedar Siding?
Yes, you can definitely paint cedar siding. But it’s not as simple as grabbing a brush and applying paint.
Cedar is different from other types of wood because it has natural oils and tannins. If the surface isn’t prepared properly, these can bleed through the paint.
That’s why using the correct primer is so important. You’ll need an oil-based or high-quality latex primer made for cedar. This helps block stains and keeps your paint looking smooth.
Just remember, once you paint cedar, you cannot go back to the raw wood look. The paint seals it for good. Painted cedar looks great and gives you more color choices.
It also protects your wood from the weather. But you’ll need to keep up with it over time. So be sure you’re ready to commit before making the change.
Supplies You’ll Need
Getting the right supplies makes all the difference. The following are the supplies you will need for painting:
- Paint sprayer
- Brush or roller
- 1.5 five-gallon buckets of exterior paint
- Paint guard
- Color-matched, high-quality acrylic latex paint
- Oil-based or high-quality latex primer
- Sandpaper
- Cleaning supplies
- Drop cloths
How to Paint Cedar Siding
Painting cedar siding isn’t complicated. But it requires patience and attention to detail. Follow these steps exactly.
1. Thorough Preparation Is Key
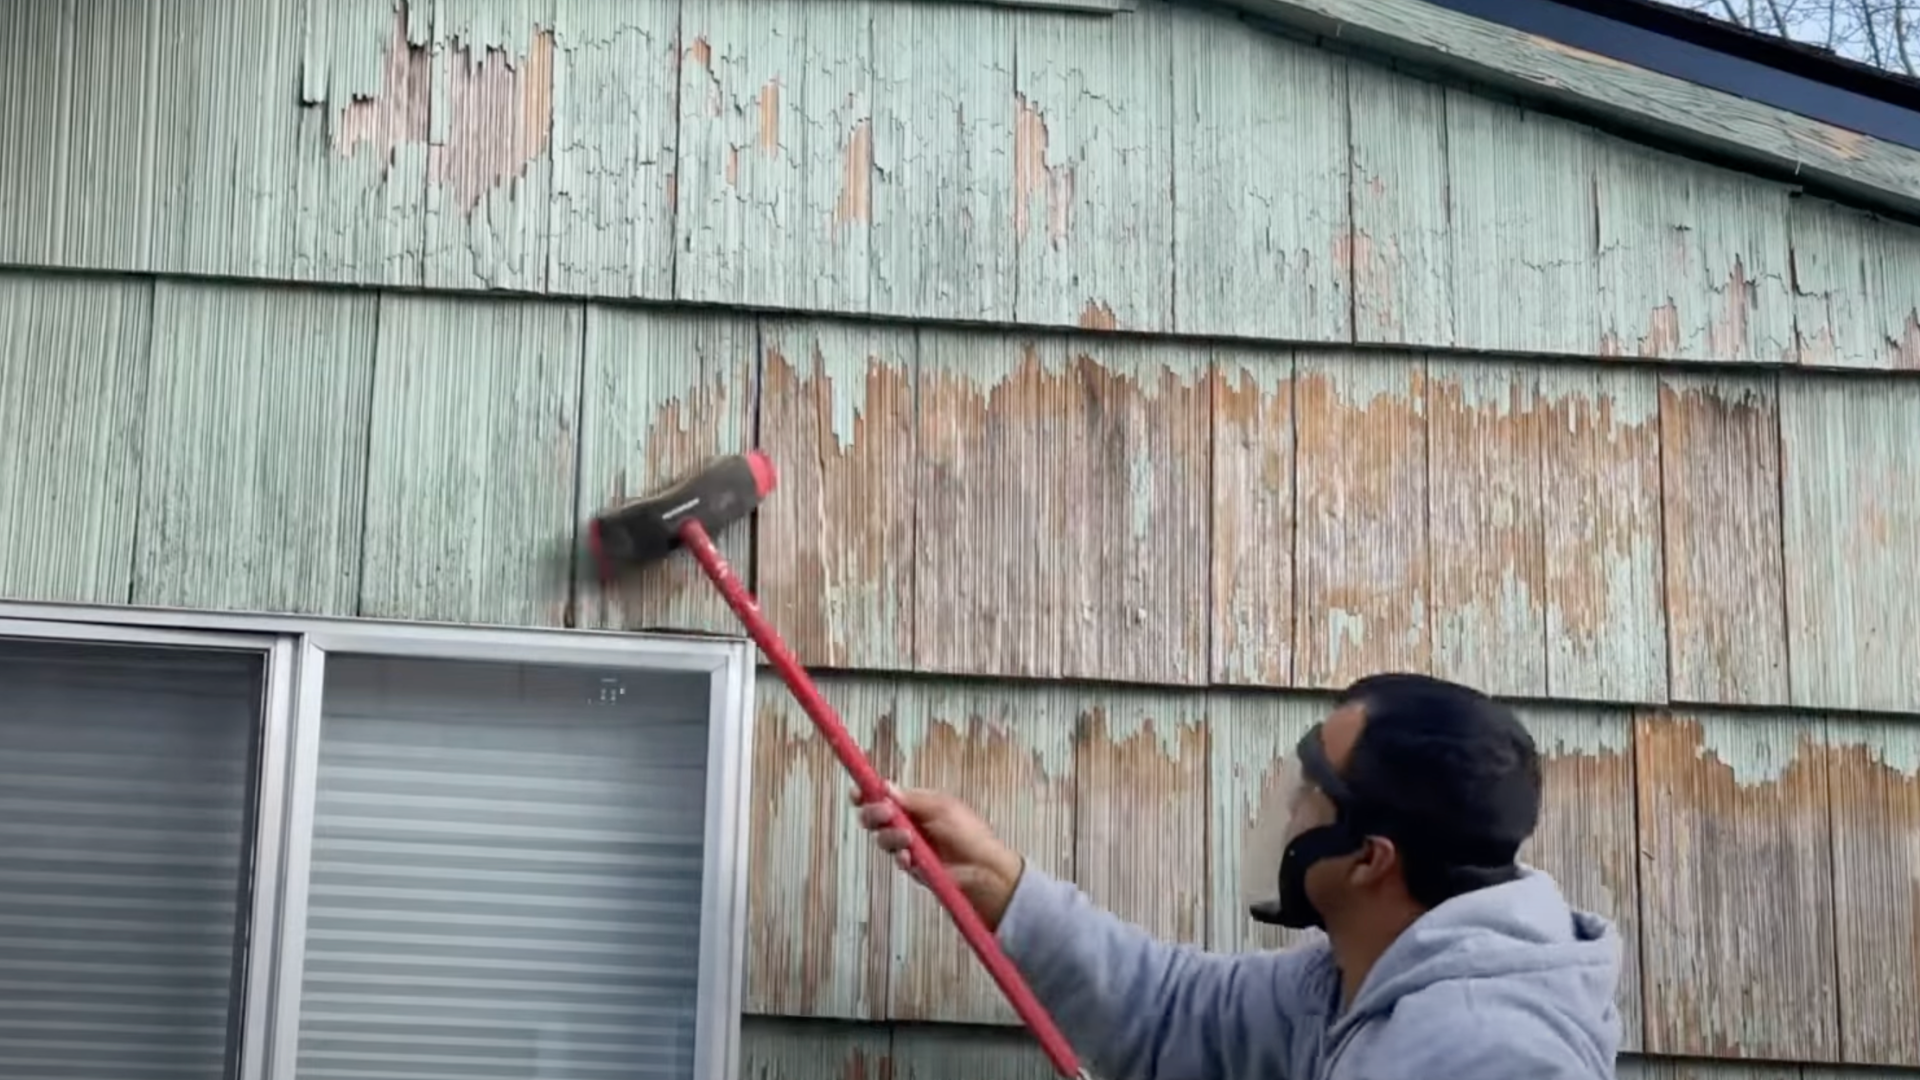
Prepping your cedar siding the right way is what makes the paint last. Start by washing the siding with soap and water or a low-pressure washer.
Get rid of dirt, mildew, and loose wood fibers. Let it dry completely, usually 24 to 48 hours, depending on the weather conditions.
Sand any rough or splintered areas with 120-grit sandpaper. You don’t need to sand every inch, just the spots that need it. Then, apply a primer specifically designed for cedar.
This step is important because it stops stains from bleeding through your paint. Take your time, good prep means fewer problems later.
2. Start Painting
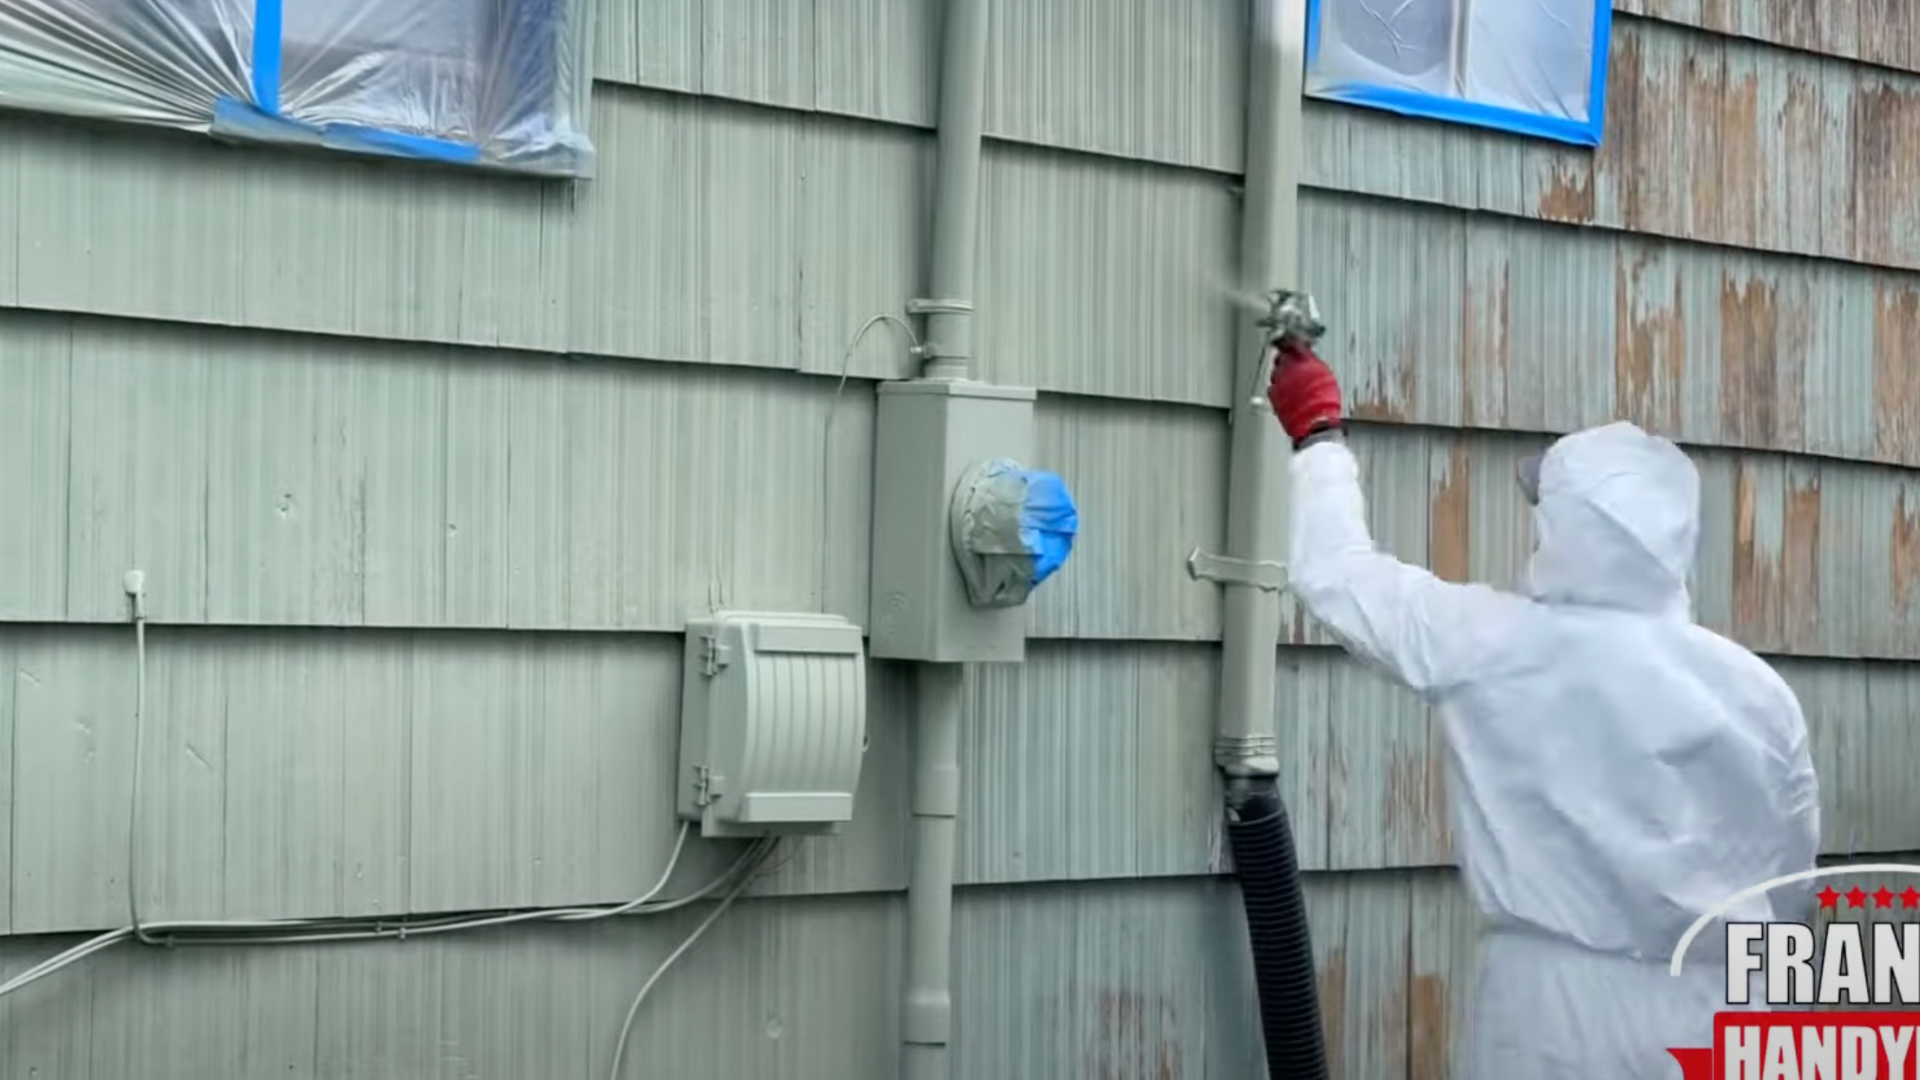
Once your primer is dry, it’s time to start painting. Begin at the top of the siding and work your way down, so drips won’t ruin spots you’ve already painted.
Use steady, even strokes and keep a wet edge by overlapping your brush or sprayer while the paint is still damp. This prevents visible lines from forming.
Always use thin coats instead of thick ones. Plan on doing at least two coats, maybe even three if the color underneath shows through.
Avoid painting during hot weather or direct sunlight. Early morning or late afternoon is the best time.
3. Paint the Trims
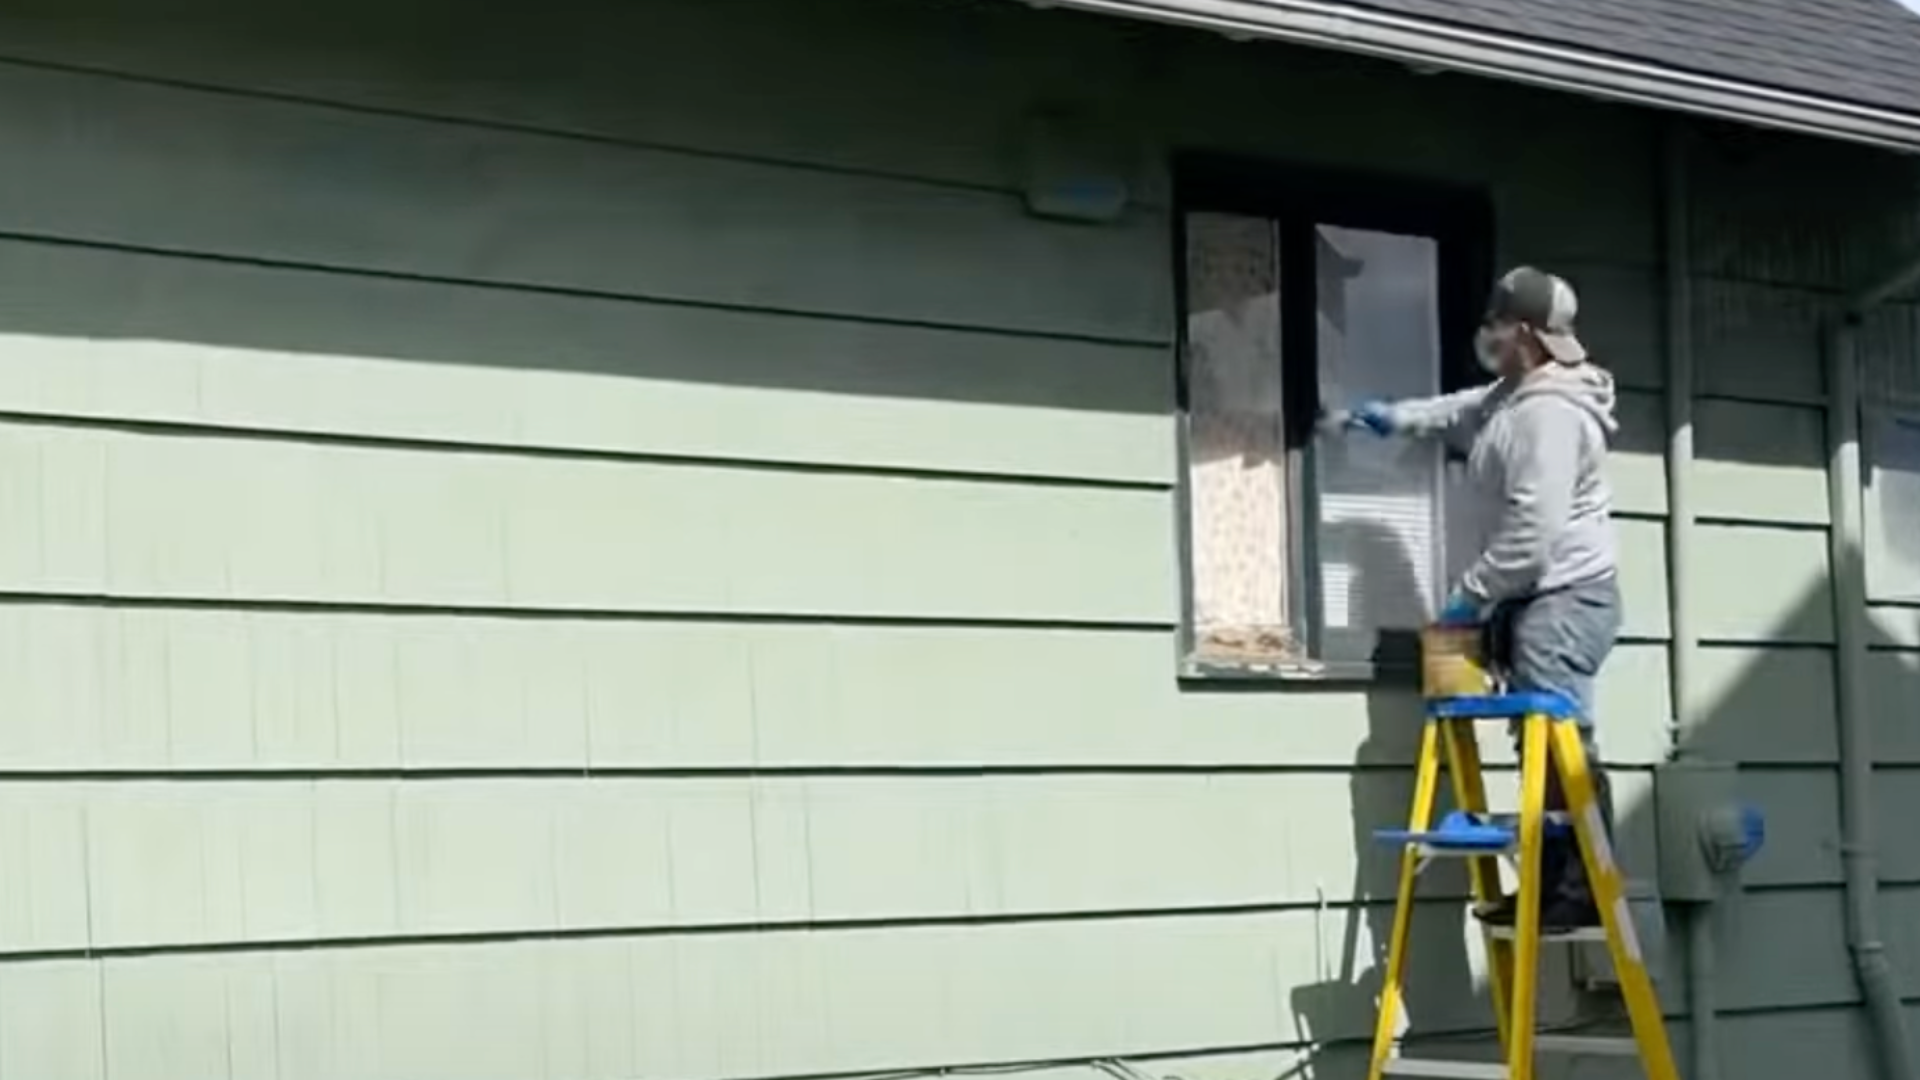
Trim areas need extra care because they really stand out when the job is done. Use a high-quality angled brush to get clean lines, especially around windows and doors.
Take your time and don’t rush these small spaces. You can even choose a different color for the trim to make it pop, but keep the color scheme simple.
Too many colors can make your home look too busy. When you’re finished, pull off the painter’s tape while the paint is still slightly wet.
This helps prevent the paint from peeling or cracking at the edges.
4. Paint Higher Areas
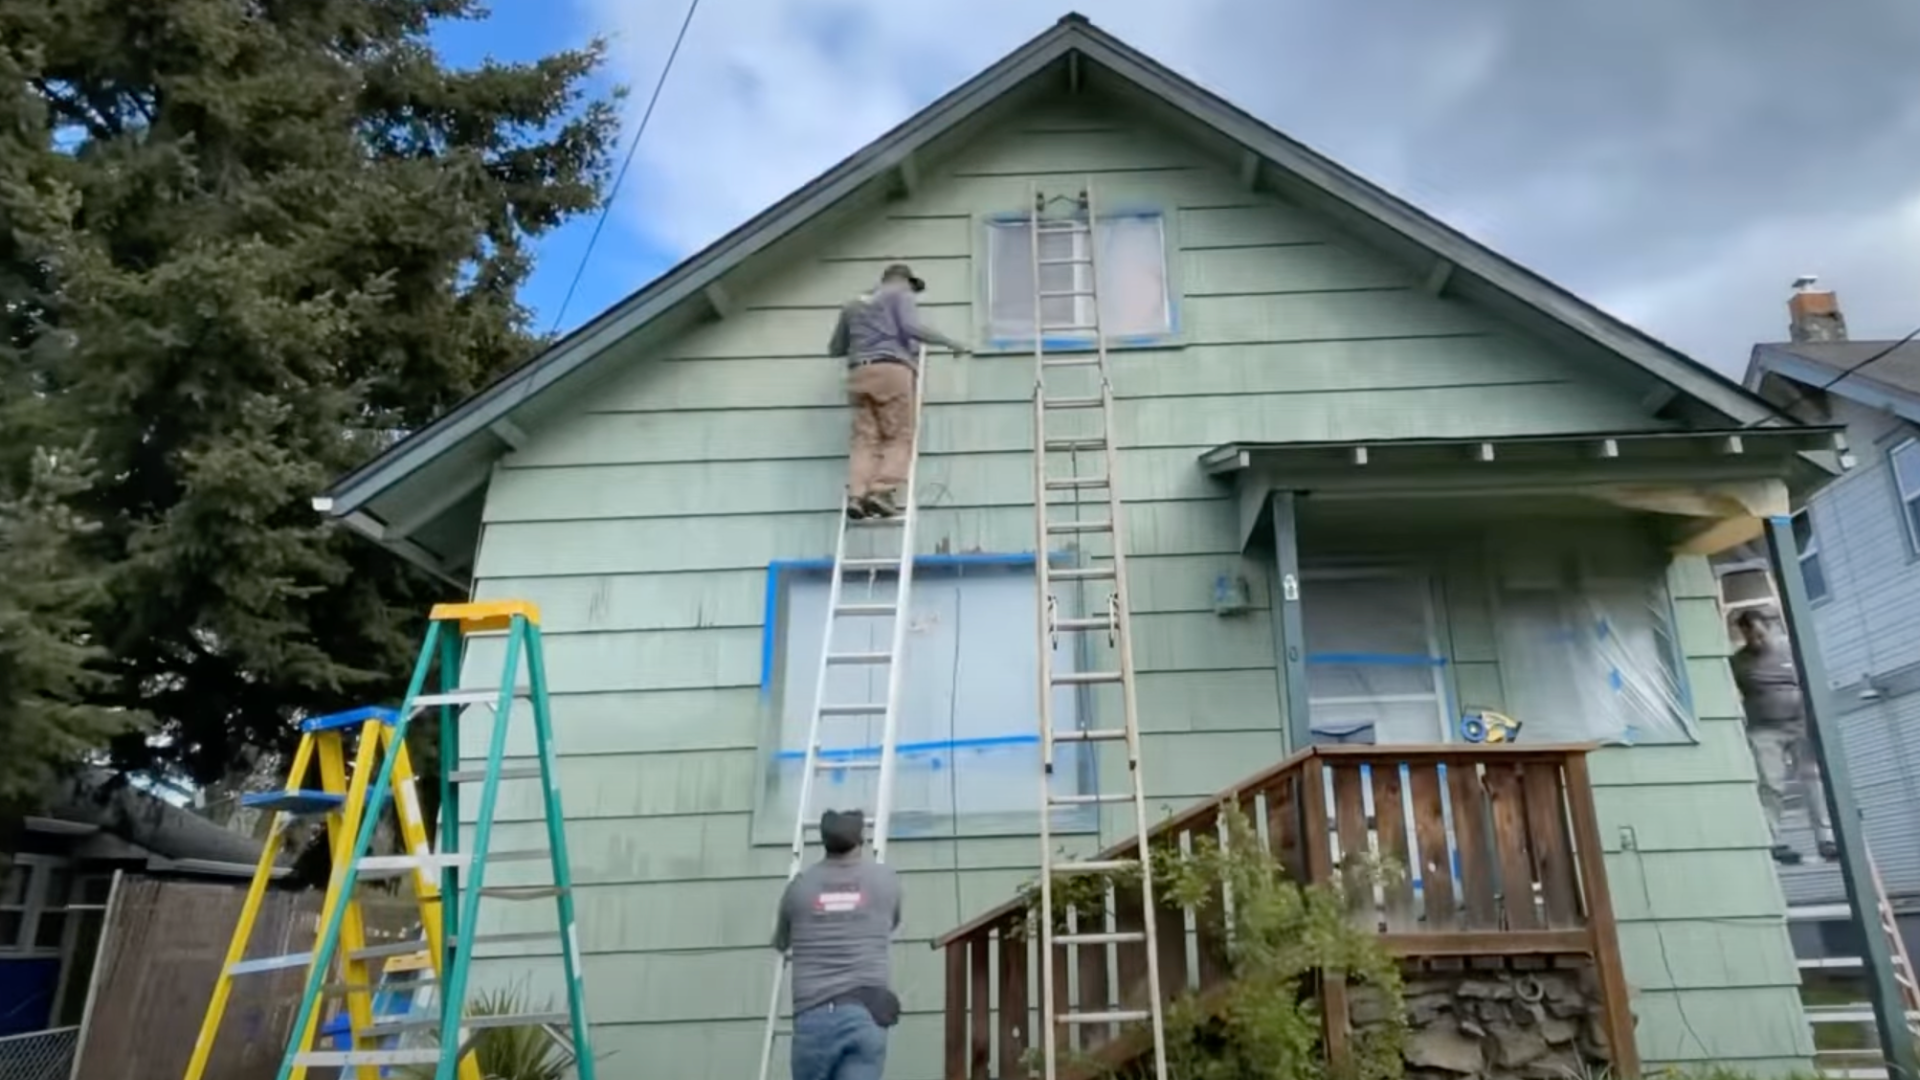
Painting high places can be tricky, so always put safety first. Use a strong, steady ladder and ask someone to spot you while you work.
Don’t rush just because you’re up high, mistakes on upper walls are harder to fix and easier to notice. Take your time and treat those areas just like the lower ones.
If you have a two-story home, consider renting scaffolding. It’s safer and allows you to move around more easily.
After you’re done, step back and look at everything from the ground. Spot any missed spots or uneven areas and fix them before you finish.
Want to see how it’s done in real time? Check out this helpful video from @frankshandymanservice.
It clearly shows each step and makes the entire process easier to follow and understand.
Pros and Cons of Painting vs Staining Cedar Siding
Painting and staining cedar cabinets offer distinct benefits and drawbacks. The following are the advantages and disadvantages of painting or staining cedar siding:
Painting Cedar Pros:
- Completely covers imperfections
- Huge color selection
- Better protection from the weather
- Lasts longer than stain
- Easier to clean
Painting Cedar Cons:
- Hides natural wood grain
- More expensive upfront
- Harder to change later
- Requires more prep work
- Can peel if not done right
Staining Cedar Pros:
- Shows natural wood beauty
- Easier to apply
- Less prep work needed
- Easy to reapply
- More forgiving application
Staining Cedar Cons:
- Limited color options
- Doesn’t hide defects
- Needs more frequent reapplication
- Less weather protection
- Can look uneven
Maintenance Tips After Painting Cedar Siding
After painting your cedar siding, regular maintenance is key to keeping it looking fresh and protected for years to come.
A little attention each year can save you time, money, and hassle down the road. Some simple but important maintenance tips to follow:
- Inspect your siding twice a year for peeling, cracks, or fading
- Clean the surface yearly using mild soap, water, and a soft brush
- Avoid pressure washing painted surfaces
- Touch up chips or damage right away using leftover paint
- Plan to repaint every 7–10 years, depending on paint quality
- Check and replace caulk around windows and trim as needed
- Watch for peeling paint, which may signal hidden moisture problems
Conclusion
Painting cedar is a long-term commitment; once you paint it, you can’t easily return to the natural wood look.
That said, a well-painted cedar exterior can look amazing and last for years with the right care and regular maintenance.
If you love the natural look of wood, staining might be a better choice. The stain showcases the cedar’s texture and grain, but it typically requires more frequent maintenance.
Both painting and staining protect your siding, so the choice ultimately depends on your style and the level of maintenance you’re willing to accept.
No matter which option you choose, don’t cut corners. Use high-quality primer and exterior paint or stain, and prep the surface carefully.
Have you painted or stained your cedar siding? Share your tips in the comments below to help others make an informed decision.
Frequently Asked Questions
How Long Does Paint Last on Cedar Siding?
If prepped well, high-quality paint lasts 7–10 years on cedar. Cheaper paint lasts 4–5 years. Weather and sunlight can affect how long the paint looks good.
Can I Paint Over Stained Cedar Siding?
Yes, but use a high-adhesion primer. Clean the surface and lightly sand it before painting. This helps the new paint stick and last longer without peeling or bubbling.
What Happens if I Don’t Use Primer on Cedar?
Skipping primer causes cedar’s tannins to bleed through the paint. You’ll see yellow or brown stains, which can ruin the finish and are hard to fix later.
Can I Paint Cedar Siding in Winter?
Avoid painting in cold weather. Paint needs temperatures above 50°F to dry and cure properly. Spring and fall are the best seasons for painting cedar siding.
How Much Does It Cost to Paint Cedar Siding?
It costs $2–4 per square foot with labor and materials. DIY can cut the cost in half, depending on the paint quality and the tools you already have.