
If you have an existing concrete patio that looks worn out or lacks charm, I have good news: laying pavers over concrete is an excellent way to revitalize the space.
Not only is it cost-effective, but it can also improve the appearance of your patio in just a weekend.
I’ve found that this process can be a simple DIY project with great results, making your patio look brand new without the need to tear out the old concrete.
In this blog, I’ll walk you through the step-by-step process of laying pavers over your concrete patio, including the tools and materials you’ll need, the preparation work, and helpful tips for success.
What Are Pavers?
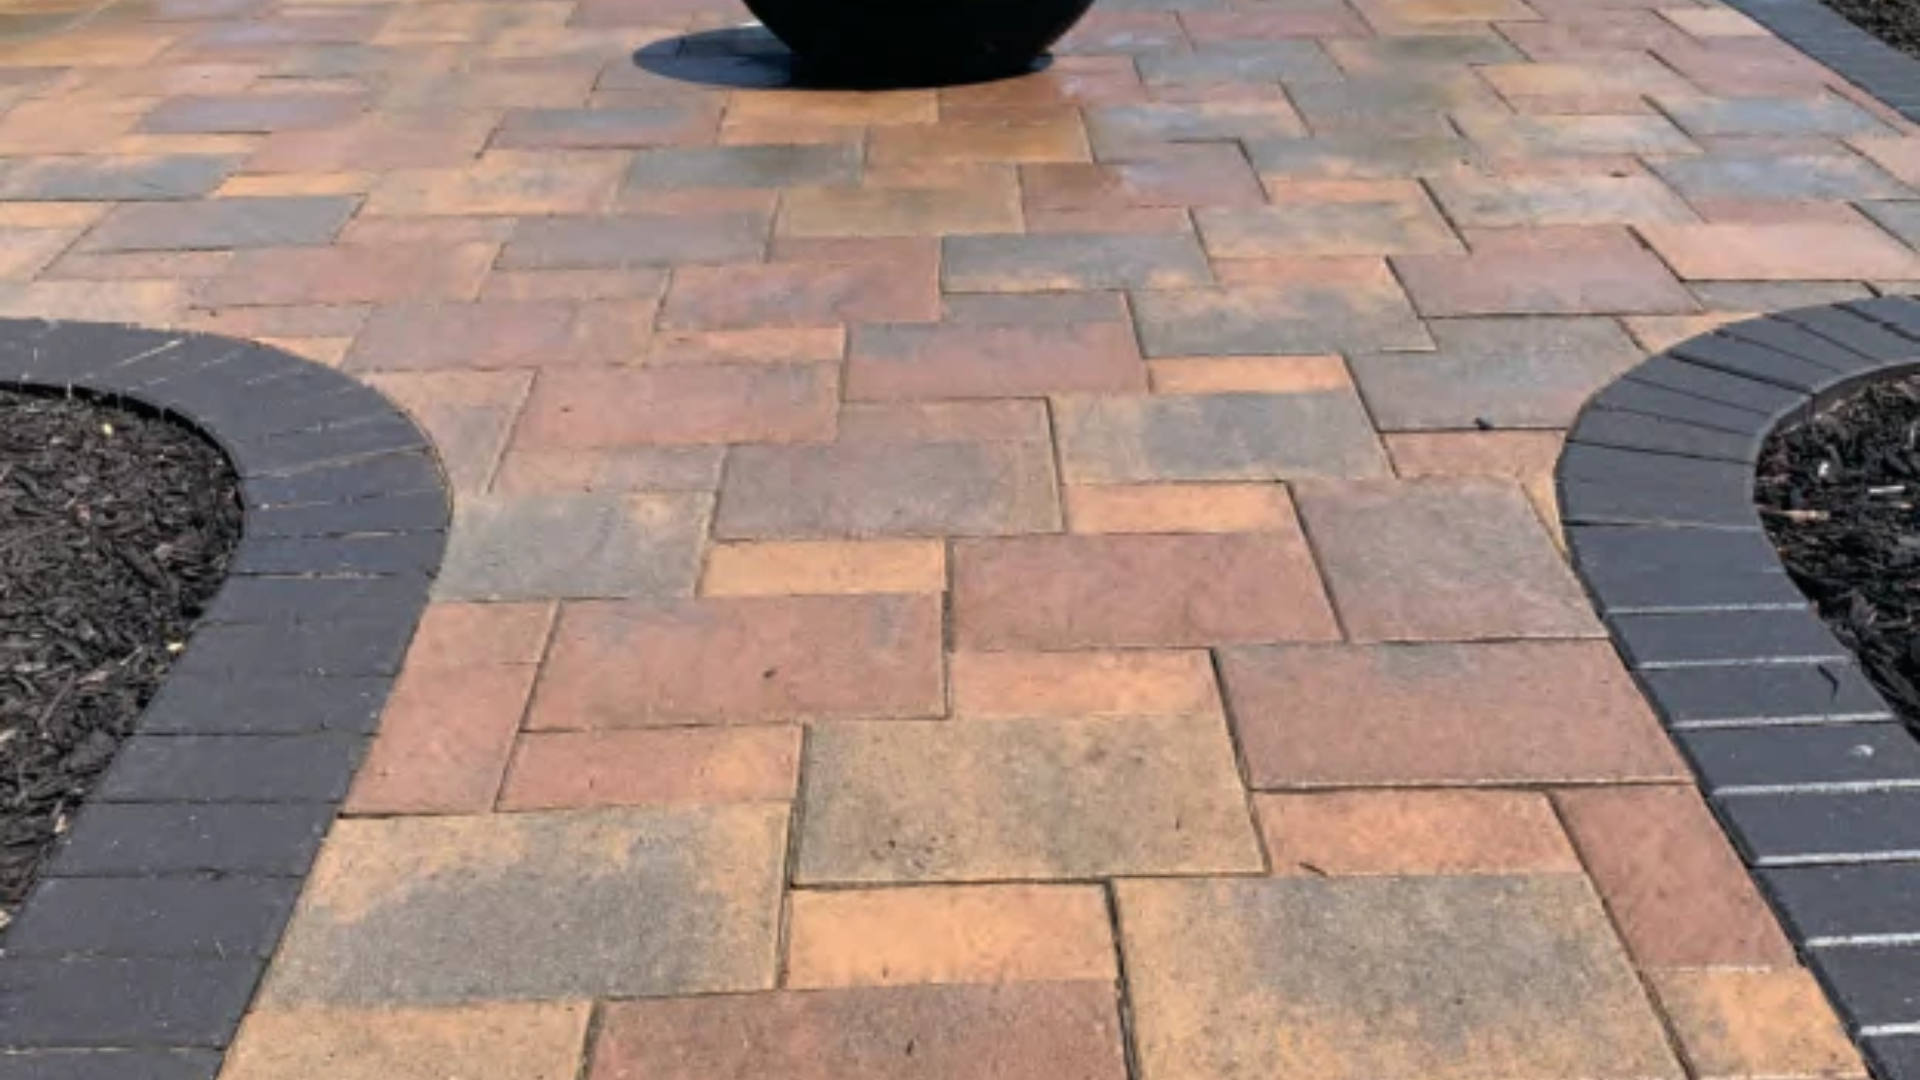
Pavers are individual, often rectangular or square pieces of material used to create durable, attractive surfaces for outdoor areas such as patios, walkways, driveways, and more.
Made from materials like concrete, brick, stone, or natural stone, pavers come in various sizes, shapes, colors, and textures.
They are designed to interlock with one another, creating a solid, stable surface while allowing for water drainage between the joints.
One of the main benefits of using pavers is their versatility; they can be arranged in various patterns, giving homeowners endless design possibilities.
Unlike poured concrete, pavers are more resistant to cracking, making them a long-lasting solution for outdoor spaces.
Additionally, if any paver becomes damaged, it can be easily replaced without affecting the rest of the surface, making pavers a practical choice for patios and other outdoor projects.
Can You Lay Pavers Over a Concrete Patio?
The short answer is yes, you can lay pavers over an existing concrete patio.
This method is often referred to as “overlaying,” and it’s a popular choice for homeowners looking to improve the look of their outdoor space without tearing out old concrete.
It’s a relatively simple project that can be done in a weekend, depending on the size of your patio and the tools you have available.
But before you start, it’s important to consider a few factors to ensure that laying pavers over concrete is the best option for your patio.
Things to Consider Before Installing Pavers Over Concrete
Laying pavers over concrete can be a great solution, but there are several things you should take into account to ensure the success of the project.
1. Condition of the Concrete Patio
The first thing to check is the condition of your existing concrete patio. If the concrete is cracked, uneven, or has significant damage, it might not be the best candidate for paver installation.
While small cracks can be repaired, large cracks or settling areas might cause the pavers to shift or become unstable over time.
If the concrete surface is in decent condition, free from major damage, and level, you can proceed with installing pavers.
2. Height and Drainage Concerns
Adding pavers on top of concrete will raise the height of your patio. This can affect door thresholds, stairs, or any surrounding landscaping.
You’ll need to ensure that the raised height won’t create any drainage issues or block any exits. Additionally, make sure the patio area has proper drainage to avoid water pooling between the pavers.
3. Type of Pavers to Use
There are different types of pavers, and you’ll want to choose the best one for your situation. Concrete pavers are a common choice for patio overlays, as they come in various sizes and styles and are relatively easy to work with.
However, natural stone pavers or brick pavers are also options if you want a more upscale look.
The paver style you choose should complement your home and backyard design, while also providing the durability needed for outdoor use.
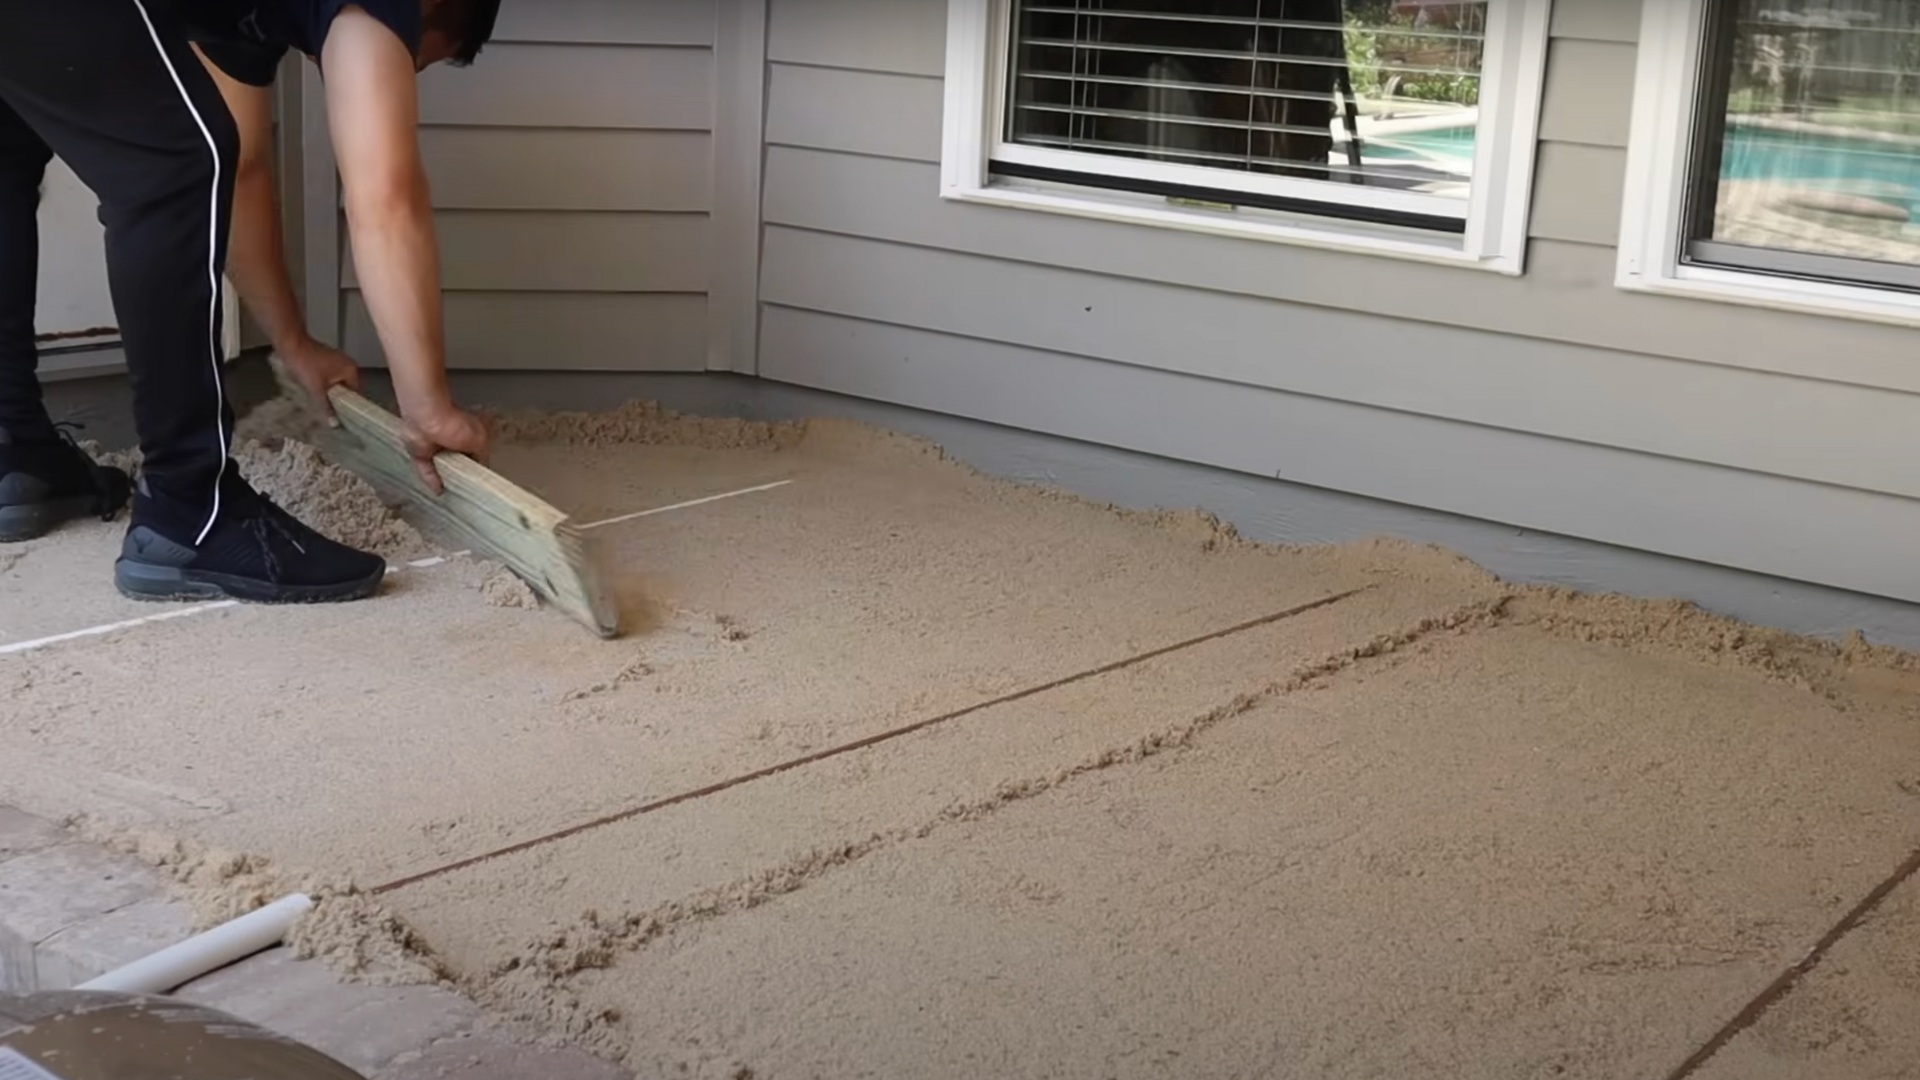
4. Leveling the Concrete Surface
For the pavers to lay flat and stable, the concrete surface should be as level as possible. If there are any uneven areas, it’s important to fill them with a leveling compound before installing the pavers.
This will ensure that the pavers sit evenly on the concrete and do not shift or settle over time.
Step-by-Step Guide to Laying Pavers Over a Concrete Patio
Laying pavers over a concrete patio is a straightforward and cost-effective way to enhance the appearance of your outdoor space. It can be done as a DIY project, and with the right materials, you’ll have a beautiful patio in no time.
Materials & Tools
The materials include pavers for the surface, polymeric sand for gap filling and stabilization, adhesives for bonding, and sand, gravel, and mortar for leveling and creating a secure base.
- Hammer drill with masonry bit
- Tape measure
- Level (4-foot recommended)
- Rubber mallet
- Shovel or rake
- Trowel
- Broom
- A garden hose or spray bottle for misting
- Pavers (driveway pavers or patio pavers)
- Polymeric sand
- Liquid nail or construction adhesive (for gluing pavers to concrete)
- Sand (for filling gaps)
- Gravel (for leveling)
- PVC pipe or copper tubing (for leveling the sand layer)
- Mortar or sand (for creating a stable base layer)
Step 1: Apply a Thin Layer of Adhesive
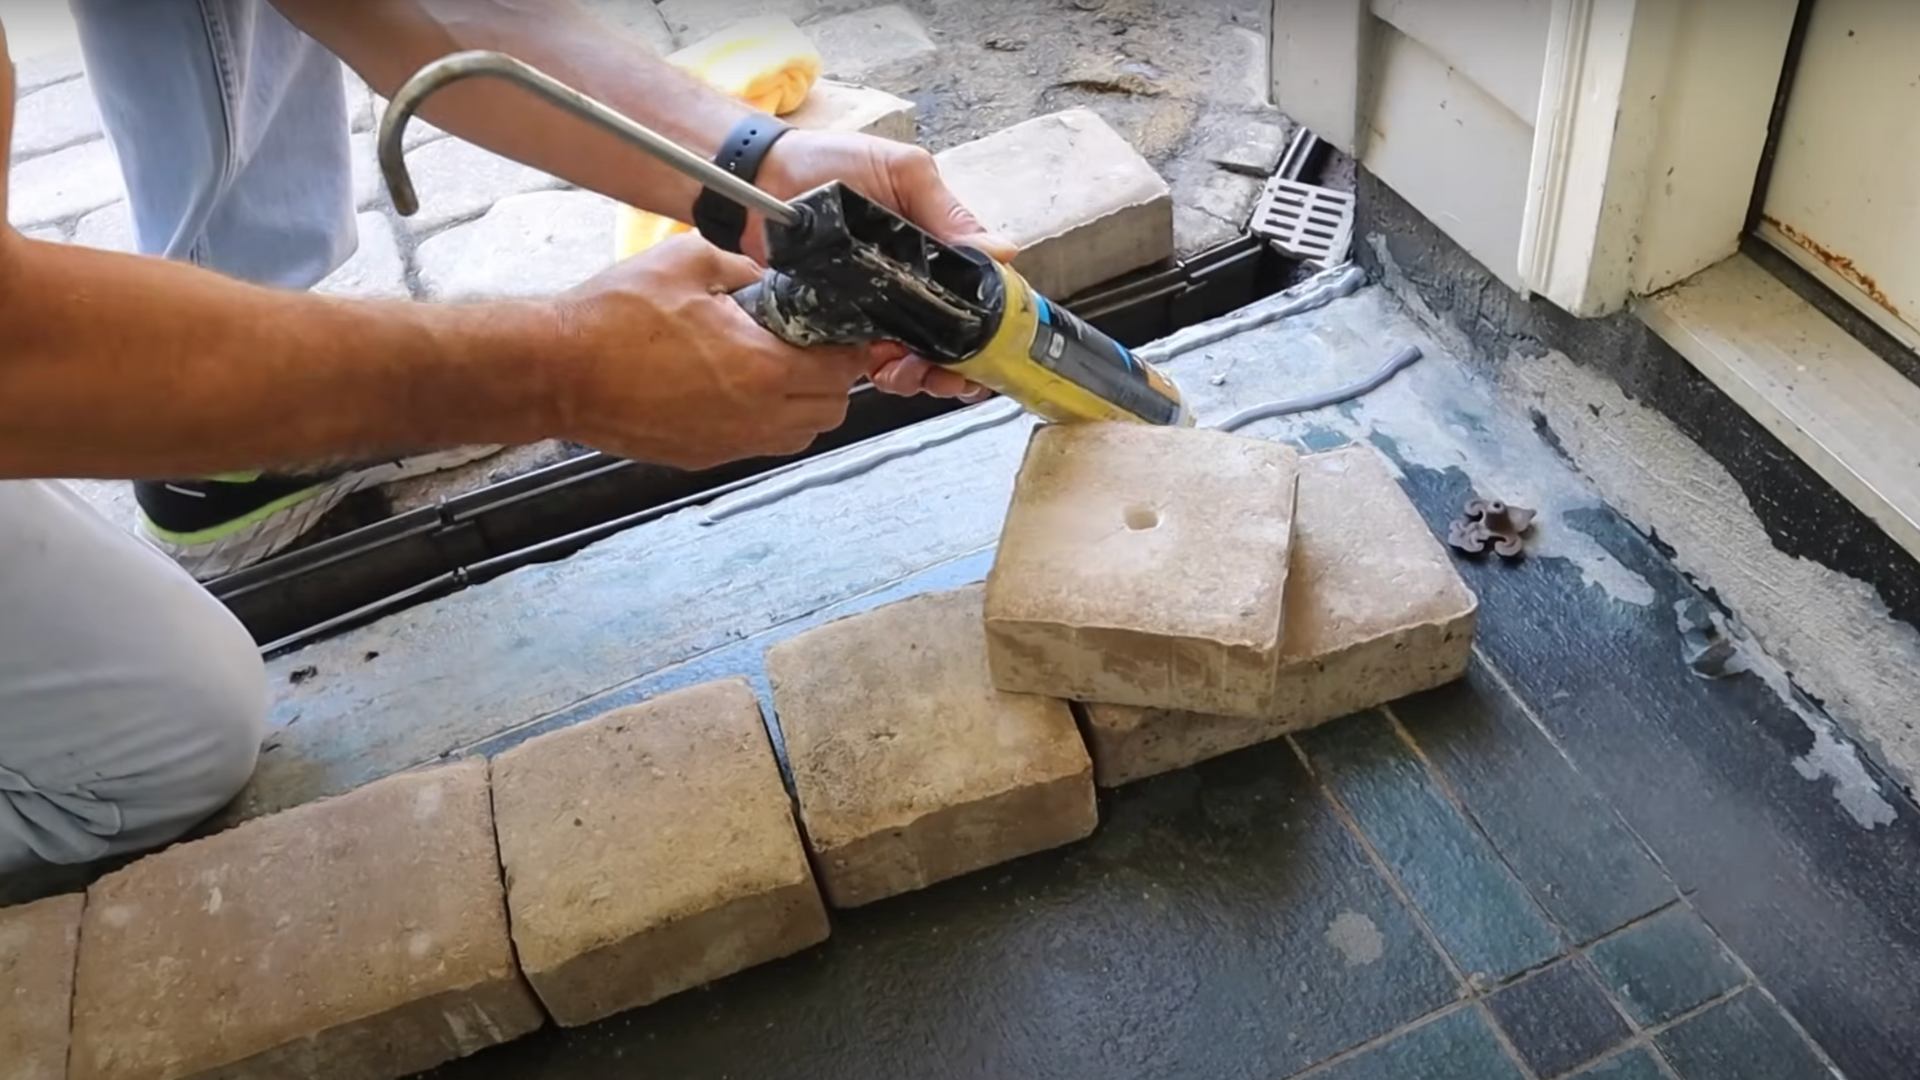
Once the patio is clean and dry, it’s time to apply adhesive to help the pavers stick. A strong adhesive, like Liquid Nails or a similar outdoor adhesive, is ideal for this project.
Use a caulking gun to apply the adhesive in small beads along the area where you’ll be placing the pavers. Be sure to spread it evenly, but don’t overdo it.
The goal is to create a strong bond between the pavers and the concrete without making a mess.
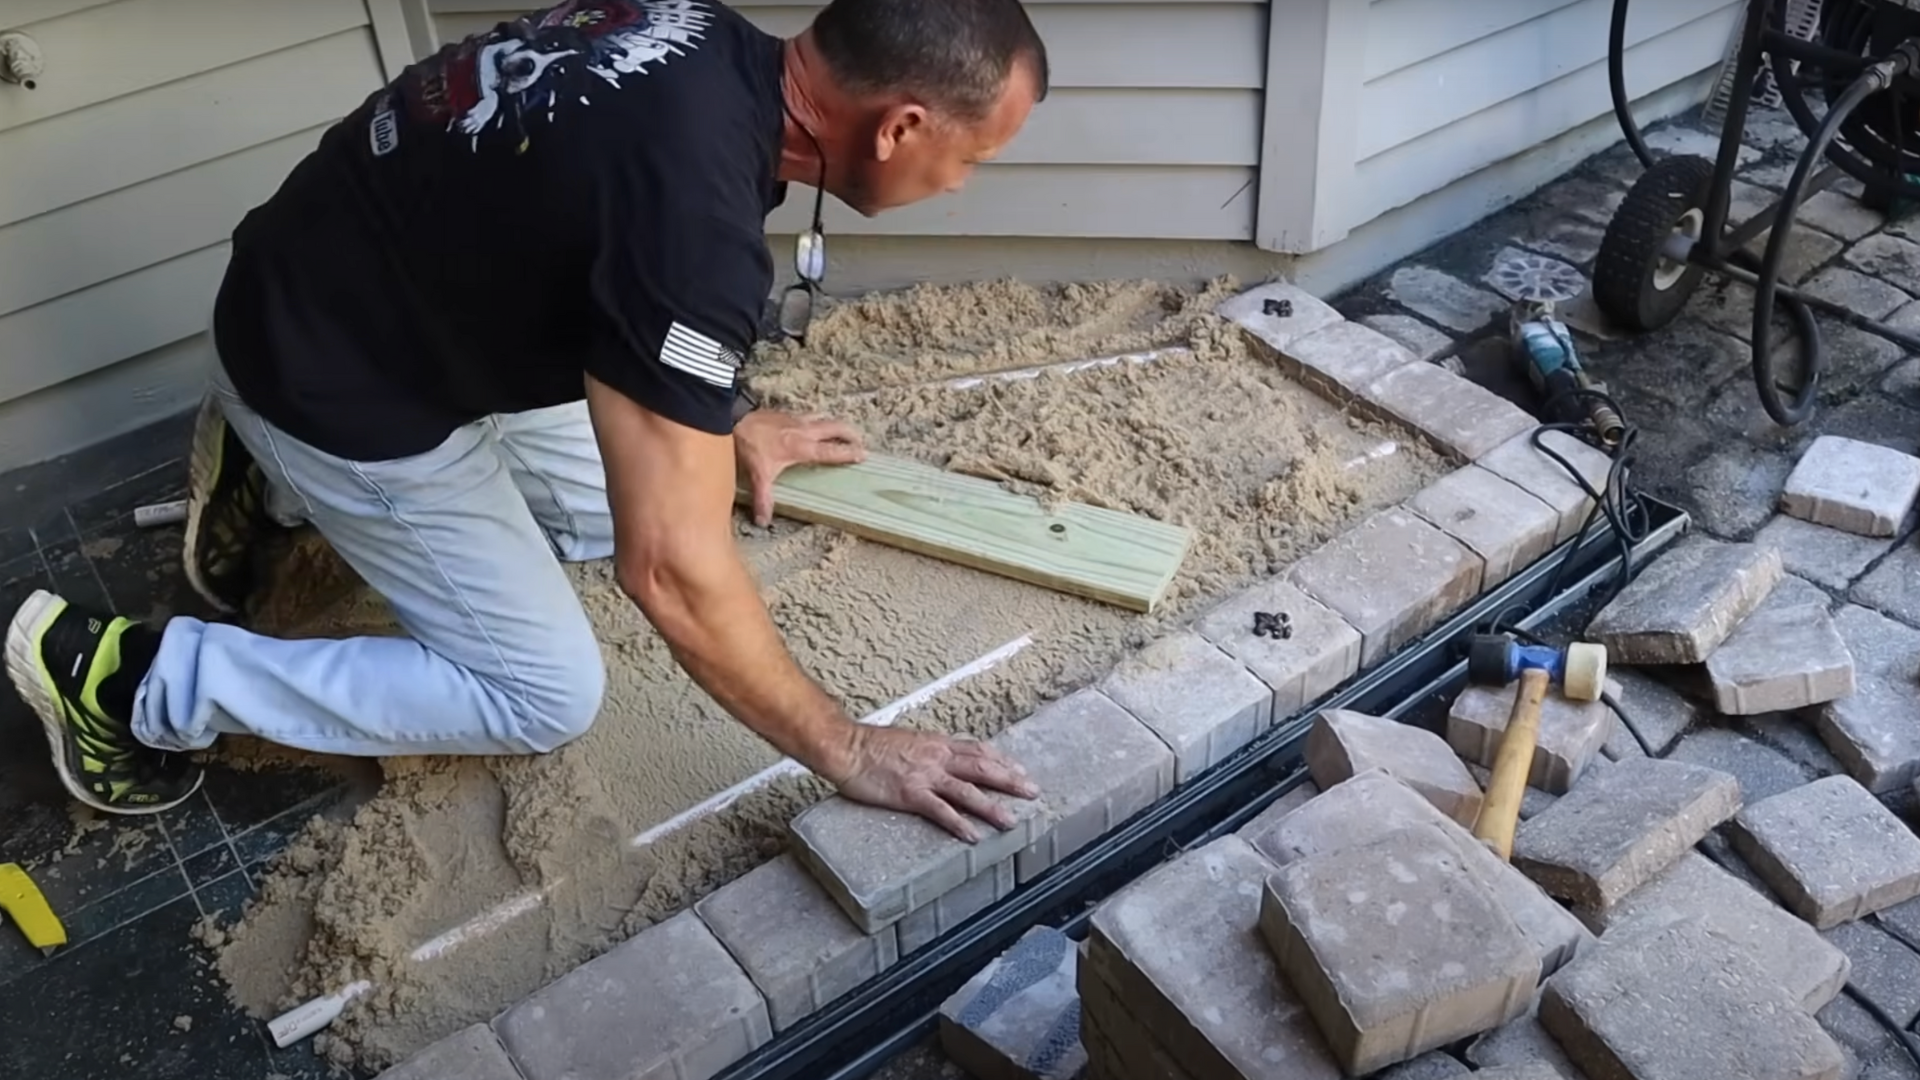
Step 2: Lay the Pavers
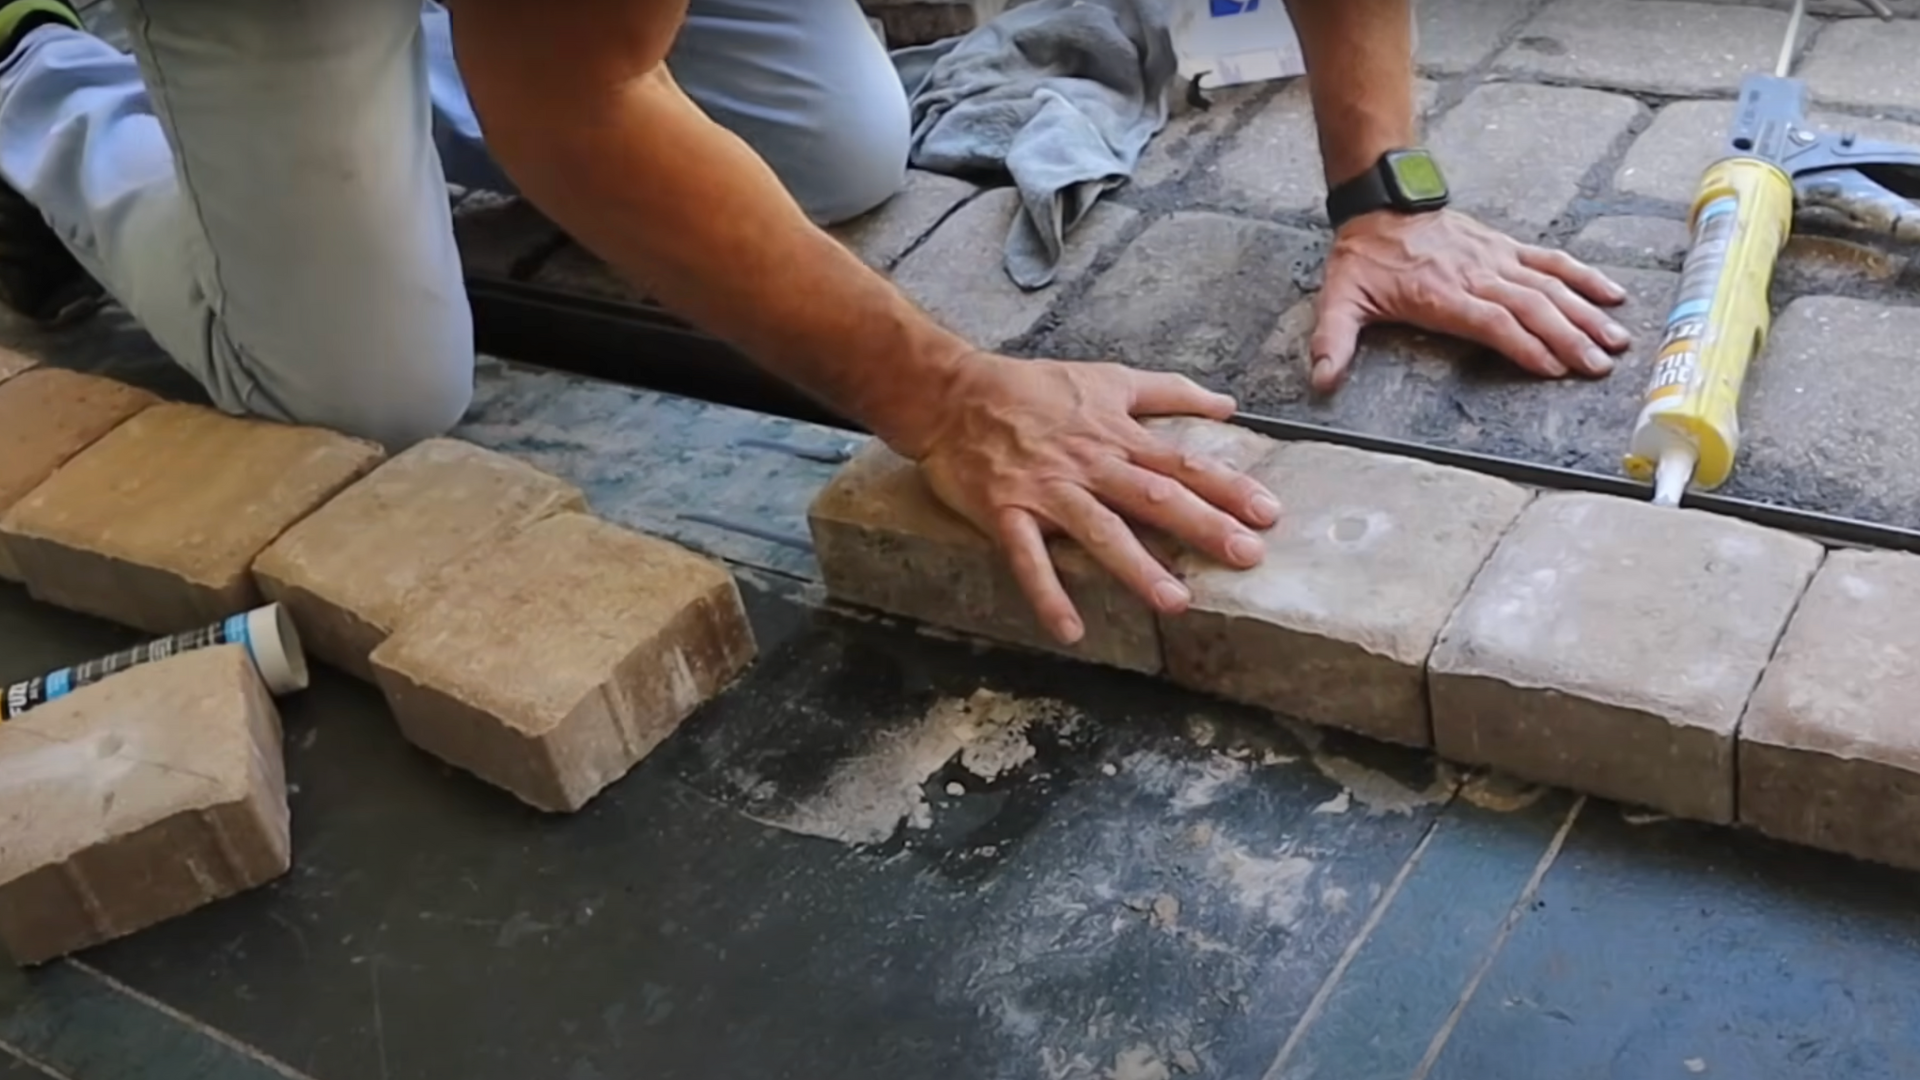
Now that the adhesive is in place, it’s time to start laying your pavers. Start by placing the first paver in one corner of the patio, making sure it’s aligned with your design.
Gently press the paver down to ensure it sticks well to the concrete. Use a rubber mallet to tap the paver in place if necessary. Continue laying the pavers, ensuring each one fits snugly next to the other.
Be sure to check with a level to ensure the pavers are lying flat and even as you work.
Step 3: Level the Pavers
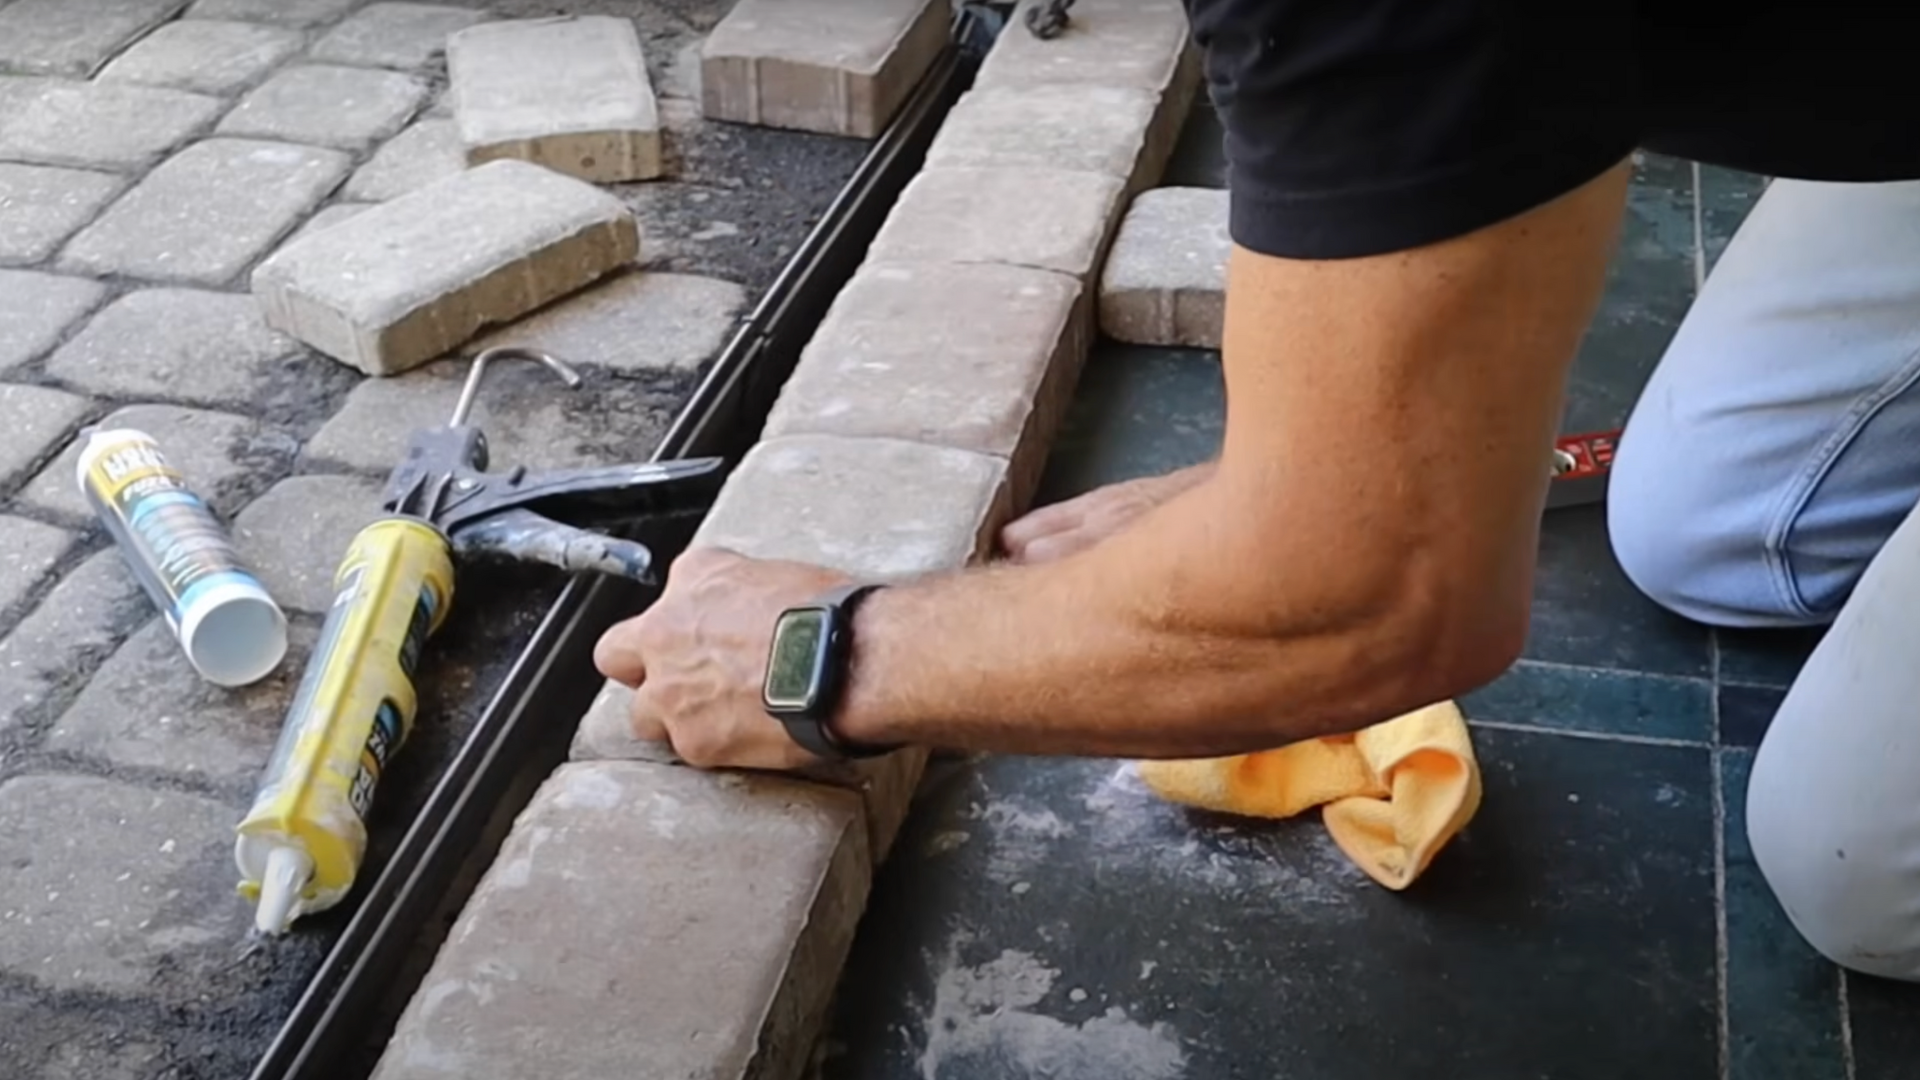
As you place the pavers, you’ll want to check that each one is level. Use a small level to make sure the pavers are sitting flat.
If any of the pavers are higher or lower than others, gently tap them with the rubber mallet or lift them up and add more adhesive or sand underneath to level them out.
This is important because uneven pavers can create an unstable surface over time.
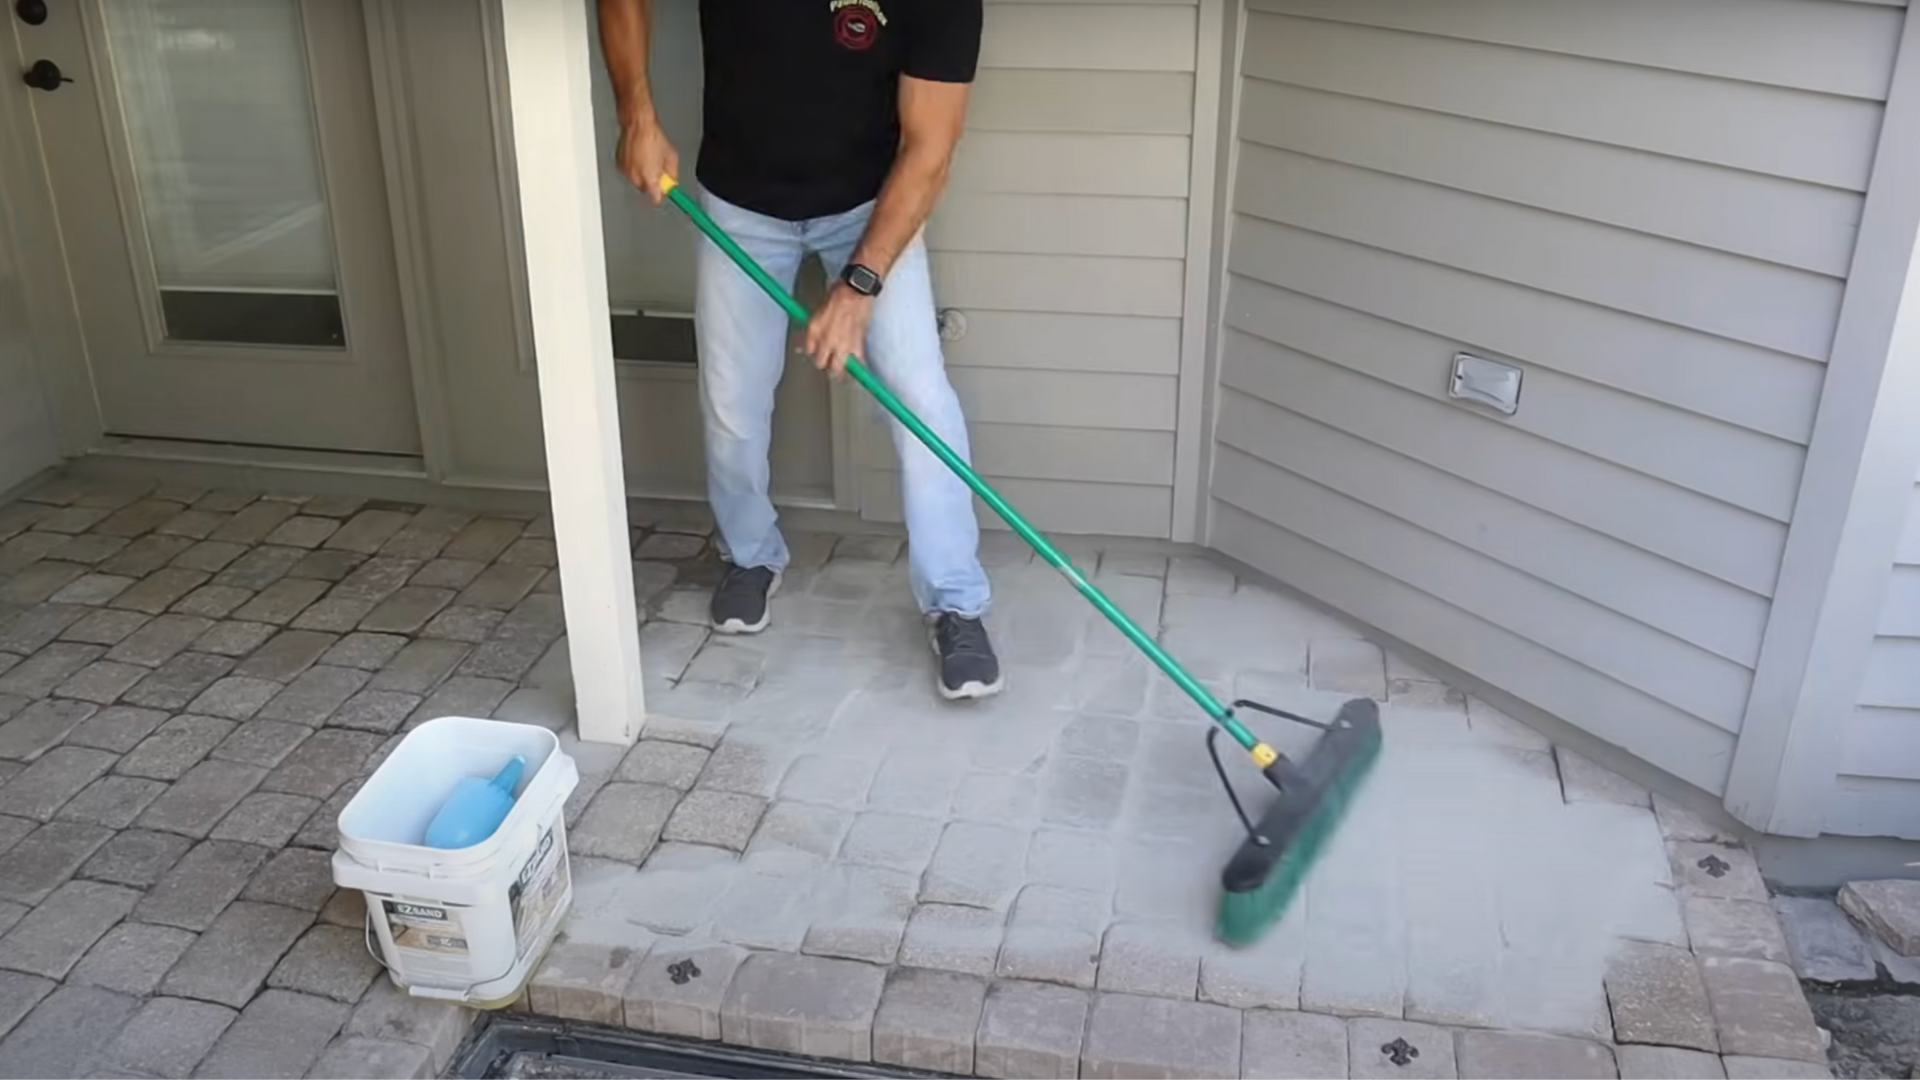
Step 4: Add Sand to Fill the Gaps
Once all the pavers are laid, it’s time to fill in the gaps between them. Use polymeric sand or regular sand to fill the joints between the pavers.
Spread the sand evenly over the surface of the patio, making sure to push it into the cracks between the pavers using a broom.
Once the joints are filled, use a compactor or a piece of wood to gently tap the sand into place, ensuring it settles evenly between the pavers.
Step 5: Sweep Off Excess Sand
After filling the joints with sand, you’ll need to sweep away any excess from the surface of the pavers. This is important because leftover sand can leave a messy, gritty appearance.
Sweep the surface clean, making sure to leave sand only in the joints between the pavers. If necessary, go over the joints with a hand broom to remove any remaining debris.
Step 6: Wet the Sand
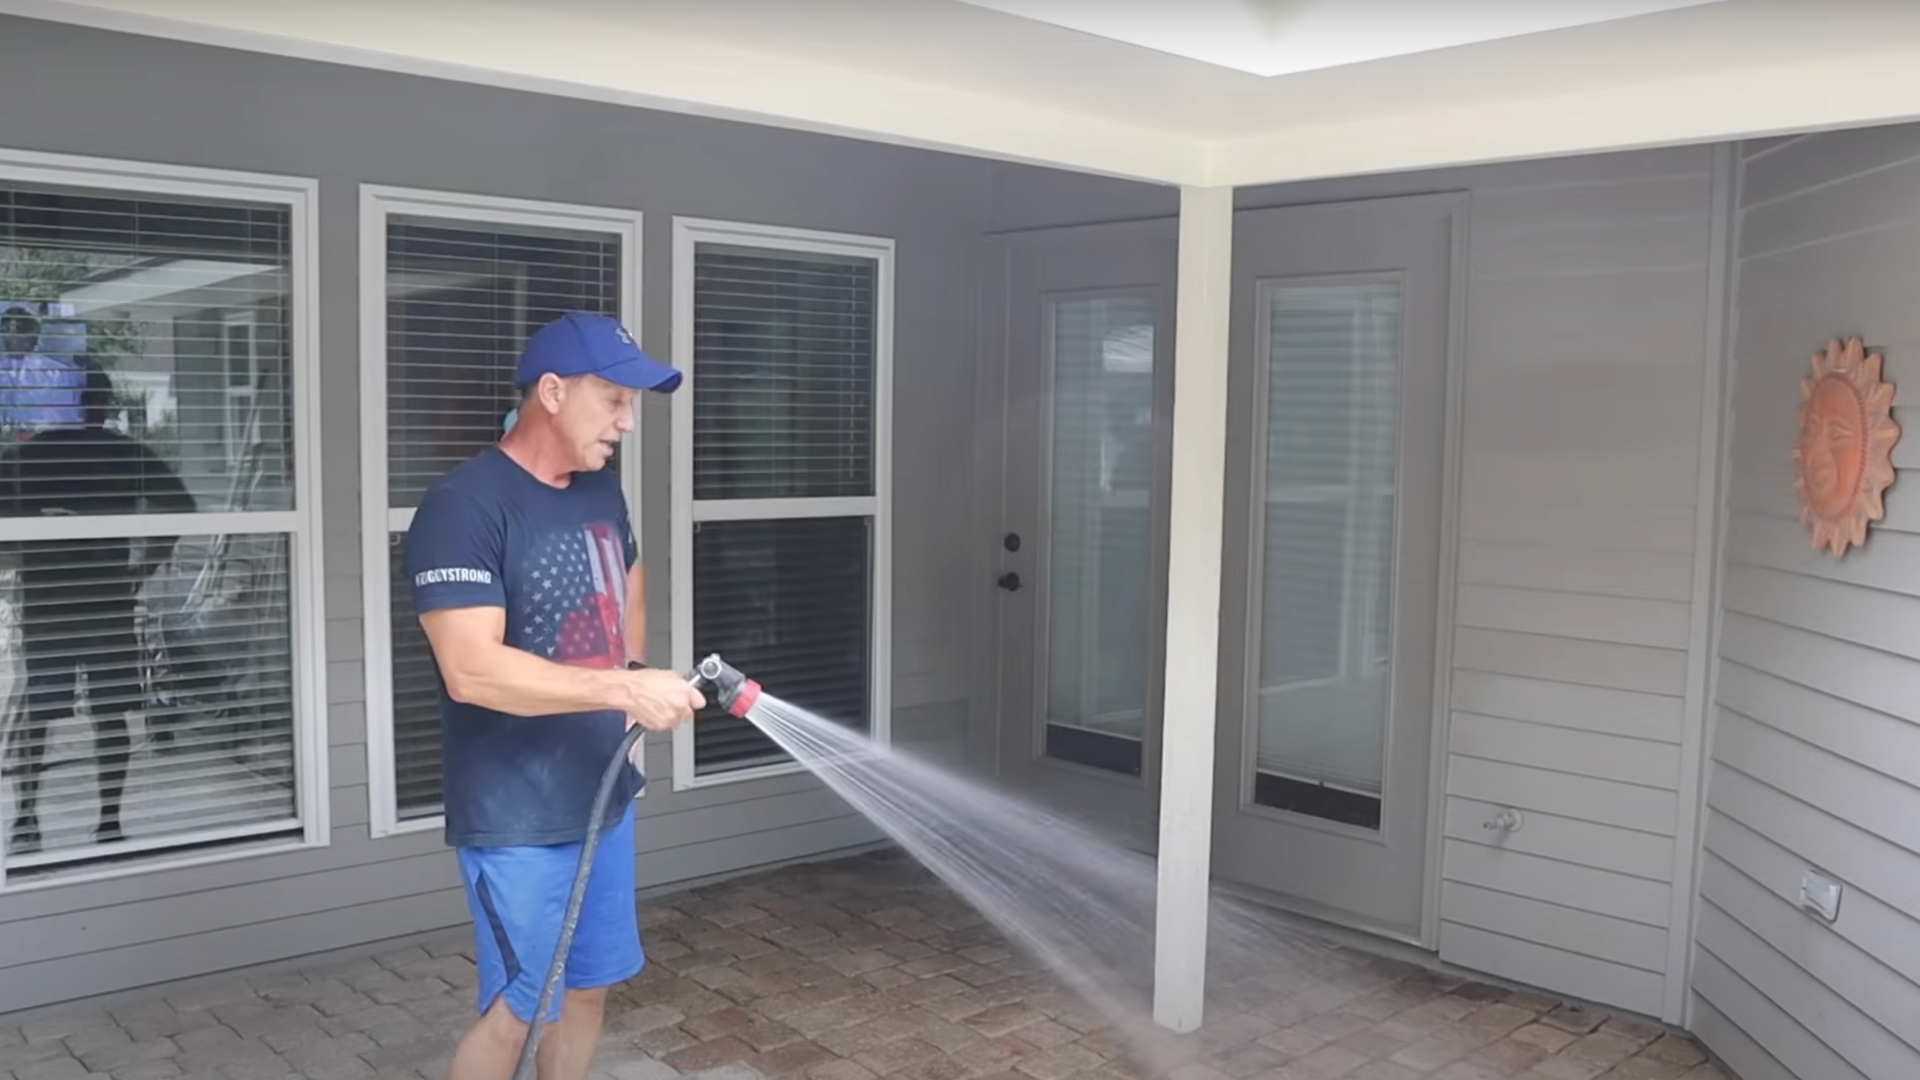
To set the sand in place and create a solid bond between the pavers, gently mist the surface with water. Use a hose or a spray bottle to lightly wet the sand. Be careful not to saturate the surface; a fine mist is all you need.
The water will activate the polymeric sand, causing it to harden and lock the pavers in place. Allow the patio to dry for 24 to 48 hours before using it.
Step 7: Maintain Your Paver Patio
Once your paver patio is complete, regular maintenance will help it last for years. Sweep the surface regularly to keep dirt and debris from collecting in the joints.
If you notice any weeds growing between the pavers, remove them promptly to prevent damage. Periodically check the sand joints, and if necessary, add more sand to keep the pavers secure.
For a visual guide, refer to this tutorial on how to install pavers over concrete by @paulstoolbox on YouTube.
Pros and Cons of Laying Pavers Over Concrete
Laying pavers over an existing concrete patio is a great solution for improving both the appearance and functionality of your outdoor space.
| Advantages | Disadvantages |
|---|---|
| Cost-Effective Solution: Laying pavers over concrete saves money, time, and effort compared to removing and replacing the concrete. | Height Increase: Laying pavers will raise the height of your patio, which may affect door thresholds, stairs, or surrounding landscaping. |
| Aesthetic Improvement: Pavers are available in a variety of colors, sizes, and styles, providing a modern, customizable look for your patio. | Drainage Issues: Improper drainage can cause water to pool on the patio, requiring proper sloping to ensure water flows away. |
| Quick Installation: Laying pavers is quicker than pouring new concrete and can often be completed in a weekend. | Uneven Concrete Surface: If the concrete surface is heavily cracked or uneven, it may cause the pavers to shift or settle over time. |
| Durable and Long-Lasting: Pavers are durable and resistant to cracking, offering an added layer of protection for your patio. |
Tips for Laying Pavers Over Concrete
Laying pavers over concrete can be an easy and rewarding project with the right preparation.
- Prepare the Concrete Surface: Clean the concrete thoroughly before laying the pavers to ensure proper adhesion and prevent debris from affecting the installation.
- Use a Leveling Compound: If the concrete surface is uneven, use a leveling compound or sand to smooth it out before applying the pavers.
- Select the Right Adhesive: Use a high-quality adhesive, such as Liquid Nails, that is strong enough to bond pavers to concrete and hold up under outdoor conditions.
- Check for Proper Drainage: Ensure the pavers are sloped away from the house to avoid water pooling on the surface and causing damage.
- Leave Gaps Between Pavers: Allow small gaps between the pavers to account for expansion and contraction, and fill them with sand for stability.
Conclusion
Laying pavers over an existing concrete patio is a cost-effective and efficient way to enhance the look and functionality of your outdoor space.
It offers several benefits, including quick installation, aesthetic improvement, and long-lasting durability.
While there are some considerations, such as height increase and potential drainage issues, these can be managed with proper planning.
I’ve found that this approach is a great way to breathe new life into an old patio without the need for costly demolition.
With the right materials, tools, and attention to detail, you can enjoy a beautiful, functional outdoor space that enhances your home’s curb appeal.
Start your paver project today and transform your patio into the perfect area for relaxation and entertainment.