
If you’ve ever wanted to add a unique, artistic touch to your walls but felt unsure about painting or pricey art, DIY textured wall art is a fun and creative option.
It adds depth and style to any room while giving you the chance to express yourself with a hands-on project.
You don’t need to be a pro; anyone can try it. There are so many materials and methods to explore, from plaster and modeling paste to fabric and natural pieces.
In this guide, I’ll share easy techniques to help you create your own textured wall art.
With a little time and creativity, you can bring your walls to life and make something truly personal.
What is Textured Wall Art?
Textured wall art transcends flat paintings by utilizing raised materials to create a tactile, three-dimensional surface.
It engages both sight and touch, adding depth and movement to your space.
Light and shadow play across the texture, giving your walls a fresh look throughout the day.
This type of art can be soft and subtle or bold and eye-catching, depending on the design.
You can use natural elements like wood, dried flowers, and sand, or mix in fabric, yarn, paper, or modeling paste for a layered effect.
One of the best aspects of textured wall art is its versatility; it complements a wide range of décor styles, from modern and minimalist to rustic or bohemian.
It’s a creative and personal way to bring your walls to life.
Step-By-Step Guide to Create DIY Textured Wall Art
I’ll guide you through choosing materials, mixing plaster, adding texture, and displaying your art to create a stylish accent with ease.
Materials Needed
- Plain canvases (one or two, depending on your preference)
- Plaster or plaster-like material (for texture)
- Textured roller sponge
- Brushes (various sizes)
- Adhesive tile or similar adhesive material
- Paint (colors of your choice)
- Cover spatulas or palette knives
- Painter’s tape (optional)
- Drop cloth or protective covering for your work area
Step 1: Choosing Your Canvas
Start by deciding how many canvases you want to use. It’s a good idea to measure the space where you’ll hang the art to make sure the size feels right.
For a clean, minimal look, using a single, thicker canvas often works better.
Choose a heavy-duty canvas with a sturdy wood frame that can support the weight of the plaster but isn’t too heavy to hang.
Step 2: Gathering Tools and Materials
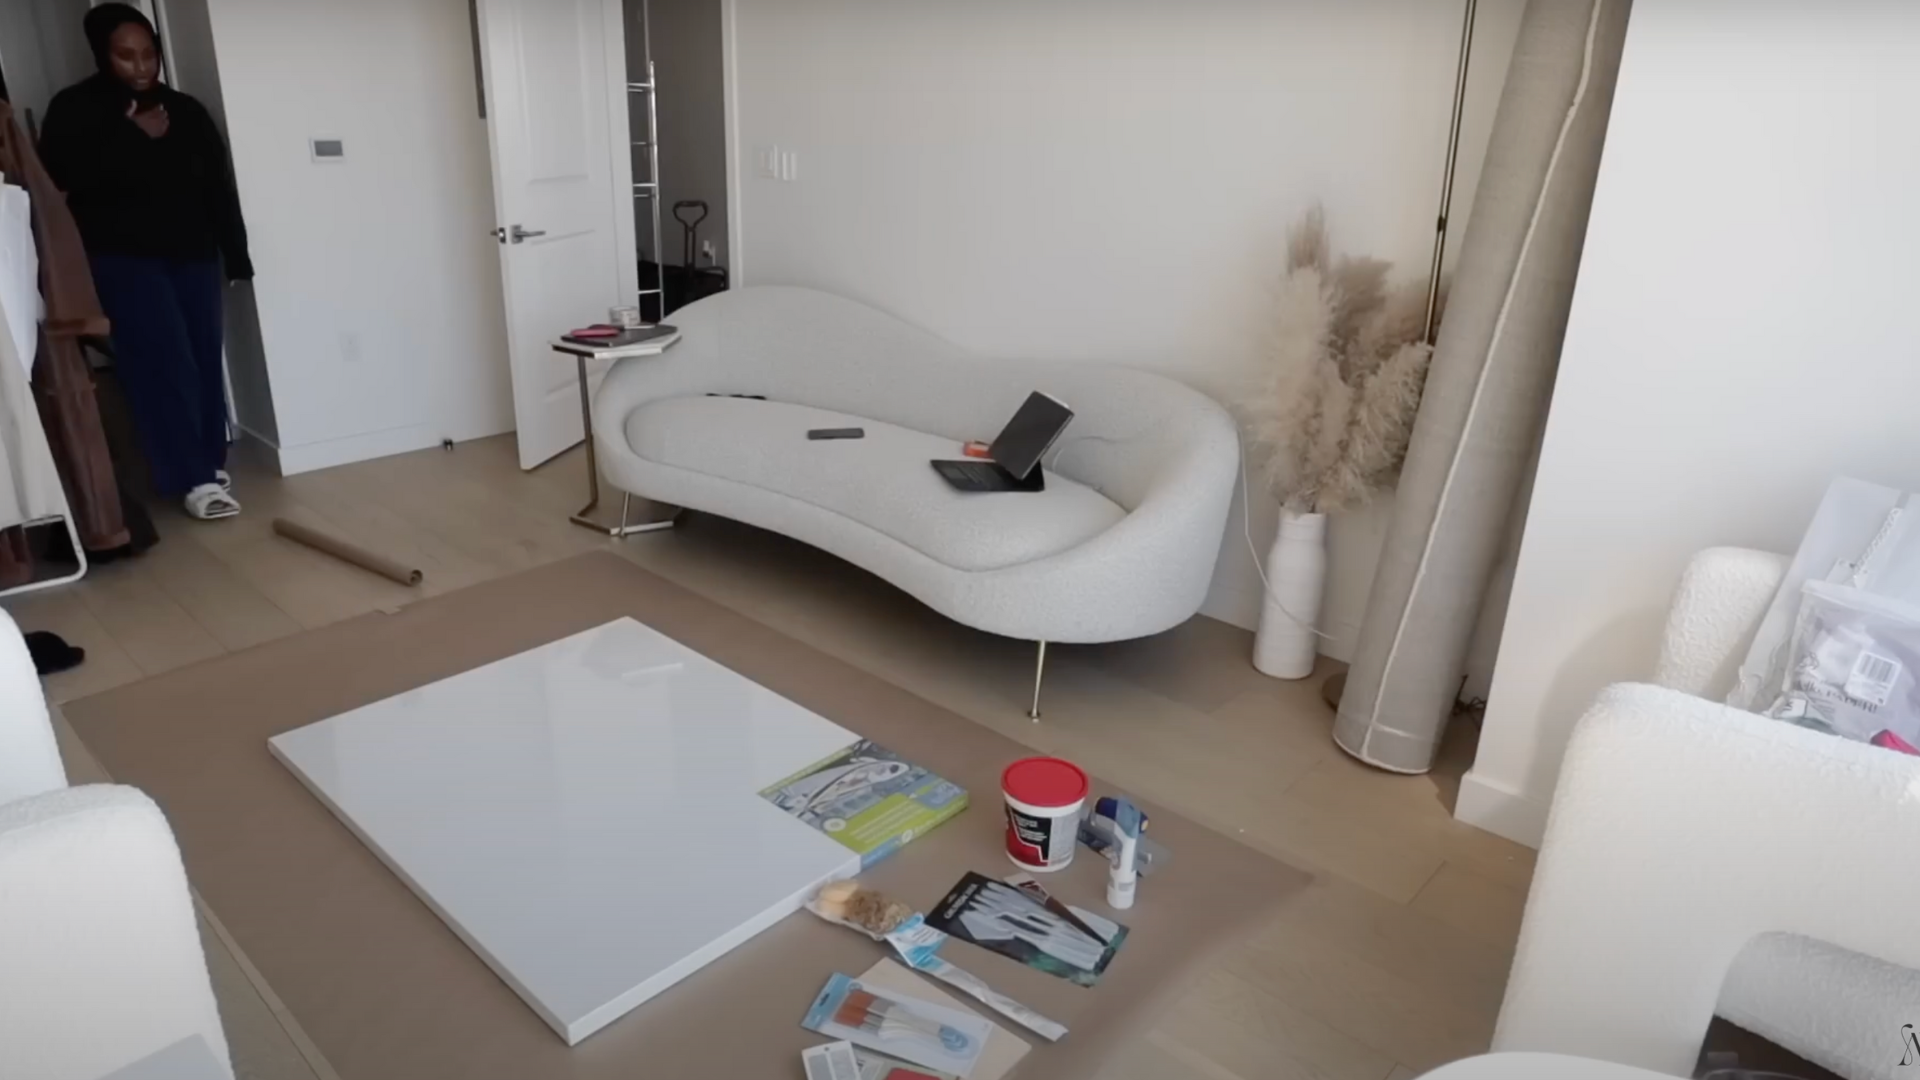
The key material for textured wall art is plaster. Look for a dry plaster mix powder that promises a smooth, bubble-free finish.
You’ll want to mix it in a container that you don’t plan to use for food, like a glass or plastic bowl.
Also, gather some tools to help create texture; these might include rigid laminates for pattern-making, spatulas, palette knives, and sponges to help with applying and shaping the plaster.
Keep some white acrylic paint handy if you want to add color later.
Step 3: Mixing the Plaster
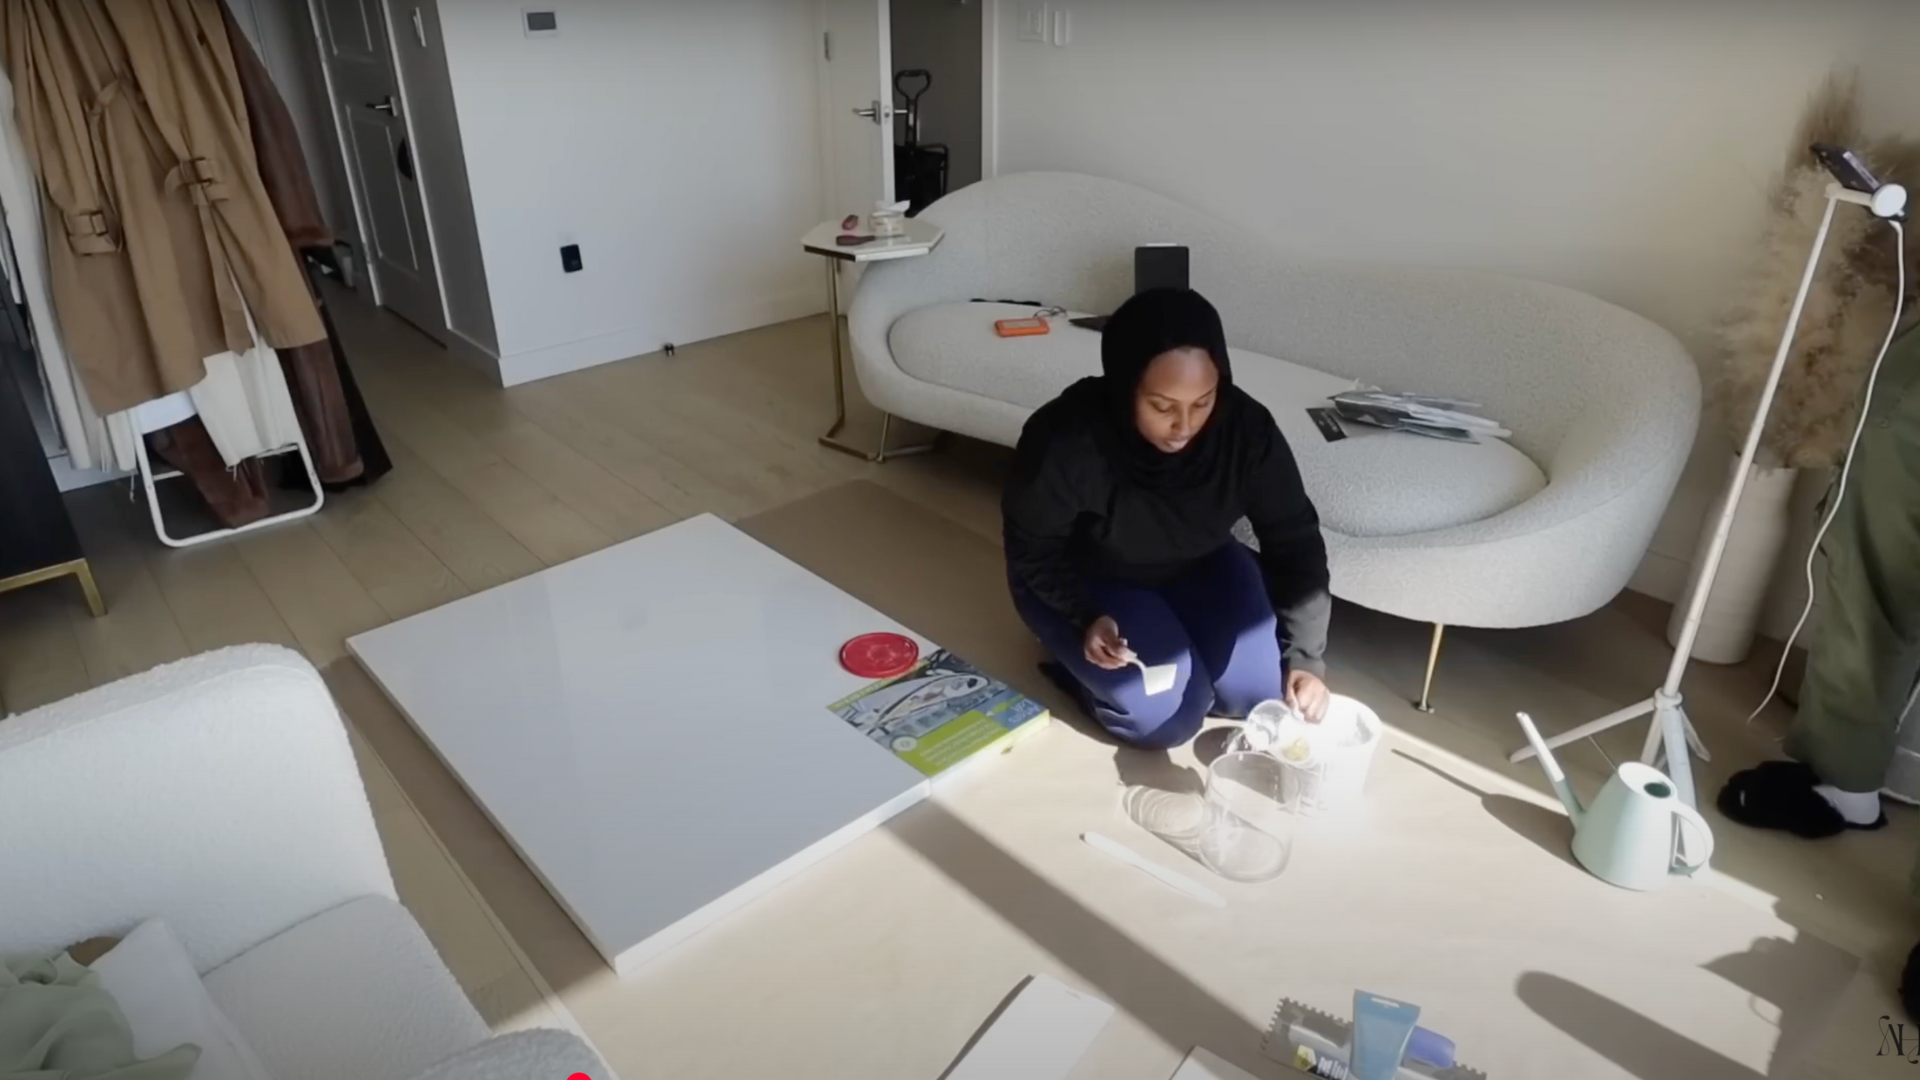
Follow the instructions on the plaster powder package, usually mixing about two parts powder to one part water.
The goal is to get a consistency thicker than paint but still spreadable.
If it’s too runny, add a bit more powder. However, be aware that some plaster mixes dry very quickly and can harden before you finish applying them, so work efficiently.
Step 4: Using a Ready-Mixed Compound
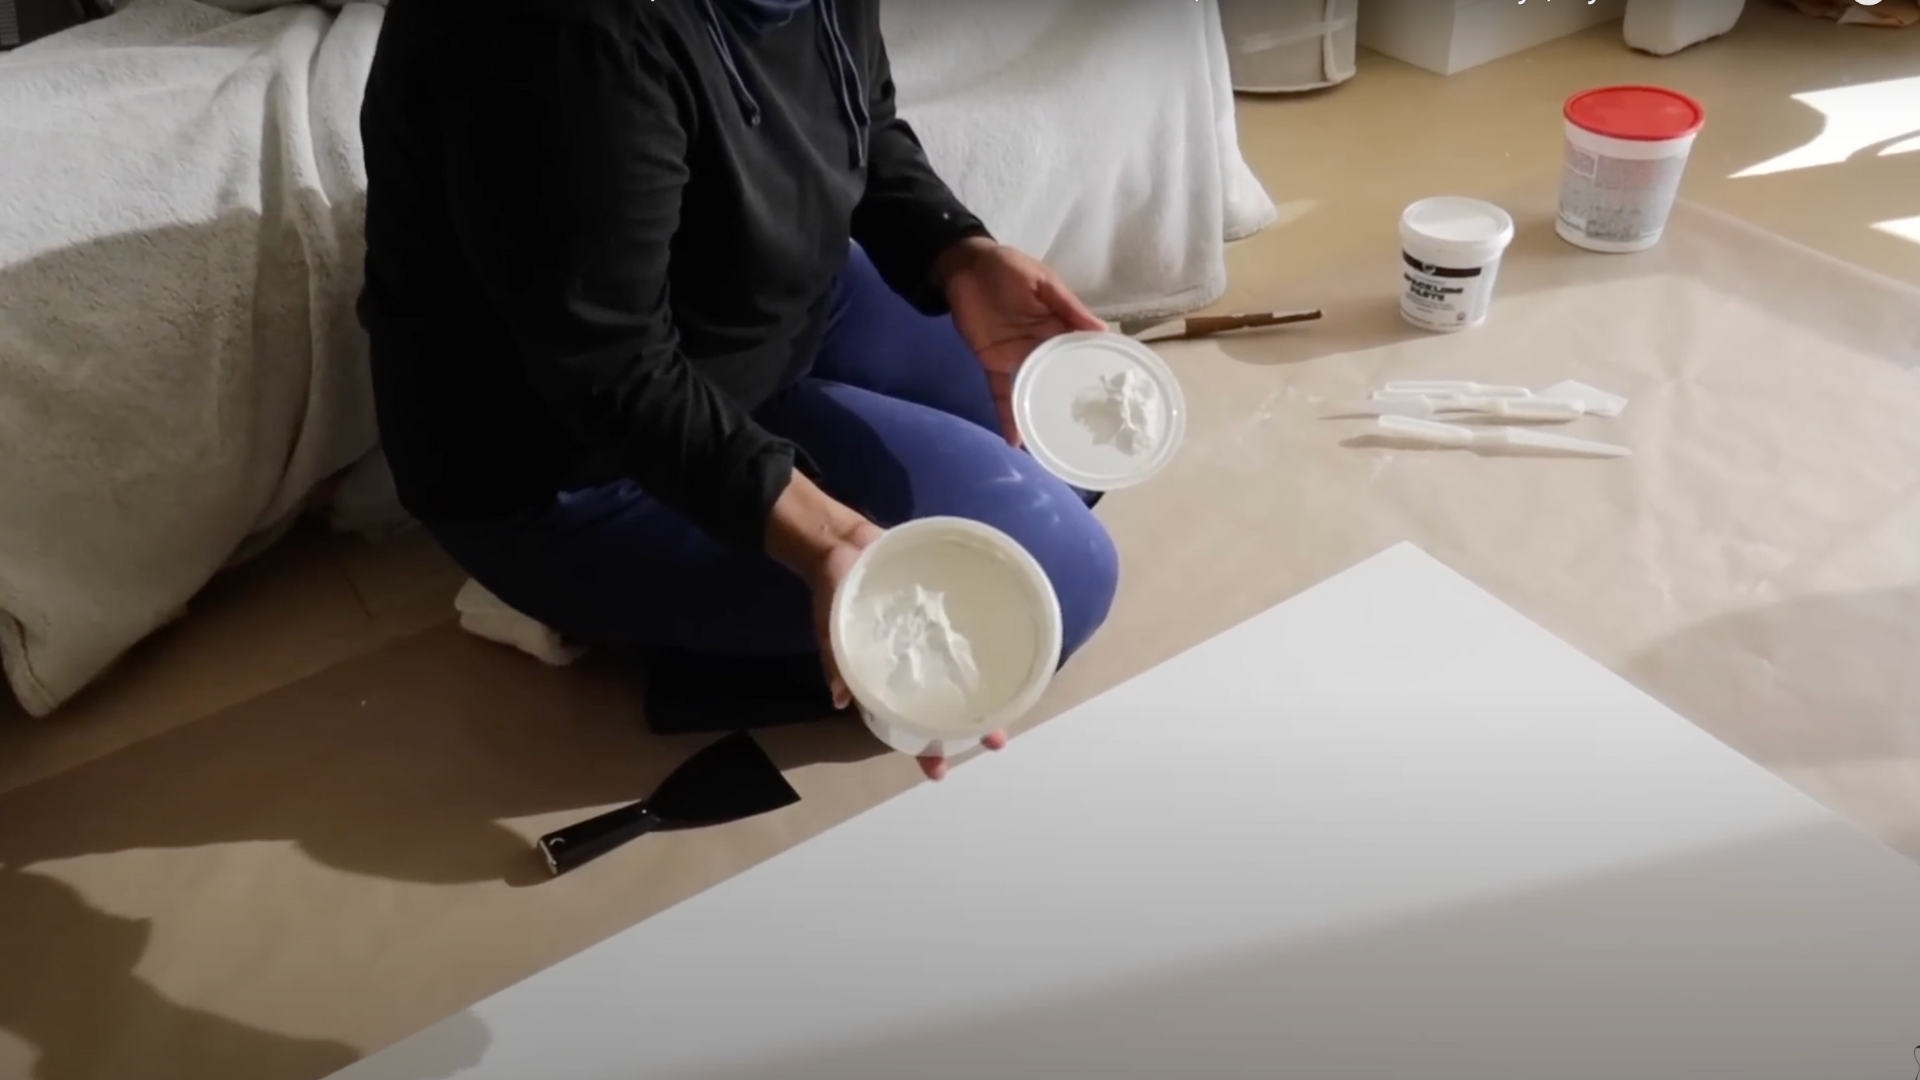
If you find the plaster drying too fast or difficult to work with, consider switching to a ready-mixed compound like Spackle Paste.
This type of product is softer, more pliable, and stays workable longer.
Choose a white spackle paste to keep a clean look, and it will be easier to spread smoothly over the canvas.
Step 5: Applying the Spackle Paste
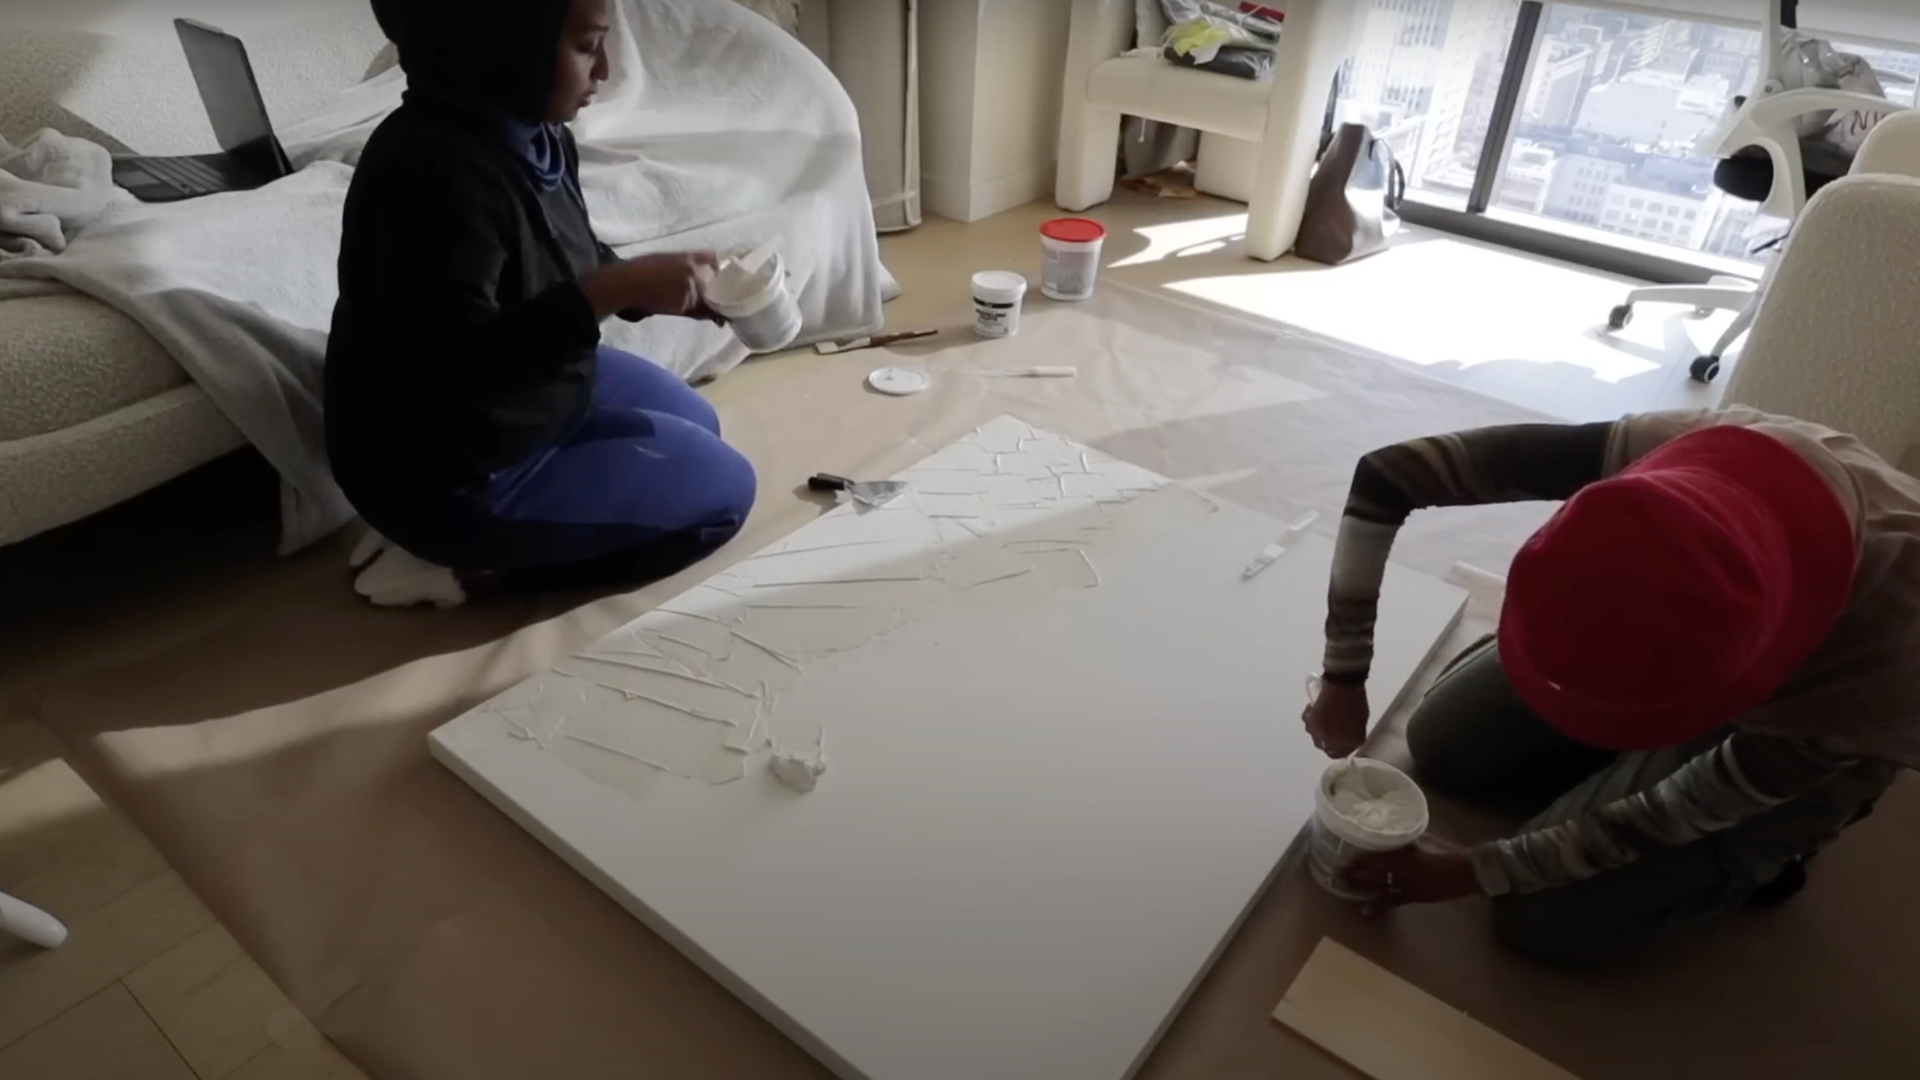
Apply a generous layer of the spackle paste over your entire canvas without worrying about being perfect at first.
The goal here is to build a textured base layer that you can refine later. Use your tools to create interesting textures and patterns while the paste is still soft.
Step 6: Letting the Canvas Dry
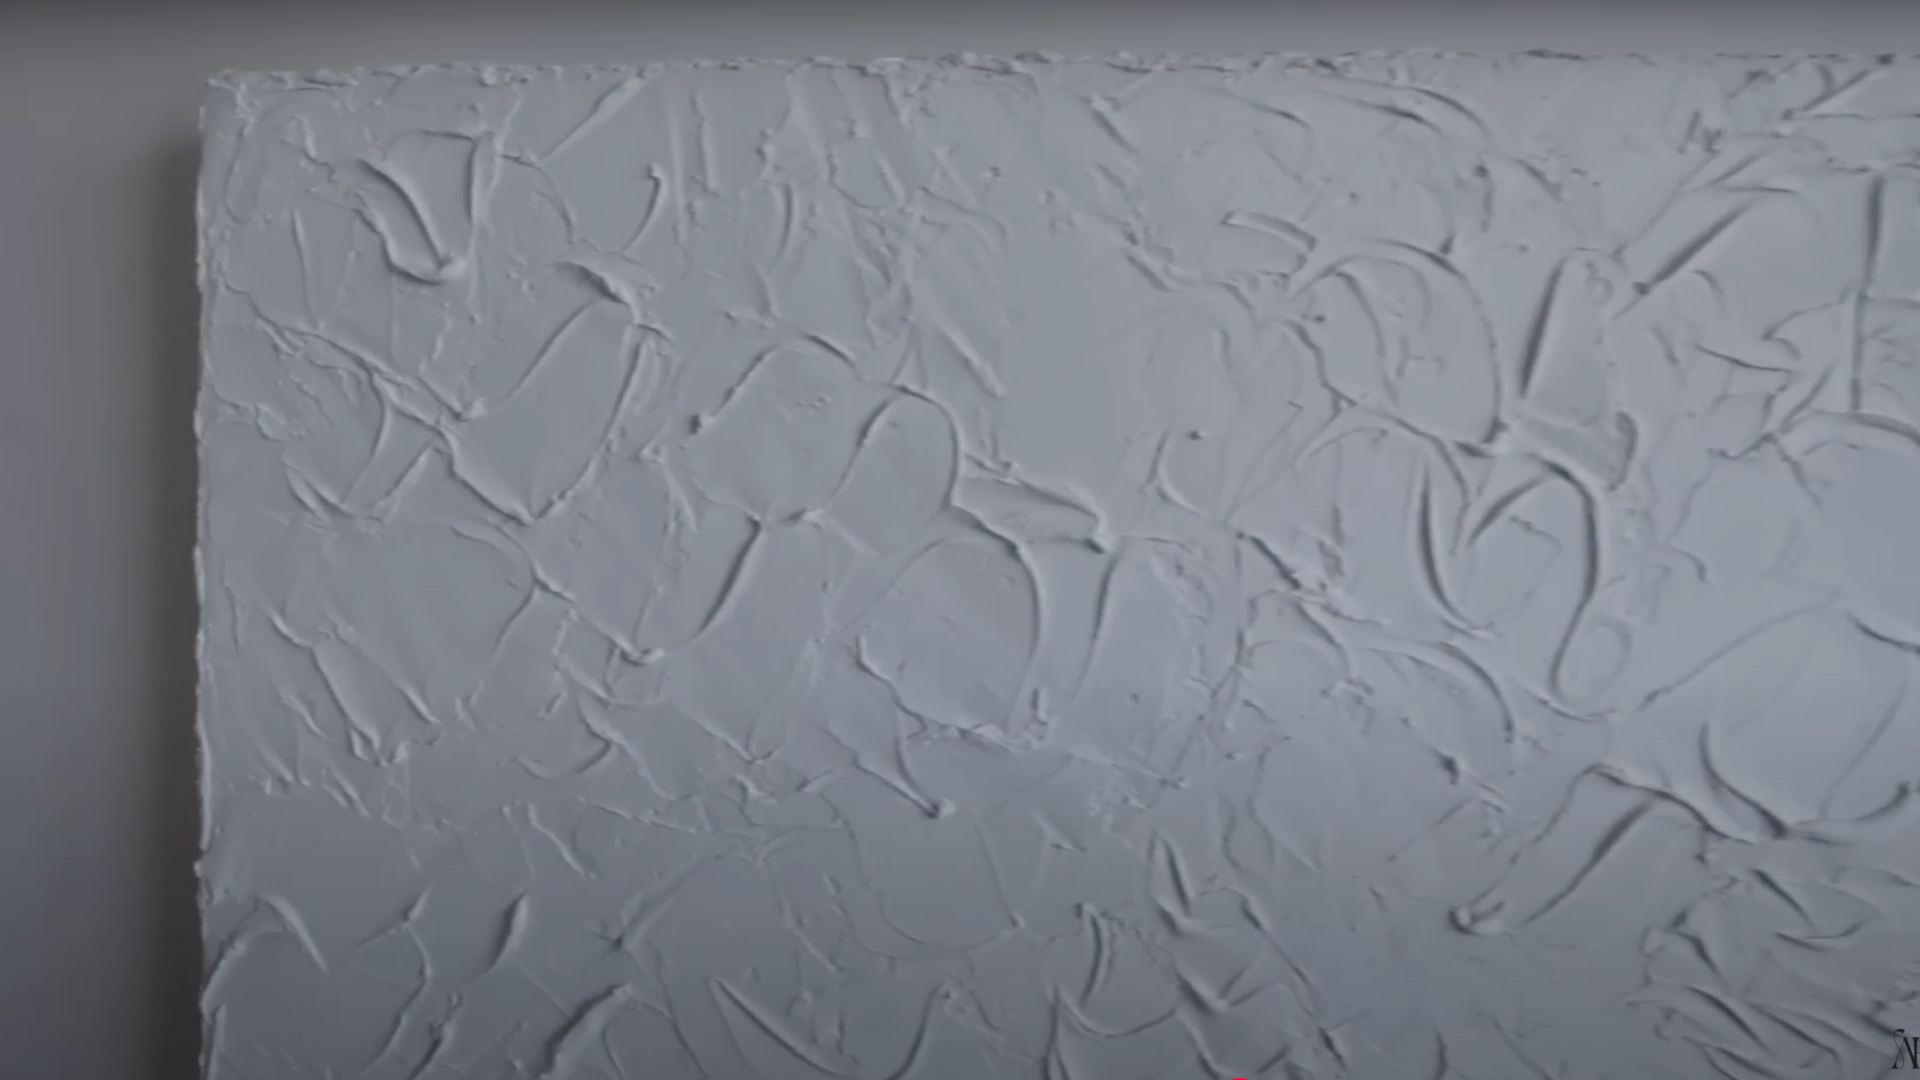
Allow the canvas to dry fully before touching or adding more layers. Even if the product says it dries quickly, it’s safer to wait at least 24 hours to make sure it’s completely set.
Keep in mind that edges may become fragile once dry, so handle the canvas carefully to avoid flaking.
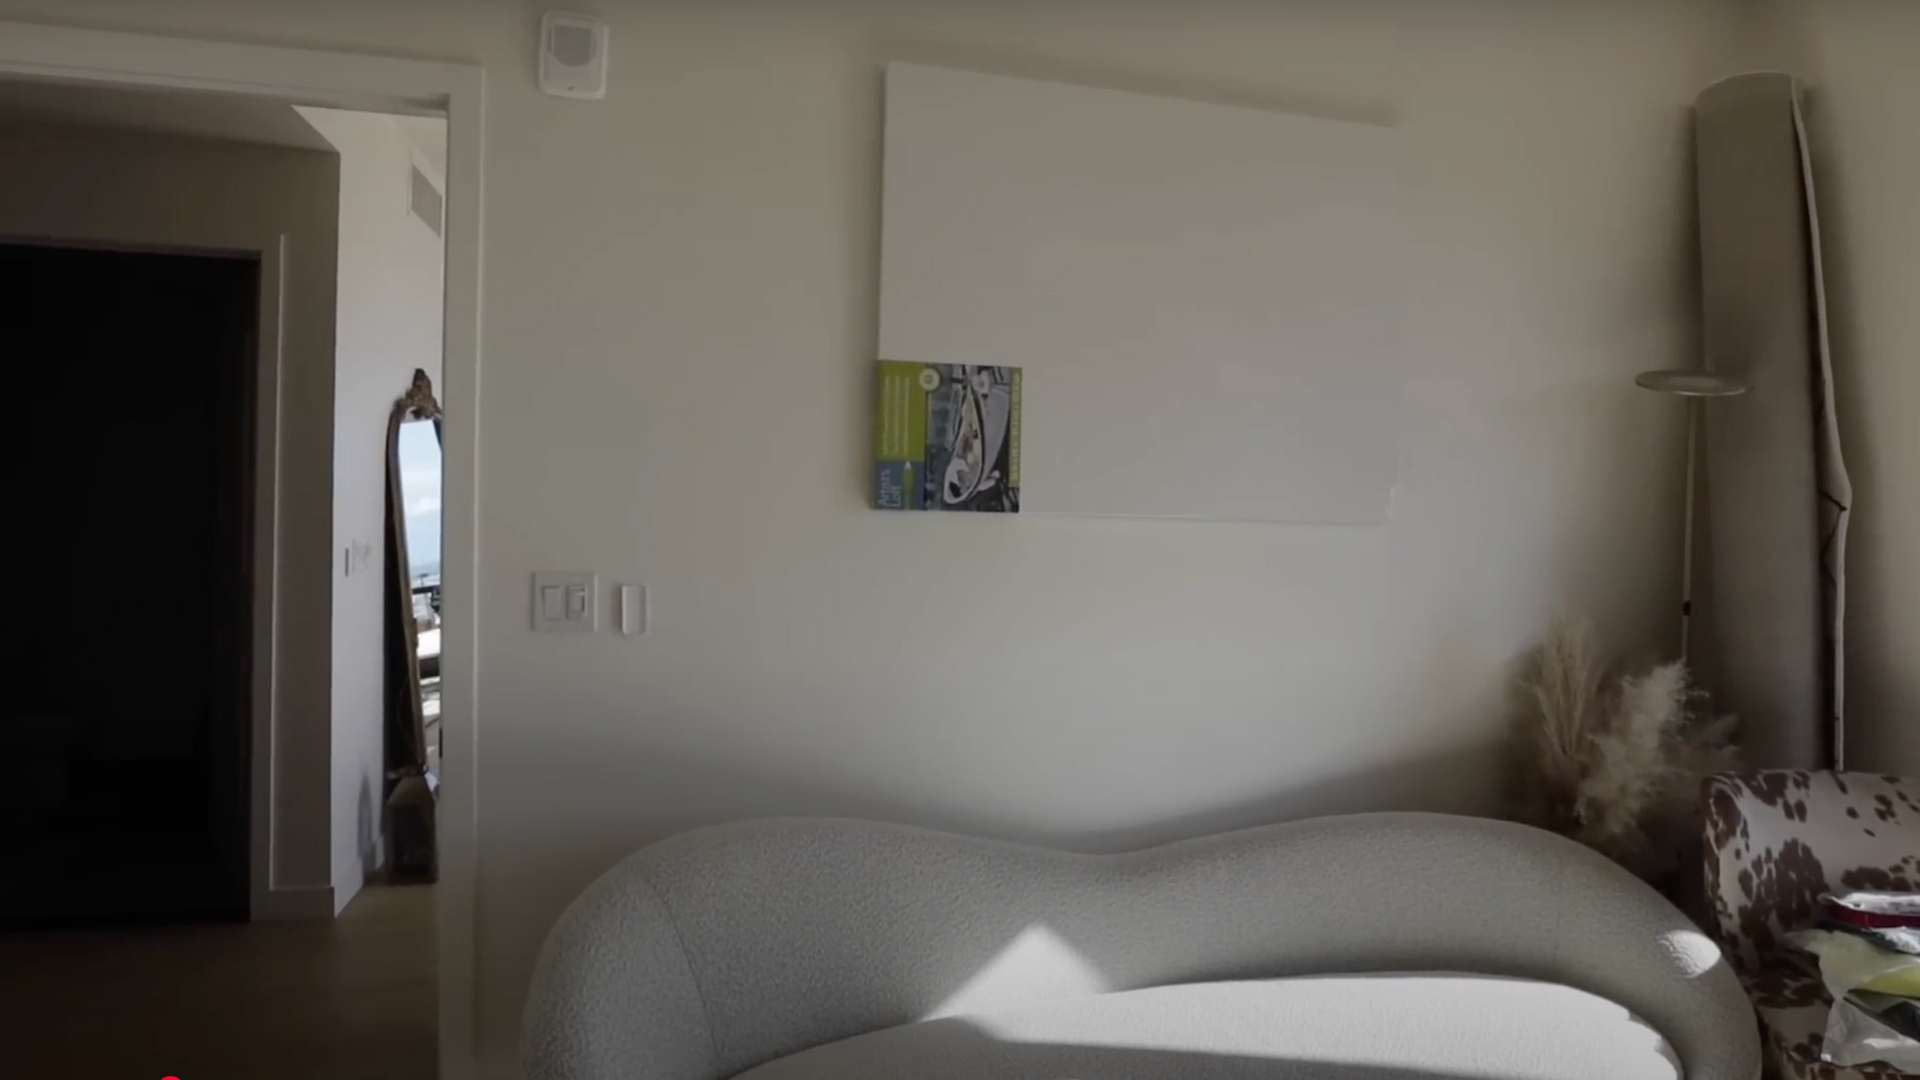
Step 7: Preparing to Hang the Canvas
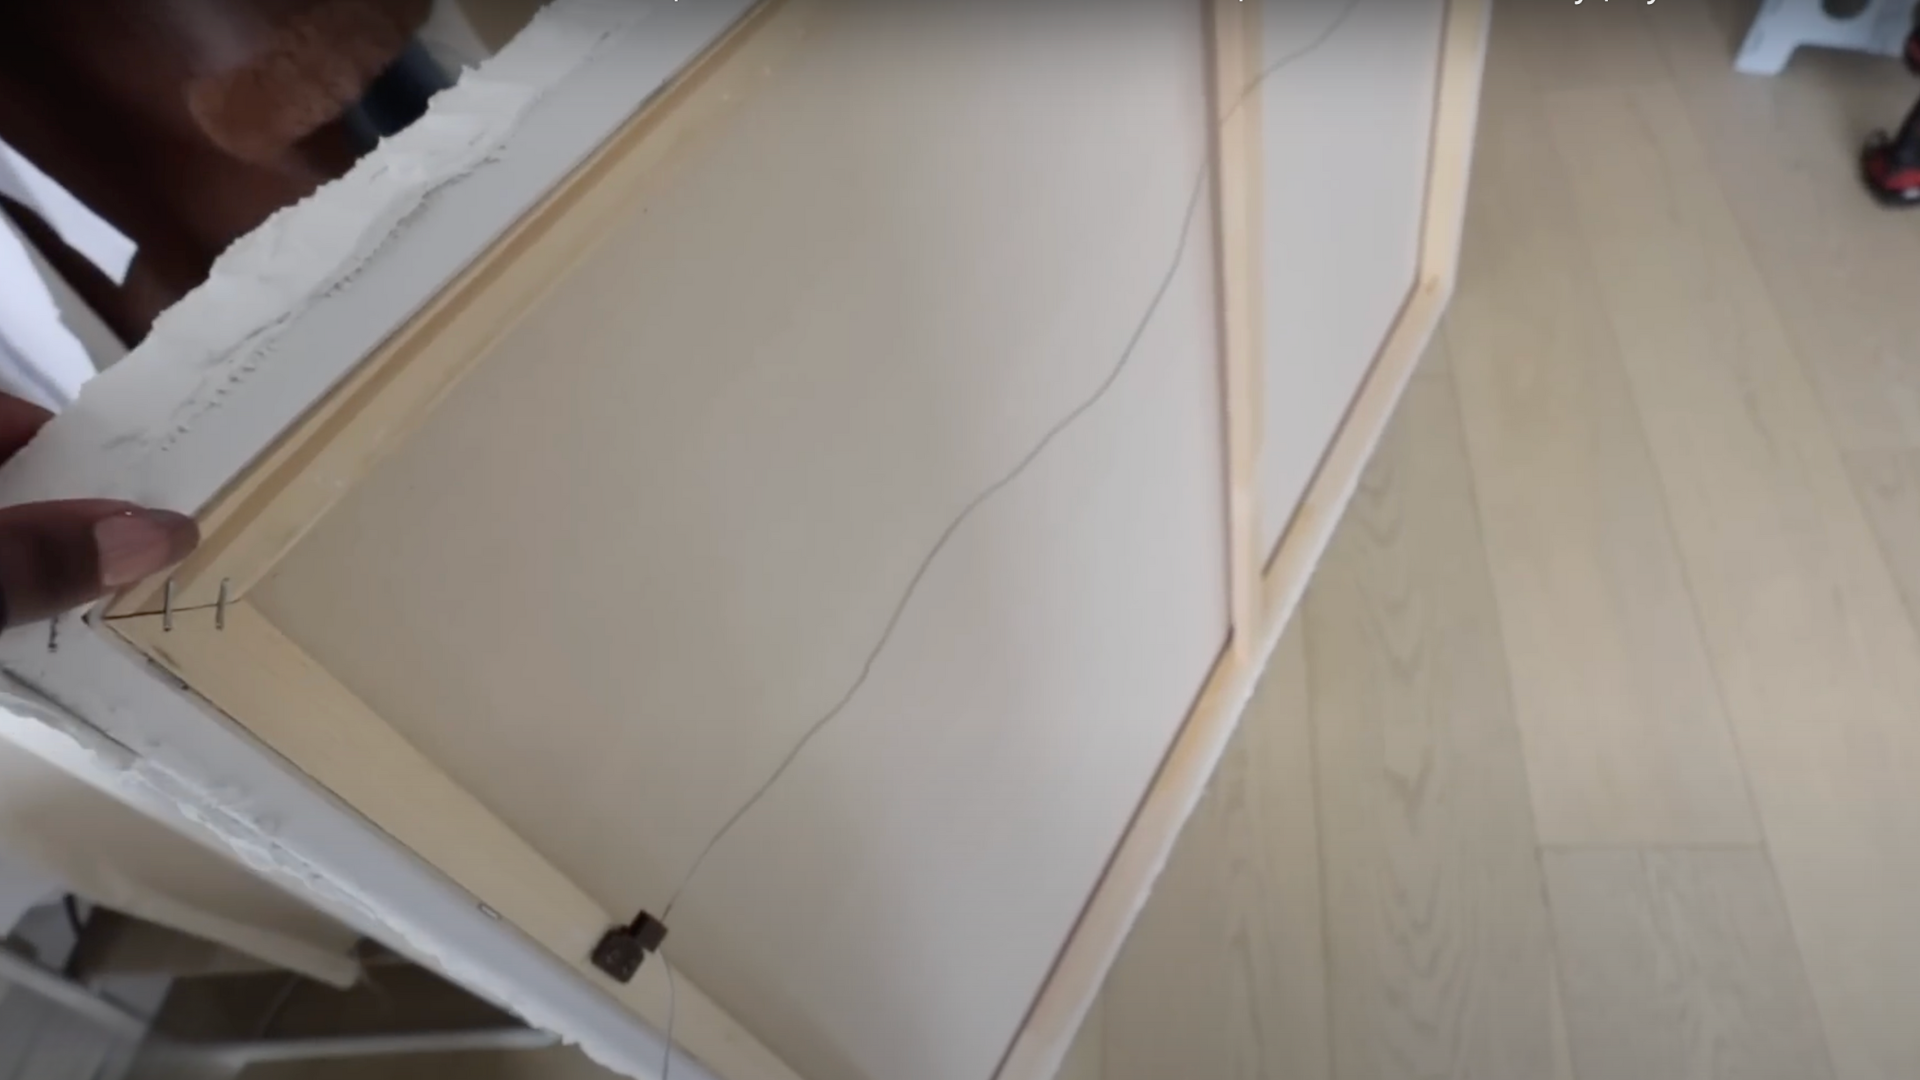
Because the canvas will be heavier due to the plaster, choose a sturdy hanging system.
An easy-tie canvas kit with wires and plastic mounts is ideal for attaching securely to the back of the wooden frame.
Additionally, use wall hooks rated to hold more weight than you expect to ensure safety. If unsure about installation, consider hiring someone to help with mounting.
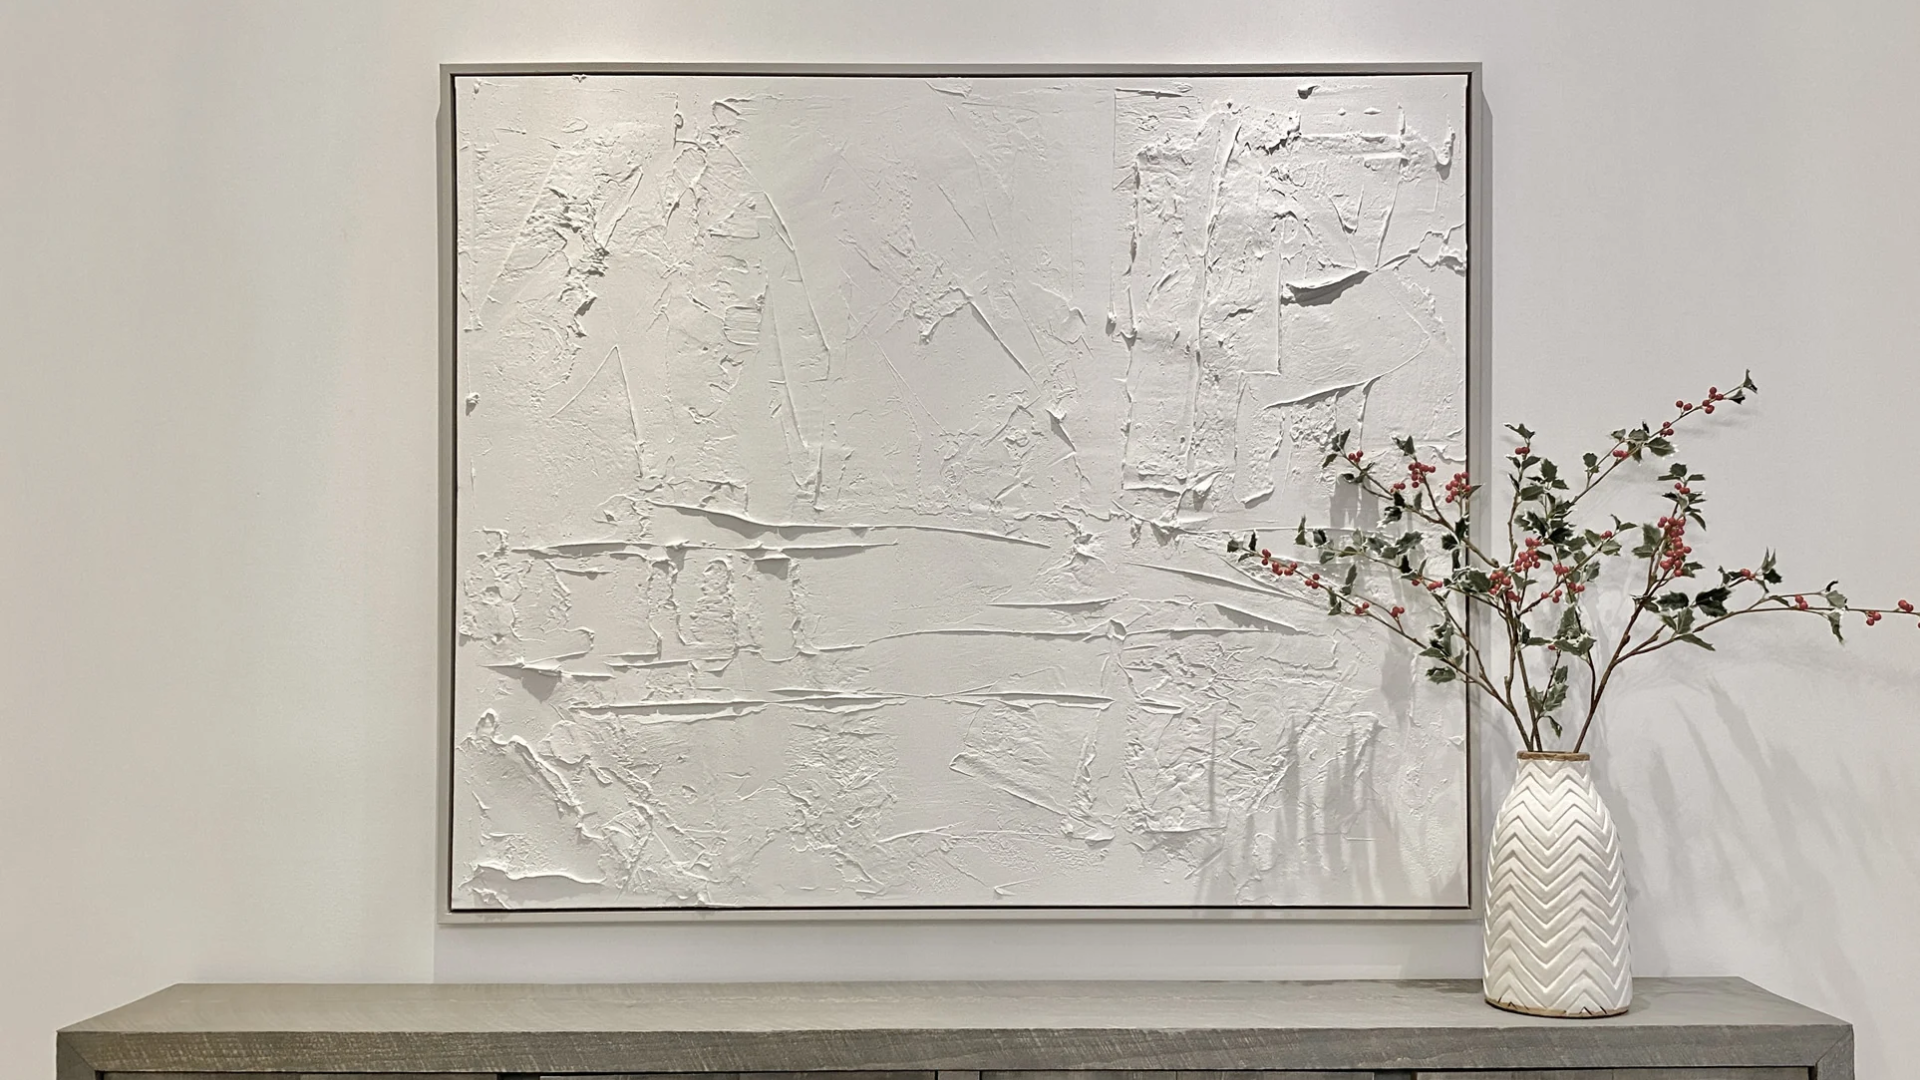
Step 8: Final Reveal
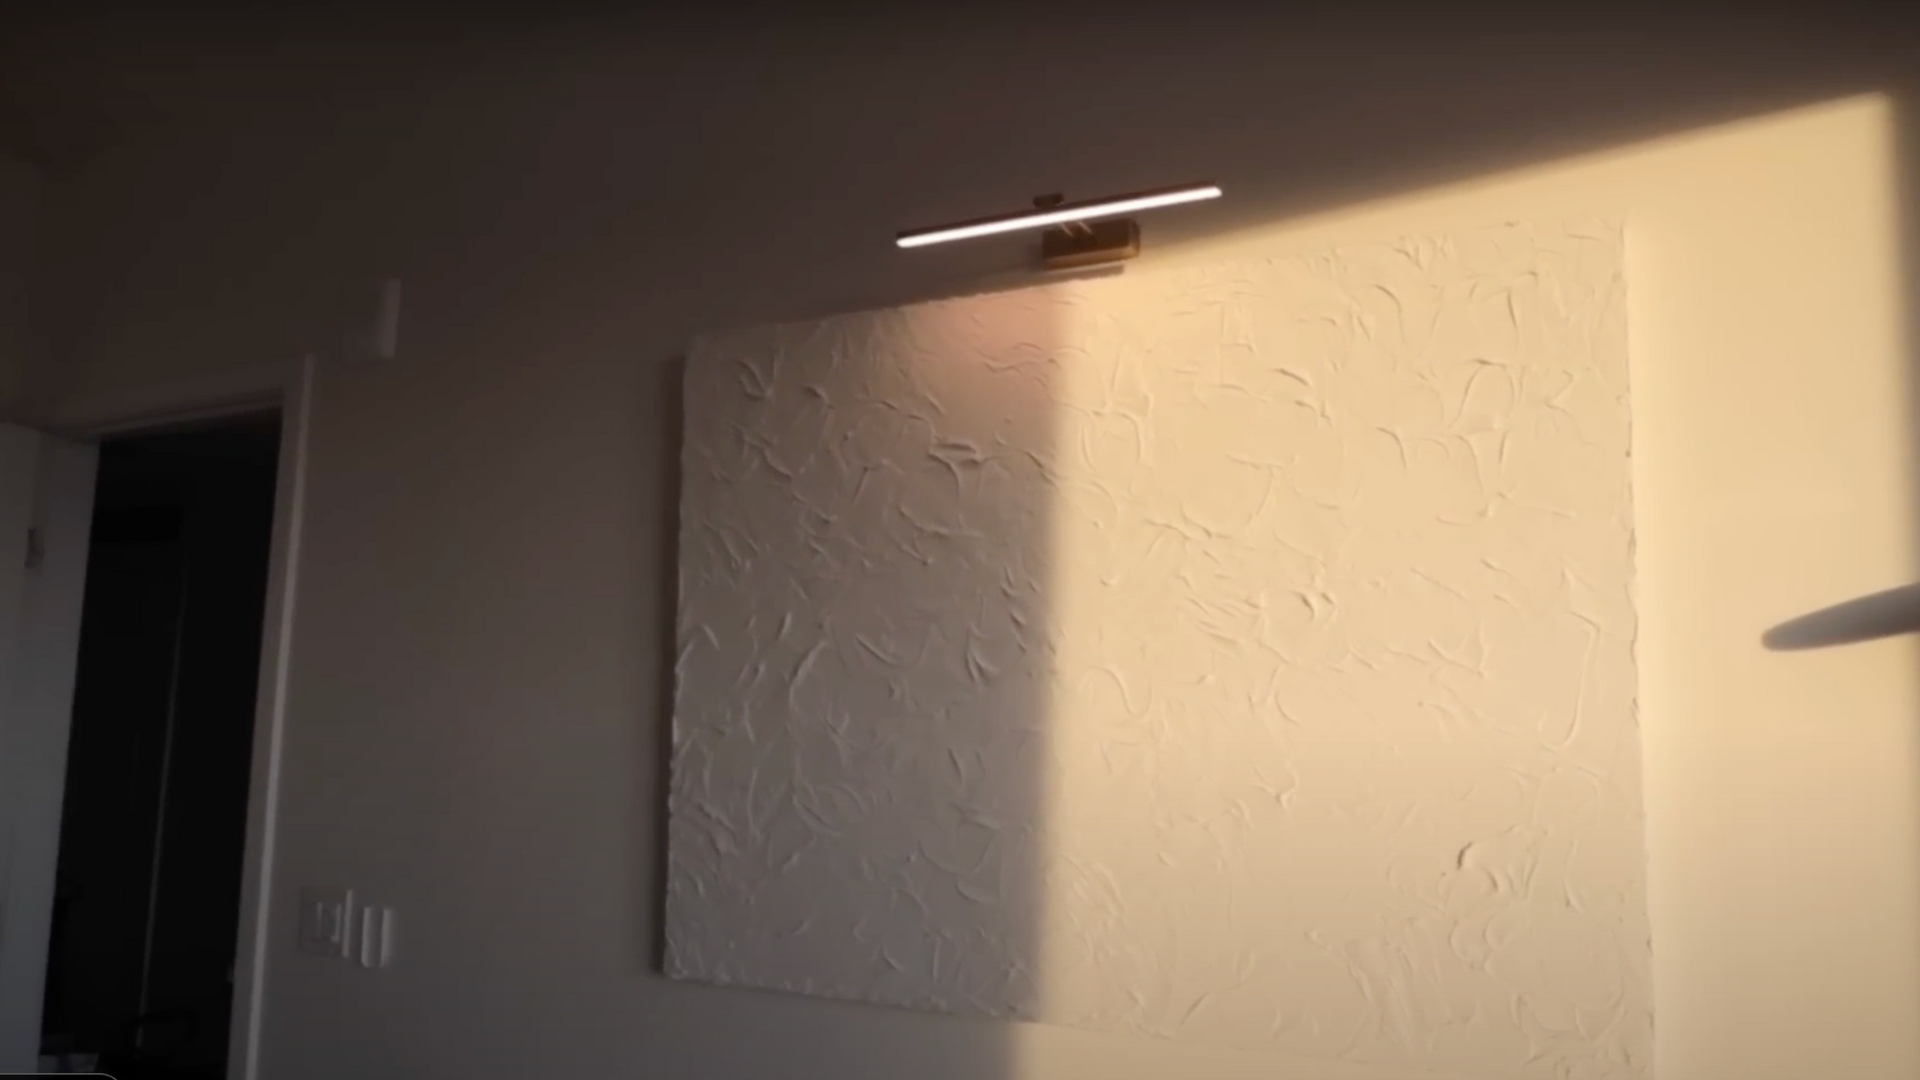
Once everything is set up, canvas hung, and lighting installed, the textured wall art will create a stunning focal point in your space.
This DIY method is budget-friendly and lets you customize your piece exactly how you want it.
It also saves you significant money compared to buying similar artwork from stores or online.
Keeping track of your materials and costs can help if you want to replicate the project or share the idea with others.
For a visual guide, you can refer to this tutorial by @AyshaHarun on YouTube.
Techniques for Creating Textured Wall Art
There are several creative techniques to add texture and dimension to your wall art. You can use modeling paste, fabric, stencils, or natural elements to add texture and create unique, personalized wall art.
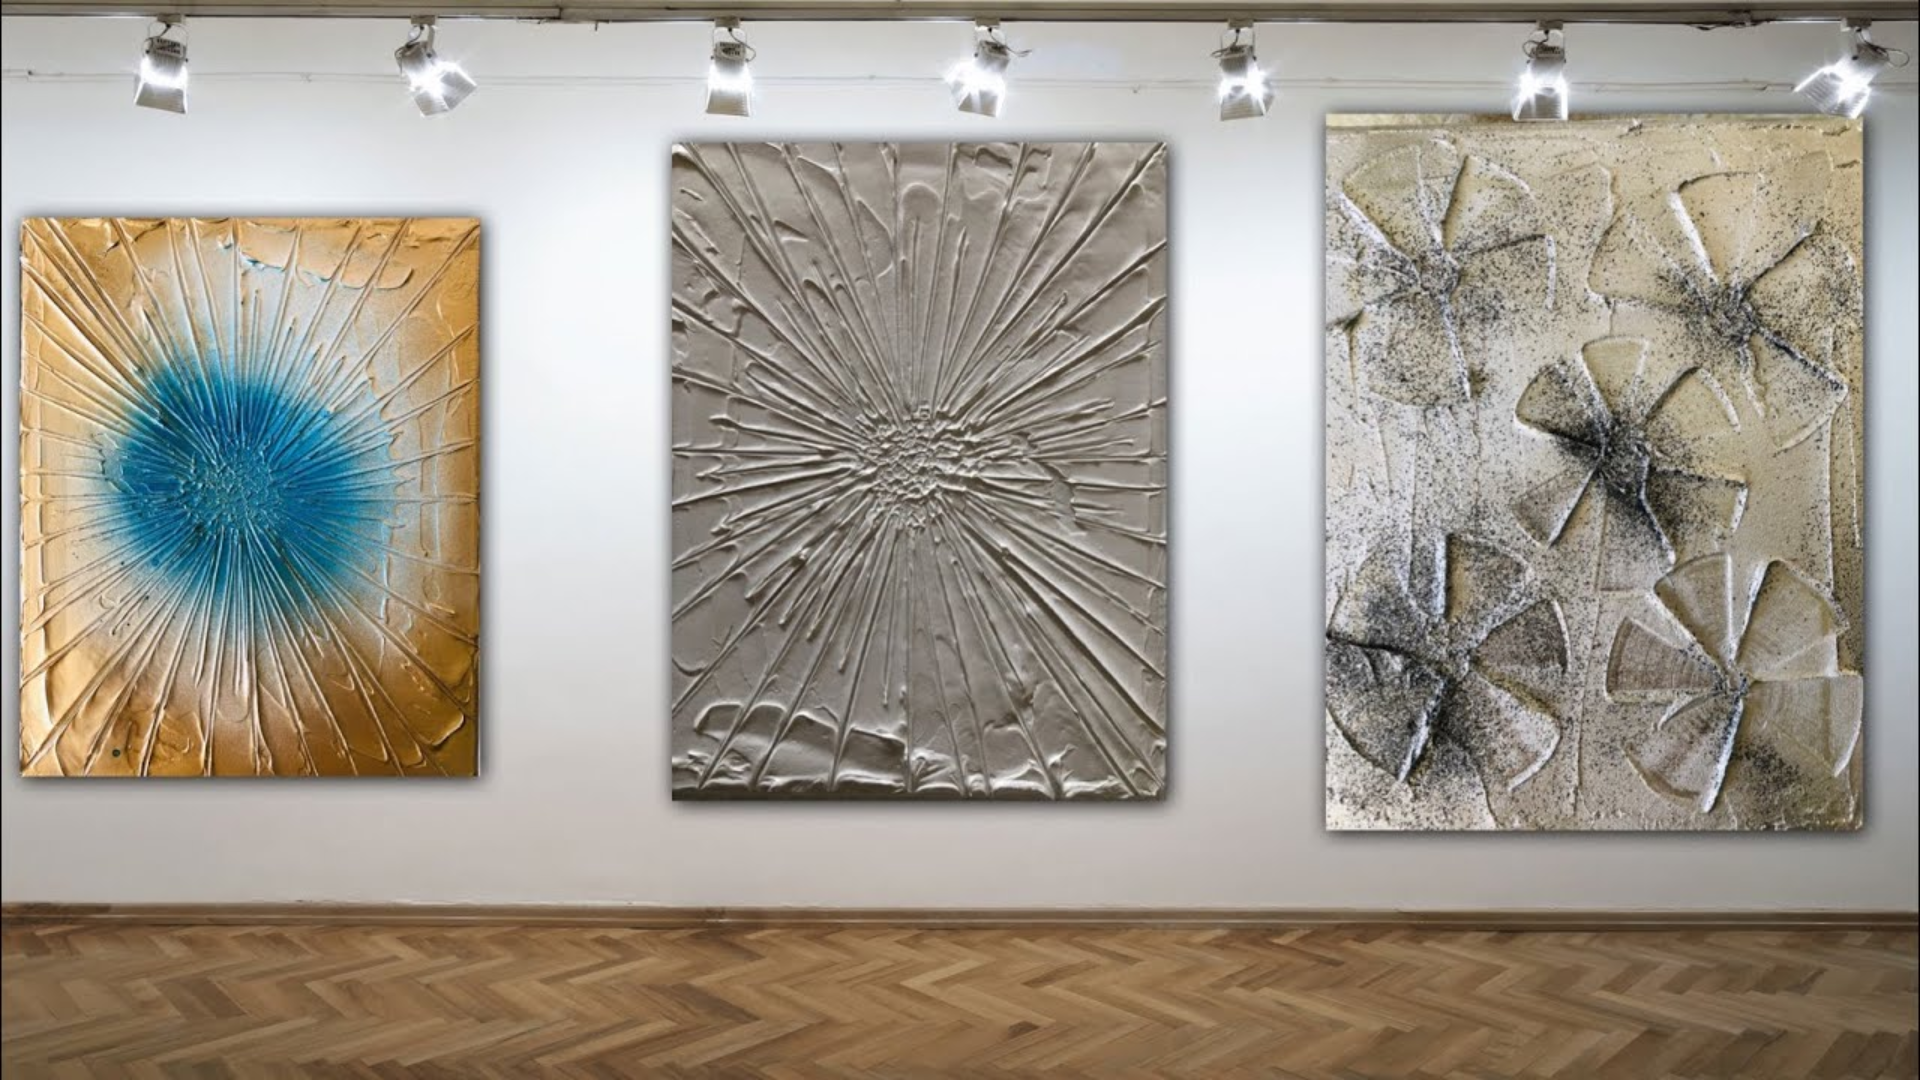
1. Using Modeling Paste for Raised Designs
Begin with a stretched canvas or wooden panel as your base; sanding the surface lightly can create a rustic effect if desired.
Lightly sketch your desired design or abstract shapes with a pencil to guide the application.
Using a palette knife, scoop and spread modeling paste thickly over the sketch lines, creating waves, swirls, or geometric forms. Layering the paste builds dimension.
Allow the paste to dry completely, which usually takes 12 to 24 hours, depending on thickness.
Once dry, paint over the textured surface with acrylic paints, using techniques like dry brushing to highlight raised areas or gradients to add depth.
Finally, seal the artwork with a clear sealant to protect the textured masterpiece.
2. Fabric and Mixed Media Textured Wall Art
Start by choosing a sturdy base, such as a wooden panel, and select textured fabrics like burlap, lace, or mesh.
Cut the fabric into shapes or strips and arrange them on the base in a pattern or abstract collage.
Secure the fabric pieces firmly to the base using hot glue or craft glue, layering and overlapping them to add dimension.
Paint over or around the fabric to unify the colors and further enhance the piece by gluing on embellishments, such as beads, buttons, or natural elements like twigs.
To finish, apply a spray varnish to protect the entire creation.
3. Natural Element Textured Art
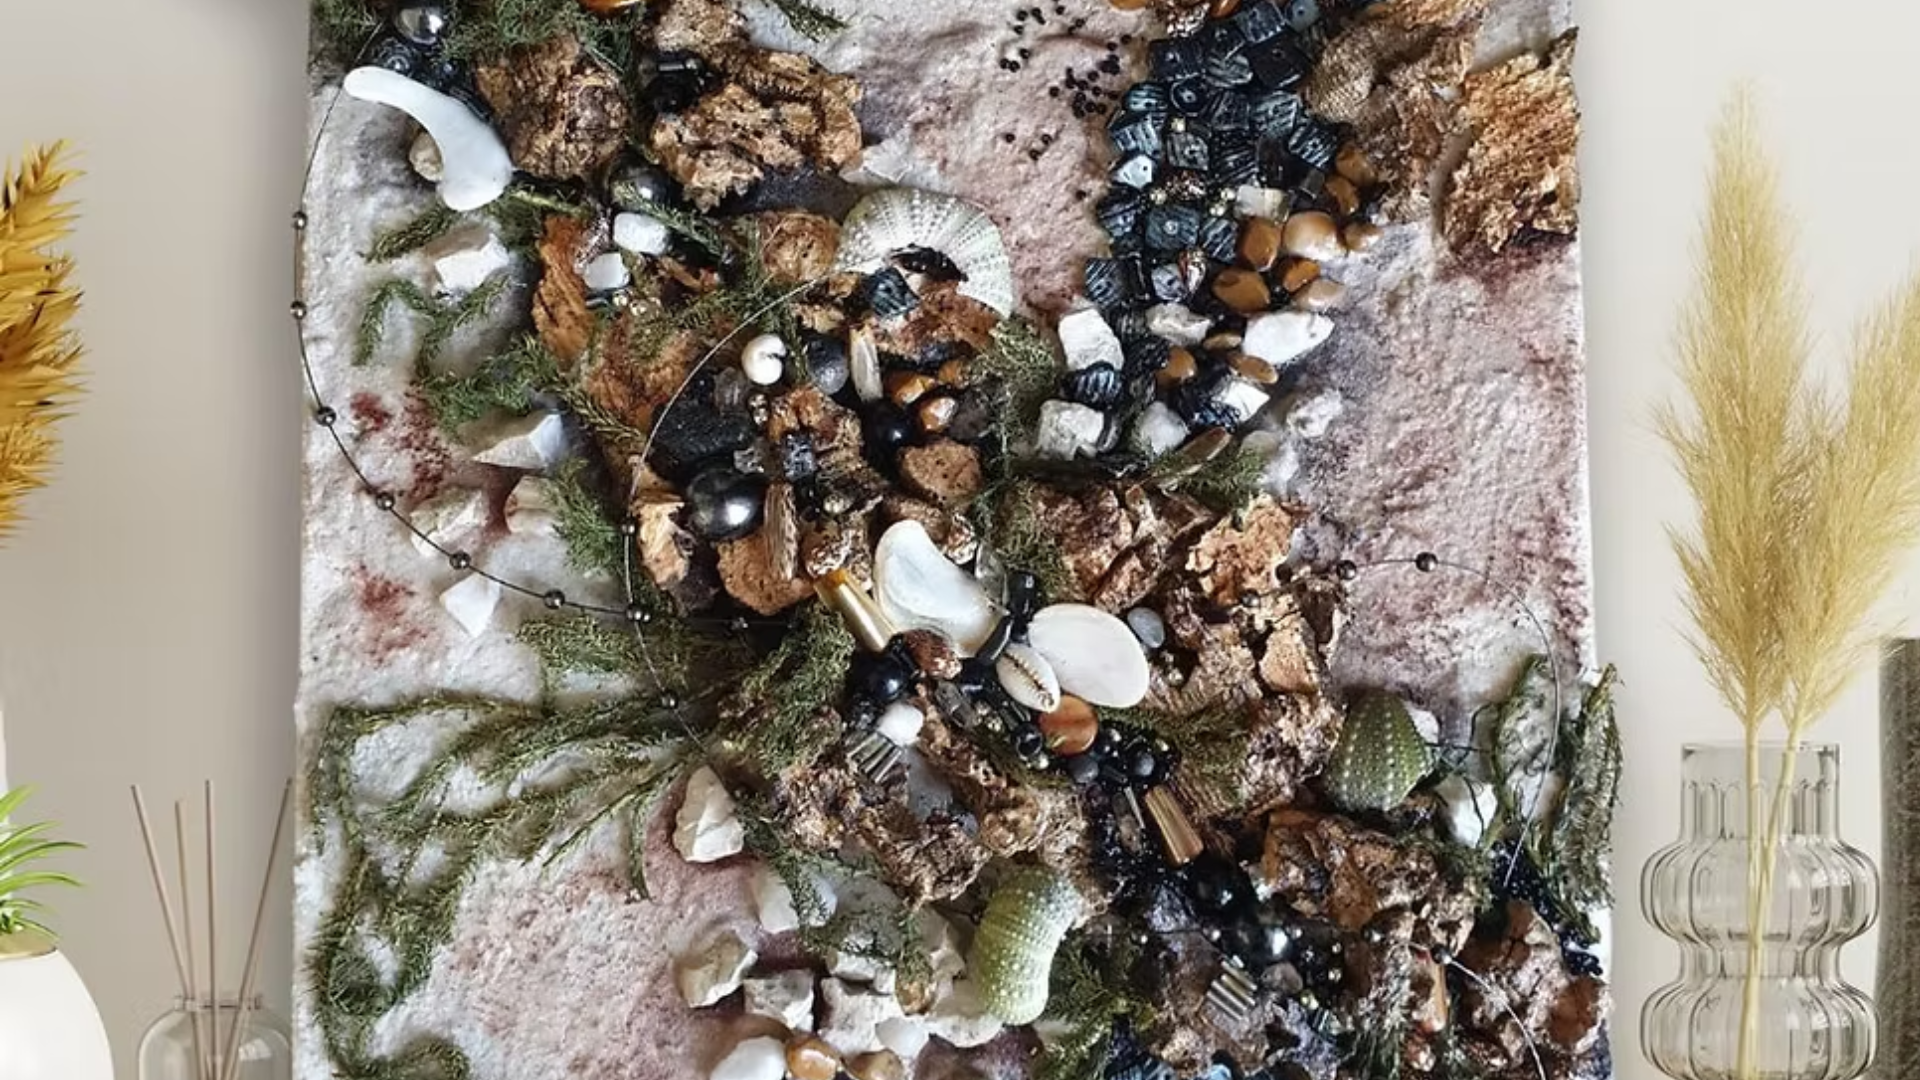
Gather natural materials such as dried flowers, twigs, sand, or small stones to use in the artwork.
Plan the design by arranging these elements on a canvas or wooden board to form patterns or scenes.
Securely attach the natural materials using strong glue or a hot glue gun.
To add contrast and depth, apply a layer of modeling paste or acrylic paint to parts of the base around the natural elements.
Finish the piece with a sealant spray to preserve the textures and colors of the natural materials over time.
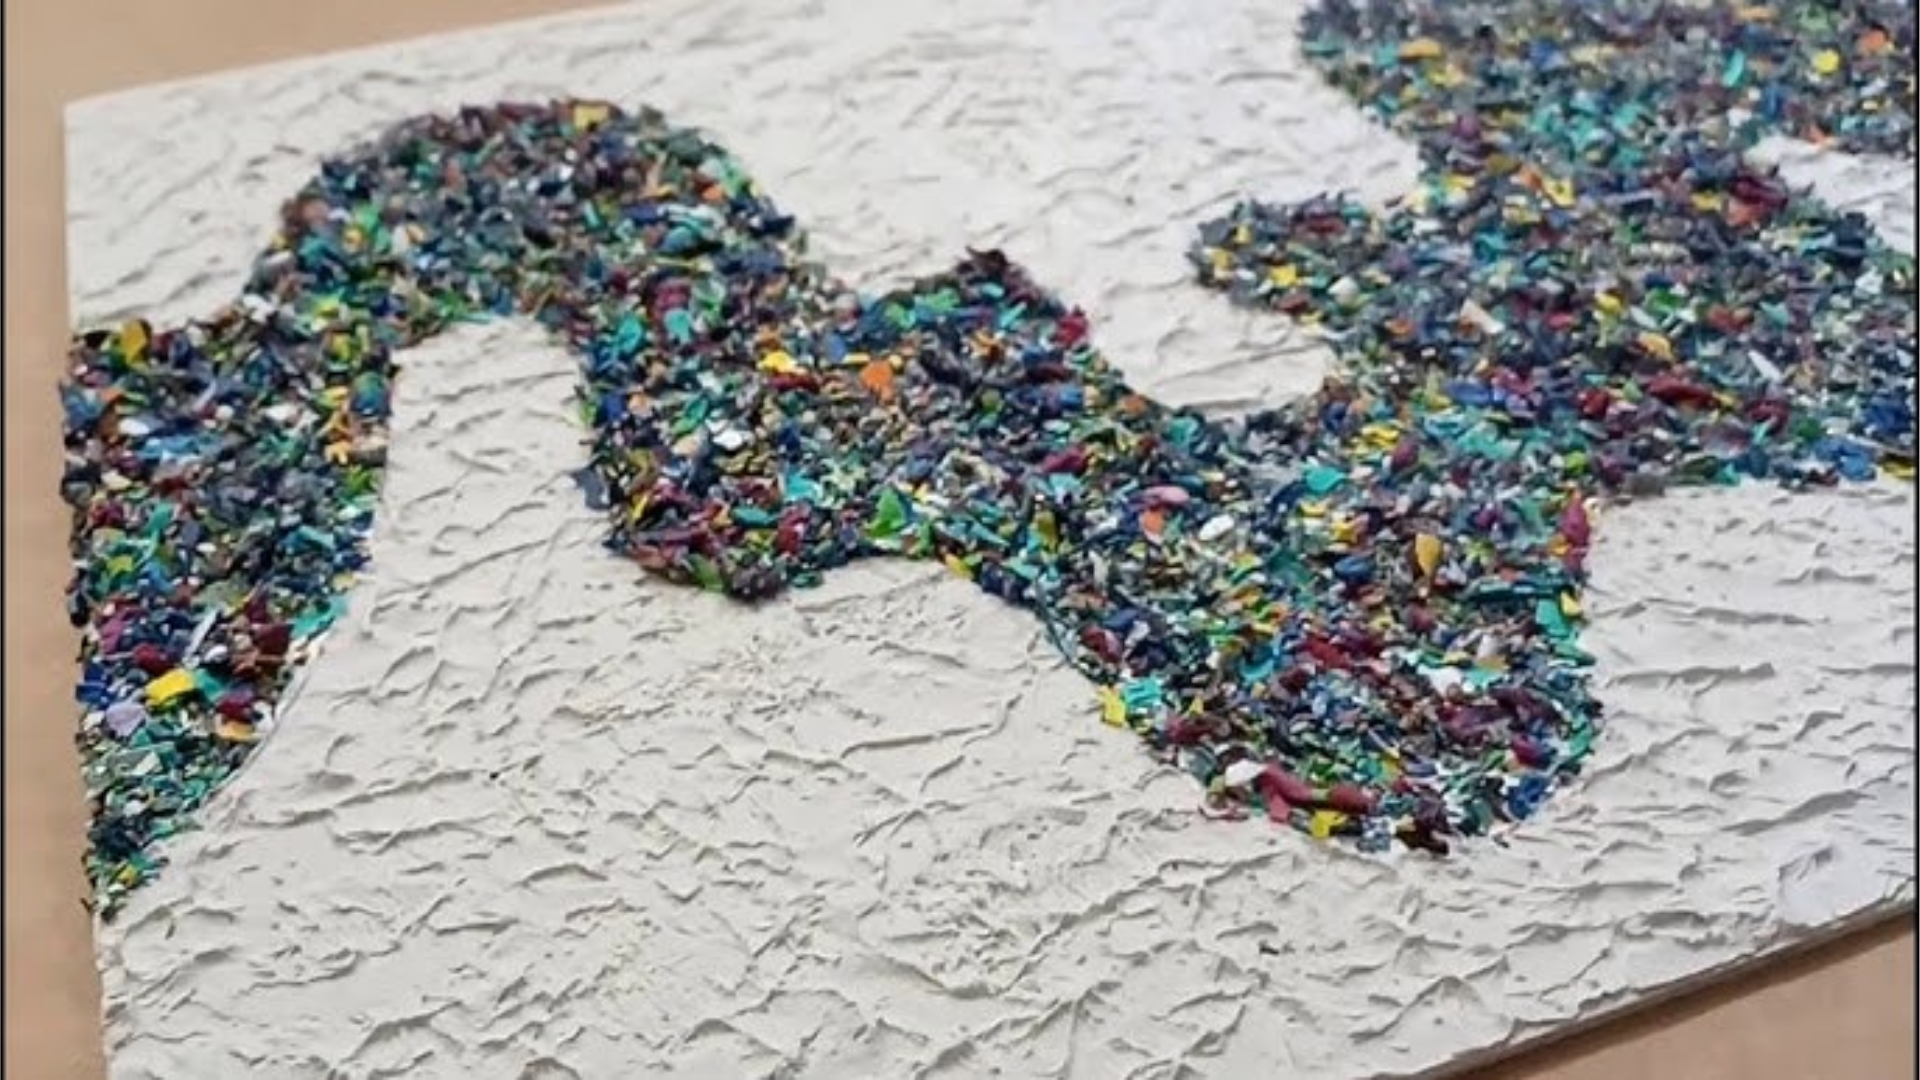
4. Stenciling with Texture Paste
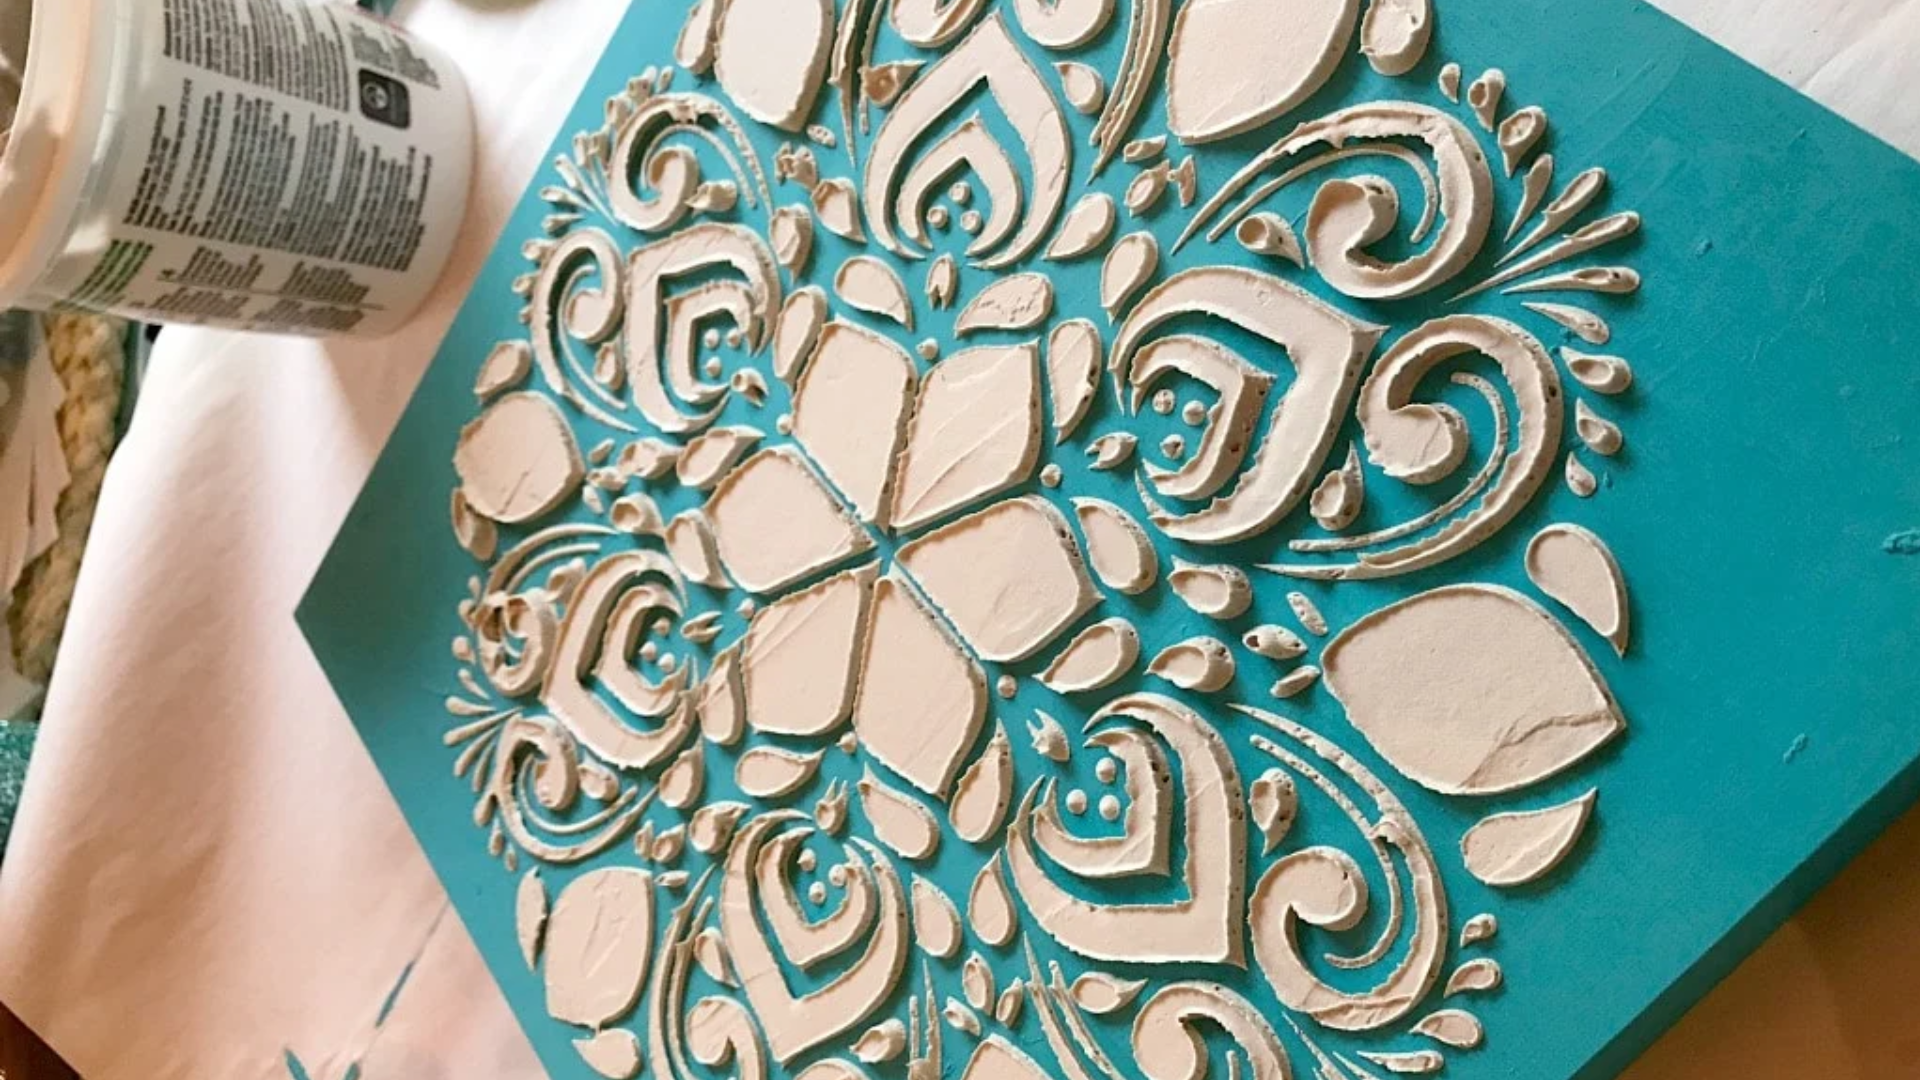
Select a stencil pattern that fits your style and prepare a base surface, such as canvas, wood, or even a wall. Tape the stencil firmly onto the surface to keep it in place.
Using a palette knife, spread texture paste evenly over the stencil, ensuring coverage without excess.
Carefully lift the stencil before the paste dries, then allow the textured design to dry completely.
After drying, the textured pattern can either be painted over to add color and detail or left raw for a clean, minimalist look.
Tips for Creating Stunning Textured Wall Art
Make your textured wall art stand out with these expert tips. From testing techniques to choosing the right colors, these strategies will help you achieve a professional-looking result with ease.
- Experiment first: Practice on small panels before starting your main piece to understand how materials behave.
- Mix techniques: Combine fabric, modeling paste, stencils, or natural elements to create unique textures.
- Choose colors wisely: Use metallics for a luxurious finish or earth tones for a natural, grounded look.
- Work in layers: Build up texture gradually to create depth and dimension.
- Keep tools clean: Clean spatulas and brushes between uses to avoid hardened clumps or unwanted textures.
- Start with a neutral base: A white or beige base makes it easier to control color and highlight texture.
- Use a spray bottle: Lightly mist the surface while working to keep materials pliable longer.
Conclusion
Creating your own DIY textured wall art is a fun way to add personality and style to your space.
You don’t need to be an expert; these techniques let you explore texture, color, and materials in a way that’s all your own.
I still remember how proud I felt hanging my first piece. It became a great conversation starter and added a special touch to the room.
You might like bold, eye-catching textures or softer, simpler designs. Either way, this guide gives you plenty of ideas and easy steps to follow.
Ready to bring some texture to your walls? Grab your materials, pick a technique, and start your one-of-a-kind piece today.
I’d love to hear how your project turns out. Feel free to share or ask questions at any time.