
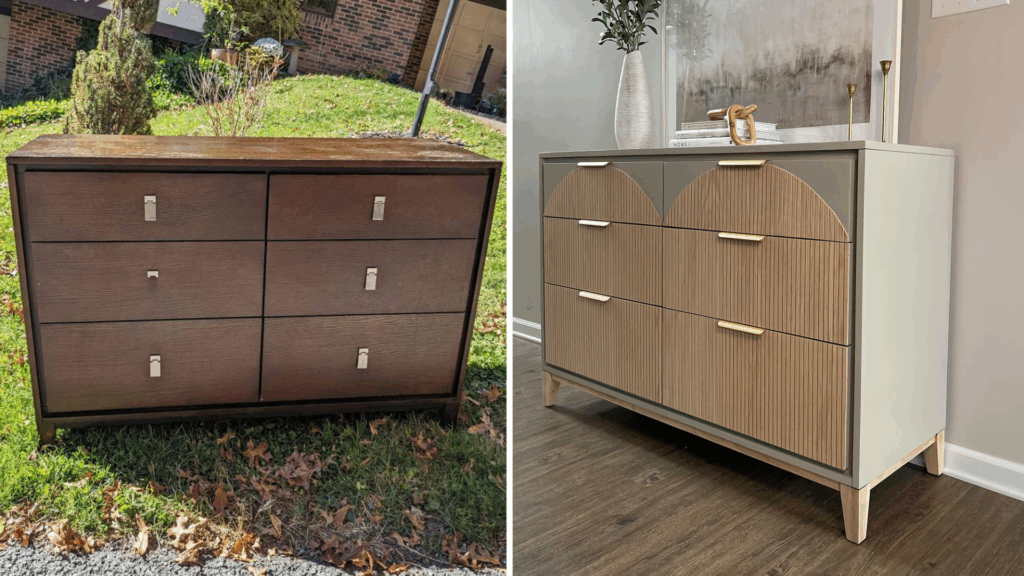
Flipping furniture is a fun way to earn money, especially if you enjoy fixing things and being creative.
If you’ve ever seen an old table at a yard sale and thought, “I could make that look great,” you’re already thinking like a furniture flipper.
I’ll walk you through every step so you don’t feel stuck or unsure. You’ll learn how to find cheap pieces, clean and repair them, paint them the right way, and finally, sell them for a good profit.
Even if you’ve never done anything like this before, don’t worry-I’ll make it simple and clear. You don’t need fancy tools or a big workshop.
Just a little time, some effort, and the right plan. I’ve gathered real tips from people who’ve been doing this successfully, so you can feel confident starting out.
Let’s turn those old pieces into something new-and help you make money while doing it.
Why Furniture Flipping is Worth Your Time?
Flipping furniture is a smart way to make extra money without needing a big investment.
You can start with just a few tools and a piece you find online or at a thrift store. I like that it’s flexible-you can work on your own schedule and pick projects that fit your space and budget.
It also feels good to take something old and give it a fresh new look. Whether you’re saving for something special or just want a creative side hustle, this is a great option.
Many people have turned furniture flipping into a steady income, and you can too with the right steps. It teaches you useful skills like painting, fixing, and even selling.
Plus, there’s always someone looking to buy unique, ready-to-use furniture. If you’re willing to learn and put in some effort, flipping furniture is definitely worth trying.
How to Flip Furniture: Step-by-Step Process
Flipping furniture can seem tricky at first, but once you break it down, it’s just a series of simple steps. I’ll guide you through each part so you know exactly what to do from start to finish.
Step 1: Disassemble and Clean
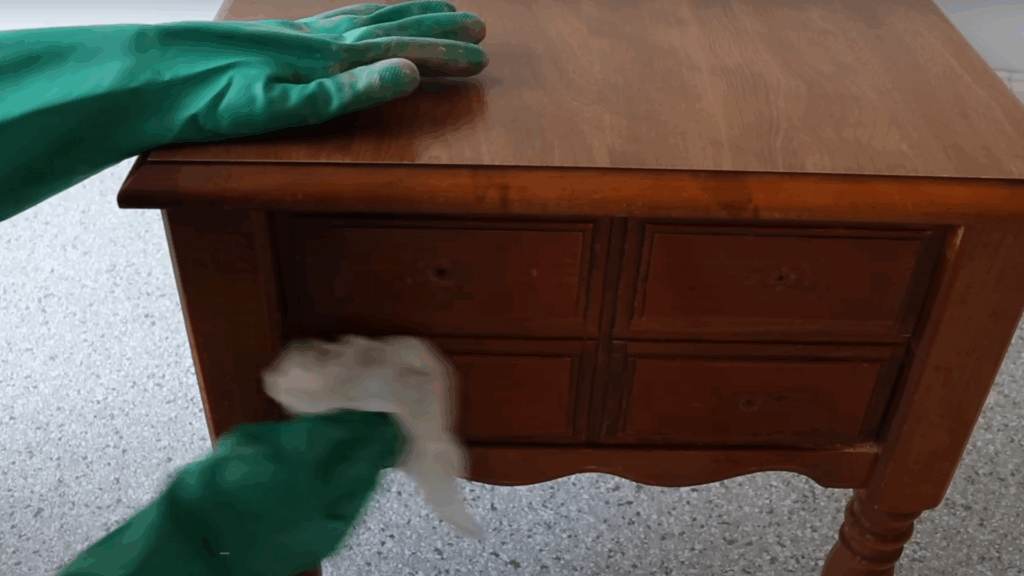
Start by removing all hardware, like handles or knobs. Put them in a bag so you don’t lose them.
Use a strong cleaner, like White Lightning, mixed with water in a spray bottle. Spray the whole piece and scrub with a cloth or sponge.
This removes dirt, grease, and old finishes. After cleaning, rinse with clean water and wipe dry. If your rag shows stains, your furniture might need a stain blocker later.
Cleaning well at the start helps paint stick better and keeps your finish looking smooth and neat. Take your time and clean every surface well.
Step 2: Repair Any Damage
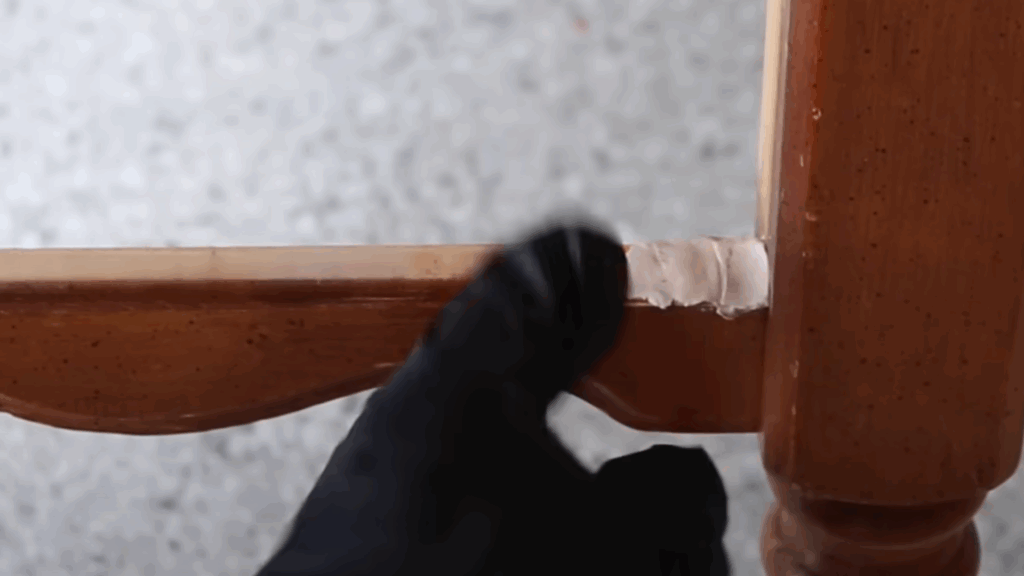
Look closely at your furniture for chips, deep scratches, or loose parts. Use wood epoxy to fill in holes or gouges.
It works like putty and is easy to press into cracks. If any veneer is peeling off, use wood glue to stick it back and clamp it until dry.
These repairs make the piece stronger and help it last longer. Let everything dry fully before you move on. Don’t skip this step-fixing damage now will help your paint look smooth and clean later.
Even small cracks can show through paint if they’re not fixed the right way.
Step 3: Sand for a Smooth Surface
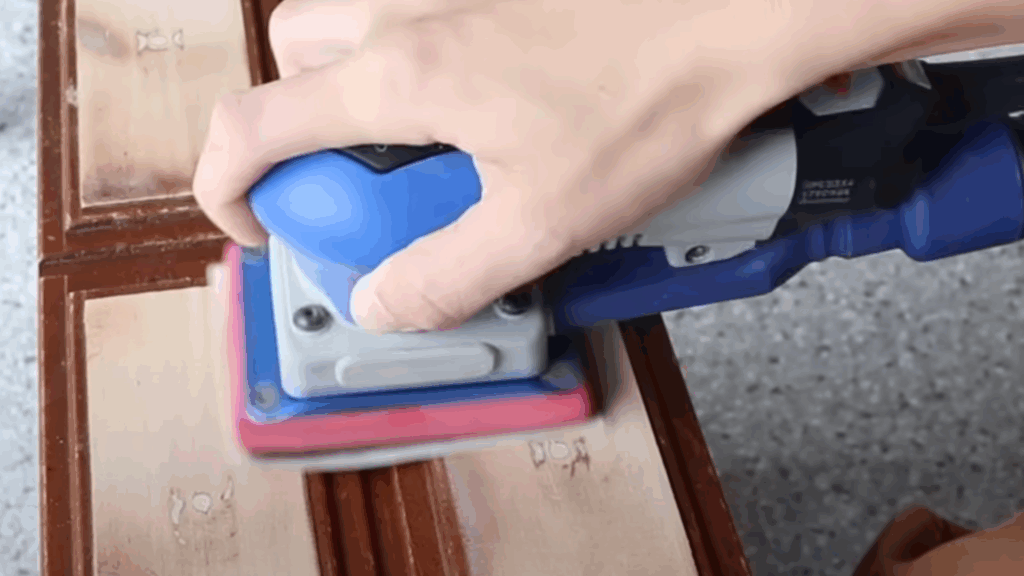
Once your repairs are dry, it’s time to sand. Use 120-grit sandpaper and go over all surfaces.
This helps smooth rough spots and takes off any shiny finish so the primer and paint will stick better.
Lightly sand inside drawers, too, so they feel fresh and clean. After sanding, use a mister bottle and a soft towel to wipe away dust.
Sanding is a little messy, but it’s important for a great final look. Don’t skip it-paint won’t stick to slick or dusty surfaces. Take your time, and make sure everything feels smooth to the touch.
Step 4: Prime the Furniture
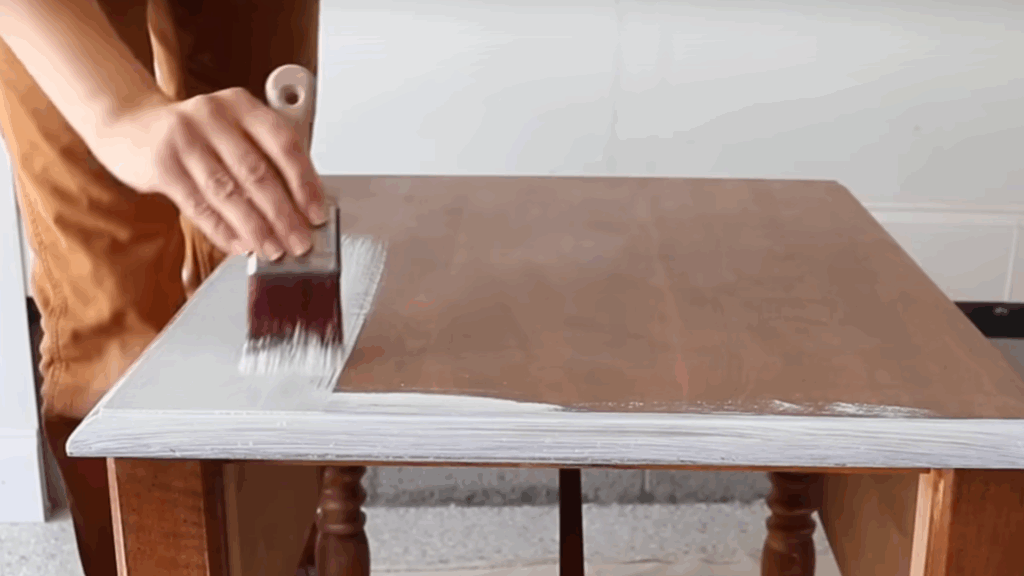
Priming helps your paint stick and blocks any stains or old colors from bleeding through. Use a stain-blocking primer like Dixie Belle BOSS.
It comes in white, gray, or clear. Choose white for light colors, gray for dark paints, and clear if you want a distressed wood look.
Use a brush or roller to apply one coat. Let it dry for an hour. Then add a second coat and let it dry overnight.
This helps with both stain and smell problems. If you skip priming, your paint job may not look as clean or last as long.
Step 5: Paint Your Piece
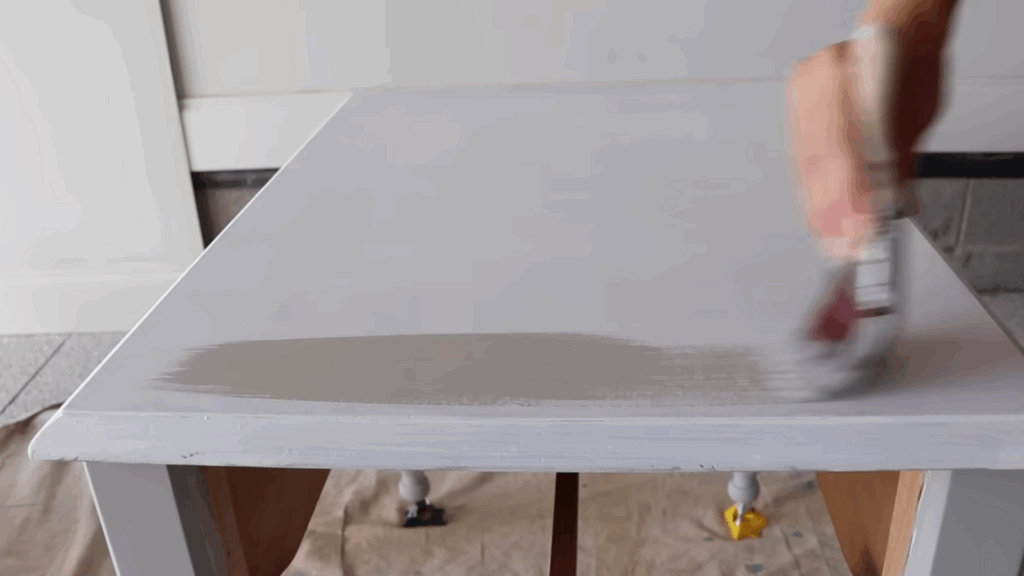
Pick a neutral paint color so your piece is easier to sell. I used Driftwood by Dixie Belle. Add a little water to your paint to make it smooth and easy to spread.
Use a soft brush, like a small round or angled mini brush, for corners and small spaces. Paint the top in long, even strokes.
After the first coat dries, lightly sand with a soft pad to remove bumps. Add more water to your second coat so it spreads thin and smooth. This makes the finish look nice and even, without lines or thick spots.
Step 6: Apply a Protective Top Coat
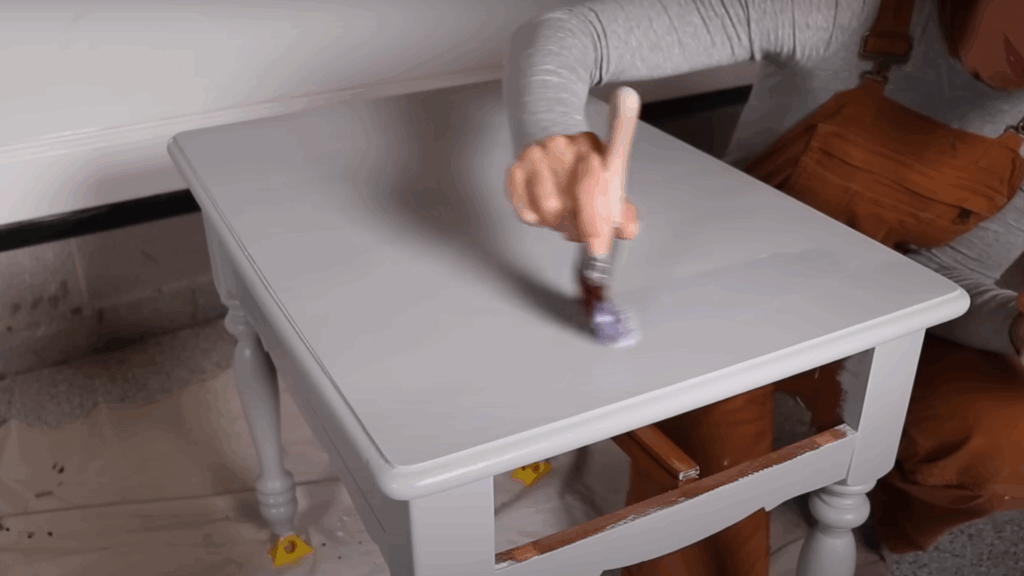
A top coat protects your paint and makes your furniture last longer. Use a clear satin finish like Dixie Belle Satin Clear Coat.
It goes on white but dries clear. Use a soft brush and apply it in long, even strokes. Make sure to wipe off all dust before starting.
Let the first coat dry completely, then add a second coat. This helps seal the paint and makes the surface easier to clean later.
A good top coat also hides brush strokes and gives your piece a nice, finished look that buyers will notice and appreciate.
Step 7: Install New Hardware
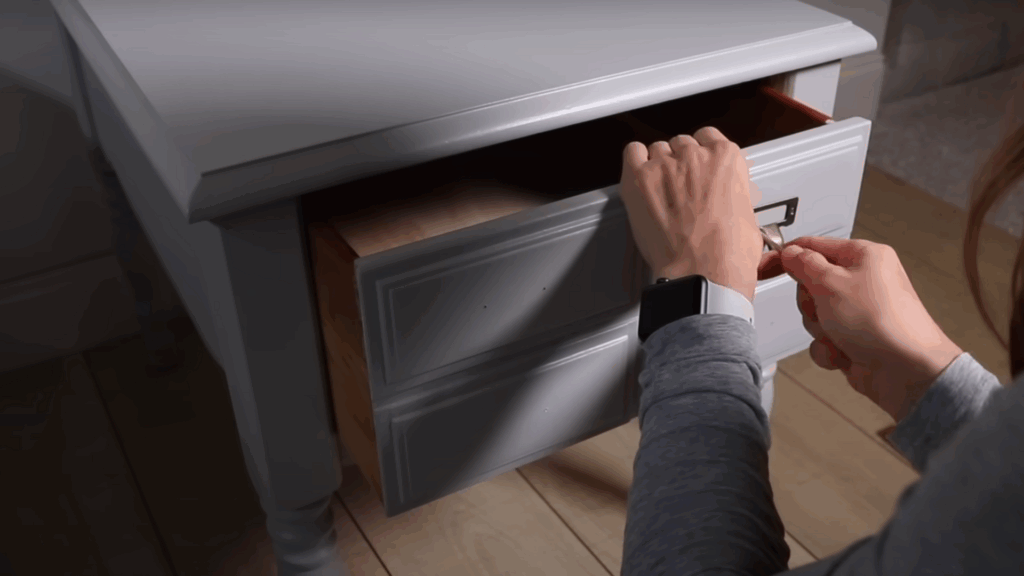
Adding new knobs or pulls can give your piece a fresh, finished look. Choose hardware that matches the style of your furniture.
Use a ruler and make a paper template to mark where the holes should go. This helps you line everything up evenly.
Use a drill to make small pilot holes, then screw the hardware in. Some knobs may be a little tricky, so take your time.
Good hardware makes your piece stand out and adds value. It’s a small step, but it makes a big difference in how the finished furniture looks and feels.
If you want to see exactly how each step looks in action, check out this helpful video by @Christina Muscari-Watching it made everything clearer for me and might give you the extra boost you need to start your own flip.
Flipping Furniture Tips for Selling and Profit
Once your piece looks great, it’s time to sell it. These tips will help you stage, price, and list your furniture so you can make the most money from your hard work.
- Stage with care: Place your furniture near a window or blank wall with simple decor to make it look inviting. Good lighting matters most.
- Price it right: Add up your costs (paint, hardware, time) and use that to set a fair price with profit.
- Write a strong listing: Include details like size, paint color, top coat, and new hardware. Clear info builds buyer trust.
- Ask for a deposit: Request a small, non-refundable deposit to hold the item. This helps avoid no-shows.
- Be patient: Sales can take a week or two. Don’t rush to lower your price.
Conclusion
Flipping furniture is a simple way to earn money and have fun at the same time. I like that you can start small, learn as you go, and turn old things into something fresh and useful.
You don’t need a big budget or a fancy workshop-just a good eye, basic tools, and some patience. Every piece you flip teaches you something new.
Even if your first project isn’t perfect, that’s okay. You’ll get better with each one. Selling might take a little time, but the right photos, price, and listing help a lot.
I’ve found that putting in the extra effort to clean, paint, and add nice hardware really pays off. It feels great to see someone excited to buy something you worked hard on.
If you’re ready to try something new and make a little profit along the way, flipping furniture is a great place to start.