
If you’re looking for a simple way to get wood floors without spending a lot, I’ve got you covered.
I know how expensive real hardwood can be, but you can get a similar look using plywood planks. It’s a smart, affordable way to give any room a fresh, warm feel.
You don’t need to be a pro or have fancy tools either-just a little time, the right steps, and some basic supplies.
I’ll walk you through everything you need to know, from picking the best plywood to laying down the final board.
I’ll show you how to avoid common mistakes and get a floor that feels solid and looks great.
If you’ve been searching for a flooring option that saves money, lasts, and looks good, too, this guide is here to help.
I’ve done the work, learned the tricks, and I’ll share it all so you can get it done right the first time.
Why Choose Plywood Plank Flooring?
If you want wood floors but need to keep costs low, plywood plank flooring is a great option.
It gives you the look of wide, rustic planks without the high price of hardwood. It’s also strong enough to handle everyday use when installed well.
I like that it’s easy to work with, and you can cut, sand, and nail it down with simple tools. It’s perfect if you want a fresh floor without breaking the bank.
Look at why this flooring choice works so well:
- Much cheaper than hardwood or engineered wood
- Easy to cut and install at home
- Gives a clean, farmhouse-style look
- Works in bedrooms, living rooms, and more
- Can be sanded, stained, or painted to match your style
- Durable enough for busy areas when sealed properly
Step-by-Step Guide to DIY Plywood Plank Flooring
Use this simple guide to lay plywood plank flooring on your own. The steps are easy, the tools are basic, and the finished floor will look great and feel solid.
Step 1: Select the Right Plywood
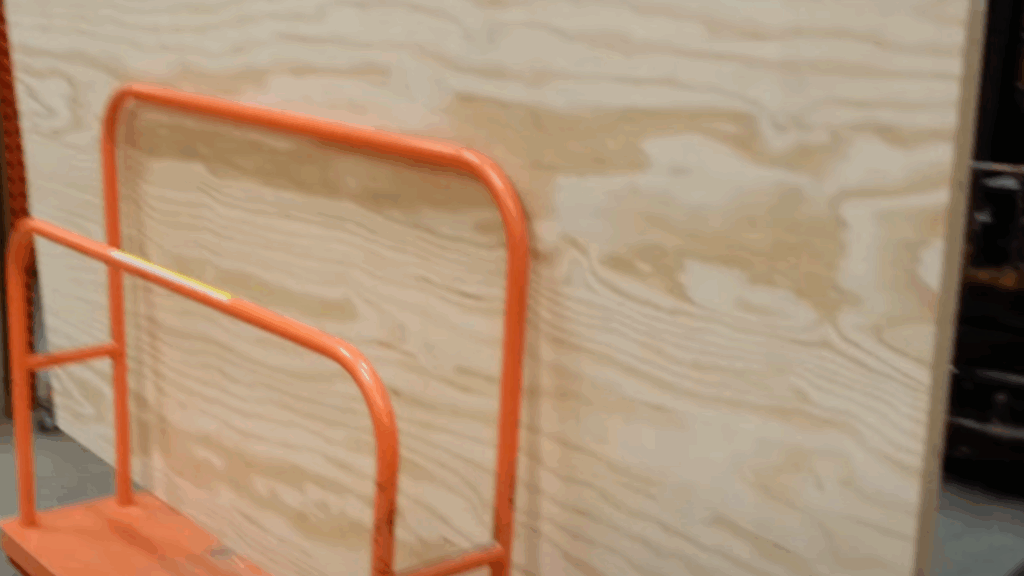
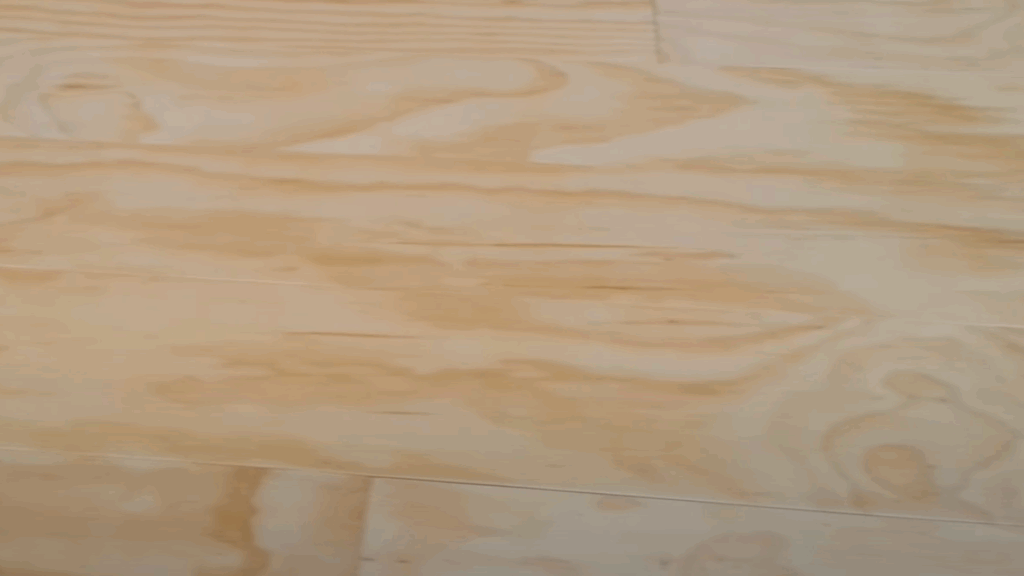
Start by picking the best plywood for your floor. Go with 3/4-inch thick sanded pine plywood. It’s strong and feels solid when you walk on it.
Try to find sheets that are already smooth on one side. That makes your job easier later.
Look closely at each sheet-avoid ones with deep knots, cracks, or wavy spots. Better plywood may cost a bit more, but it will look nicer and last longer.
Thin or cheap plywood can bend and won’t lie flat. Take your time here, because good plywood is the base of a great floor.
Step 2: Cut the Plywood into Planks
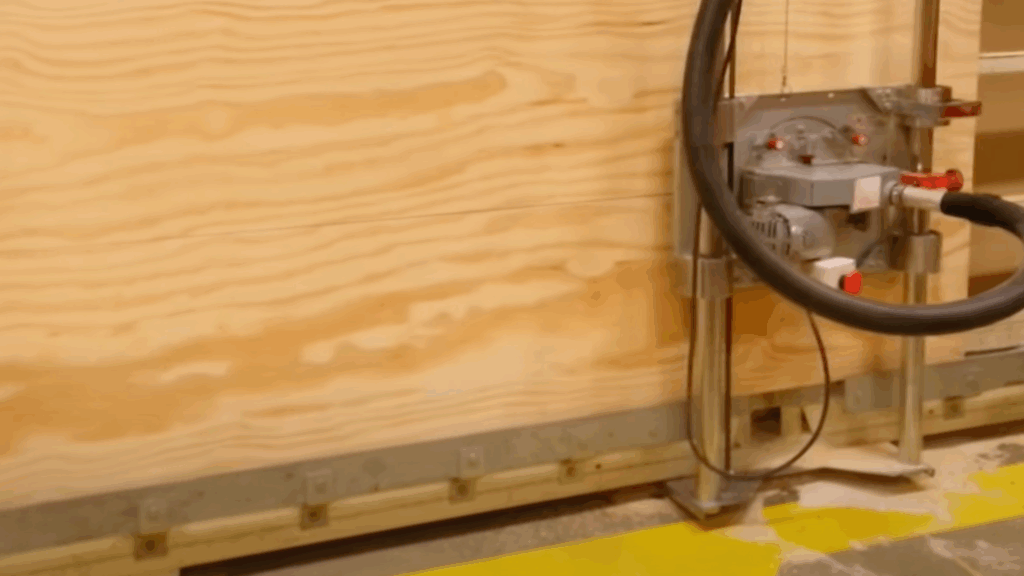
Once you have your plywood, you’ll need to cut it into long planks. The goal is to get even strips about 8 inches wide.
If your store offers cutting help, ask them to do the first rough cuts. Then use a table saw at home for the final size.
A basic saw will work fine-you don’t need a fancy one. Go slow to keep your cuts straight.
These planks will be your floorboards, so try to keep them all the same width. Set them aside as you cut. Soon, you’ll have a big stack ready to install.
Step 3: Prep Each Plank
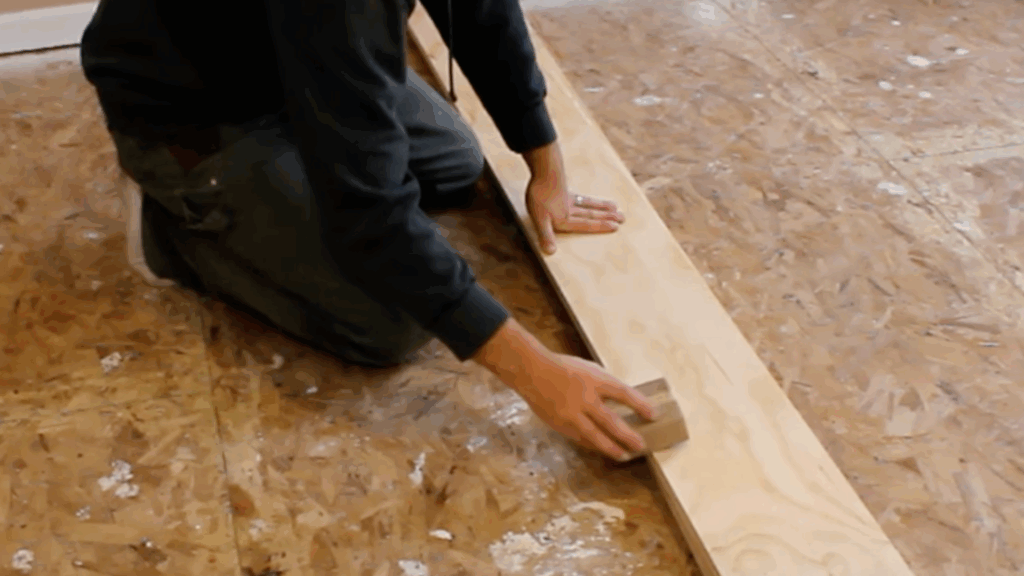
After cutting, you need to smooth the edges. Pick the best side of each plank-the one that will face up.
Now, take a sanding block or staple sandpaper to a small wood block. Lightly sand each edge to take off the sharp corners.
You don’t need to make them perfect. Just enough to make them feel softer and fit together better.
This helps the floor feel smooth under your feet. Sanding also keeps the boards from looking too rough.
Once you finish sanding, stack the planks in the room so they’re ready when it’s time to install.
Step 4: Prepare the Room
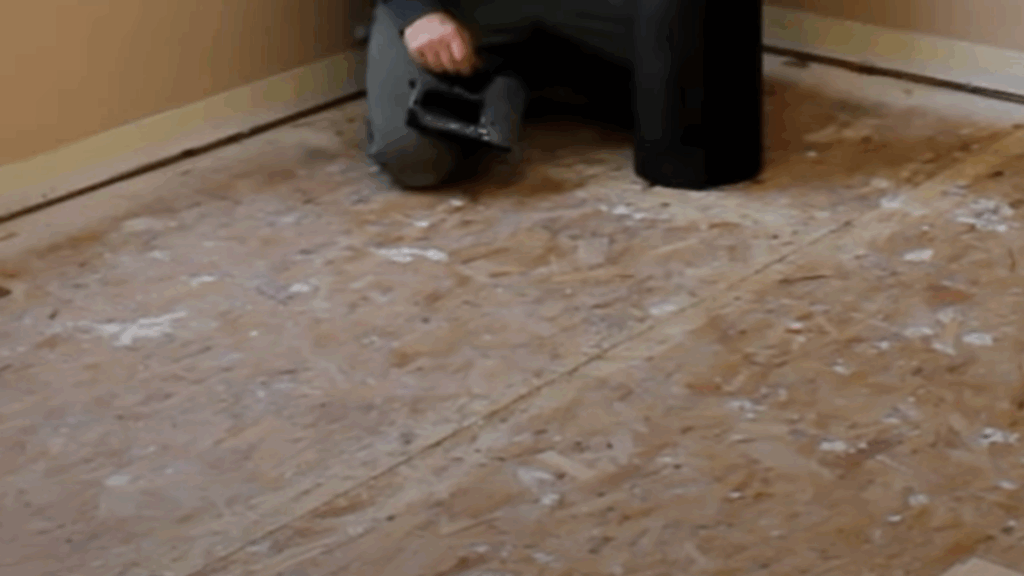
Before you install anything, get your space ready. First, remove old carpet, tile, or any other floor covering.
Pull off the baseboards, too, so you can slide the new planks under for a clean edge. Next, bring your cut planks into the room.
Leave them there for a few days to adjust to the room’s temperature and moisture. This step is important-it helps the wood settle so it won’t shrink or warp later.
Don’t skip this. Plywood from the store often holds moisture, and letting it adjust makes a big difference in how your floor holds up.
Step 5: Lay Felt Paper
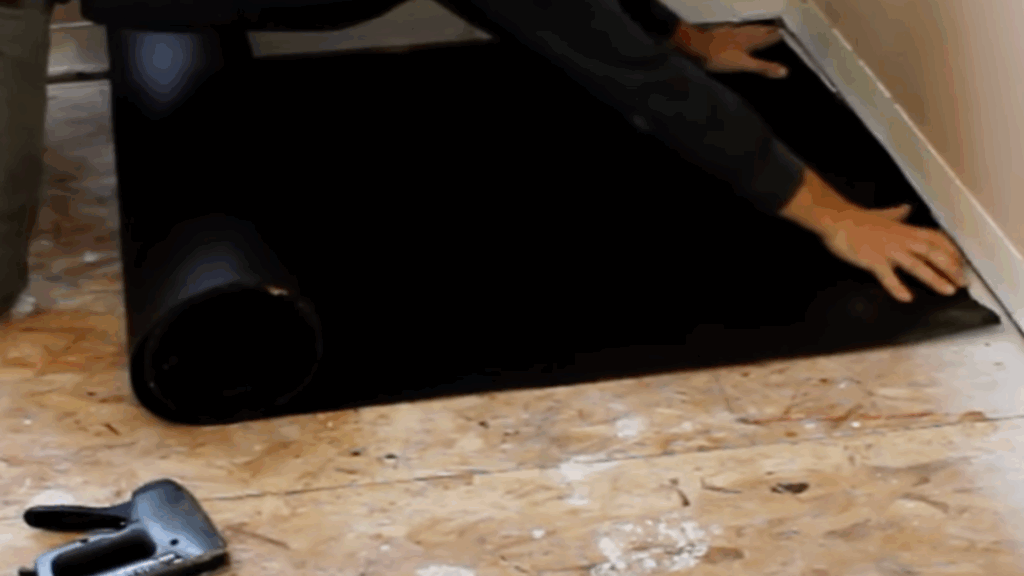
Now it’s time to protect your subfloor. Roll out roofing felt or builder’s felt paper across the entire room.
This thin layer helps block moisture and can even stop floor squeaks. Start in one corner and roll it out flat.
Use a staple gun to keep it in place. Overlap the edges a little so you don’t miss any spots. Felt paper works well over subfloors like OSB, which can get damaged by water.
This step might seem small, but it adds a layer of safety under your new floor.
Once the paper is done, you’re ready to plan your layout.
Step 6: Plan the Layout
Before nailing anything down, you need a plan. Find the center of the room and snap a chalk line across it.
This line gives you a straight path to follow. Start laying planks along that line and work out to both sides.
This keeps the rows straight and makes sure the floor looks good across the whole room.
Try to line the chalk line up with doorways or closets to avoid tricky cuts later.
If you start on one wall and go across, you might end up crooked. A good layout saves time and keeps things looking neat.
Step 7: Nail Down the Planks

Now it’s time to attach your planks. Use a nail gun with 1¼-inch brad nails. Start along your chalk line and place the first few boards.
Nail through the plank edges, but don’t make a perfect pattern. Keep it random for a rustic look.
You can even angle some nails slightly to help the planks stay tight. Don’t line up the plank ends across the floor; stagger them like a puzzle.
This looks better and makes the floor stronger. Keep going, row by row.
It’ll take time, but the more care you take now, the better the floor will look.
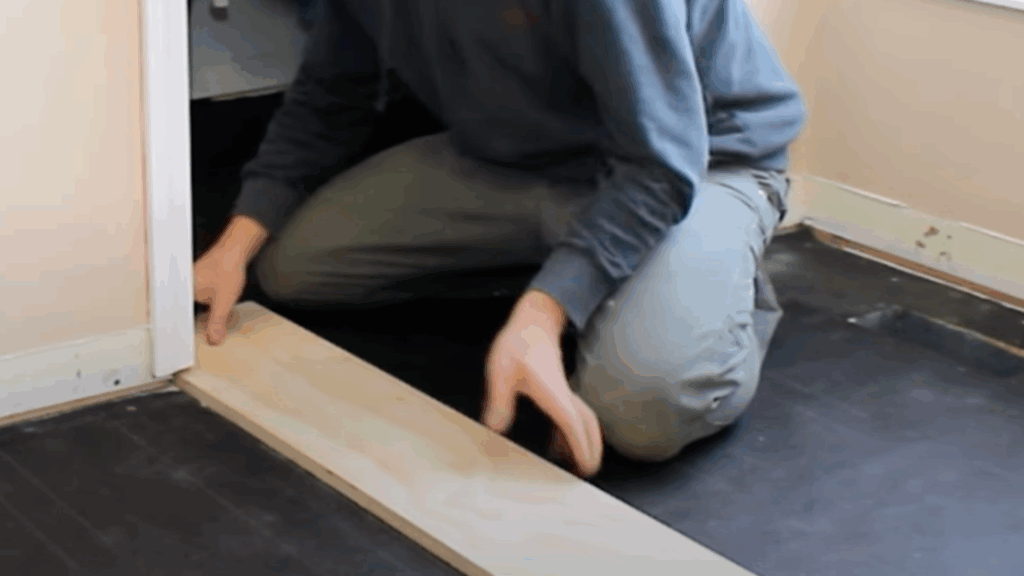
Step 8: Trim and Finish the Edges
As you near the walls, you’ll need to make some small cuts. Measure and trim your planks to fit. In some spots, the floor might not slide under the base molding.
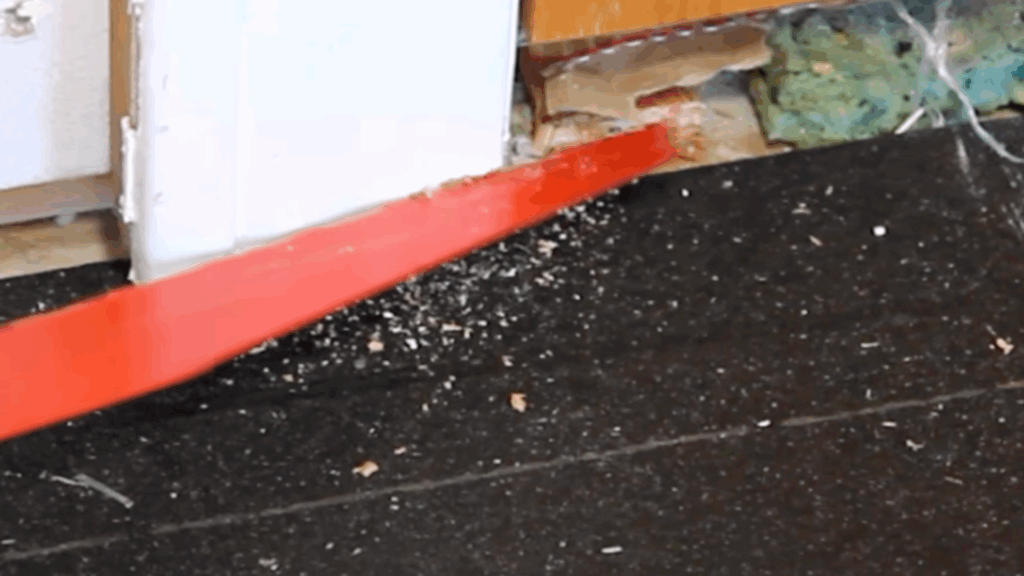
If that happens, use a handsaw or multi-tool to trim the bottom of the molding. In doorways, cut notches so the floor fits under the trim neatly.
Later, you’ll cover this area with a threshold piece. These small touches make the whole floor look finished.
Once all the planks are down, reinstall your baseboards, and you’re done. Your room now has a clean, warm, and wood-style floor.
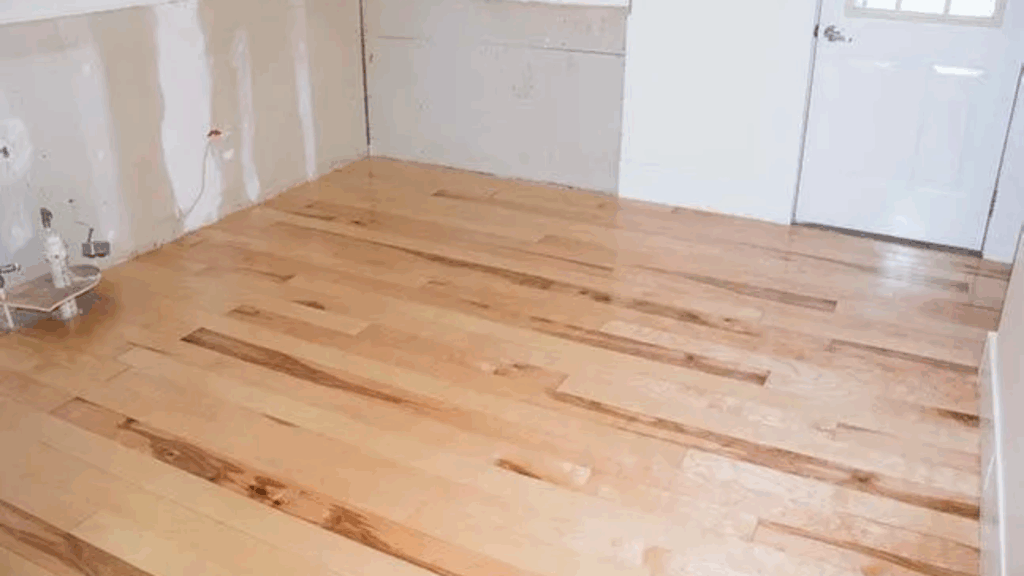
Step 9: The Final Touch
Now it’s time for the final touch: step back and enjoy what you’ve created. Look at the floor and see how far you’ve come.
Those simple plywood sheets are now a strong, warm, and stylish floor.
Check how the planks fit together, how the pattern flows, and how the space feels with its new look.
This is the moment to take it all in. I always find it rewarding to see something I built with my own hands. You’ve done something big, and it shows.
Take a breath, admire the work, and enjoy your new space.
Want to see how it all comes together? Watch this step-by-step video from @SSLFamilyDad- it’s easy to follow and shows the whole process in action, making each step clearer and more doable.
Tips for a Smooth DIY Flooring Experience
A few extra tips can make your plywood plank flooring project easier and turn out even better. These small steps help save time and avoid mistakes.
- Mark the “good side”: Label the best side of each plank before sanding so you keep it facing up.
- Use knee pads: Save your knees by wearing padding or using a small cushion while working.
- Leave a small gap: Keep a tiny space near the walls to let the wood move naturally.
- Check for straight rows: Use your chalk line and step back often to make sure the rows stay straight.
- Have extra batteries ready: Keep your nail gun powered with spare batteries nearby.
- Clean as you go: Sweep or vacuum often to stop dirt from getting under the boards.
- Seal the wood: Add a clear finish like water-based polyurethane to protect the floor and make it last longer.
Conclusion
You don’t need to spend a lot of money to get a floor that looks good and feels solid.
I’ve found that plywood plank flooring is one of the easiest and most affordable ways to change up a space.
With some simple tools, a little planning, and a few days of work, you can have a floor that looks like real wood.
It adds warmth and style to any room without the high price. I hope these steps make it easier for you to get started and feel confident doing it yourself.
I tried to include every detail I wish I had known before I started. Just take your time, follow each step, and enjoy the process.
Once it’s done, you’ll be proud knowing you did it on your own. If I can do it, you can too-and your space will feel fresh, clean, and brand new when you’re finished.