
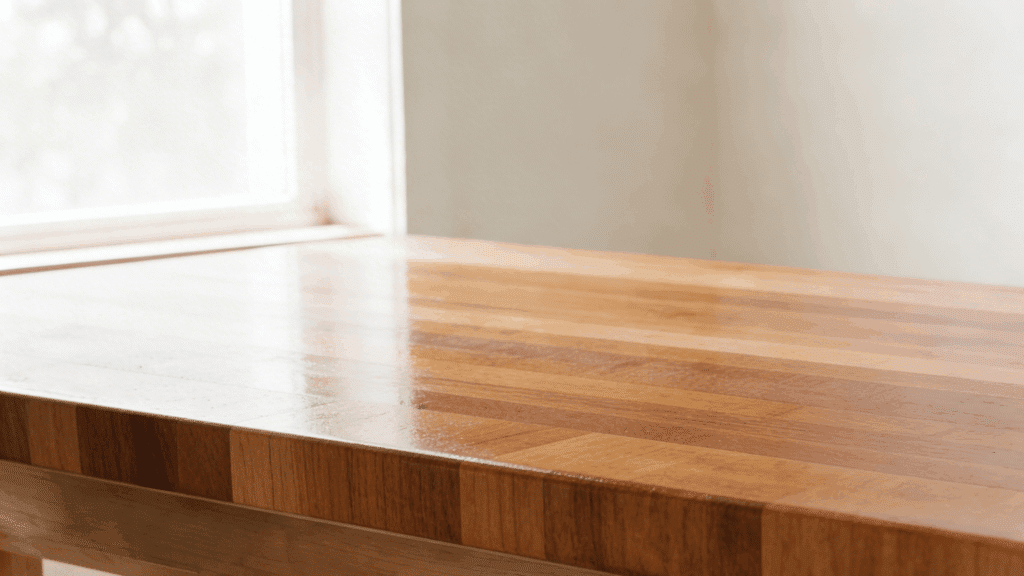
Butcher block countertops bring warmth and character to any kitchen. They’re beautiful, functional, and timeless. But here’s the catch: without proper finishing, they won’t last.
Raw wood is vulnerable. It stains easily, absorbs moisture, and can harbor bacteria. That’s why finishing is crucial. It protects the surface and keeps it looking great for years.
The process might seem tricky at first. There are different products, techniques, and steps to consider. Some finishes work better for food prep areas, while others are ideal for general use.
This blog breaks down everything needed to finish butcher block countertops the right way. From sanding to sealing, each step is covered in detail.
Best Finishes for Butcher Block Countertops
Choosing the right finish depends on how the countertop will be used, desired durability, and maintenance preferences. Each option offers different benefits and trade-offs.
1. Food-Grade Mineral Oil (Best for Food Prep Surfaces)
Mineral oil is affordable, non-toxic, and safe for direct food contact. It penetrates wood fibers and highlights natural grain beautifully.
However, it requires frequent reapplication; monthly at first, then every few months. Best for cutting and chopping areas where food safety matters most.
2. Tung Oil (Natural & Durable Option)
Pure tung oil provides a natural, water-resistant finish that hardens over time. Polymerized versions dry faster but may contain additives. Expect several days between coats.
It offers better durability than mineral oil while maintaining a food-safe profile. Great for moderate-use surfaces needing protection.
3. Waterlox (Popular Forum Favorite)
DIY enthusiasts love Waterlox for its waterproof qualities and easy application. It creates a durable, protective layer that resists moisture and stains effectively. Available in matte or satin finishes.
Multiple thin coats build up excellent protection, making it ideal for high-traffic kitchen countertops.
4. Polyurethane (Maximum Protection Option)
Oil-based polyurethane offers maximum durability and water resistance. Water-based versions dry faster with less odor. Both create a hard, protective shell that withstands heavy use.
The downside? Once applied, the surface isn’t food-safe for direct cutting. Perfect for non-prep countertop areas.
5. Hardwax Oil Finishes
These modern finishes combine natural oils with hard waxes for excellent protection. They’re easy to apply, repair, and maintain.
The finish penetrates deep while leaving a protective surface layer. Highly durable in kitchen environments and simple to touch up when needed.
Step-by-Step Instrucstions How to Finish Butcher Block Countertops Properly
Finishing butcher block countertops requires careful sanding, cleaning, coating, drying, and curing to achieve long-lasting protection and a beautiful finish.
Step 1: Sand the Surface Smooth
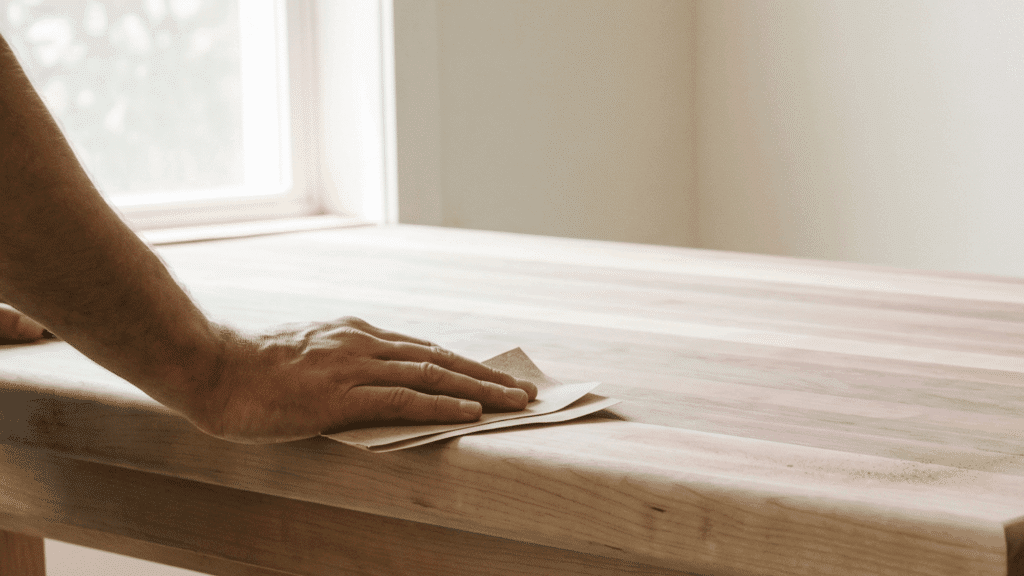
Start by sanding the butcher block to create an even, smooth surface.
Use a grit progression of 80, then 120, and finish with 220 grit for the best results. Pay special attention to edges and corners, as they can stay rough if skipped.
Proper sanding helps the finish absorb evenly and prevents blotchy or uneven coating later.
Step 2: Clean and Remove Dust
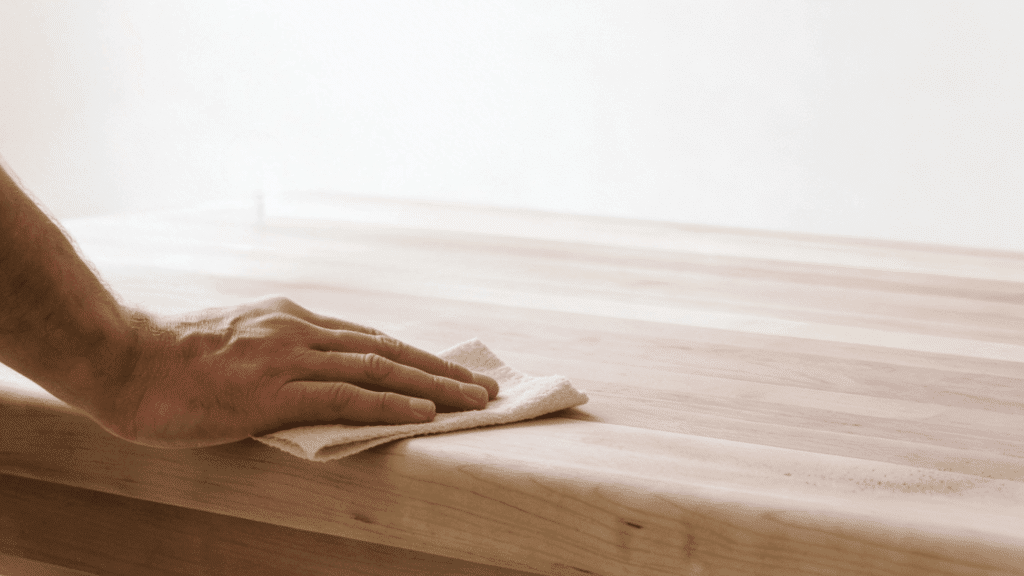
After sanding, remove every trace of dust before applying any finish. Use a vacuum to clear heavy particles, then wipe the surface with a tack cloth for fine dust removal.
Dust left behind can ruin the finish by creating bumps or uneven patches. A clean surface ensures smooth application and a professional-looking final result.
Step 3: Apply the First Coat
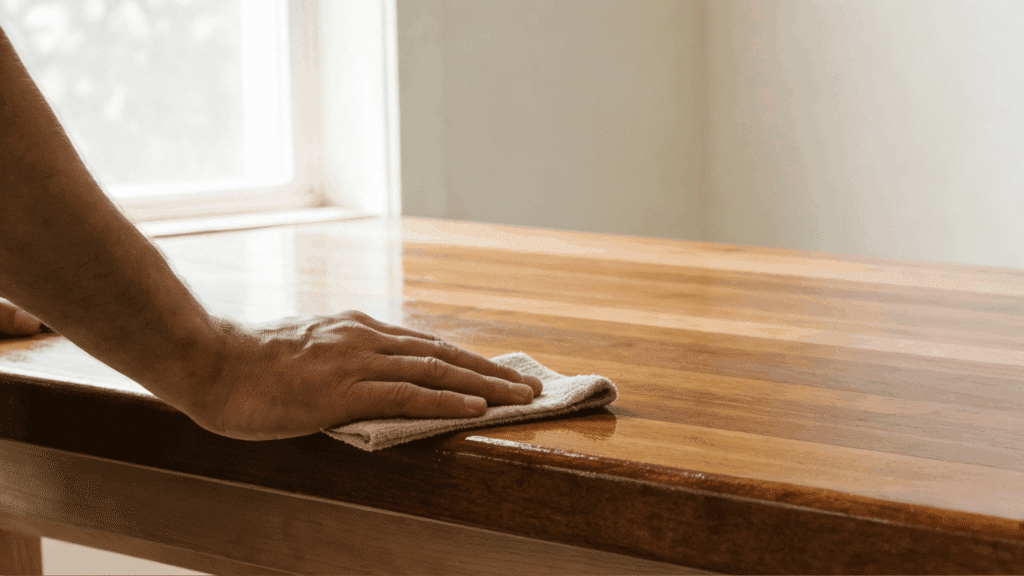
Apply the first coat of your chosen finish using a rag, brush, or foam roller, depending on the product type.
Work with the grain to avoid streaks and ensure even coverage. Always apply thin coats rather than thick ones, as heavy coats can lead to drips, sticky spots, or uneven drying.
The first coat sets the foundation for protection.
Step 4: Drying and Recoating
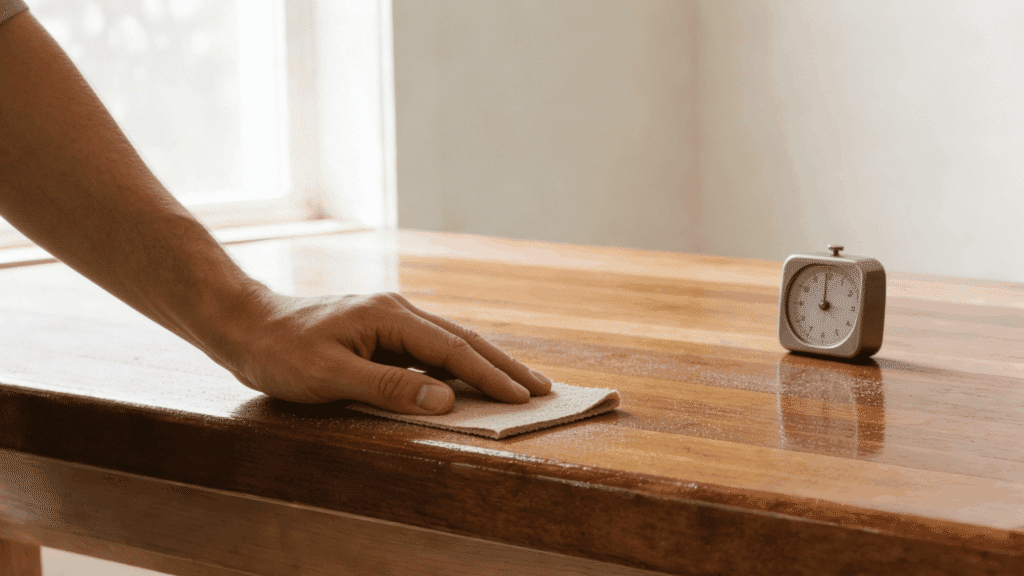
Allow the first coat to dry fully before applying additional layers.
Dry times vary by finish type; oils may take hours, while sealers like polyurethane may require longer. Lightly sand between coats with fine-grit sandpaper to improve adhesion and smoothness.
Multiple coats build durability and enhance the countertop’s resistance to moisture and wear.
Step 5: Final Cure Time Before Use
Once the final coat is applied, the countertop must cure completely before regular use. Curing can take several days, depending on the product.
Avoid placing heavy items or exposing the surface to water too soon.
Proper curing ensures the finish hardens fully, providing long-lasting protection and making the surface safe for food contact when applicable.
Which Finish is Best for Butcher Block Countertops?
There’s no one-size-fits-all answer. The best finish depends on several factors specific to each kitchen and homeowner.
First, consider how the countertop will be used. Surfaces designated for cutting and food prep need food-safe finishes like mineral oil or pure tung oil.
Areas away from direct food contact can handle more protective options like Waterlox or polyurethane.
Maintenance commitment matters too. Mineral oil requires regular reapplication but stays easy to refresh. Film-building finishes last longer between treatments, but needs complete refinishing eventually.
Budget plays a role as well. Mineral oil costs less upfront but demands ongoing purchases. Premium finishes like Waterlox or hardwax oils cost more initially yet provide extended protection.
Aesthetic preferences shouldn’t be overlooked either. Some finishes create a matte, natural look while others add sheen and depth to the wood grain.
How Much Does It Cost to Finish Butcher Block Countertops?
Finishing costs vary based on product choice, countertop size, and whether it’s a DIY job or a professional installation project.
| Finish Type | Cost per Sq Ft | DIY vs Pro | Durability |
|---|---|---|---|
| Mineral Oil | $5–$8 | DIY easy | Reapply often |
| Tung Oil | $7–$10 | DIY | Water-resistant |
| Polyurethane | $10–$15 | Pro recommended | High, glossy |
| Wax/Blend | $6–$12 | DIY | Soft, natural |
How to Maintain Finished Butcher Block Countertops
Proper maintenance keeps butcher block countertops looking fresh and extends their lifespan. Simple habits make all the difference in preserving the finish.
- Wipe spills immediately to prevent water damage and staining, especially around sink areas.
- Clean with mild dish soap and a damp cloth; avoid harsh chemicals that strip protective finishes.
- Reapply mineral oil monthly for the first year, then every few months as needed.
- Use cutting boards for food prep to protect film finishes like polyurethane or Waterlox.
- Sand and refinish high-wear areas when the finish looks dull or water no longer beads up.
- Keep countertops dry overnight and avoid leaving wet dishes or cloths on the surface.
To Conclude
Finishing butcher block countertops doesn’t have to be overwhelming. With the right product and approach, anyone can achieve professional results.
Regular maintenance keeps everything in top shape. A little effort goes a long way in preserving that beautiful wood surface.
Costs stay reasonable, especially for DIY projects. Most finishes are affordable and easy to apply with basic tools.
Ready to start? Pick a finish, gather supplies, and transform those countertops. The results will be worth every bit of effort.