
Mold can grow on upholstery fabric when moisture, humidity, or spills stay on the surface for too long. I have seen this happen on couches, chairs, and cushions that stay in damp rooms or basements.
Mold not only leaves dark spots on fabric, but it can also create a strong musty smell that spreads through the room. If you leave it untreated, it may damage the fabric and make the furniture harder to clean.
In this guide, I will explain how to remove mold from fabric upholstery using simple methods you can try at home.
I will share a step-by-step process for safely cleaning mold without damaging the material.
You will also learn which cleaning solutions work best, how to remove mold smell, and what causes mold to grow on fabric furniture.
By the end, you will know how to clean upholstery and help stop mold from coming back.
What You Need Before Cleaning Mold
Before I start cleaning mold from upholstery fabric, I always make sure I have the right tools and supplies ready. This step may seem small, but it saves time and helps avoid mistakes during cleaning.
Mold spreads through tiny spores, and if I clean it without proper tools, I may spread it to other areas or push it deeper into the fabric. That can make the problem worse instead of fixing it.
Having the right setup also helps protect the fabric. Some materials can get damaged if I scrub too hard or use the wrong cleaning solution.
I also focus on safety at this stage. Mold can affect breathing, so using basic protective items helps me stay safe while working.
In the next section, I will share all the tools and supplies you need to remove mold from upholstery fabric the right way.
Tools Required to Remove Mold from Fabric
Using the right tools helps remove mold safely without damaging the fabric. It also prevents mold spores from spreading and keeps the cleaning process effective.
- Mold Stain Remover Gel
- Soft-Bristle Brush
- Microfiber Cloths or Sponges
- Mold Remover Spray
- Measuring Cup
How to Remove Mold From Upholstery Fabric (Step-by-Step)
Mold on upholstery fabric can leave stains and a strong musty smell on furniture. The steps below follow the method shown in the video and explain how to clean mold safely.
Step 1: Identify Mold on Clothes
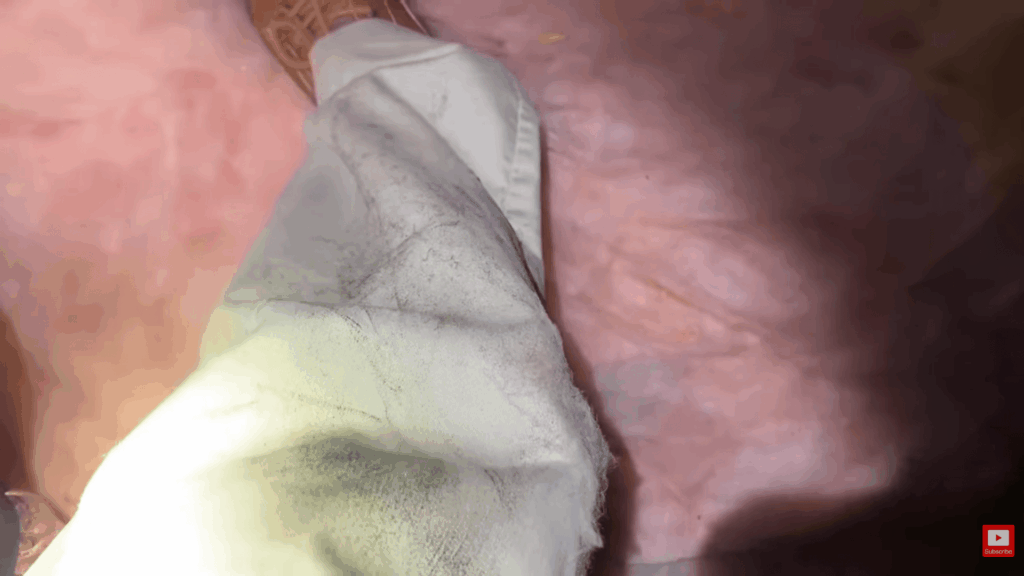
The video starts by showing mold clearly visible on pants after coming out of an attic space. The mold appears as dark patches on the fabric surface.
This step helps viewers understand what mold looks like on clothing and how it can spread from other surfaces like HVAC ducts.
Identifying mold early is important because surface mold is easier to clean than deep mold growth. This visual example clearly shows when cleaning is still possible.
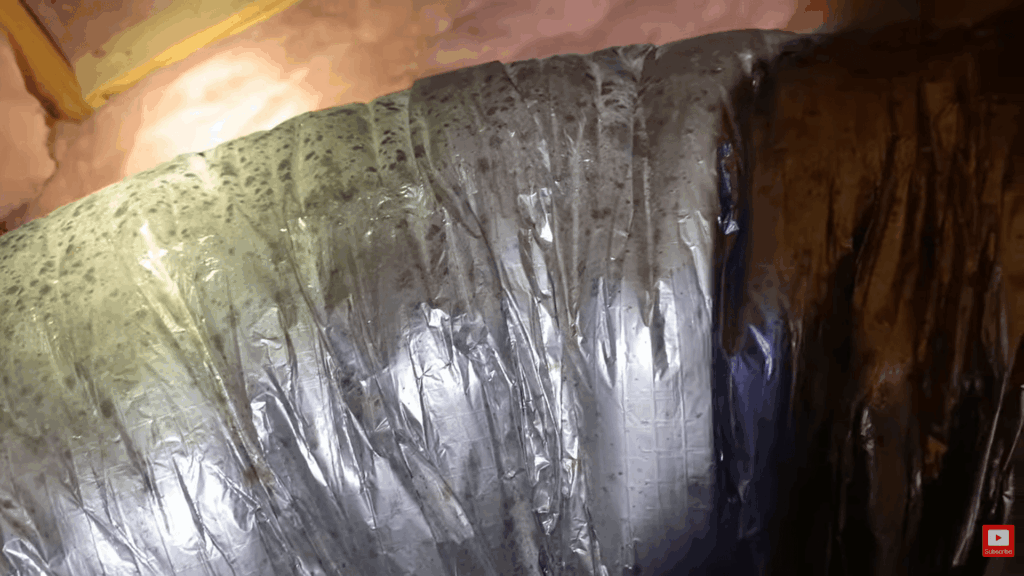
Step 2: Understand the Source of Mold
The mold came from contact with mold on HVAC ductwork in an attic. This shows that mold on clothes can come from external surfaces, not just moisture in fabric.
The presenter explains that surface mold is less severe than mold growing inside the material. Understanding the source helps decide if the clothes can be cleaned or need to be thrown away.
This step helps users know that not all mold cases are the same.
Step 3: Check Mold Severity Before Cleaning
Before cleaning, it is important to assess the extent of mold. The video shows heavy mold on the pants, but it is still on the surface. Surface mold can often be removed with proper washing.
If mold is deeply embedded or growing inside wet fabric, cleaning may not be enough. This step helps users decide whether the clothing is safe to wash or should be discarded to avoid health risks.
Step 4: Choose a Mold Removal Product
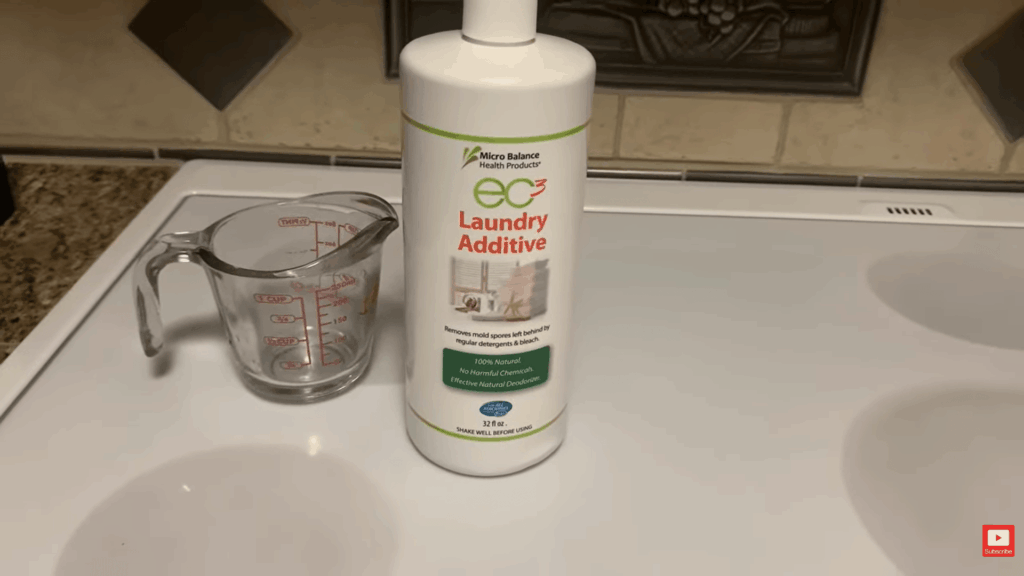
The presenter selects a laundry additive designed to remove mold. The key ingredient highlighted is tea tree oil, which has antimicrobial properties.
This type of product helps kill mold without using strong chemicals. Choosing the right product is important for effective cleaning and fabric safety.
This step shows that specialized cleaning solutions can improve results when cleaning mold from clothes.
Step 5: Measure the Cleaning Solution
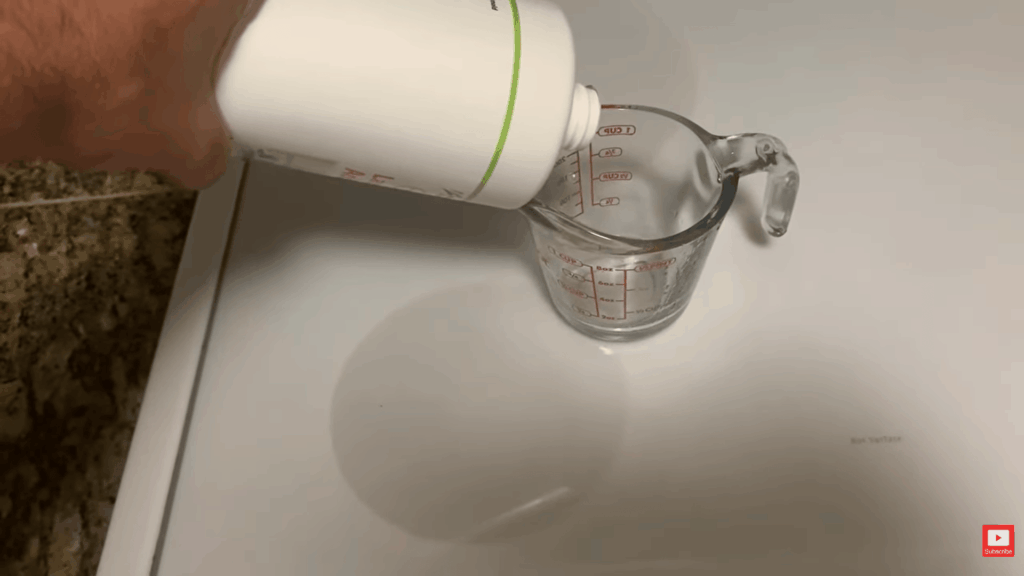
The video shows measuring one cup of the laundry additive before adding it to the washing machine. Proper measurement ensures the solution works effectively without damaging the fabric.
Using too little may not remove mold fully, while too much can leave residue. This step highlights the importance of following the correct amounts when using cleaning products for mold removal.
Step 6: Add the Solution to the Washing Machine
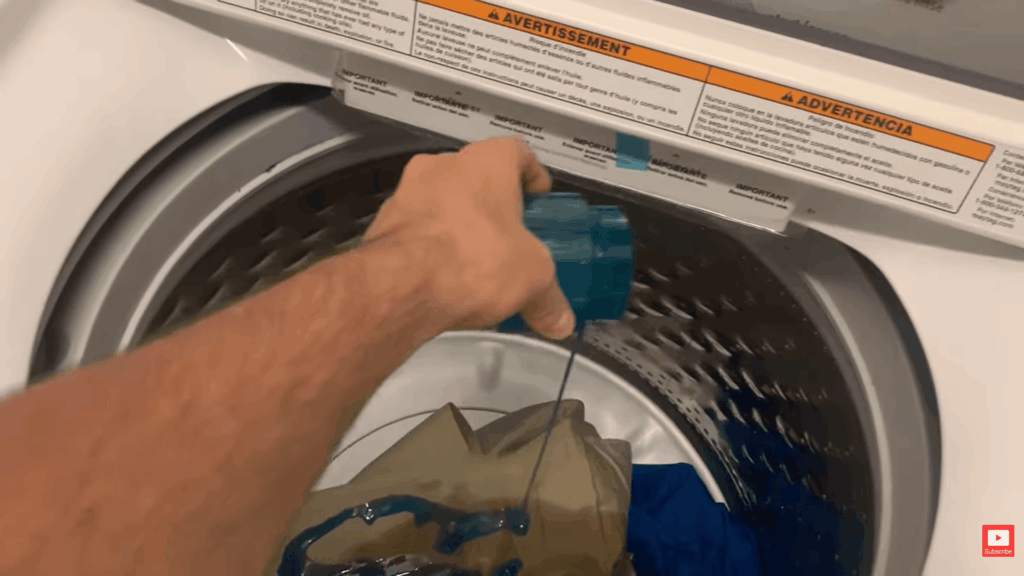
After measuring, the cleaning solution is added directly into the washing machine. The presenter pours the additive into the machine along with the clothes.
This step ensures the mold treatment mixes well with water and spreads evenly across the fabric. Proper mixing helps the cleaning solution reach all mold-affected areas during the wash cycle.
Step 7: Add Regular Detergent
In addition to the mold remover, regular laundry detergent is added to the wash to support the cleaning process. The detergent helps break down dirt, oils, and leftover residue on the fabric.
When combined with a mold treatment solution, it improves overall cleaning results and helps remove stains more effectively. Using both products together ensures the fabric is cleaned thoroughly.
This step helps restore the clothes so they look fresh, clean, and free from visible mold marks.
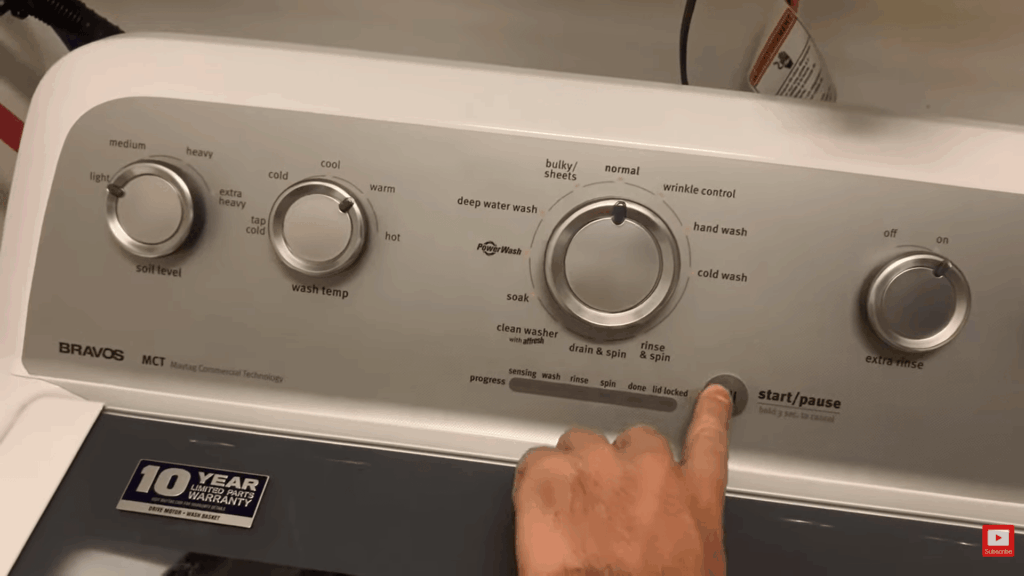
Step 8: Run the Wash Cycle
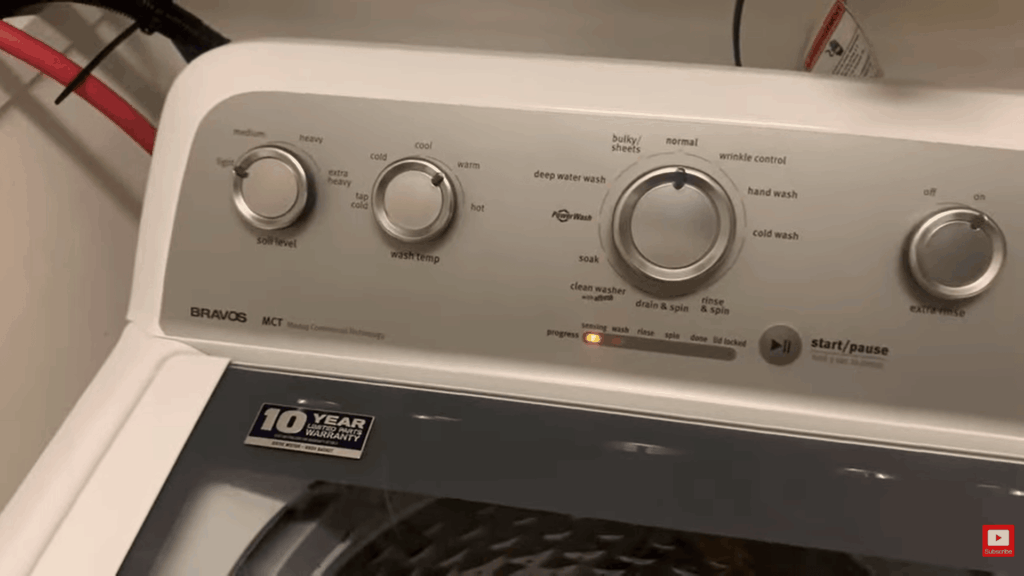
The washing machine is set to run using warm water to support the cleaning process. Warm water helps activate the mold removal solution and allows it to work deeper into the fabric fibers.
The wash cycle gives enough time for the cleaner to break down mold and remove stains from the clothes.
Choosing the right settings is important because it improves cleaning results and helps ensure the mold is removed as much as possible.
Step 9: Check the Results After Washing

After the wash cycle is complete, the pants are found to be clean, with no visible mold remaining on the fabric. The surface looks fresh, with no dark spots or stains remaining.
This step helps confirm that the cleaning method worked as expected. It also shows that surface mold can be removed fully when the right products and steps are used.
Checking the results is important to ensure the fabric is safe to use again.
Watch this video by Look Mold: Mold Help for Homeowners, which explains the cleaning process step by step:
Best Cleaning Solutions to Remove Mold From Fabric
Different cleaning solutions work better for different types of fabric and mold levels. Choosing the right cleaner helps remove stains, kill mold, and reduce bad smells.
| Cleaning Solution | How It Works | Best For | Important Notes |
|---|---|---|---|
| White Vinegar Solution | Kills mold spores naturally and removes musty odors. Can be sprayed directly on the affected area. | Most fabrics | Safe and chemical-free; leave for a few minutes before cleaning. |
| Baking Soda and Water | Lifts stains and absorbs moisture and odors. Forms a gentle cleaning paste. | Upholstery and delicate fabrics | Light scrubbing helps clean without damaging the material. |
| Hydrogen Peroxide Cleaner | Breaks down mold stains and kills bacteria. Helps brighten fabric. | Light-colored fabrics | May lighten darker fabrics; use with caution. |
| Commercial Mold Removers | Contains strong ingredients that kill mold and remove stains quickly. | Furniture and heavy mold cases | Always check labels and follow instructions to avoid damage. |
Tips to Prevent Mold on Upholstery Fabric
Preventing mold is easier than cleaning it after it spreads on fabric. Simple habits can help keep upholstery dry, clean, and mold-free.
1. Keep Furniture Dry
Moisture is the main cause of mold growth on upholstery fabric. Make sure furniture stays dry at all times, especially in humid areas.
Avoid placing furniture near damp walls or wet floors. If the fabric gets wet, dry it quickly using a cloth, fan, or sunlight. Keeping upholstery dry helps stop mold before it starts.
2. Improve Indoor Airflow
Good airflow helps reduce moisture in the air and keeps fabric dry. Open windows regularly to let fresh air move through the room.
Fans can also help improve air circulation, especially in closed spaces. Better airflow prevents damp conditions that can lead to mold growth on upholstery.
3. Clean Spills Quickly
Spills can soak into fabric and create a damp spot where mold may grow. Clean any liquid spills as soon as possible using a dry cloth.
Blot the area instead of rubbing it to avoid spreading moisture. Quick cleaning helps keep the fabric dry and reduces the risk of mold forming later.
4. Use Dehumidifiers in Humid Areas
High humidity levels can lead to mold growth on furniture. A dehumidifier helps remove excess moisture from the air, making the space less conducive to mold growth.
This is especially helpful in basements, rainy climates, or closed rooms. Keeping humidity levels low helps protect upholstery from mold problems.
When to Call a Professional Cleaner
Sometimes, mold on upholstery goes deeper than basic home cleaning can fix. If mold has spread into cushions, padding, or beneath the fabric surface, it may not be fully removed with simple methods.
A strong smell that stays even after cleaning is a clear sign of deeper mold growth. Large mold patches or mold that keeps coming back also show that the issue is more serious.
Professional cleaners use special tools and treatments to clean deep inside the fabric and remove hidden moisture. They can also treat the area to stop mold from returning.
If the upholstery is delicate, expensive, or hard to clean, it is safer to avoid damage and call an expert. Getting help at the right time can protect your furniture and save money in the long run.
Common Mistakes When Removing Mold From Fabric
Small mistakes during cleaning can make mold worse or damage the fabric. Avoid these common errors to clean upholstery safely and get better results.
- Using Too Much Water: Adding too much water can soak deep into the fabric and padding. This creates damp conditions where mold can grow again. Always use a small amount of liquid and blot instead of soaking.
- Scrubbing Too Hard: Scrubbing with too much force can damage upholstery fibers and spread mold stains further. Gentle cleaning with a soft brush works better and protects the fabric.
- Not Drying Fabric Properly: Leaving upholstery damp after cleaning is one of the biggest mistakes. Mold grows quickly in moist areas, so proper drying with airflow or sunlight is very important.
- Skipping the Vacuum Step: Not removing loose mold first can spread spores during cleaning. Vacuuming helps reduce mold before applying any solution.
- Using the Wrong Cleaning Product: Some cleaners may be too strong or not suitable for certain fabrics. Always check if the solution is safe for upholstery before use.
- Ignoring Hidden Moisture: Moisture trapped inside cushions or padding can cause mold to return. Make sure the entire area is fully dry, not just the surface.
- Delaying the Cleaning Process: Waiting too long allows mold to spread deeper into the fabric. Cleaning mold early makes it easier to remove and prevents damage.
Wrapping Up
Mold on upholstery fabric can spread quickly if it is not cleaned at the right time. I have seen that acting early makes the cleaning process much easier and helps protect the fabric from damage.
Using the right steps, like removing loose mold, applying a safe cleaner, and drying the fabric well, can give better results.
Moisture control is just as important because damp fabric allows mold to grow again. Keeping furniture dry and improving airflow can help prevent this problem in the long run.
I also believe that simple care habits can save time and effort later. Regular cleaning and quick action after spills can make a big difference. This guide gives a clear path to handling mold safely at home.
If this helped, feel free to share it or bookmark it so you can come back anytime you need it.