
A slate roof is one of the best investments you can make for your home. It looks great, holds up for decades, and adds real value to your property.
But getting the installation right takes more than just laying tiles. You need the right tools, a solid plan, and a clear understanding of each step involved.
I put this guide together to help you do exactly that. In this blog, you will find everything you need to plan a proper slate roof installation from start to finish.
I cover the tools and materials you need, how to prepare your roof, a full step-by-step process, costs to expect, and how to keep your roof in good shape after the job is done.
By the end of this, you will know exactly what to do.
What is Slate Roofing and Why Does It Matter?
Slate is a natural stone cut into flat tiles and fixed onto a roof in overlapping rows. It has been used in roofing for hundreds of years and remains one of the most reliable materials available today.
What makes it stand out is its lifespan. Most roofing materials last 20 to 30 years.
A well-installed slate roof can last 75 to 150 years, depending on the slate type and maintenance. Some roofs across the United States are still holding up strong after a century.
Slate does not absorb water, holds up well through harsh weather, and requires very little maintenance compared to other materials.
It costs more upfront. But for a home with the right roof structure and a long-term owner, it is hard to beat.
How to Prepare Your Roof Before Installation?
Good preparation sets the foundation for a slate roof that lasts decades. Because slate is heavy and precise to install, the base must be strong, dry, and properly angled.
Taking time to check structure, slope, and protection layers prevents early damage and helps every tile sit correctly once installation begins.
- Inspect the Roof Deck: Start by thoroughly inspecting the roof deck. Look for soft areas, cracked boards, moisture damage, or sections that bend when stepped on.
- Strengthen the Roof Structure: Slate roofing is extremely heavy, so ensure rafters and framing can support the load. Reinforce weak structural sections before installation begins.
- Confirm the Roof Pitch: Slate works best on roofs with a slope of at least twenty degrees. Proper pitch allows water to drain quickly and prevents leaks.
- Install Quality Underlayment: Roll roofing underlayment evenly across the deck. Overlap each row by two inches to create strong moisture protection beneath the slate tiles.
- Add the Cant Strip: Install a cant strip along the eaves to support the starter course. This small piece helps the first row align and sit evenly.
Proper roof preparation creates a stable base, improves drainage, and ensures slate tiles remain secure, helping the entire roofing system perform reliably for decades.
Step-by-Step Slate Roof Installation Process
Getting through a slate roof takes time, but the process becomes much easier once each stage is clear. Work through these steps in order, and the job stays on track from bottom to top.
Essential Tools and Materials for the Job
Getting the tools and materials sorted before the work begins makes the whole process smoother. Missing even one item mid-job can slow everything down.
Tools:
Materials:
- Natural Slate Tiles
- Roofing Felt or Synthetic Underlayment
- Copper or Stainless Steel Nails
- Metal Valley Flashing
- Ice and Water Shield Membrane
Step 1: Sort and Grade Your Slates Before Going Up
Before anything goes on the roof, sort through all the slats on the ground.
Keep the thicker, heavier ones for the bottom courses where they carry the most load, and save the thinner slats for higher up near the ridge.
This simple sorting step saves a lot of time once work begins at height.
Getting this done early means the right slate is always at hand when needed and no time gets wasted searching through a pile mid-job.
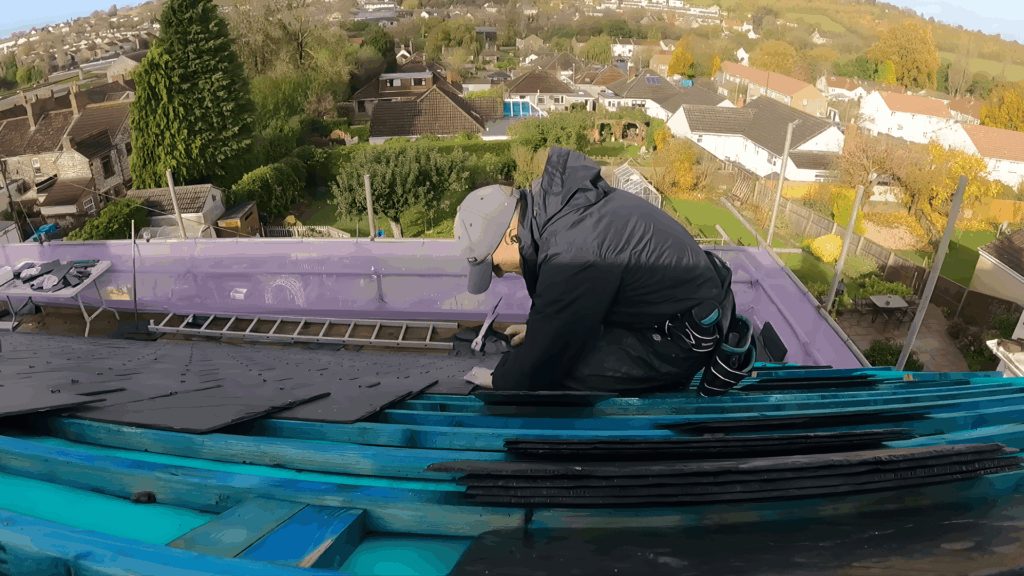
Step 2: Snap Chalk Lines on the Battens

Before laying a single slate, snap red chalk lines across the battens. This keeps every row straight and every nail or hook landing in the right spot.
It is one of those steps that feels unnecessary until the courses start drifting out of line.
Snapping lines on every batten from the start is far easier than trying to correct alignment halfway through the job when slats are already fixed down.
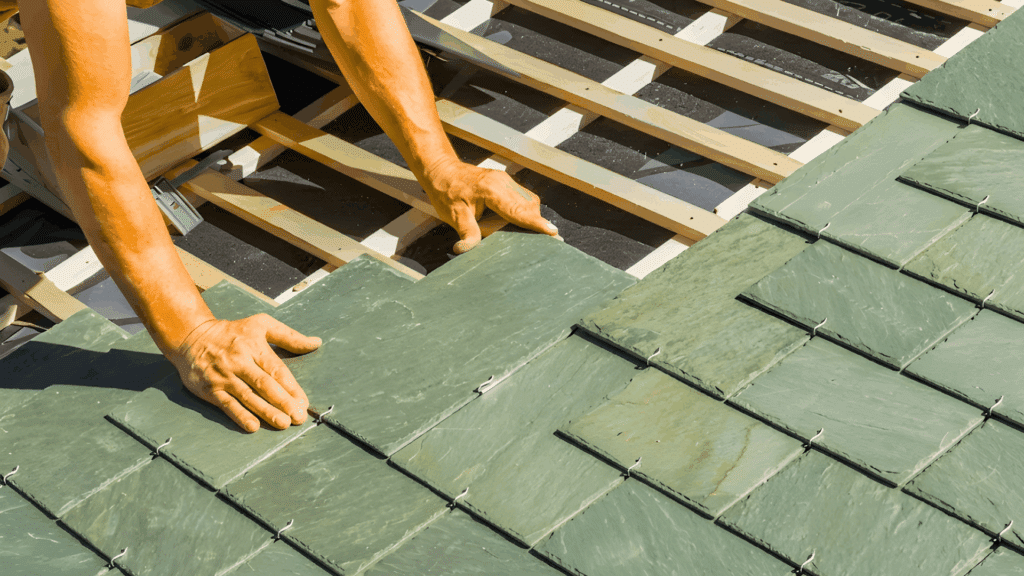
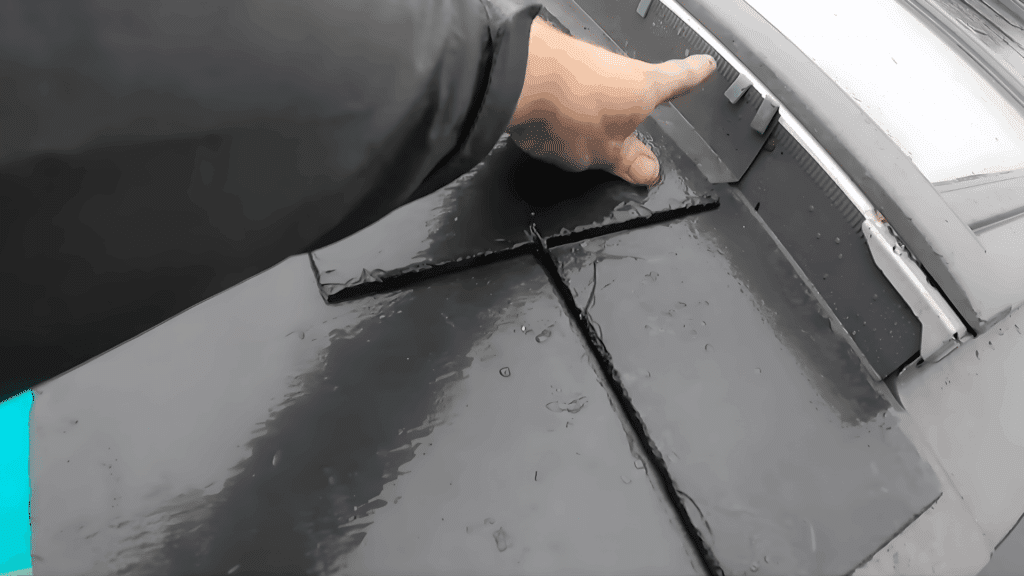
Step 3: Fix the First Course Along the Eave
Start at the bottom eave line. The first slate sits on the cant strip with a slight kick to keep everything tight at the bottom edge.
Upturning the starter slate helps the first two courses sit cleanly together. Use copper nails and keep a small, consistent gap between each slate.
Using a nail itself as a spacer is a simple trick that keeps spacing even across the full eave line, without any measuring tool.
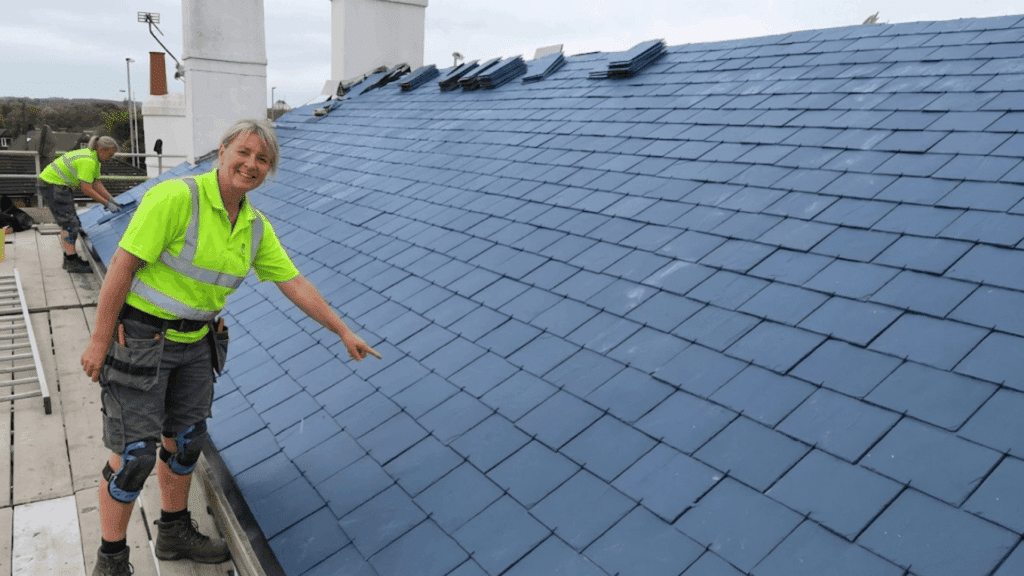
Step 4: Work Up the Roof Using Hooks or Nails
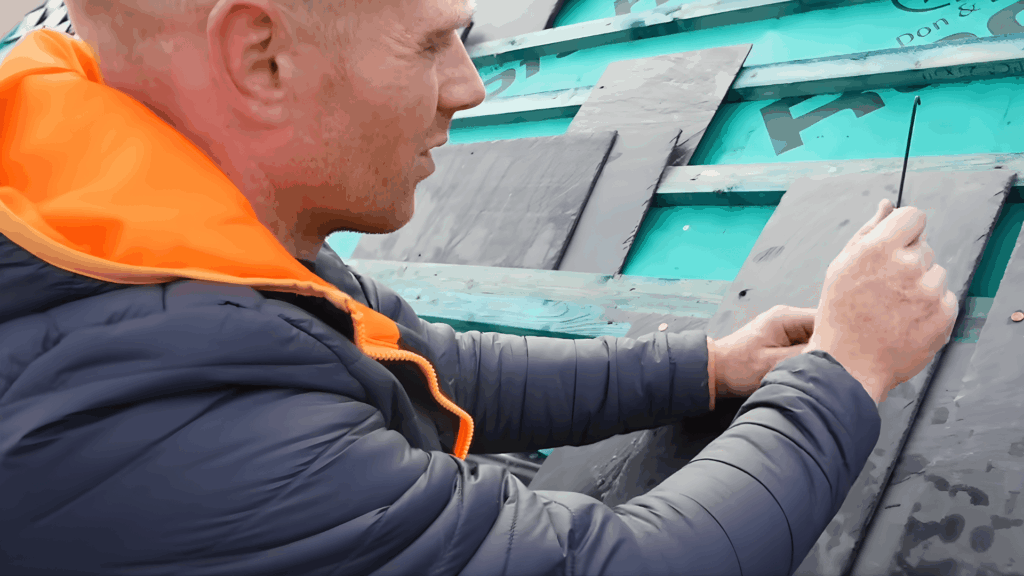
From the second course onward, secure each slate with hooks or nails. Hooks hold slates very securely; each slate gets one hook at the top, two at the sides, and one at the bottom.
Nails work well on the front face for a cleaner finish. As work moves up the roof, keep checking that vertical joints stay staggered between courses.
Lines that run straight up the roof are very visible from the ground and extremely hard to correct later.
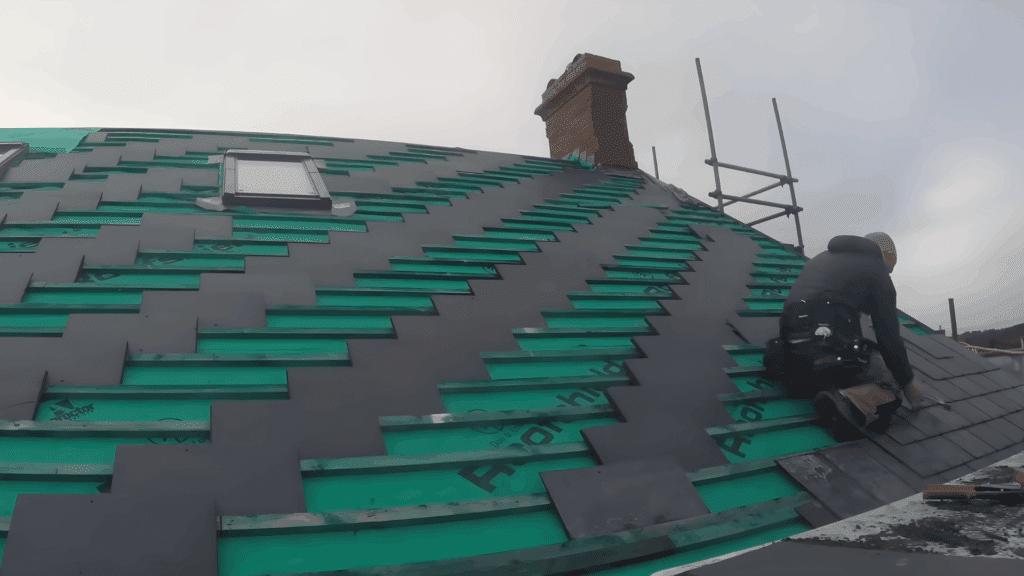
Step 5: Handle Cuts Around Roof Lights and Stacks

Roof lights and chimney stacks are the trickiest parts of the job. Any cut slate around these areas should be at least two-thirds of a full slate.
Never use thin slivers; they crack, shift, and cause leaks over time. Use a slate and a half where needed to fill gaps without breaking the pattern.
These areas take longer than open-field slats, but getting them right is what separates a solid roof from a problem one.
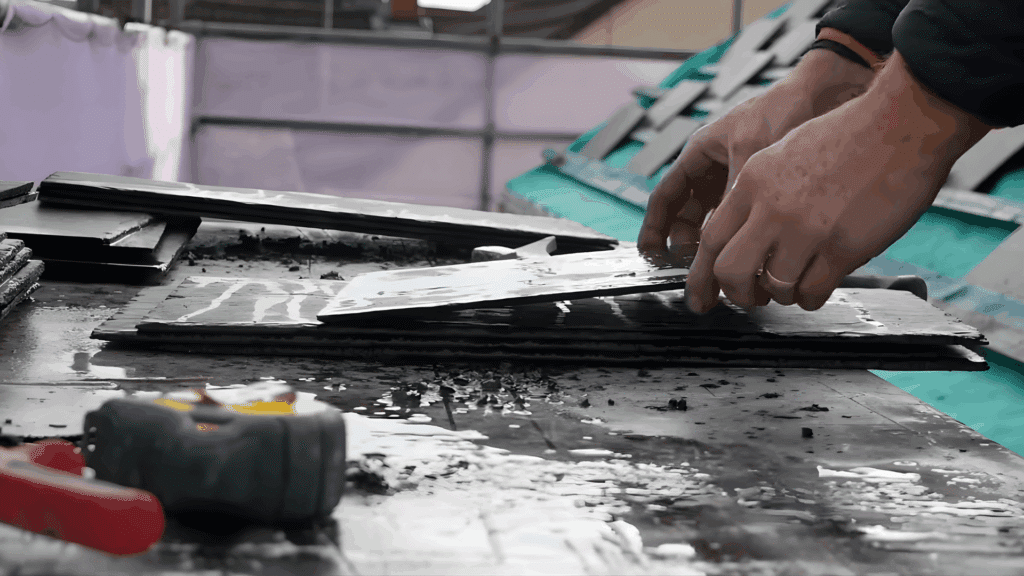
Step 6: Check Each Slate for Cracks as You Lay
Tap each slate lightly before nailing it down. A solid slate gives a clean, sharp sound.
A rattly or dull sound means there is a crack or weak spot underneath; take it off and replace it straight away before moving on.
Leaving a cracked slate in place is a guaranteed problem further down the line. Wet conditions actually make cracks easier to spot visually, so use that to your advantage on overcast or rainy working days.
Step 7: Finish the Ridge, Verge, and Flashing Last
Leave the ridge, verge edges, and all flashing details until the main field slats are fully complete. These are the areas where most roof failures begin if the work gets rushed toward the end.
Fit all lead and metal flashing around stacks and roof lights with care and precision. Take extra time on the barge boards and verge detailing.
Getting the edges right at the very end is what gives the finished roof its long-term strength and durability.
You can watch this video for a mode detailed guide:
Common Mistakes to Avoid
Even experienced roofers make errors on a slate job. Knowing what goes wrong most often makes it much easier to avoid the same problems.
- Walking Directly on Laid Slats: Slate is brittle under point load. Always use roof jacks and planks to move across the roof safely.
- Over-Nailing or Under-Nailing: Driving nails too hard cracks the slate. Too loose and the course above lifts. Nail heads should sit just below the surface.
- Relying on Underlayment for Waterproofing: The underlayment is temporary. It is the slate that keeps the roof watertight, not the felt underneath.
- Using the Wrong Nails: Galvanised nails rust and stain the roof over time. Always use copper or stainless steel nails rated for slate.
- Ignoring Perpendicular Joints: Vertical joints must be staggered by at least three inches between courses, or water finds a direct path through.
- Cutting Slats Too Small Around Details: Any cut piece around a roof light or chimney should be at least two-thirds of a full slate, or it will fail early.
- Skipping Chalk Lines on Battens: Without chalk lines, courses drift out of alignment as work moves up the roof, and it becomes very difficult to correct once slats are fixed down.
How Much Does Slate Roof Installation Cost?
Slate roofing costs more upfront than most other materials, but the lifespan makes it worth the investment for the right home. A rough breakdown of what to budget for.
| Cost Category | Estimated Cost | Details |
|---|---|---|
| Slate Tiles | $10 – $30 per sq. ft. | Price varies based on slate type, origin, and stone quality. |
| Labor Costs | $15 – $30 per sq. ft. | Slate roofing needs skilled installation and takes longer than standard roofing materials. |
| Underlayment & Flashing | $500 – $1,500 | Includes underlayment, copper or lead valley flashing, and eave protection membrane. |
| Tools for DIY | $150 – $400 | Basic slate roofing tools such as a slate cutter, hammer, and ripper. |
| Roof Deck Repairs | $1,000 – $3,000 | Possible cost if the roof deck needs strengthening before installation. |
| Full Roof Replacement | $20,000 – $50,000 | Typical cost for a complete slate roof installation on an average-sized home. |
| DIY Savings | 40% – 50% | Installing the roof yourself can reduce total costs if you have the skills and time. |
| Total DIY Cost Estimate | $10,000 – $30,000 | The estimated total cost when doing the installation without professional labor. |
How to Maintain Your Slate Roof After Installation?
A slate roof is low-maintenance, but not zero-maintenance. Staying on top of a few basic checks each year keeps it performing well for decades.
- Inspect the Roof Once a Year: Walk around the property and look up at the roof from ground level. Check for any slats that look out of place, lifted, or missing.
- Tap Slates to Check for Cracks: A solid slate sounds sharp when tapped. A dull or hollow sound means it is cracked or loose and needs to be replaced before it lets water in.
- Clear Moss and Debris Regularly: Moss holds moisture against the surface, accelerating wear. Clear it off with a soft brush; never a pressure washer, as that forces water under the tiles.
- Check Flashings Around Chimneys and Valleys: Metal flashing is often the first thing to fail on a slate roof. Look for lifted edges, rust spots, or gaps where water could get in.
- Replace Broken Slats Promptly: Leaving a broken slate in place puts the surrounding slats and the roof deck below at risk. A single replacement is a quick fix if caught early.
- Avoid Walking on The Roof Unnecessarily: Every time someone walks on a slate roof without proper staging, there is a risk of cracking tiles. Keep foot traffic to an absolute minimum.
- Get a Professional Check Every 10 Years: Even a well-laid roof benefits from a professional eye every decade to catch anything that is not visible from ground level.
Wrapping It Up
Slate roofing is hard work, but the results speak for themselves. A roof done right can outlast everything else on the house. That alone makes it worth doing properly.
Take it one stage at a time. Get the deck solid, sort the slats before going up, keep the courses straight, and do not rush the edges. The small details are what hold everything together long term.
It is not a job that has to be perfect on the first attempt. Most people who have done it will say the second side of the roof always goes faster than the first.
Give it a go, take notes along the way, and see how it turns out.
Already done a slate roof or currently mid-project? Drop a comment and share how it is going; what worked, what did not, and any tips picked up along the way.