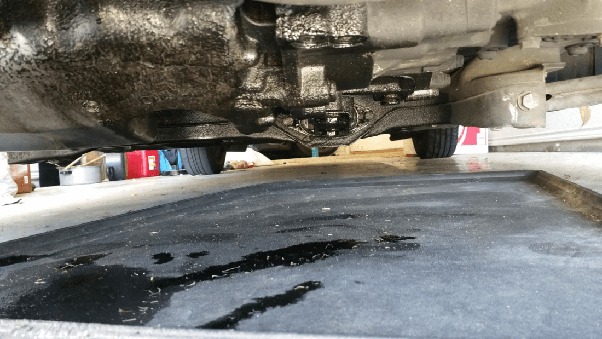
A car’s leaking oil is a common issue that demands immediate attention to prevent severe engine damage and environmental harm.
Oil leaks lead to poor engine performance and increased fuel consumption, pose a fire hazard, and contribute to pollution.
Identifying and fixing oil leaks promptly is crucial for maintaining your vehicle’s longevity and reliability.
This step-by-step guide will show you how to diagnose and repair minor oil leaks at home, saving you time and money.
Addressing oil leaks early on can ensure your car runs smoothly, minimize environmental impact, and avoid costly engine repairs down the road.
Different Signs of an Oil Leak and Recognizing Them
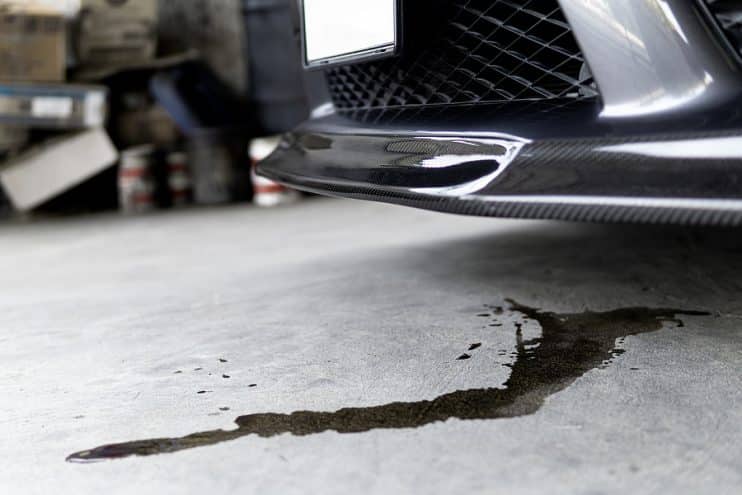
Your car will reflect on different signs as the oil leak goes on. However, these are easily visible and can be recognized through various mediums.
Make sure to check on these points to rectify the issue as soon as possible to save your vehicle from any major issue and save your penny.
1. Oil Spots Under the Car
One of the most obvious signs of an oil leak is dark brown or black spots on the ground where your car is usually parked. These spots are caused by oil dripping from your engine onto the pavement. The size and frequency of the spots can indicate the severity of the leak. Small, infrequent drops may signify a minor leak, while larger, more frequent spots suggest a more significant problem that needs immediate attention.
2. Burning Smell from the Engine
If you notice a burning smell emanating from your engine compartment while driving, it could indicate an oil leak. When oil drips onto hot engine components, such as the exhaust manifold or pipes, it can produce a distinct burning odor. This unpleasant smell indicates that your engine is at risk of damage due to the leaking oil.
3. Low Oil Level
Regularly checking your engine’s oil level is crucial to vehicle maintenance. If you need to top up your oil more frequently than usual, it strongly indicates that your car is leaking oil. To check your oil level, park your car on a level surface, wait a few minutes for the oil to settle, and then use the dipstick to measure the level. If the oil level is consistently low, even after topping up, it’s time to investigate the source of the leak.
4. Engine Overheating
An oil leak can cause your engine to overheat, as the oil is critical in lubricating and cooling the engine components. As the oil level drops due to a leak, the engine’s ability to regulate its temperature diminishes. If you notice your engine temperature gauge reading higher than normal or your car’s temperature warning light comes on, it could be a sign of an oil leak, among other potential issues.
5. Unusual Engine Noises
You may hear unusual noises from under the hood when your engine lacks proper lubrication due to an oil leak. These noises can include grinding, knocking, or ticking sounds caused by metal components rubbing against each other without the protective layer of oil. These noises can lead to severe engine damage and costly repairs if left unchecked.
By familiarizing yourself with these warning signs, you can quickly identify potential oil leaks and take the necessary steps to address the issue before it escalates into a more serious problem.
Step-by-Step Guide to Diagnosing Car Oil Leaks
Diagnosing an oil leak in your car may seem daunting, but with the right approach and tools, you can identify the source and type of leak. Follow this step-by-step guide to locate and assess your car’s oil leak:
Step 1: Prepare Your Work Area
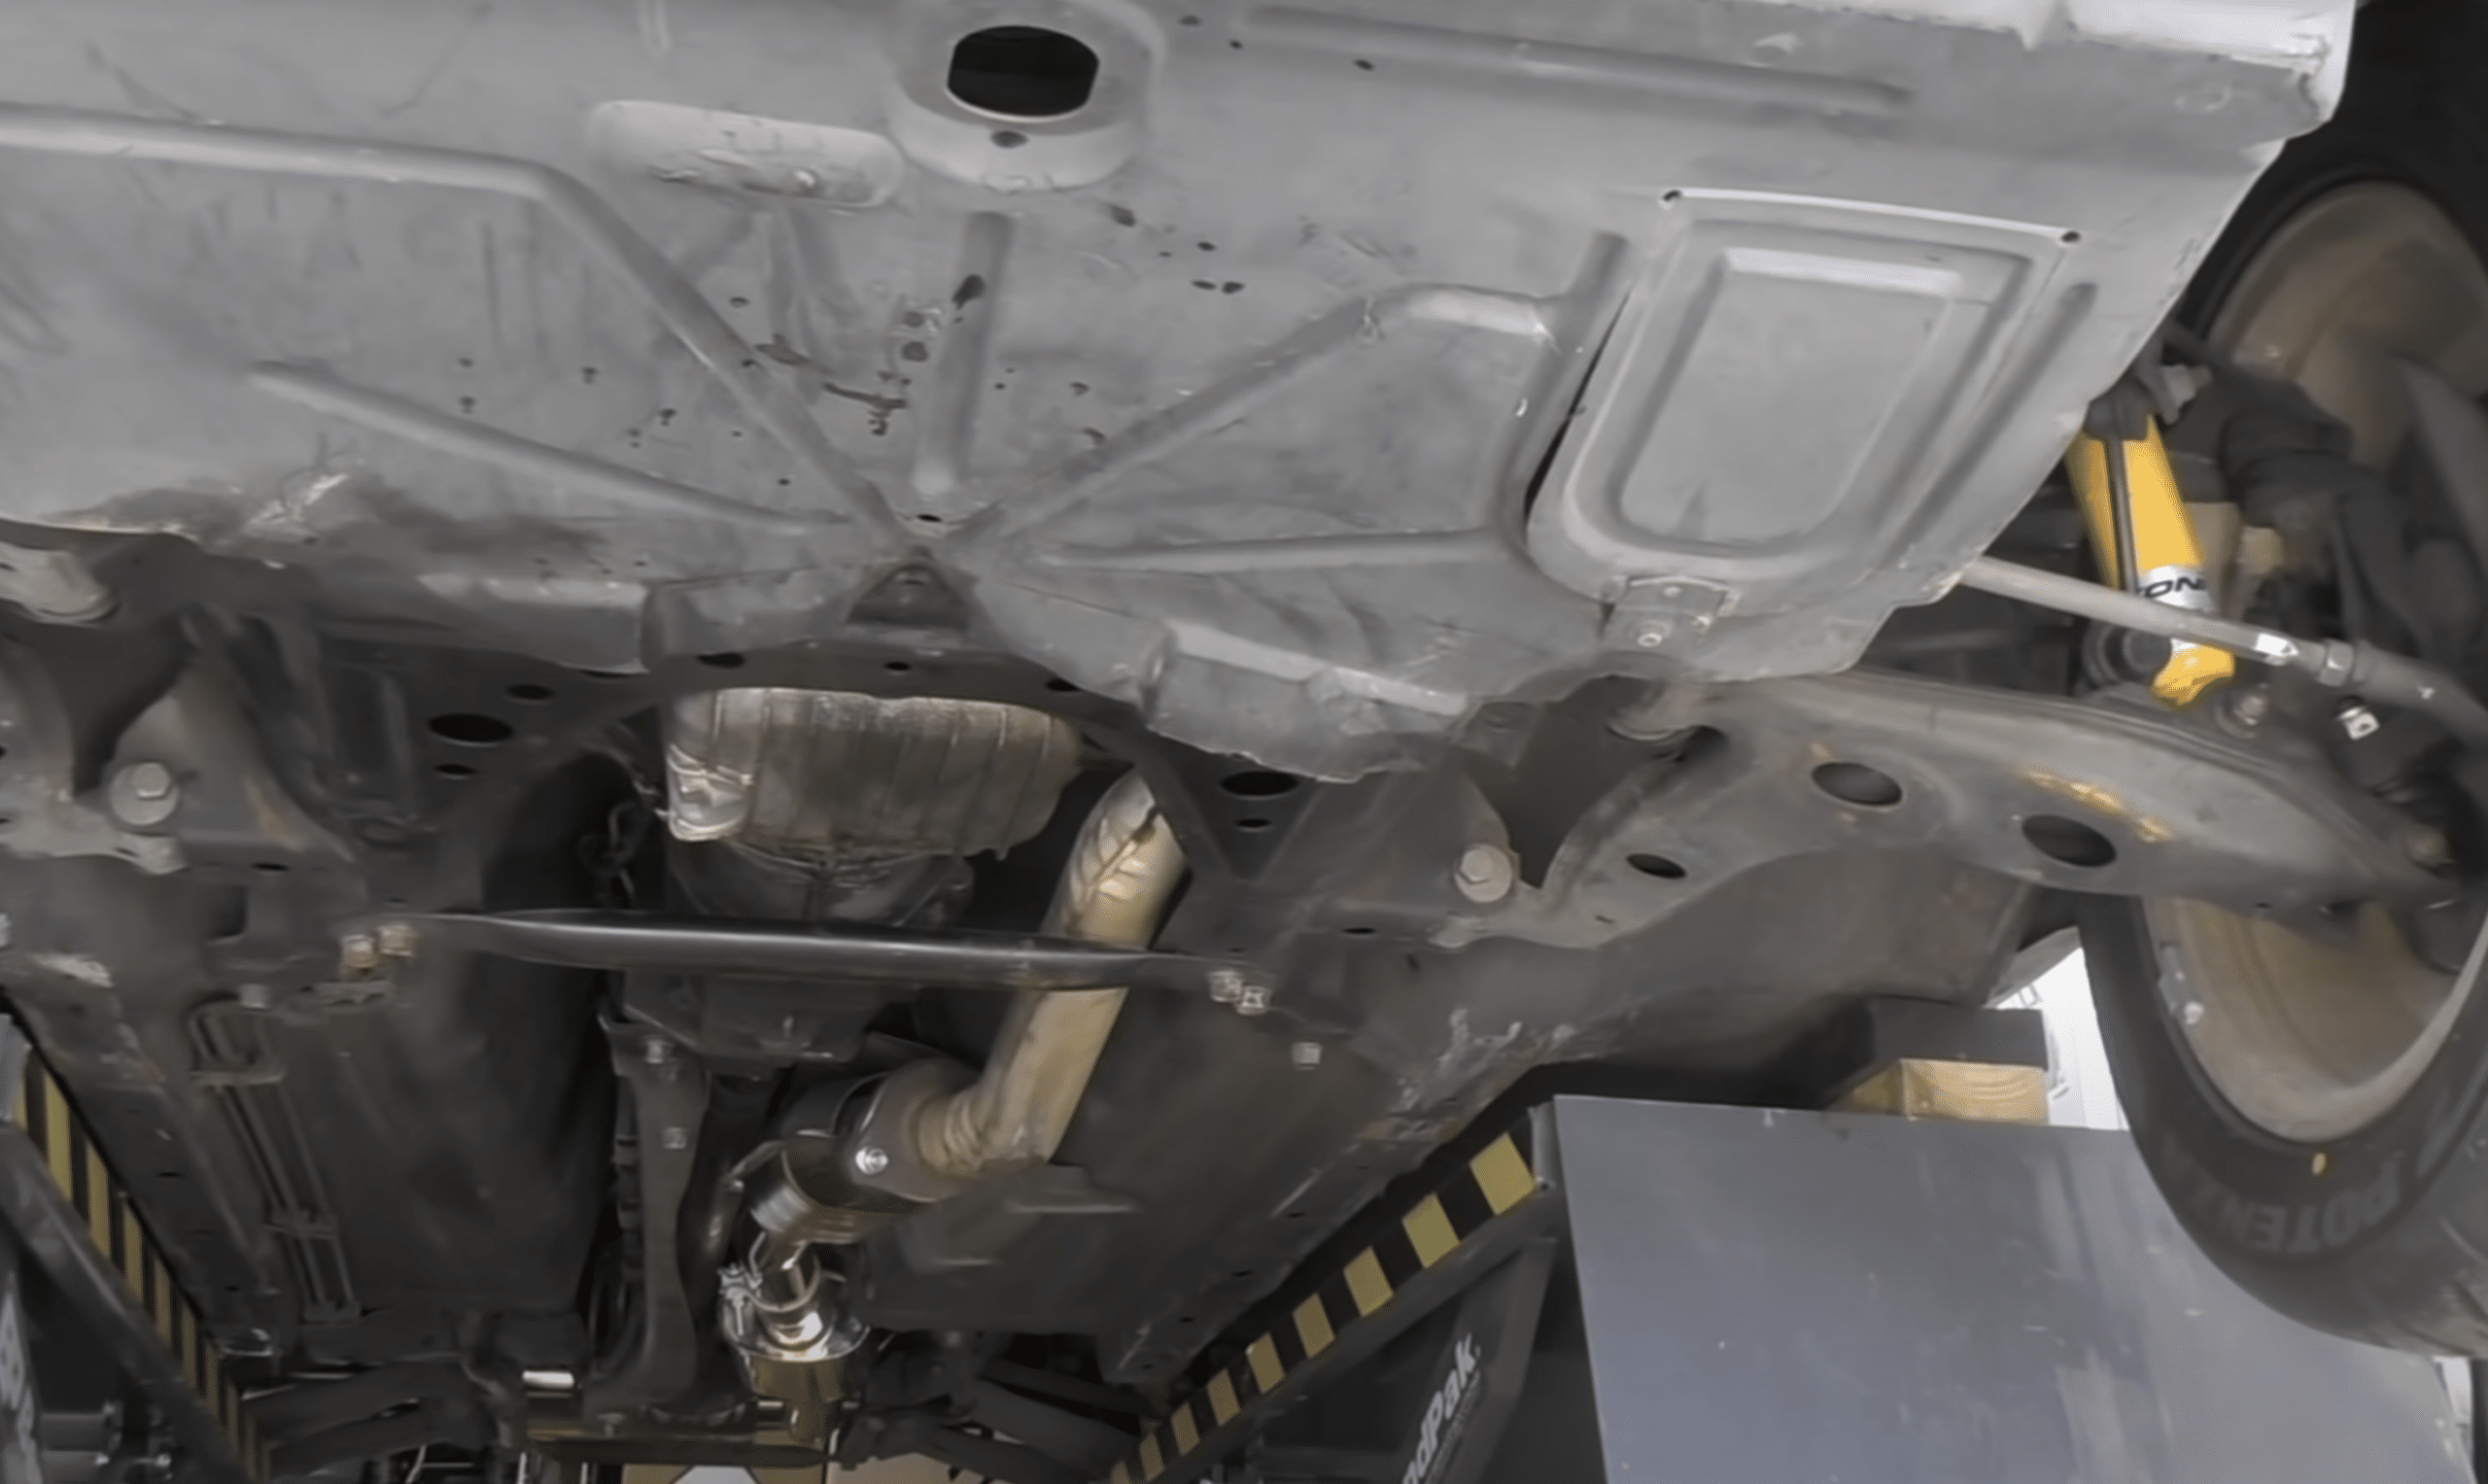
Begin by parking your car on a level surface and ensuring the engine is cool. This will prevent any accidents or injuries while working on your vehicle. Place a large piece of cardboard or a drip pan under the engine to catch any dripping oil, making identifying the leak’s location easier. Gather necessary tools, such as a flashlight, gloves, and a clean cloth, to assist you in the diagnosis process.
Step 2: Clean the Engine
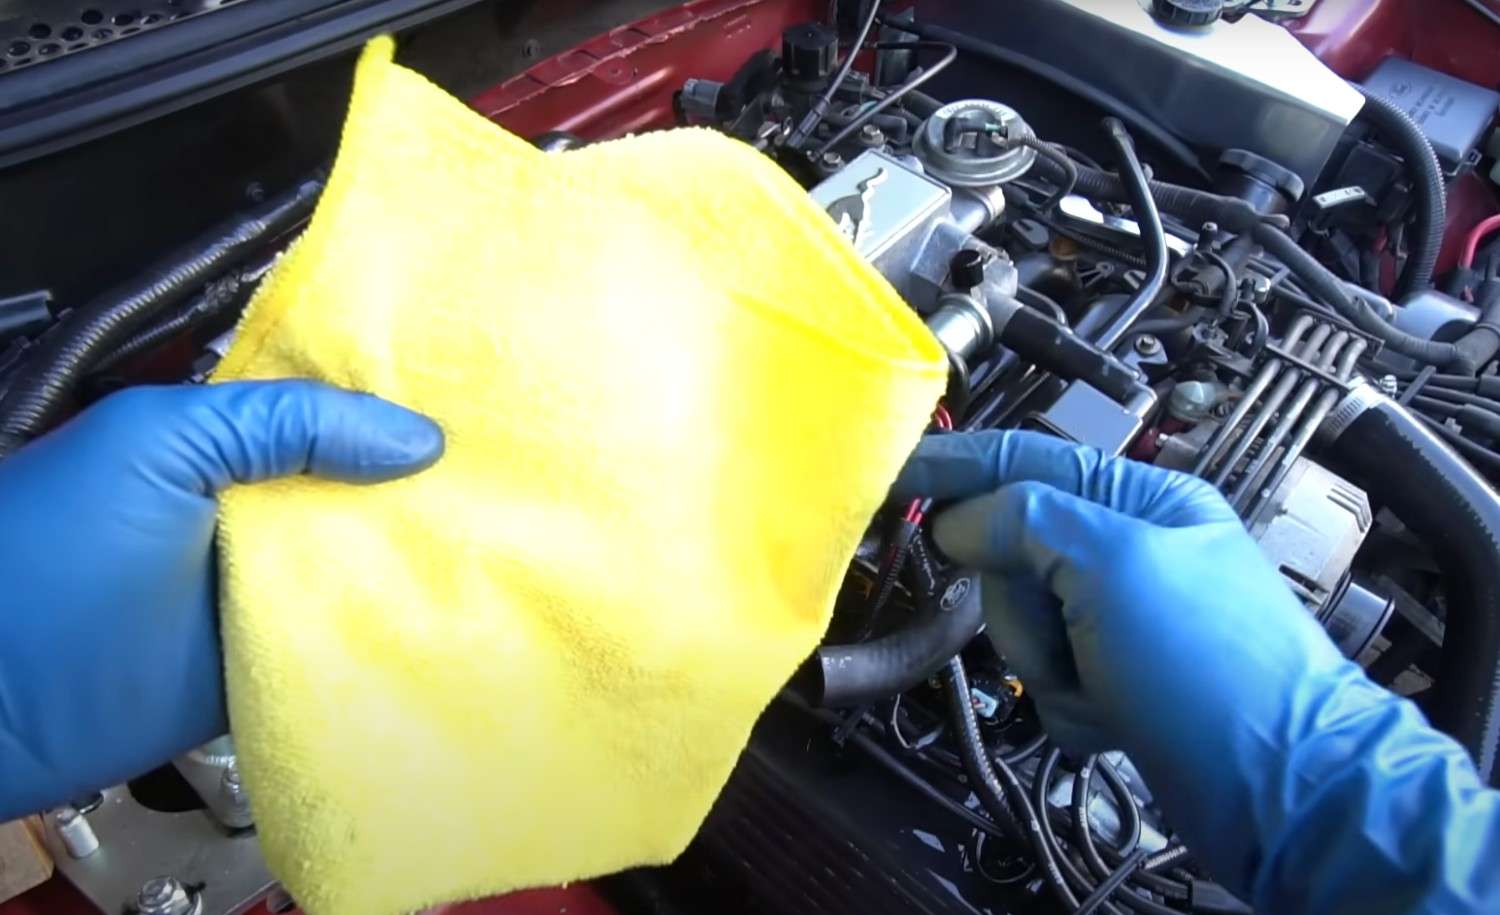
Starting with a clean engine bay is crucial to accurately identify fresh oil leaks. Use a degreaser and a brush to thoroughly clean the engine components, removing any dirt, grime, or old oil stains. This step will make it much easier to spot new leaks and trace them back to their source.
Step 3: Run the Engine
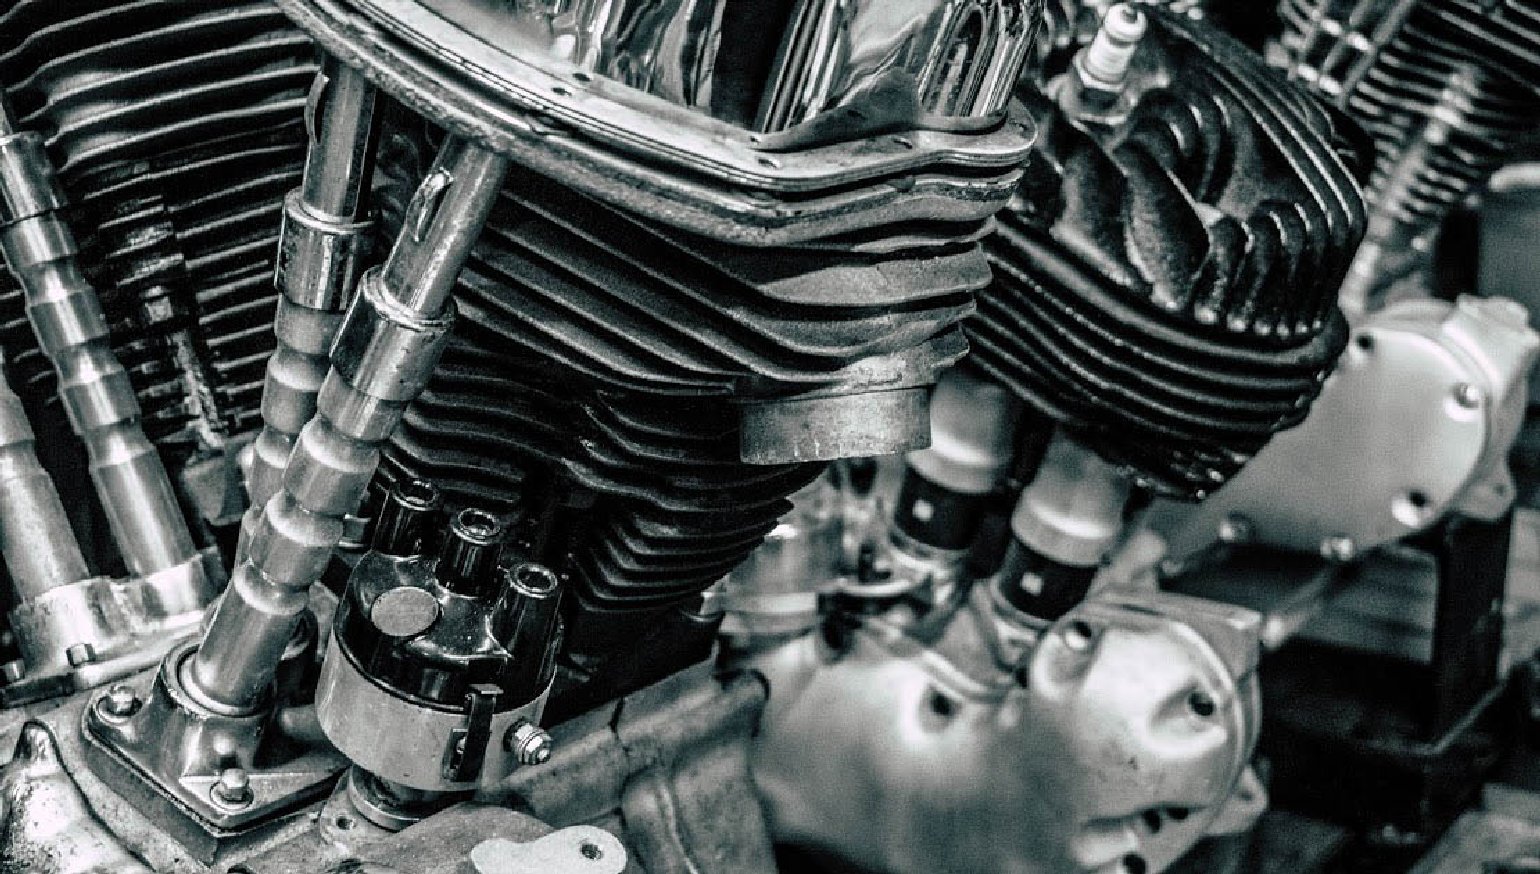
Once the engine is clean, start it and let it run for a few minutes. This will allow any leaks to become apparent, as the oil will have time to seep through the leaks and drip onto the cardboard or into the drip pan. Look for any new oil spots that appear during this process.
Step 4: Locate the Source of the Leak
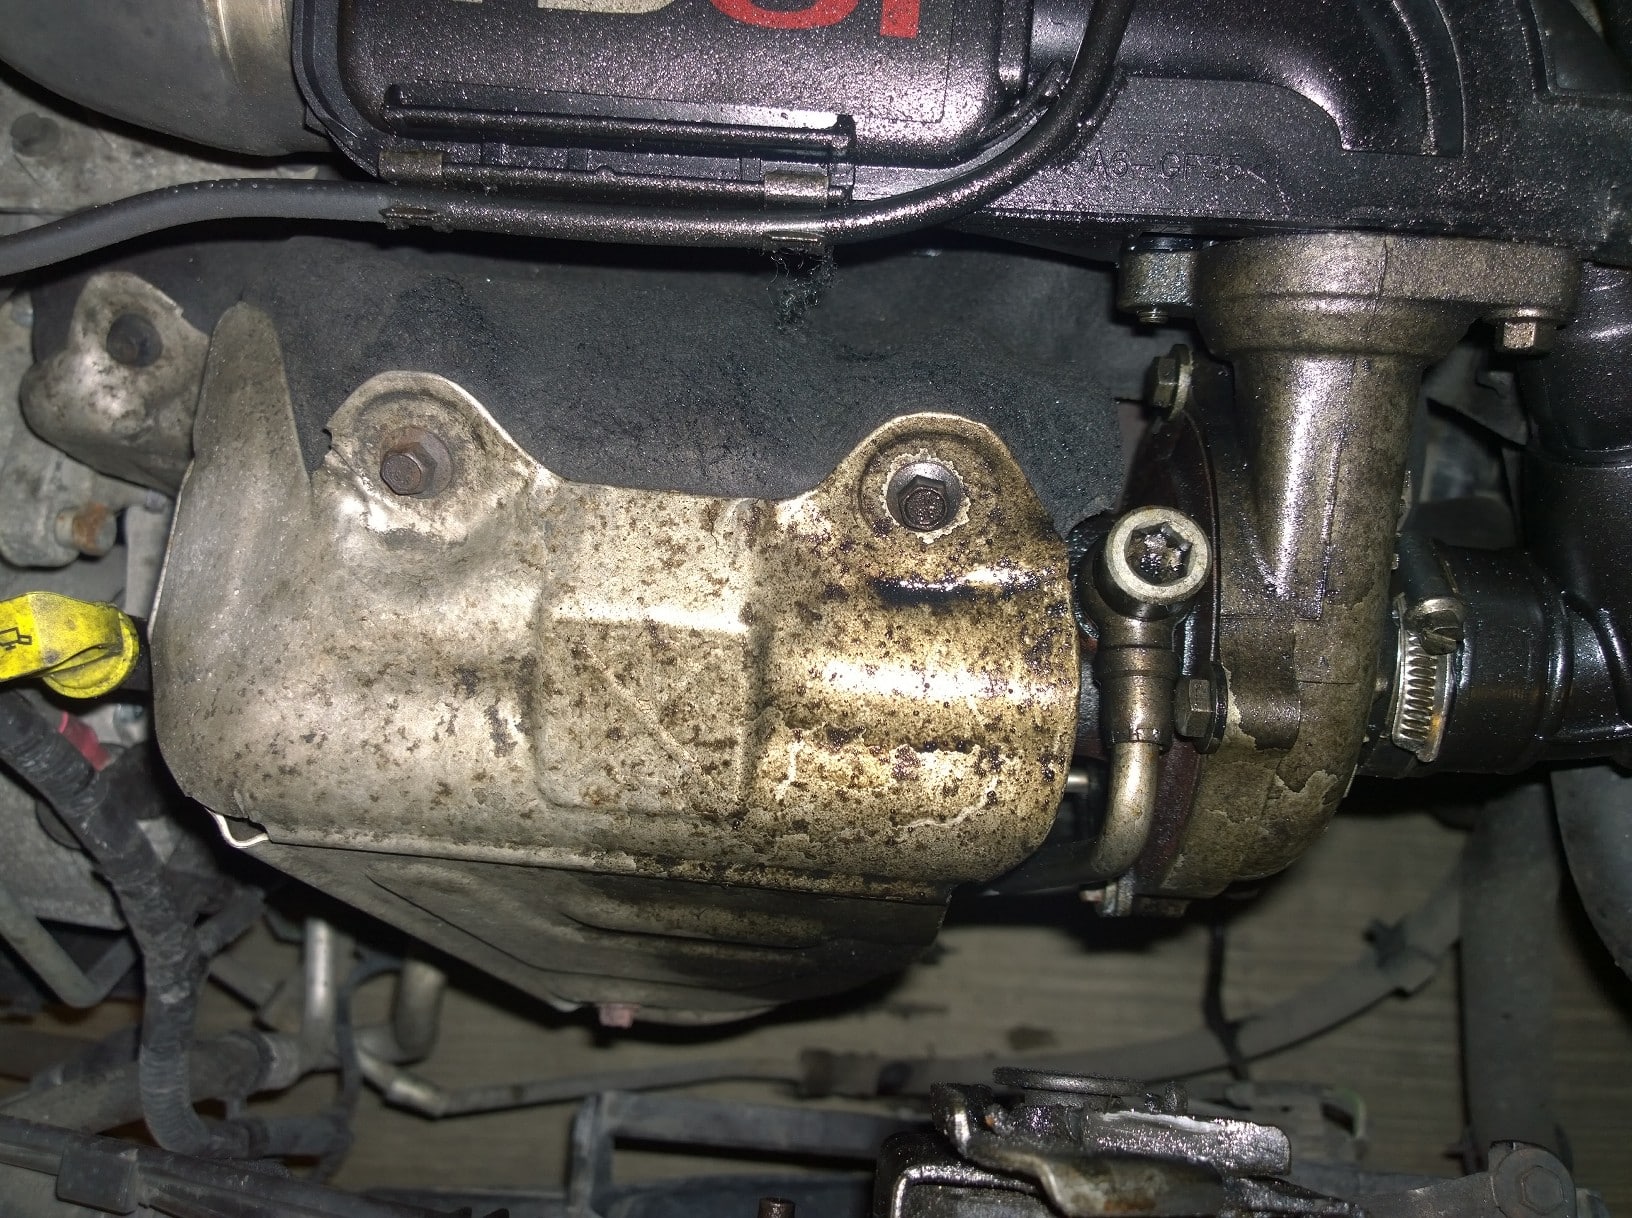
Using a flashlight, carefully inspect the engine compartment for signs of fresh oil leaks. Pay close attention to common leak areas, such as the oil filter, drain plug, valve cover gasket, and oil pan gasket. These components are prone to leaks due to wear and tear or improper installation. Trace the leak back to its highest point to determine the exact source.
Step 5: Identify the Type of Leak
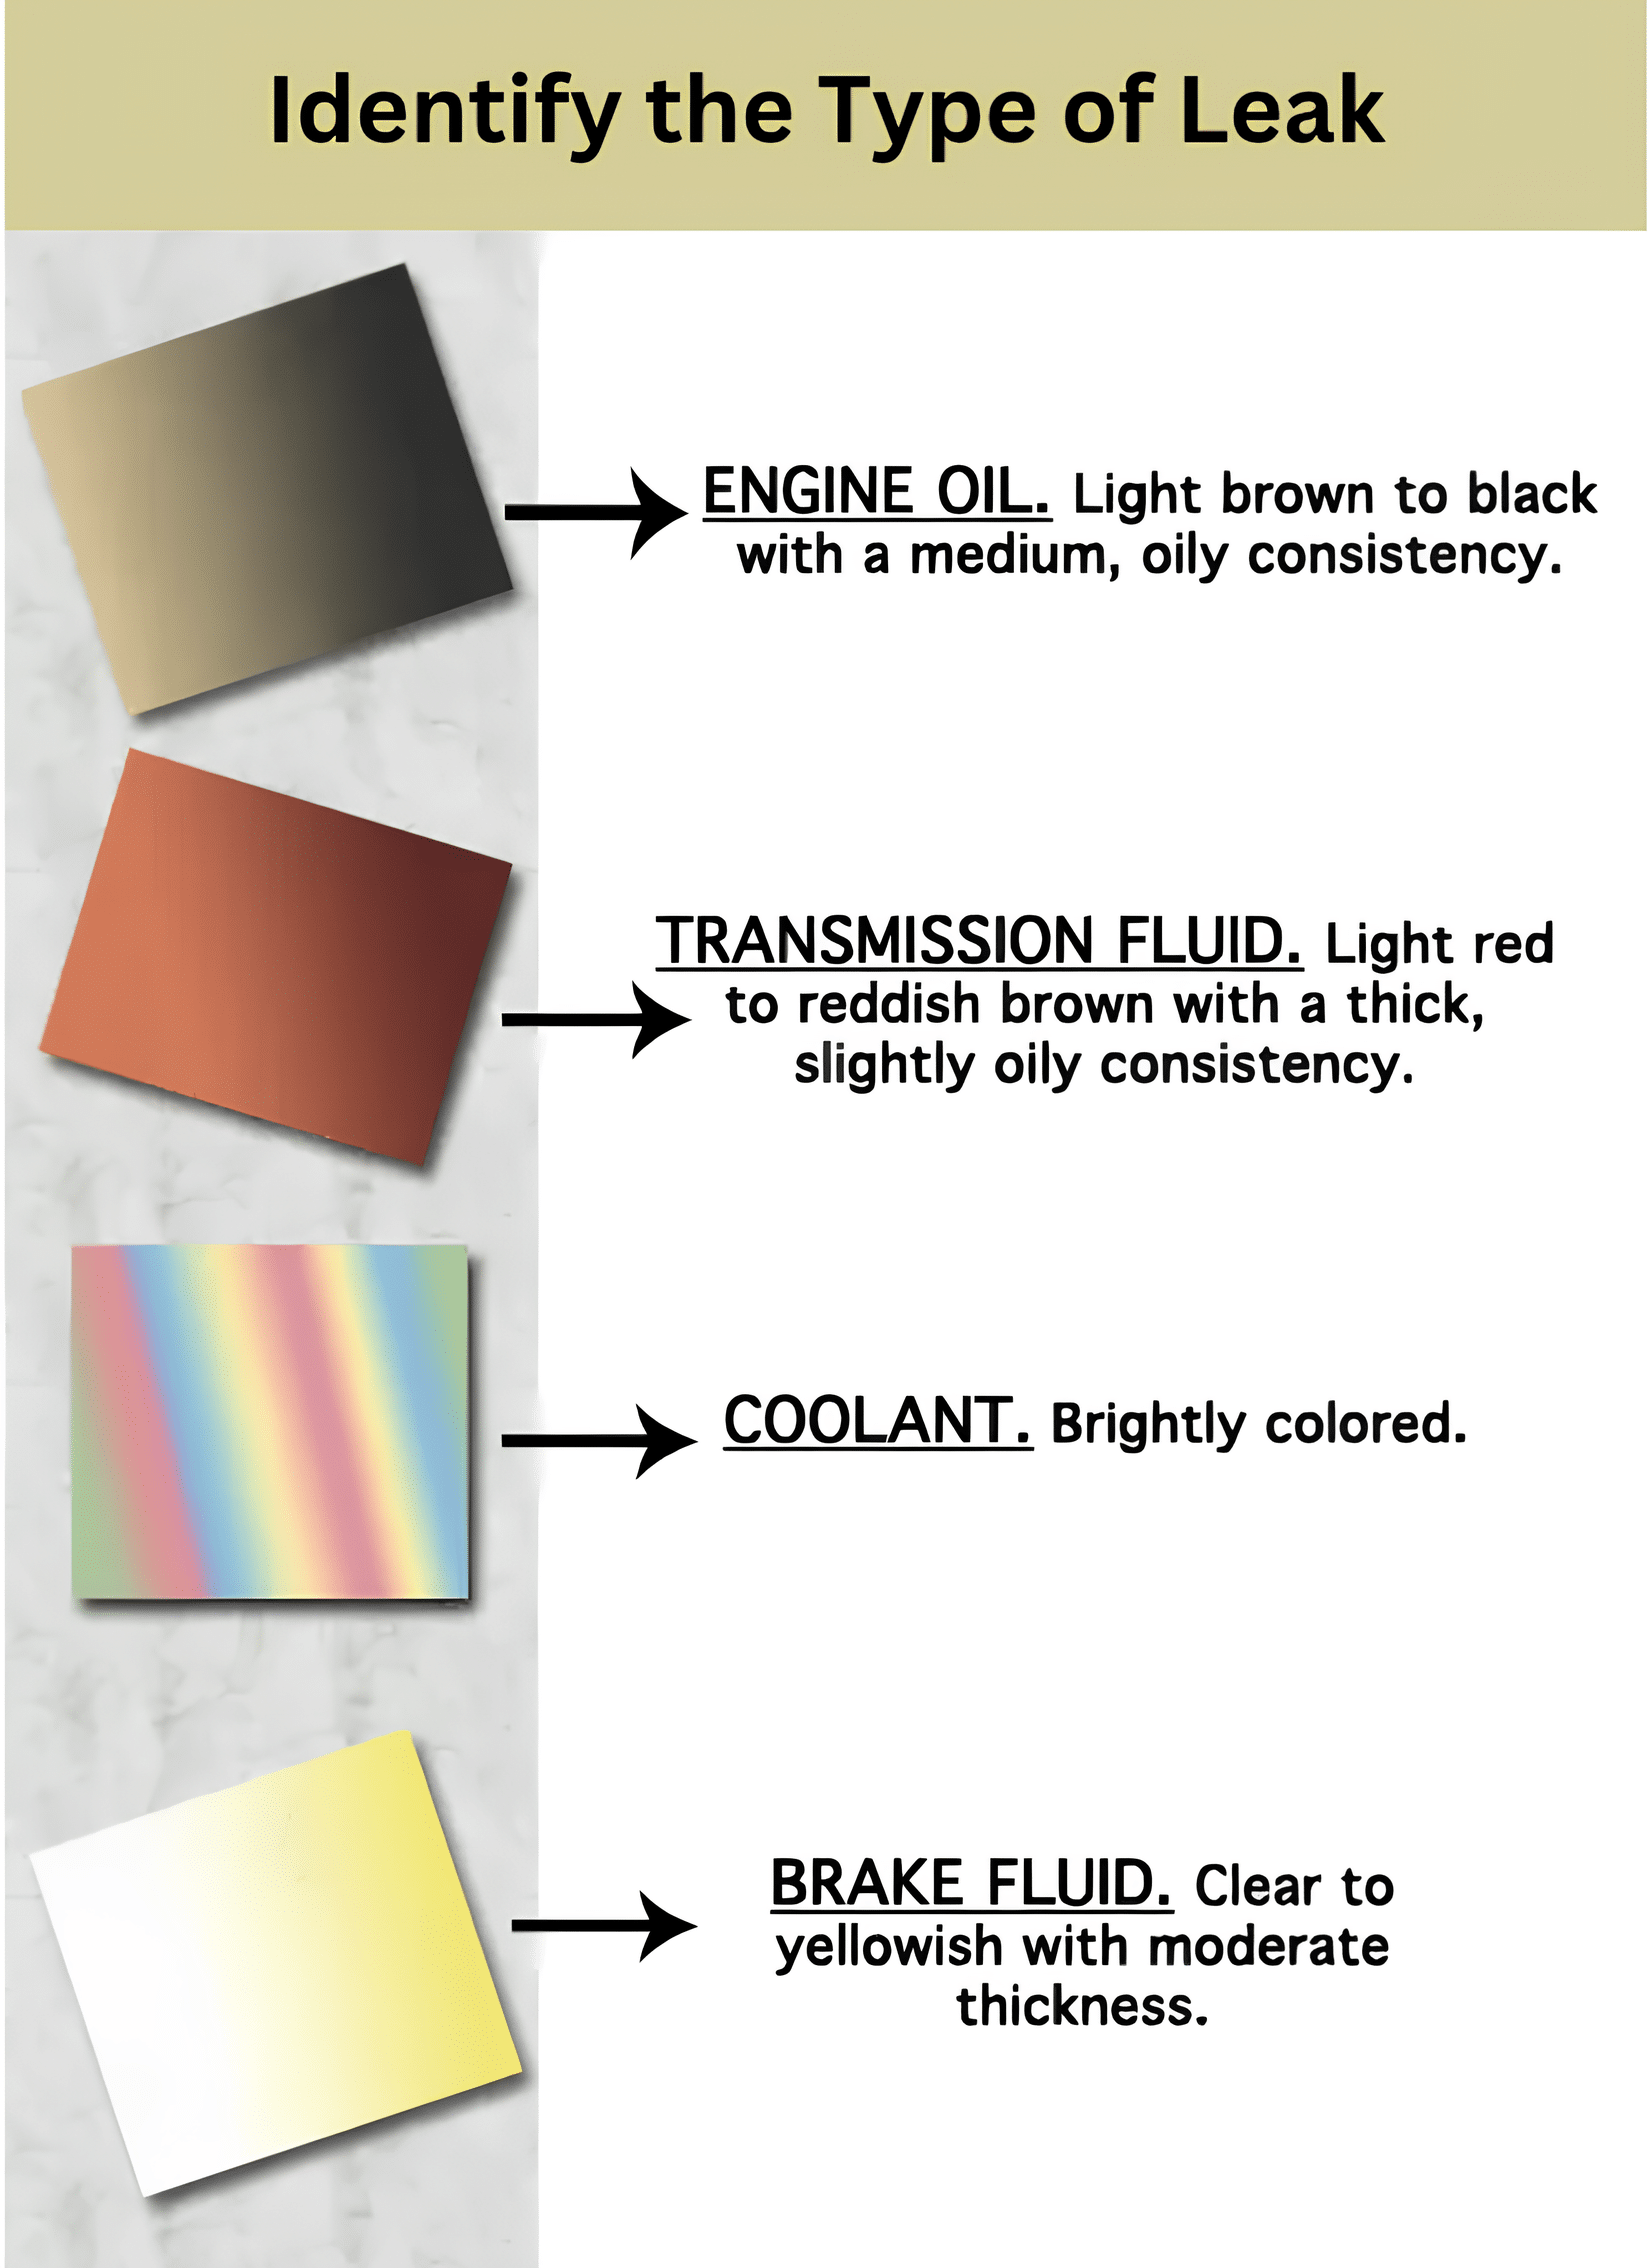
Once you’ve located the source of the leak, examine the color and consistency of the leaking fluid to help identify the type of leak. Engine oil typically ranges from light brown to black and has a slick texture. Transmission fluid is usually red or pink and slightly thicker than engine oil. Power steering fluid is clear, red, or pink and thinner than engine oil, while coolant is green, yellow, or pink and has a watery consistency.
Step 6: Assess the Severity of the Leak
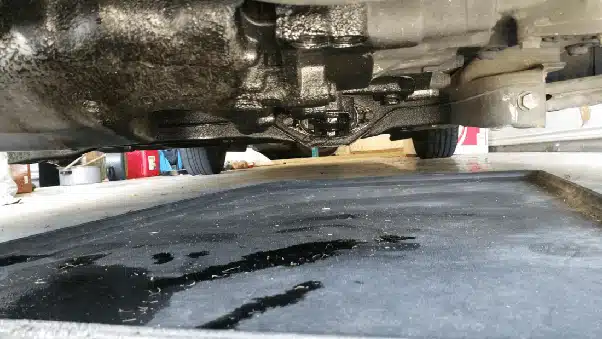
After identifying the type of leak, determine its severity based on the amount of oil present and the rate at which it leaks. A small, slow leak may not require immediate attention and can be monitored over time. However, a large, fast leak should be addressed promptly to avoid potential engine damage or failure.
Step 7: Document Your Findings

To help with future repairs or consultations with a mechanic, take detailed notes and photos of the leak location and type. This information will be invaluable when purchasing replacement parts or explaining the issue to a professional. Documenting your findings will also help you track the leak’s progress and determine whether any repairs have succeeded.
Following these steps will help you effectively diagnose your car’s oil leak, identifying the source and type of leak. This knowledge will help you determine the best course of action, whether it’s a simple fix you can perform at home or a more complex repair that requires professional assistance.
Preventive Measures to Avoid Future Oil Leaks
Add a suitable Image
1. Regular Engine Checks: Regular engine checks are crucial in preventing oil leaks and maintaining your vehicle’s engine health. Make it a habit to inspect your engine regularly for any signs of oil leaks, such as visible oil stains or puddles under your vehicle. Pay close attention to areas around gaskets and seals, looking for any signs of oil residue or leakage. If you notice any issues, address them promptly to prevent further damage.
2. Oil Changes: Oil changes are another essential aspect of leak prevention. Follow the manufacturer’s recommended oil change intervals, which typically range from 3,000 to 5,000 miles or as specified in your vehicle’s manual. Use high-quality oil that meets your engine’s specifications to ensure optimal performance and protection. Between oil changes, regularly check and top up oil levels to maintain proper lubrication. Remember to replace the oil filter with each oil change to ensure clean oil is circulating through your engine.
3. Gasket and Seal Inspections: Gasket and seal inspections should be performed regularly to identify any signs of wear, damage, or deterioration. Common areas to check include the valve cover gasket, oil pan gasket, timing cover gasket, and front and rear main seals. If you discover any damaged or worn gaskets or seals, replace them promptly using high-quality replacement parts to ensure proper fitment and sealing. This will help prevent oil leaks and protect your engine from potential damage.
4. Engine Cleanliness: Keeping your engine clean is another important preventive measure. Remove any dirt, grime, or oil buildup regularly to make it easier to identify leaks and other issues. A clean engine not only looks better but also allows for more effective inspection and maintenance.
5. Proper Oil Level: Maintaining proper oil levels is crucial in preventing leaks. Avoid overfilling your engine with oil, as excess oil can lead to increased pressure and leaks. Use the dipstick to ensure the oil level is within the appropriate range, and adjust as needed.
6. Professional Inspections: Finally, scheduling regular vehicle inspections with a qualified mechanic can help identify potential issues and provide preventive maintenance. During these inspections, the mechanic can check for signs of leaks, worn gaskets or seals, and other concerns. Address any recommendations promptly to avoid future leaks and keep your engine running smoothly.
By implementing these preventive measures, you can significantly reduce the risk of oil leaks, extend the life of your engine, and save yourself from costly repairs in the long run.
Regular maintenance and attention to detail are key to keeping your vehicle in top condition and avoiding the hassle and expense of oil leak repairs.
Wrapping it Up
Dealing with a car leaking oil can be a daunting task, but by understanding the common signs, identifying the source, and having the right tools and knowledge, you can effectively address the issue.
Whether you choose to tackle minor leaks with DIY solutions or seek professional help for major leaks, acting promptly is crucial to prevent further damage to your engine.
By implementing preventive measures such as regular engine checks, oil changes, gasket and seal inspections, and maintaining engine cleanliness and proper oil levels, you can significantly reduce the risk of future oil leaks.
Remember, a well-maintained vehicle not only performs better but also saves you from costly repairs in the long run.
Stay vigilant, take action when necessary, and enjoy the peace of mind that comes with a leak-free engine.

