
Painting a room for the first time can feel a little overwhelming. You might be thinking, “What do I need?” or “How do I make sure it doesn’t turn out messy?”
I’ve been there, and I know how confusing it can be when you’re just starting out.
The best part is that you don’t need fancy skills or expensive tools to do a great job. You just need clear steps and a bit of patience.
I’ll walk you through everything-from getting your space ready and using tape the right way, to painting clean edges and rolling your walls evenly.
I’ll also share some simple tips to help you avoid the usual mistakes and finish with results you’ll feel good about.
If you’re trying this for the first time and want to do it right, this guide will help you get there.
It’s all about keeping things clear, easy, and doable.
Why Paint Your Room?
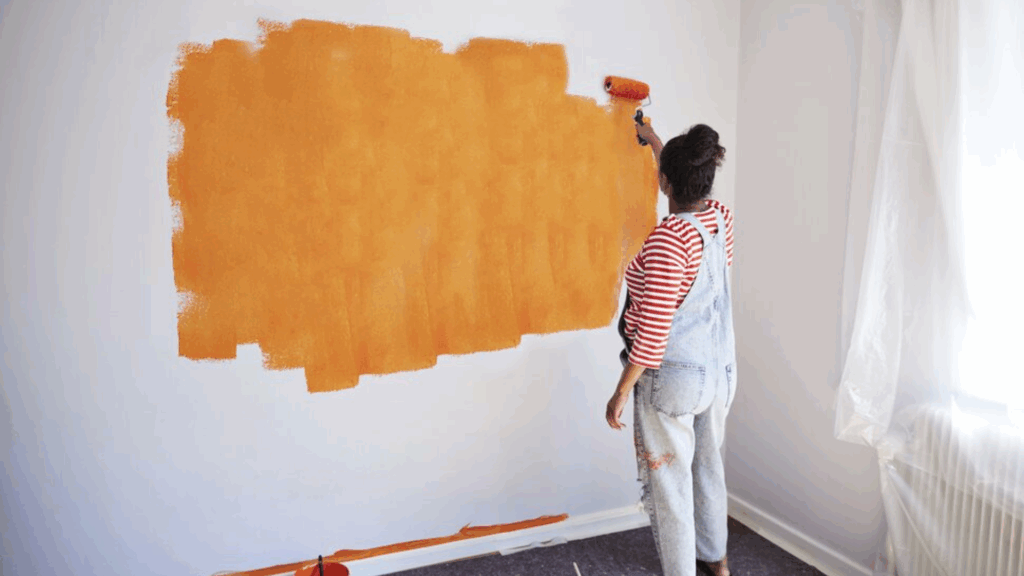
Painting is one of the simplest ways to change how a room looks and feels.
It doesn’t take a lot of time or money, and you don’t need to be an expert to do it well.
If you want to update a space or just try something new, painting can help you make a noticeable difference without a full makeover.
It’s also a fun way to learn new skills and take pride in something you’ve done yourself.
That’s why painting is worth it:
- Makes a room look clean and refreshed
- Adds color and personality to your space
- Let you fix old marks or uneven spots
- Prepares a room for a special event or season
- Gives you a chance to try a hands-on project
Materials Needed
Having the right supplies makes painting easier and helps you get better results. Before you begin, gather everything you’ll need so you’re not stopping halfway through.
- Paint
- Painter’s tape
- Paint tray and disposable liner
- Roller frame and 3/8-inch nap roller cover
- 2–2.5 inch angled brush for edges
- Small container for cutting in
- Spackle and sanding block
- A damp cloth for cleaning walls
- Stir sticks
Step-by-Step Process: How to Paint a Room the Right Way
Once your space is prepped and your tools are ready, it’s time to start painting. Follow these simple steps to make the process smooth and the results clean.
Step 1: Prepare the Room
Start by moving out as much furniture as you can. If something is too heavy or big, cover it with a drop cloth or plastic sheet to keep it safe from paint splatters.
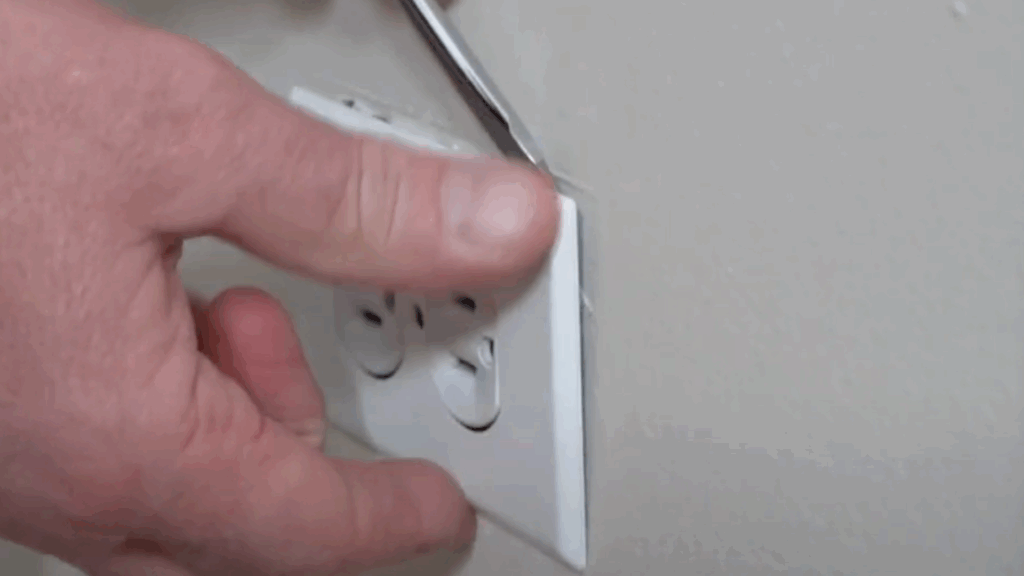
Next, take off light switch plates and outlet covers using a screwdriver. This helps you paint around those areas without getting paint on them.
Look for any small holes, cracks, or dents in the wall. Fill them with wall spackle and let it dry. Then use a sanding block to smooth it out.
Clean walls provide a better surface for paint to adhere to.
Step 2: Tape Off the Edges
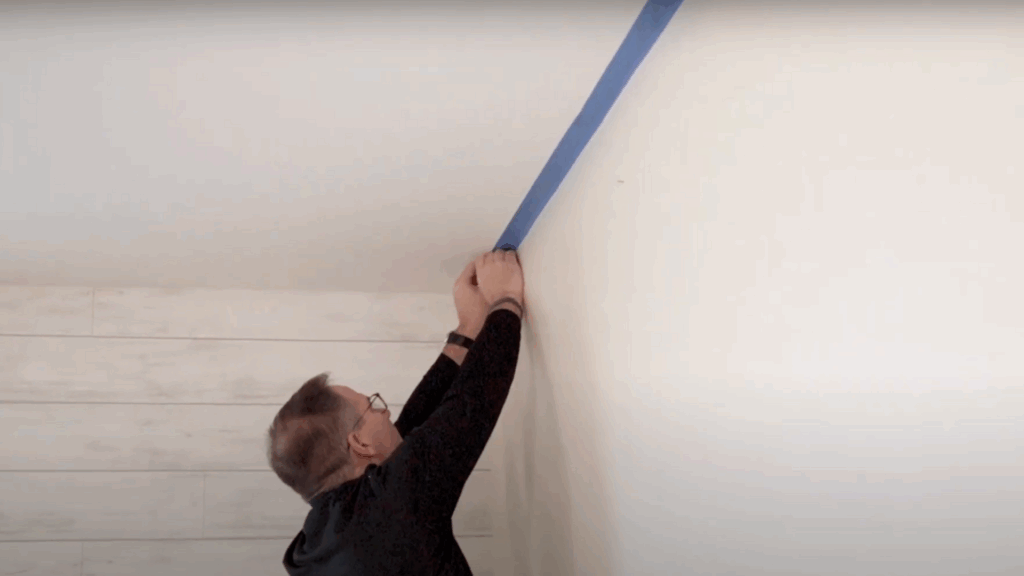
Taping helps protect the parts of the room you don’t want to paint.
Use painter’s tape along the baseboards, trim, windows, and the edge where the wall meets the ceiling.
Press the tape down firmly with your fingers or a small tool to seal it tightly. This stops paint from slipping underneath and keeps your lines clean.
Wipe dusty surfaces with a damp cloth before applying tape. That way, it sticks better.
Be careful around corners and edges. Cut small pieces of tape if needed.
A little extra time spent taping saves you from messy edges later on.
Step 3: Cut In the Edges
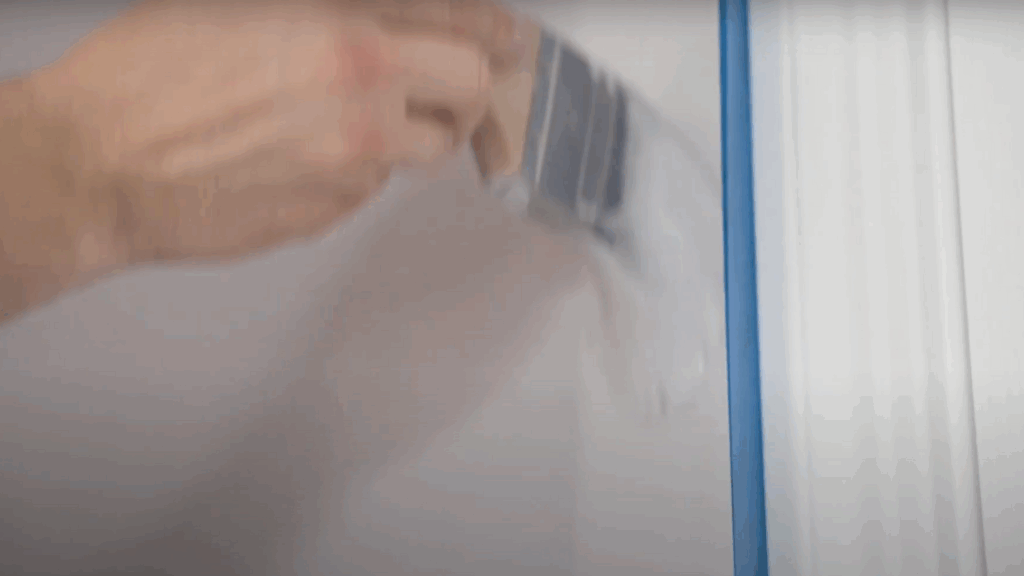
“Cutting in” means using a brush to paint around the areas where a roller won’t fit-like the edges near the ceiling, baseboards, or corners.
Pour some paint into a smaller container so it’s easier to hold. Dip your angled brush into the paint, but don’t soak it. Just enough to coat the bristles.
Paint a 2 to 3-inch strip along the taped edges. This border makes rolling faster and keeps paint from getting on the trim or ceiling lines.
Go slowly and use steady strokes. This part may take time, but it makes the whole wall look neater in the end.
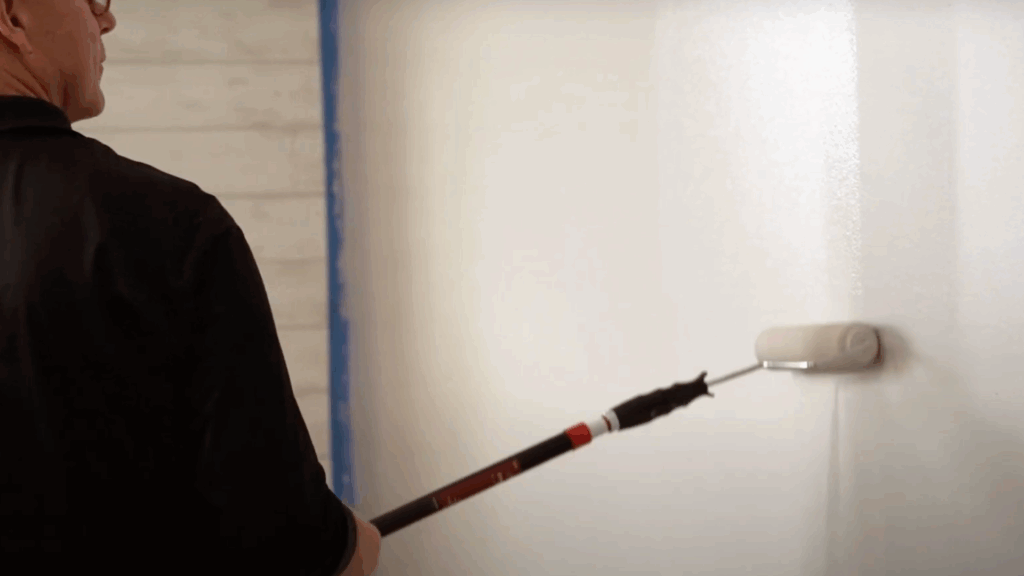
Step 4: Roll the Paint Onto the Walls
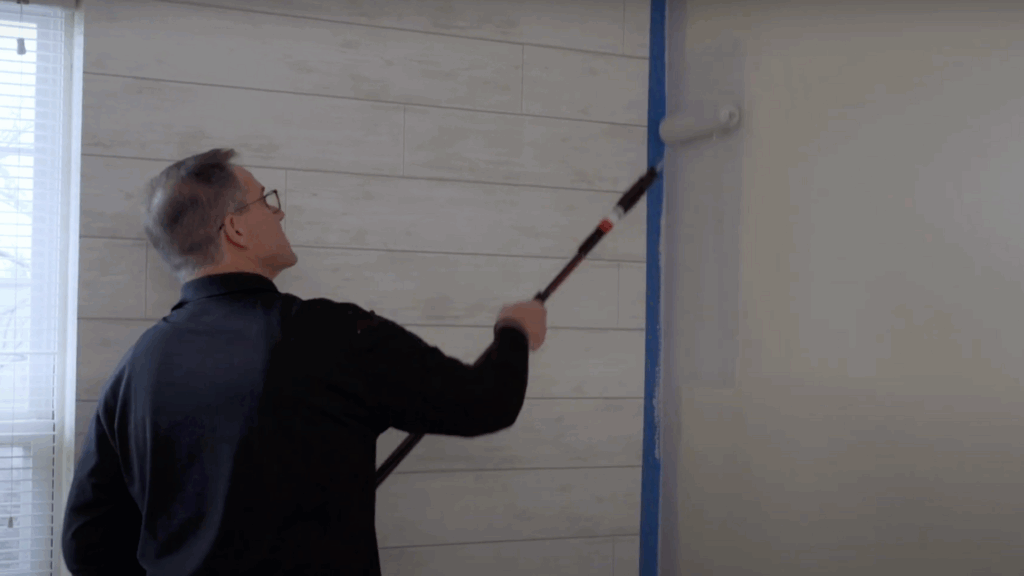
Once the edges are done, it’s time to paint the larger sections. Use a roller with a 3/8-inch nap cover for most smooth walls.
Pour your paint into a tray and roll the roller through it until it’s fully coated. Don’t overload it-too much paint can drip or make streaks.
Use an extension pole to help you reach higher areas without using a ladder. Roll the paint on in long, even strokes, moving up and down.
Try to keep the roller slightly wet and overlap each stroke so the paint blends nicely. This gives the wall a smooth look.
Step 5: Apply a Second Coat
Even if the first coat looks good, a second coat will make the color deeper and more even.
Let the first coat dry completely before starting the second. This usually takes a few hours-check the paint can for exact timing.
Use the same steps as before: cut in around the edges, then roll the paint on in smooth strokes.
You’ll probably need less paint this time, so don’t overload your brush or roller.
A second coat also covers up any thin spots or roller marks you missed the first time. Take your time to make sure everything looks even.
Step 6: Remove the Tape
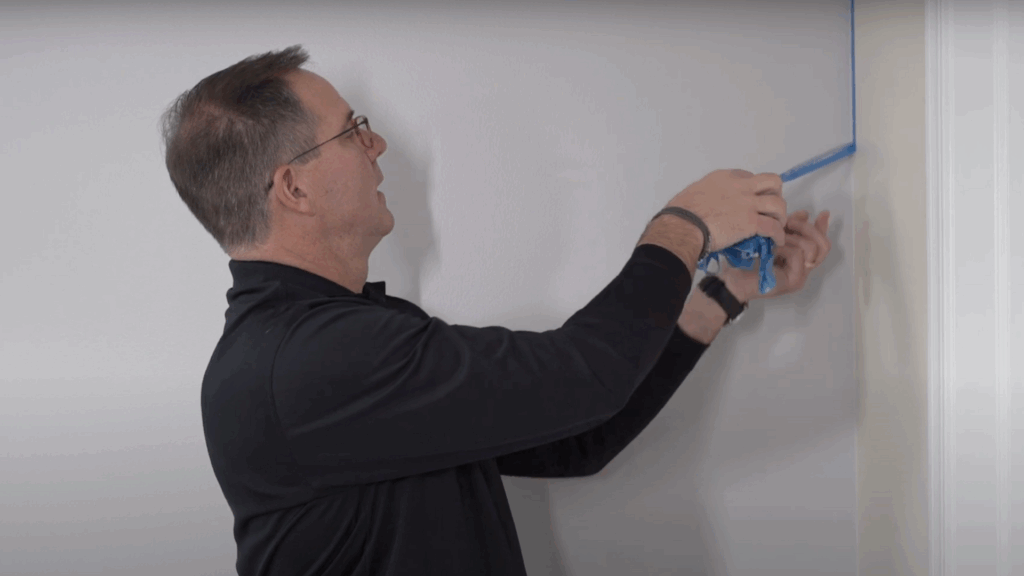
After you’ve finished painting and the paint is dry to the touch, it’s time to take off the painter’s tape.
Don’t wait too long-if the paint dries too much, it could peel when you remove the tape.
Gently pull the tape off at a slow angle, about 45 degrees, to avoid pulling up paint with it.
If you notice any uneven spots in the paint, you can touch them up with a small brush.
Removing the tape carefully helps you get nice, sharp lines around the edges and gives your paint job a clean, finished look.
Curious how it all comes together? Watch @Ace Hardware video for a simple, step-by-step look that makes the process easy to follow.
Tips to Make Painting Easier and Neater
A few simple tips can help you save time, avoid mistakes, and get a smoother finish.
Keep these in mind before and during your project.
- Use Good Lighting: Bright light helps you spot missed areas or uneven spots while you paint.
- Keep a Damp Cloth Nearby: Quickly wipe up any drips or splatters before they dry.
- Wrap Brushes During Breaks: If you need to stop, wrap your brush or roller in plastic wrap to keep it from drying out.
- Work One Wall at a Time: This helps keep a wet edge and avoids visible lines.
- Sand Between Coats: Light sanding between coats helps paint stick better and feel smoother.
- Don’t Rush the Dry Time: Wait until the first coat is fully dry before adding the second.
- Test Paint on the Wall First: Colors can look different in natural light vs. store lighting.
Conclusion
Painting a room might seem tricky at first, but once you break it down step by step, it becomes much easier.
I hope this guide helped you feel more ready to get started. You don’t need to be an expert-you just need the right tools, a little patience, and a plan.
If you’re changing up the color, covering marks, or giving the space a fresh feel, a good paint job can really make a difference.
I’ve walked you through what to do and how to do it so you don’t have to guess. Take your time, go one step at a time, and don’t stress if things aren’t perfect.
The more you do it, the better you’ll get. And when you step back and see what you’ve done, it feels pretty good.
So grab that brush or roller, put on some music, and enjoy the process-you’ve got this.