
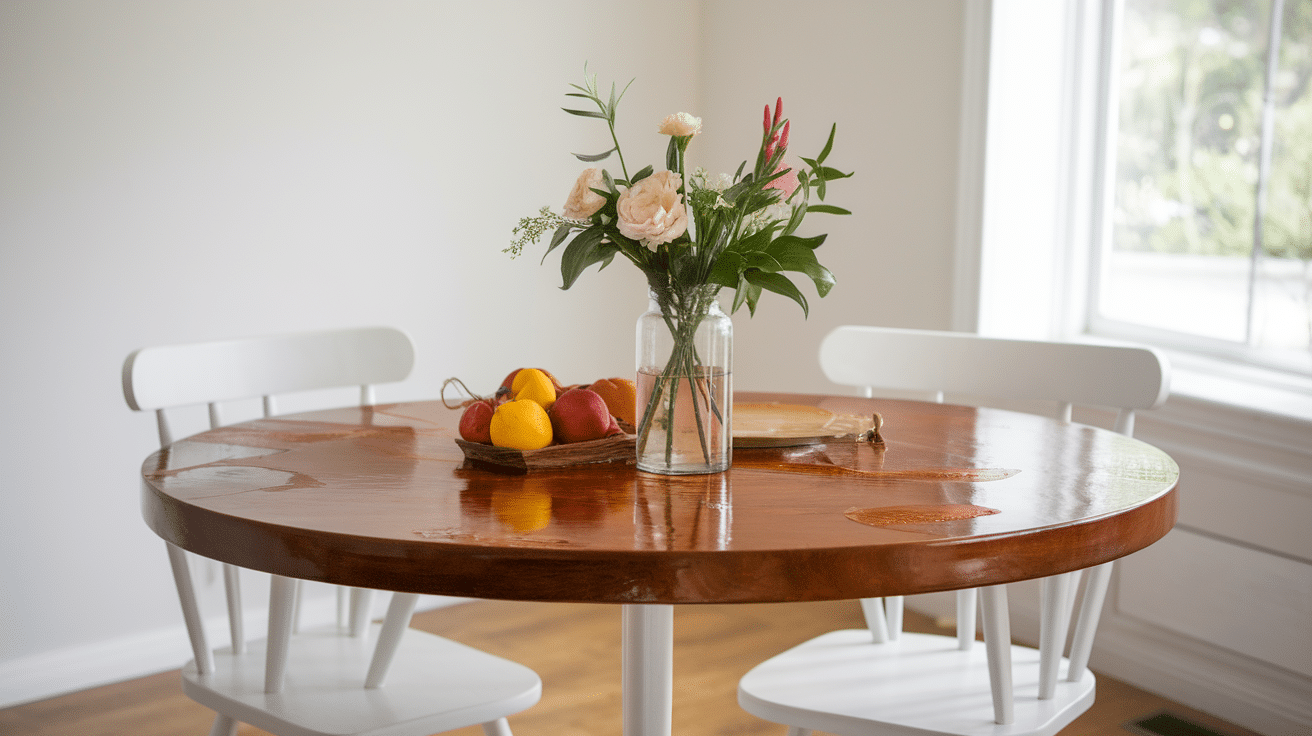
Bleaching furniture is a great way to refresh old pieces and give them a lighter, weathered look. If you’re trying to remove stains, lighten the wood, or want a new look, bleaching can be a simple solution. It’s a DIY-friendly project that can make a huge difference in the appearance of your furniture.
Before you get started, though, it’s important to know the right steps to take and what materials to use. In this guide, we’ll walk you through the process of bleaching furniture, from prepping the piece to choosing the best bleaching agent.
With a little patience and the right tools, you can transform your furniture and give it a fresh, updated look that fits your style. Let’s get started and upgrade your furniture so it looks its best!
Understanding Furniture Bleaching

Furniture bleaching is a process used to lighten the color of wood. This technique is especially popular for giving old or dark wood a fresh, sun-washed look. When you bleach furniture, you’re not only changing the color but also removing stains or discoloration caused by age, water, or sunlight.
The bleach works by breaking down the wood’s natural pigments, leaving behind a lighter, more uniform appearance. It can be done on any wooden piece, from tables to chairs, as long as you choose the right materials and follow the right steps.
While bleaching can give your furniture a unique, weathered look, it’s important to know that not all woods react the same way. Some woods, like oak, bleach well, while others, like cherry or maple, may not give the same result. Understanding this is key to getting the best outcome.
Why Bleach Furniture?
Bleaching furniture can be a game-changer for giving old, worn-out pieces a fresh new look.
1. Lighten Dark Wood: Wood furniture can darken over time due to age, sunlight, or stains. Bleaching helps lighten the wood, giving it a fresh, sun-washed look that can brighten up any room.
2. Remove Stubborn Stains: If your furniture has watermarks, coffee stains, or discoloration, bleaching can help remove or lighten those spots. It’s a great way to restore the piece without having to replace it.
3. Create a Weathered Look: Bleaching is ideal for achieving a rustic or beachy look. If you want that distressed, weathered finish on your furniture, bleaching is a simple way to get that effect, especially with pieces like tables or chairs.
4. Prepare for New Finishes: If you want to change the color of your furniture, bleaching can be a good first step. It helps strip away the old finish and allows new stains, paints, or finishes to absorb evenly.
5. Save Money: Instead of buying new furniture, bleaching is an affordable way to breathe new life into your old pieces. It’s a great DIY project that can help you save money while updating your furniture.
Bleaching your furniture can be an easy and effective way to refresh your home’s look, whether you’re trying to lighten up dark pieces, remove stains, or create a rustic vibe.
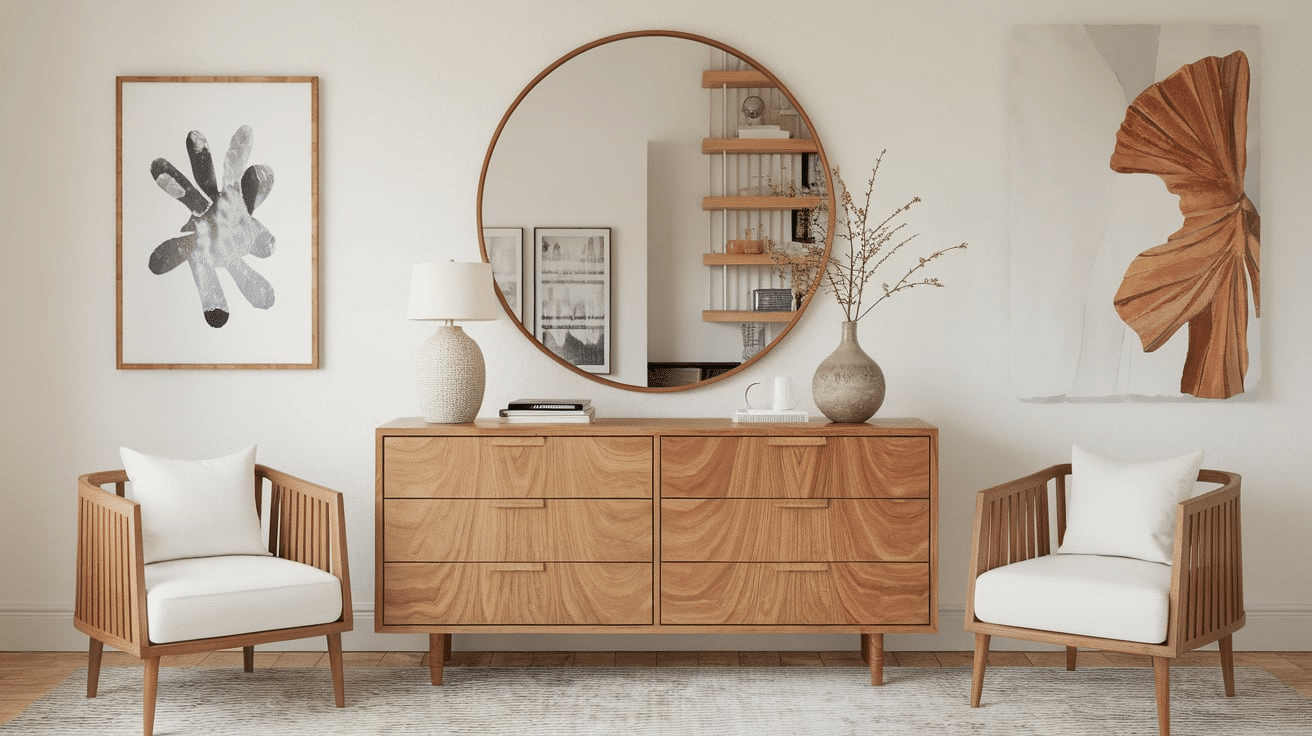
What Type and Material of Furniture Can You Bleach?
Not all furniture is suitable for bleaching, so it’s important to know which types of wood work best for this process.
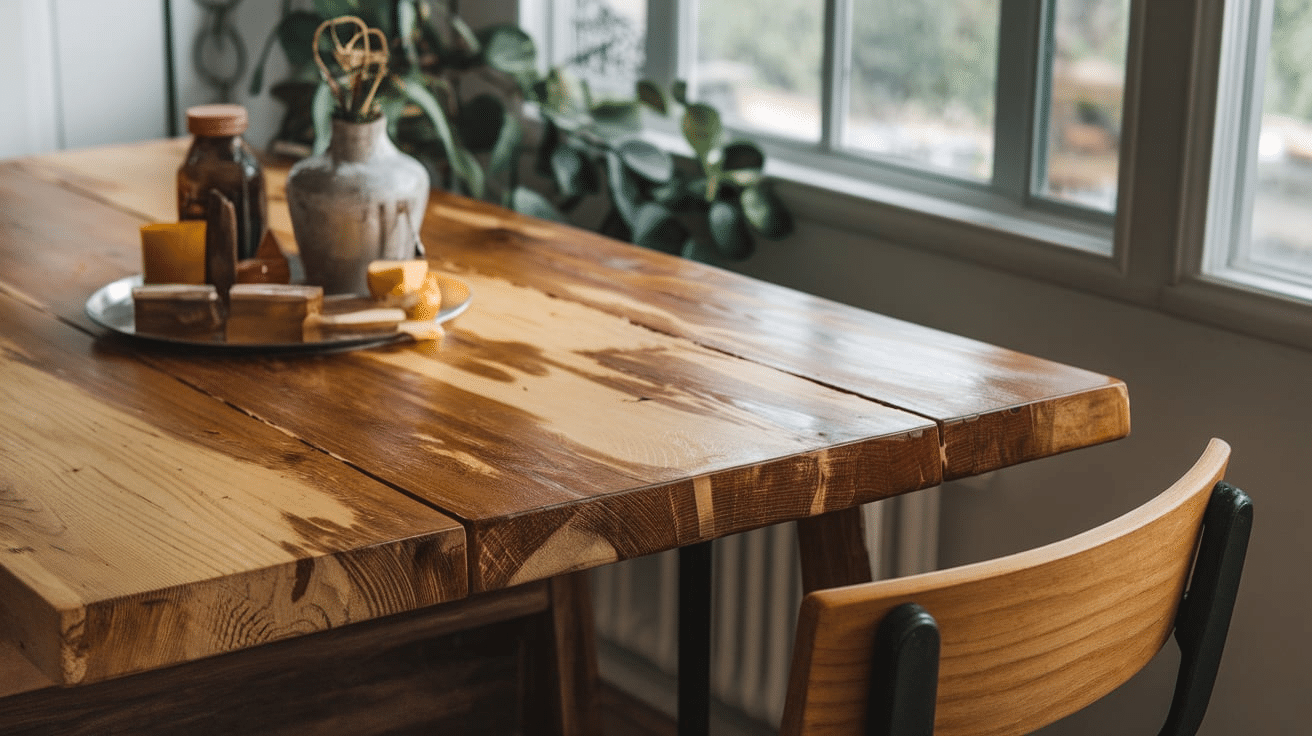
1. Solid Wood Furniture

Solid wood is the best material for bleaching. It reacts well to the bleach and can be lightened without damaging it.
- Oak: A popular choice, oak lightens easily and evenly.
- Ash: Another great option that accepts bleach well.
- Pine: This softer wood takes on a nice, light color when bleached.
2. Veneer Furniture
- Veneer is a thin layer of wood glued to a surface, often over plywood or MDF (medium-density fiberboard).
- A veneer can be tricky because the bleach might affect the underlying material differently, sometimes causing uneven results.
- If your furniture is veneered, you may want to test a small area first.
3. Painted Furniture
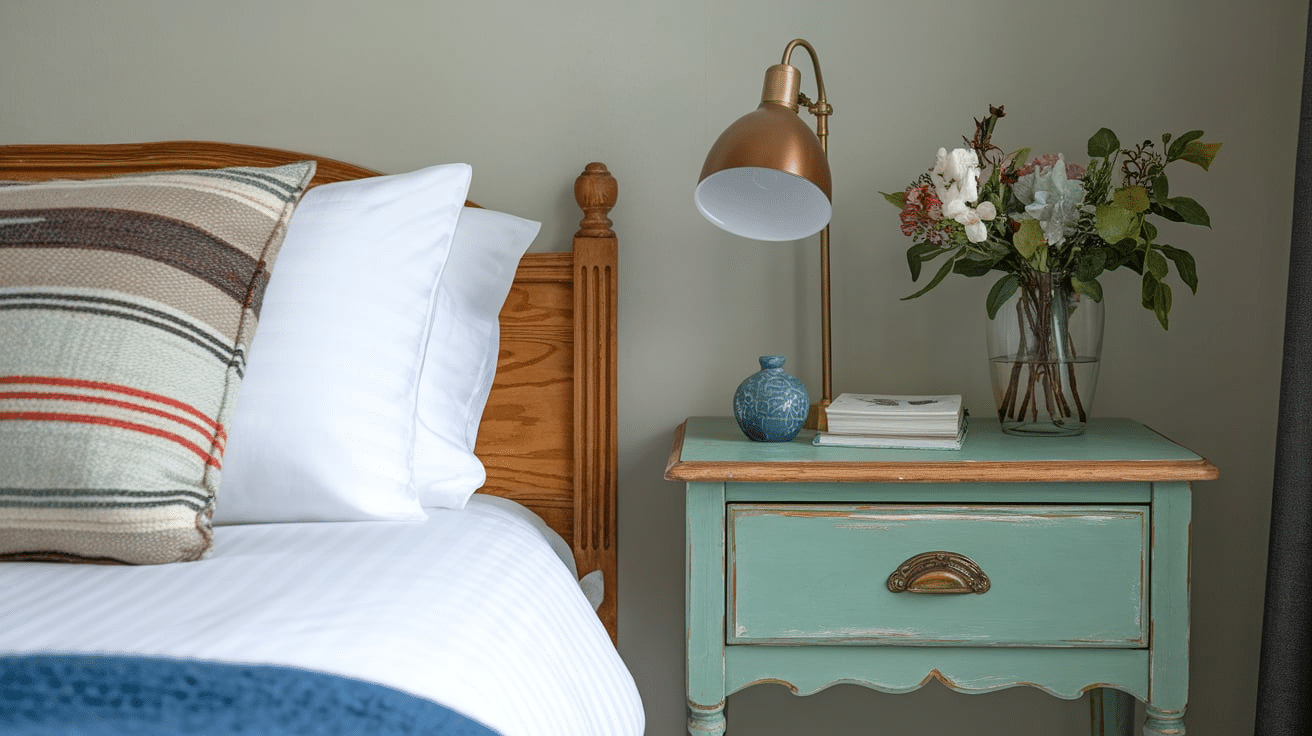
- If your furniture is painted, you’ll need to strip the paint before bleaching. Paint will block the bleach from reaching the wood.
- Once the paint is removed, you can proceed with bleaching the natural wood underneath.
4. Softwoods vs. Hardwoods

- Hardwoods (like oak, maple, and ash) generally bleach better and give a smoother finish.
- Softwoods (like pine or cedar) can bleach well but may absorb the bleach unevenly, so you might need to apply more carefully.
5. Furniture with Stains or Watermarks
- If your furniture has stains, watermarks, or old finishes, bleaching can help even out the color.
- However, stubborn stains may require a more intense solution, like oxalic acid, to get the best results.
6. Furniture to Avoid Bleaching
- Dark or Red-Toned Woods: Woods like cherry, mahogany, and walnut may not bleach well, and the process could lead to uneven results.
- Engineered Woods (MDF or Particleboard): These materials are not recommended for bleaching because they aren’t made of solid wood, and the bleach will not work the same way on them.
When deciding whether to bleach your furniture, always consider the type of wood and whether the results will give you the look you want. Test a small spot first to see how the wood reacts, and always follow safety guidelines to protect yourself and your furniture.
Choosing the Right Bleaching Agent
When it comes to bleaching furniture, picking the right bleach is super important. Different types of bleach work in different ways, and using the right one will give you the best results. Let’s go over the main types of bleaching agents and when to use them:
1. Household Bleach (Sodium Hypochlorite): It’s great for lightening wood and removing stains, especially on softer woods like pine. Household bleach is mild, so it doesn’t drastically change the wood, but it can still lighten it up quite a bit.
2. Oxalic Acid: Oxalic acid is a stronger bleaching agent perfect for removing water stains, rust, or other dark marks from wood. It’s often used when more stubborn discoloration needs to be tackled.
3. Two-Part Bleaching Systems (Peroxide-Based): A two-part bleach system typically uses hydrogen peroxide and a wood bleach solution to lighten the wood. This is a much stronger option and is often used for large projects or to achieve a really light, sun-bleached look.
4. Wood Bleaching Gel: Wood bleaching gel is a thicker bleach option that is easy to apply to vertical surfaces or detailed areas. The gel clings to the wood, allowing you to control how much you use.
5. Commercial Wood Bleach: Ready-made commercial wood bleaches are also available at most hardware stores. These products are formulated specifically for furniture and are designed to be safe and effective.
Whatever you choose, follow the instructions carefully, wear protective gear, and test a small area first to see how the wood reacts. With the right bleaching agent, your furniture will look fresh in no time!
Step-by-Step Guide to Bleaching Furniture
Bleaching furniture is a great way to give old or dark pieces a fresh, lightened look. Whether you want to remove stains, lighten the wood, or change the color, the bleaching process is easy and can be done at home with the right steps.
Step 1: Gather Your Supplies
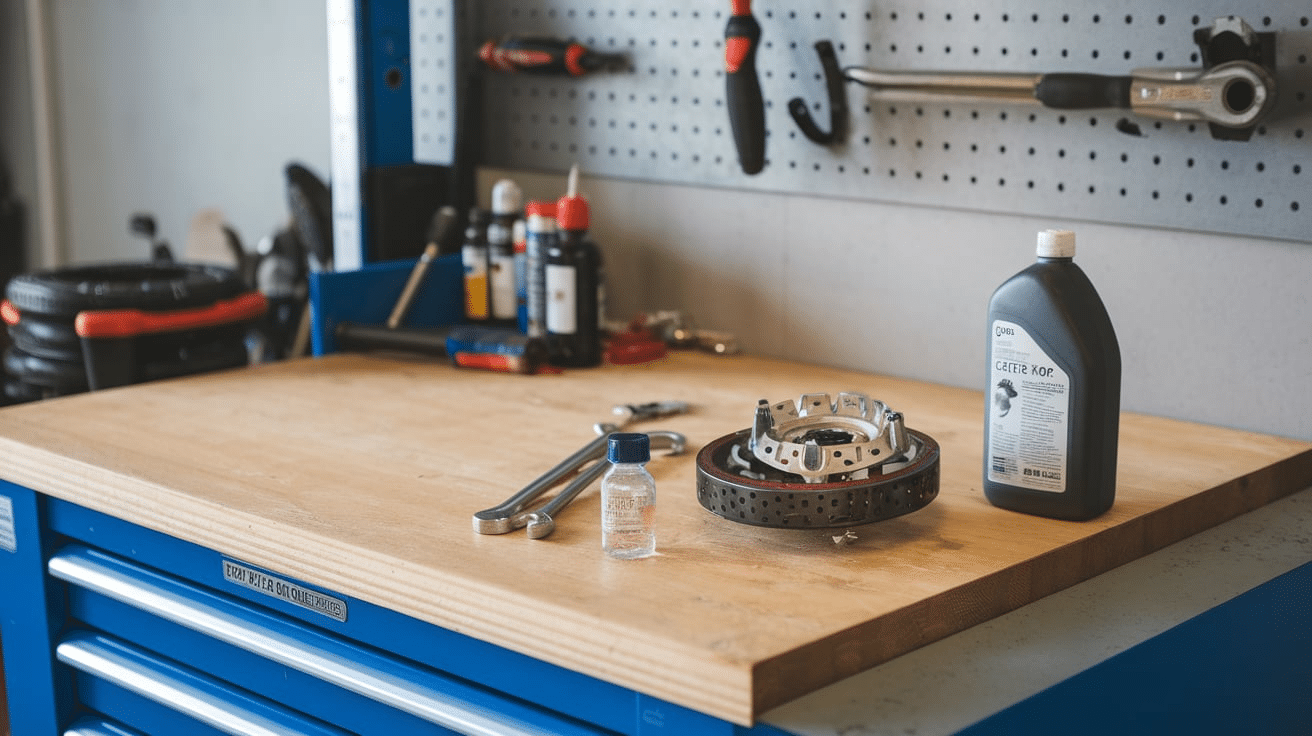
Before you start, make sure you have everything you need. Here’s a list of what you’ll need to get started:
- Bleach (household bleach, oxalic acid, or two-part bleach, depending on what you’re using)
- Gloves to protect your hands
- Safety goggles to protect your eyes
- Brush or cloth to apply the bleach
- Water and vinegar for rinsing
- Sandpaper (fine grit)
- Drop cloth or plastic sheeting to protect the area
- Paintbrush (optional if you’re working on intricate details)
- Towels or rags for cleaning
Step 2: Prepare the Furniture

Before you begin bleaching, you need to get the furniture ready:
- Clean the surface: Wipe down your furniture to remove dirt, dust, or grease. Use a damp cloth, and then let the piece dry completely.
- Remove any old finishes: If the furniture has a stain, varnish, or paint, you’ll need to strip it. You can use a chemical stripper or sand the surface with a fine-grit sandpaper. Make sure the wood is bare and smooth before bleaching.
- Protect the area: Cover the floor with a drop cloth or plastic to avoid getting bleach on your floors or other furniture. You may also want to tape off areas you don’t want to bleach, like the legs or any hardware.
Step 3: Apply the Bleach
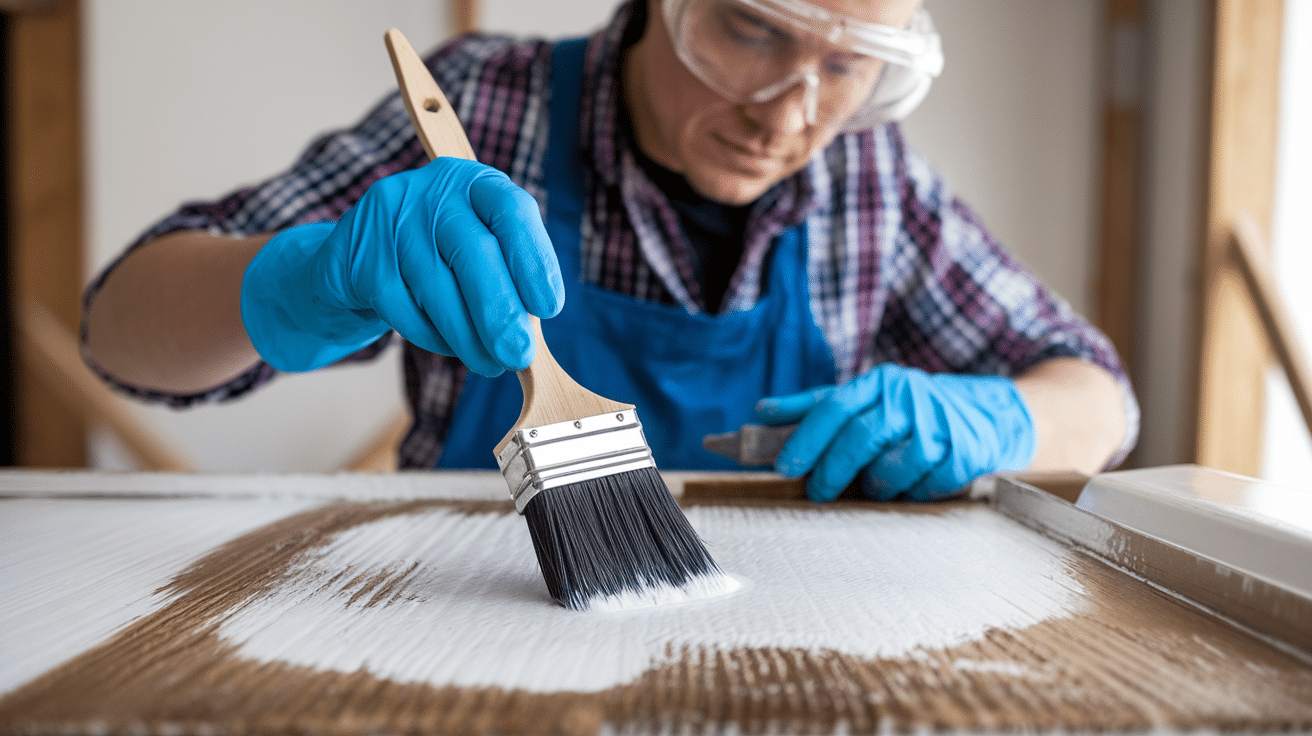
-
Choose your bleach: If you’re using household bleach, dilute it with water (usually 1 part bleach to 3 parts water). For oxalic acid, follow the instructions on the package. If you’re using a two-part bleach system, mix the two chemicals according to the instructions.
-
Test a small area: Before applying the bleach to the entire piece, test a small, hidden area to see how the wood reacts. This will give you an idea of how much lightning will happen and if the wood is bleaching evenly.
-
Apply the bleach: Use a clean cloth or a brush to apply the bleach to the wood. Work in small sections, moving with the wood grain. Make sure the bleach covers the wood evenly. If you want a deeper or lighter effect, you can apply multiple coats, but let each coat dry before adding another.
Step 4: Let the Bleach Work
Bleach needs some time to work, so be patient. The amount of time you leave the bleach on the wood depends on the type of wood and how light you want the piece to be:
- For household bleach, check the wood after about 15–30 minutes.
- For stronger bleach solutions like oxalic acid or two-part systems, follow the instructions for the exact time.
As the bleach sits on the wood, it will lighten the color. To check how the color is developing, wipe away the excess bleach with a clean, damp cloth. If you want a lighter look, let it sit longer, but be sure not to let it dry completely before wiping it off.
Step 5: Neutralize the Bleach
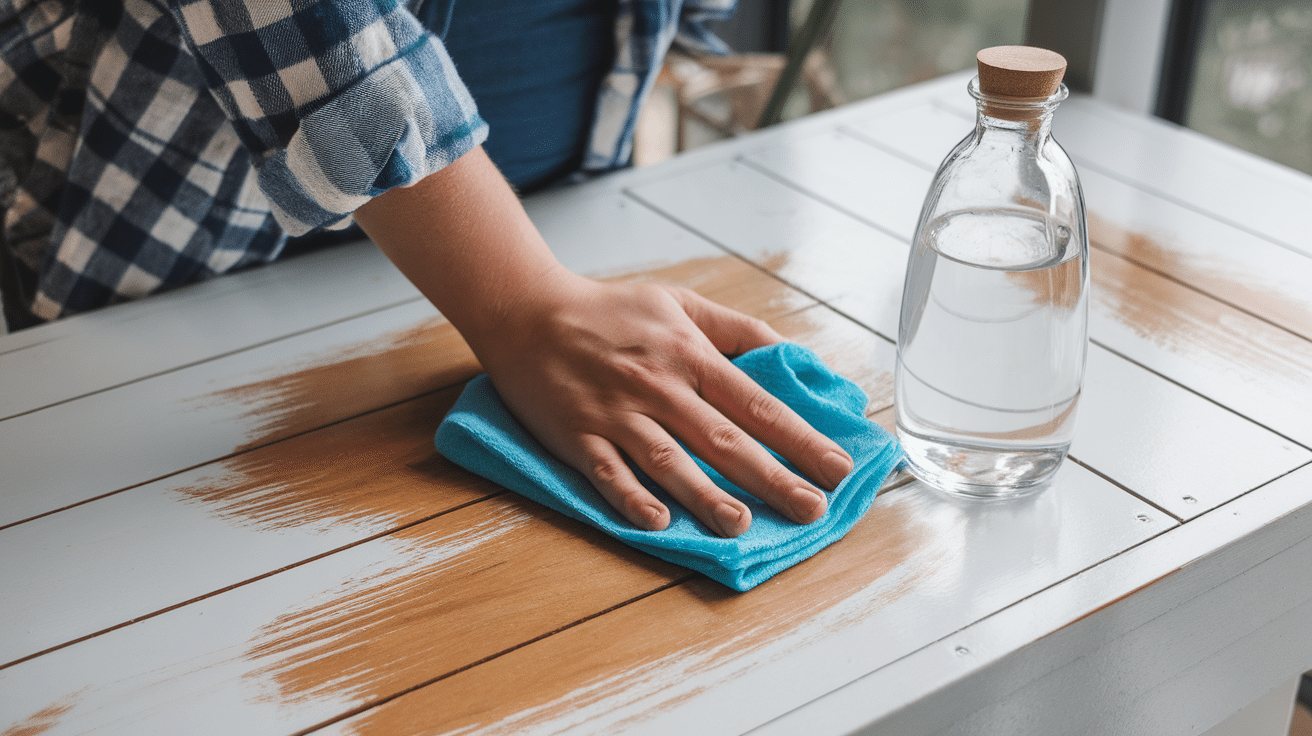
Once you’re happy with the lightness, you need to stop the bleaching process. This is where neutralizing the bleach comes in:
- Mix a solution of vinegar and water (about 1 part vinegar to 3 parts water).
- Use a clean cloth to wipe down the bleached wood with this solution. This stops the bleach from continuing to lighten the wood.
- After neutralizing, rinse the furniture with clean water to remove any leftover bleach or vinegar.
Step 6: Let It Dry
- Once the wood has been neutralized, let it dry completely. It’s important to give it time to dry before you move on to any finishing steps.
- Drying time can take a few hours to a full day, depending on the type of wood and how much bleach you use.
Step 7: Sand the Surface (Optional)
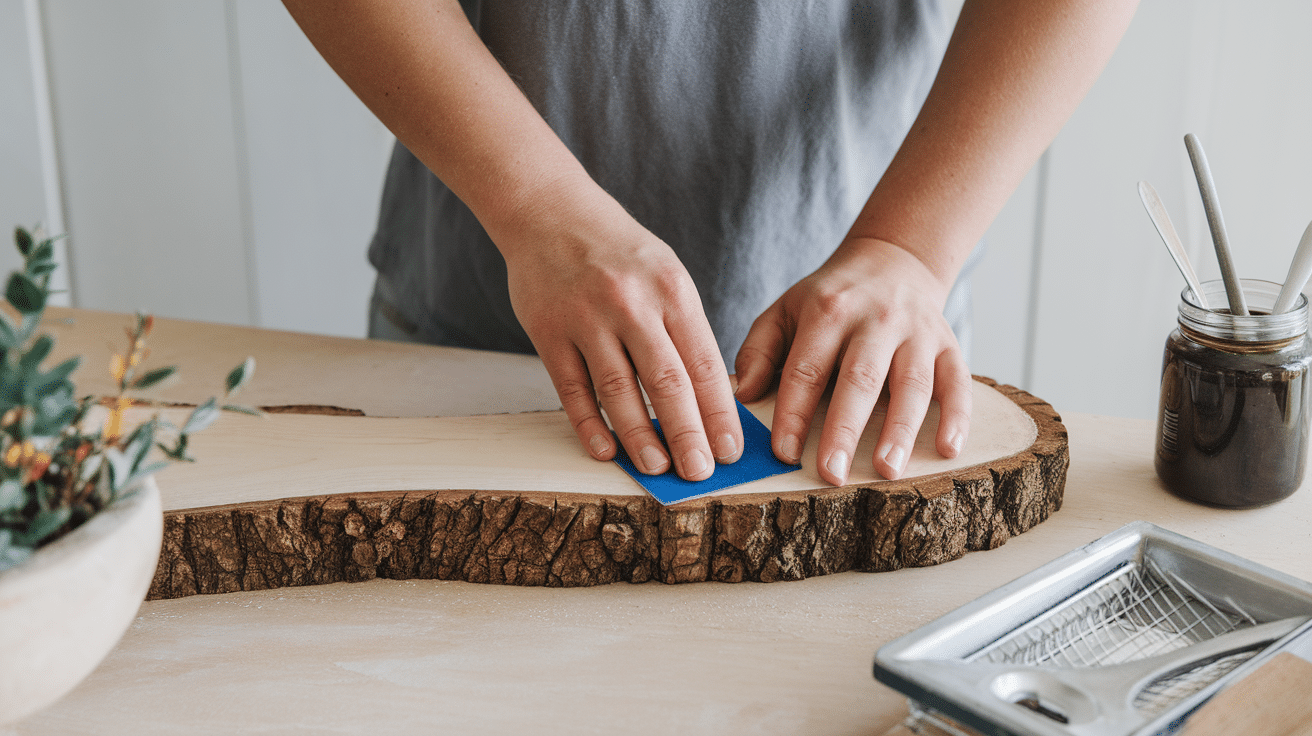
- If you want an even smoother finish or to bring out more wood grain, lightly sand the surface with a fine-grit sandpaper.
- Sanding also helps if the wood feels rough after bleaching. Just be gentle to avoid damaging the wood. Wipe off the dust with a clean cloth.
Step 8: Apply a Finish
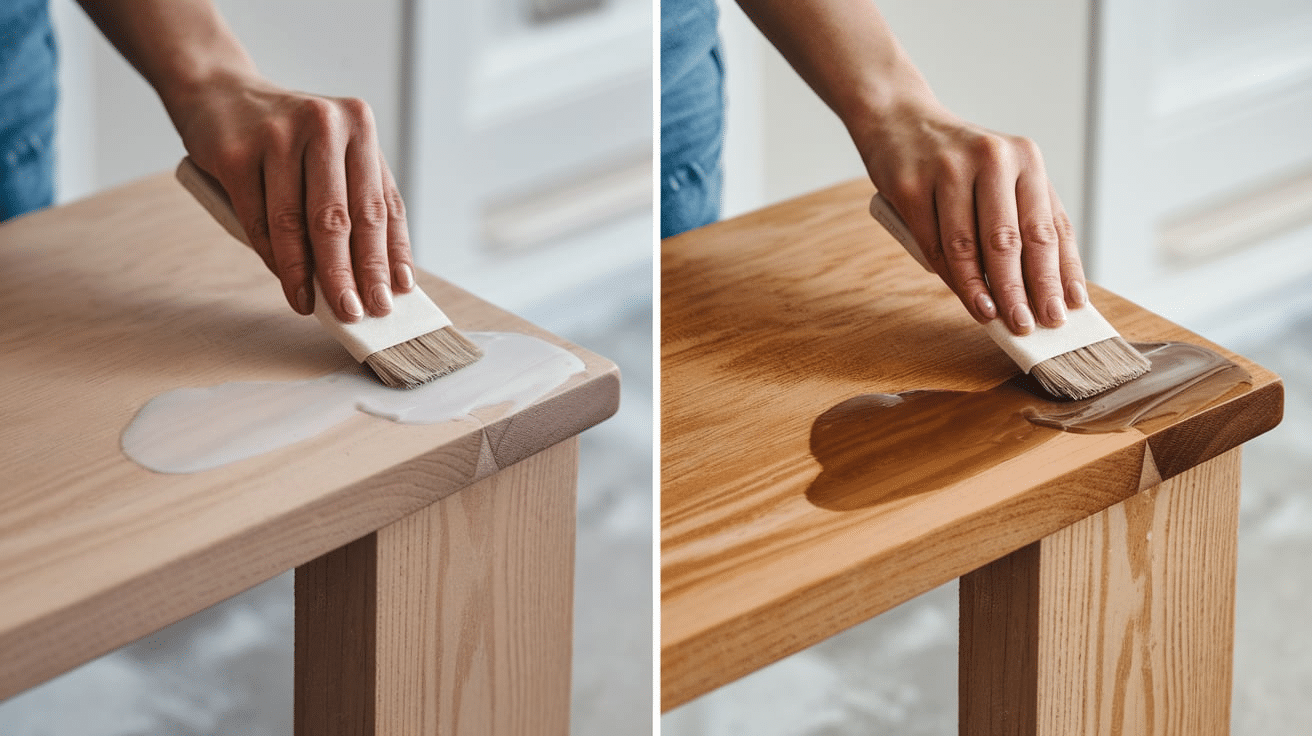
Now that your furniture is bleached and dry, it’s time to add a finish to protect the wood:
- Wood stain: If you want to add color, you can stain the wood after bleaching. This will give it a more polished look and help seal the wood.
- Polyurethane or wax: To protect the surface and give it a nice shine, apply a coat of polyurethane or furniture wax. This helps seal the wood and makes it durable for daily use.
Once everything is dry and the finish is set, your newly bleached furniture is ready to be used. It will have a fresh, lighter look that can complement any style, from modern to rustic.
Bleaching furniture may take a little time, but it’s a simple and rewarding way to give old pieces new life. By following these steps, you can safely and easily lighten your furniture to create a fresh, updated look that fits your style.
Alternatives to Bleaching Furniture
If you’re not sure about using bleach or you want a different approach to refreshing your furniture, there are a few alternatives that can help you achieve a similar look without the harsh chemicals.
1. Using Wood Stain
If you’re looking for a way to lighten the wood but don’t want to bleach it, you can use a light wood stain. Staining is a simple way to change the color of your furniture without stripping it down completely. Light stains, like oak or maple, can give the wood a lighter, more natural look, while still letting the wood grain show through.
- How to do it: Clean the wood, apply the stain with a cloth or brush, and let it dry. You can apply multiple coats to get the desired color.
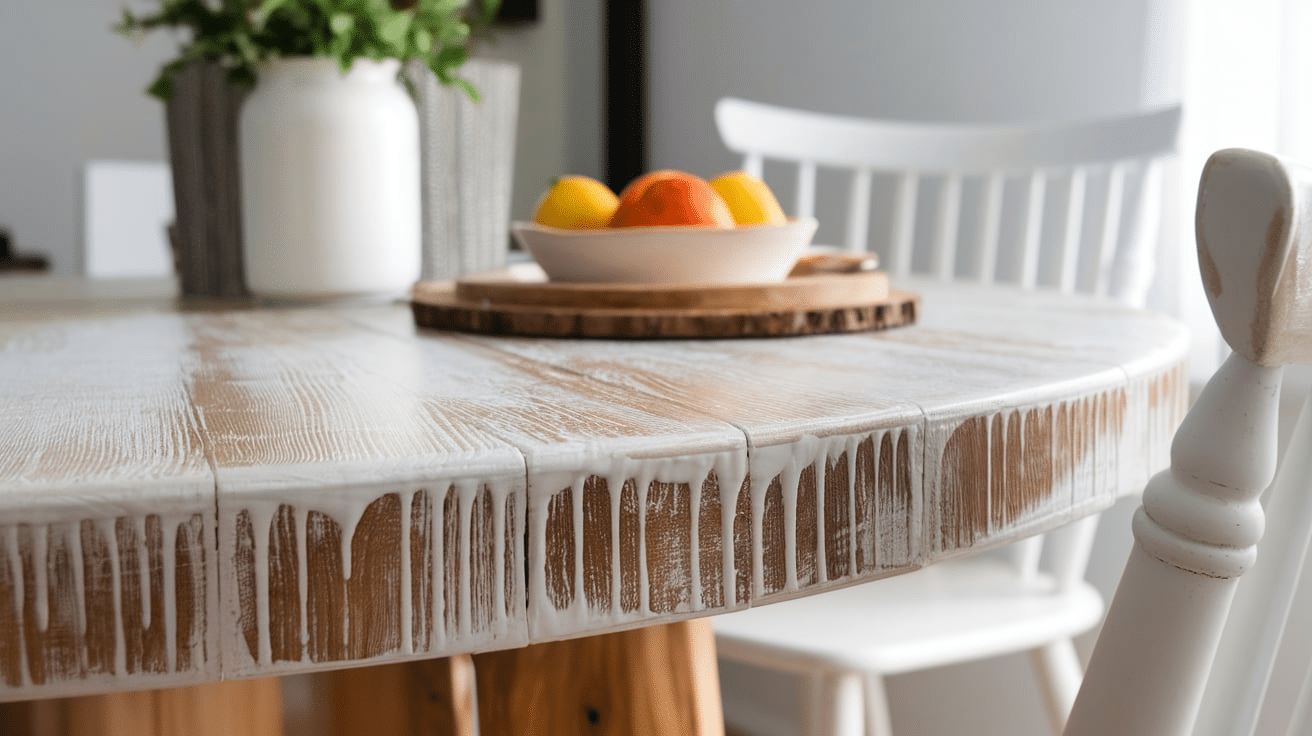
2. Whitewashing the Furniture
Whitewashing is a popular method that gives wood a soft, light appearance. It’s like a watered-down paint that you apply over the wood. The great thing about whitewashing is that it lightens the wood without completely covering its natural texture.
- How to do it: Mix white paint with water (usually 1 part paint to 3 parts water), then apply it to your wood with a brush. Wipe off the excess with a cloth to let some of the wood grain show through.
3. Sanding for a Lighter Look
If you have furniture with a dark finish, sometimes sanding it lightly can remove some of the top layers of stain or paint, revealing lighter wood underneath. This works especially well on pieces that are already finished but look too dark or worn.
- How to do it: Use a sander or sandpaper to sand the surface gently. Be sure to sand evenly to avoid uneven color spots. Once sanded, you can add a protective coat of wax or varnish.
4. Using Hydrogen Peroxide
Instead of using bleach, you can use hydrogen peroxide, which is a gentler alternative that still lightens wood effectively. It’s often used for smaller pieces of furniture or delicate items.
- How to do it: Apply the hydrogen peroxide with a cloth or brush and let it sit for 30 minutes to an hour. Wipe it off and let the wood dry. You may need to repeat the process to achieve a lighter result.
5. Painting with Chalk Paint
If you want to change the look of your furniture entirely, chalk paint is a great option. It’s perfect for creating a rustic, shabby-chic look, and you don’t need to sand or prime the furniture before painting.
- How to do it: Just apply a coat of chalk paint directly to your furniture. Once dry, you can lightly sand the edges for a distressed look and finish it with a wax or varnish for protection.
6. Try a Commercial Furniture Lightener
If you’re looking for a quick and easy solution, many stores sell furniture lightening products that are specifically designed to lighten wood without bleach. These products are usually gentler and less harsh than traditional bleach, but they still give you a lightened look.
- How to do it: Follow the instructions on the product for the best results. Most commercial lighteners require you to apply the product with a cloth and let it sit for a while before wiping it off.
Choosing the right alternative depends on what look you want to achieve. If you’re looking for a natural, subtle change, whitewashing or sanding might be the best choice. If you want a more dramatic effect, staining or using a commercial lightener could be a better fit.
No matter which method you choose, test it on a small, hidden area first to ensure it gives you the desired result. Each piece of furniture is different, so it’s always best to try before committing to the entire project.
Maintenance Tips for Bleached Furniture
Taking care of your bleached furniture will help it stay looking fresh for longer. A few simple tips to keep it in great condition:
1. Clean Regularly: Dust and clean your furniture often to keep it looking nice. Wipe off dirt with a soft cloth or a damp microfiber towel. Avoid using harsh cleaners that can damage the wood.
2. Protect from Sunlight: Direct sunlight can cause the wood to fade or darken over time. Try to keep your furniture out of strong sunlight or use curtains to block the sun.
3. Reapply Wax or Sealant: After bleaching, it’s a good idea to apply a layer of wax or sealant to protect the wood. This will keep it from getting scratched and maintain its smooth finish.
4. Avoid Heavy Scratches: Be careful with sharp objects on your furniture. Use coasters, placemats, or tablecloths to protect the surface from scratches and spills.
5. Touch Up as Needed: If the wood starts to look a little worn, you can sand it lightly and reapply a coat of sealant or wax to restore its appearance.
These simple steps will help your bleached furniture stay looking as good as new for years to come!
Conclusion
Bleaching furniture is a great way to give old or dark pieces a fresh, lightened look that fits perfectly into any home decor. Whether you’re looking to remove stains, lighten the wood, or simply refresh an outdated piece, the process is easy and can be done at home with just a few simple steps.
From choosing the right bleaching agent to applying it carefully, this DIY project can completely transform your furniture and bring new life to your space.
Remember to always test the bleach on a small hidden area first and take your time to ensure the wood reacts well. Once you’re done, protect your piece with a coat of wax or sealant, and you’ll have a durable, long-lasting result.
So go ahead—try bleaching and give your furniture a stunning makeover that’s easy and rewarding. Your home will thank you for it!